Hello.
I don’t understand why, I made a scallop operation in Fusion 360.
When machining, the transition is not smooth where the shapeoko change direction with very thigh radius. It’s very frustrating, the design in perfectly smooth in this place in the software (it’s the middle of a surface).
This is less pronouced with Morphed Spiral, but still there. Can feel 0.5mm difference…
There is no “gap” when the radius is greater…
Any idea?
I checked that the V-wheel are always in contact on all axis, it’s alright.

what are you using for a tool?
What does the simulation show with tolerances enabled?
3/4 ball-nose Freud…

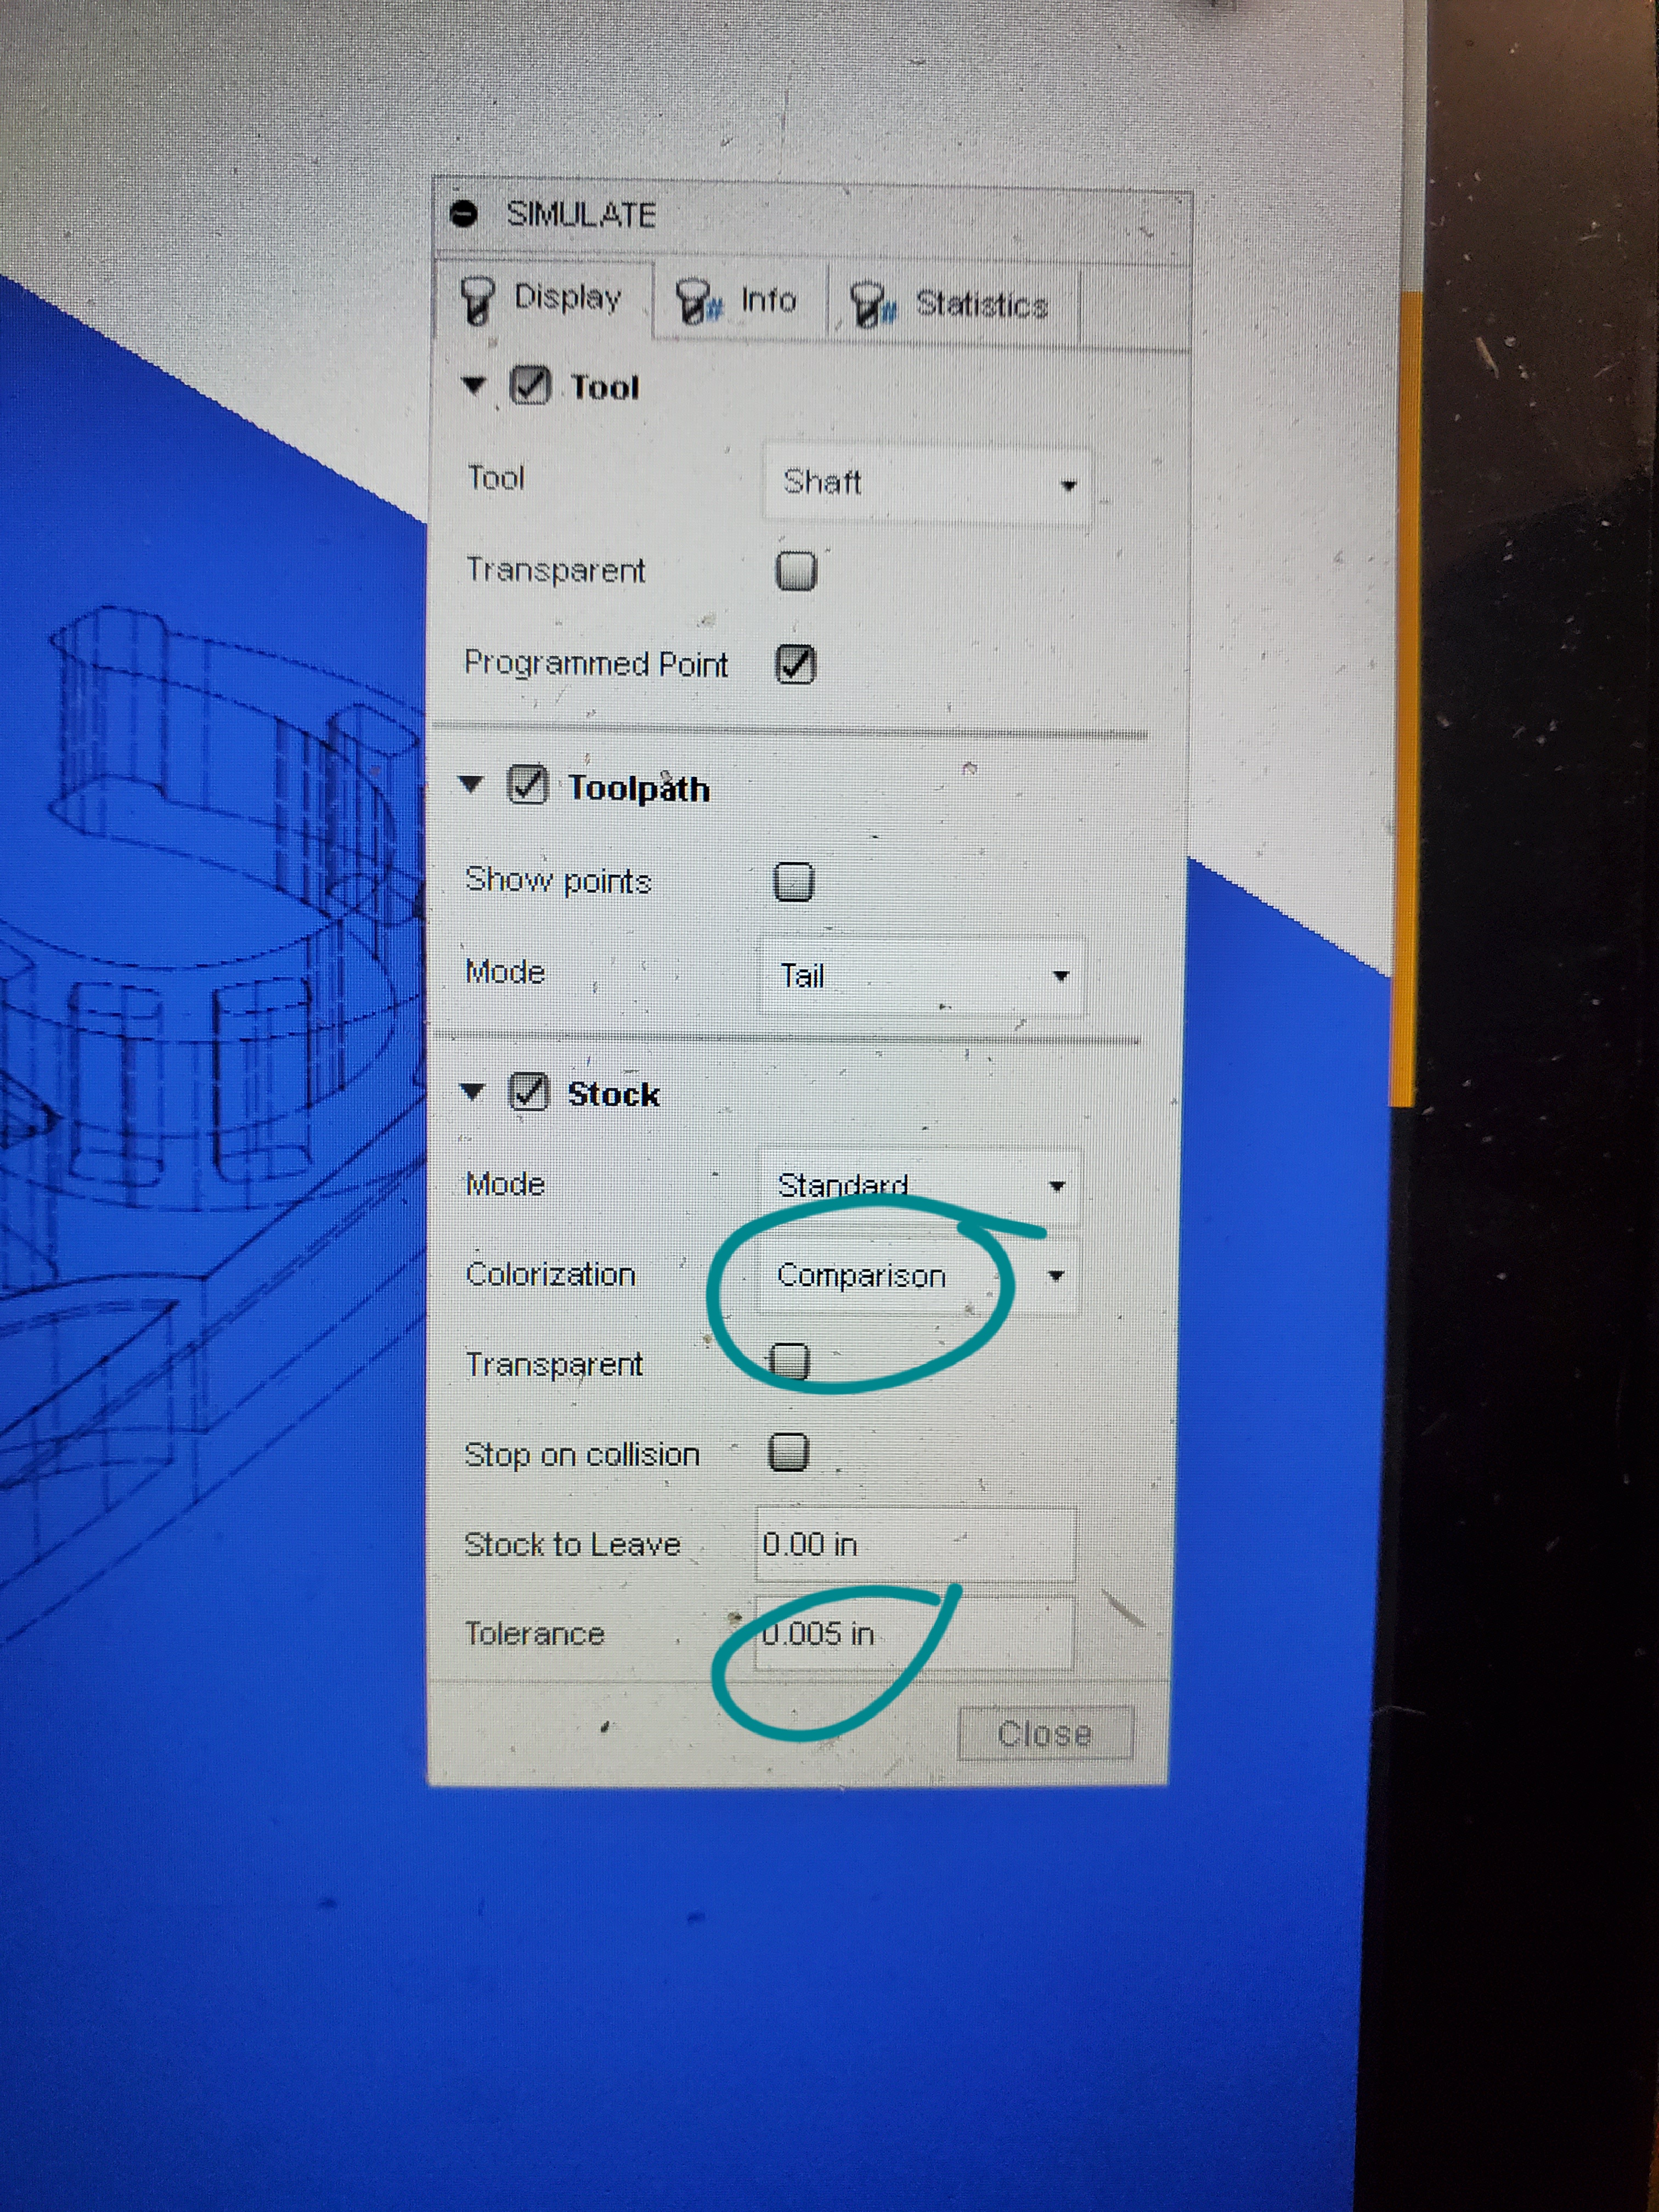
You can use “comparison” and adjust the tolerance value to see exactly how much stock will be left after finishing. Also your tolerance and smoothing values in the toolpath tab will have an effect.
Adjusting your cut direction and up/down milling can also have an effect.
Your ball nose went up along that line on both sides leaving a lip. There was no overlap in that area for whatever reason. I am not sure how to fix it other than going over it with a flat nose.
Ok thanks. I checked, but seems ok in the file. I use outside->inside to have more material engaged on the tool.
I didn’t touch to up/down milling…
You can check my file if you want, but I still do not understand the problem. Could it be the shapeOko?
Fusion 360 File
Maybe you could add a patch to extend the surface you are machining. This will allow the tool to change direction away from your material. Or, and I don’t recall if scallop does/doesn’t, but their might be an extension tab that will allow you to overshoot the surface.
I would prefer to have the CNC do what it is supposed to do. Looking at simulation, everything seems perfect. Seems there is something odd with the Z-axis precision of the ShapeOko 3…
Should upgrading to a HDZ would correct those problems? (I have the V-Belt regular Z-Axis).
The only problem here is that it didn’t take into account the ball nose tip of the endmill. Whether you didn’t specify the correct endmill, or it is a miscalculation on the part of the software, I don’t know. Either way, there are two simple solutions, one, take 5 seconds to hand sand it out, or two, create a tool path to go over that spot again without the directionality of the curves included.
1 Like
Understandable. All machines have limitations/compromises, you have to work within the confines of your tool, and adjust strategies accordingly. The simulation does its best to represent machine movement and stock subtraction, but it is reliant on the information you give it(tool information as noted above being a good example), and it unable to predict the subtleties of your actual stock. Wood reacts differently to the cutting edge than say aluminum, plastics ect.
I cut plastics, and just because I dial in a cut of .01", it does not mean I’ll remove an actual .01". The plastic will predictably deform to some degree, then heal. If I run a pocketing operation, and then a finish profile pass, the finishing pass may very well cut deeper into the pocket, this requires consideration, despite the simulation showing no such thing. Machine, Cutter, Material ect, all factors.
I’d imagine the HDZ might provide a better resolution, and rigidity, but to how much benefit to your project, I don’t know. Mine has been sitting in its box for a number of months now(I also have the regular belt Z). If I had to hazard a guess, it shouldn’t provide much of a notable improvement on such a project.
If the sim shows everything good then that usually points to mechanical.
The belt drive Z has never really been the most accurate with its V wheels and thinner 6mm belt. And a Z plus or HDZ will definitely improve upon any unwanted movement or deflection while increasing accuracy quite a bit.
I’ll take a look at the file right now.
1 Like
I finaly used the good old parallel path. While machining I noticed that the Z belt was kind of loose when changing “direction” and also that the curve was kind of too flat. So I tightened it up a little bit more just to be sure it keeps its shape every time.
So now there is very much less gap, seems really good. I’ll probably have to re-adjust the Z travel steps…
So it confirm me that I should have a better Z carriage… 
I should probably check my X and Y belt also, time for a maintenance it seems. Never really checked them in 2 years… 
This topic was automatically closed 30 days after the last reply. New replies are no longer allowed.