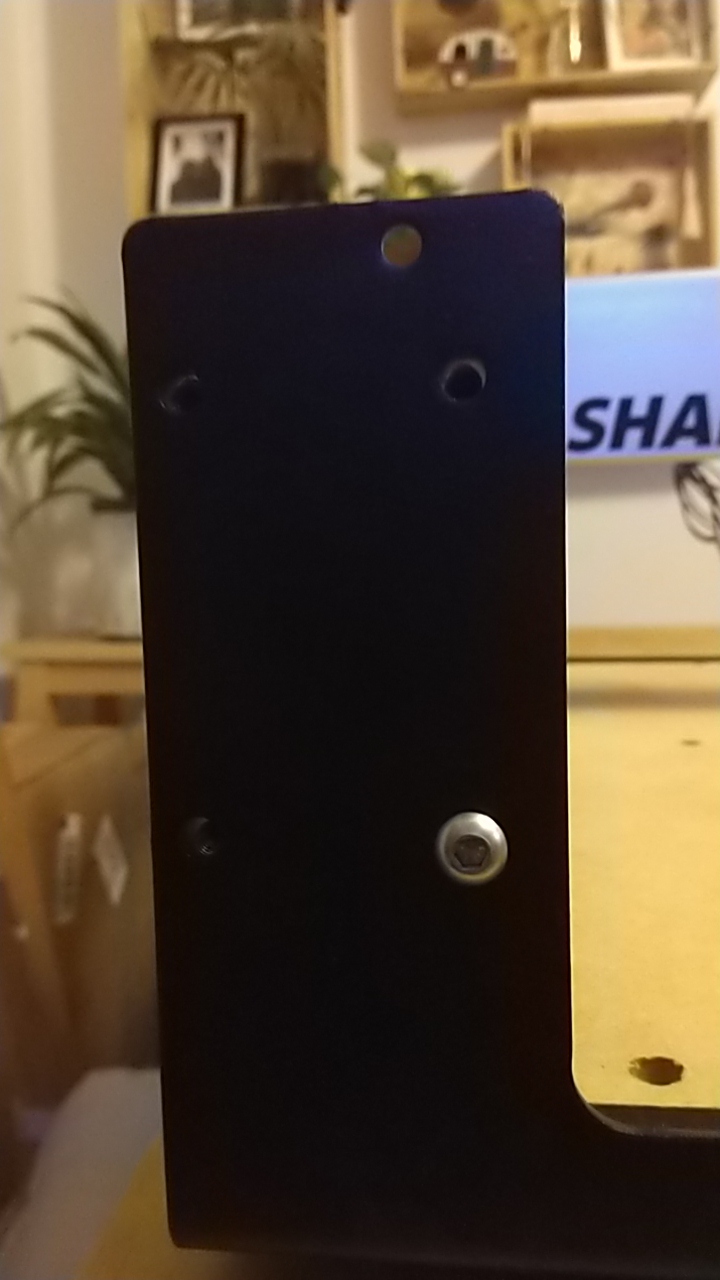
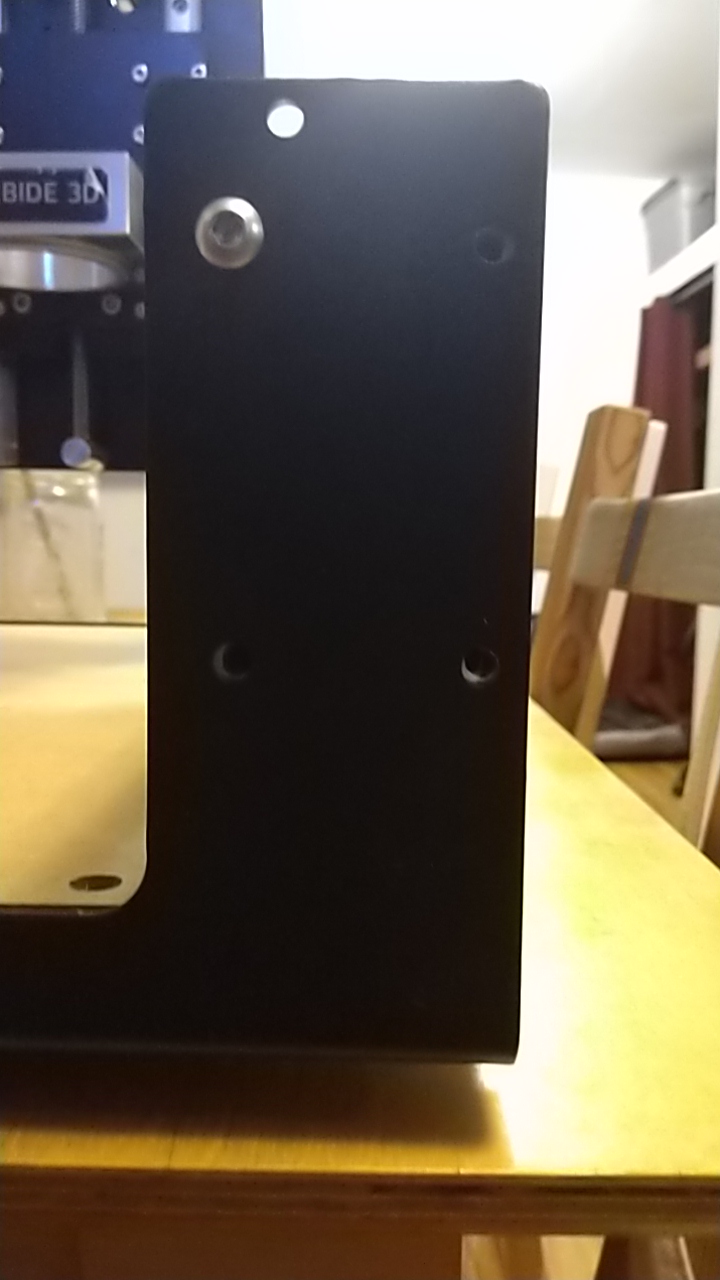
Just got my Shapeoko3 today, started putting it together but none of the connections between the black plates and the extruded tracks are going together. It looks like the holes aren’t lining up.
Is this a common problem?
I think I can bore out the holes to give myself the slop to get it to fit but then I’m afraid I’m introducing problems for myself down the road when it comes to keeping things square.
Yeah, that seems pretty common with these. I know mine had the same as did a few others posted here.
Several youtube videos on drilling those out. Keep one of them on each plate original (do not drill) that will give you a good start point and a pivot point.
A heads up for you, you might want to pick up a couple of the blade type feeler gauge sets and use the blades for shims instead of using a wad of tinfoil when you attempt to square the x-beam to the rest of the machine. Videos for that on youtube as well.
added;
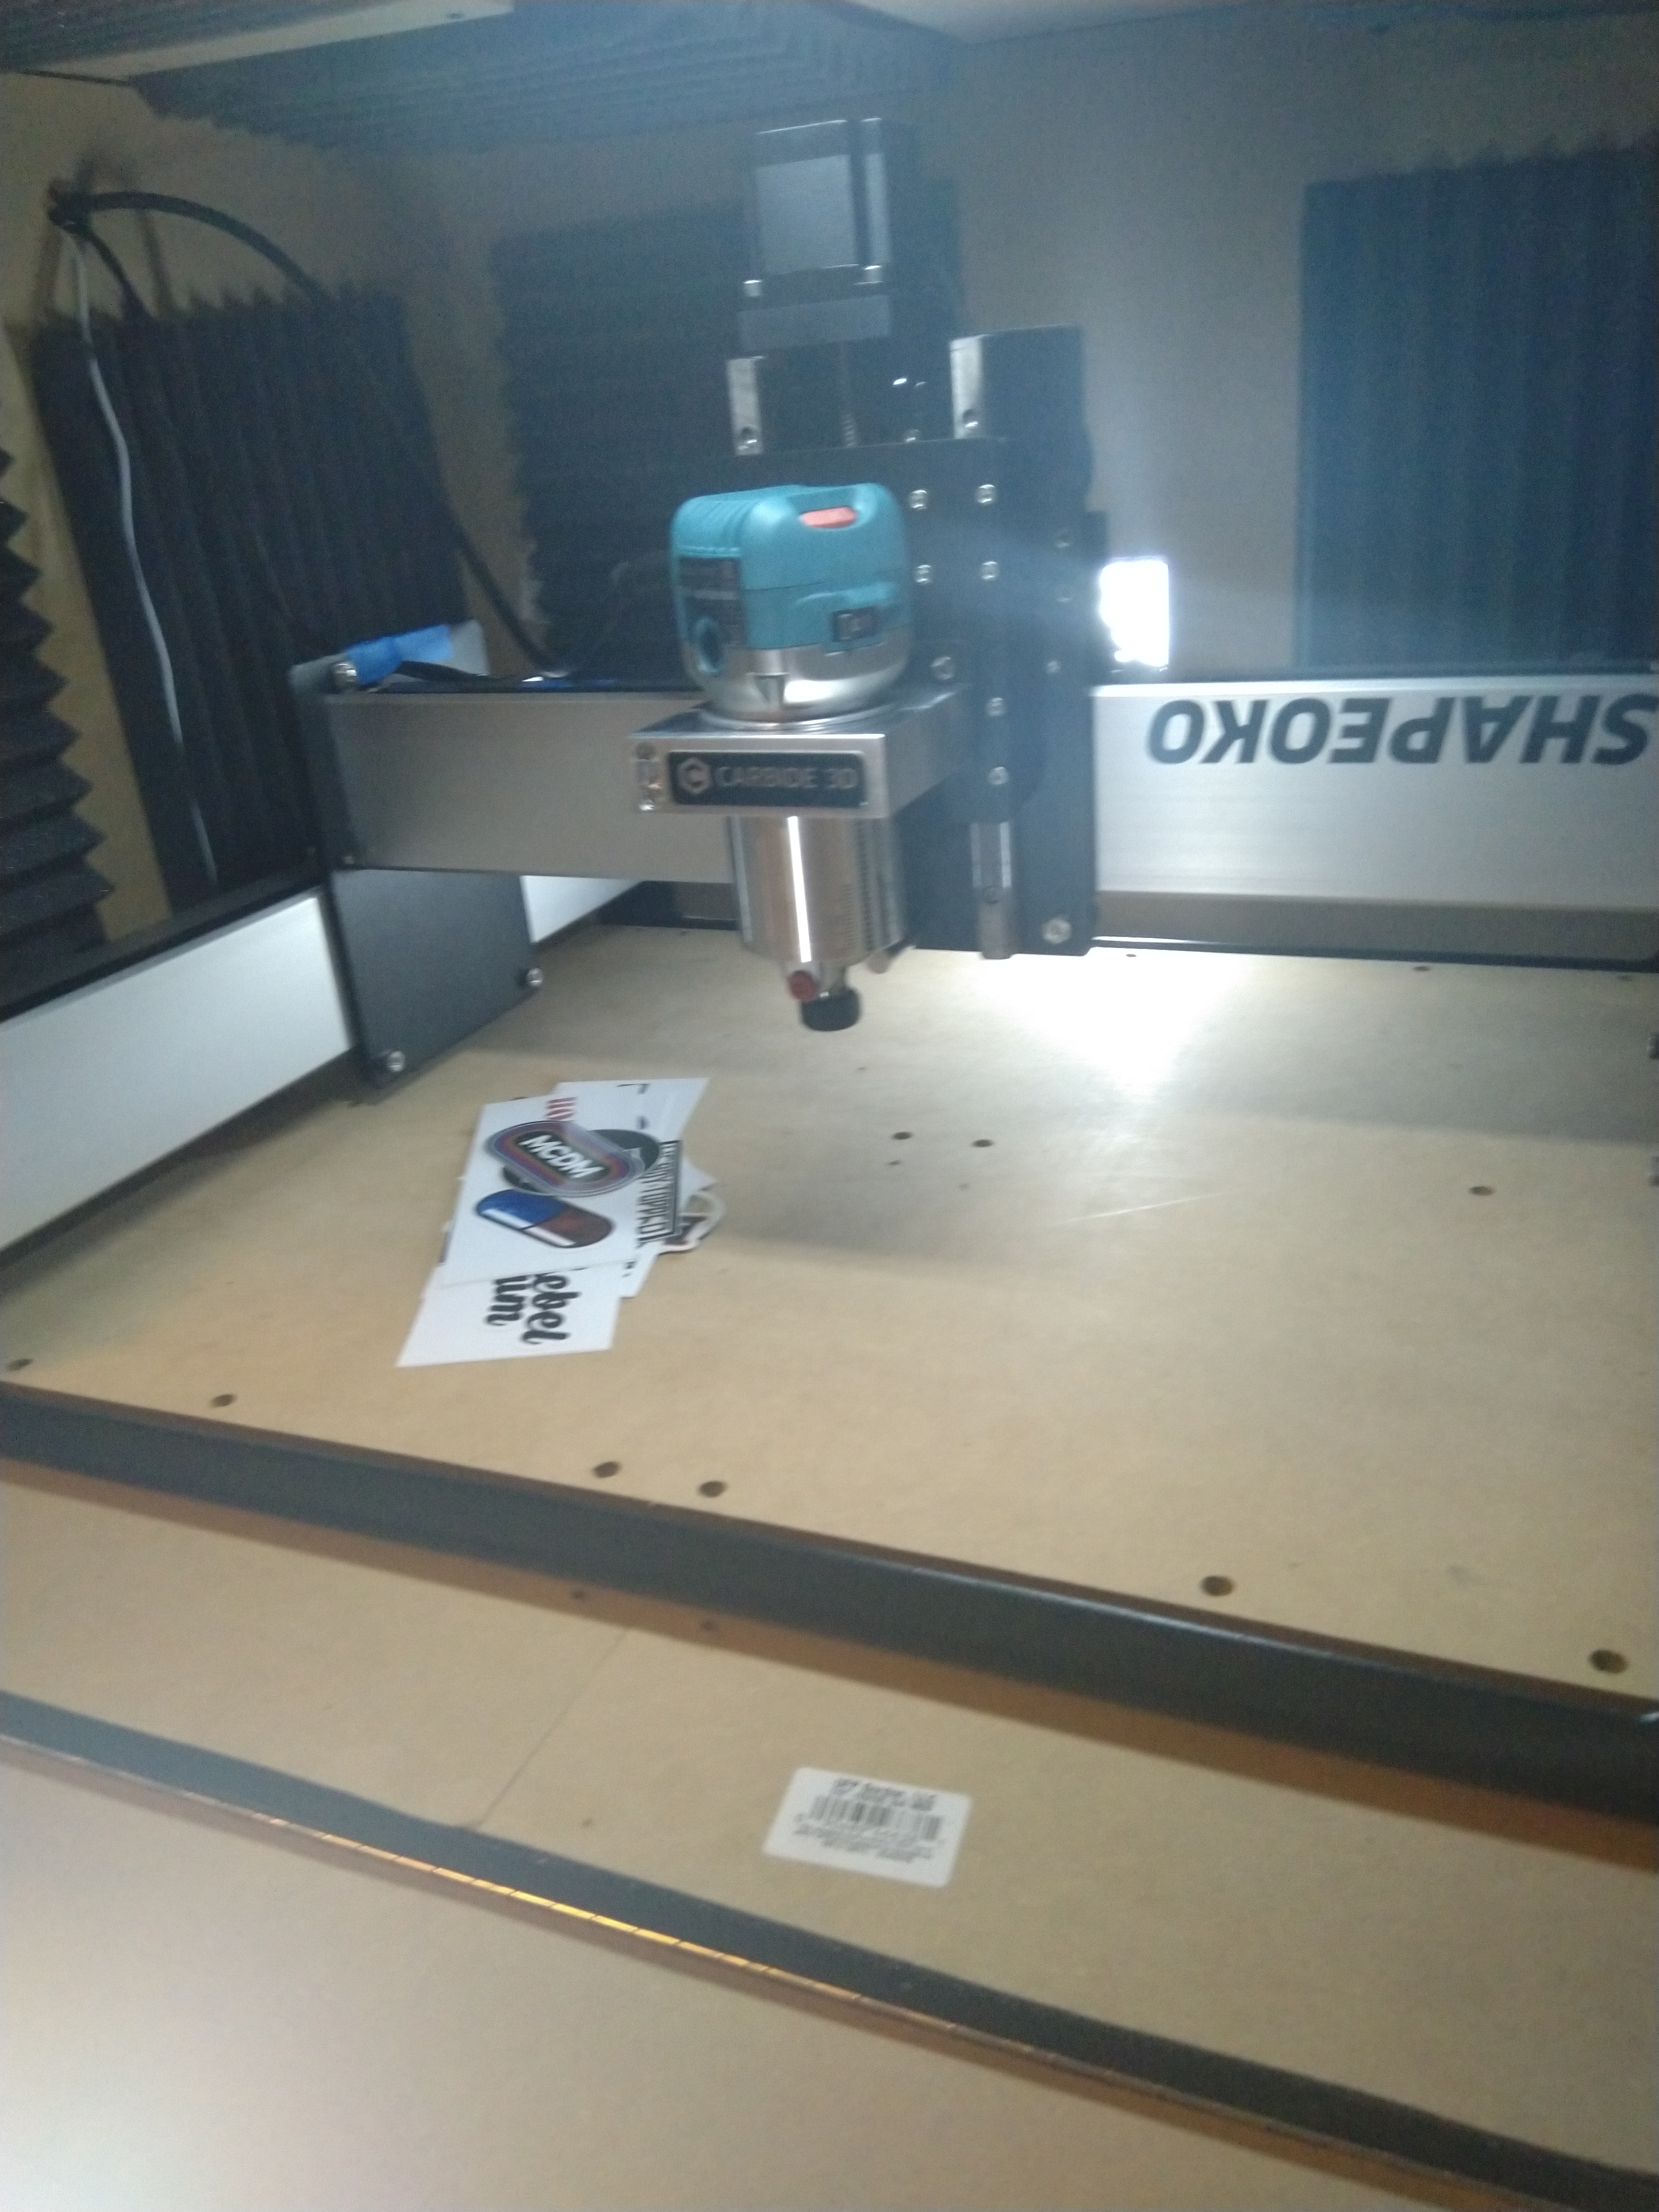
But Hey, isn’t that a nice shiney spindle mount?
Good to know this is a common problem at least. Just surprised that a company that makes precision equipment to have bad tolerances 🤷. I’ll have to do more research in how to set it up. I only watched the Tool Today set up video and it seemed straight forward.
I emailed Support when I found the first plate not lining up but when the others weren’t either I figured this must be a more common problem then I thought so I came here. I’m going to wait for their response before I start drilling holes and making too many modifications. The 2017 Set Up video Winston made has some good info about the production method and problems that could arise from the way the Shapeoko is designed so my expectations have been re-calibrated and I’m excited to get back into it today.
That’s a good plan, see if they’re far enough out of spec to need replacement first.
The steel pressed parts are not precision machined, but mine were a lot closer than that. I did have to shim out my X axis because the end of the X beam wasn’t cut straight but other than that, with a little clearing out of excess power coat from the holes everything lined up with a bit of pushing and pulling.
It might be worth checking if the bolt pattern in the plates is actually square, I think it’s unlikely that the Aluminium extrusion is out of shape. Do you have a caliper you can measure the hole-hole distances and the hole-edge distances to see what’s out of whack?
Are the holes just bunged up with power coat?
If the holes are clear and not drilled square in their own pattern or square to the plate life could get quite tricky for you in tramming and aligning, the Y rails need to be parallel over their length and all three rails need to have their vertical edges actually vertical.
For those of you following along at home, Support informed me that they have my back in case anything goes wrong and recommend the advice from above to open up the holes and take extra care when squaring the system.
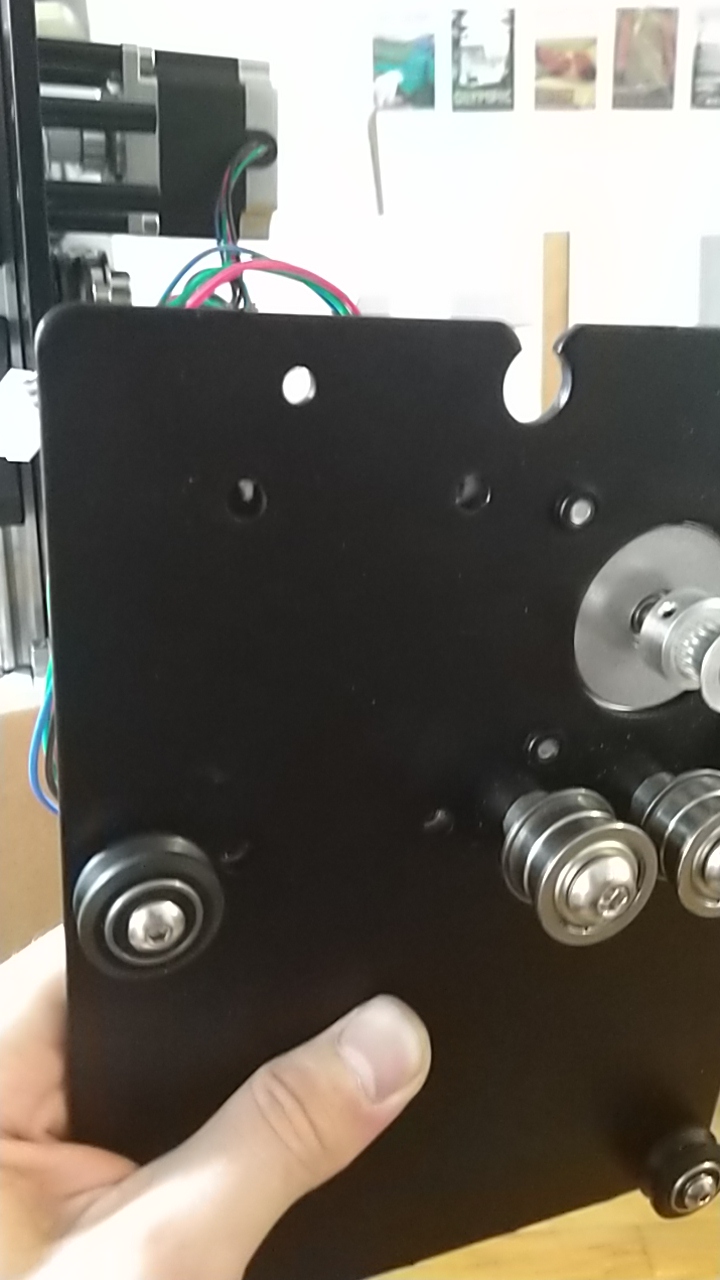
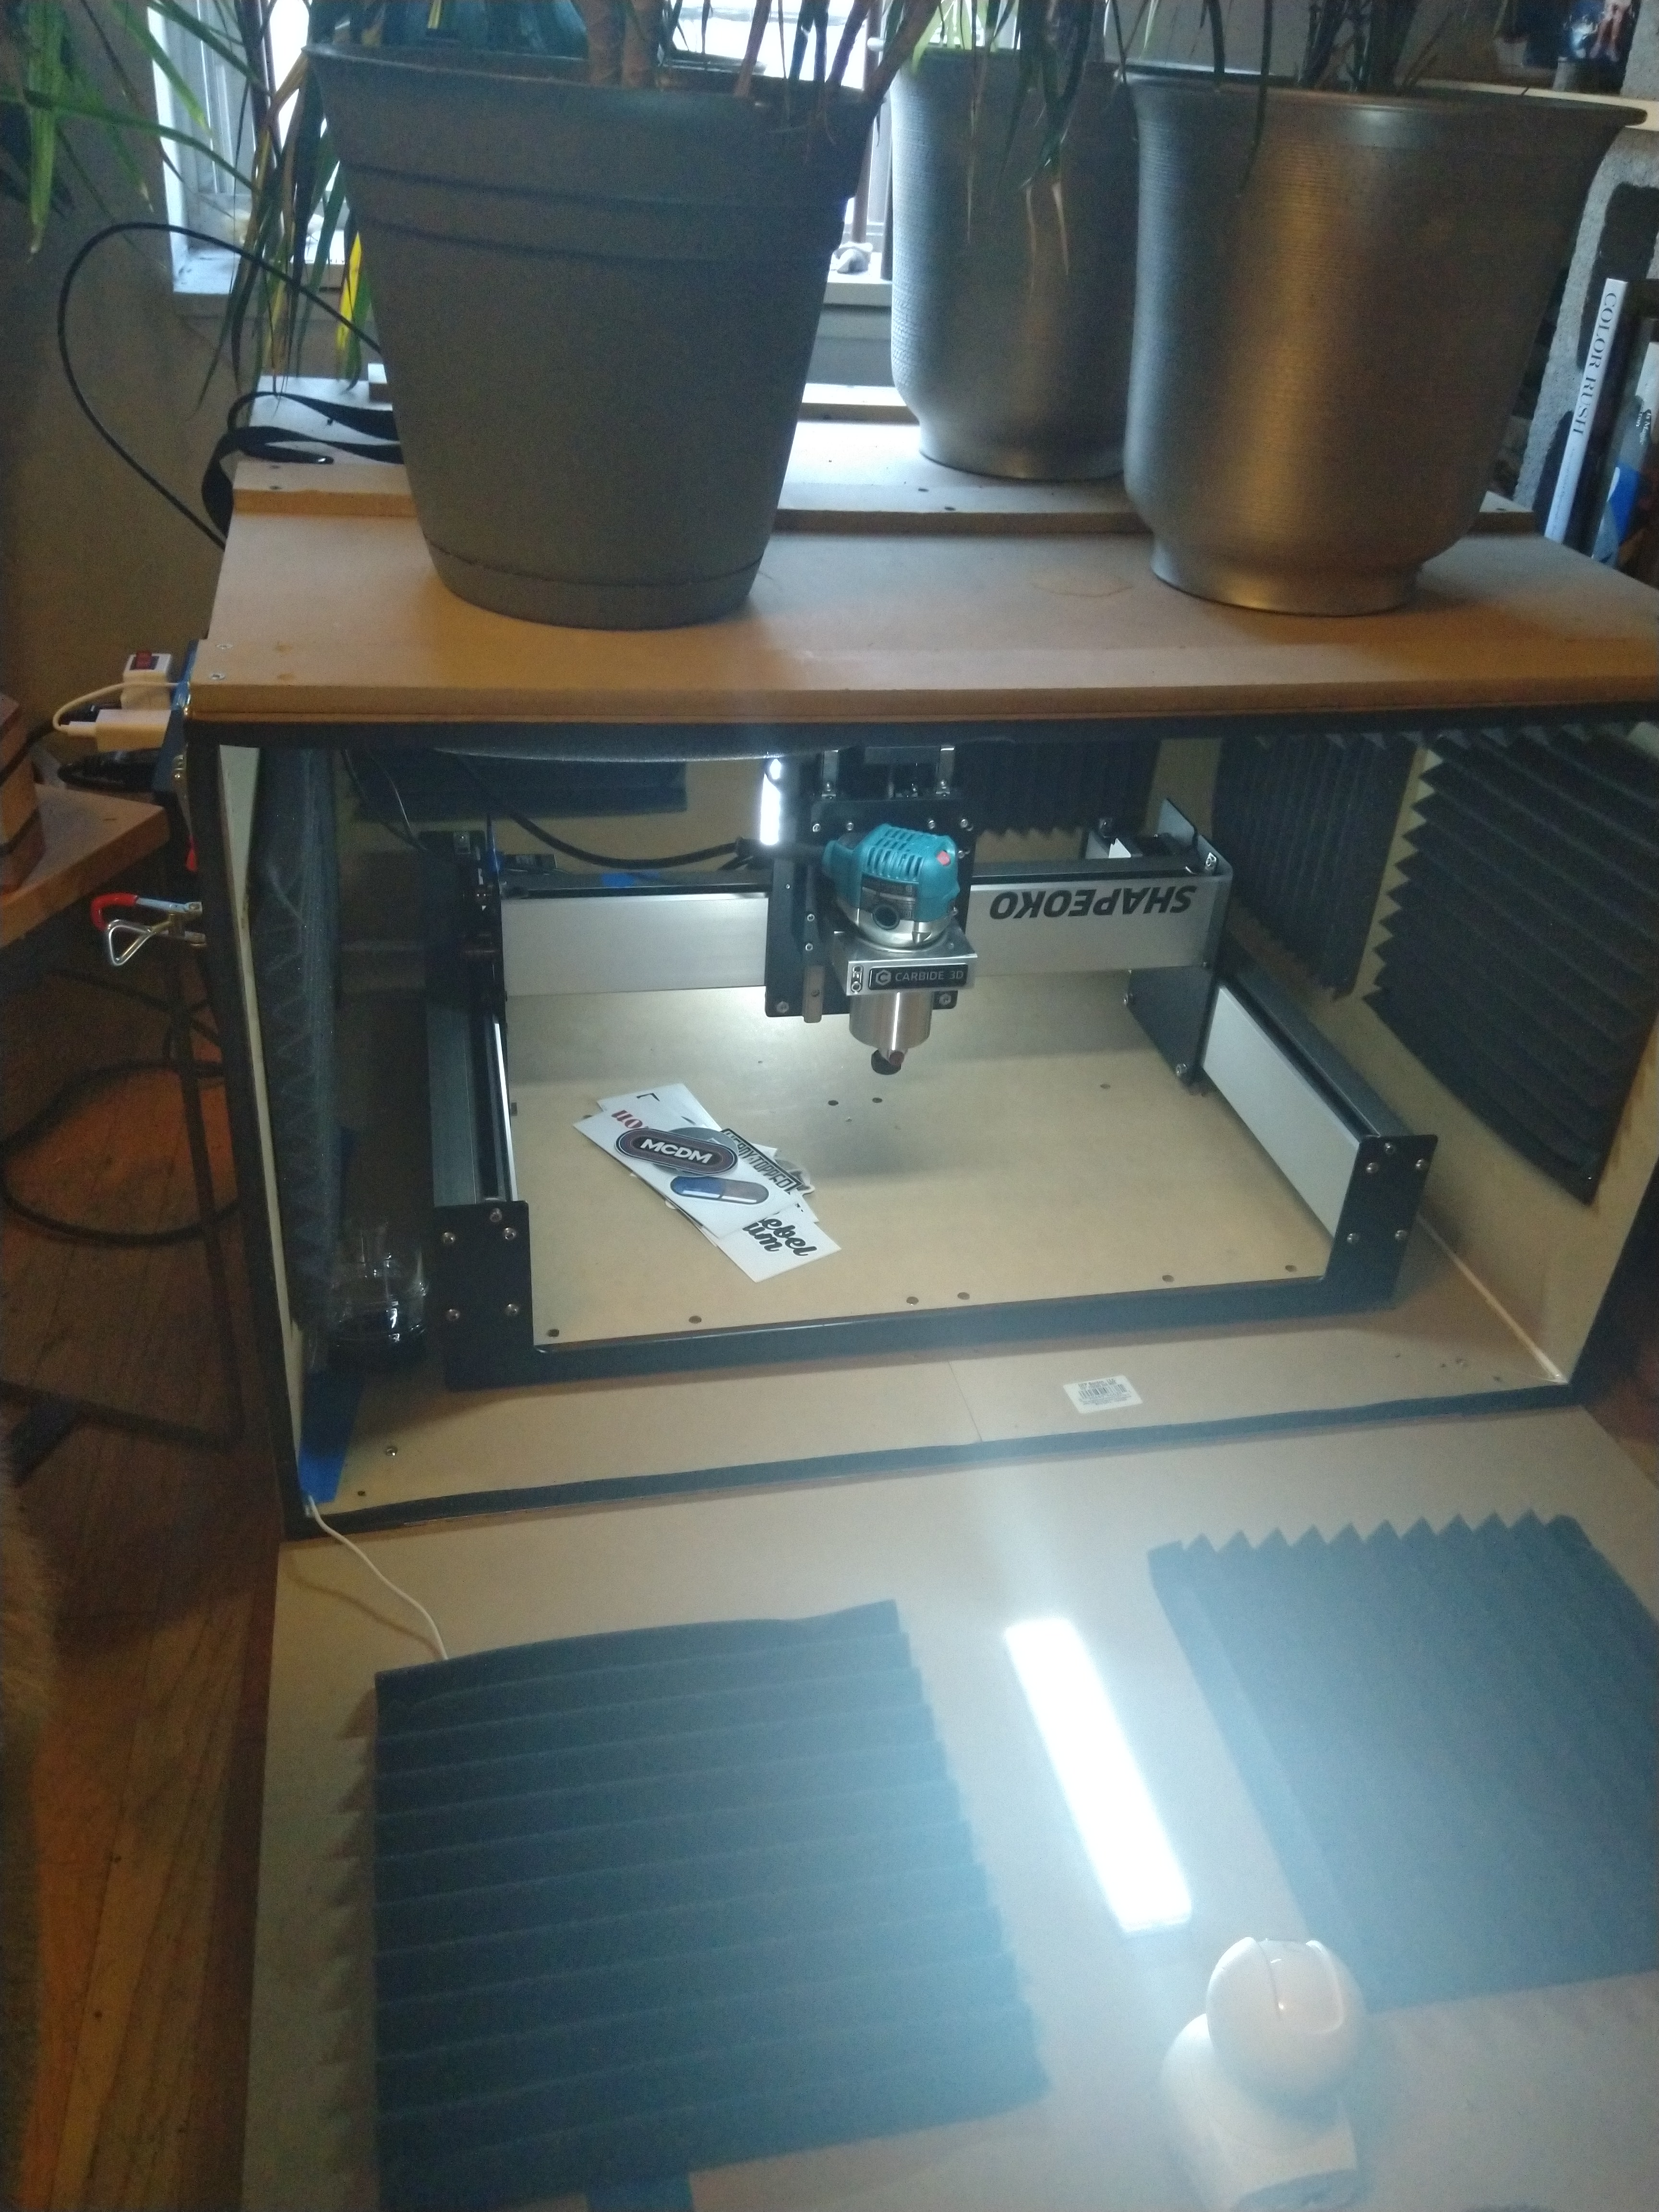
Took a little bit to get everything together but here it is! Had to open up all the holes in the steel plates to 9/32 from the initial 1/4in. Still need to tram it and make sure everything is square but it moves smoothly with minimal strange noises. The X-axis logo was applied upside down so I had to flip the rail over in-order to properly mount the electronics box. Crashed it twice while I was trying to figure out the software but I think I’ve figured it out now.
Good to hear you are up and running!
I must say it took me a second to figure out where the Shapeoko was in the first pic, it’s a ninja Shapeoko
Have you planned to integrate some kind of dust collection in/besides that enclosure? For some jobs, it’s ok to let the chips accumulate and clean-up afterwards, but often the amount of chips/dust generated is such that dust collection becomes mandatory. Let us know how this setup works out for you !
The first few projects I’m planning to do hopefully won’t need dust collection but down the road I’ll need to get a small shop vac and run it through the enclosure. I’m sure I’ll be tweaking and modding that enclosure for awhile to figure out how to optimize it. I like the idea of the camera inside, has a very sci-fi vibe, but I’m probably going to end up putting a window in the front if it turns out to be more trouble then it’s worth.
While your stuff looks great, I don’t see any way you’re going to do much cutting without creating a lot of “dust.” You can’t even see the dust until it accumulates. That dust has to go somewhere, and the practical matter is that it will eventually go everywhere.
Not trying to be pessimistic; just something you have to consider before you start cutting.
Agreed. The only tools which don’t create dust are a marker (as in “Hello World”) or a drag knife, maybe a drag engraver, but I’d still want to vacuum up afterwards.
The first project, after hello world, is one where you need dust collection the most. Making a waste board for threaded inserts makes more dust than you’ll think could have possibly come out of those little holes. I made mine before I had my Suck-it dust boot and chased the router with a shop vac and still ended up with a layer of nasty fine dust everywhere. With the dust boot operational running MDF is no issue the shop stays pretty much dust free. Even with dust collection masks are important, especially for MDF and exotics.