Several years ago I made a really crappy sous vide heating circulator thing with some plastic boxes, a dremel, and some nuts and bolts and brackets from hardware store. (The idea is you heat up a bunch of water to “done” temperature for your food and then dump the food (usually meat), vacuum sealed, into the water so the entire thing gets perfectly cooked. My original build was super janky, and after 4 years of use is cracked, melted, rusted, falling apart, and generally in really bad shape:
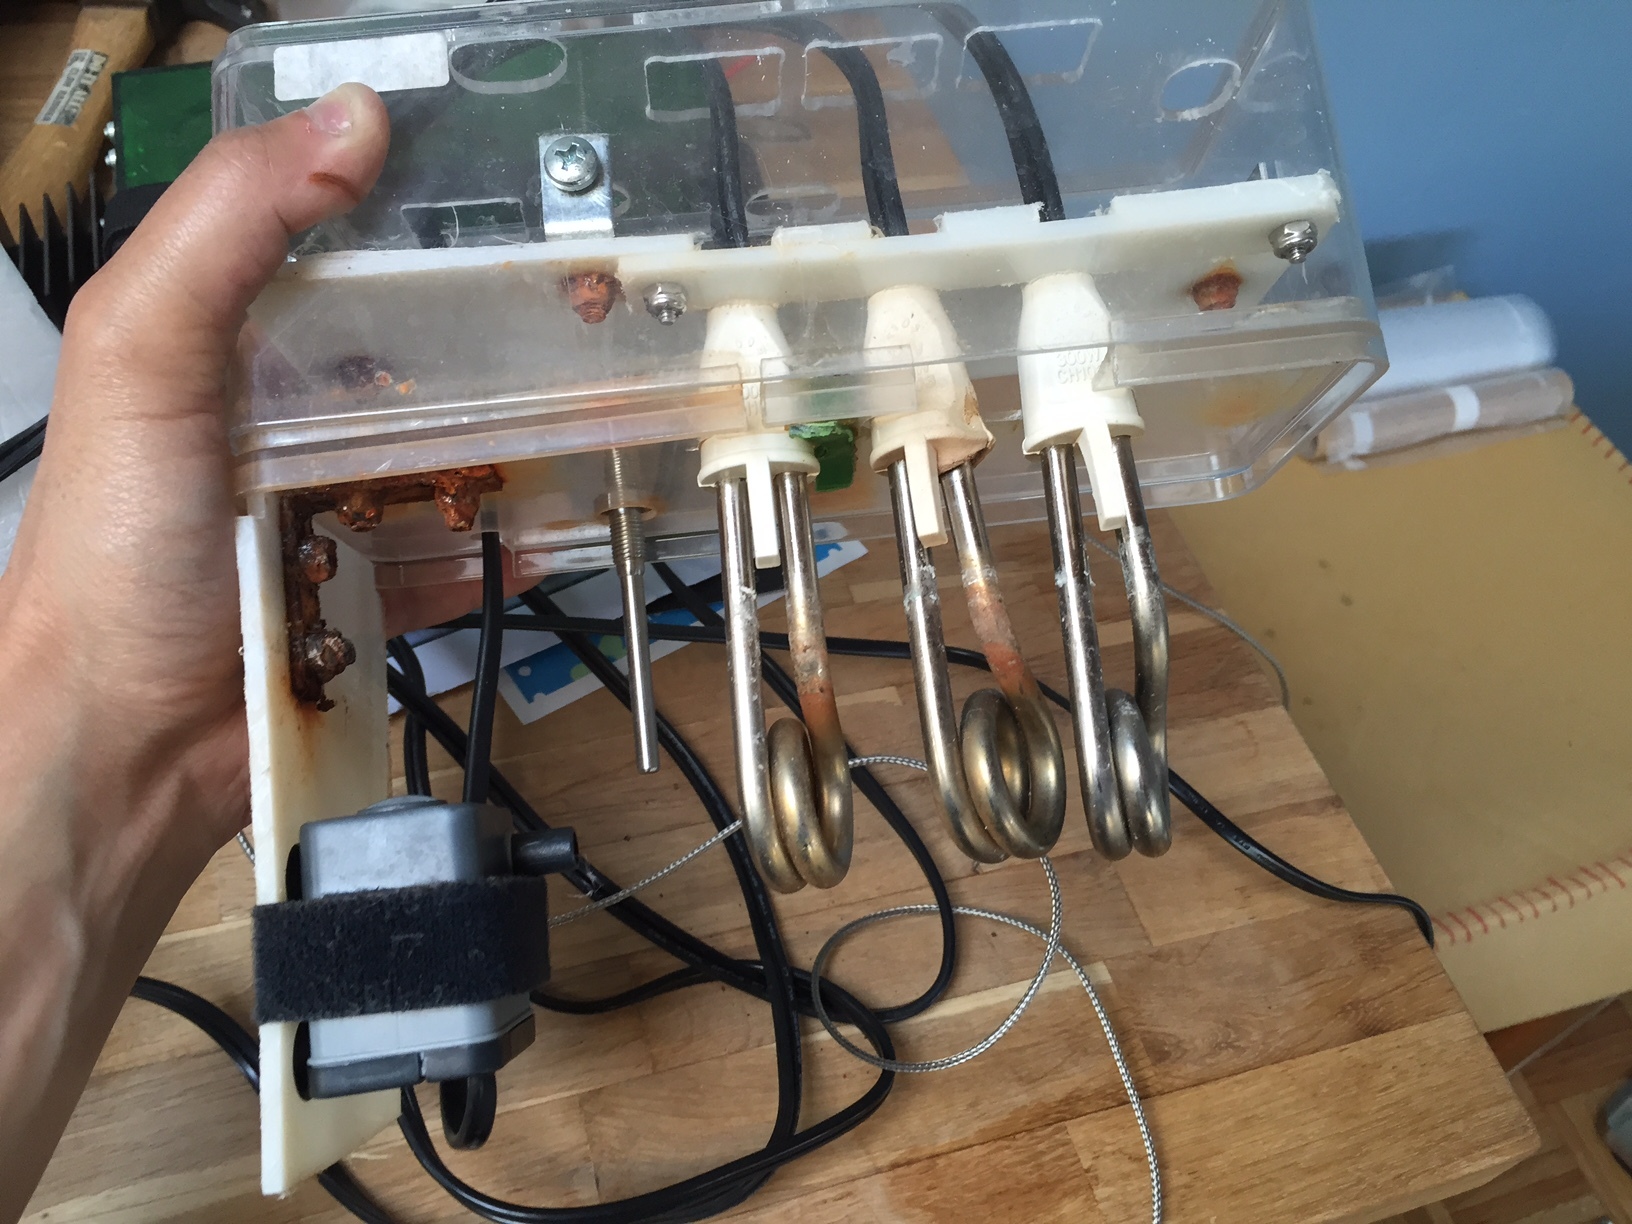
The box sits on top of a lidded tub of water, and a bunch of components extend downwards through a hole in the lid into the water - 3 heater coils, a thermocouple for measuring the temp, and a pump for circulating the water.
I thought it would be fun to design a new, slightly less janky version and mill it out with the Nomad. I wanted to do it with no nuts or bolts or anything else; just milled plastic.

This required some double-sided milling, and for two of the pieces, 3-sided milling(!). The first thing I did was make a little guide so I could easily align my stock (no flip jig yet!). I had tried the 3-pin method before, but 1) I had a hard time really getting my stock square to the machine with the pins for some reason and 2) I was unable to machine the bottom and left sides of the stock when using the pins because the pins were in the way. So I made an L shaped guide that fit snugly on the pins, and I can wedge the stock tight against the guide, and then remove the guide so that the stock is really square and there are no pins touching the stock.

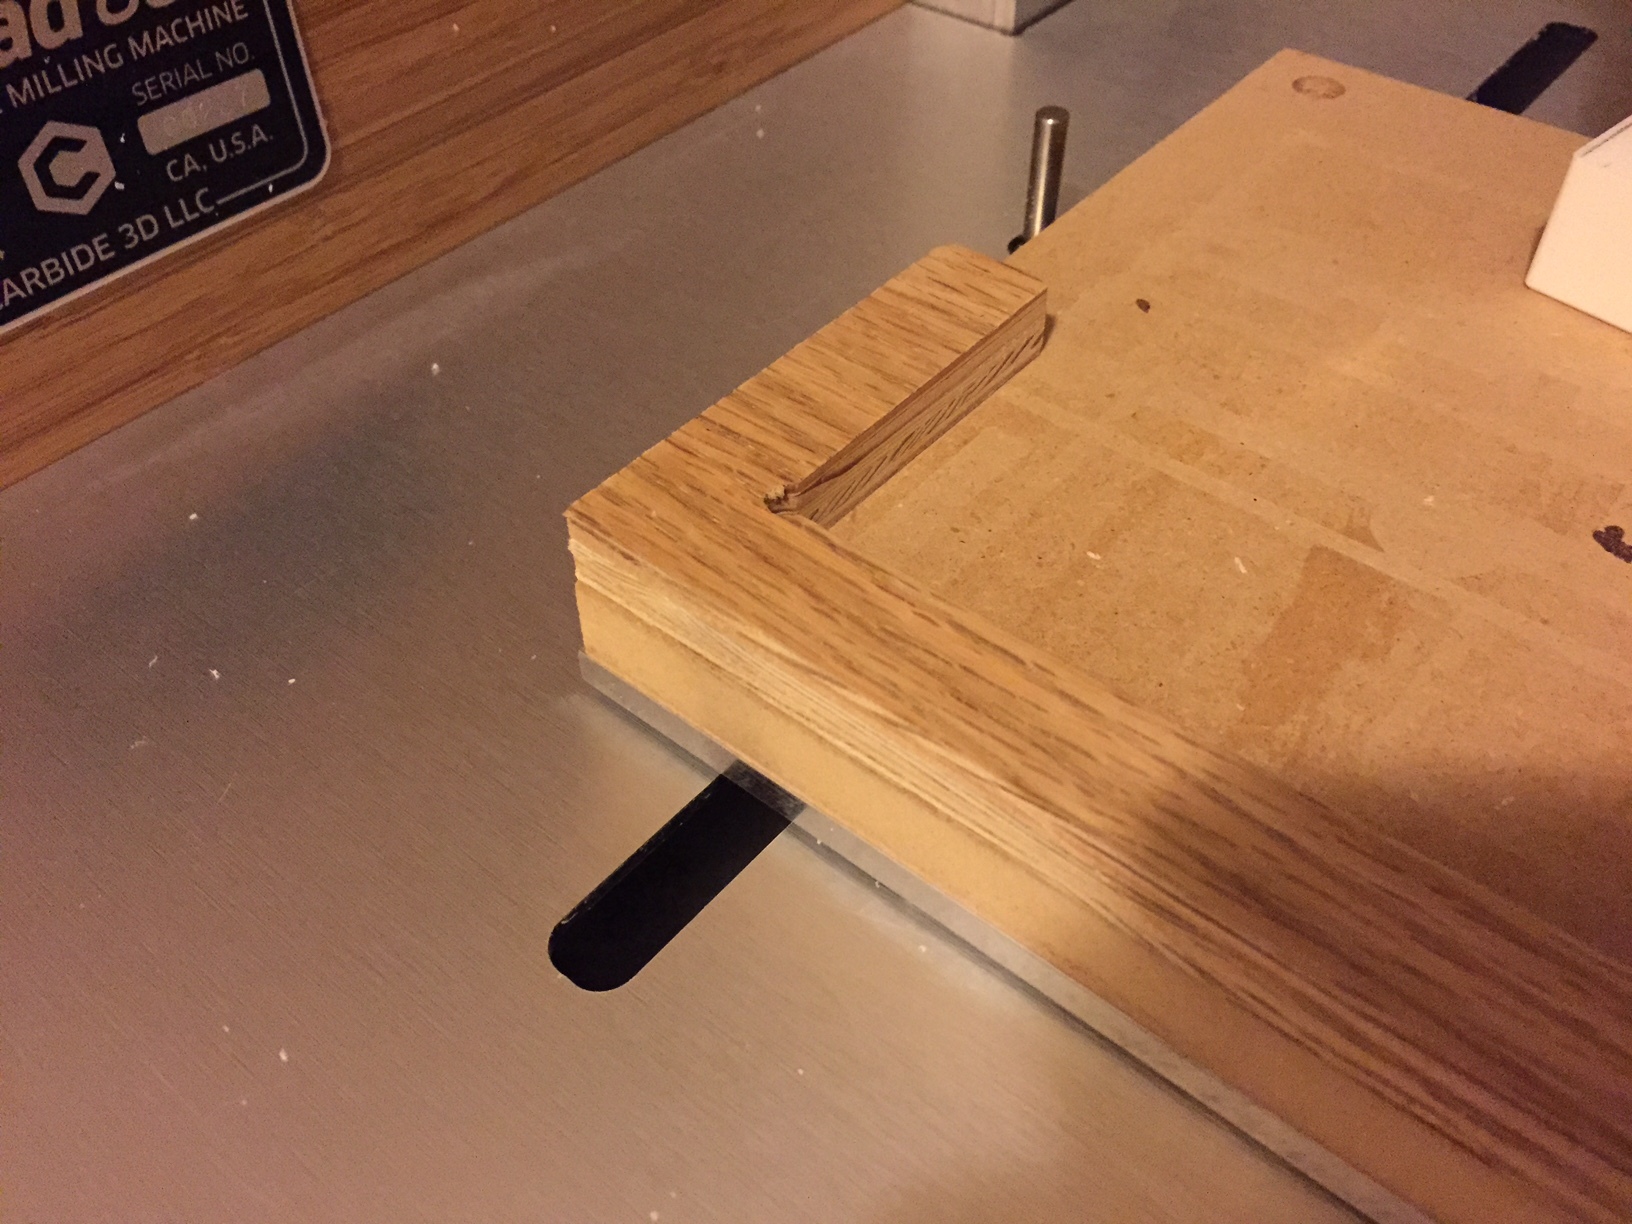
I have no idea if this was a good idea or not but it worked for me.
Anyway, here were some inprogress pics:
Milling a few pieces from the same block:
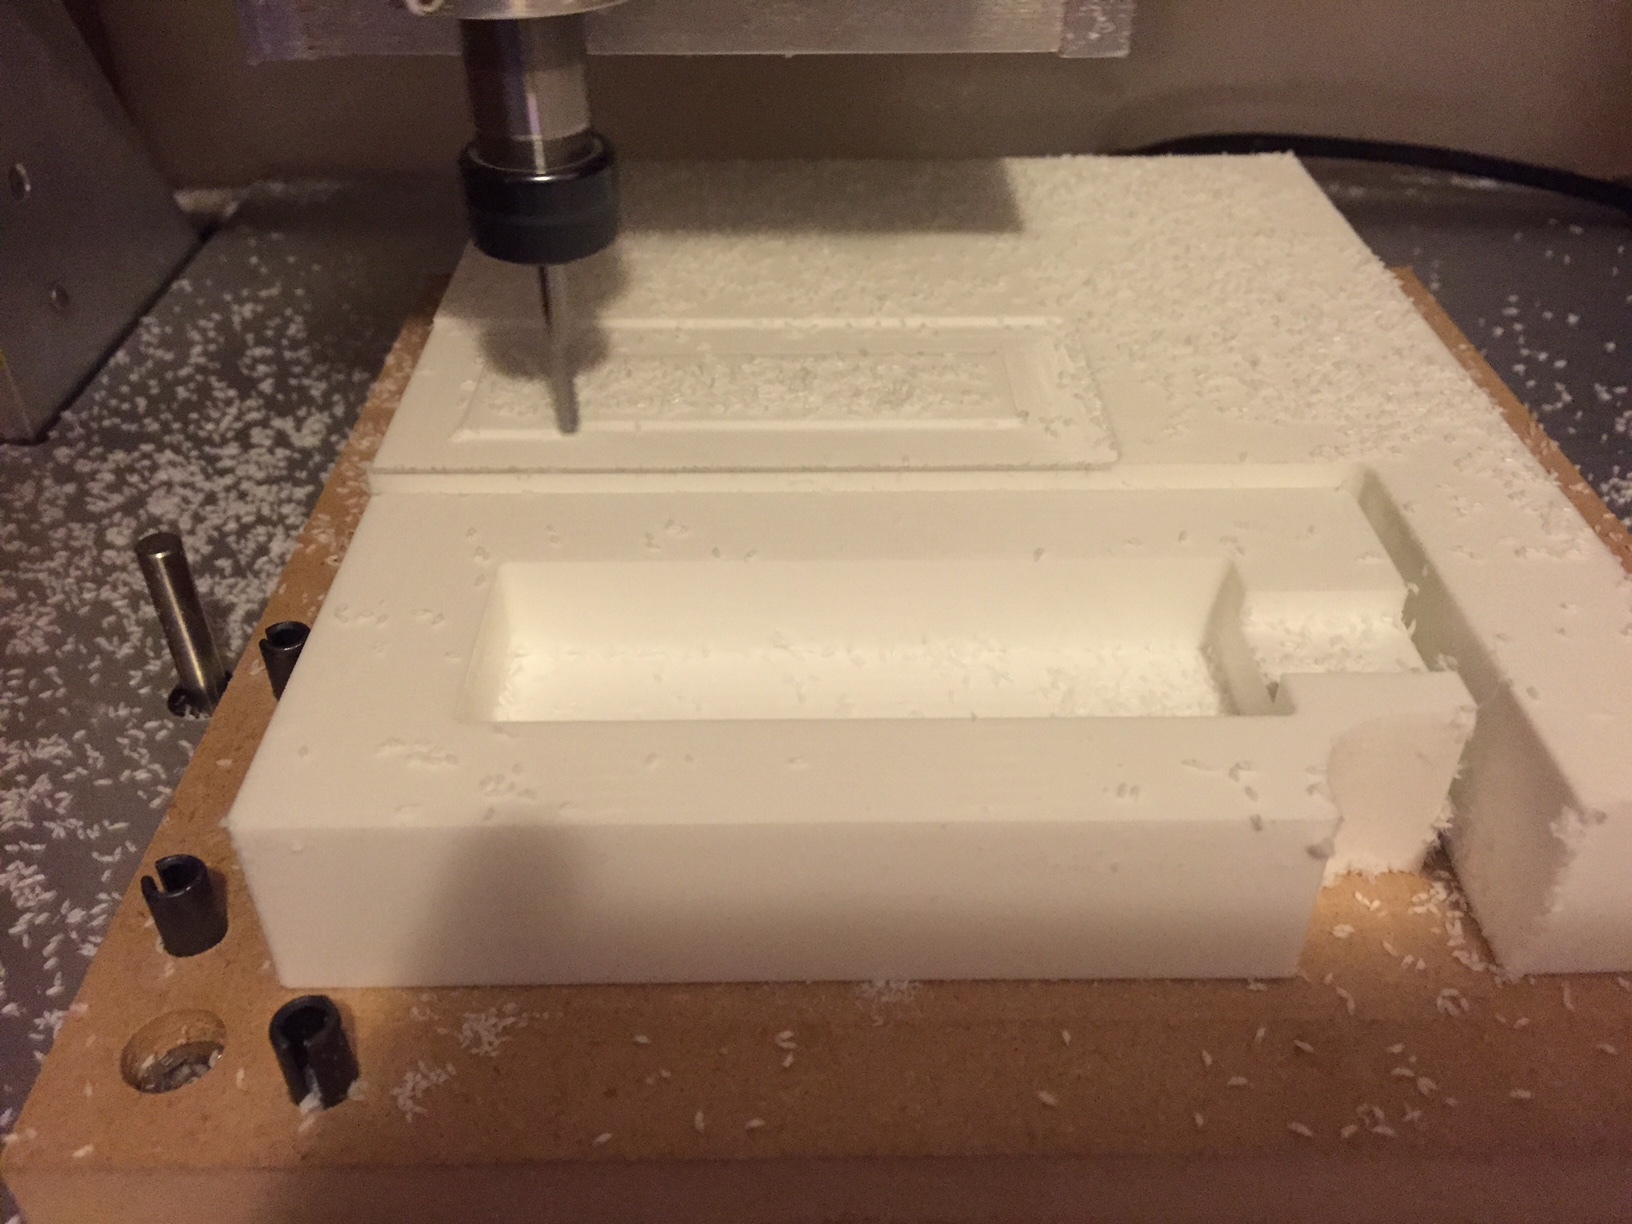
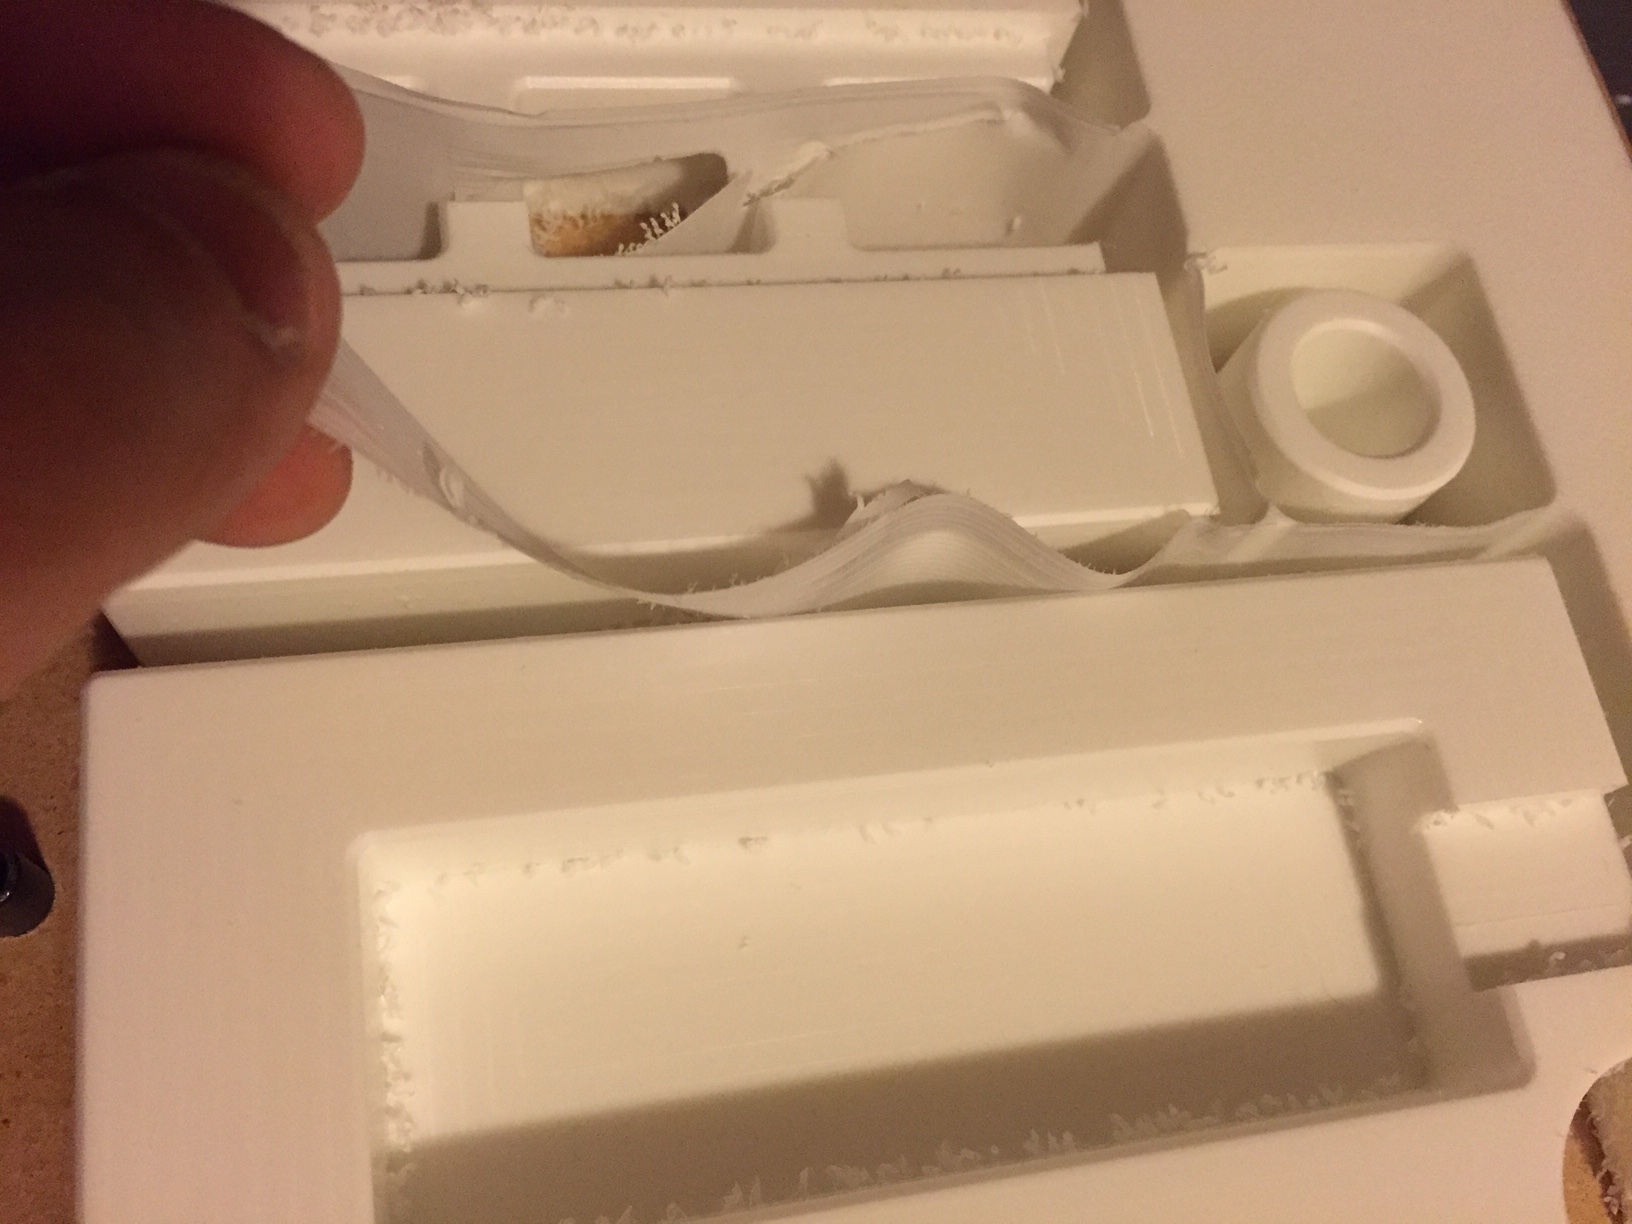
Random interesting bit: I separated each piece to be milled with .25" of space, so with a .125" cutter cutting a border around each piece should have completely milled away the space in between, but my flat end mill I measured to actually only be ~.1235", and indeed, the Nomad left these .0015" uncut ribbons in between all the pieces. Pretty cool actually!
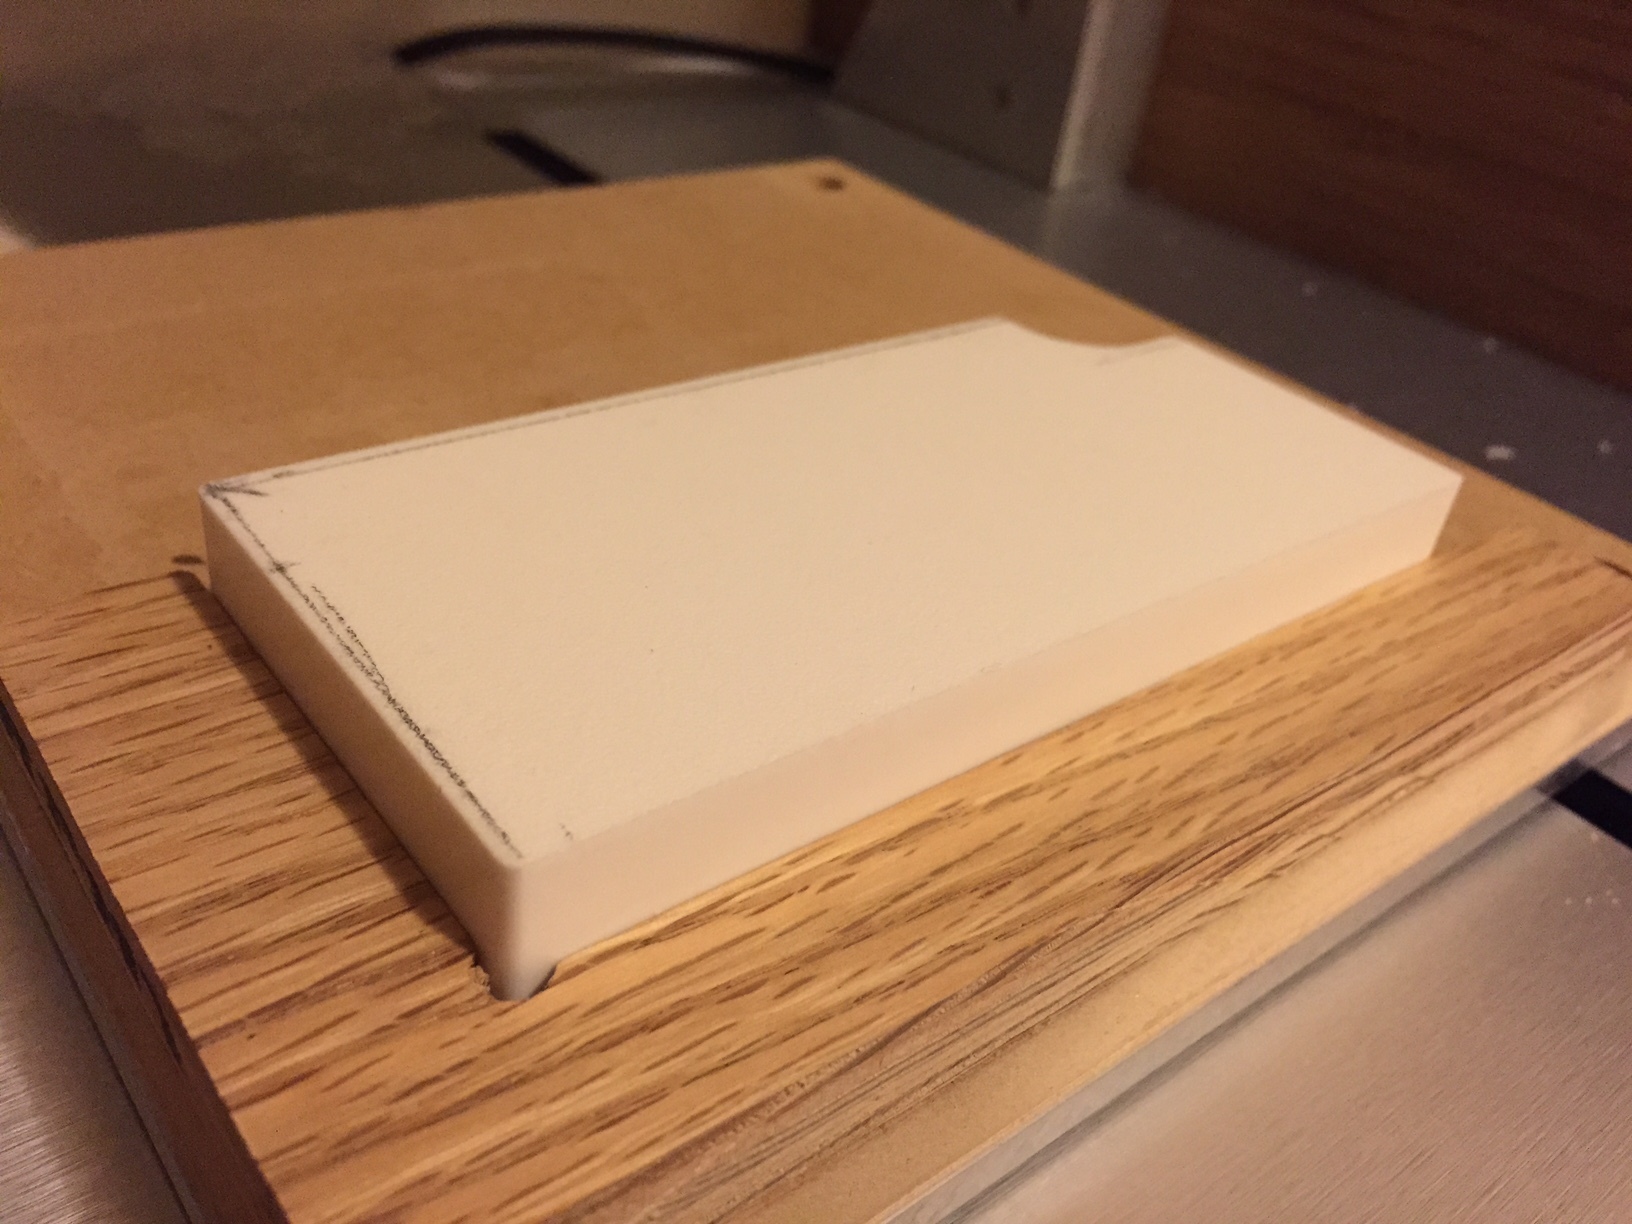
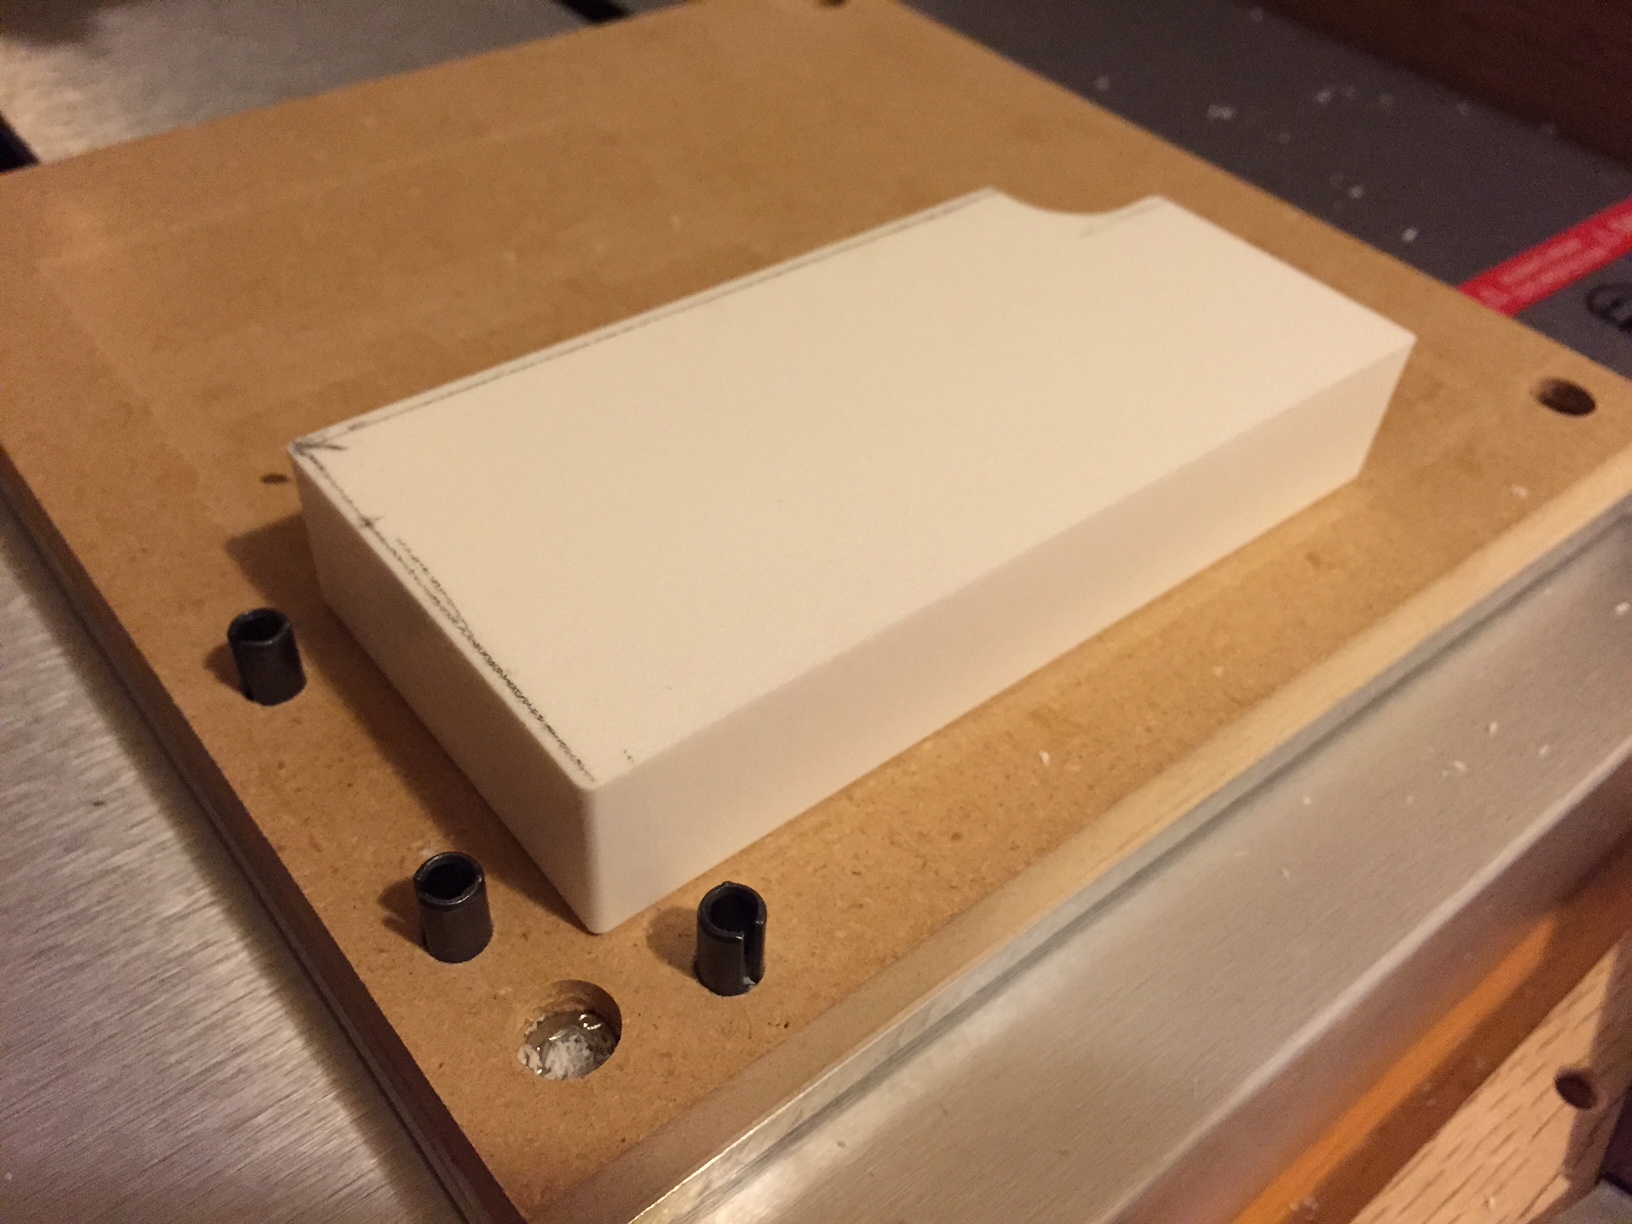
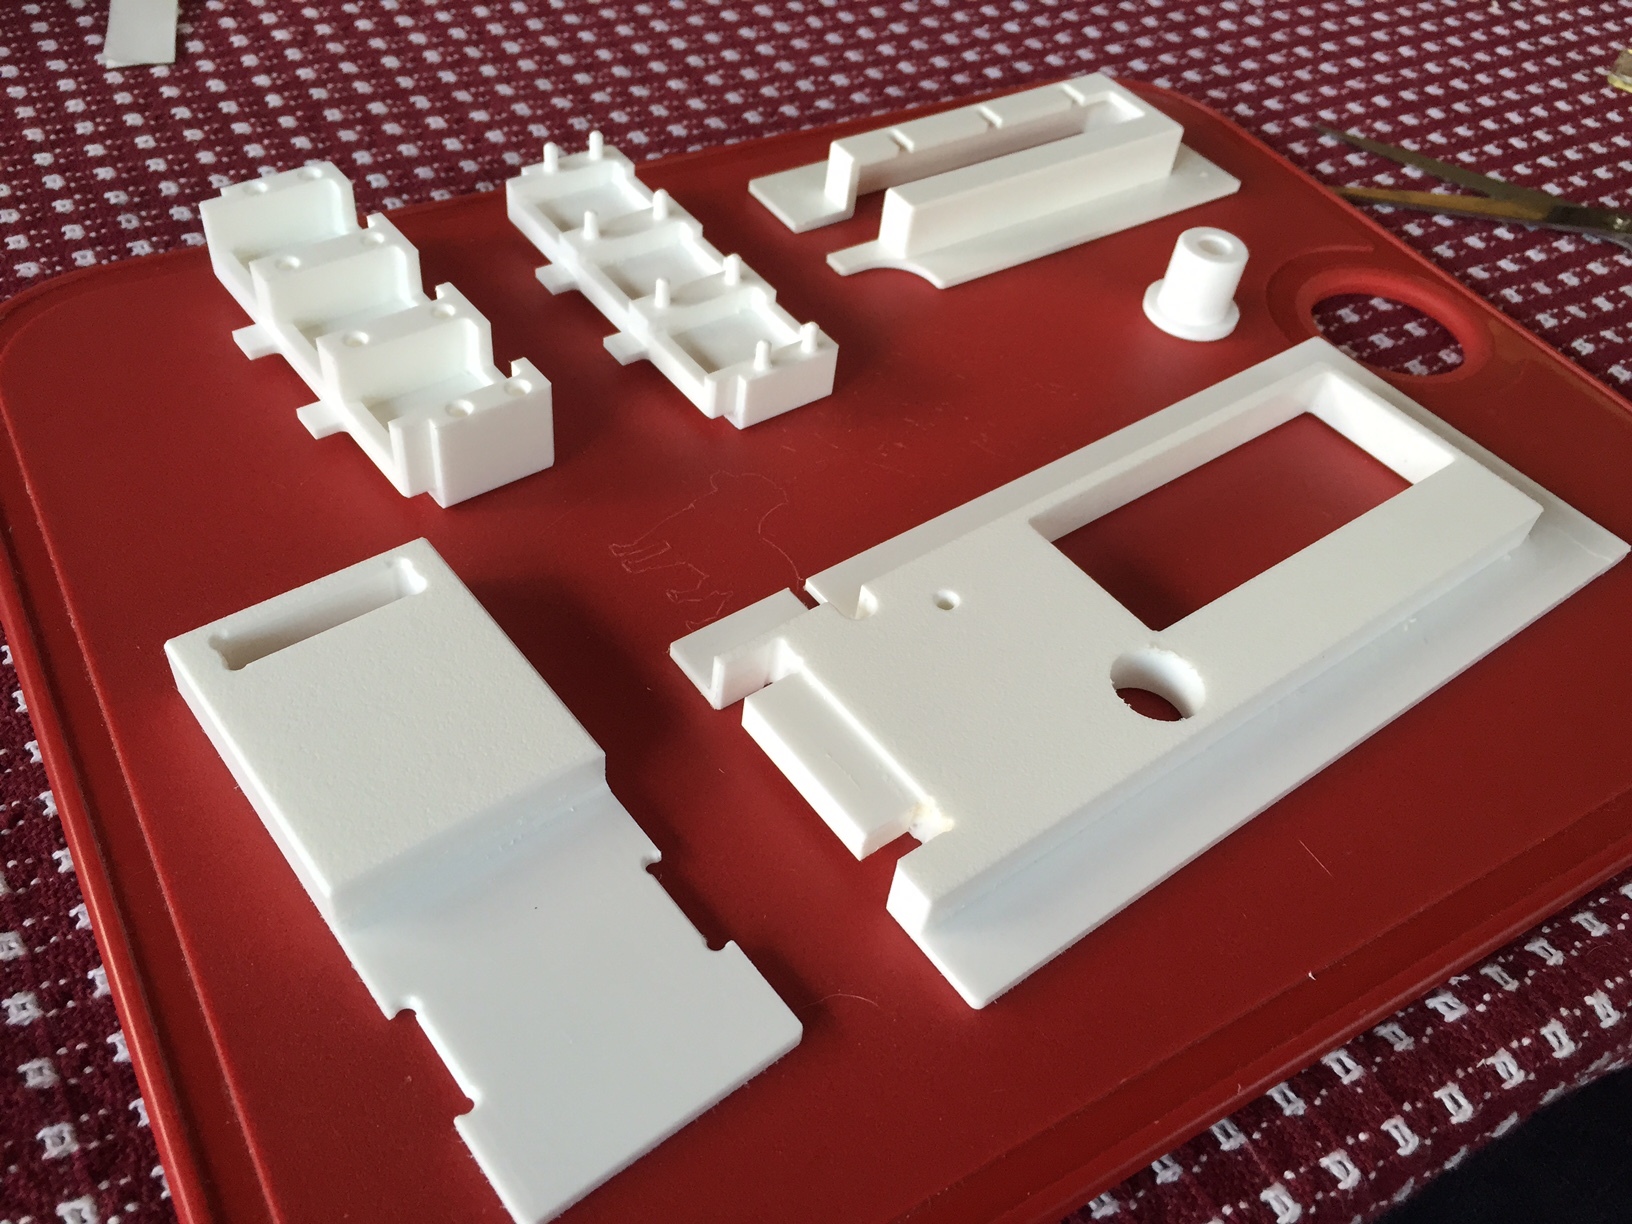
4 of the pieces, one side milled:

If you have a CNC milling machine, you might as well bevel everything for fun:
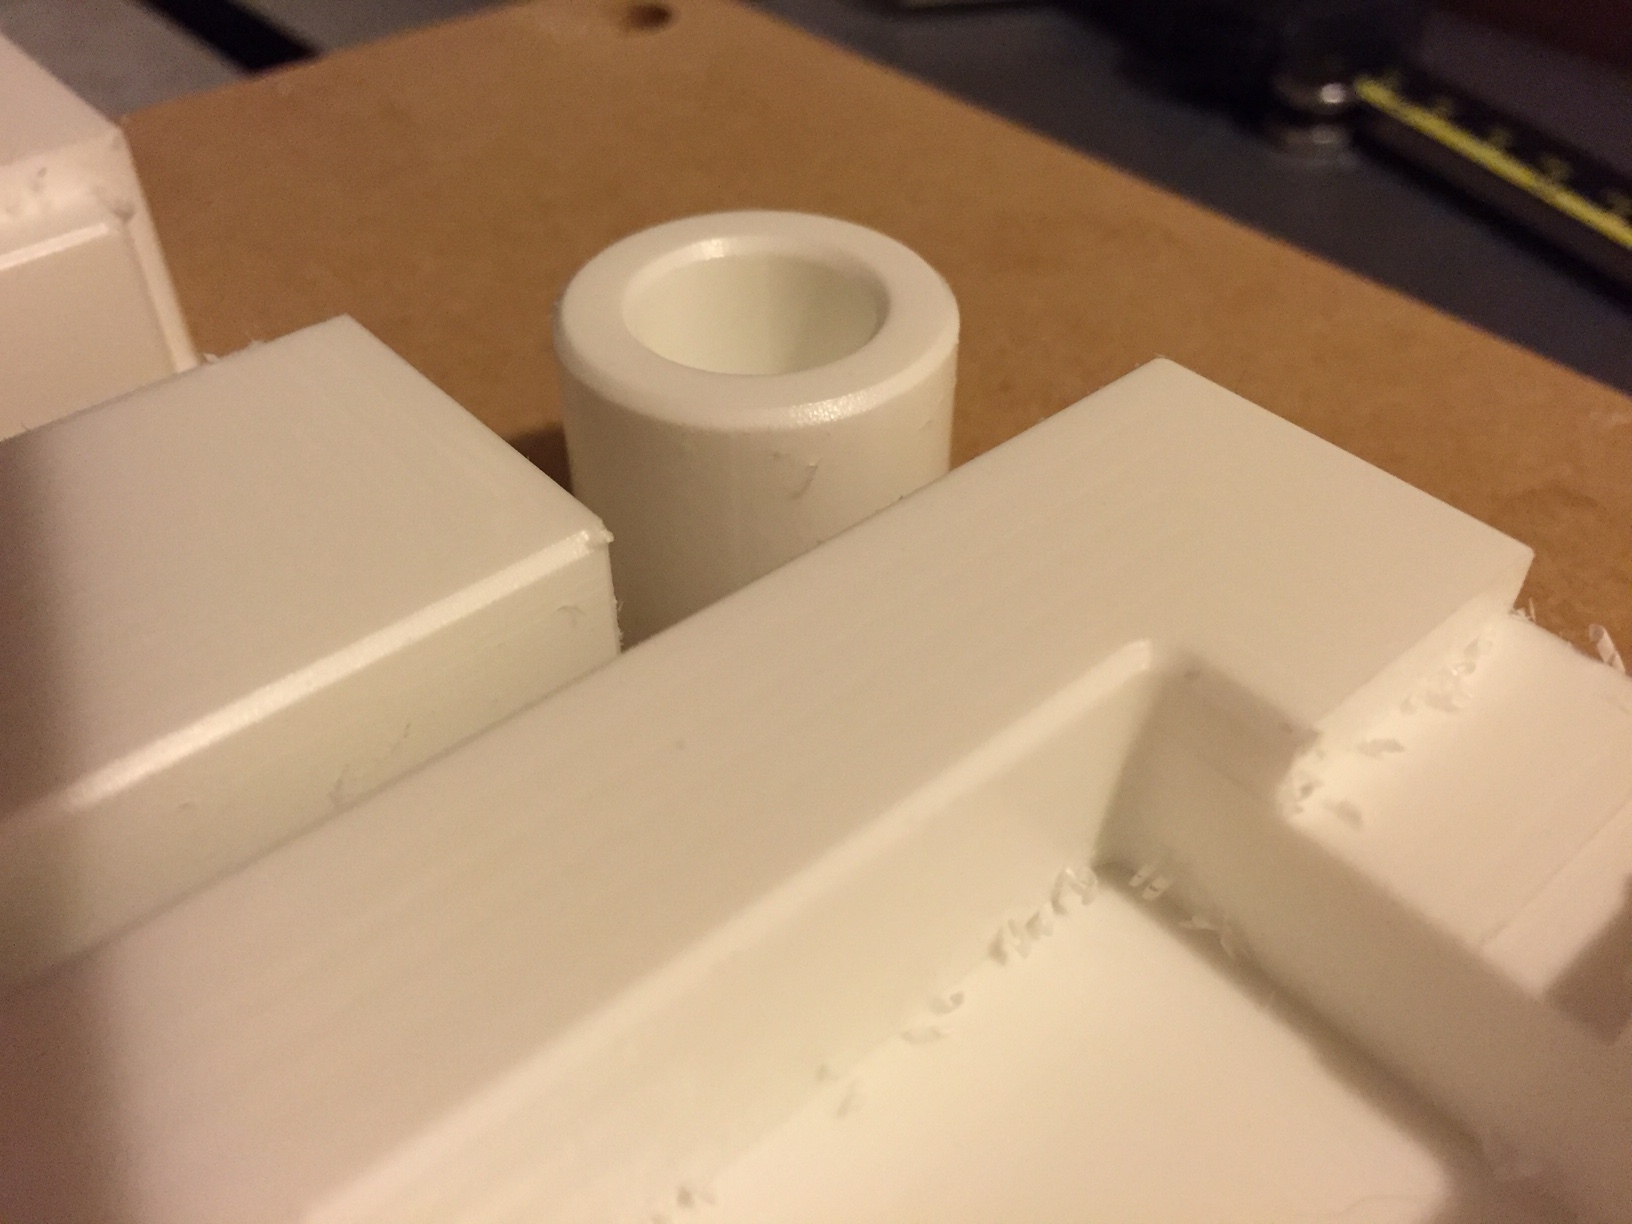
All the pieces, fully milled on 2 or 3 sides, plus bonus etching of dog on cutting board:
Dem gratuitous rounded edges and bevels:

First two pieces with heaters:

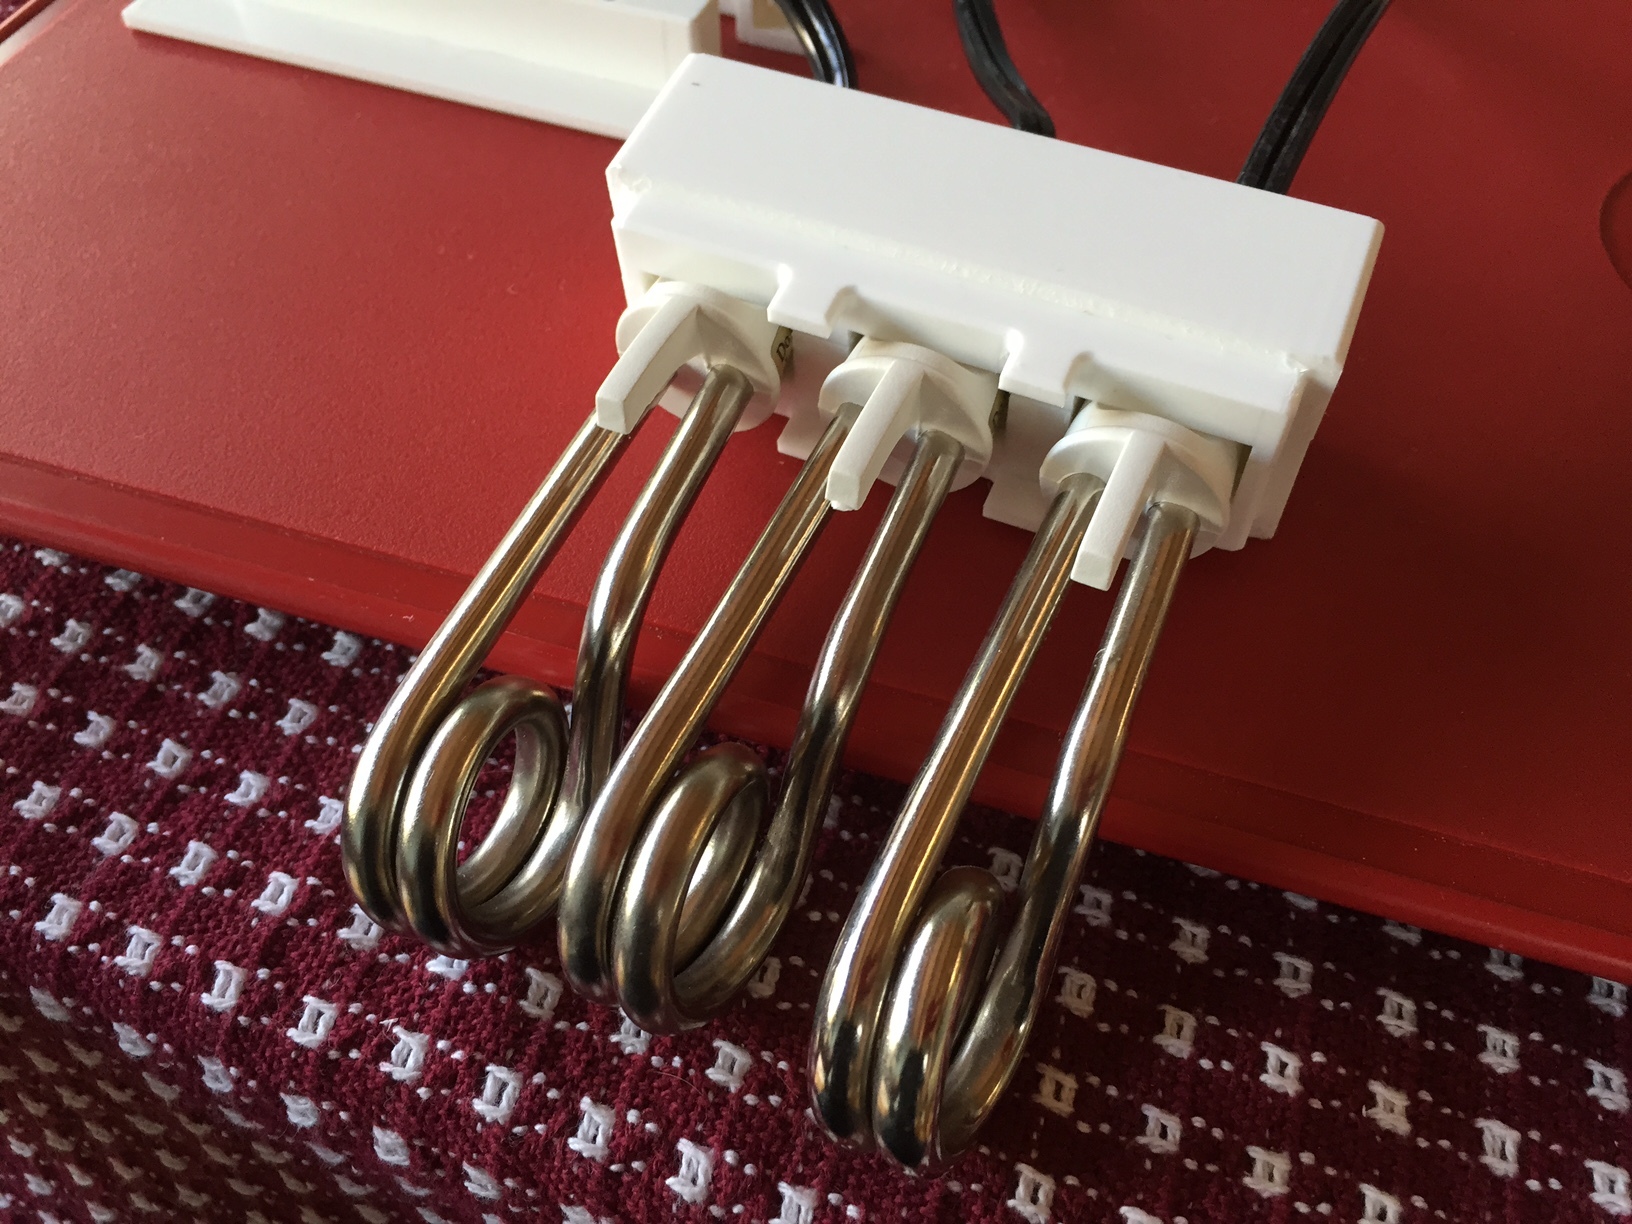
Add the third (in retrospect, this piece not entirely necessary, but it holds the heaters safely above the water even if the first two pieces aren’t fitted well):
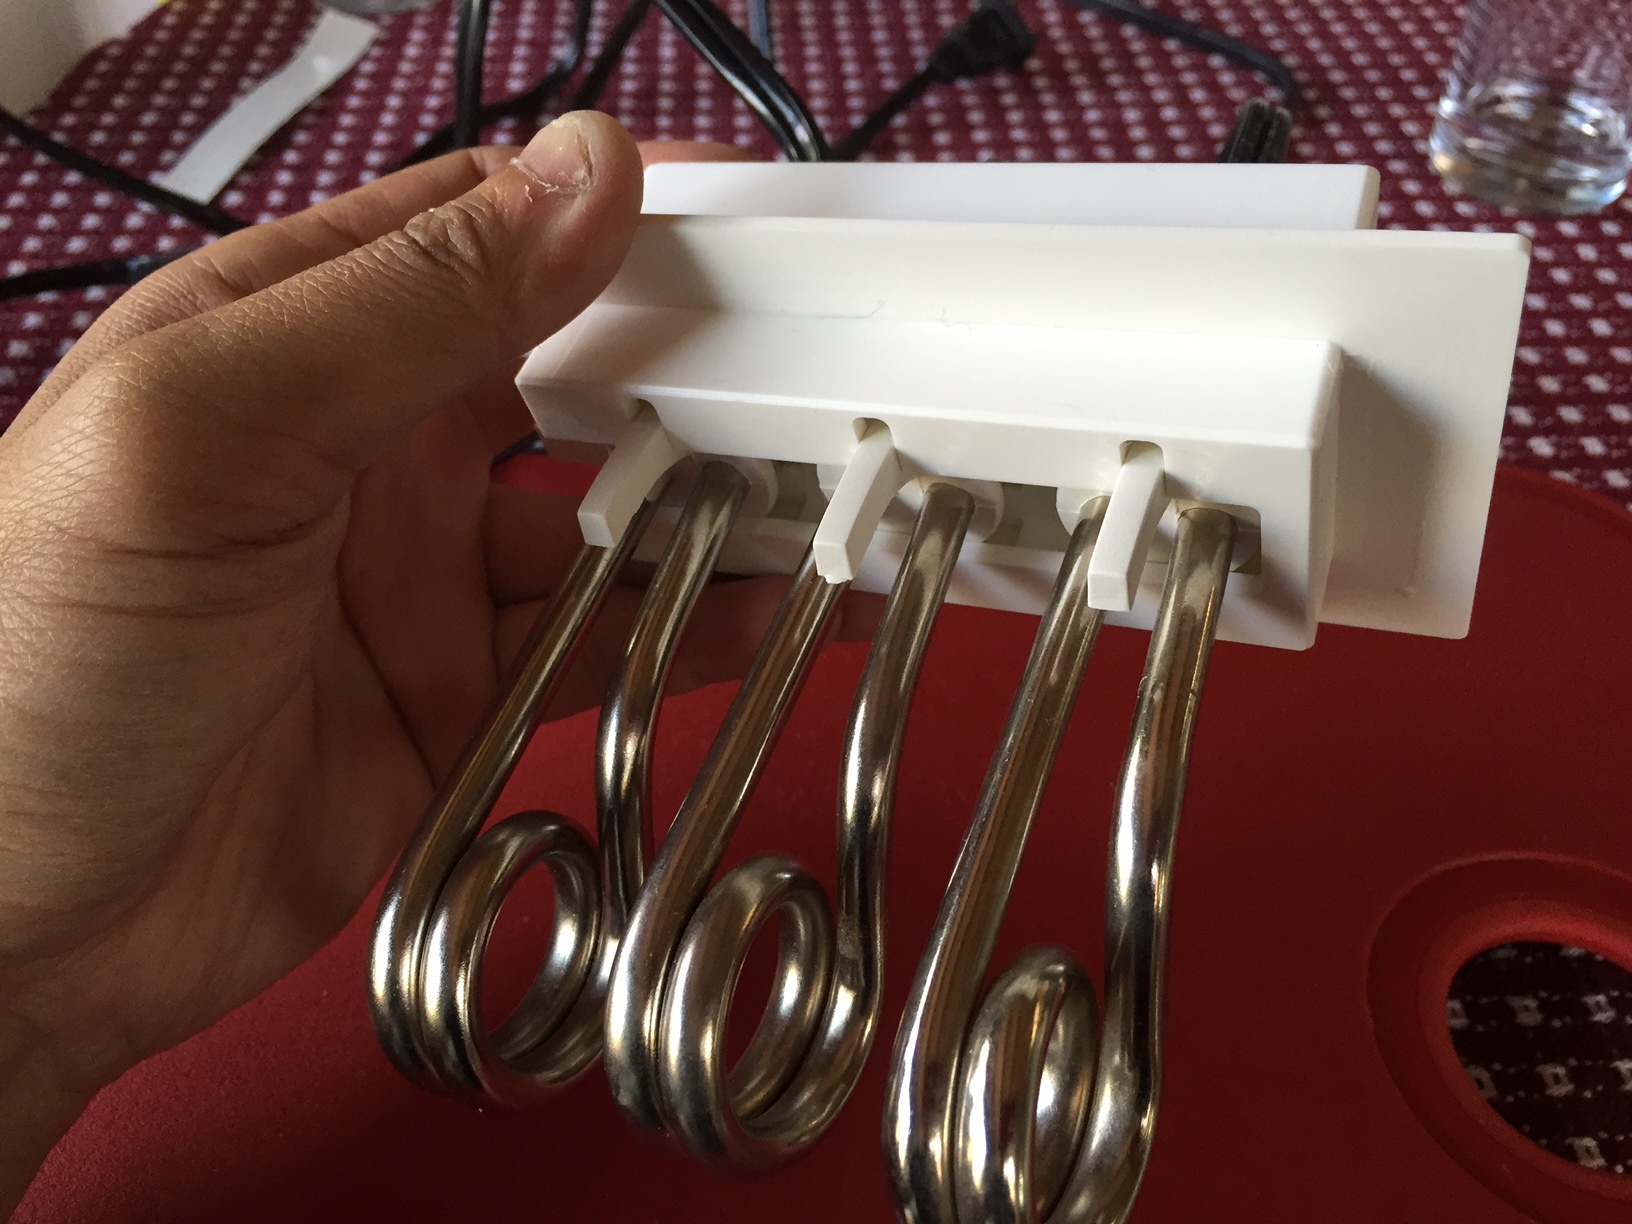
Add the base:
And the thermocouple socket and pump mounting plate:
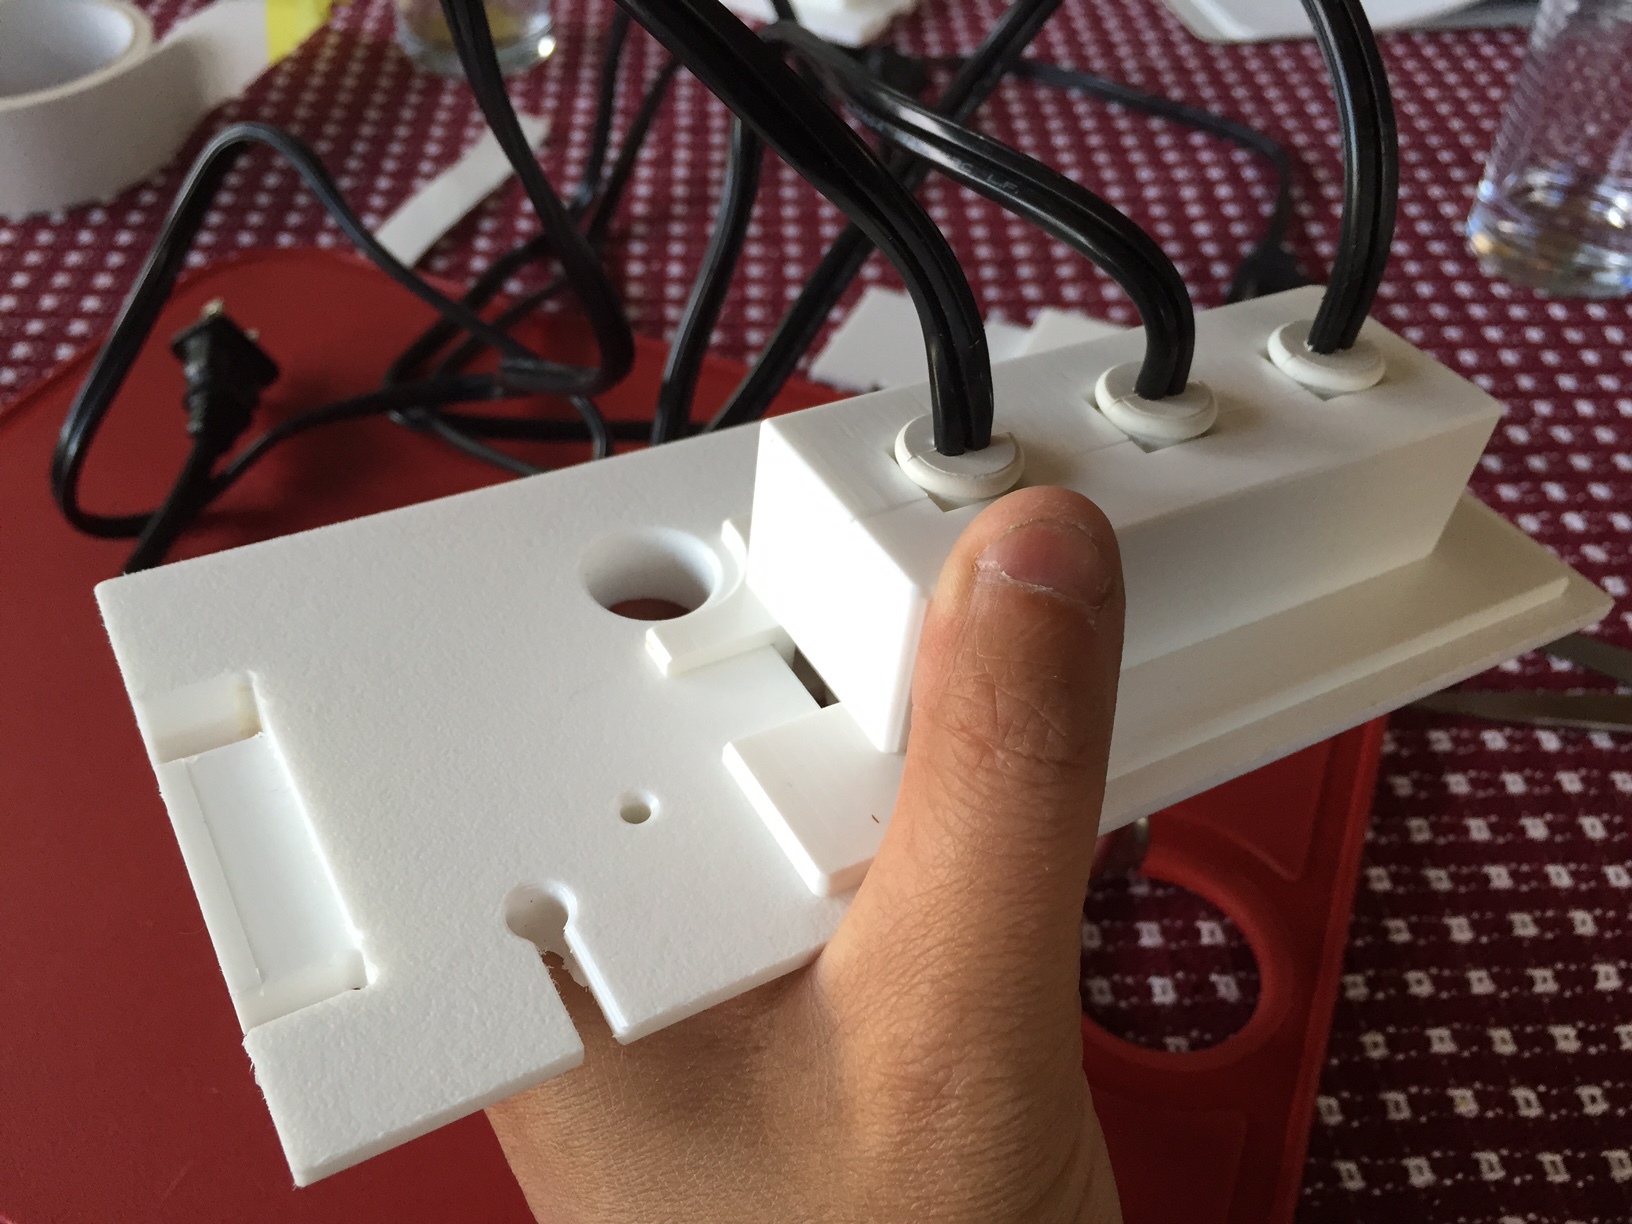
All put together:
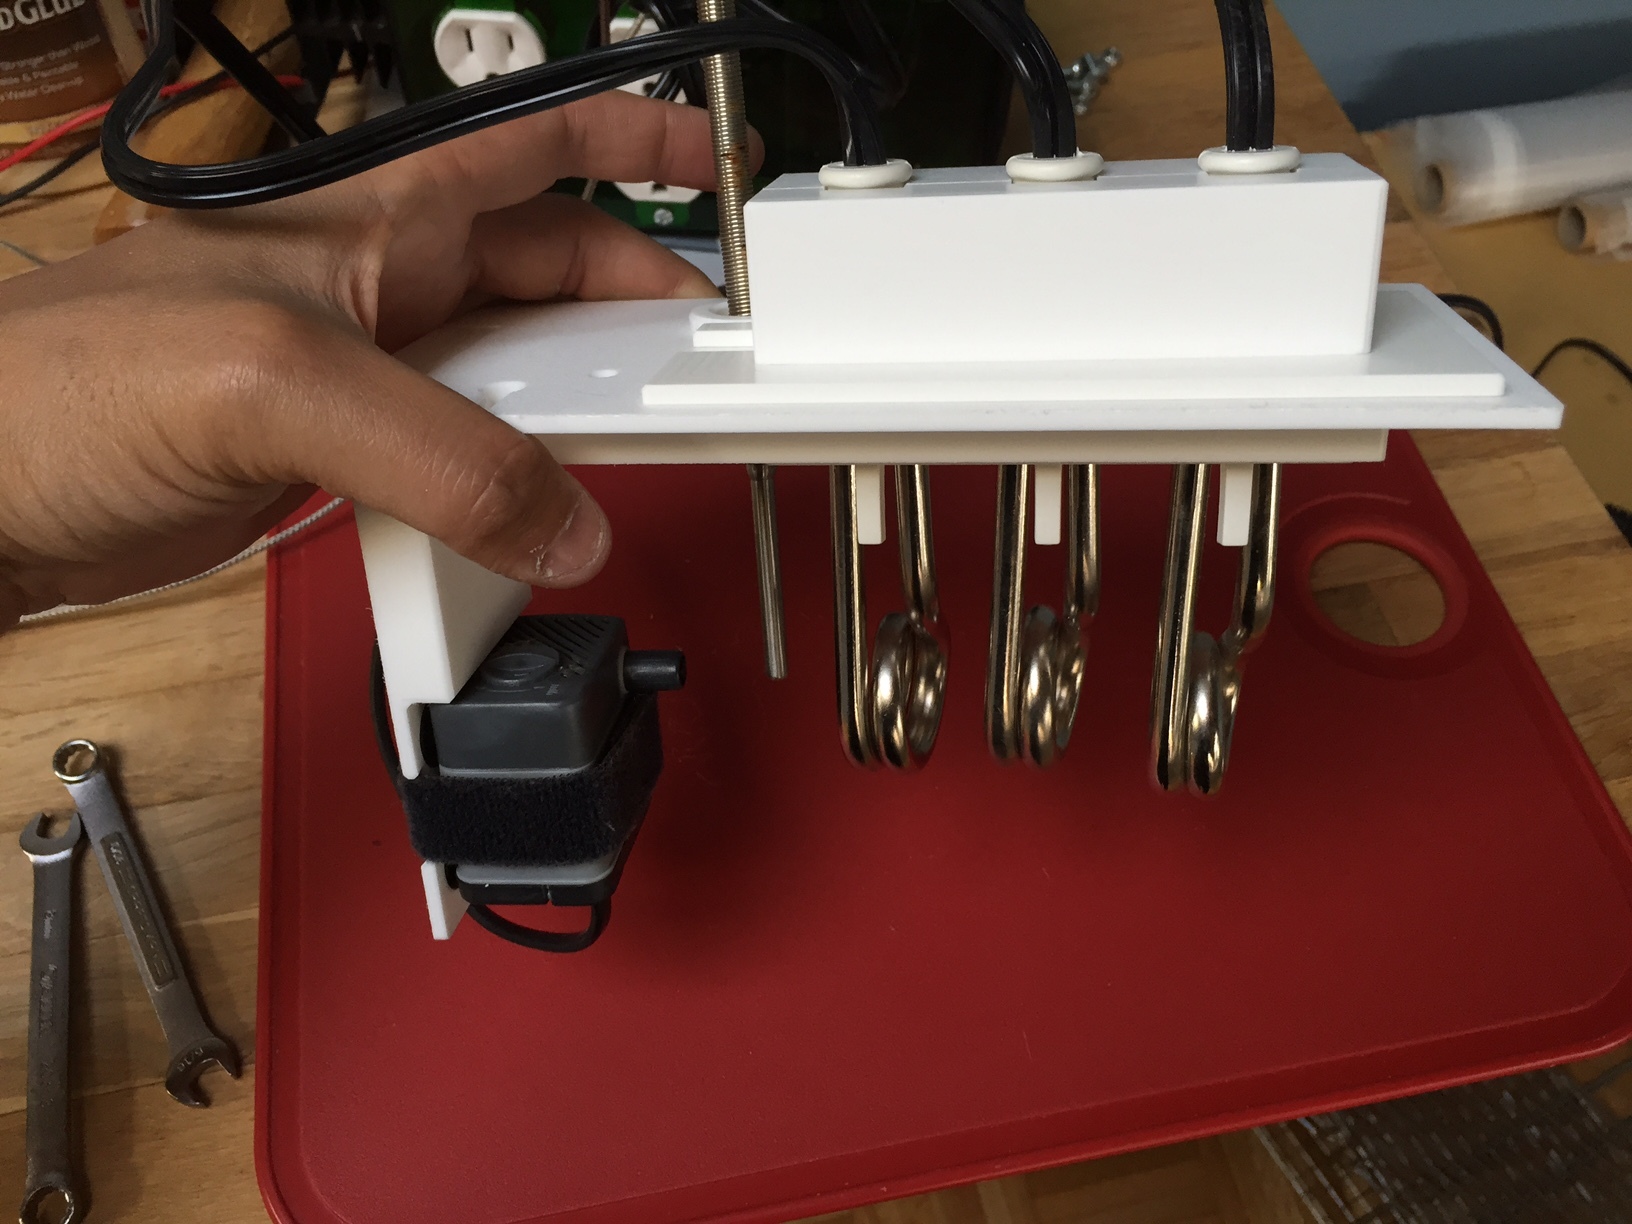
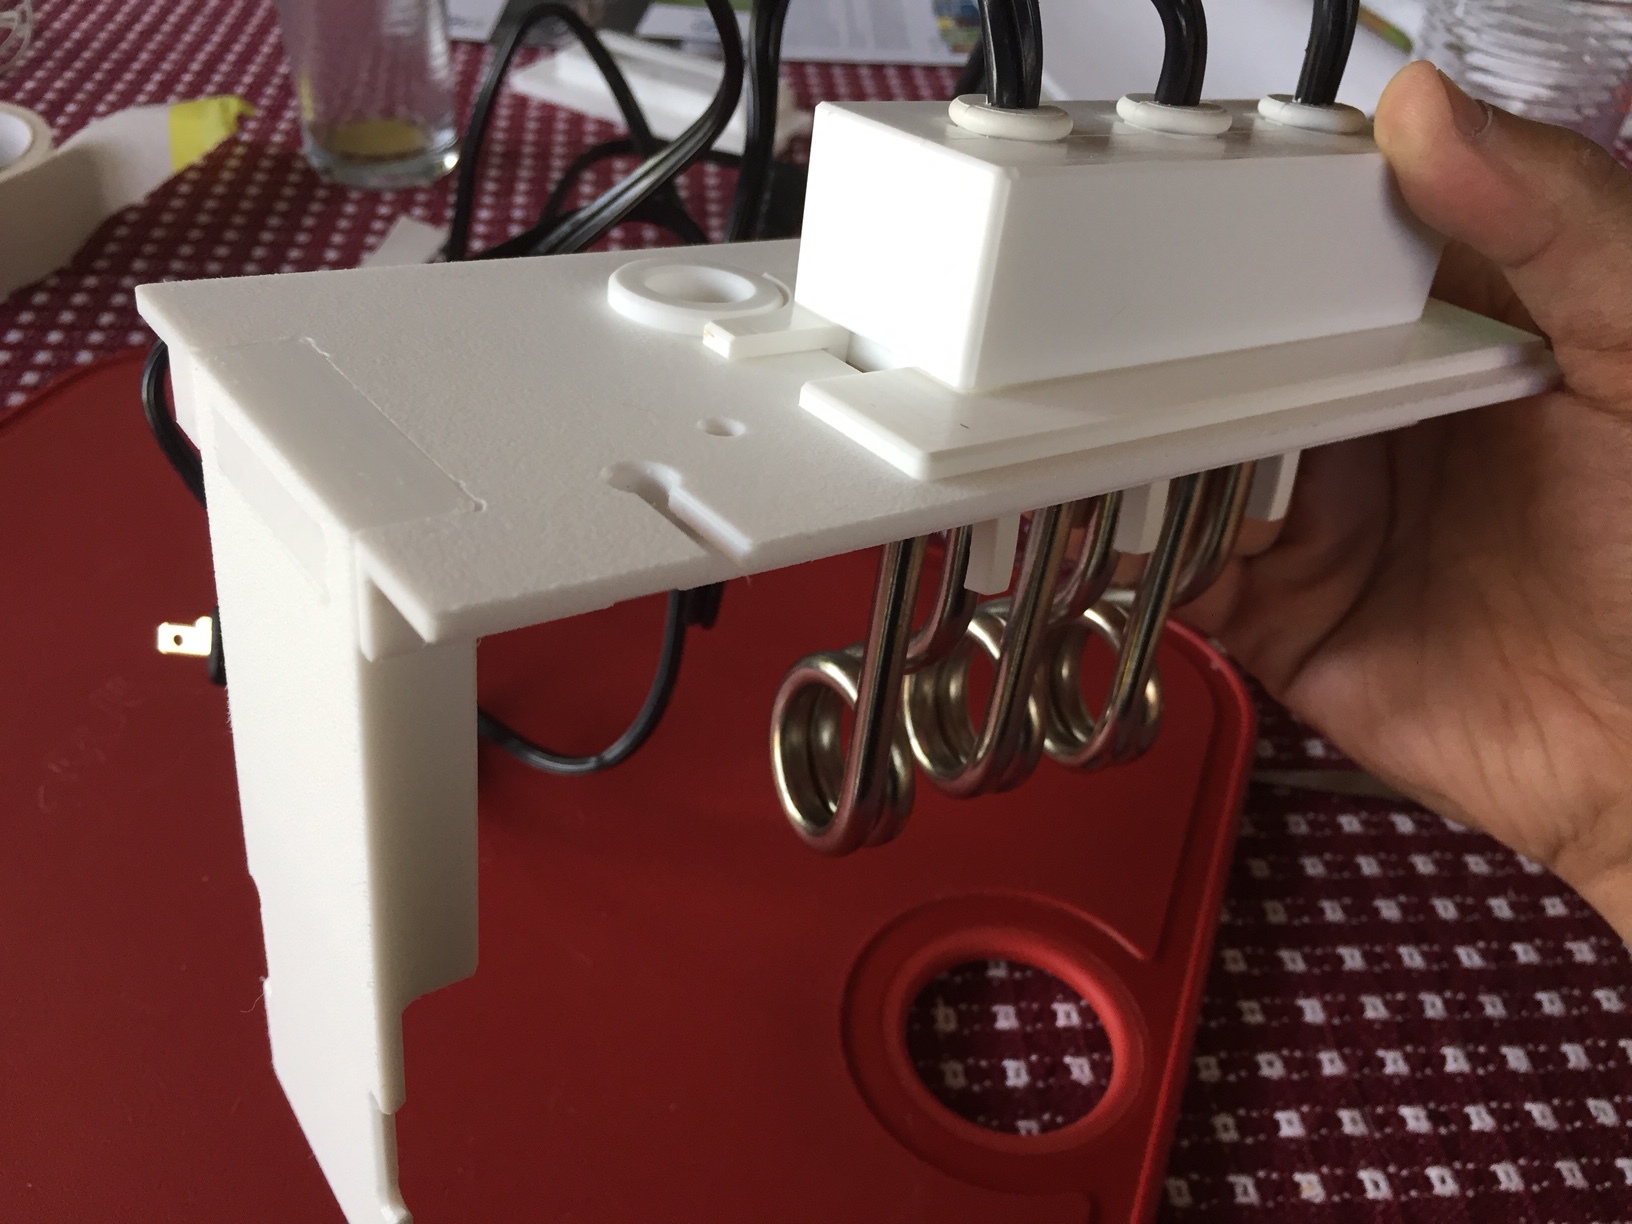
View down the line of heaters, looking right at the pump, so it looks like my measurements were pretty good!

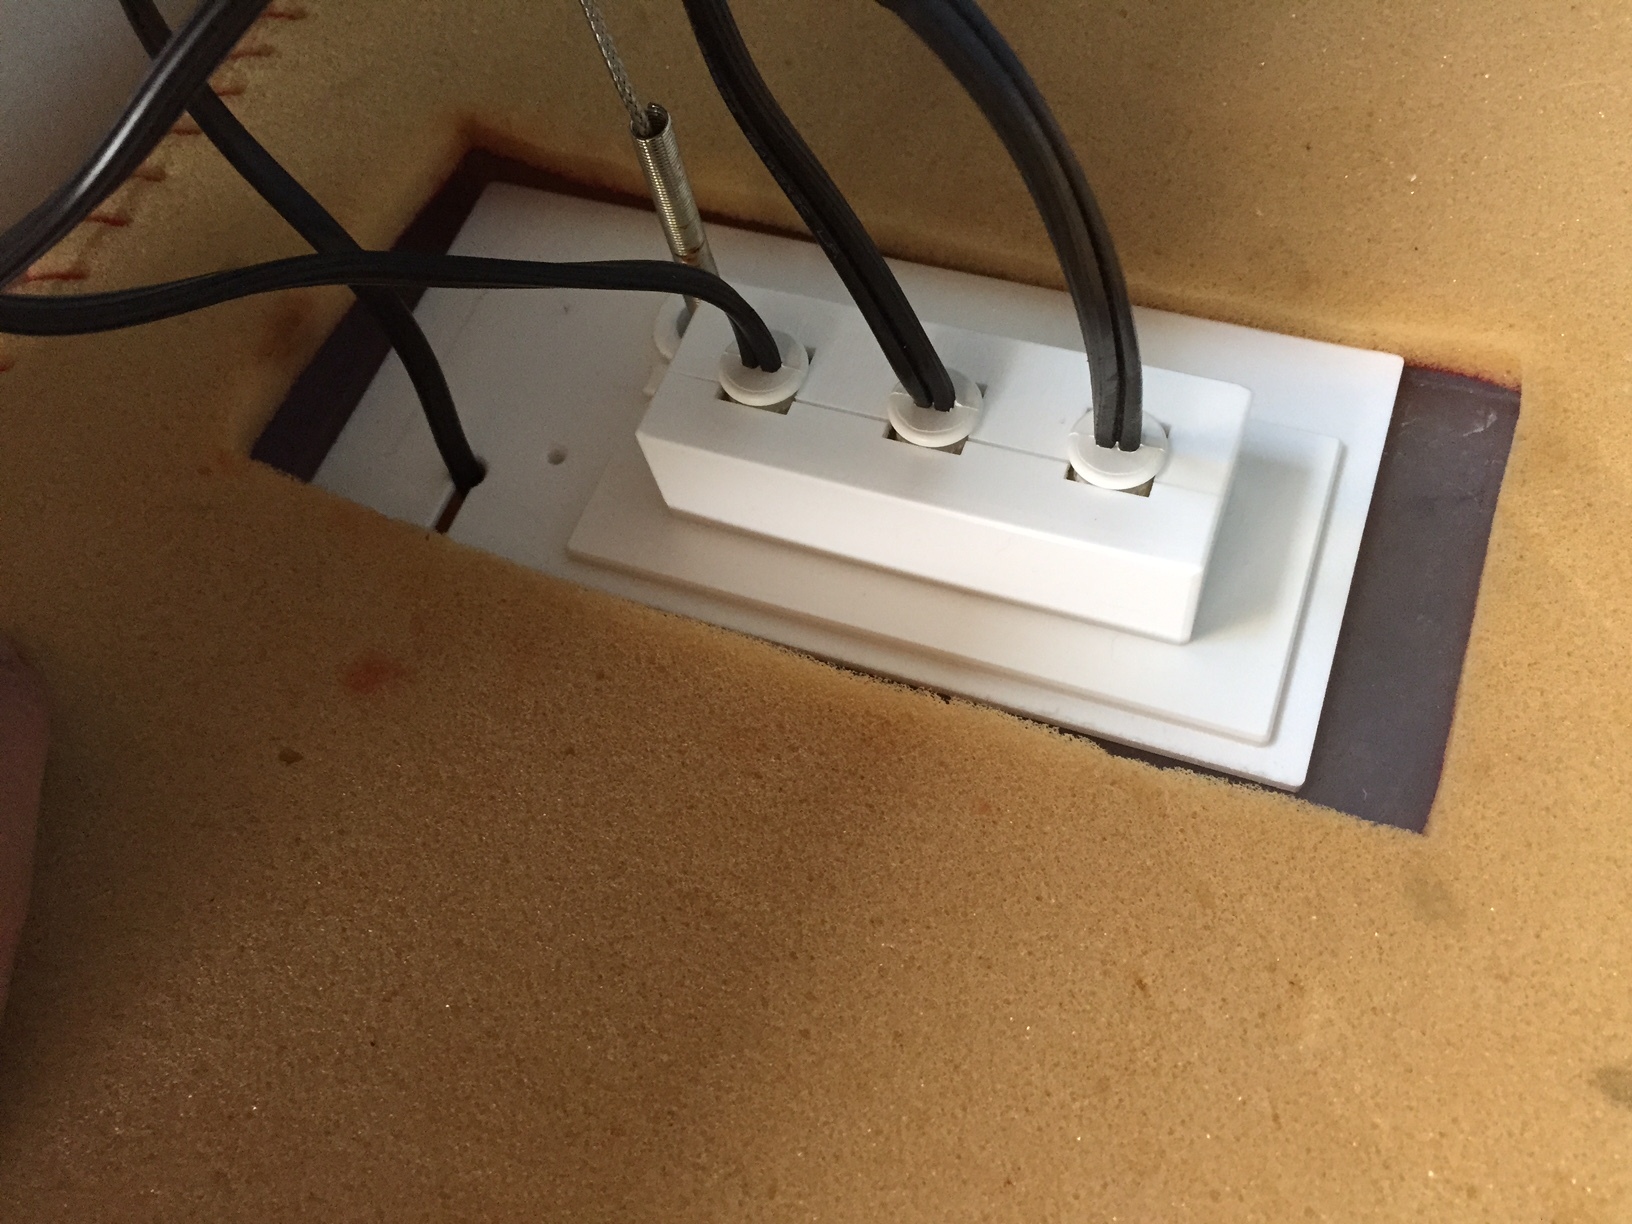
Looks pretty minimal from the top when installed on a tub lid:
All in all a really successful project. All the pieces came out awesome, with some tiny registration errors from when I didn’t quite get it lined up when flipping the piece to do 2 or 3 sided milling. I think my L-shaped brace worked pretty well; mostly what made it difficult was the flat endmill I have is slightly tapered apparently (shank is .125", cutting end is ~.1235"), so when I make tall vertical walls, when I get to the lower part of the wall, the shank hits the wall that was previously cut with the narrower cutting end and deflects outwards. So all of my vertical walls taper - the worst I had was where the bottom was ~0.15mm wider than the top. It made it difficult to zero the machine because the cutter would touch the stock at the wider part but I needed to zero to the narrower part.
But I had no failures… Wait, I LIED - I had these two failures:


Basically, the machine was cutting everything perfectly and then all of a sudden totally went off the reservation and got offset but a large amount, all at once (not slow drifting, but off by ~1cm or so all of a sudden). I figured it out after wasting a bunch of plastic, and I feel dumb: Don’t let your computer try to sleep in the middle of your job!
 I like the animated exploded view too.