I really enjoy doing vcarve inlays, and through some good old trial and error have come up with my own somewhat reliable process for doing them. But I feel like it’s probably more than a little inefficient, and wanted to see if any of you guys have had the same challenge that I have.
My issue is primarily around removing the inlay backing after gluing my pieces together. I use my Shapeoko to remove the backing, and would often get a bunch of chipping when doing so whenever there are fine details or sharp corners at the end of the removal job. And of course if it chips below the surface the inlay is more or less ruined, which gets very frustrating.
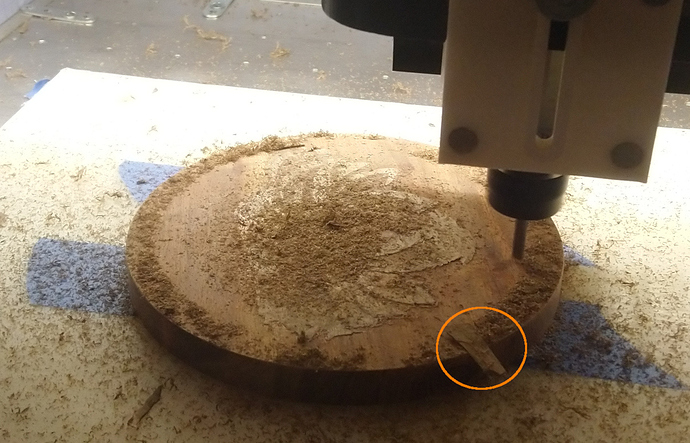
This would happen while trying to clear about .1" worth of backing material using a good old 201. I think that since there is still a bunch of backing material remaining, but so little contact with the main piece since most of the inlay has been leveled, the forces become too great and ends up flinging the remaining chunk of backing material across the spoiler board, which in turn chips whatever part of the inlay has yet to be surfaced.
My solution is a bit tedious. First, I make sure my inlays only have about .05" of backing material. Then I use an 1/8" end mill, and slowly shave off about .01" of the backing at a time until I’ve got it surfaced. I’ve gotten much better and more reliable results this way, but it is slow.
And then I watch videos like this, where the dude is tearing through an incredibly complex inlay with a fairly thick backing, surfacing the entire thing in one go. And then I feel like there must be a better way than how I am doing it 
If it were me, as soon as I got to the tips of those swords (doing a y axis raster) I think I would almost inevitably get some chip out.
Also, in case it helps, I am using a 60 degree bit, my female piece has a flat depth of .2", and my male has a starting depth of .18 and a flat depth of .02. I try to keep my glue gap as tight as possible.
Any suggestions?
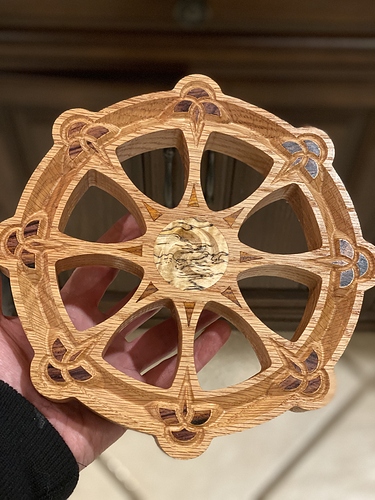
And here is an example of a piece I just made today, using my refined (but very slow) removal process I described above. I kept blowing those sharp corners right out when doing it with a .25" bit!


