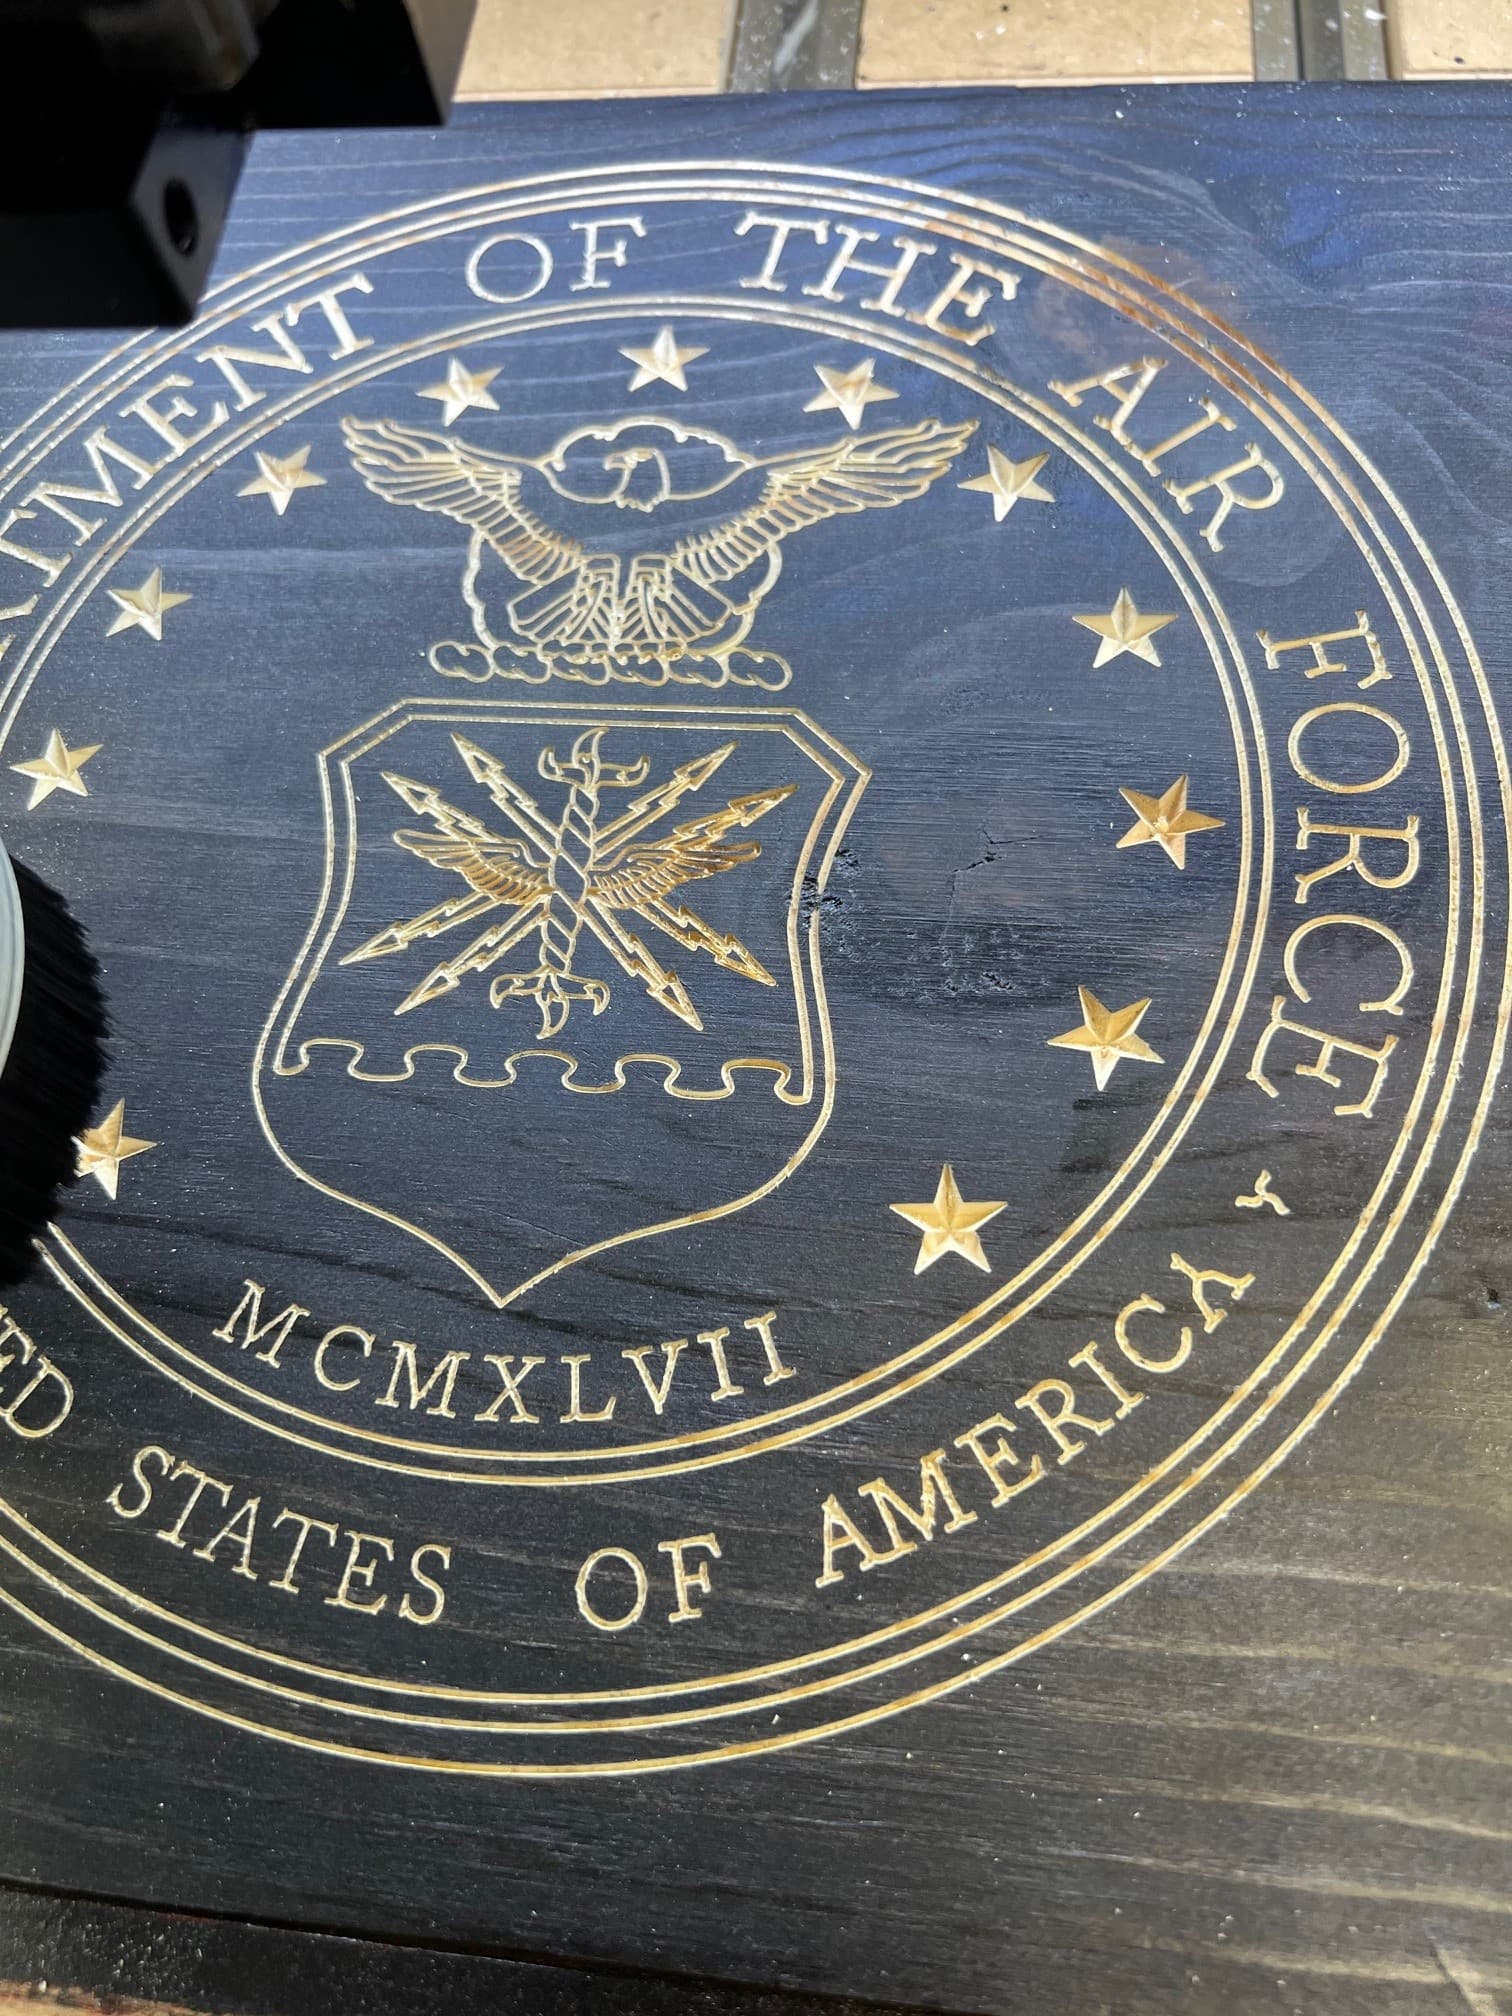
I have been working on the Air Force seal, but my machine is doing some strange things and a couple of these I think I understand what went wrong but it’s the vCarve text that is baffling me here. If you look at the image where I am zoomed in on the “AMERI” you can see that it does not appear smooth that I would expect. In fact when the spindle was moving it was moving up and down almost like it a sewing machine. Is this normal?
Here was my setup:
Letters were setup for the following: #302 Vee (60.0 Degree bit)
Start Depth = 0.000
Max depth = .020 *** Note I did a second pass on this when the machine was done and I set this to .050 which I think the letters looked better but they still were not Smooth
Job Setup was a 11.25 x 11.25 .750 on Pine
For the eagle and the Inner shield I feel it came out fine but I also used a Amana V30 bit that I mistaken ruined the tip trying to take it off I dropped it right on the tip…-$40 damit… but I really did like the detail.
I am looking for input on this, how you folks who do these more often what you normally do. What is your normal depth of cut on these that you might do? I am looking for some input.
If you are doing a simple vcarve you cannot limit depth. If you need to limit depth then use advanced vcarve. In the example photo of America your text is distorted because you limited depth. When you limit depth on a simple vcarve you get strange results like in the America text.
A simple vcarve goes down the middle of two lines and plunges until it touches both sides of the lines. If you limit depth the vee bit will only go as deep as you specified and will leave the letters malformed. Always use bottom of material on simple vcarves. Using the bottom of material can cause you to cut through thin material. If you are using thin material use advanced vcarve. An advanced vcarve will use a flat end mill to cut any flat areas and then the vee bit goes around the perimeter of the letters. If the areas that are too small for the flat end mill selected the vee bit will carve out those areas. The flat end mill may not even be called if all the areas are too small to fit into and only the vee bit will be called for.
Another issue with 60 degree vee bits is if the objects are very small/narrow you may only scratch the surface. If that happens in the preview use a different vee bit like a 30/20/15 degree vee bit. The 90/60 vee bit works best of larger objects and/or lines. If the lines or objects are very thin then the 30/20/15 vee bit works best.
Post your file to get some better opinions to get a good carve.
This was really helpful, and I am super grateful for your input. Now that you mention it I think this was gone over in some of the training videos, but I just had to experience it for myself (feel the pain). Thank you so much for commenting! So I am going to use the advanced carve and use my 1/8" bit to see what results I get tomorrow. I got a v30 but as I said in my post I ruined it by dropping it on the tip :(…
I built a torsion box to go under my Shapeoko. I made the torsion box so I have about 10" of the torsion box in front of my Shapeoko. On that “shelf” I keep a plastic rectangular box made of plastic that I keep my most used bits in as well as my router wrench and some pencils. In previous versions the router would come to the front center for bit changes. Recently they relocated that to closer to the BitSetter. So I moved the box over under the router bit change location. If a router bit falls out of the collet it will hit the plastic box and not roll off. I keep the plastic tubes the router bits come in and immediately put them back in their respective tube to keep them from knocking around against the other bits. Luckily so far I have not had a random bit hit the concrete floor.
If you have the room for something like a plastic/wooden box it might help keep your bits from being destroyed by hitting the cold hard concrete. I like @Zman solution of the mat. My Shapeoko is at a lower height and I have a nice office chair to sit in and watch the paint dry while machining and the wheels would get clogged up with a mat for me so the plastic box works well and keeps things safe.