Hi
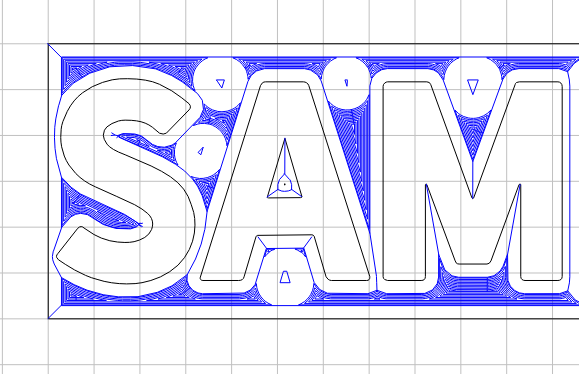
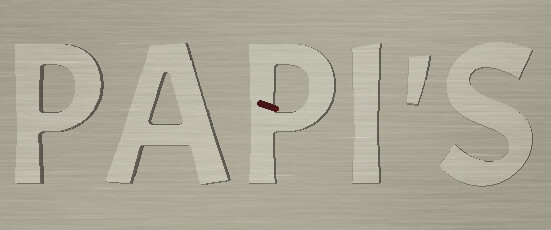
I made a pocket tool path with raised letters with 1/8” end mill 201
It cut all the letters out but there are several areas where the end mill didn’t go between the letters with the 1/8” end mill , I assume because the bit was too fat
Can I create a new pocket tool path just to clean up between the letters with a 112 or 122 end mill in a new tool path?
Welcome to the forum, you should be able to use the same toolpath but insert a 1/16” bit in the setup of the cut. Then run the simulation and it should show you if that’s small enough. Perhaps running the simulation the first would have revealed your results with the 1/8” bit?
If you have CC Pro, you can use the Rest function.
If you don’t, I suggest doing an offset Vector at .07 and using the pocket function. That will give you enough room for the .0625 (1/16) EM. If you only switch the Tool to a 1/16 EM, you will have to recarve the entire pocket with that tiny bit, and it will take a long time and mostly be just cutting the air.
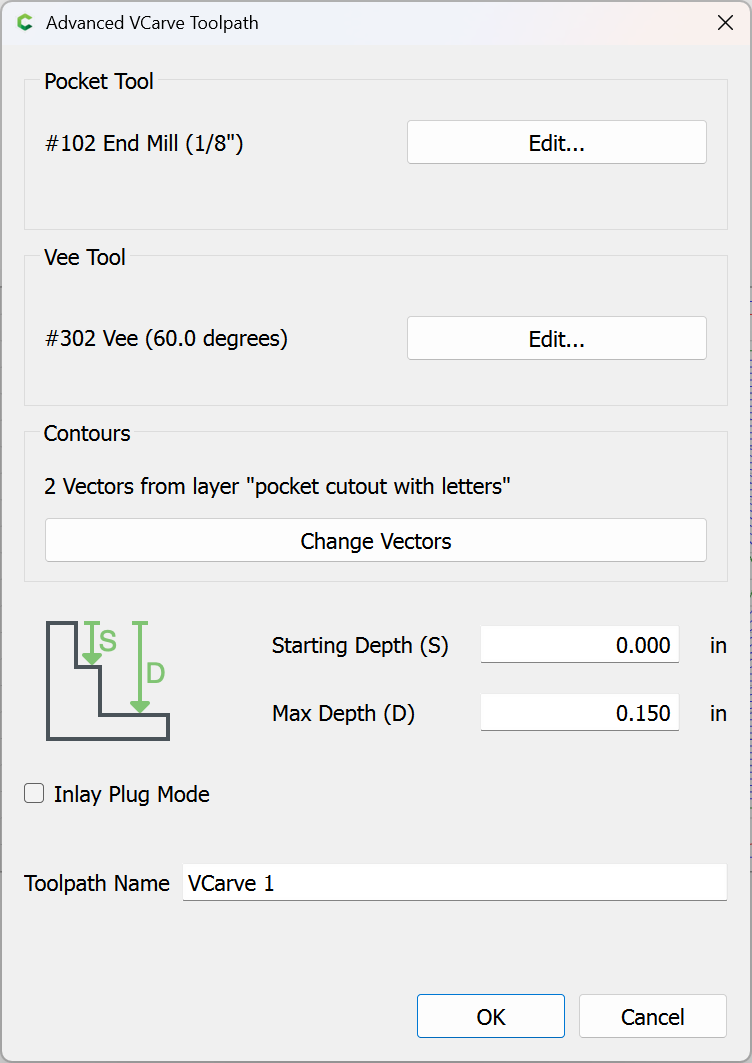
You can also use the Advanced V-Carve function.
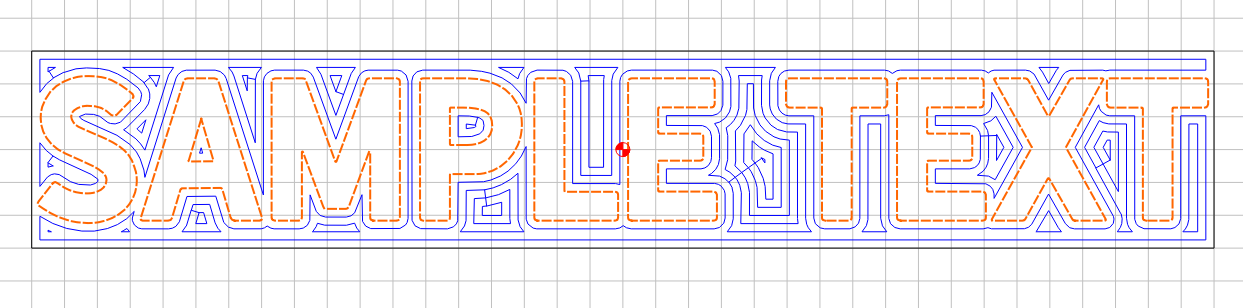
Here’s a sample of using just the 1/8 EM
Here, I added the .07 offset vector on the outside of the text.
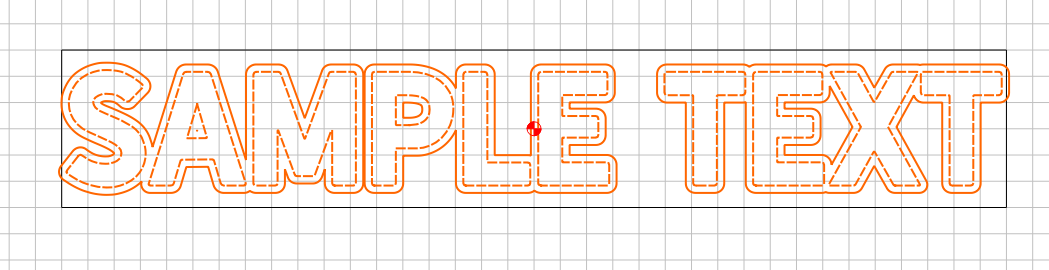
Toolpath using the 1/16 EM, you can still see that the tooling is not cutting in some areas because the bit is still too big.
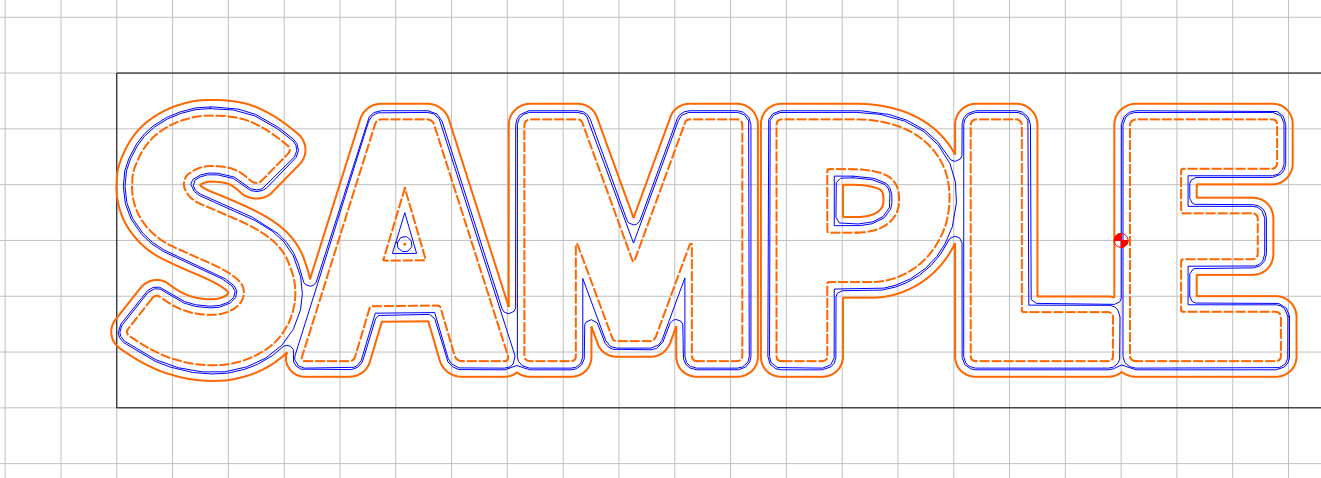
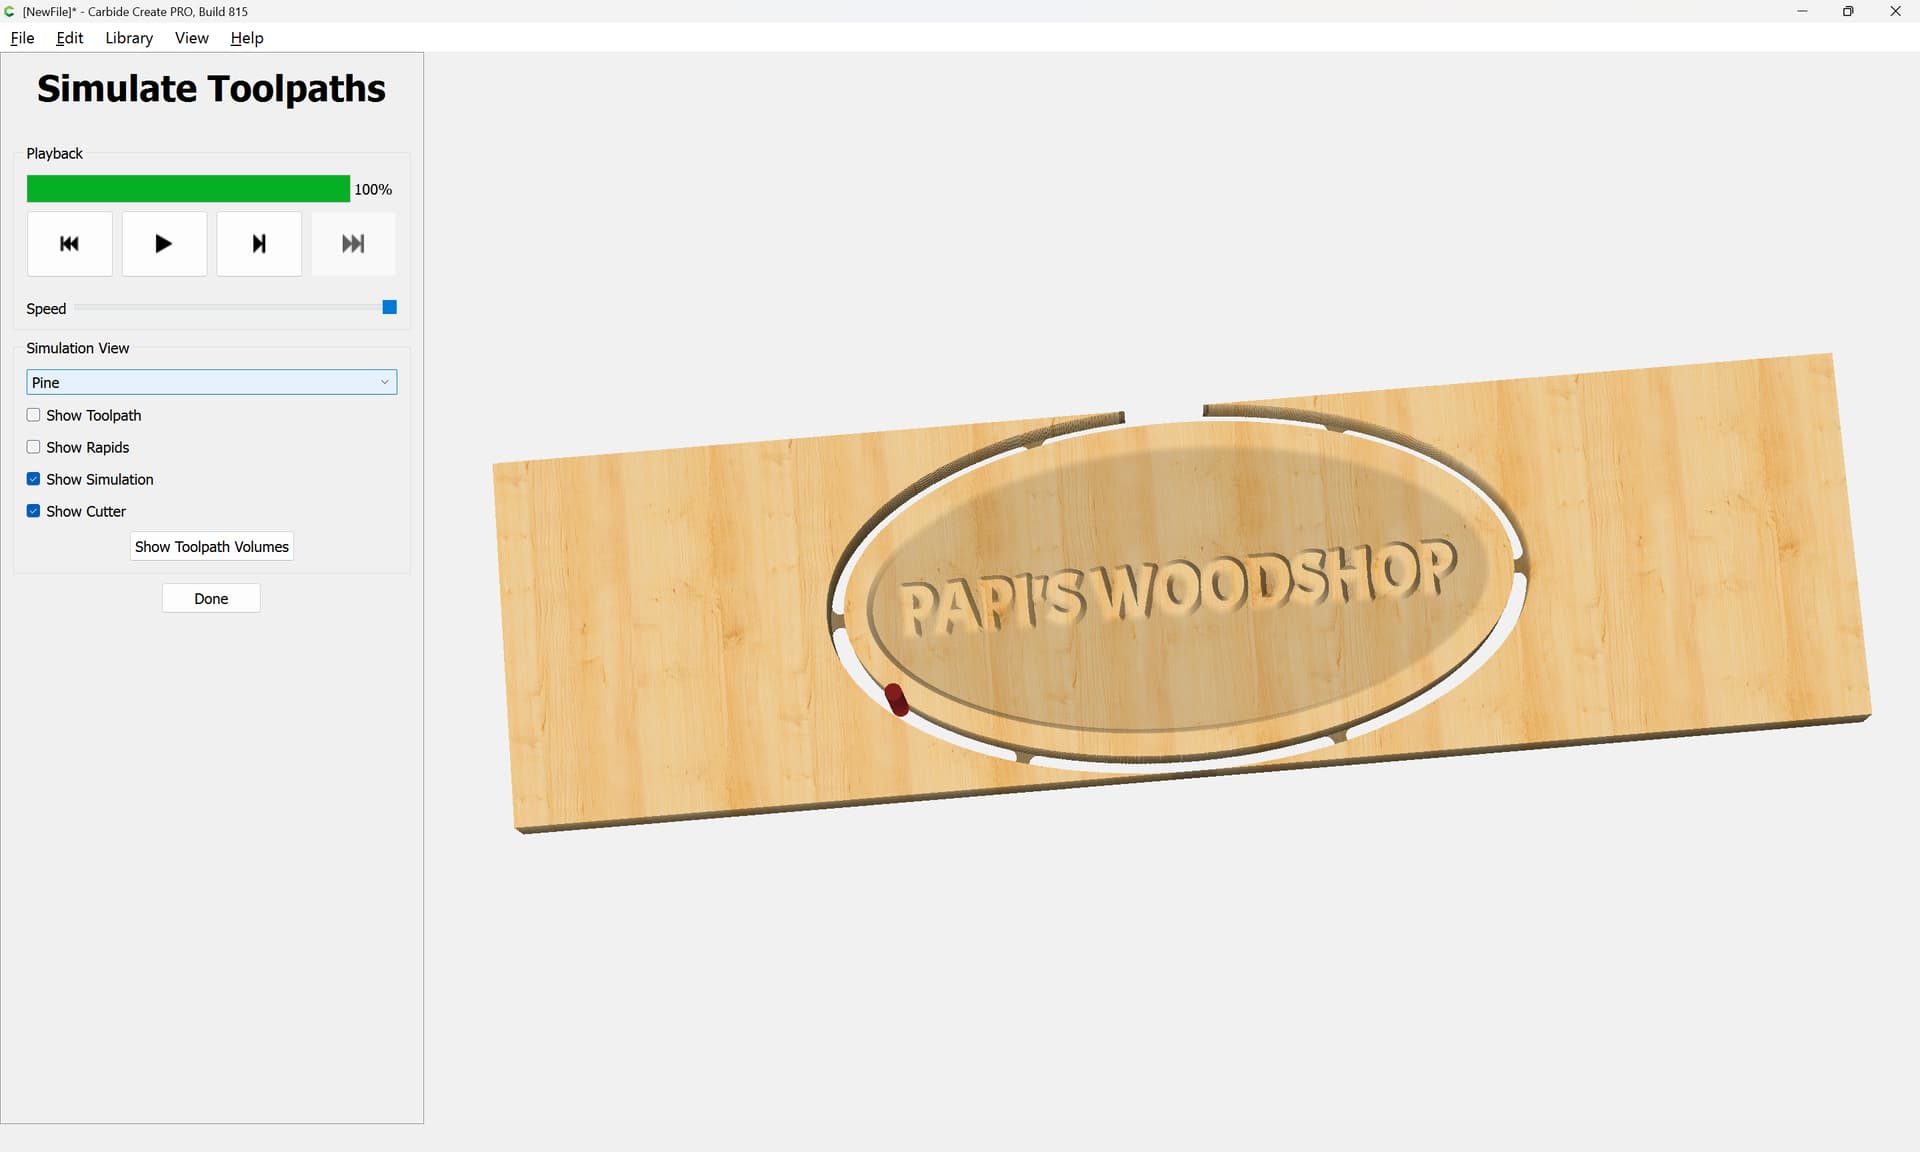
Here is the advanced V-Carve using .25 EM and 60-degree vbit

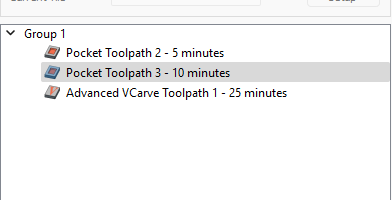
I also played around with the size of the EM, and the .125 saves a few minutes vs the .25"
3 Likes
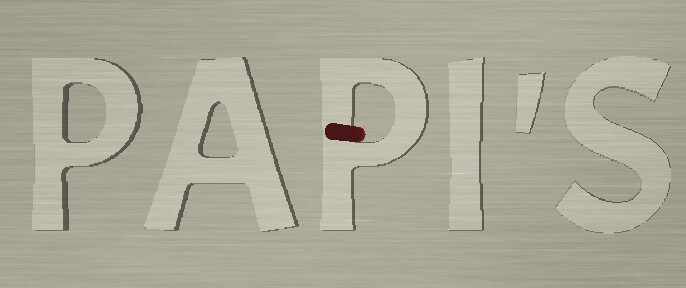
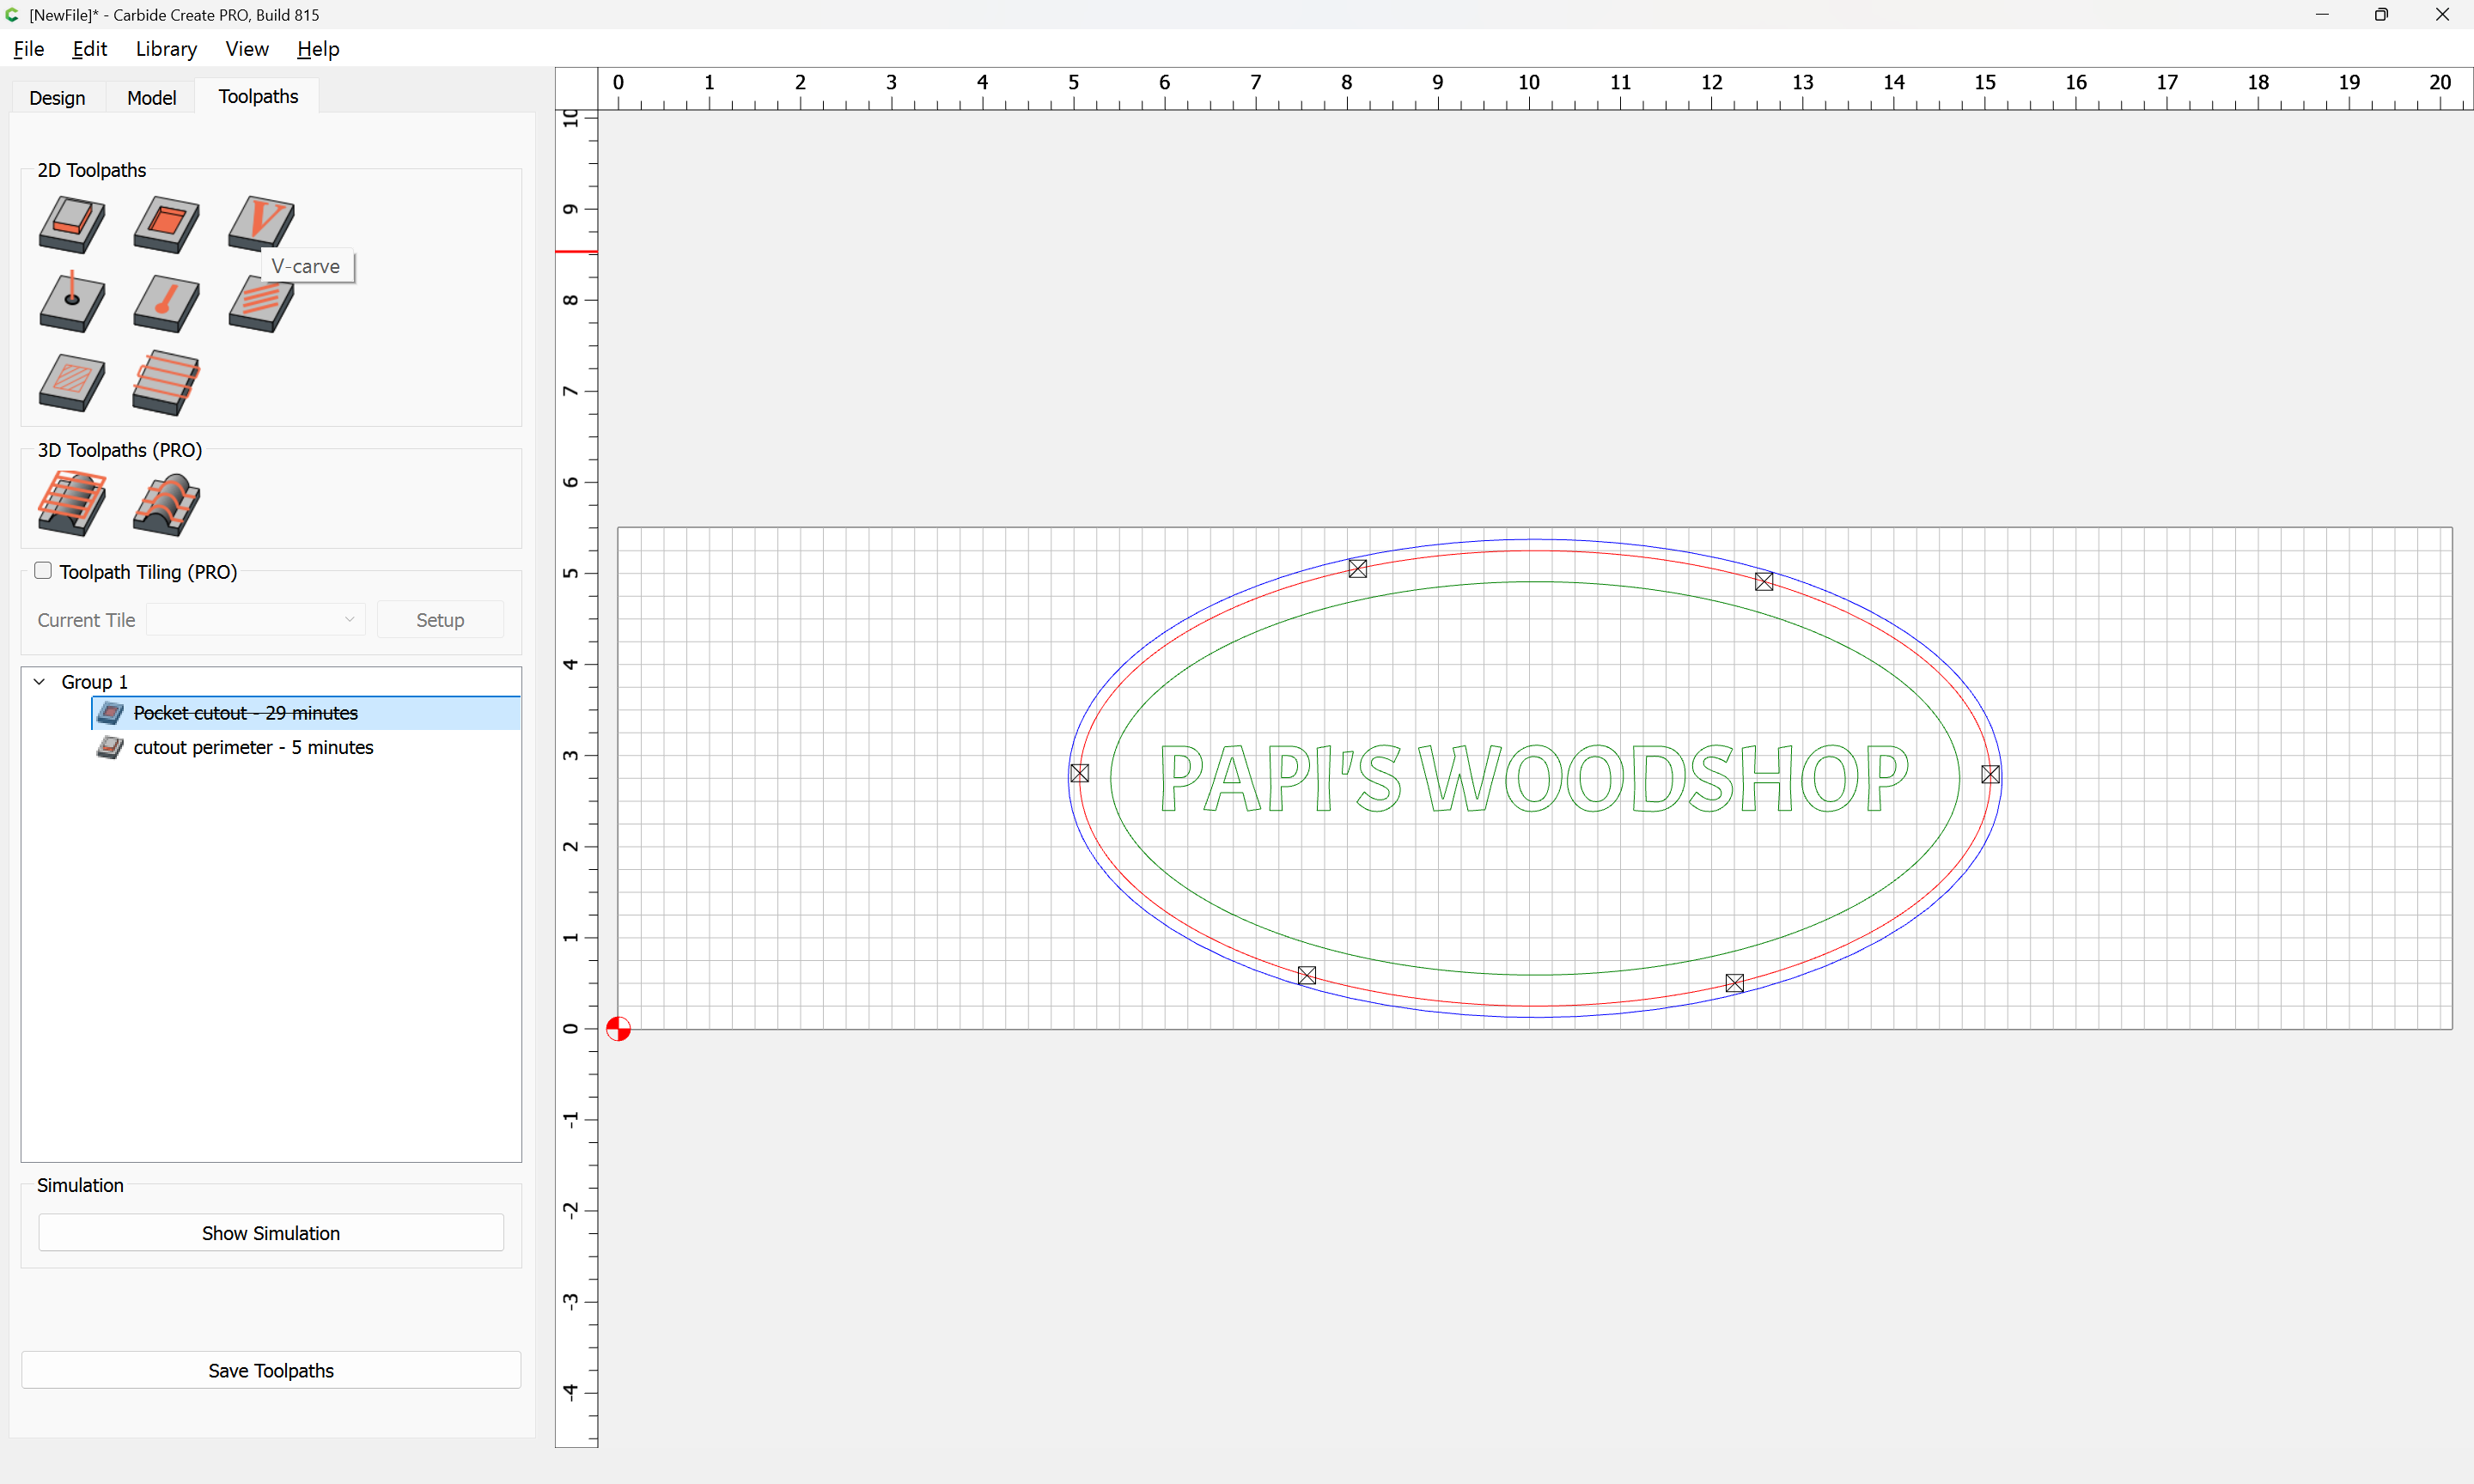
here is the file i couldnt get it tool work
Papi’s woodshop.c2d (392 KB)
As noted above, if you have CC PRO, you can use the Rest Machining option.
If not, a way to increase your detail would be to pocket using the 1/8" bit (as you have already), then follow that with contour cuts using smaller bits. The trick here though is that you can only go down half the bit width each time. So, you could pocket with a 1/8" and contour with a 1/16", but if you need the detail of 1/32" you can’t go directly from 1/8" pocket to 1/32" contour - you need the 1/16" intermediate.
1/8" only:

Now add 1/16" contour:
Adding 1/32" after that:
Adding the 1/32" didn’t add much detail, I would probably skip it.
None of this is optimized, so it’s slower than it has to be, but it shows the general idea. For example, since I just used the ‘Pocket’ layer, it’s also doing the outer perimeter and that’s totallly unneeded.
Papi’s woodshop.c2d (456 KB)
2 Likes
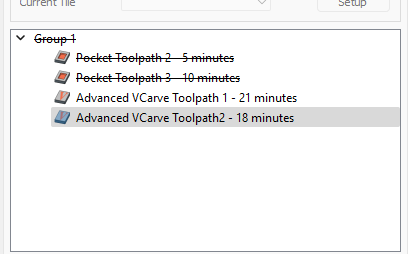
I reduced the total depth of the carve to .12 and changed the DOC for each tool path to .06.
This eliminates one pass for both tools and keeps the toolpaths reasonably aggressive. Not sure what machine you have. I also changed to a .25 EM and a 60-degree V-bit.
If you have a PRO or HDM, you can push the DOC to .125 and reduce your matching time by 50%. Assuming you are carving on Softwood.
Papi’s wood shop SD guy.c2d (204 KB)
This topic was automatically closed after 30 days. New replies are no longer allowed.