As requested on support…
Given a design:
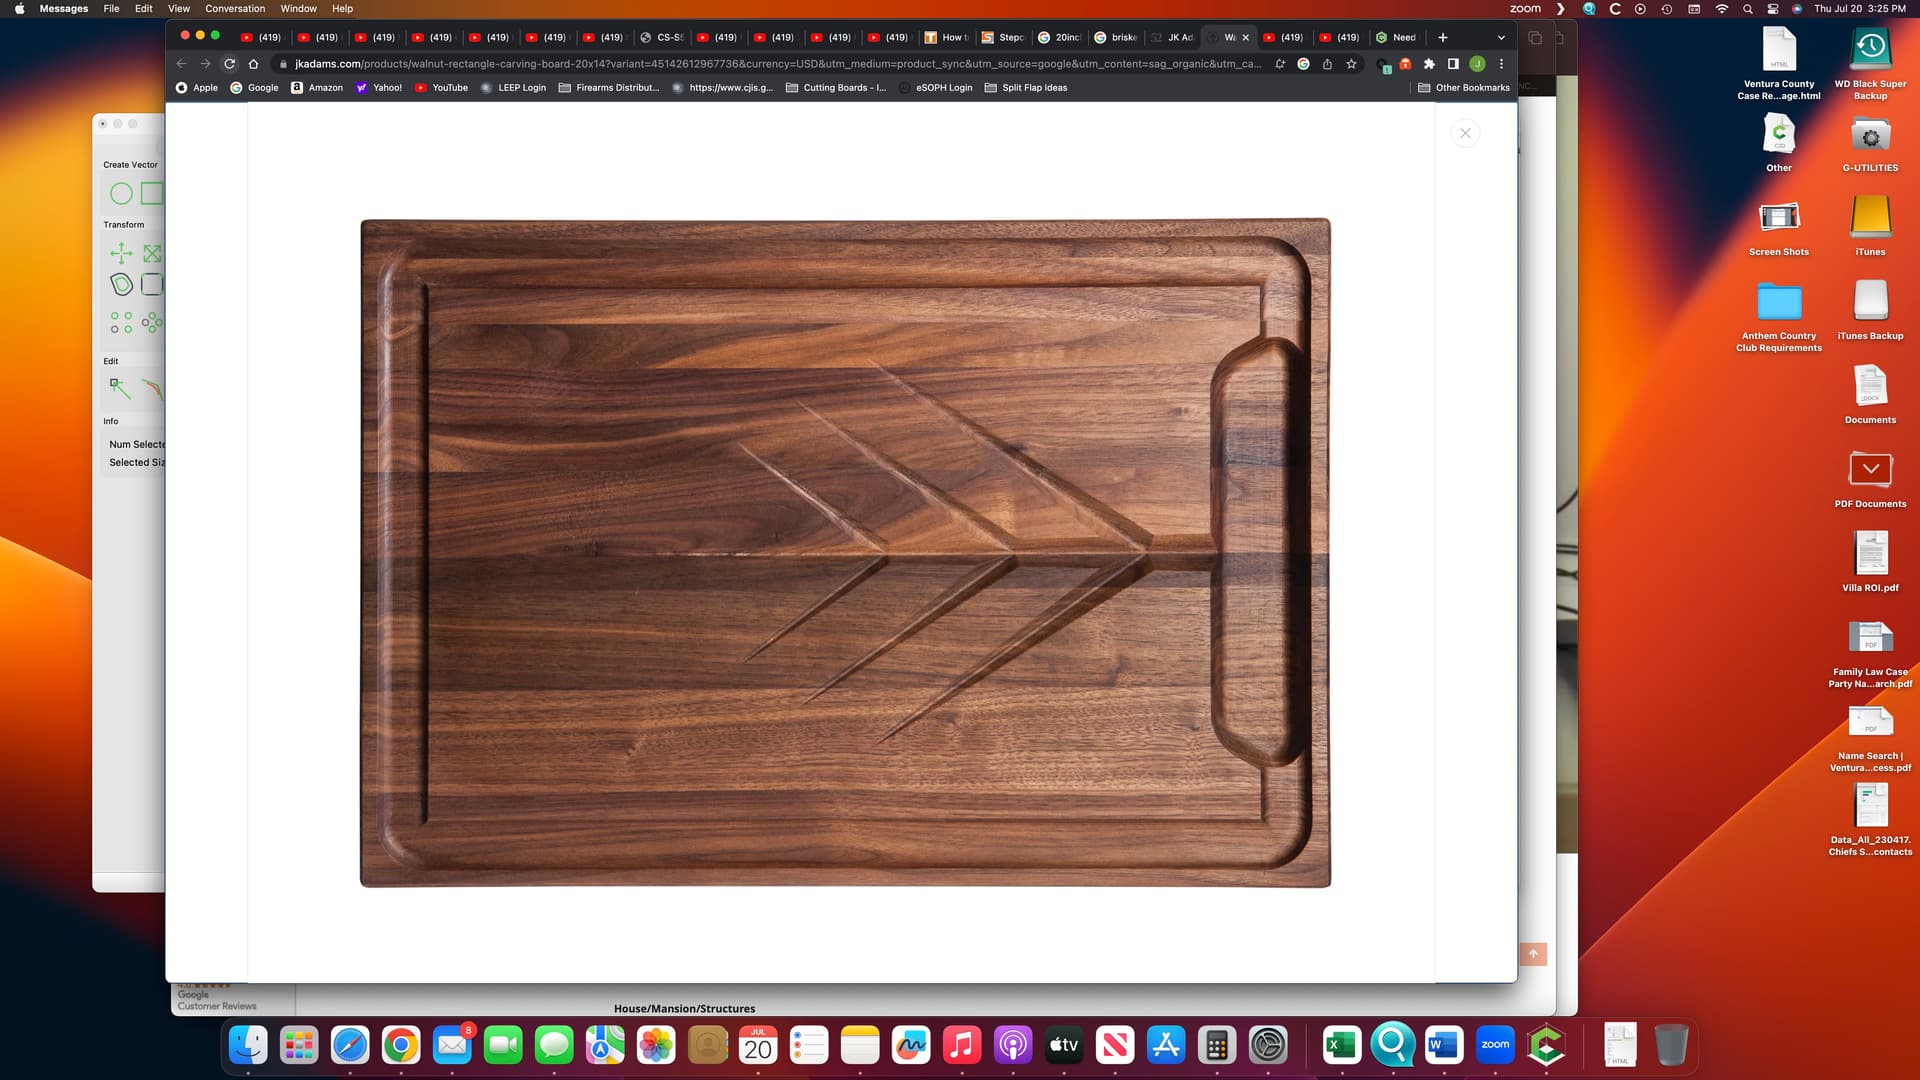
How does one re-create this?
It’s a matter of a couple of V carving toolpaths, and some contour work with pockets.
As requested on support…
Given a design:
How does one re-create this?
It’s a matter of a couple of V carving toolpaths, and some contour work with pockets.
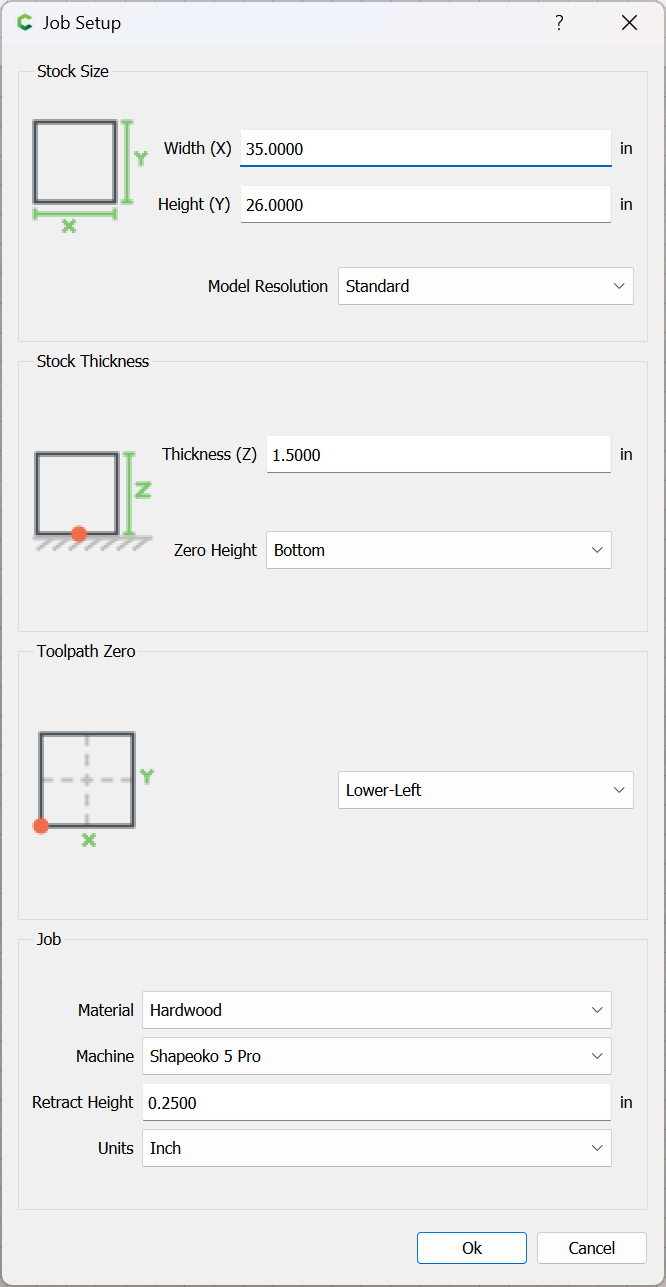
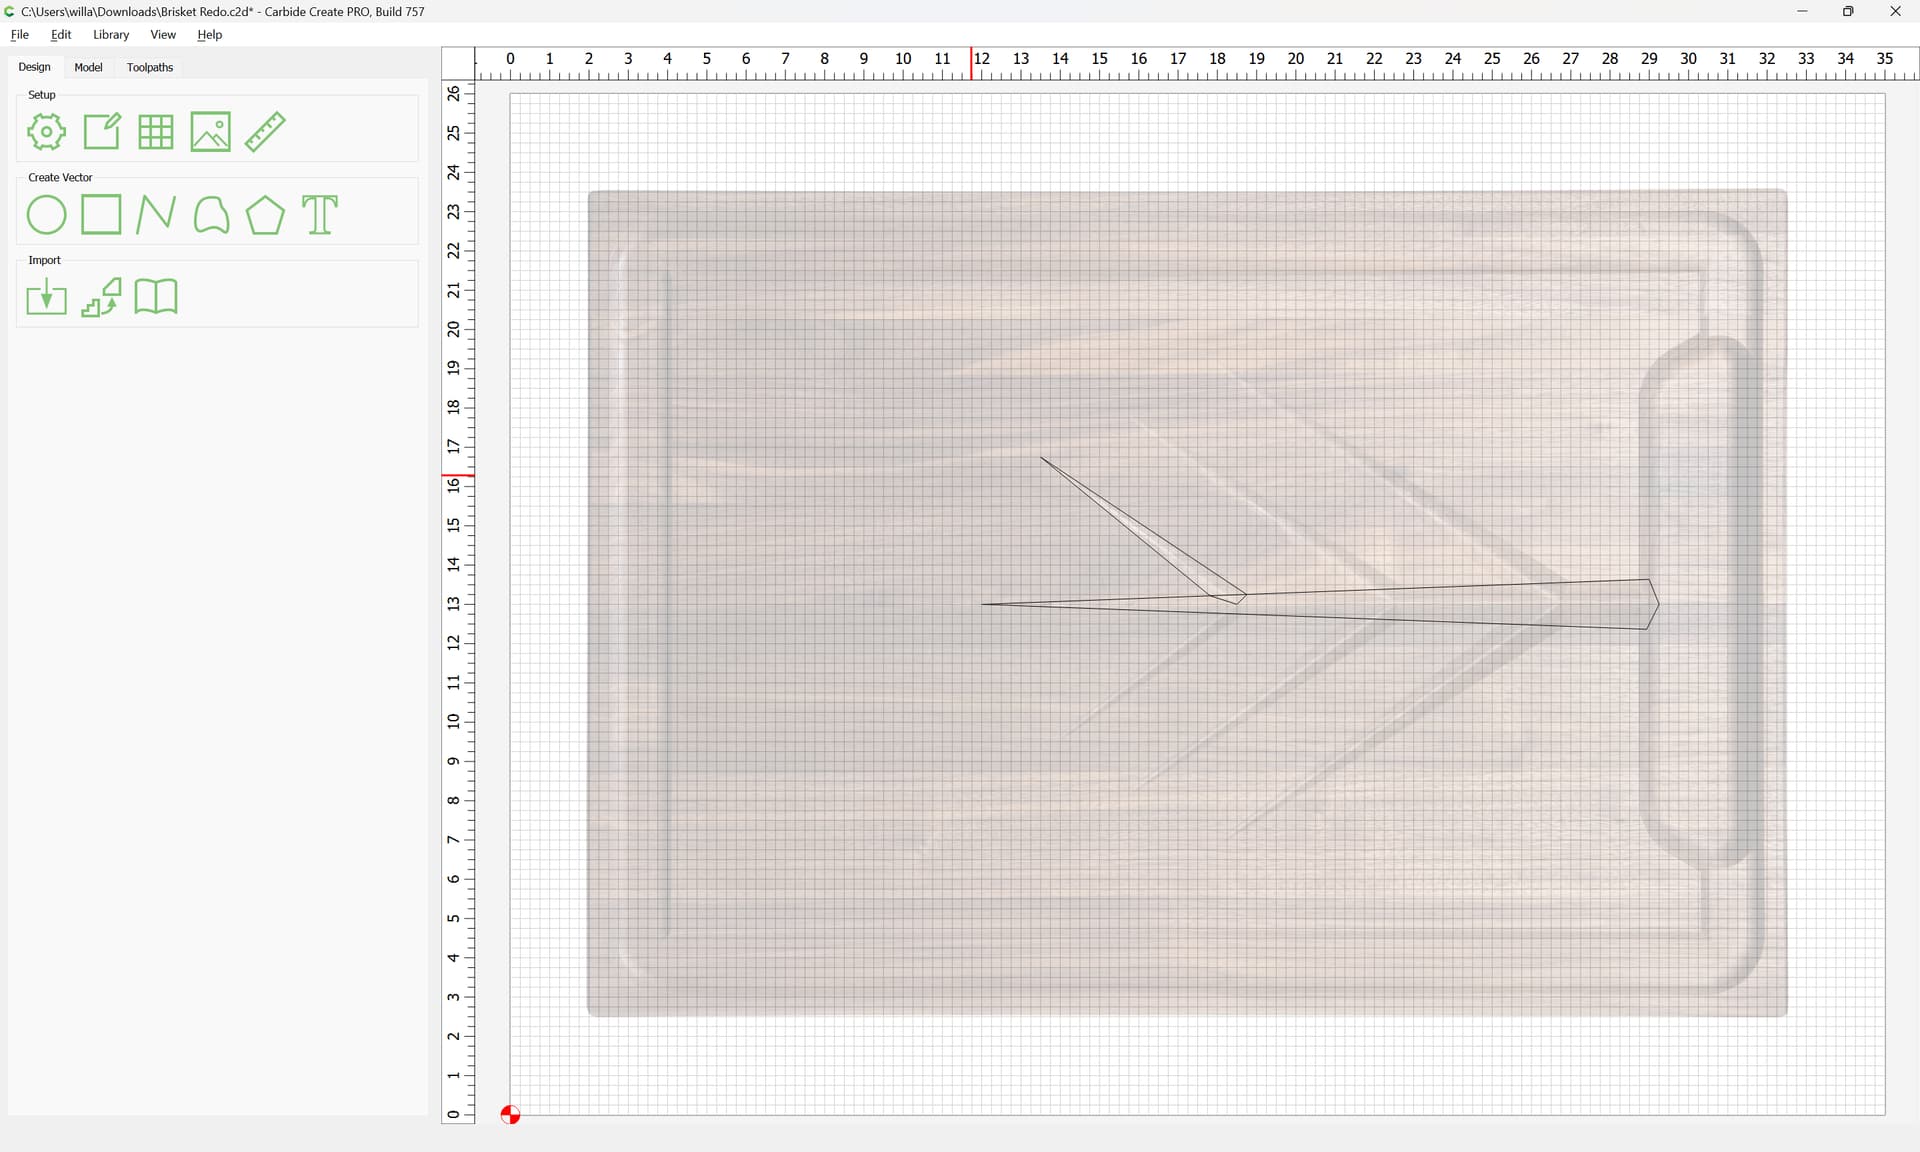
First, set up the job in terms of stock size/thickness, &c.:
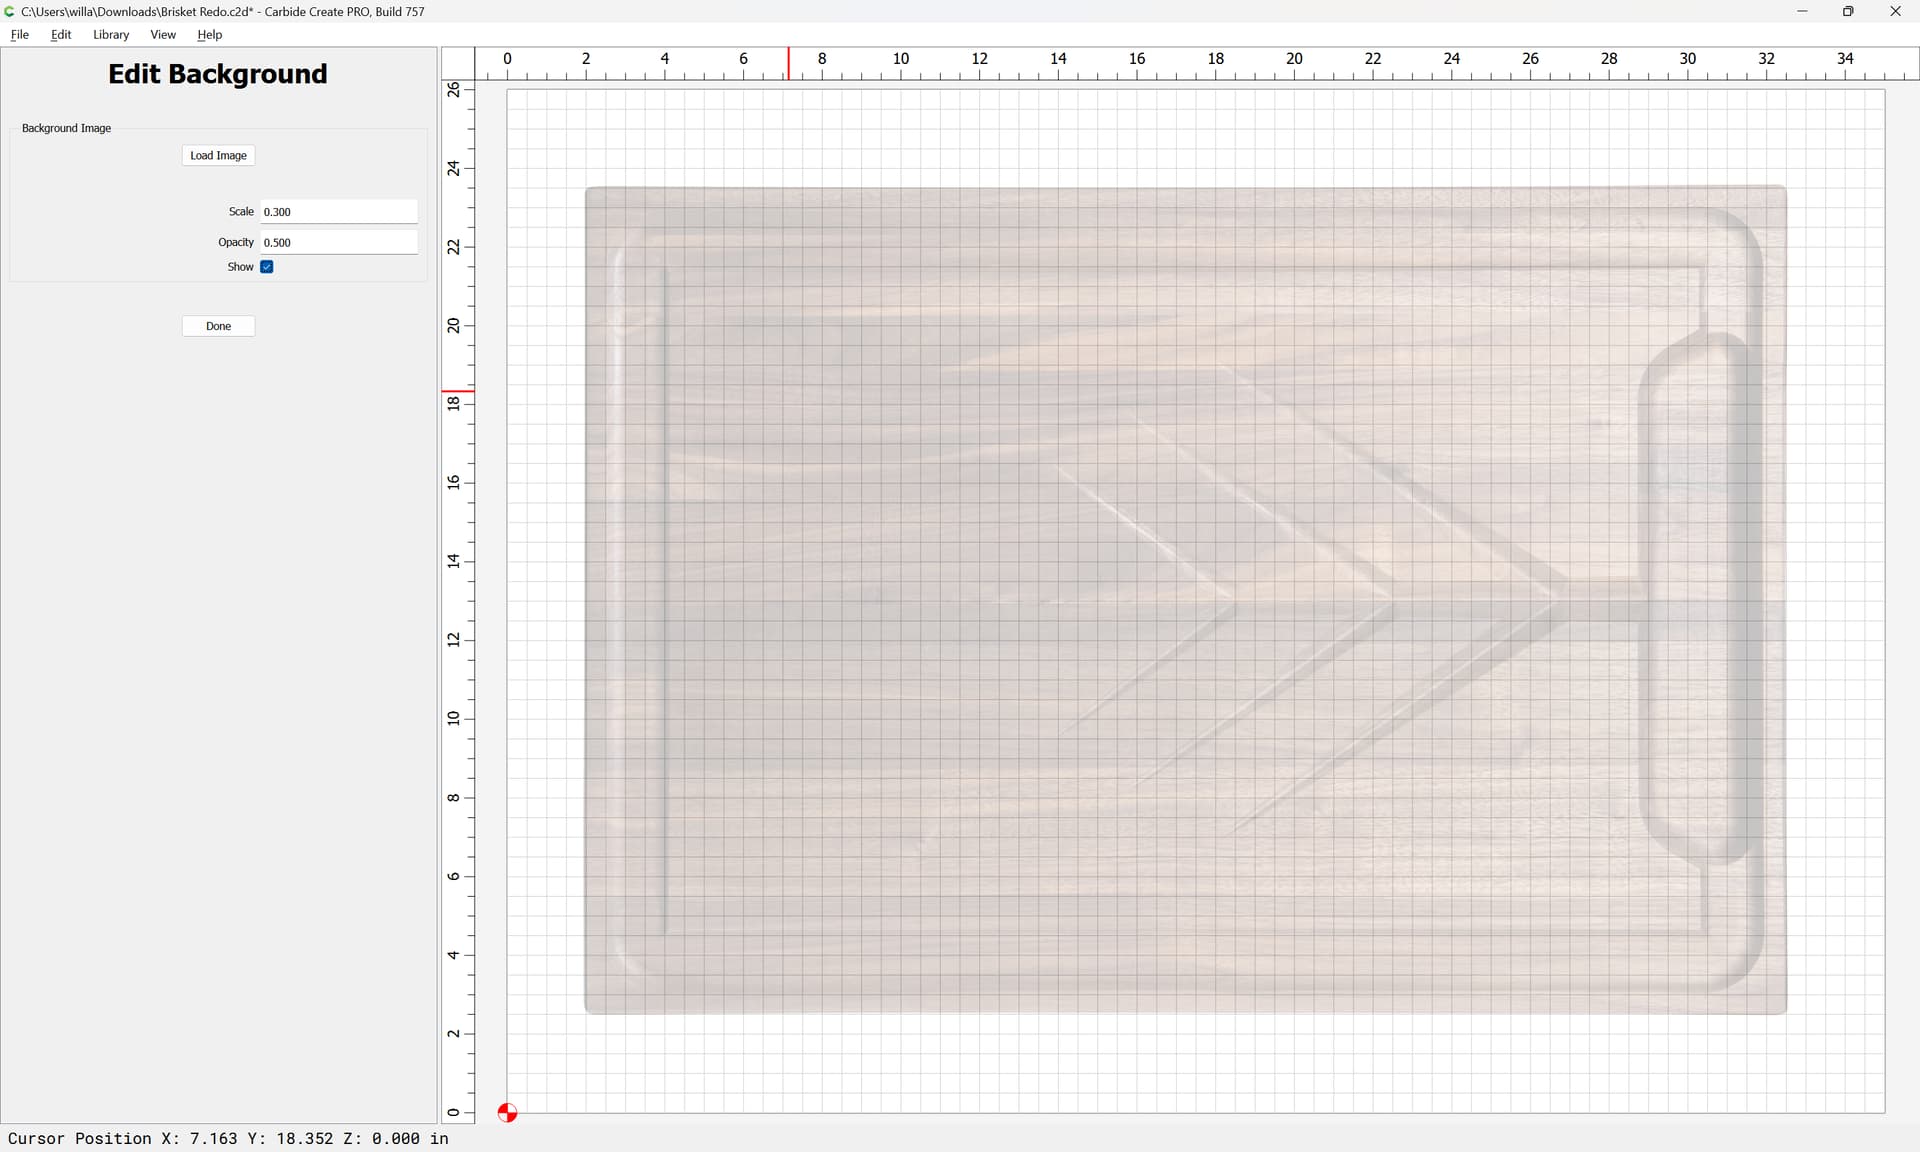
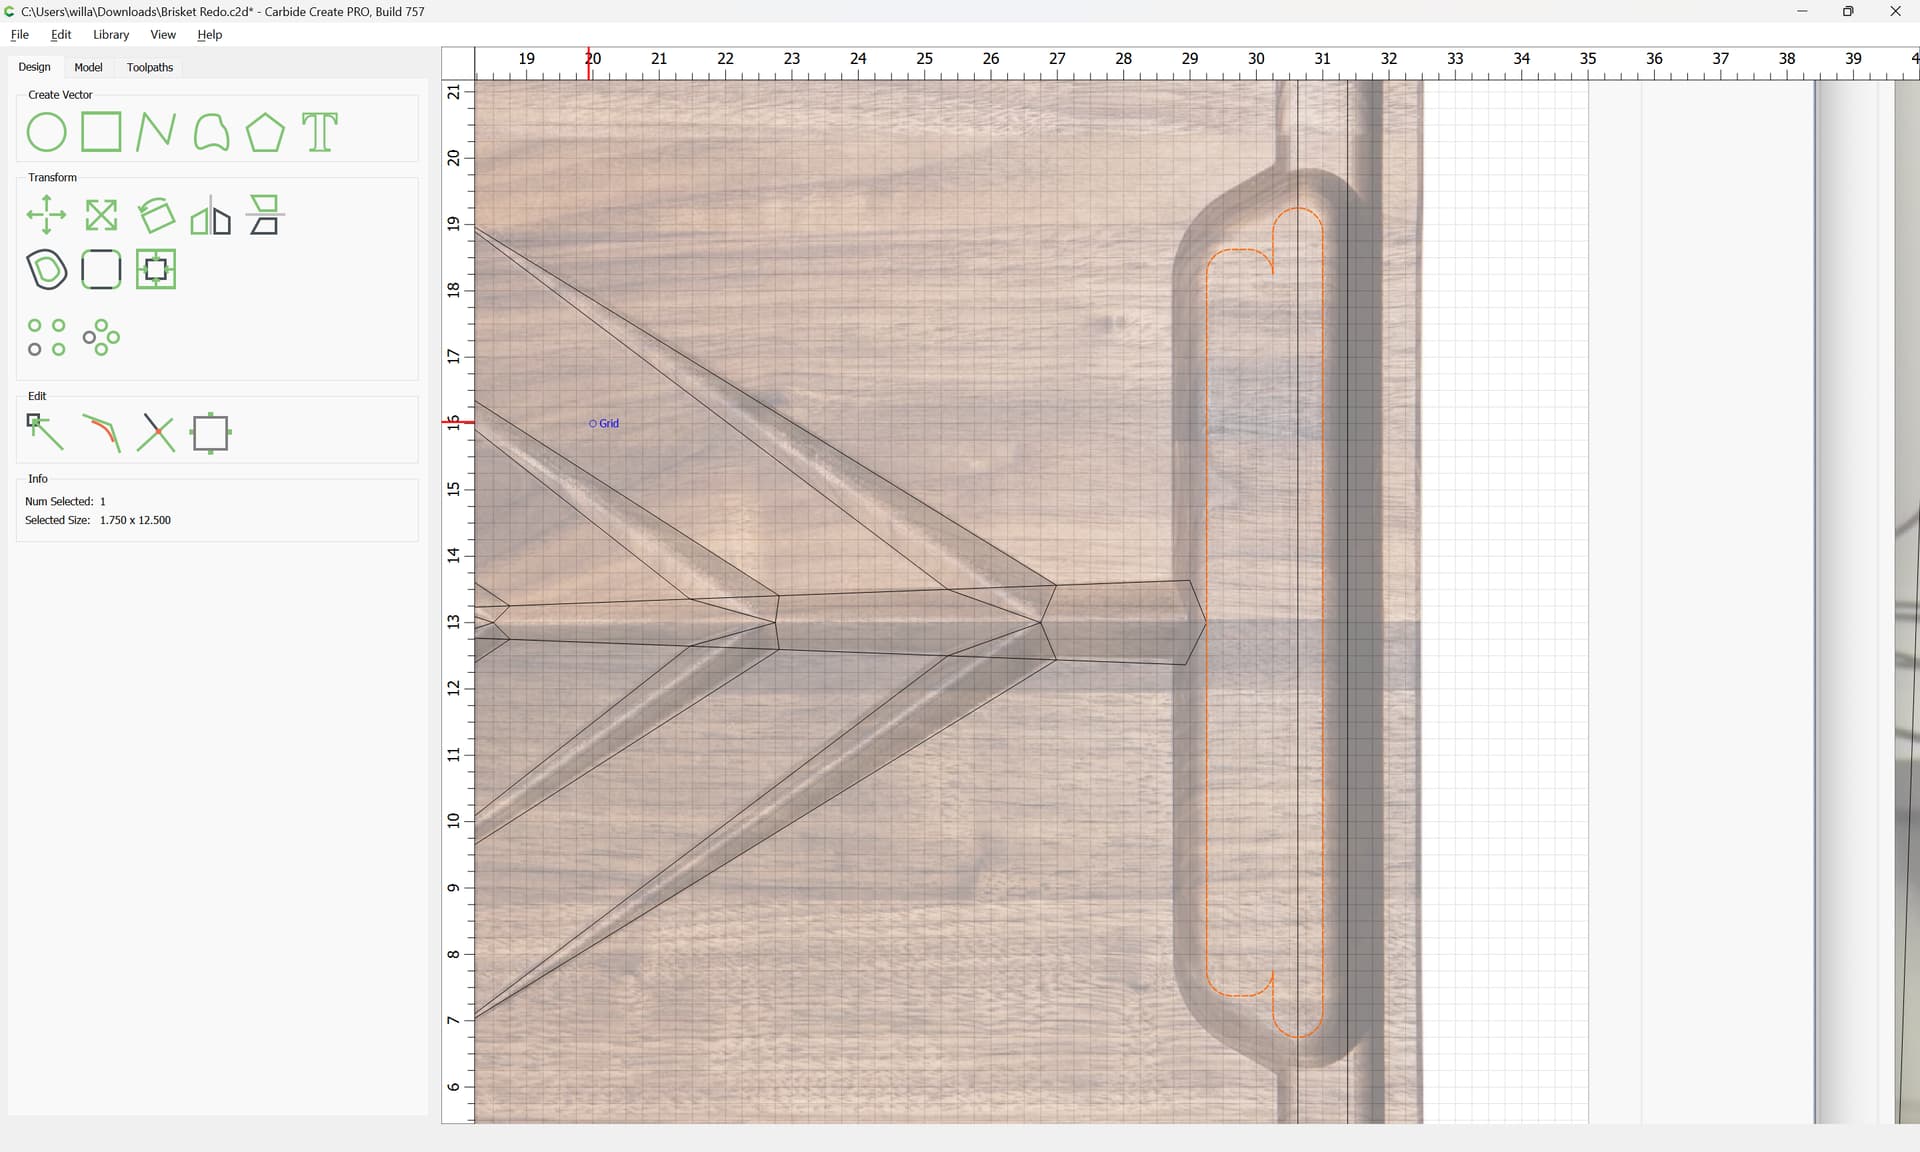
Then, import the pixel image as a reference using “Set Background”:
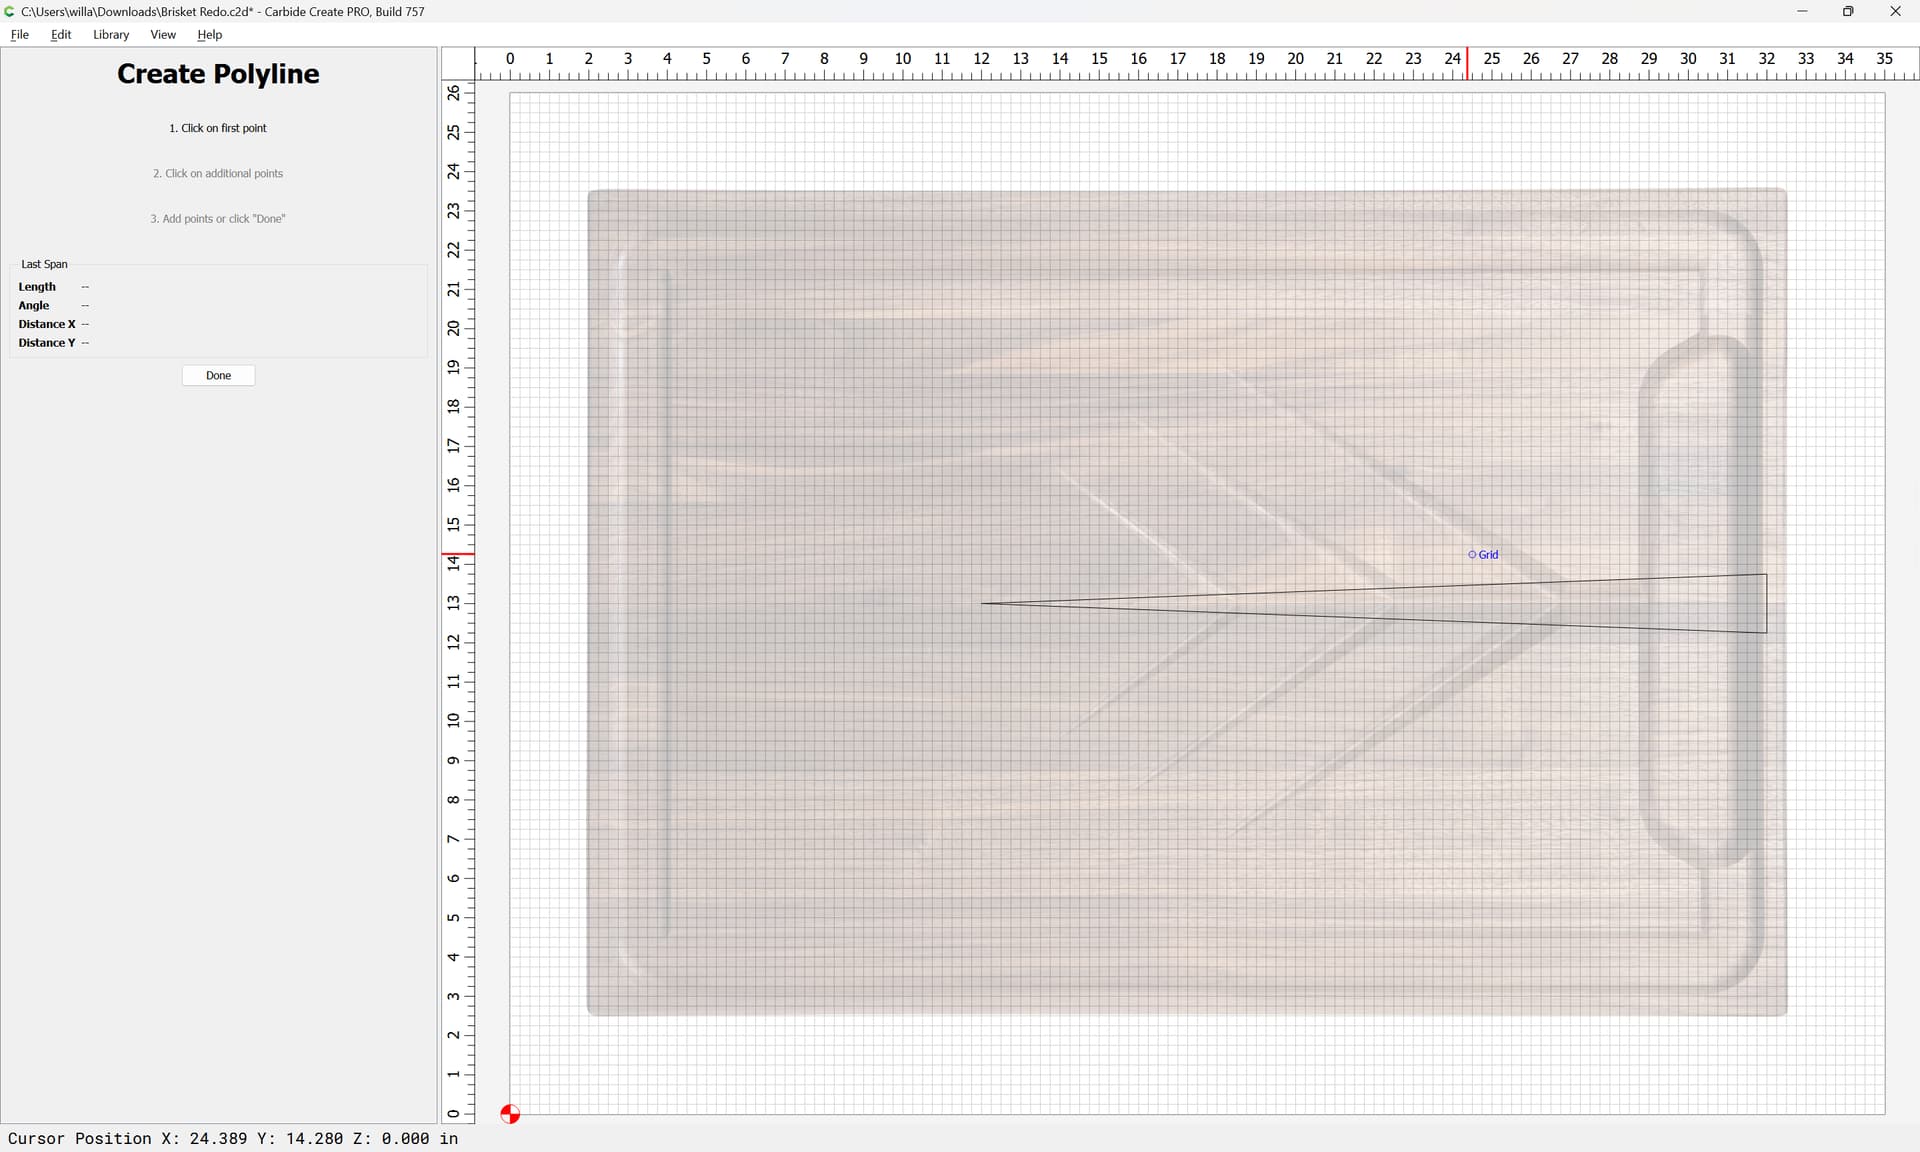
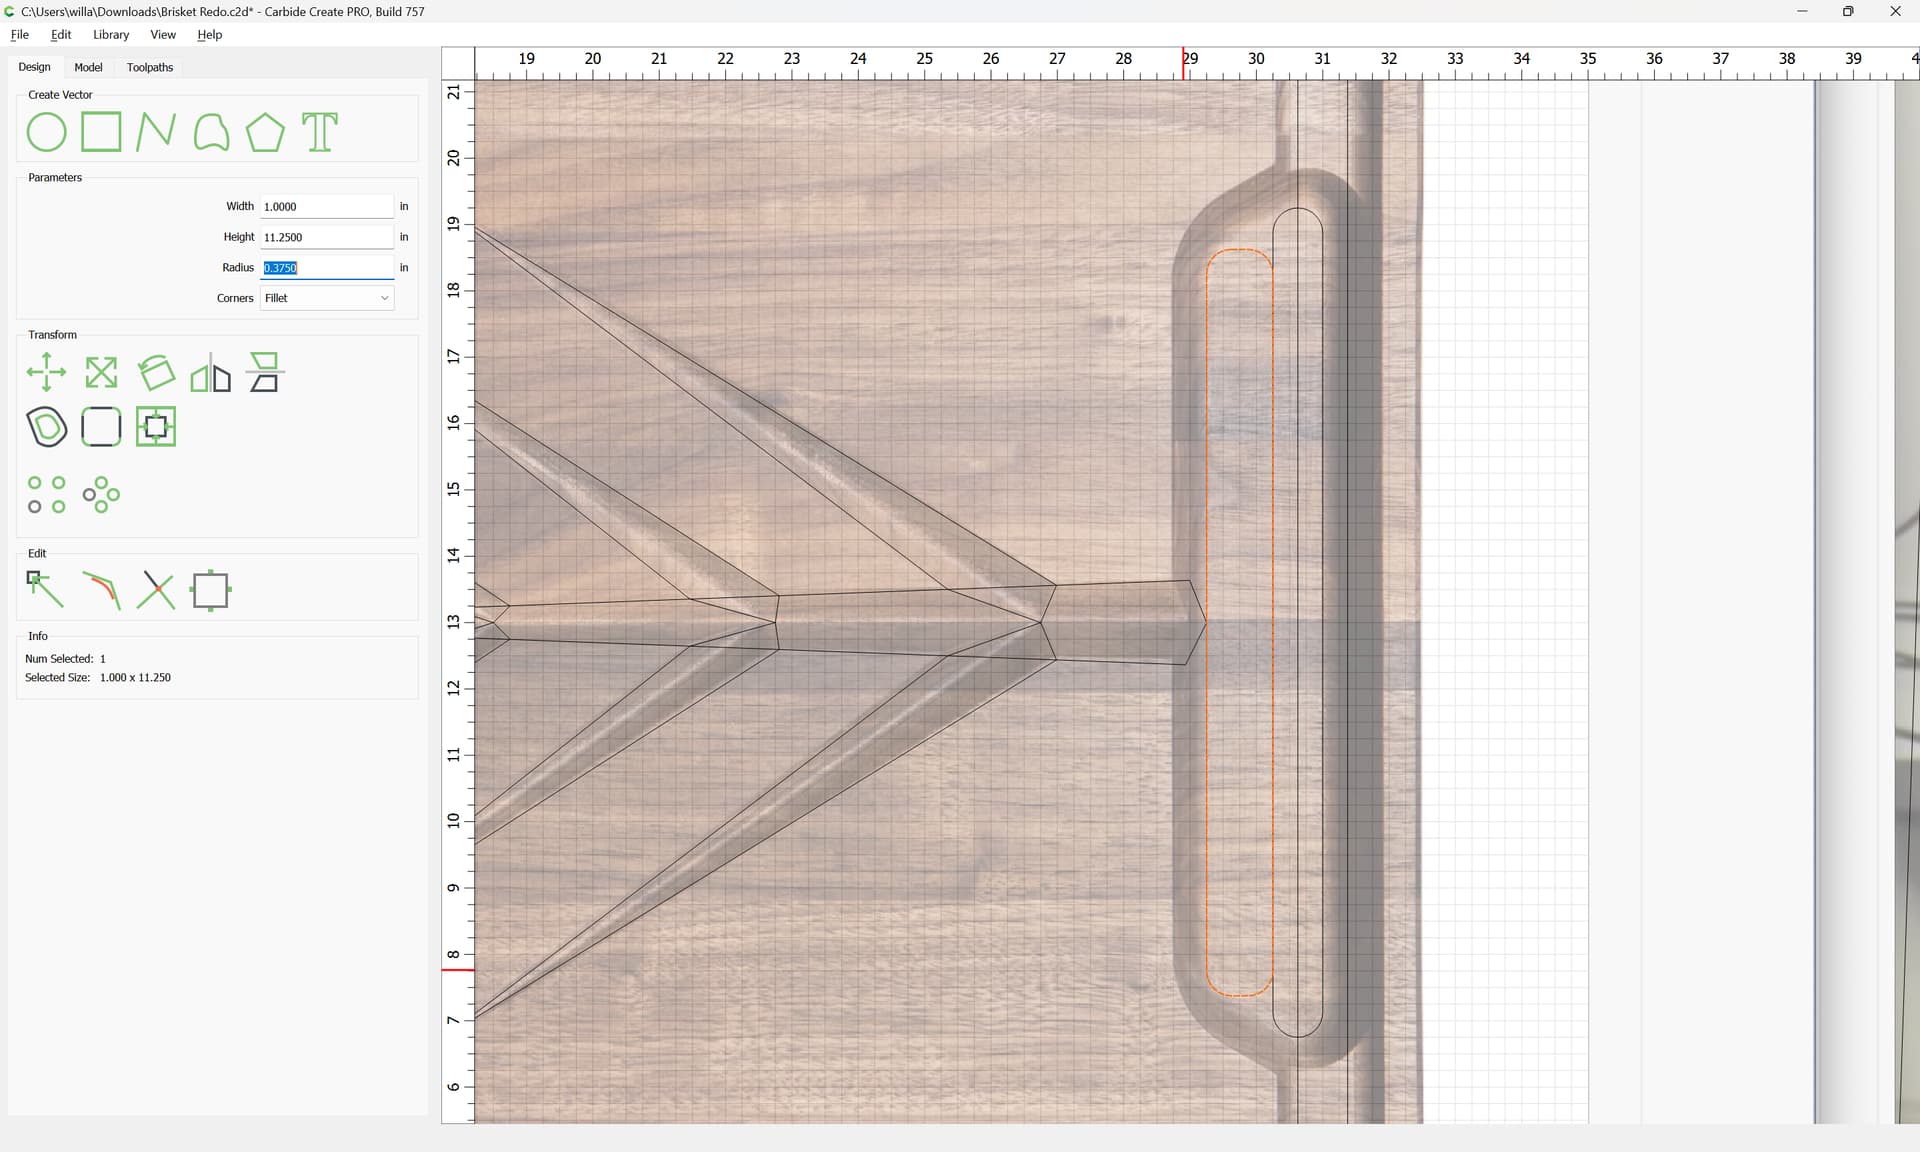
Draw in geometry which describes:
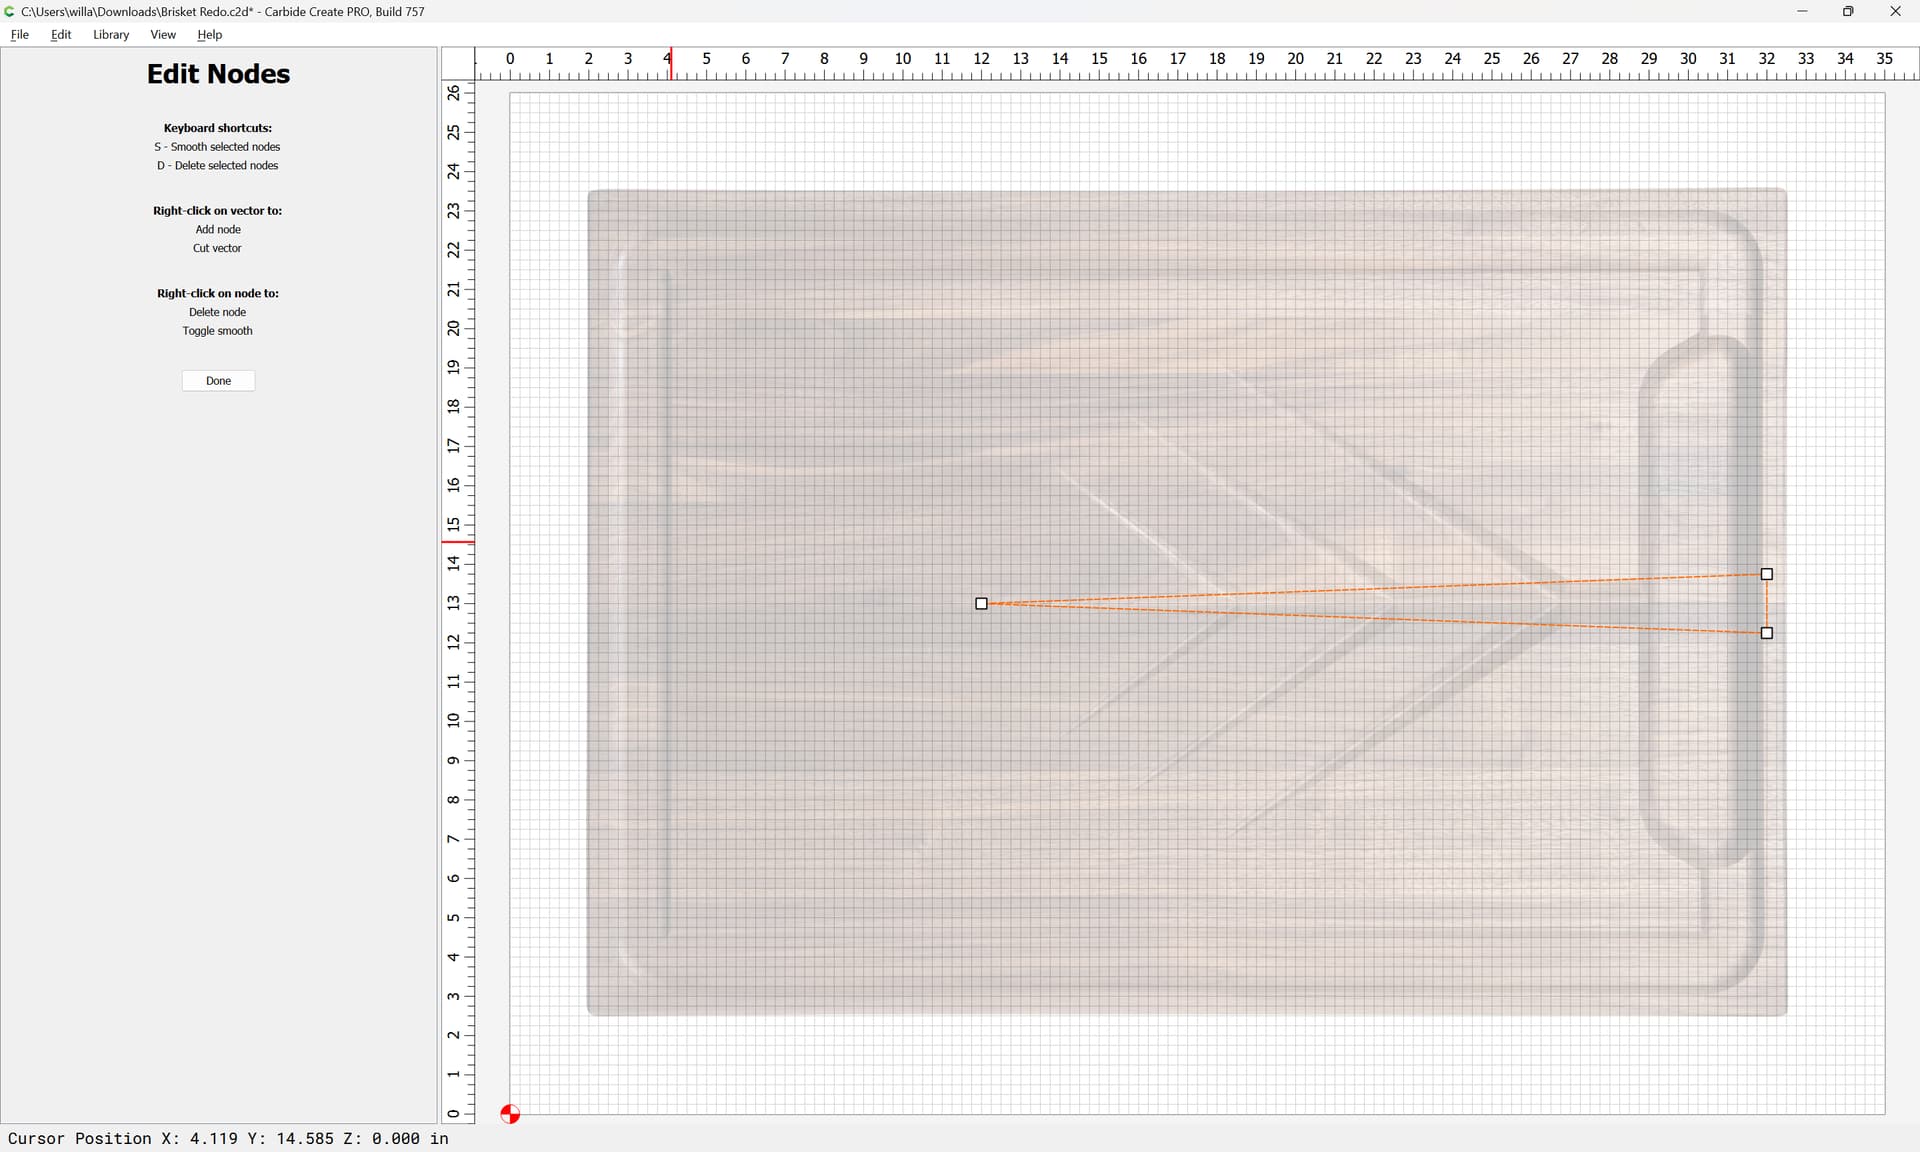
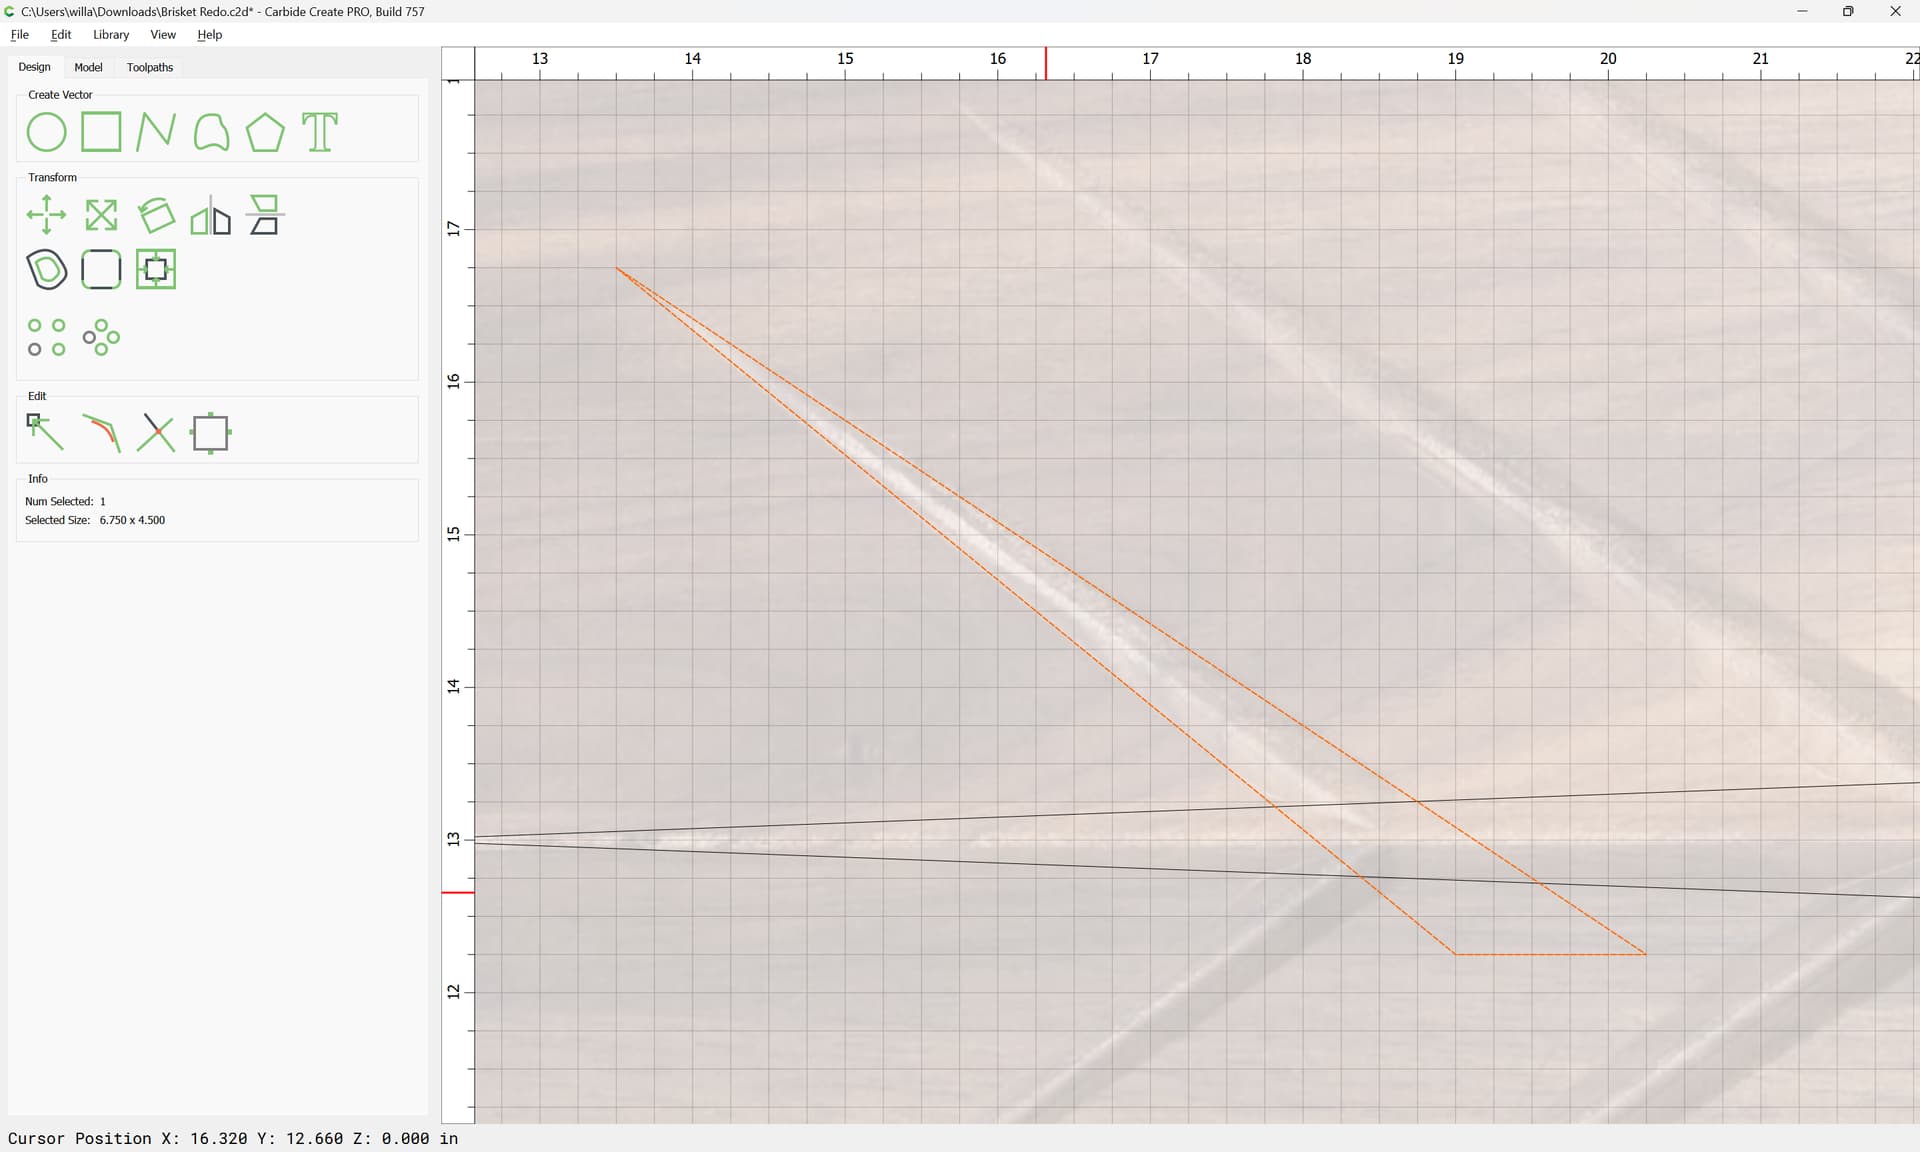
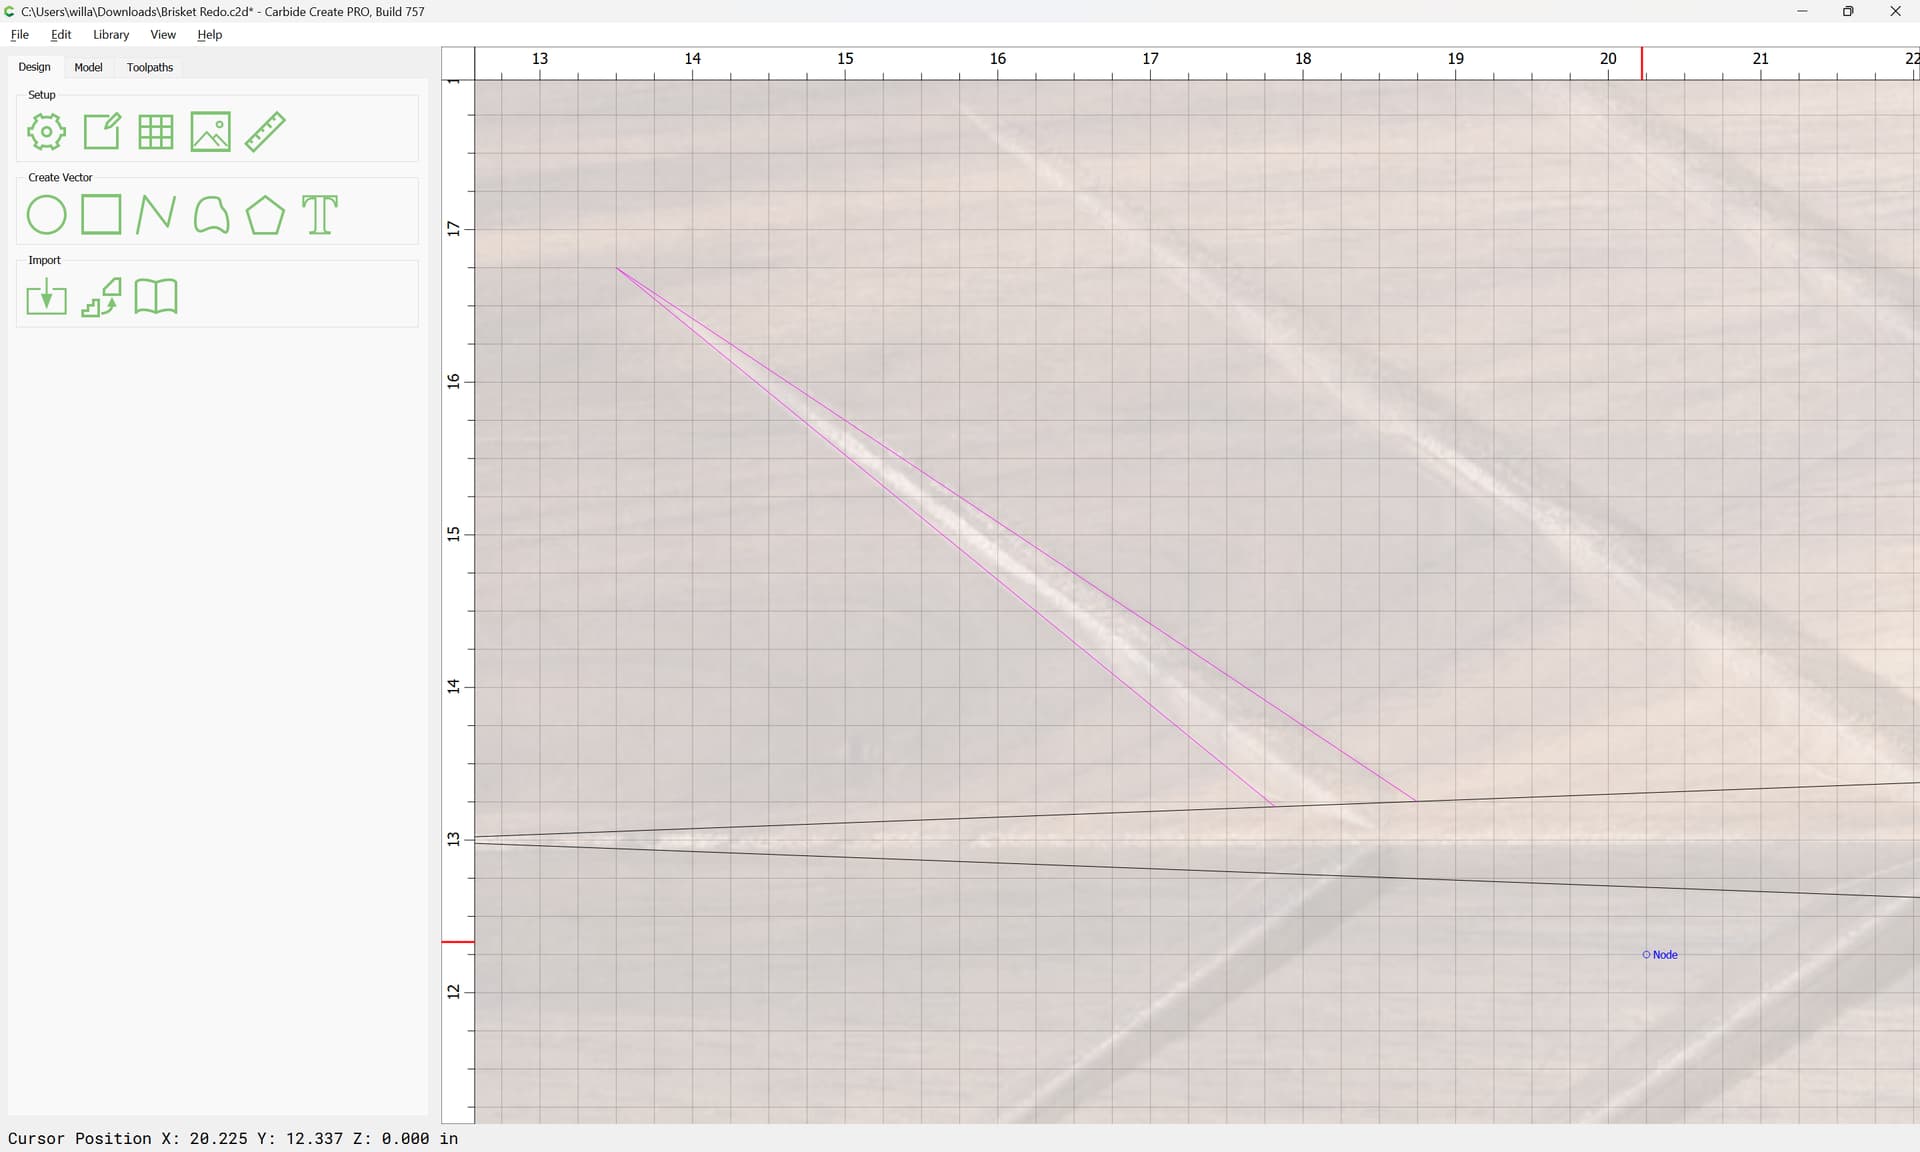
Use the Polyline tool to draw in a triangular shape which describes one of the regions:
(use the grid to ensure that the geometry is centered/symmetrical)
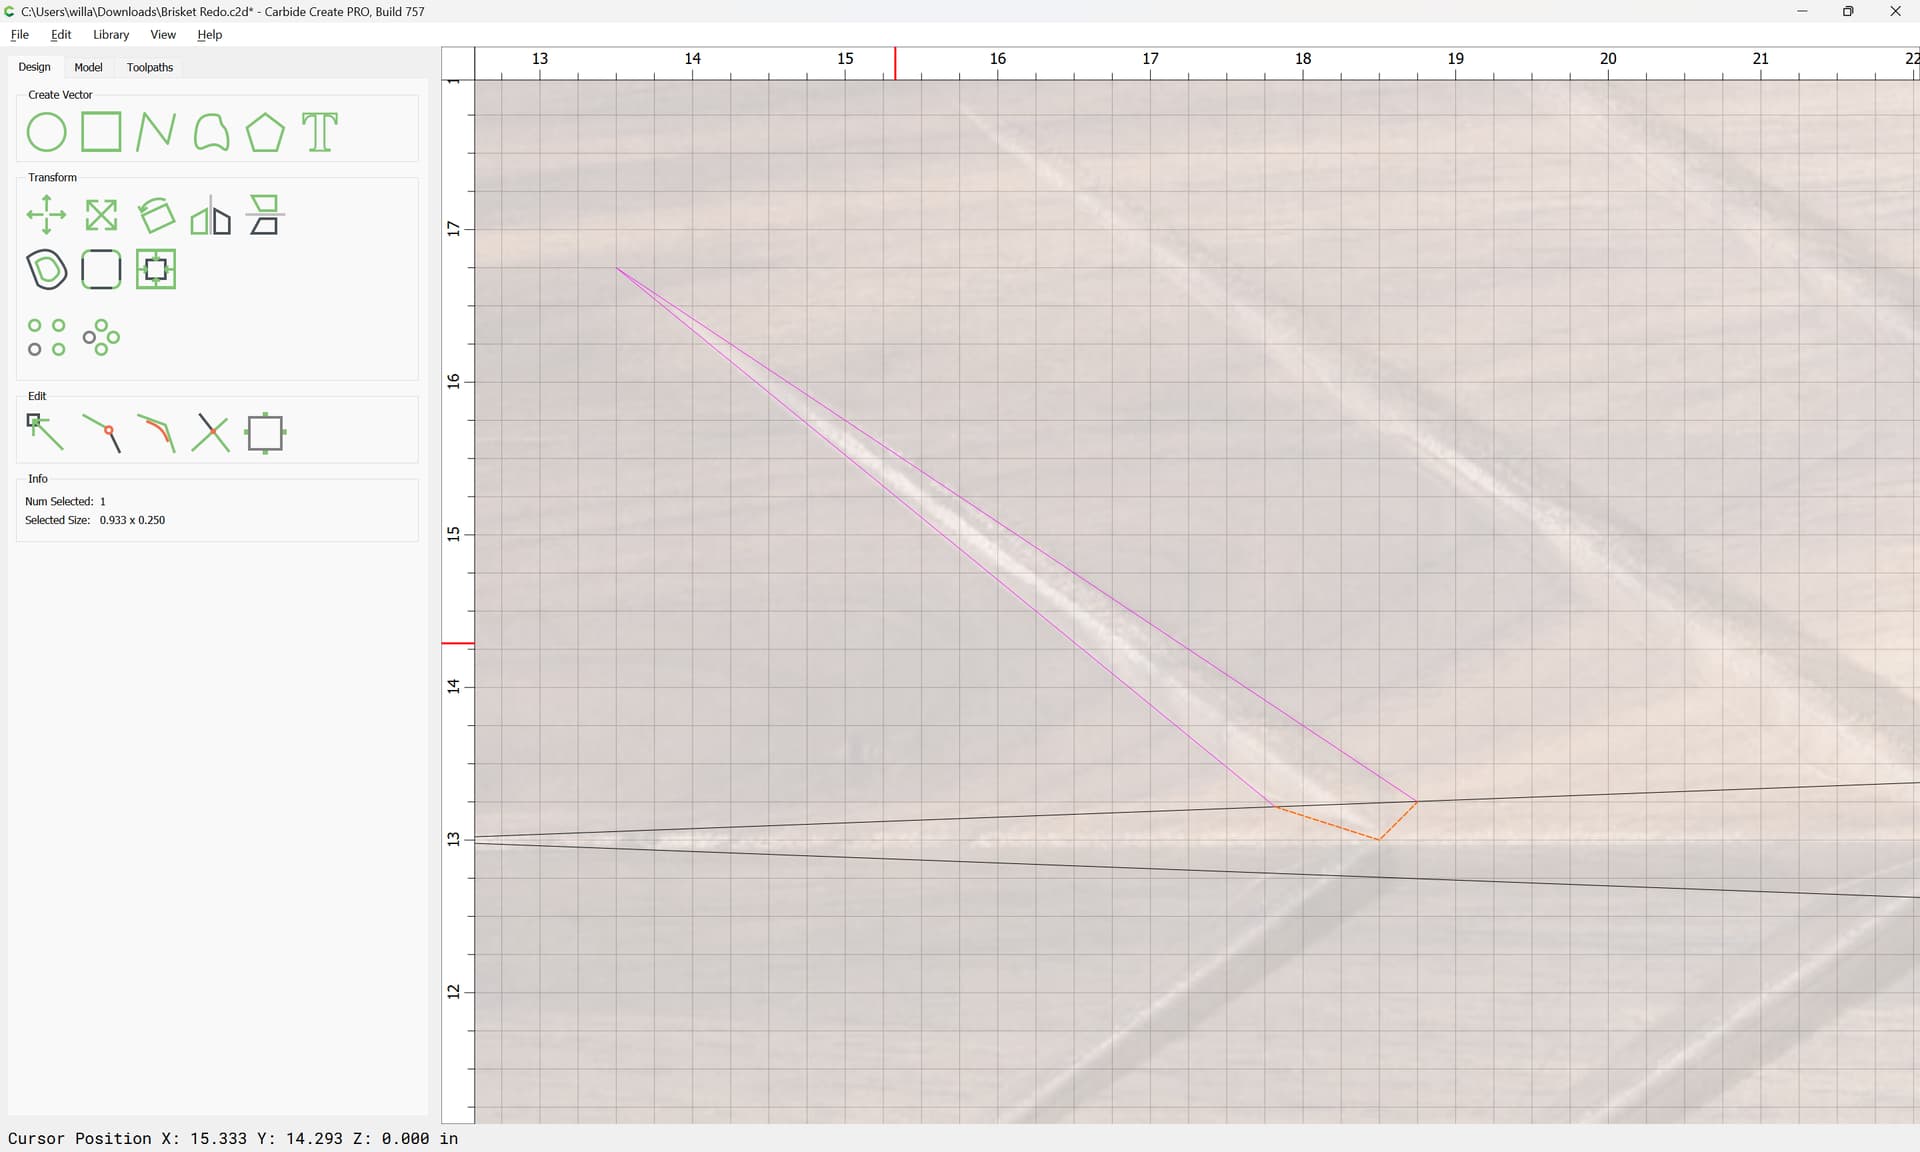
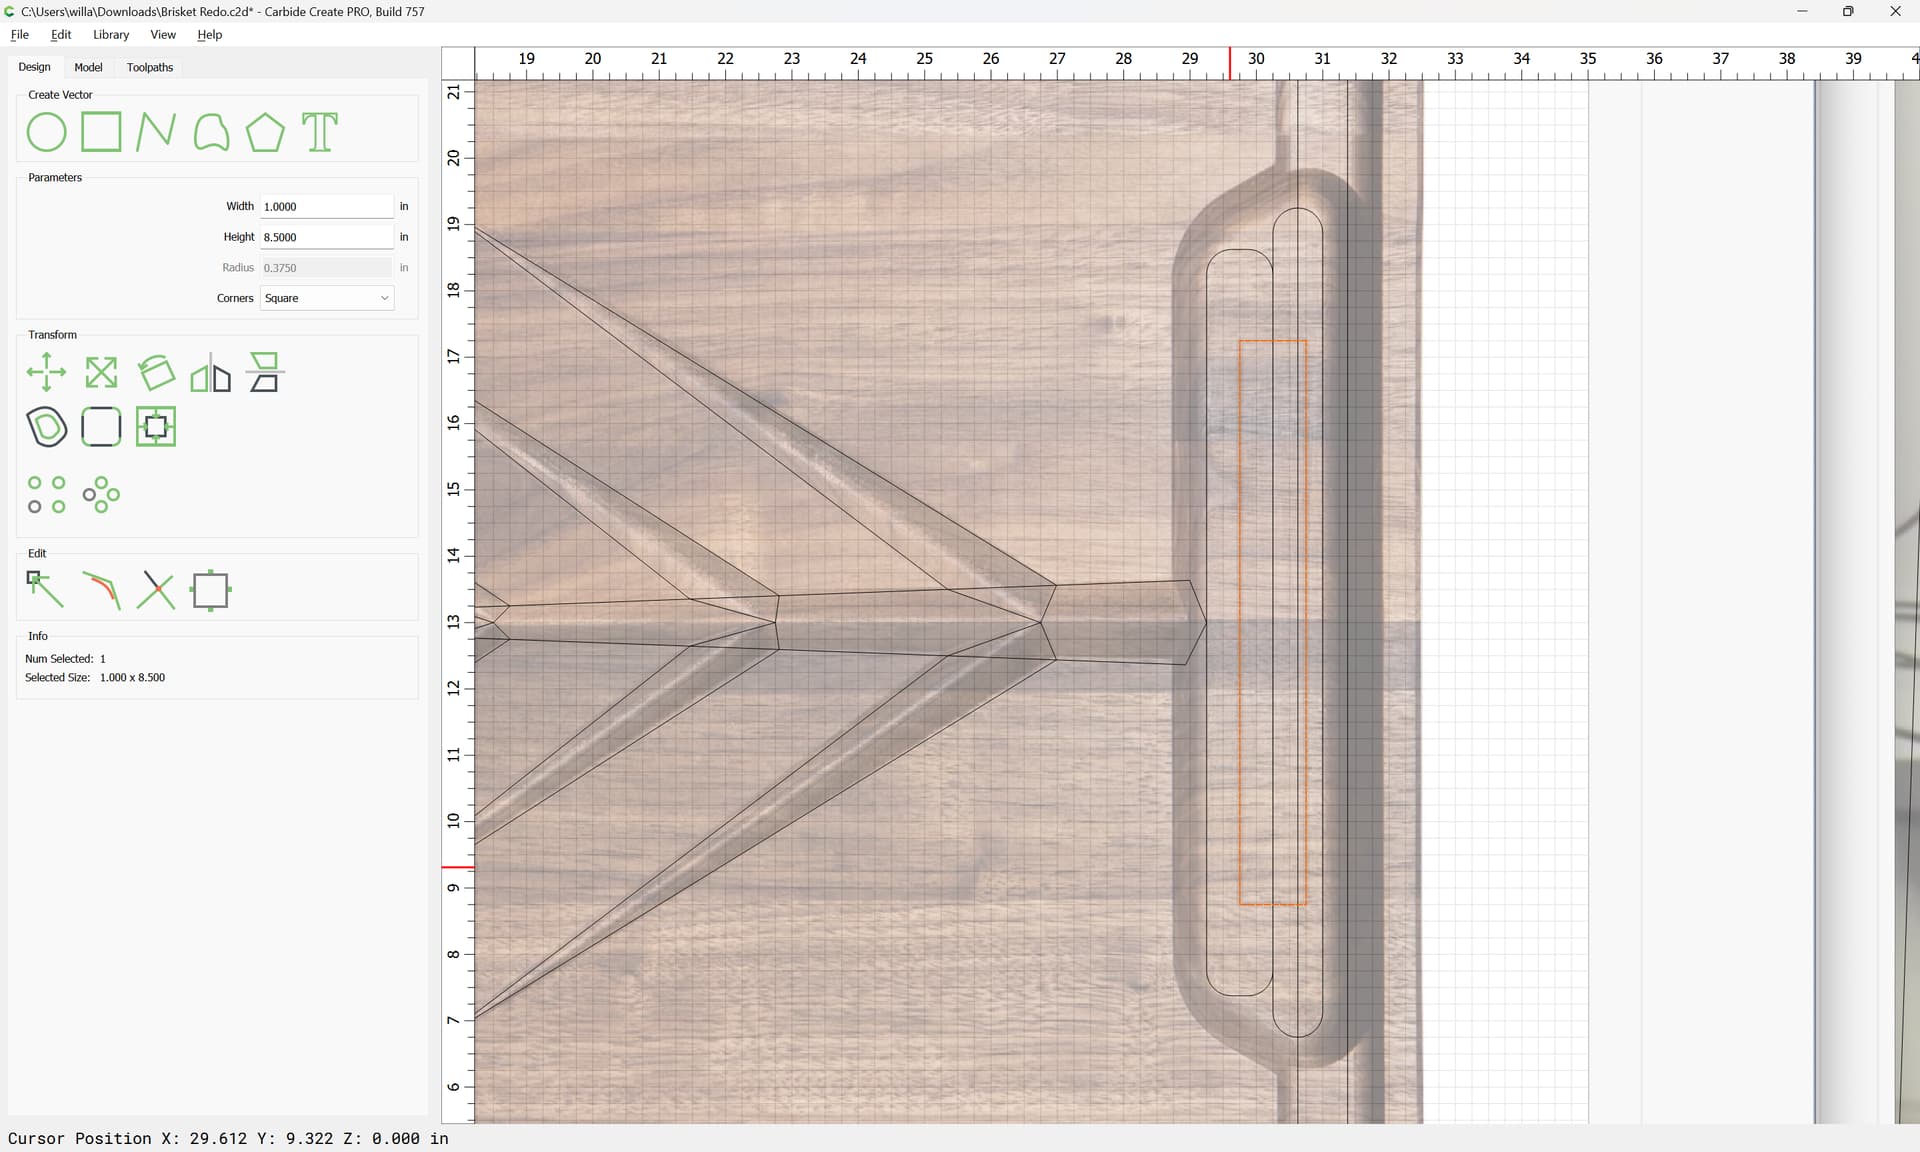
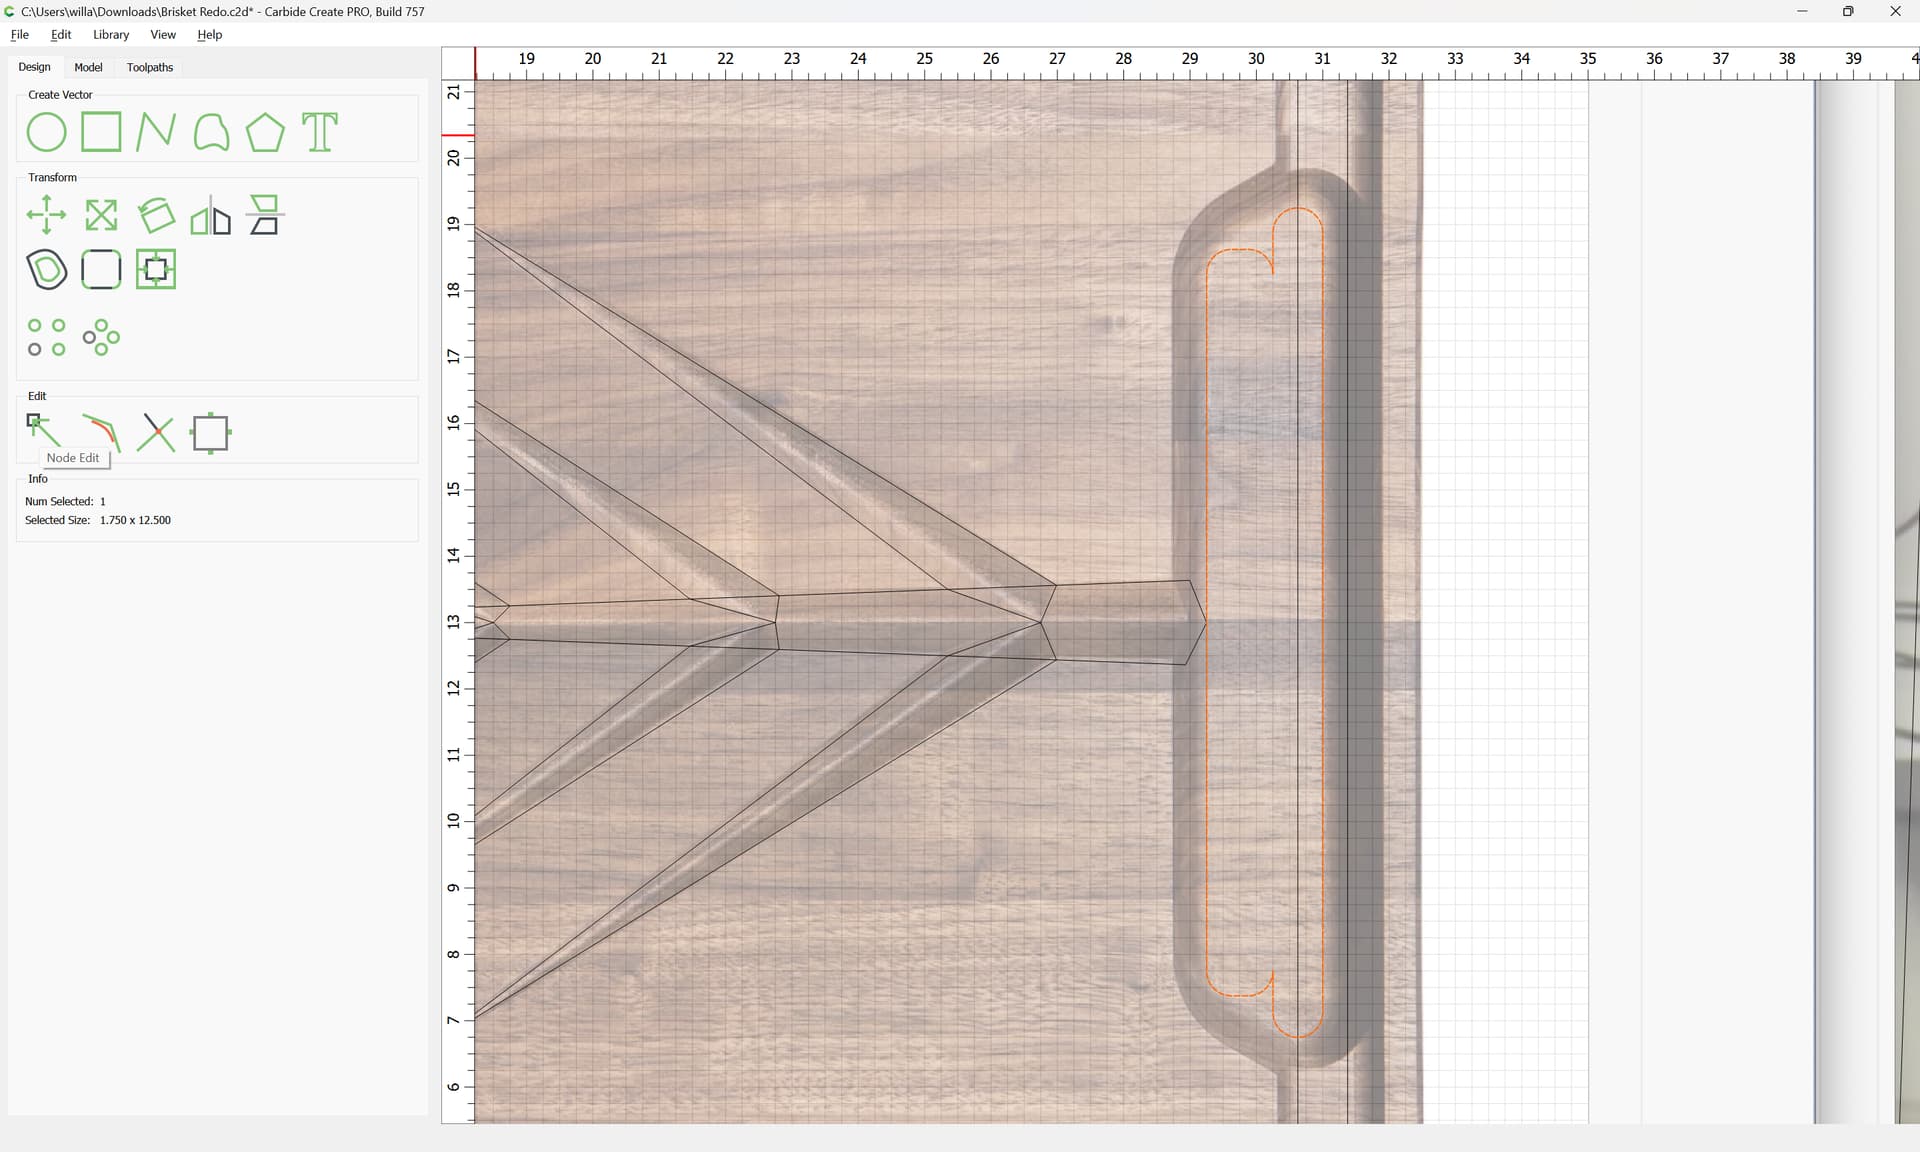
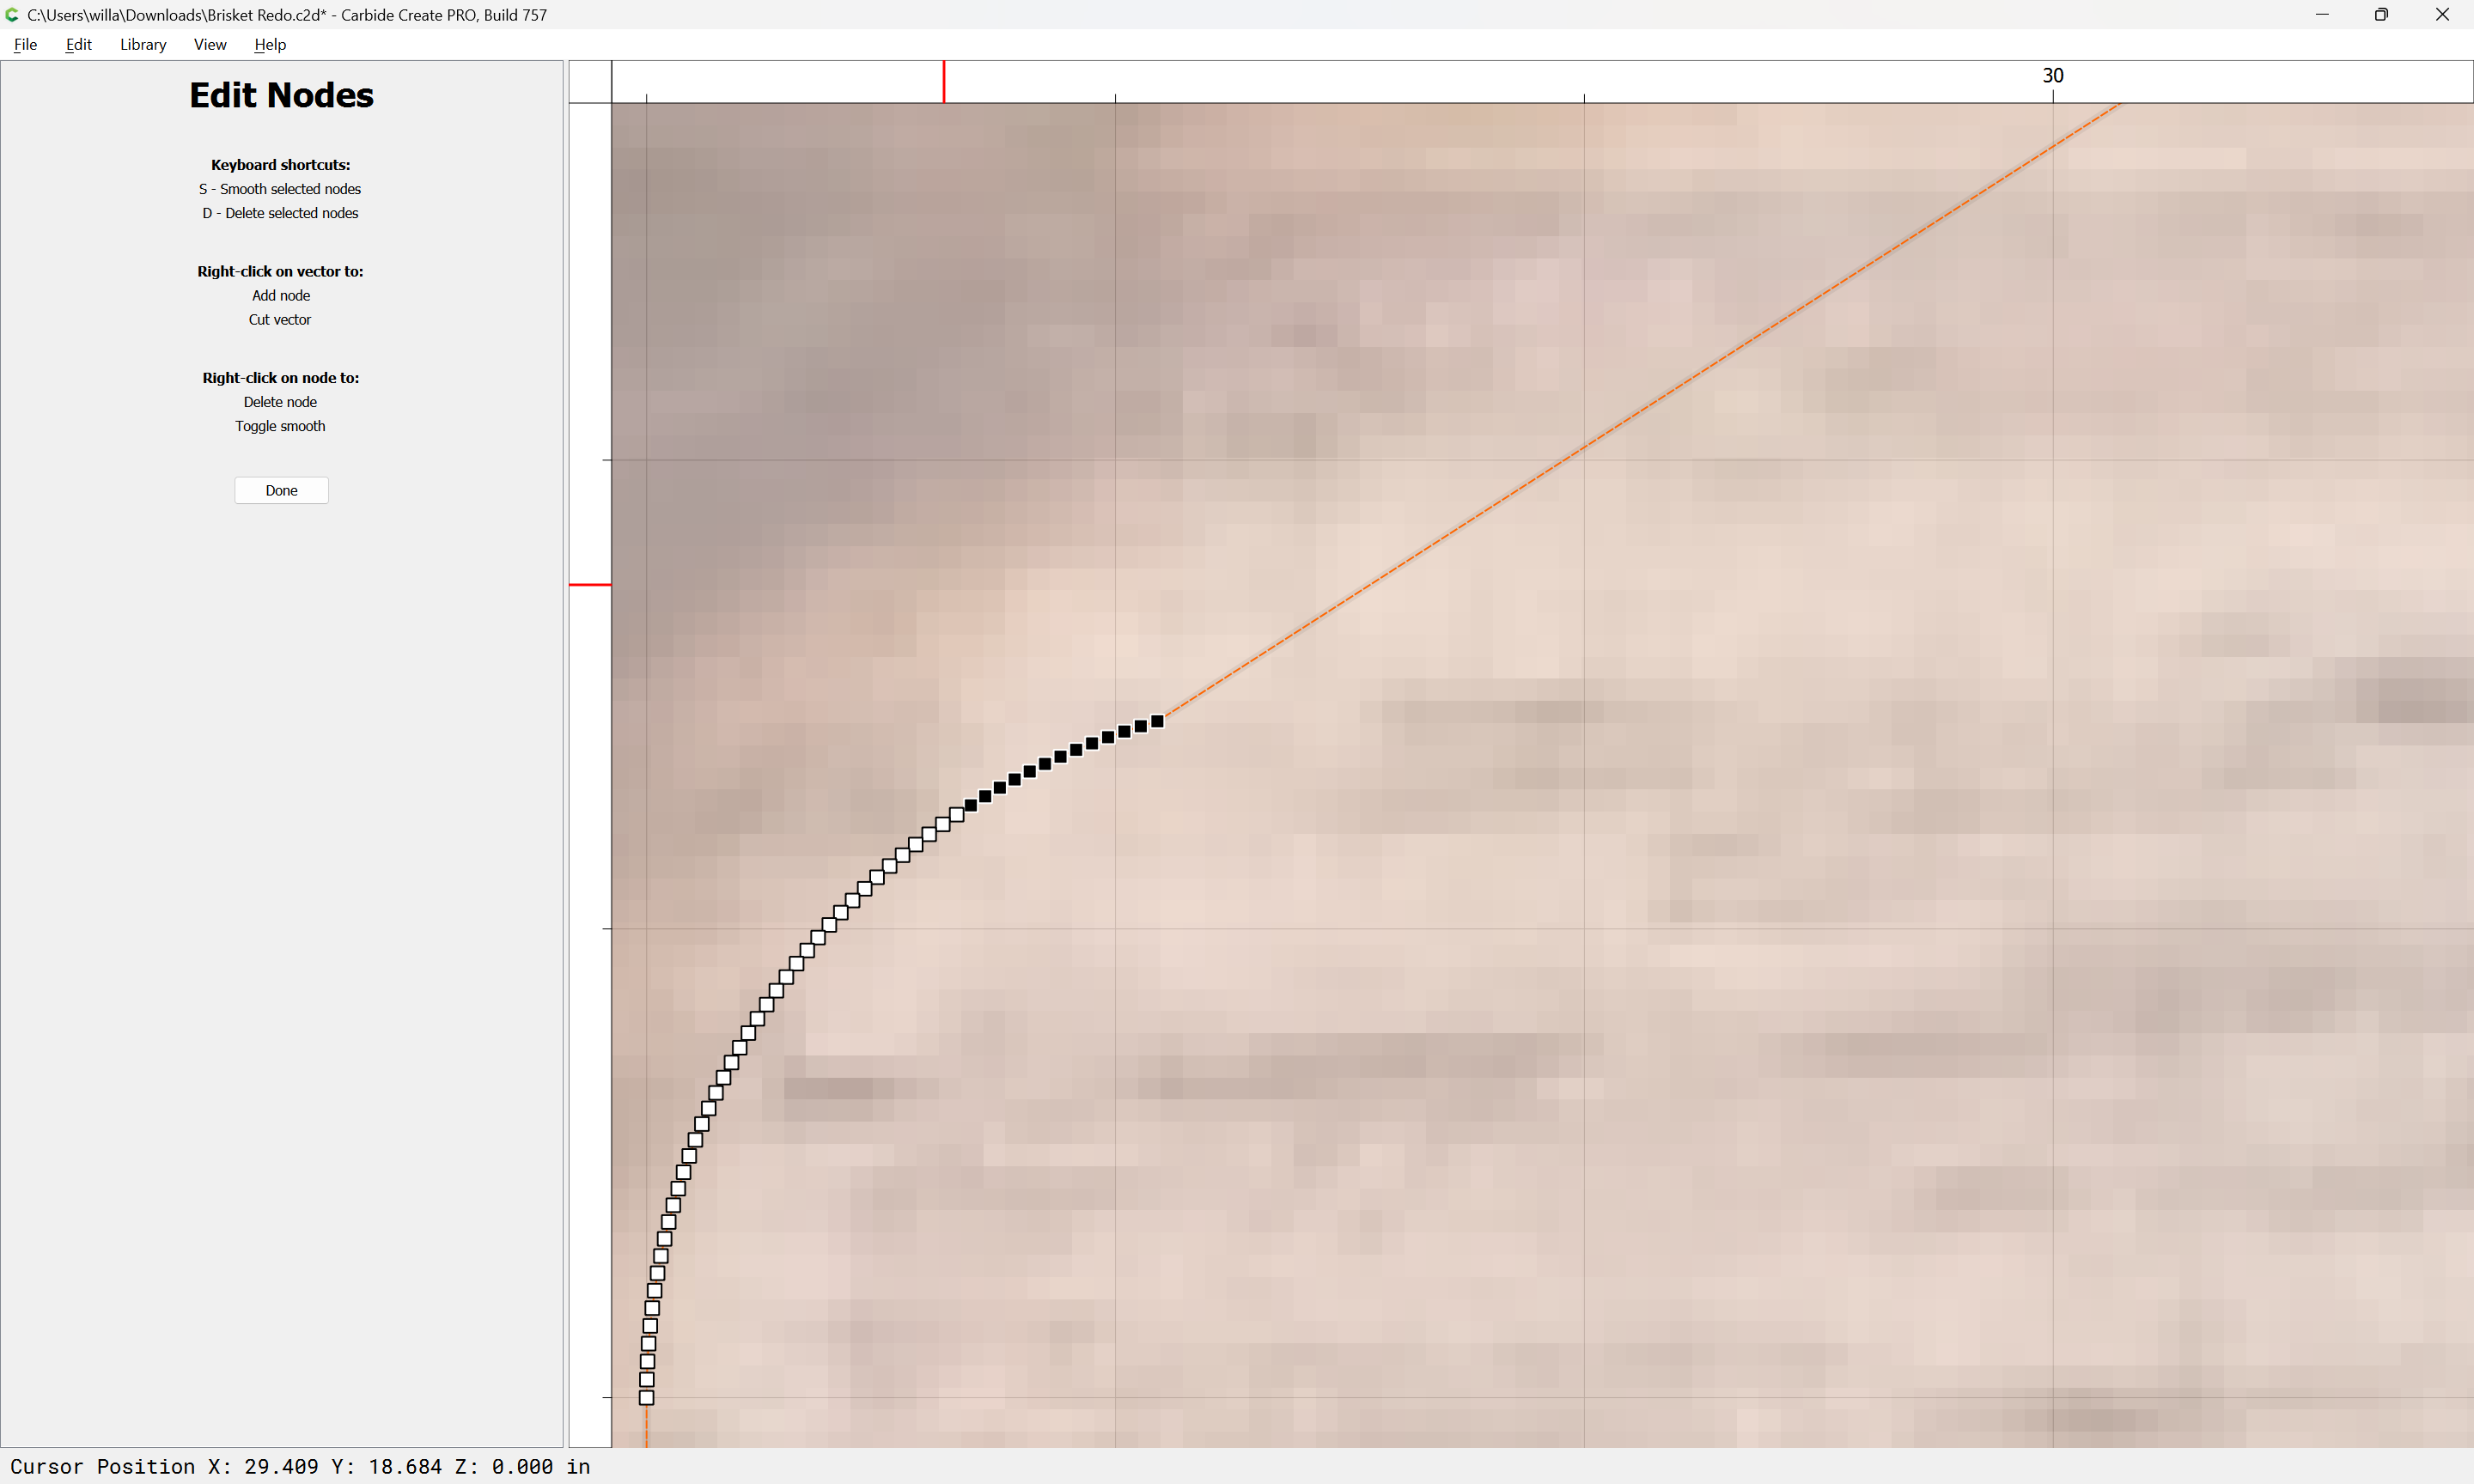
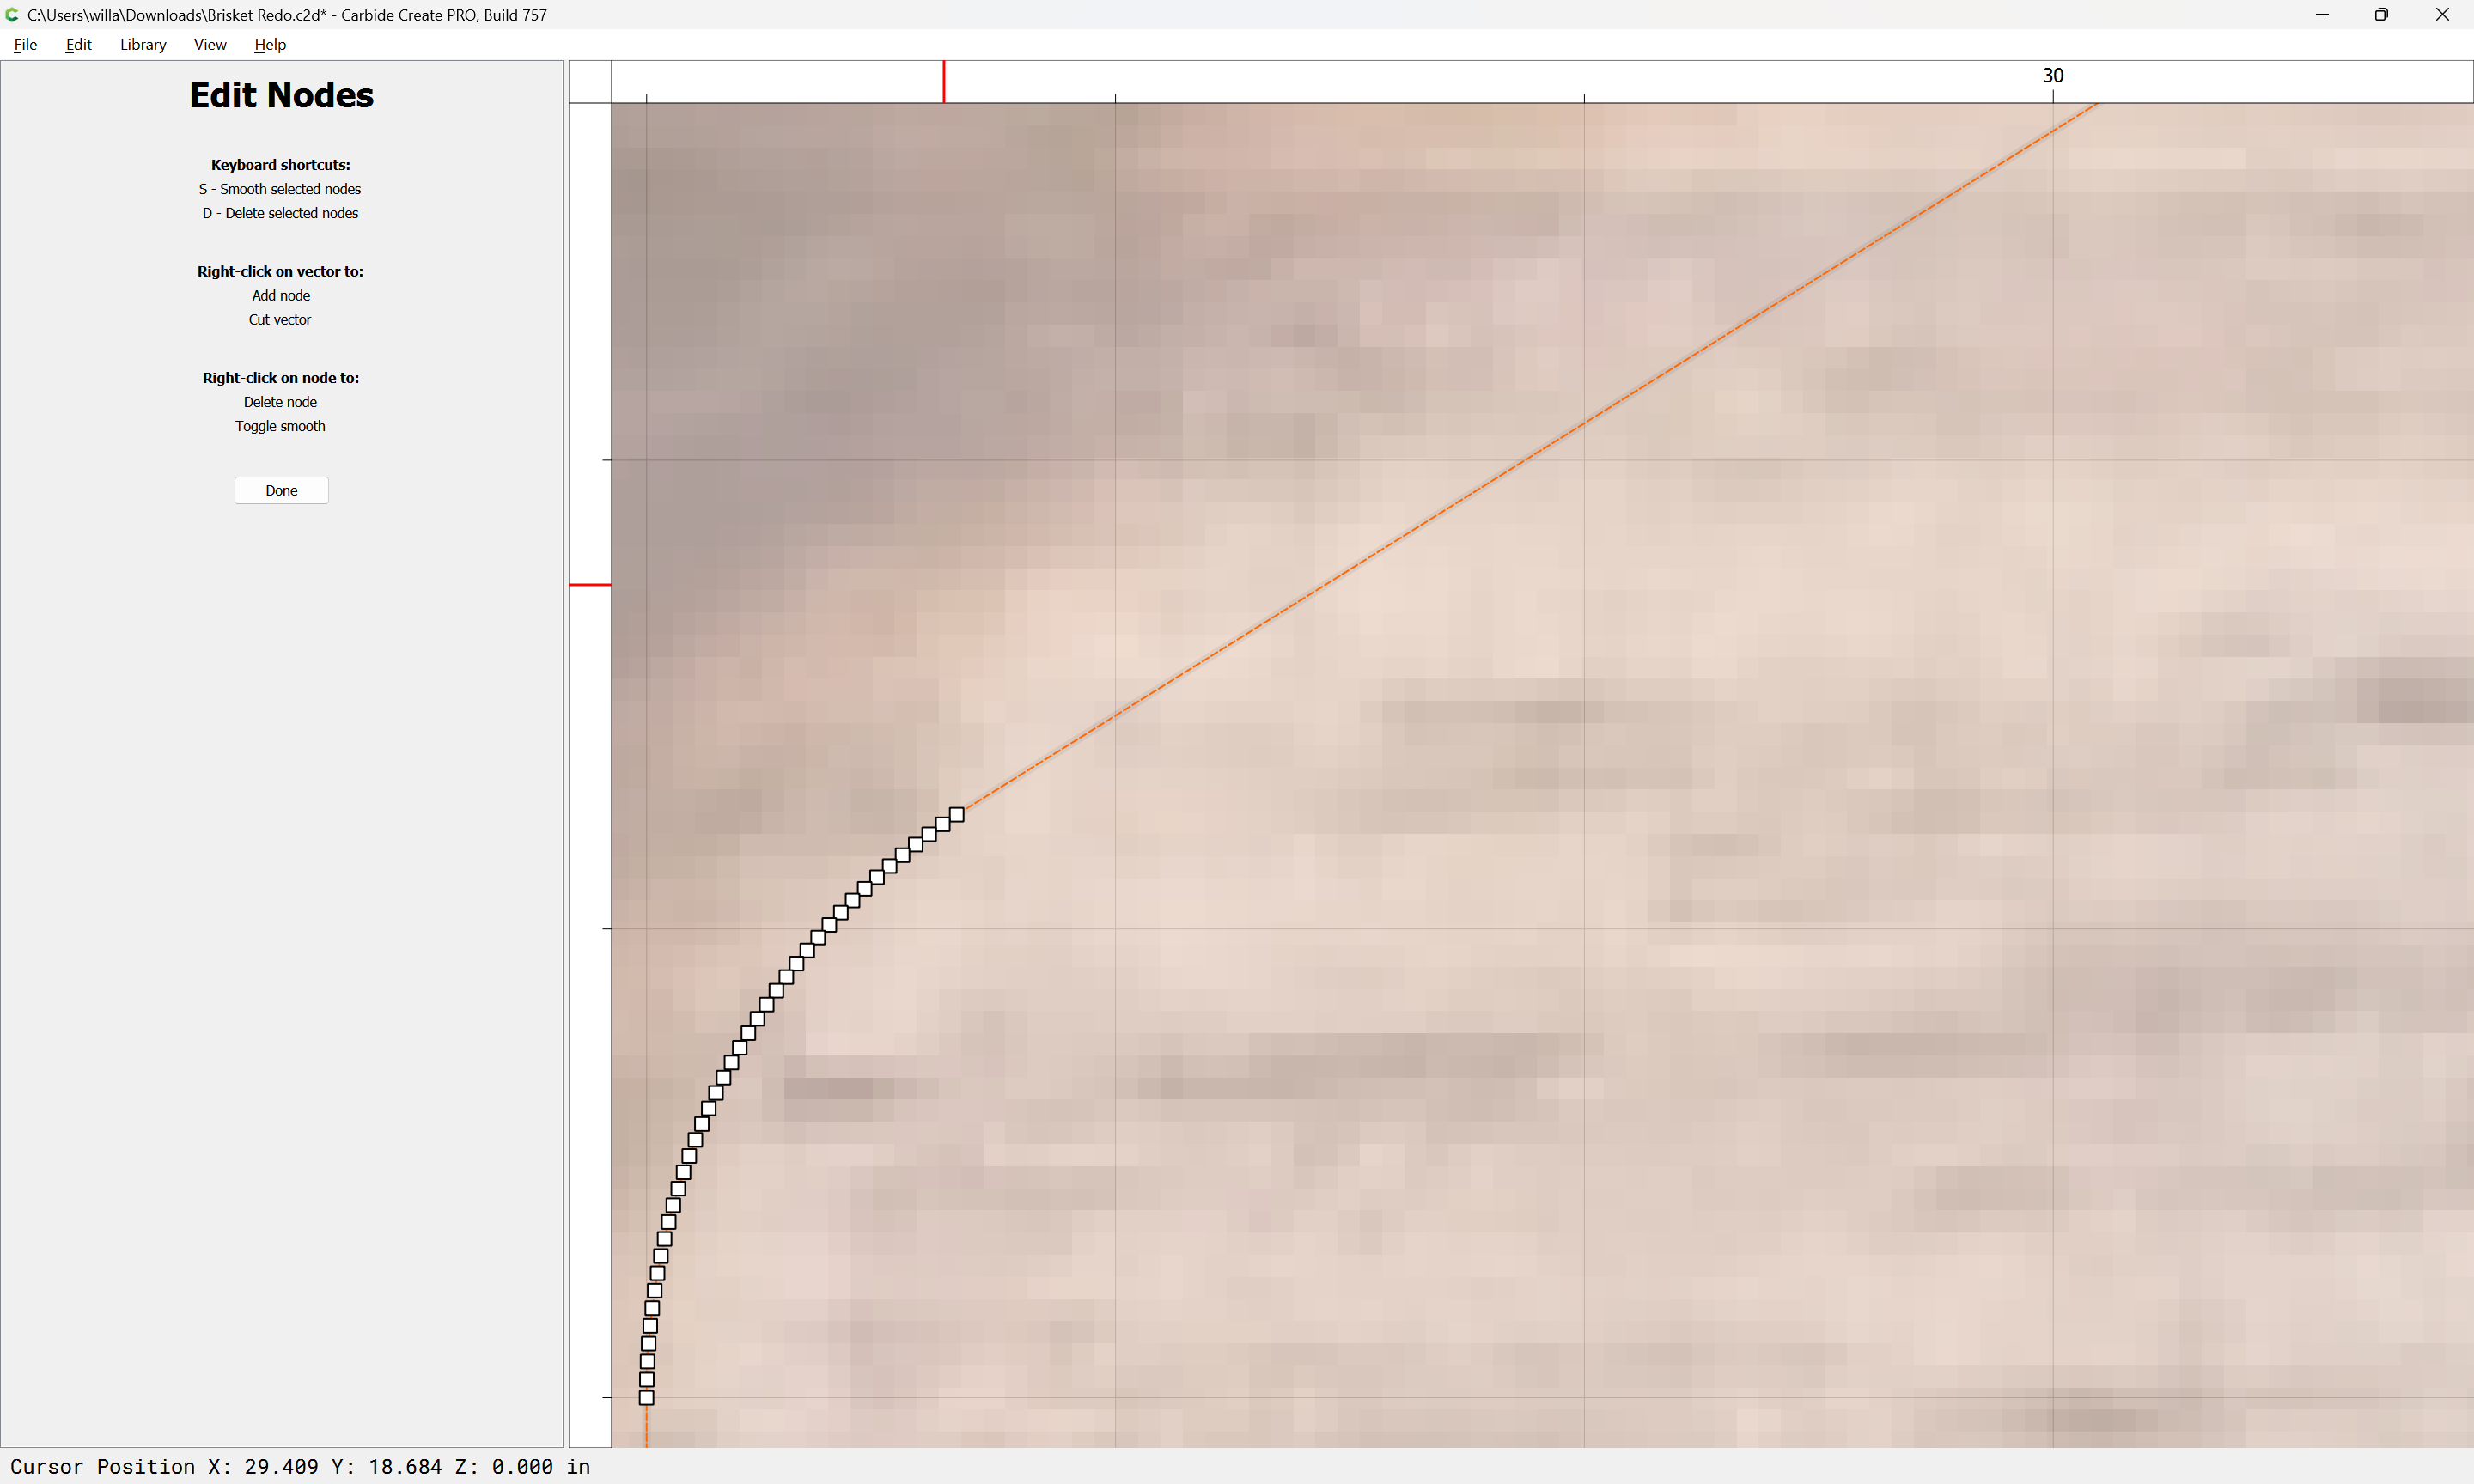
Use Node Editing if need be to adjust:
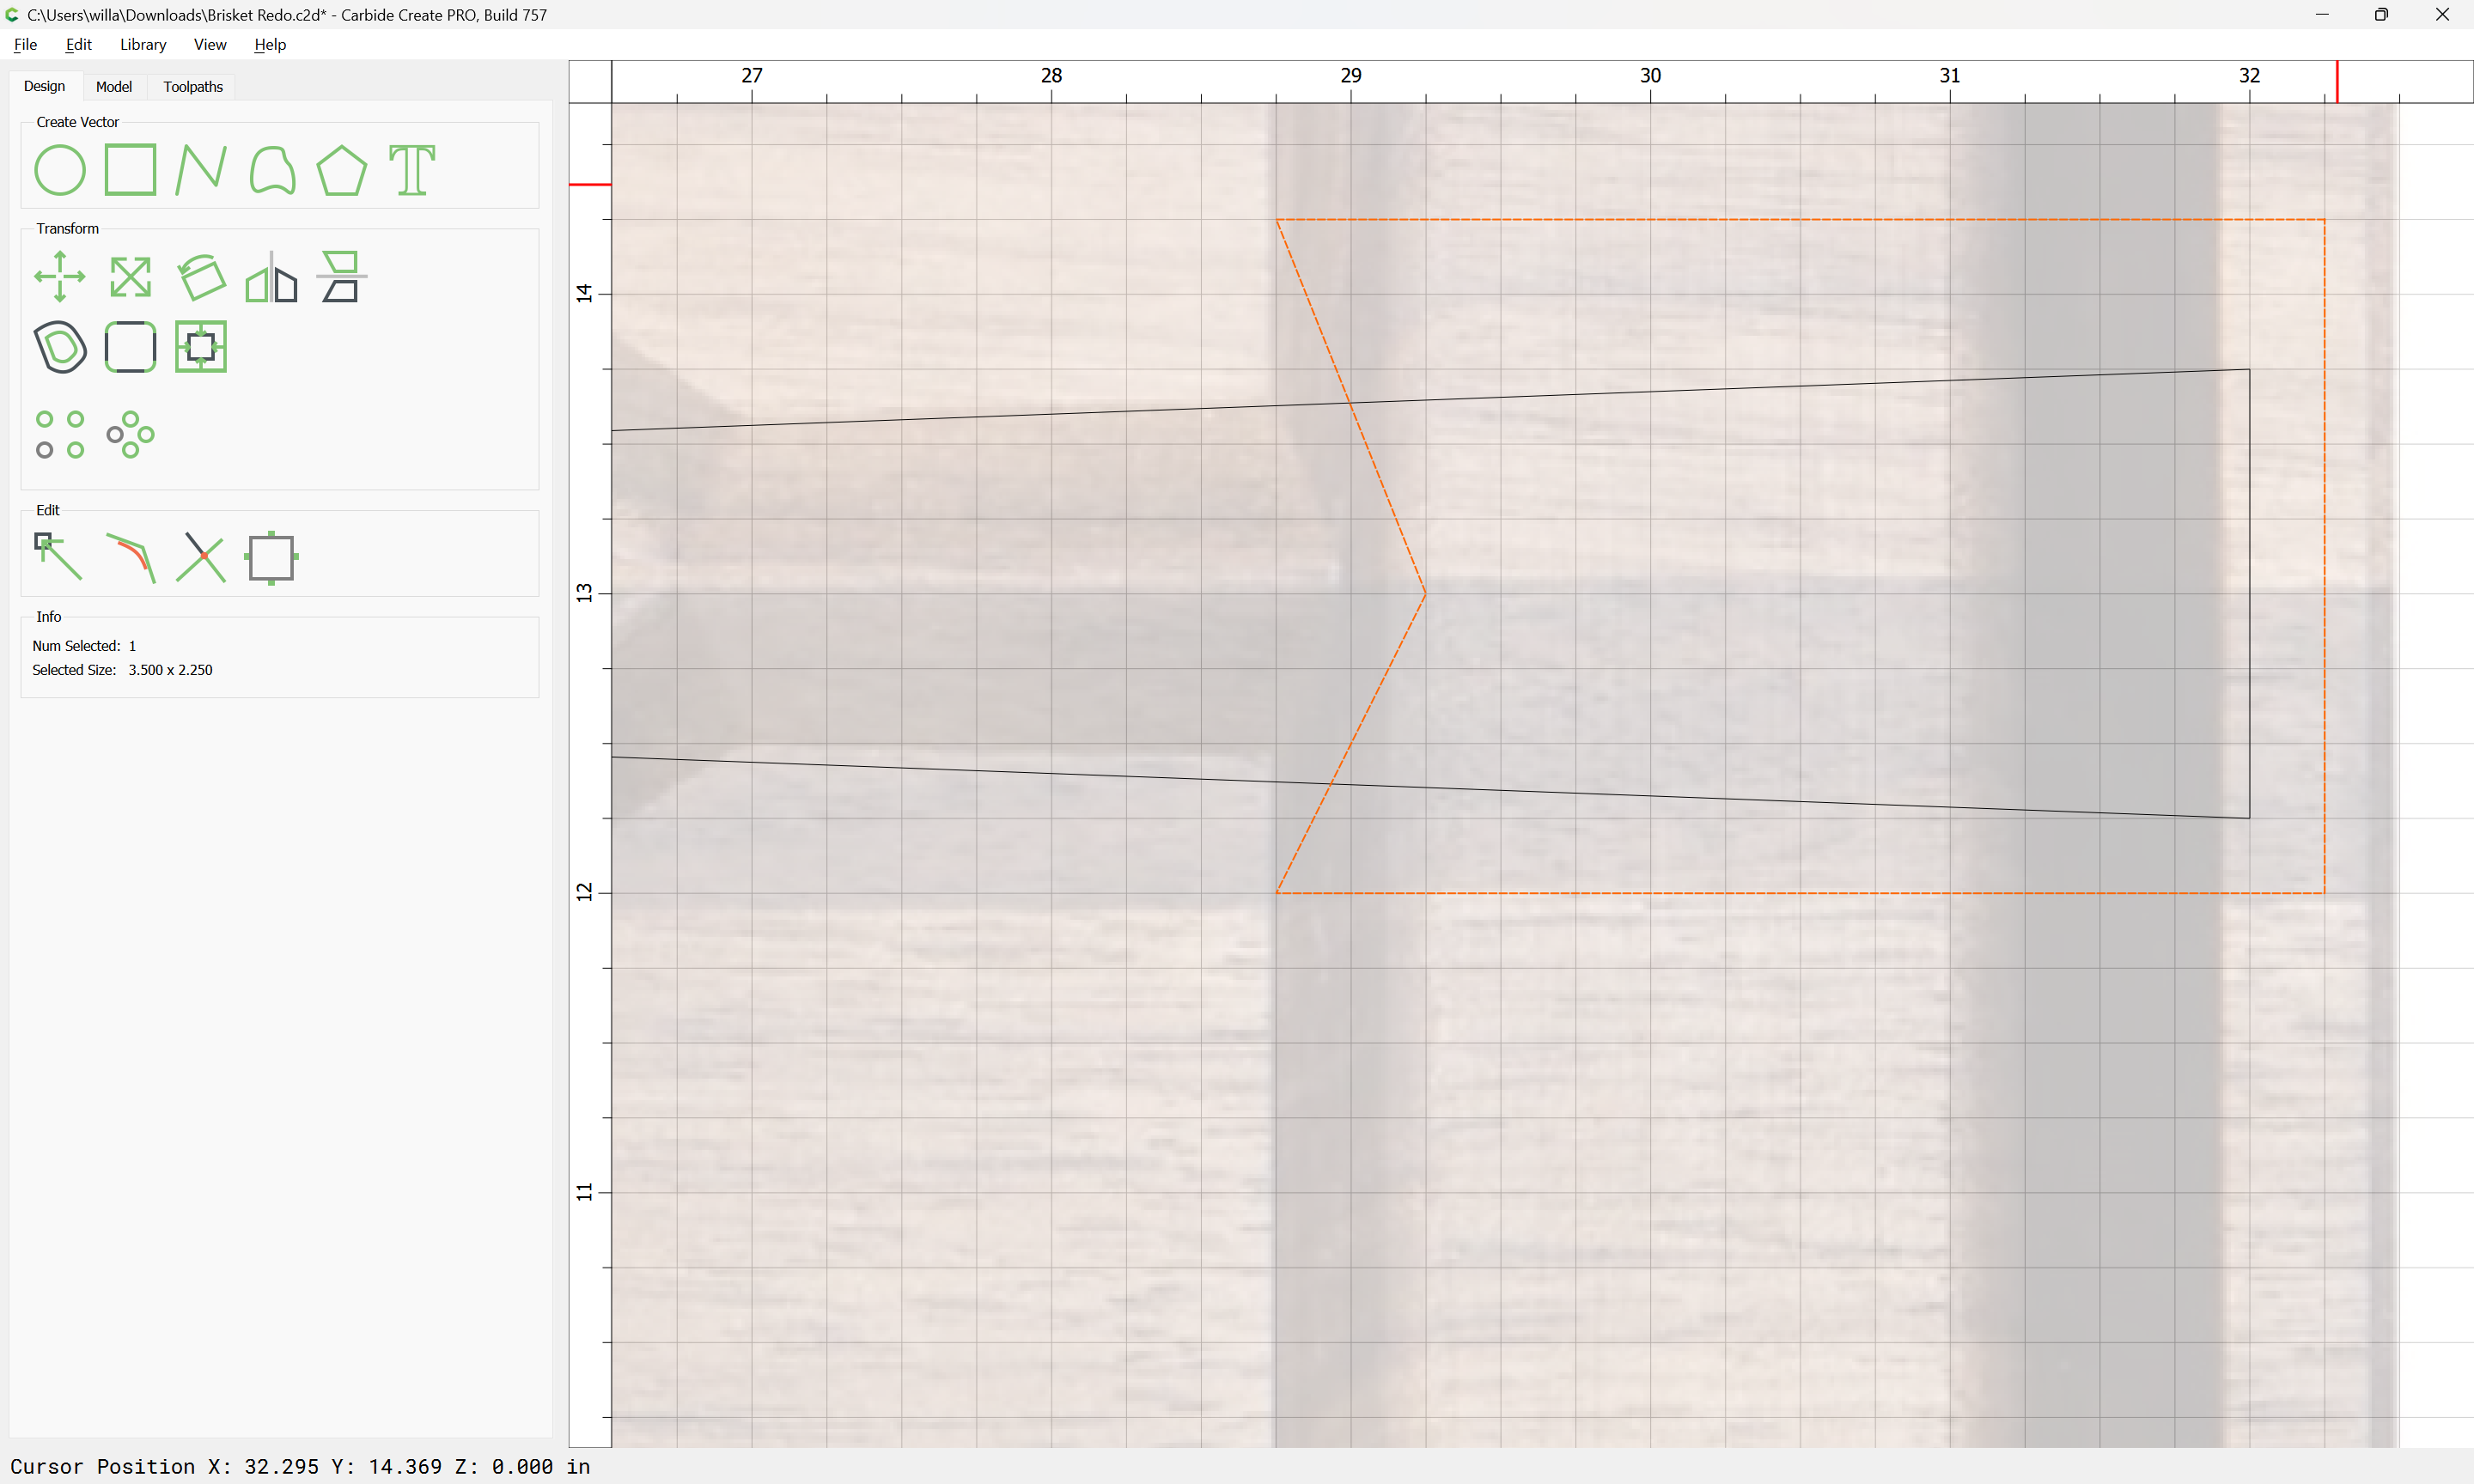
If need be, draw in geometry which describes the region which you wish to trim off:
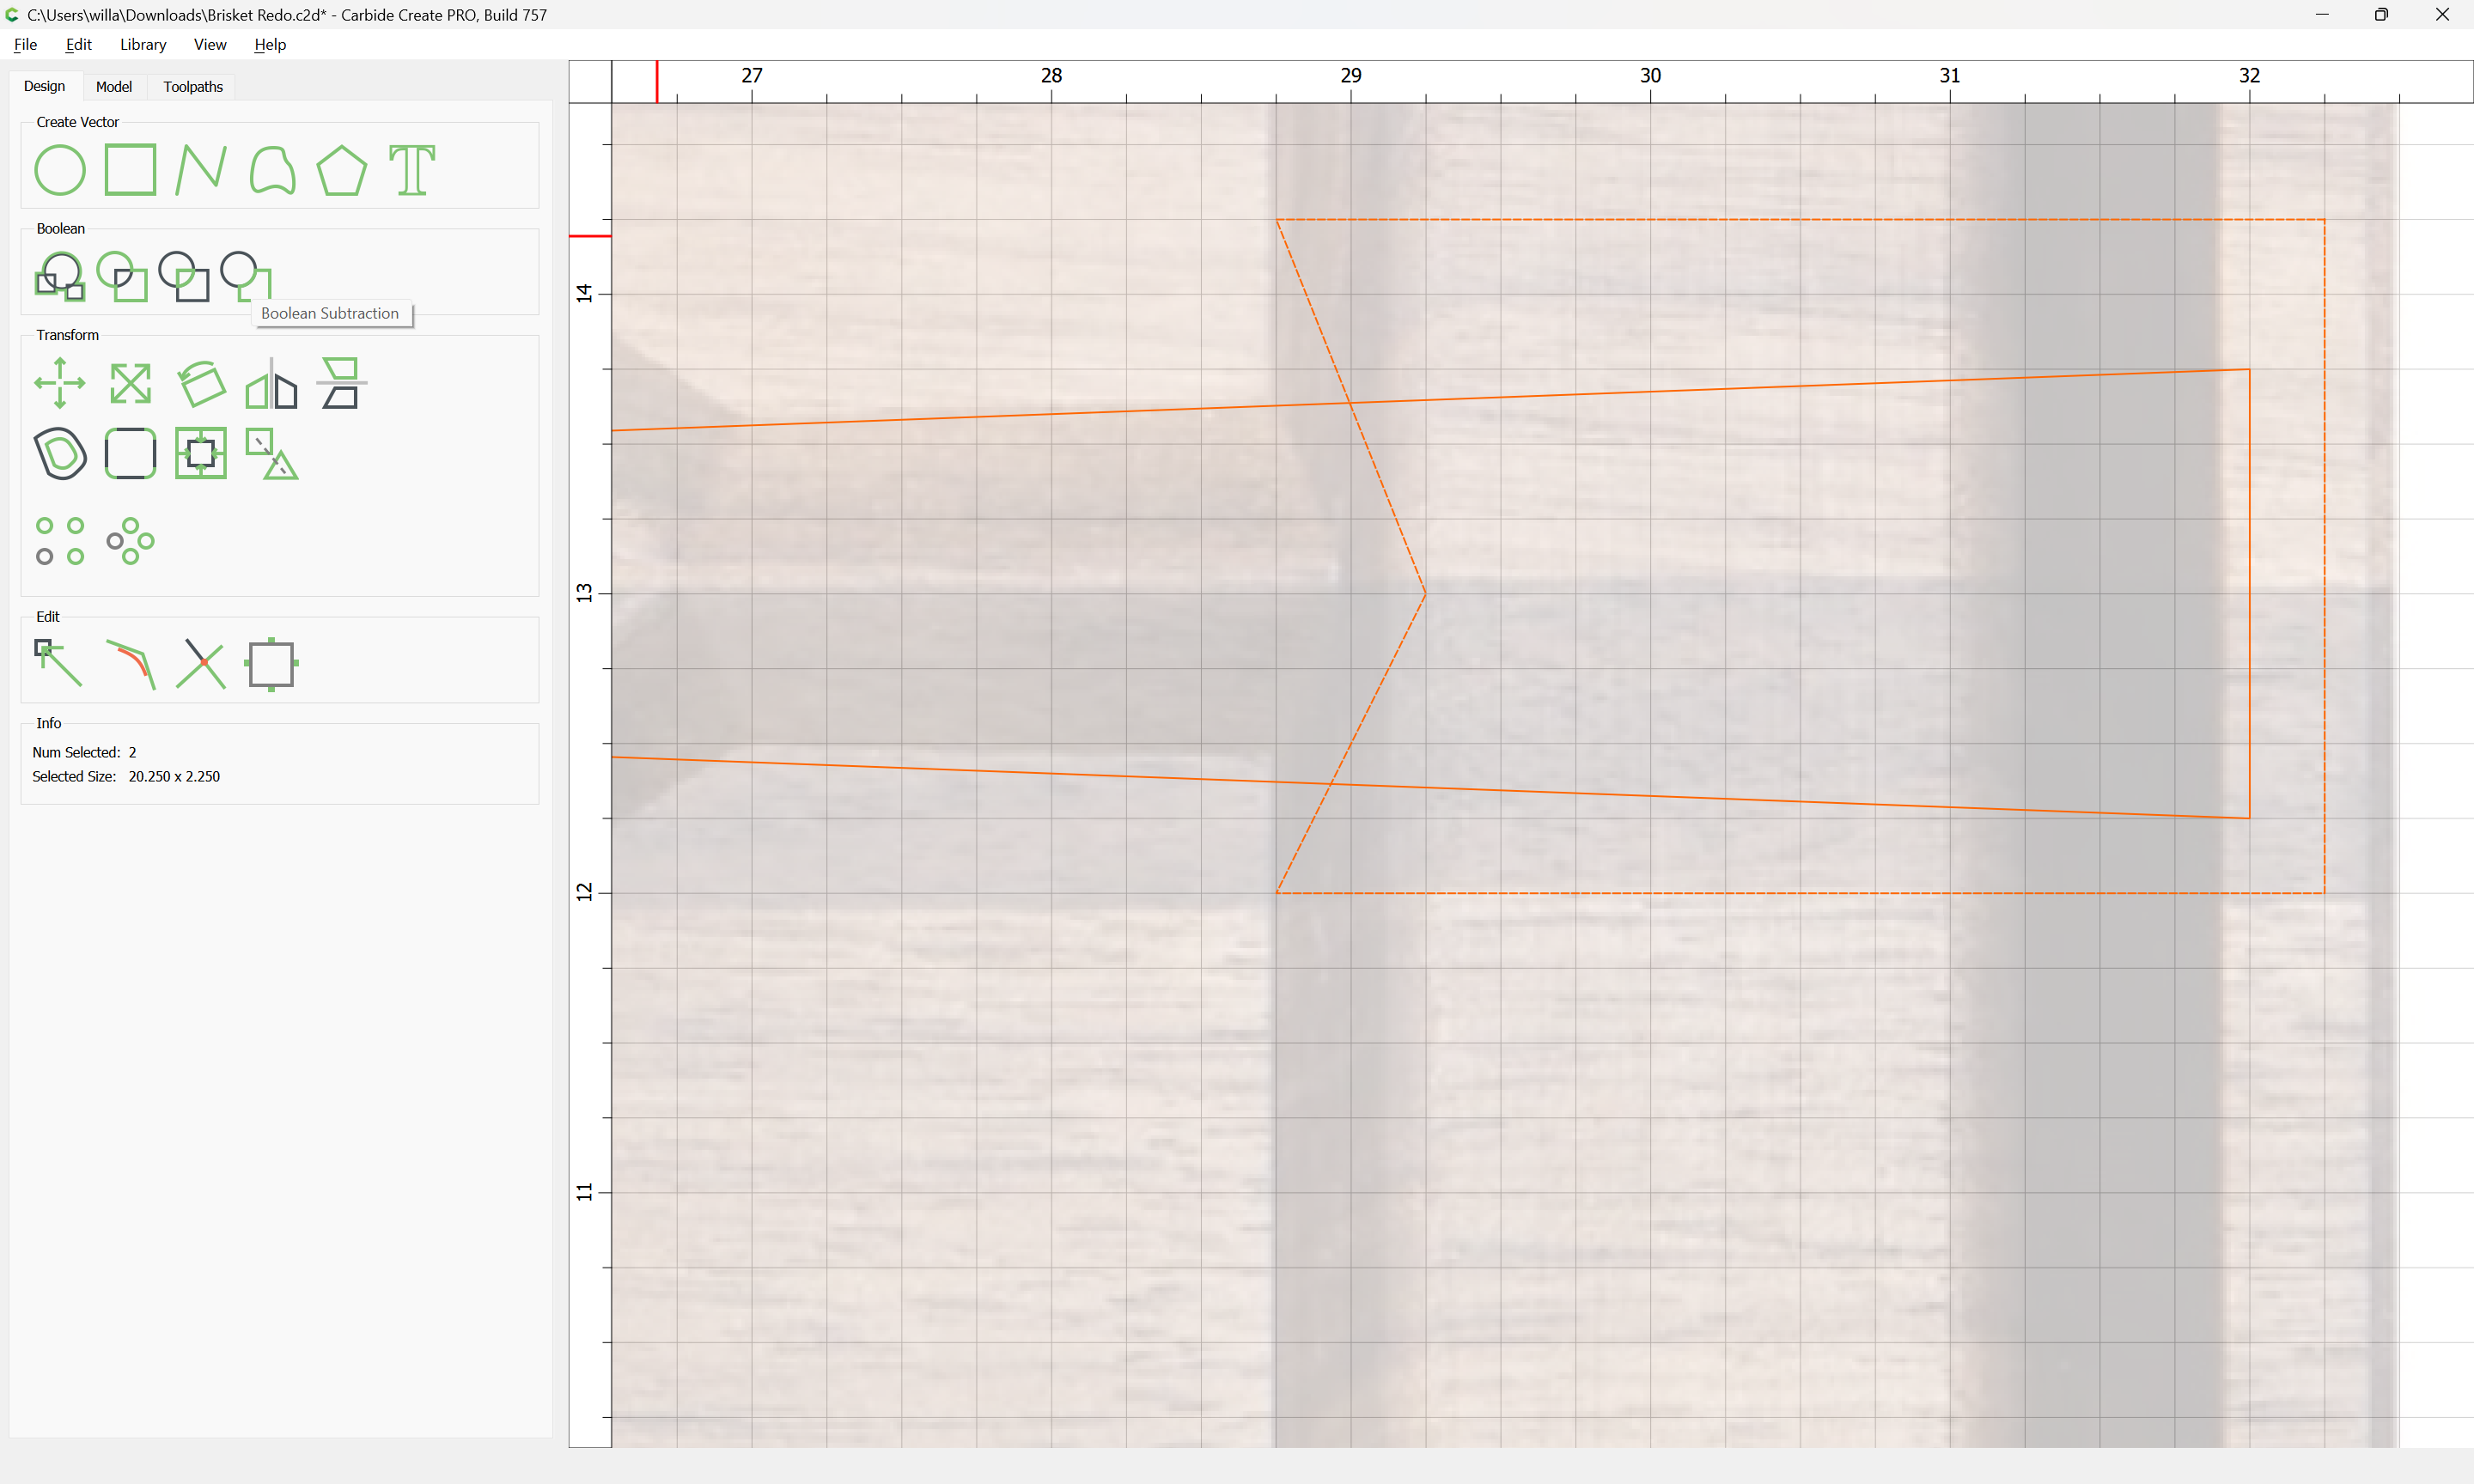
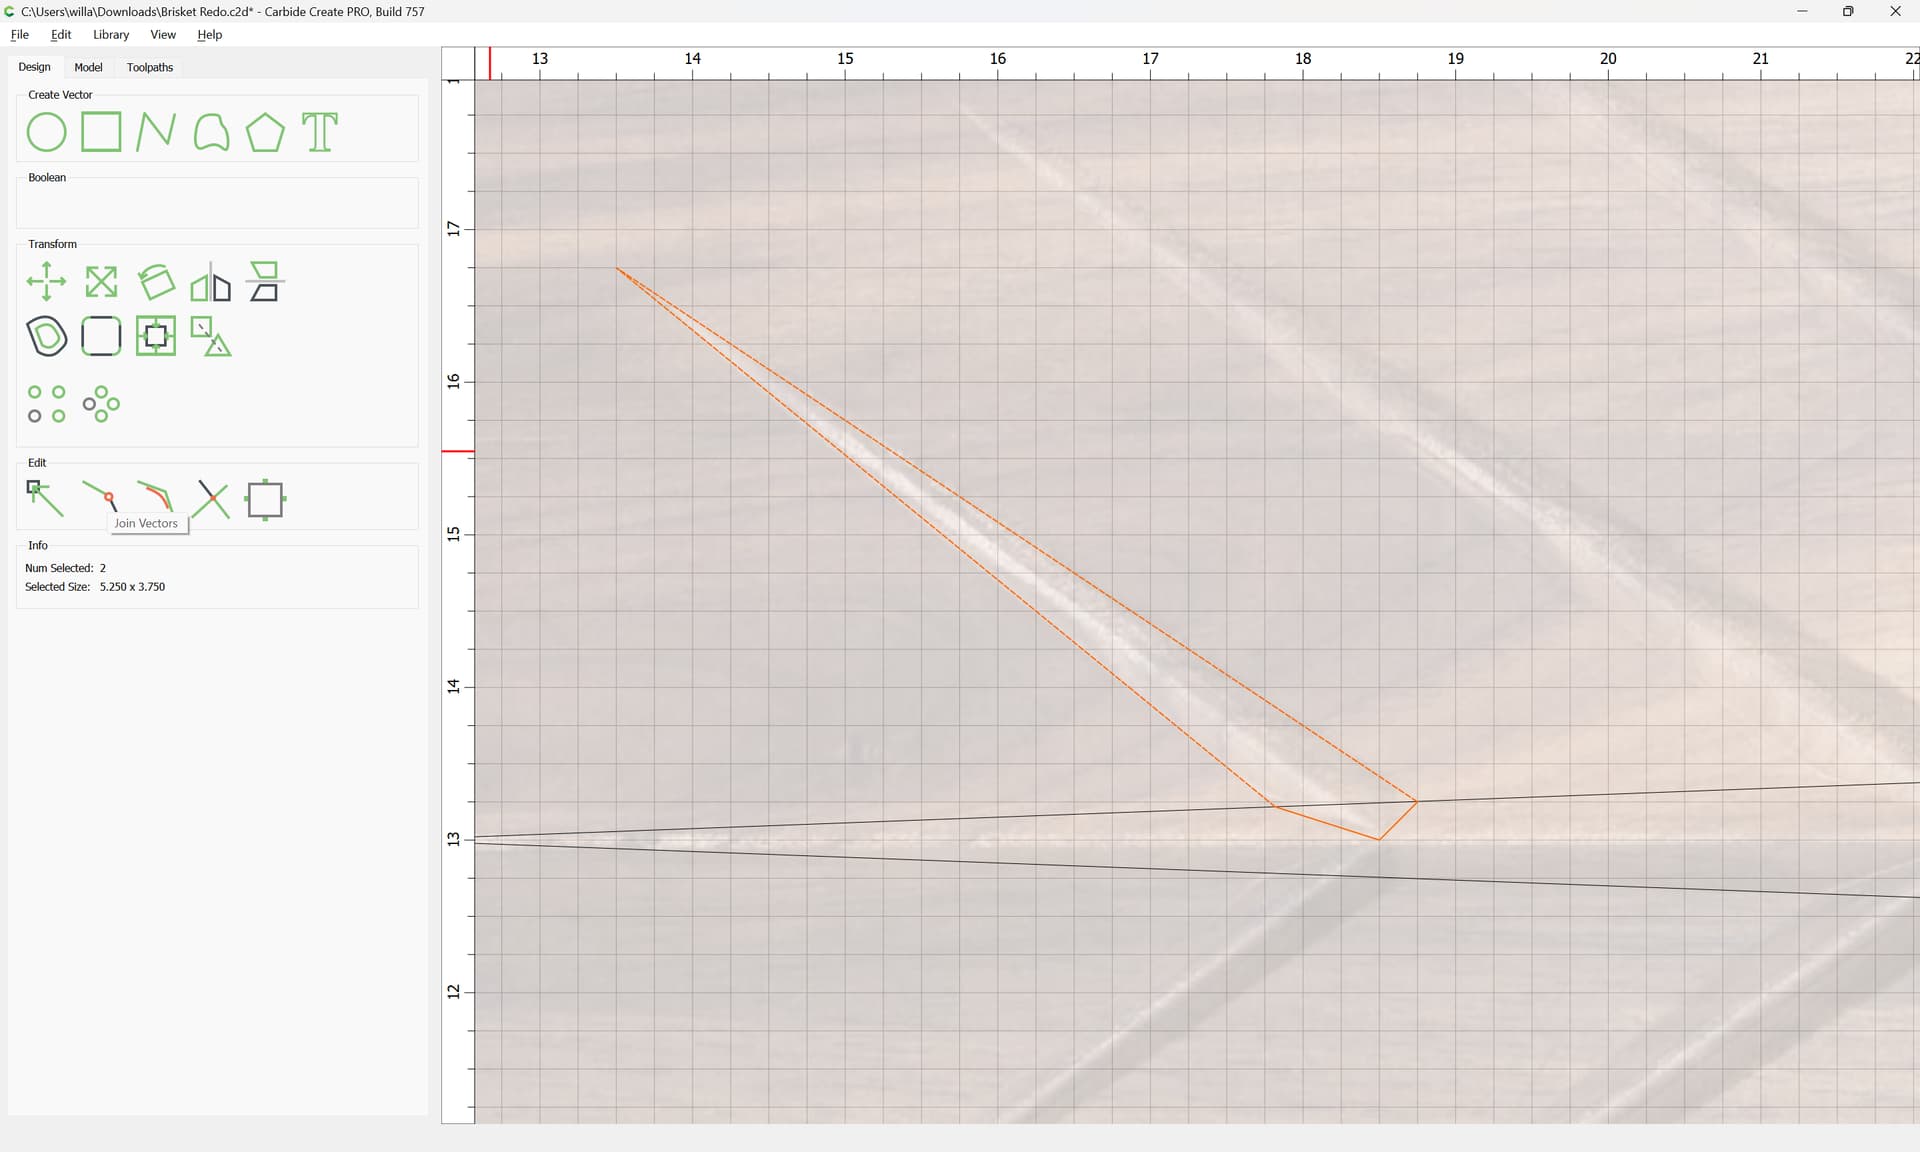
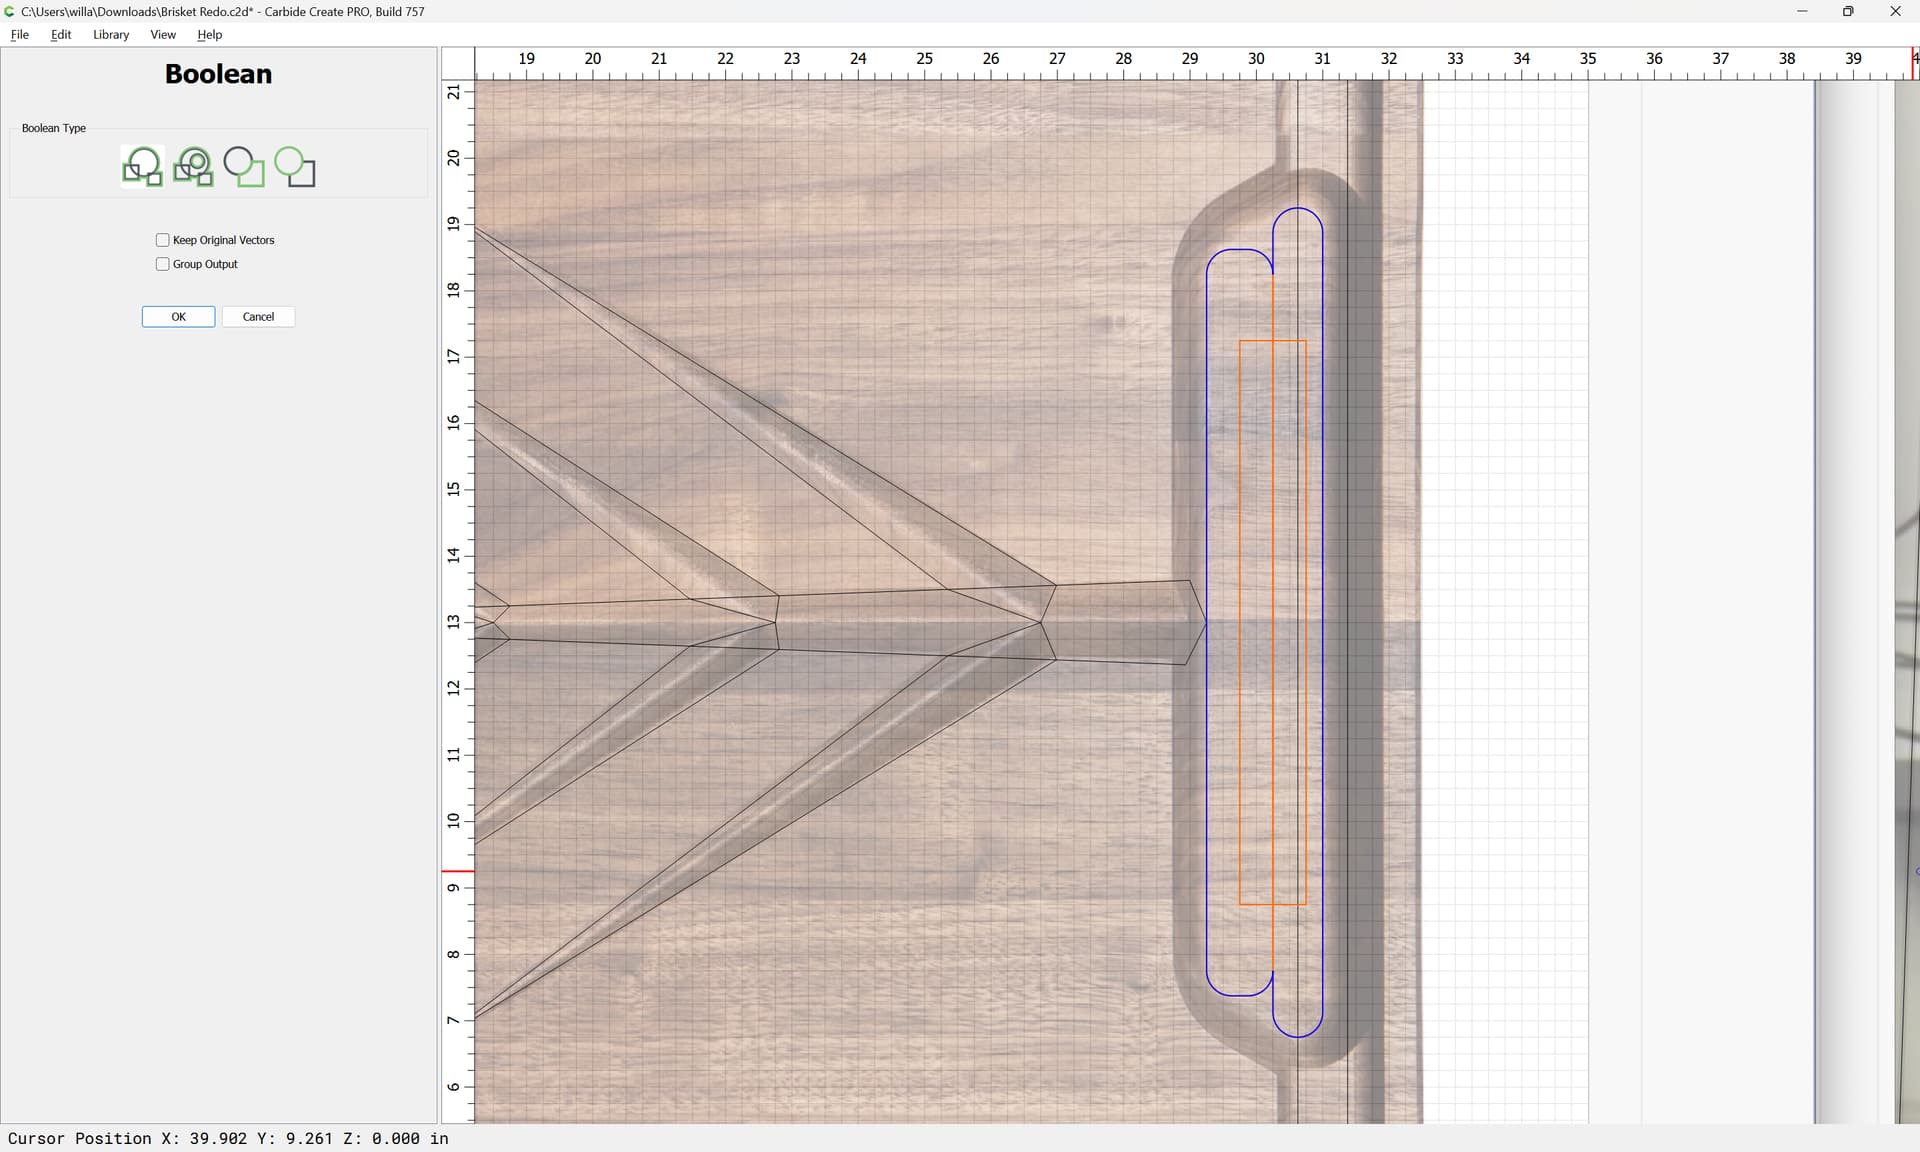
and use Boolean Subtract (or Trim Vectors) to remove it:
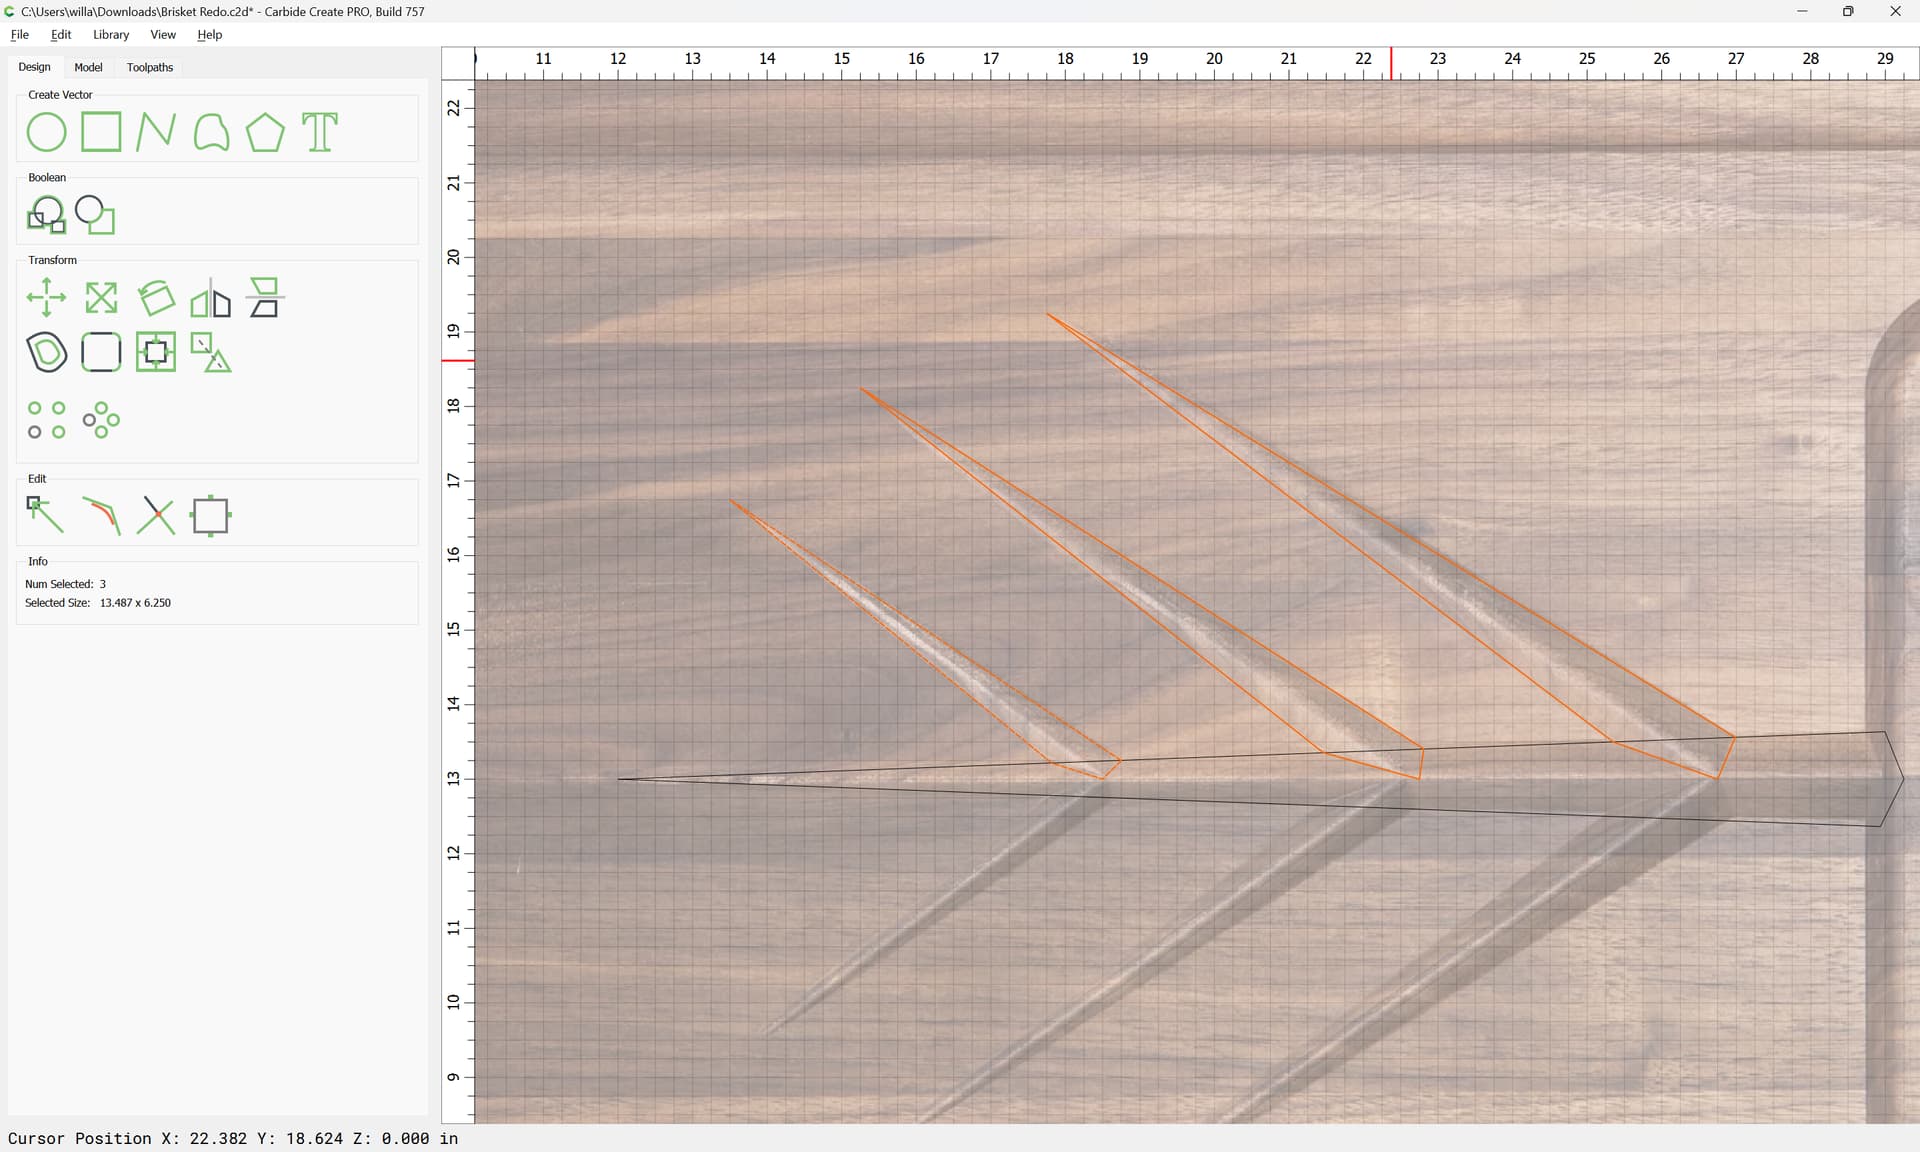
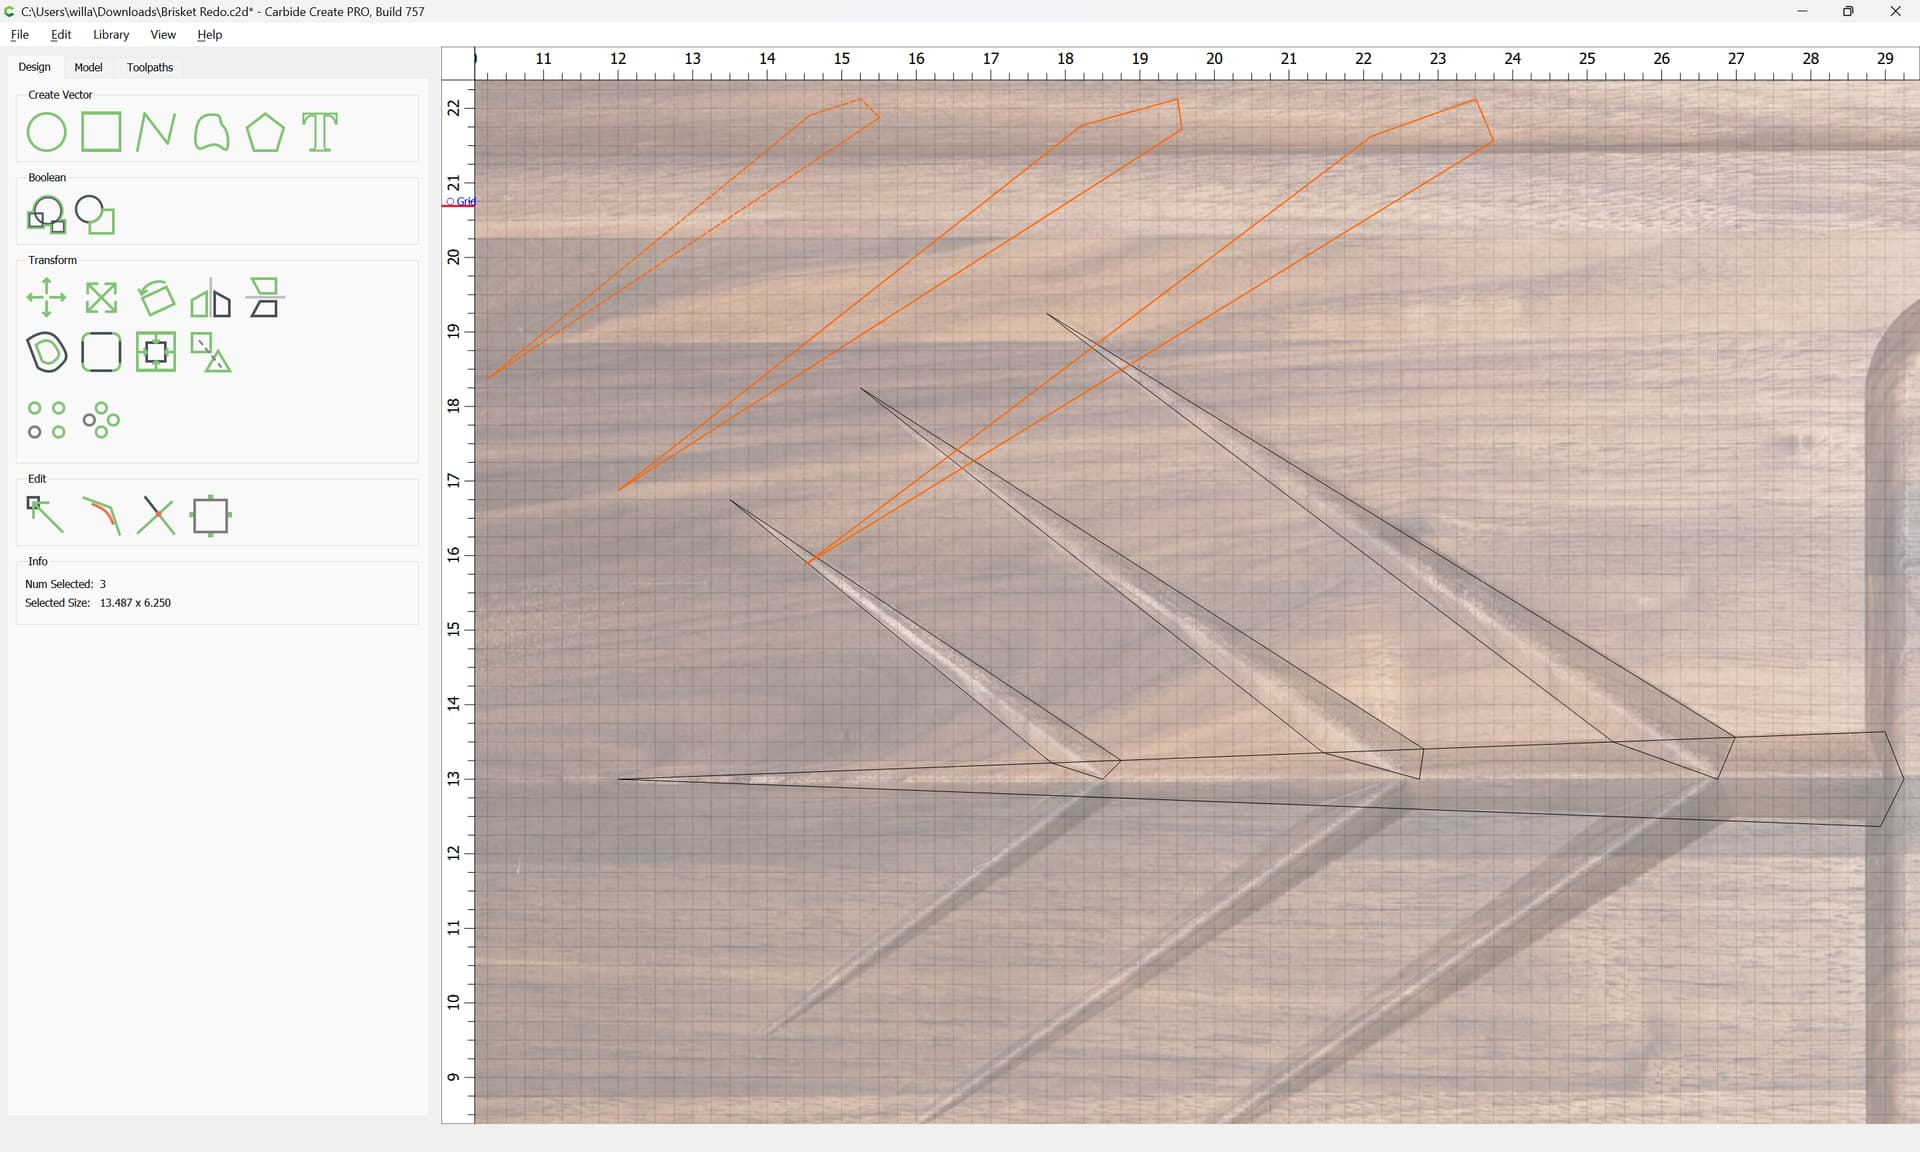
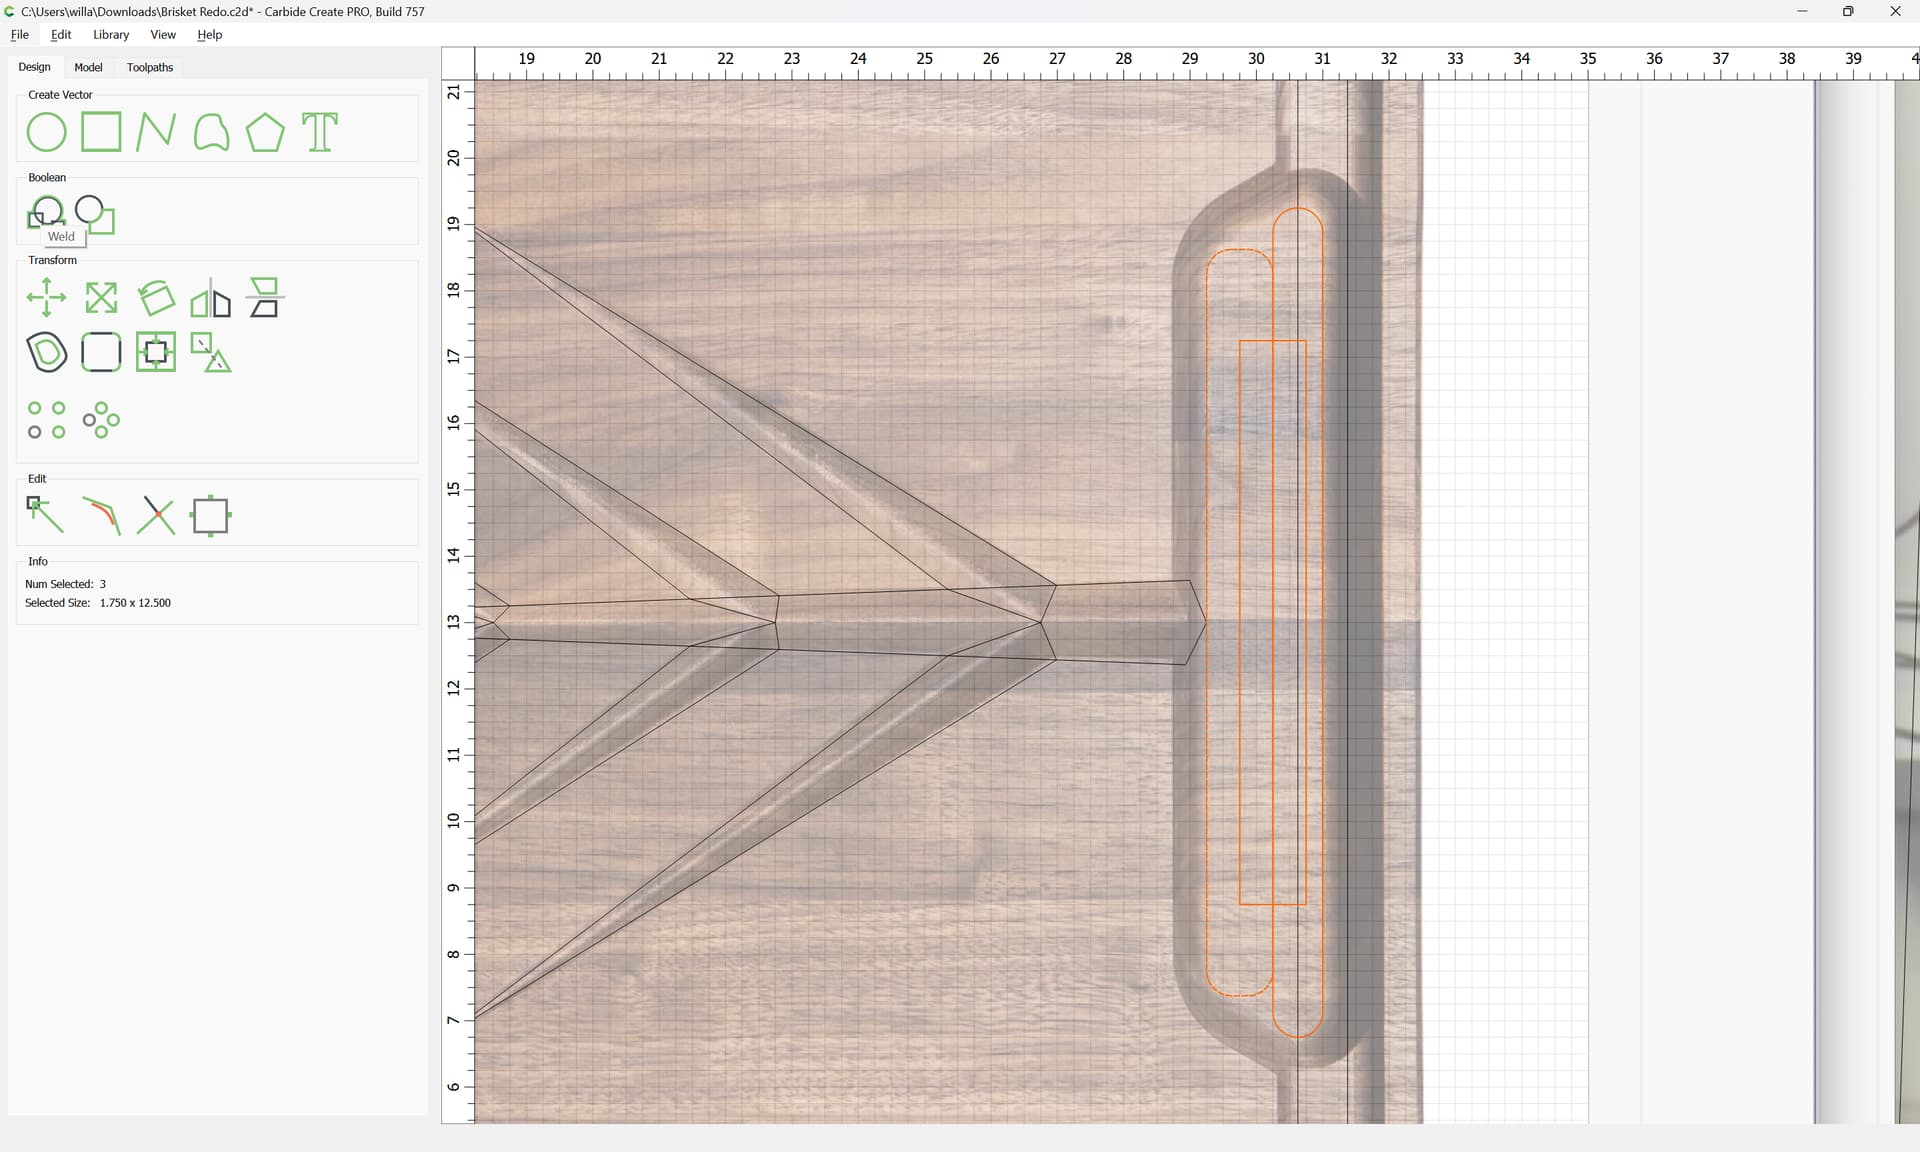
Repeat this for the other regions:
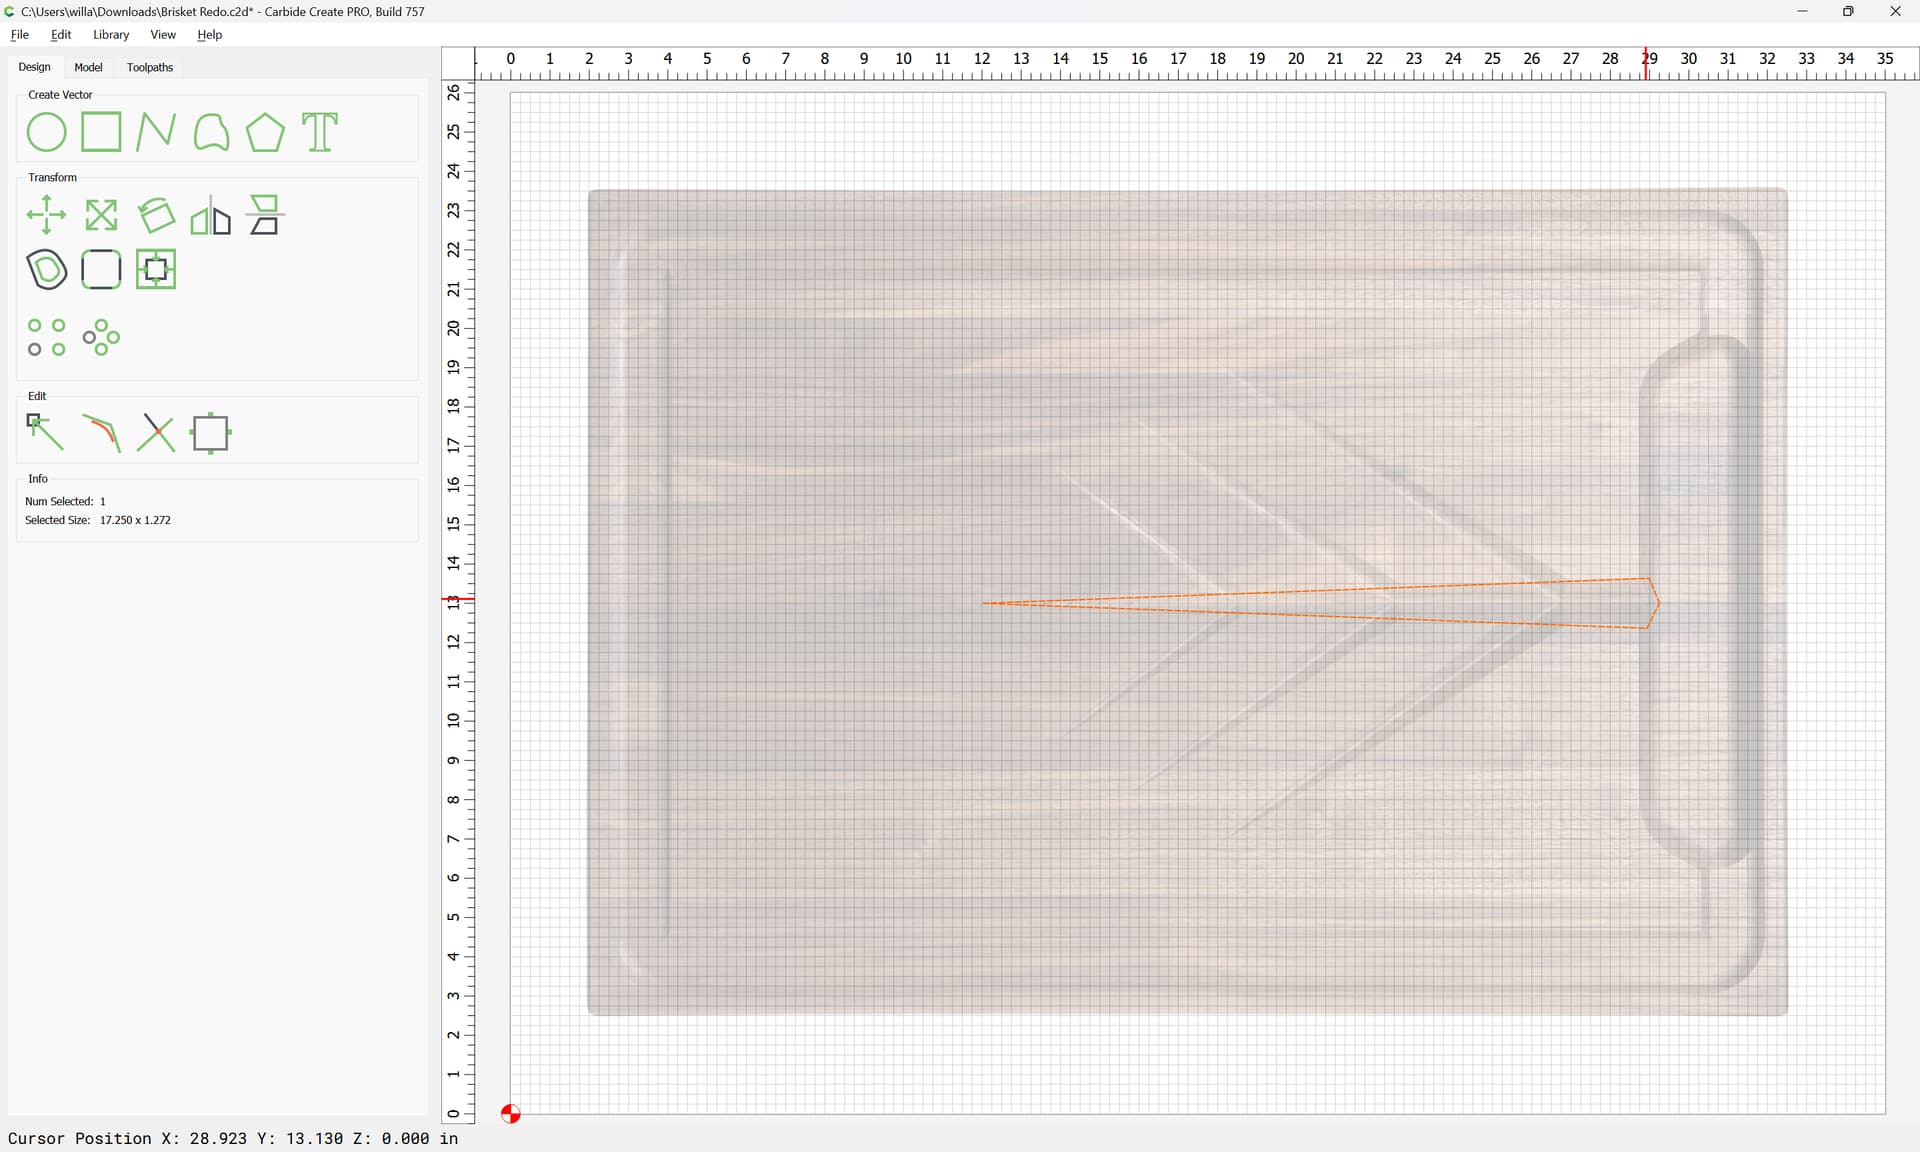
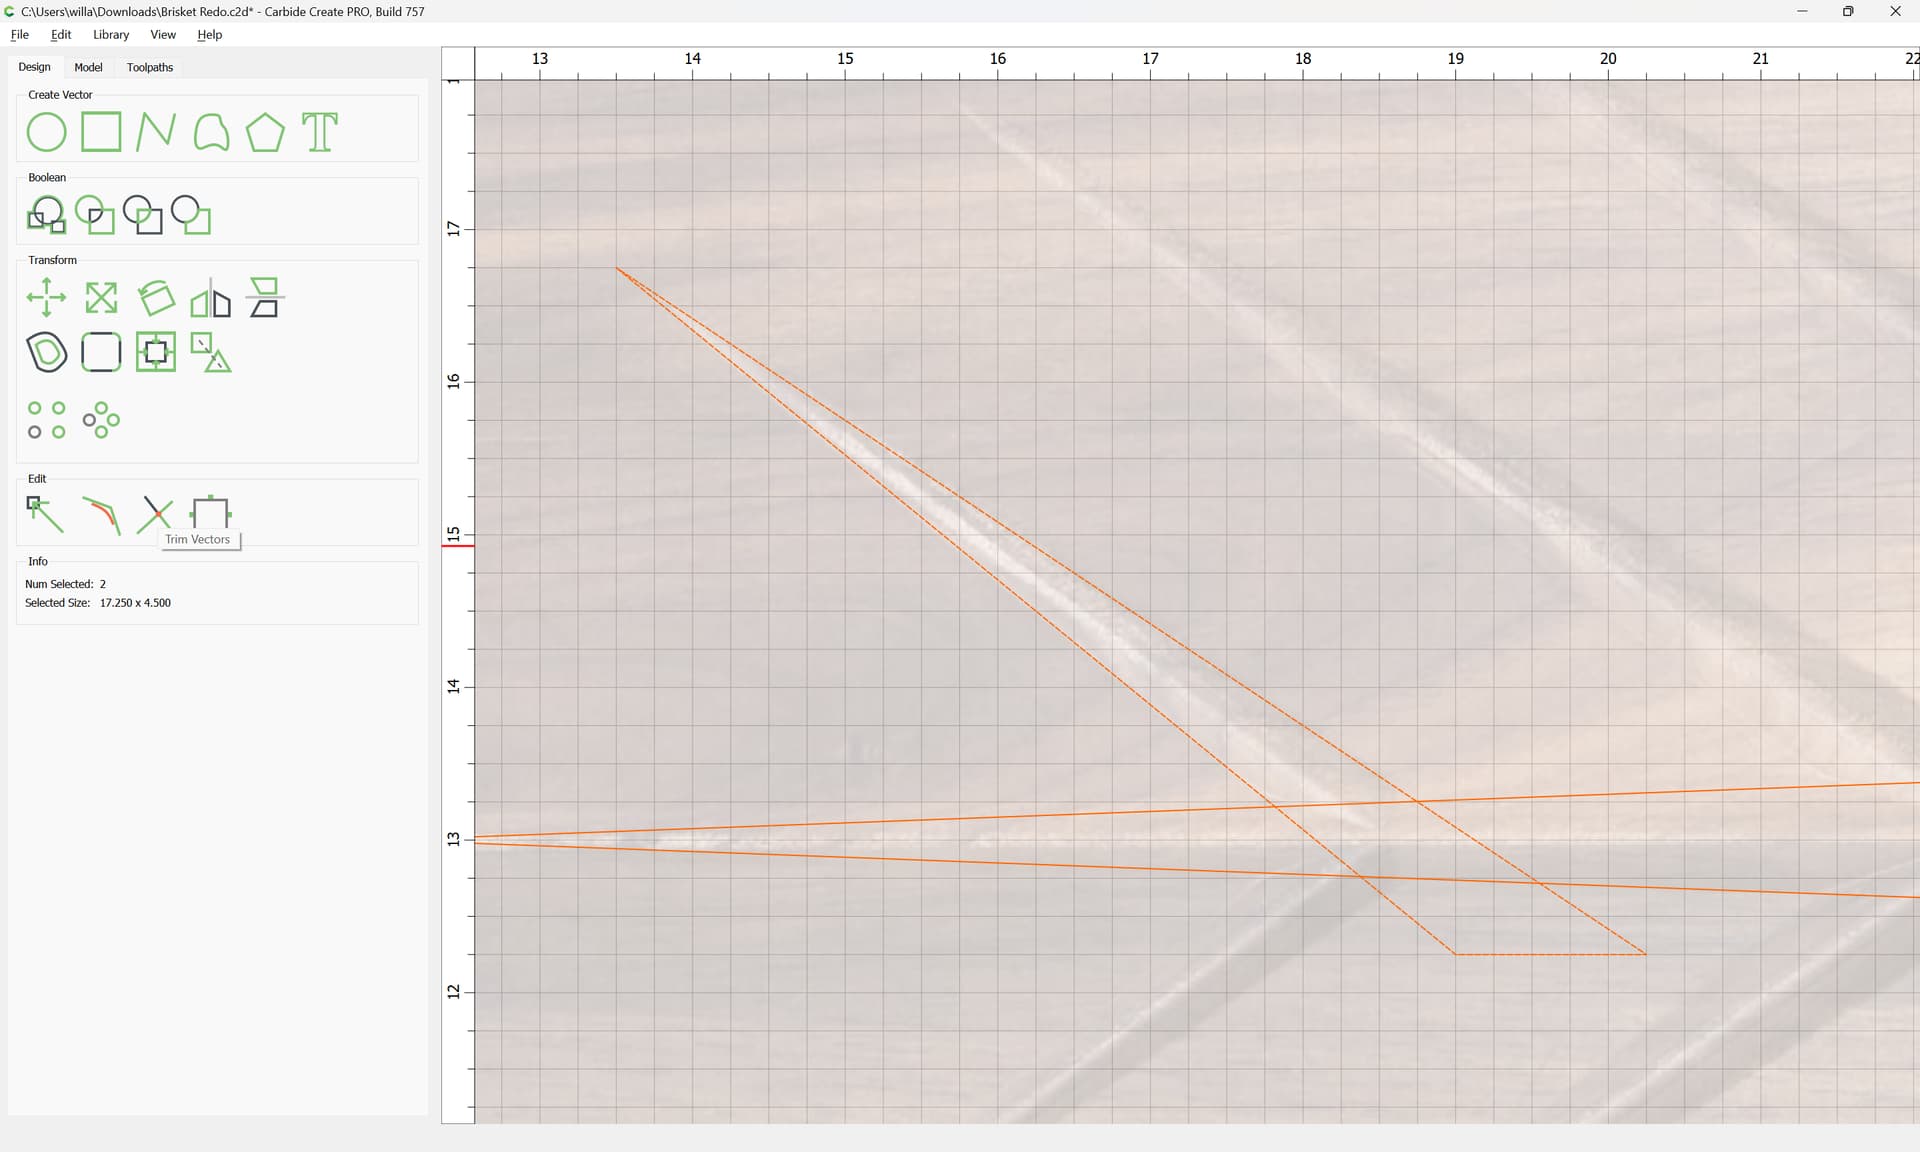
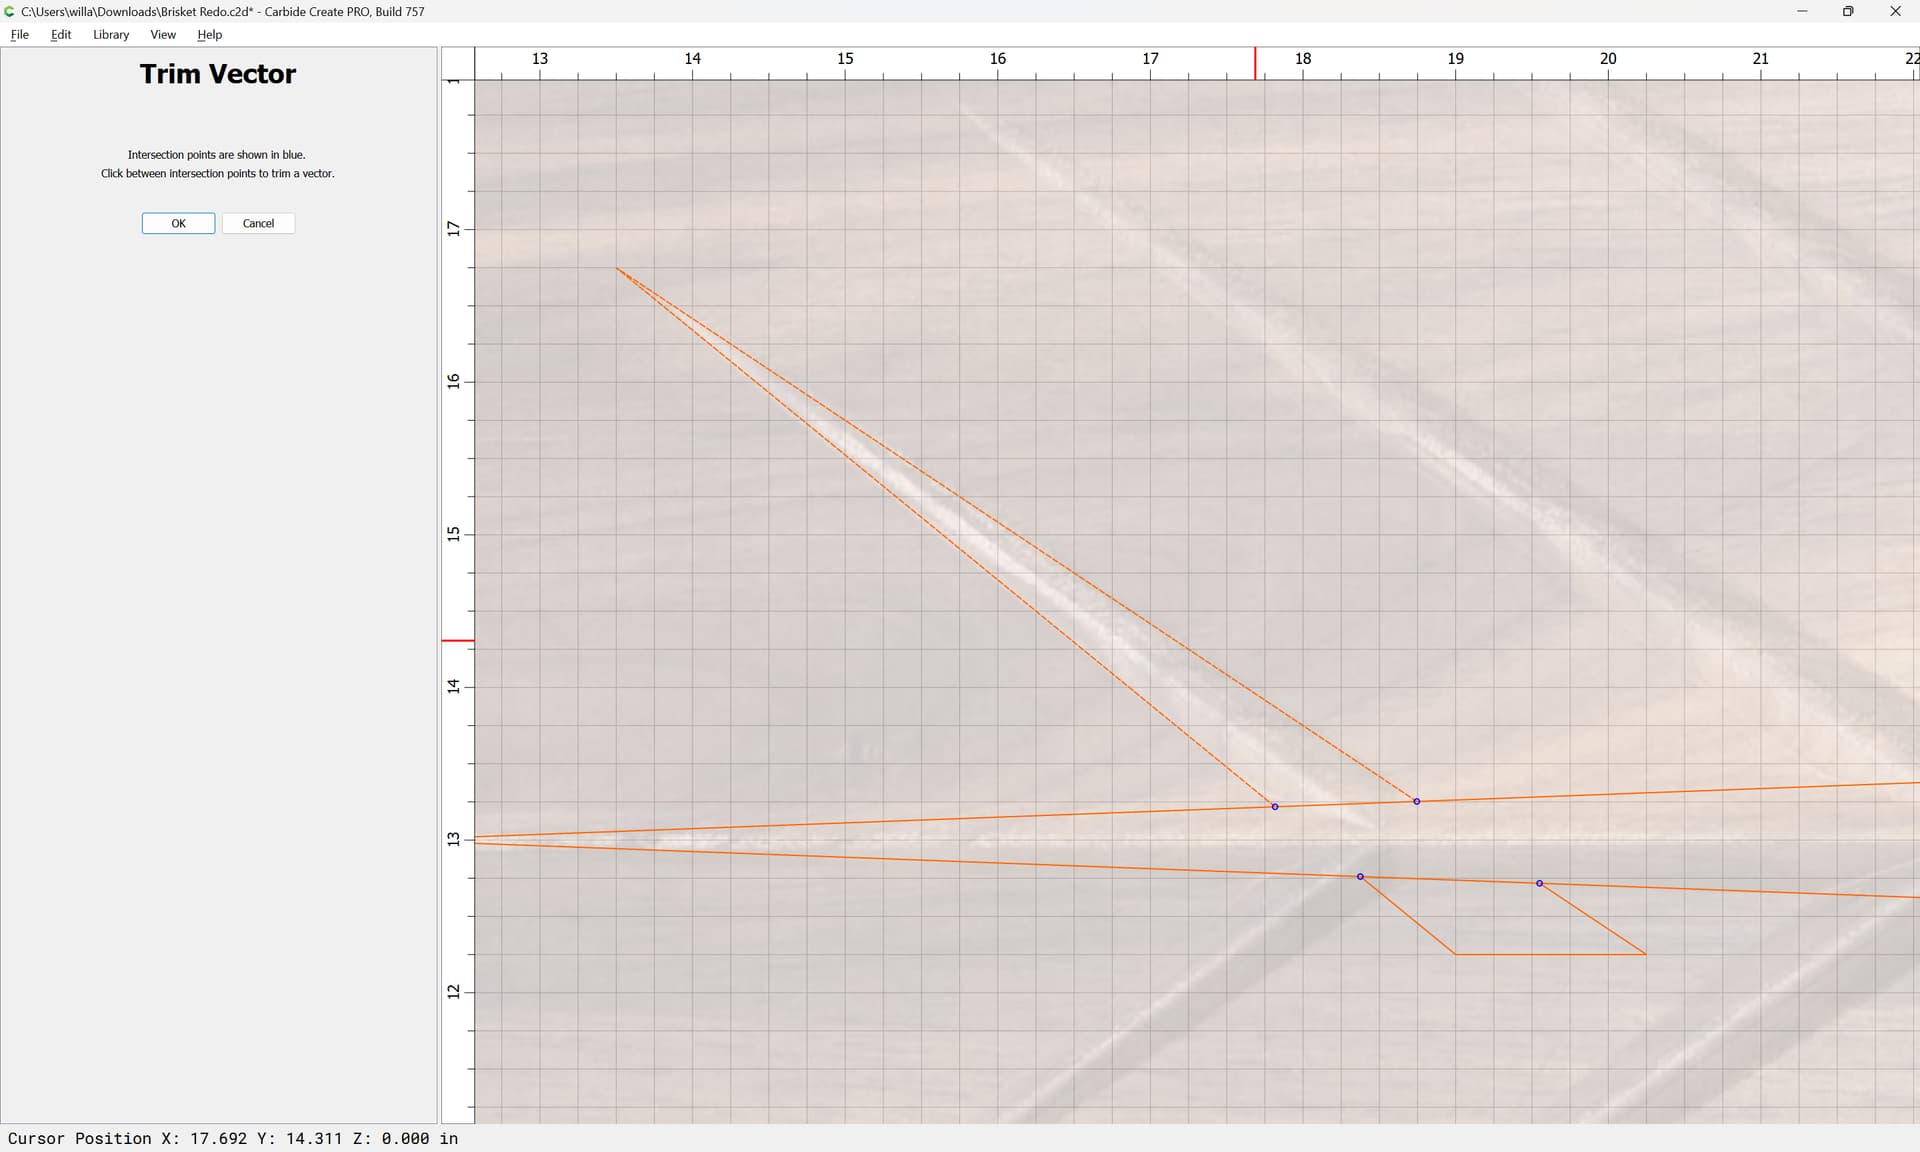
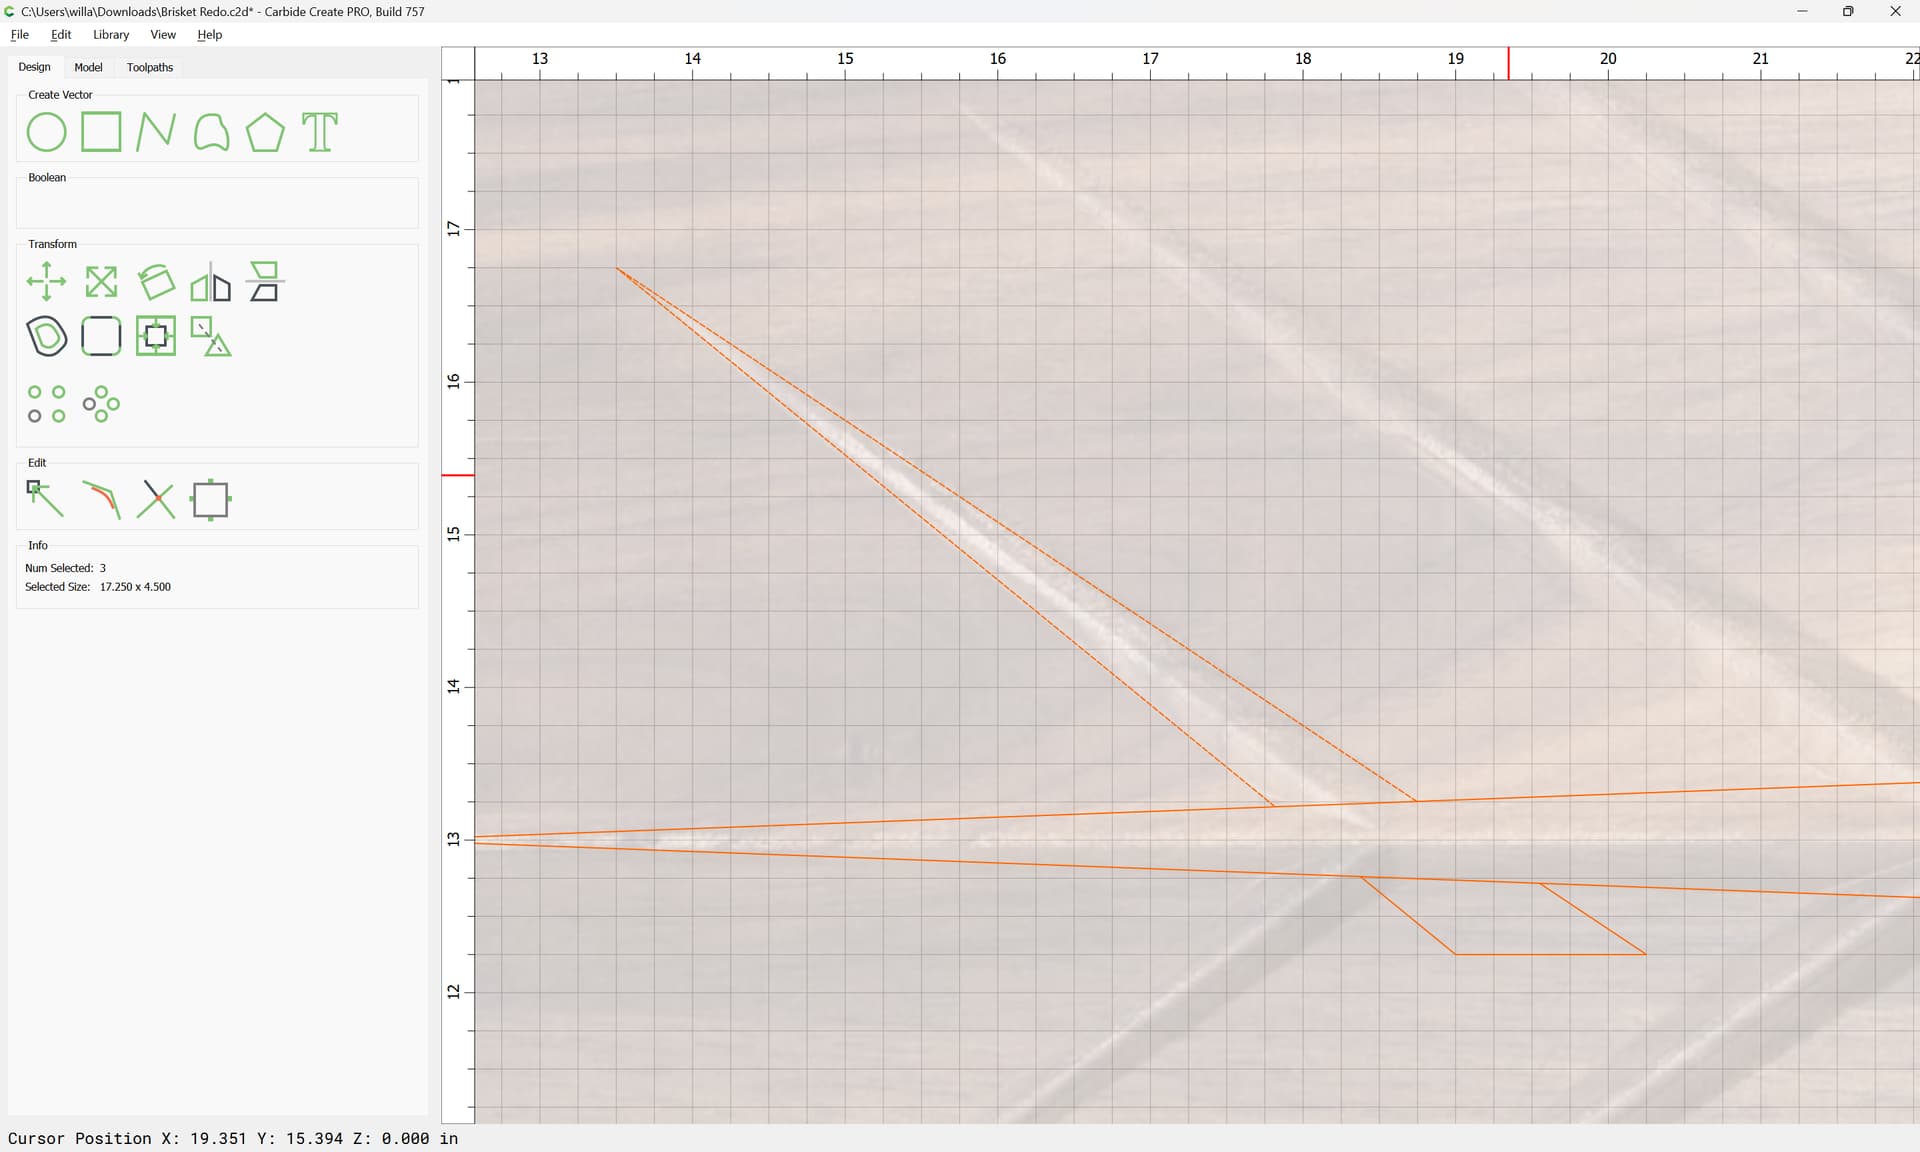
It will be helpful to select the central geometry and use Trim Vectors to get things to line up nicely:
OK
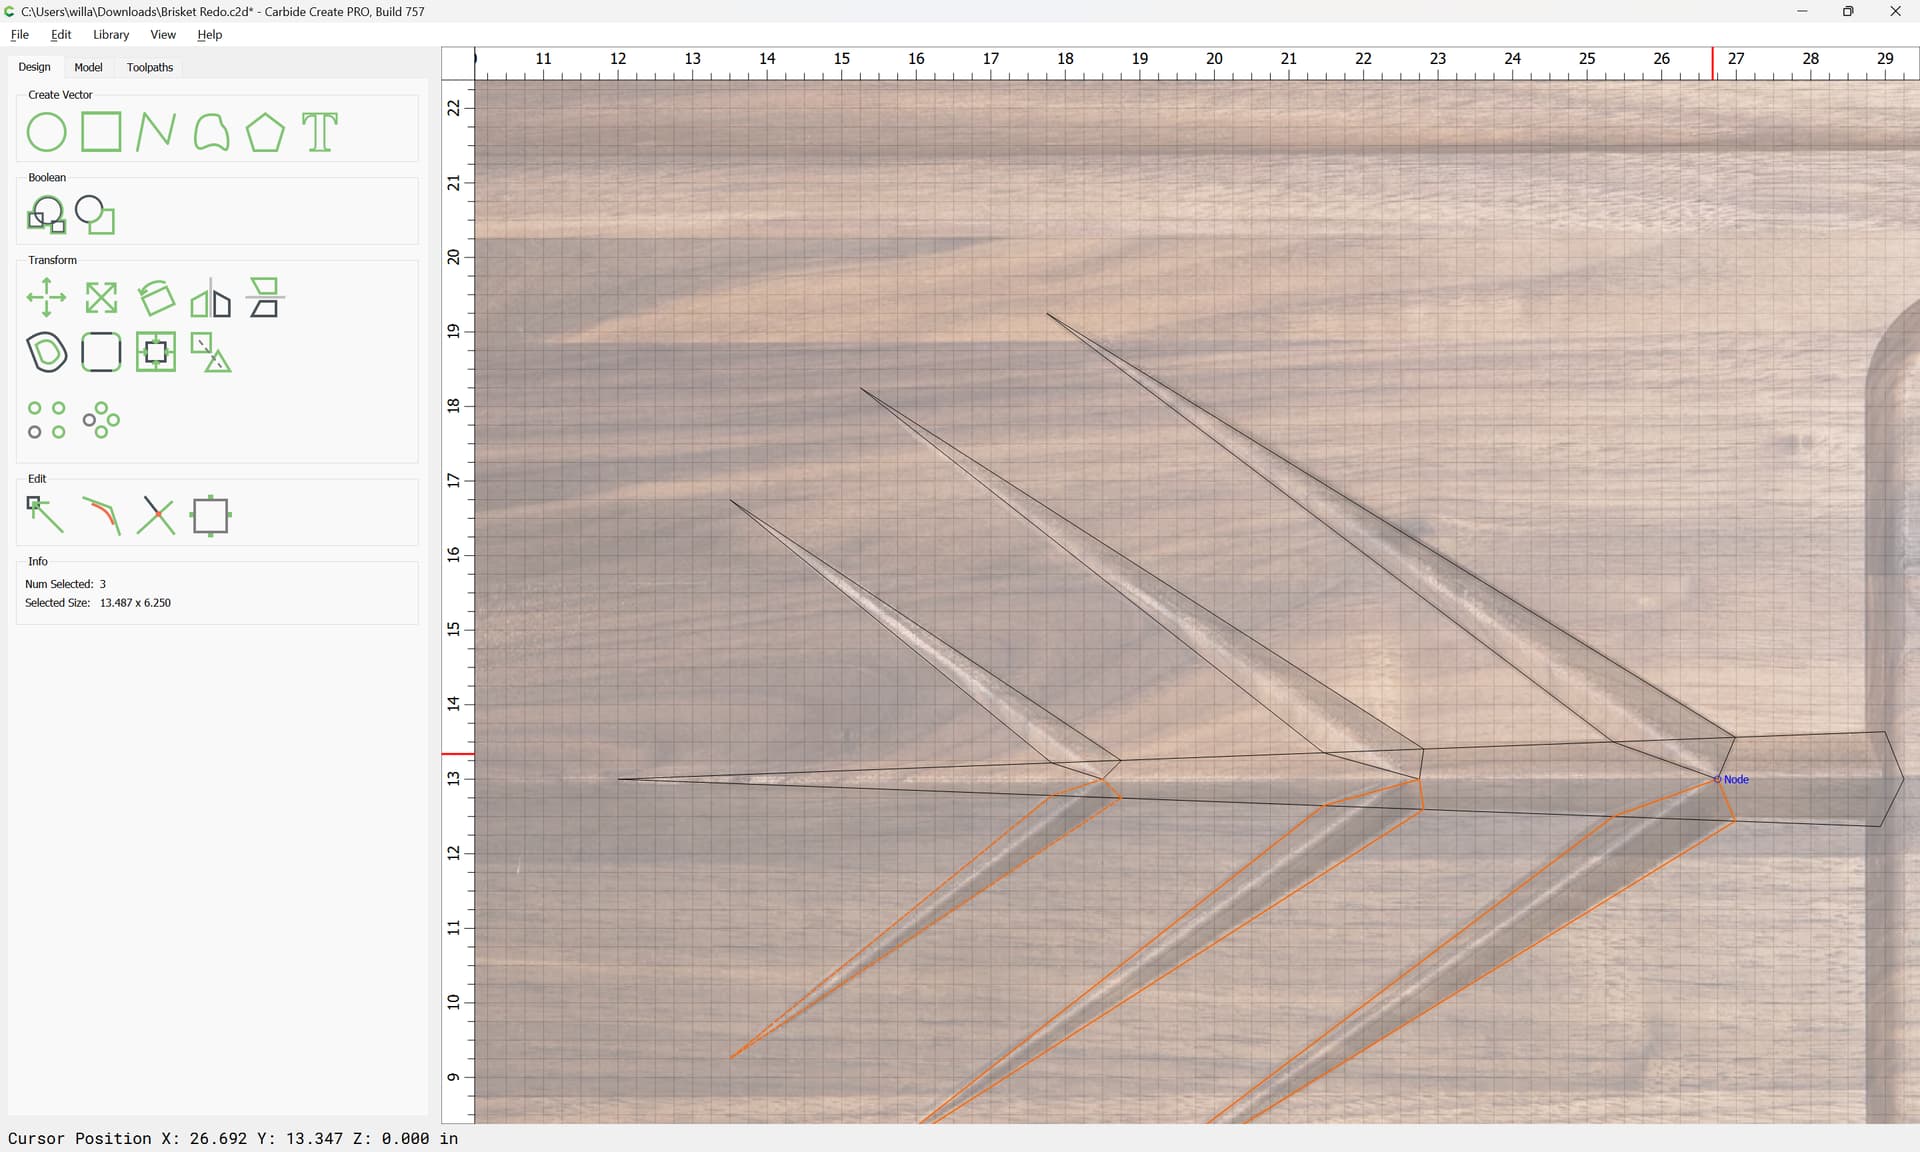
Delete what isn’t needed:
Then use the polyline tool to draw in the missing geometry:
Select it and the trimmed geometry:
and use “Join Vectors” to join them:
(note it may be necessary to use the command twice)
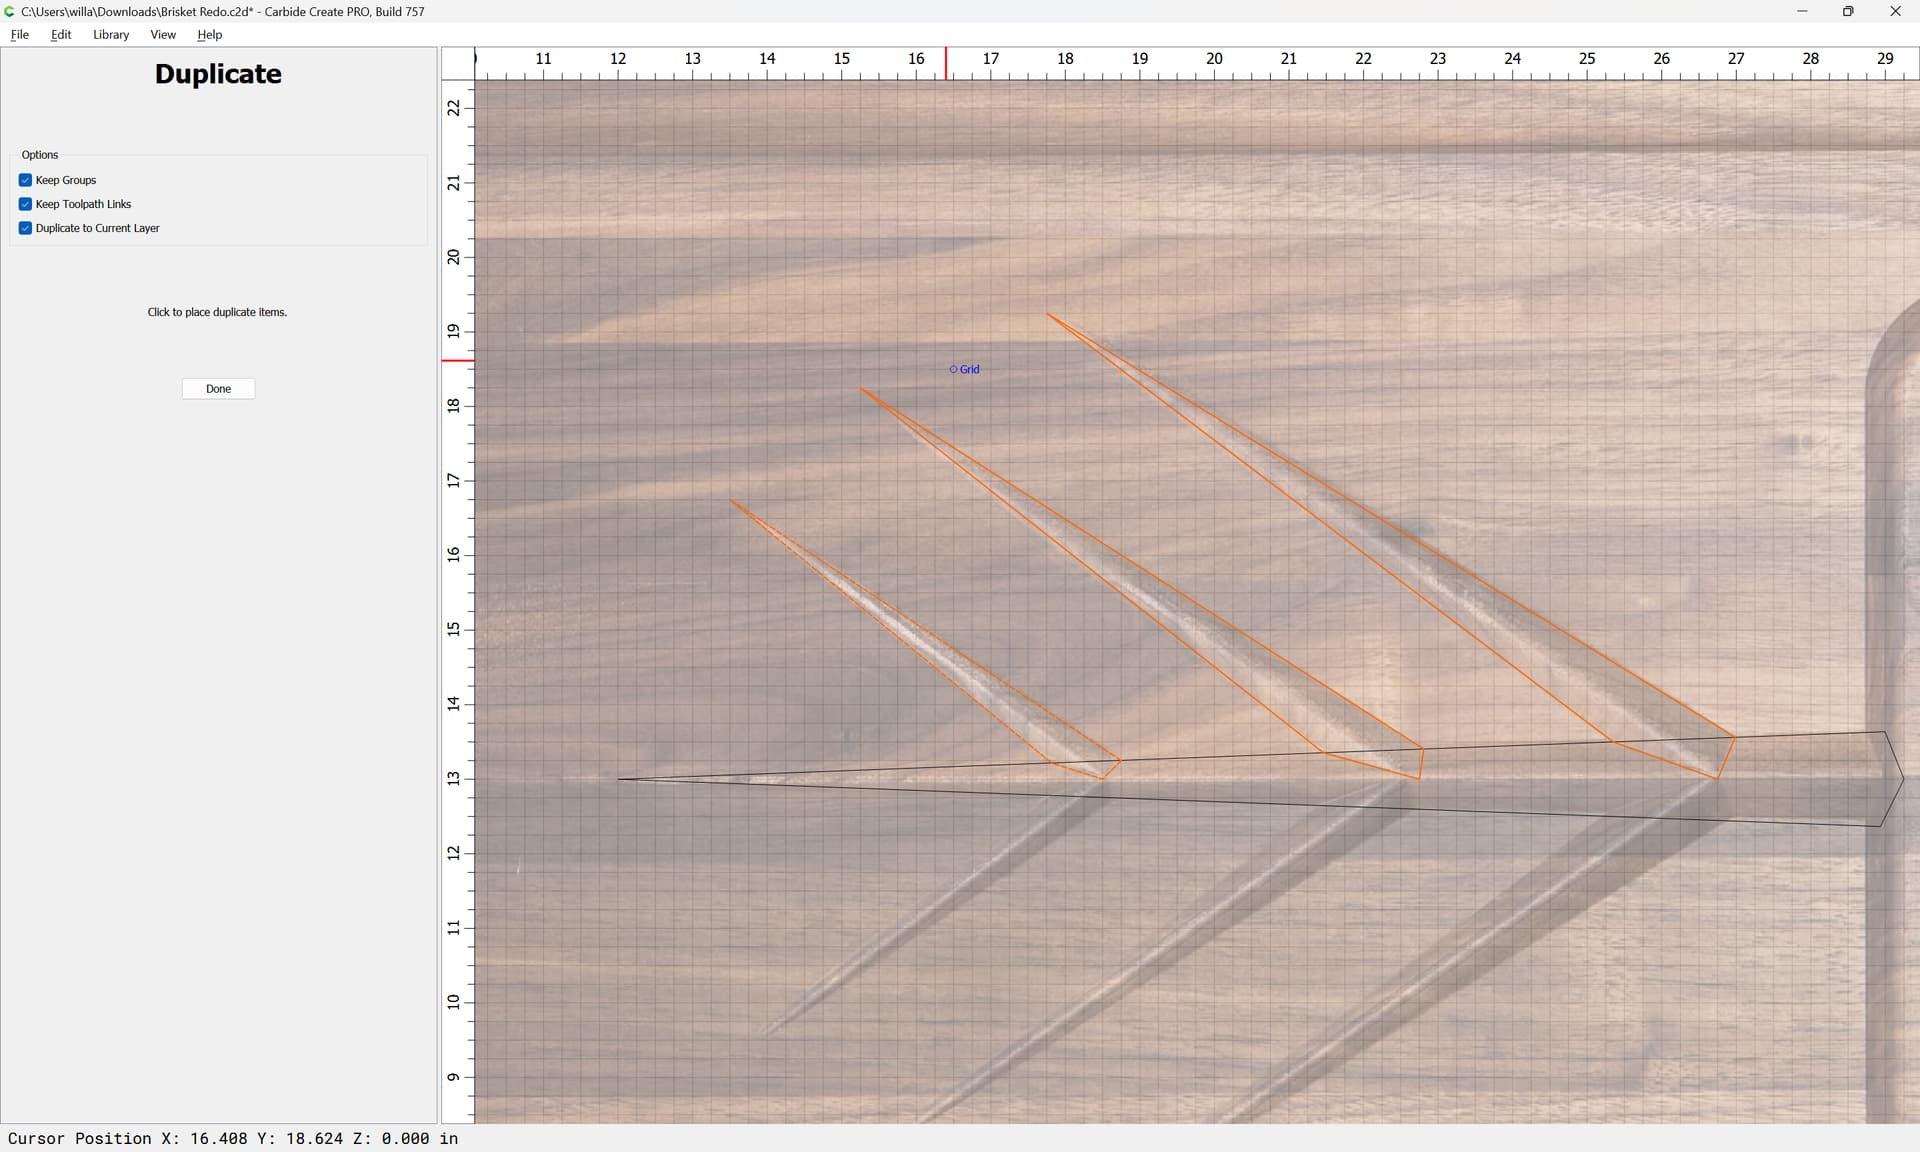
Once half the branches are drawn:
Select them:
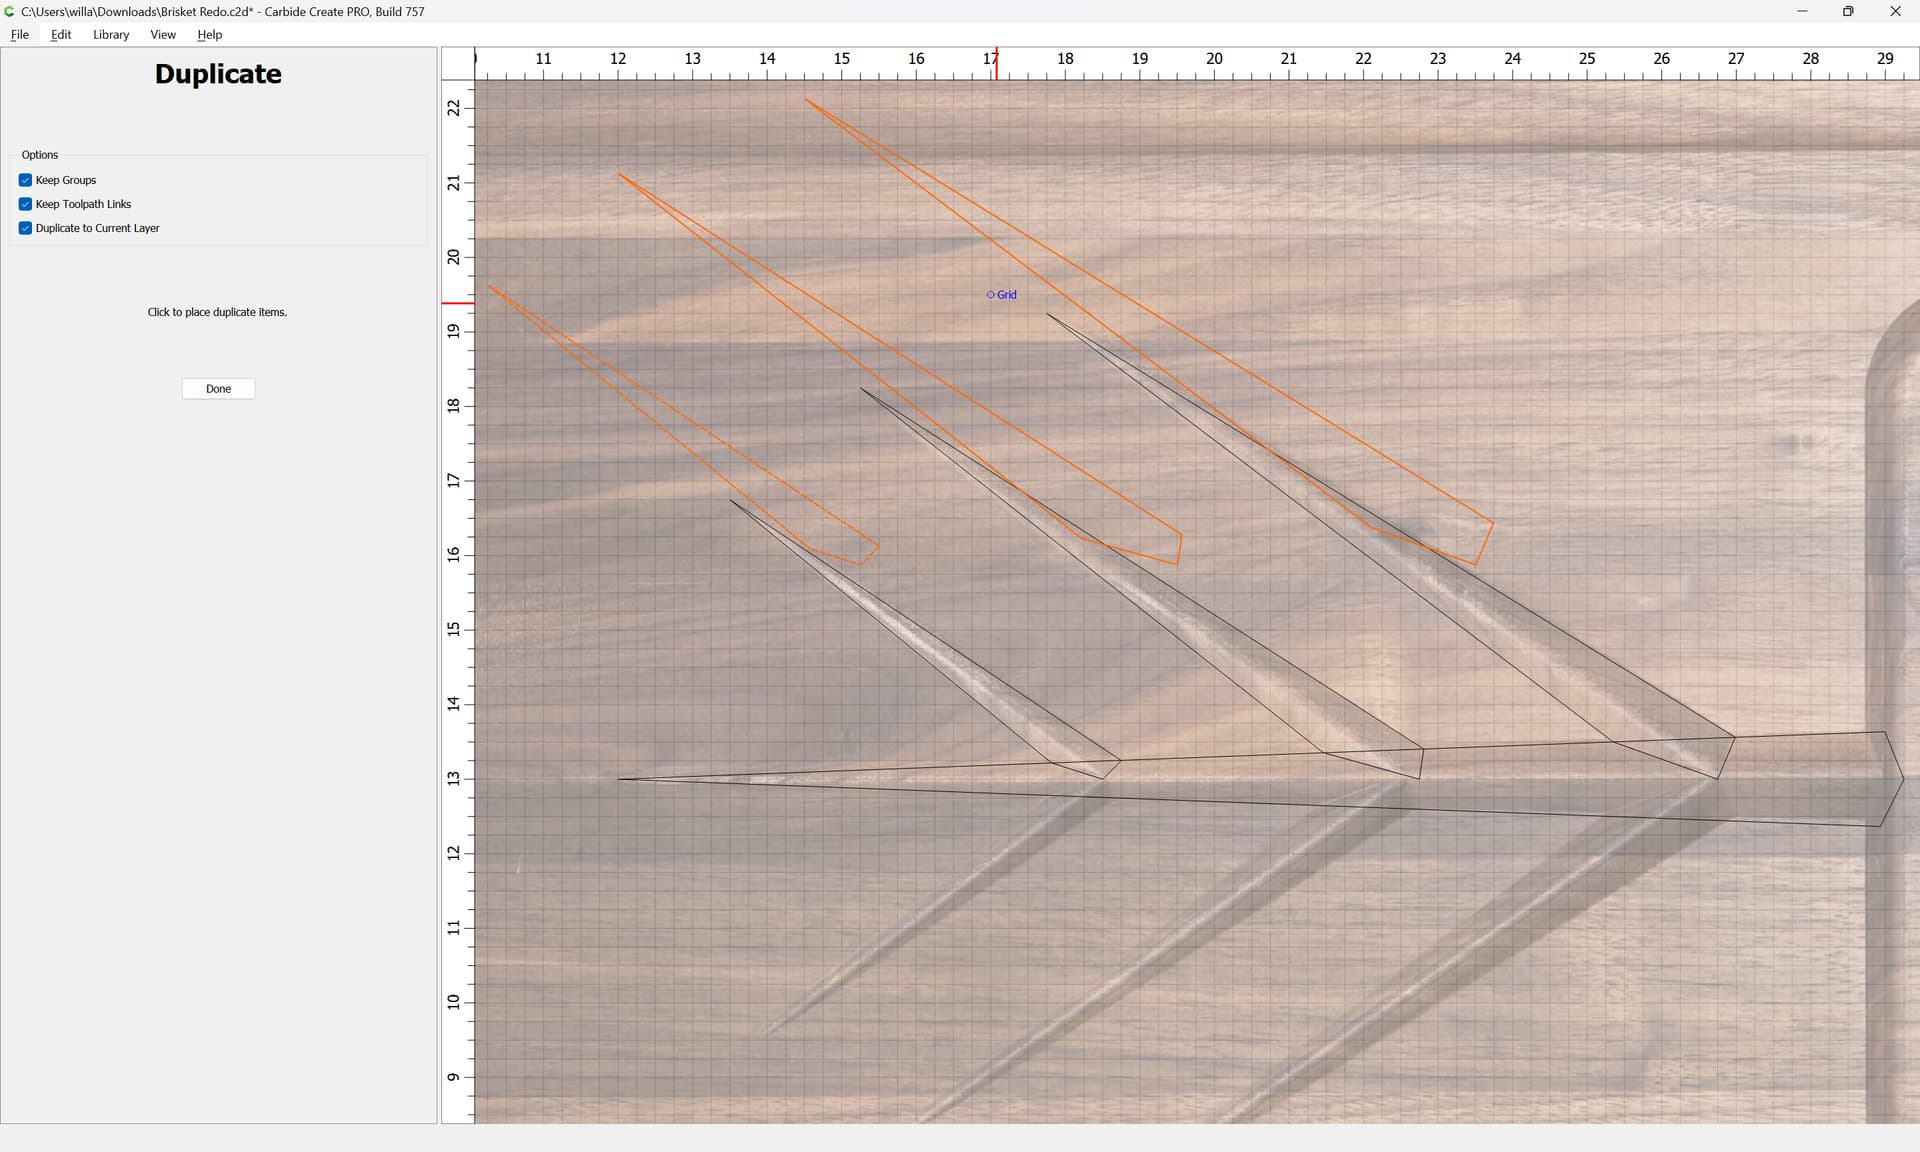
duplicate them:
Done
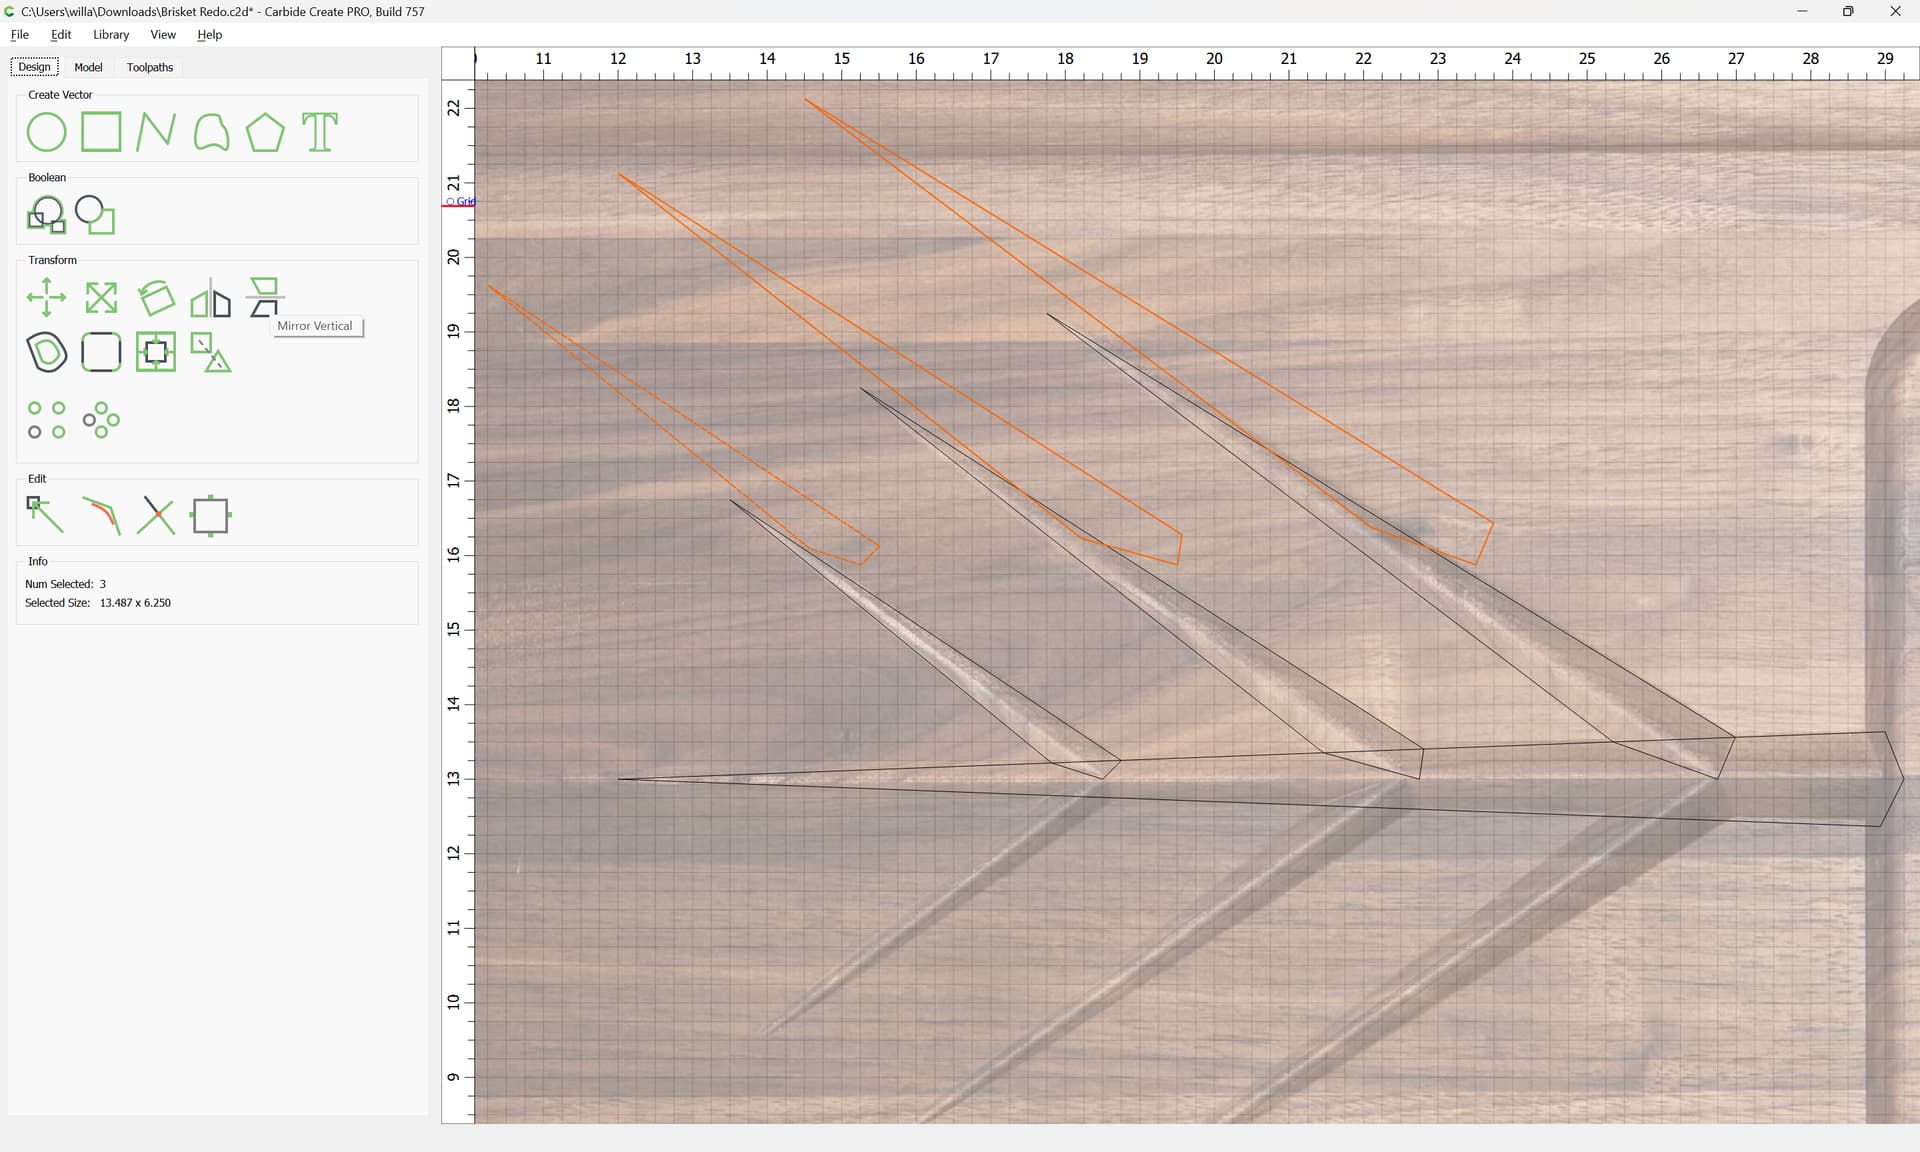
Mirror Vertical:
and drag into position:
Note that the geometry should not be merged together — instead, it will be necessary to assign separate V carving toolpaths to the geometry.
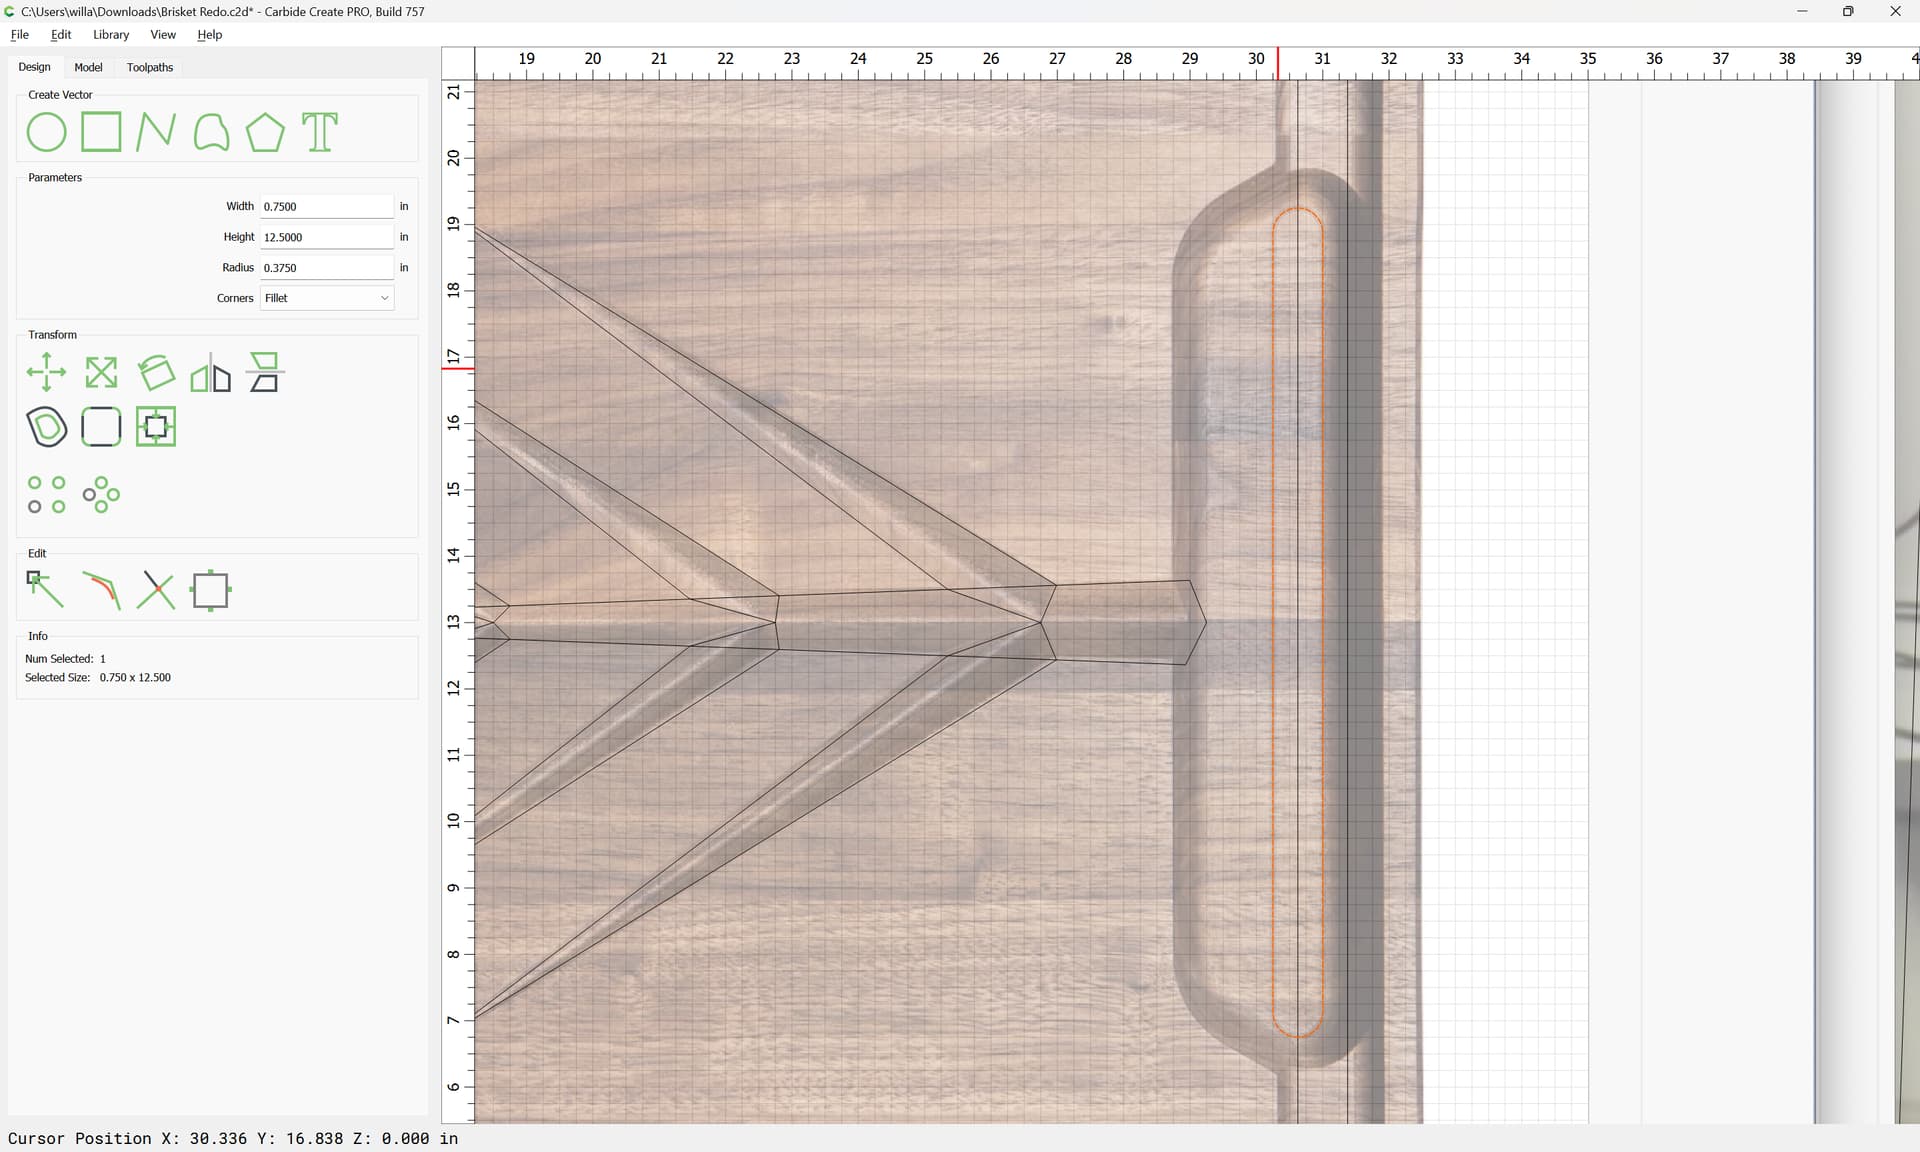
Draw in geometry which describes the flat bottom of the pockets:
Use Boolean Union:
to join things
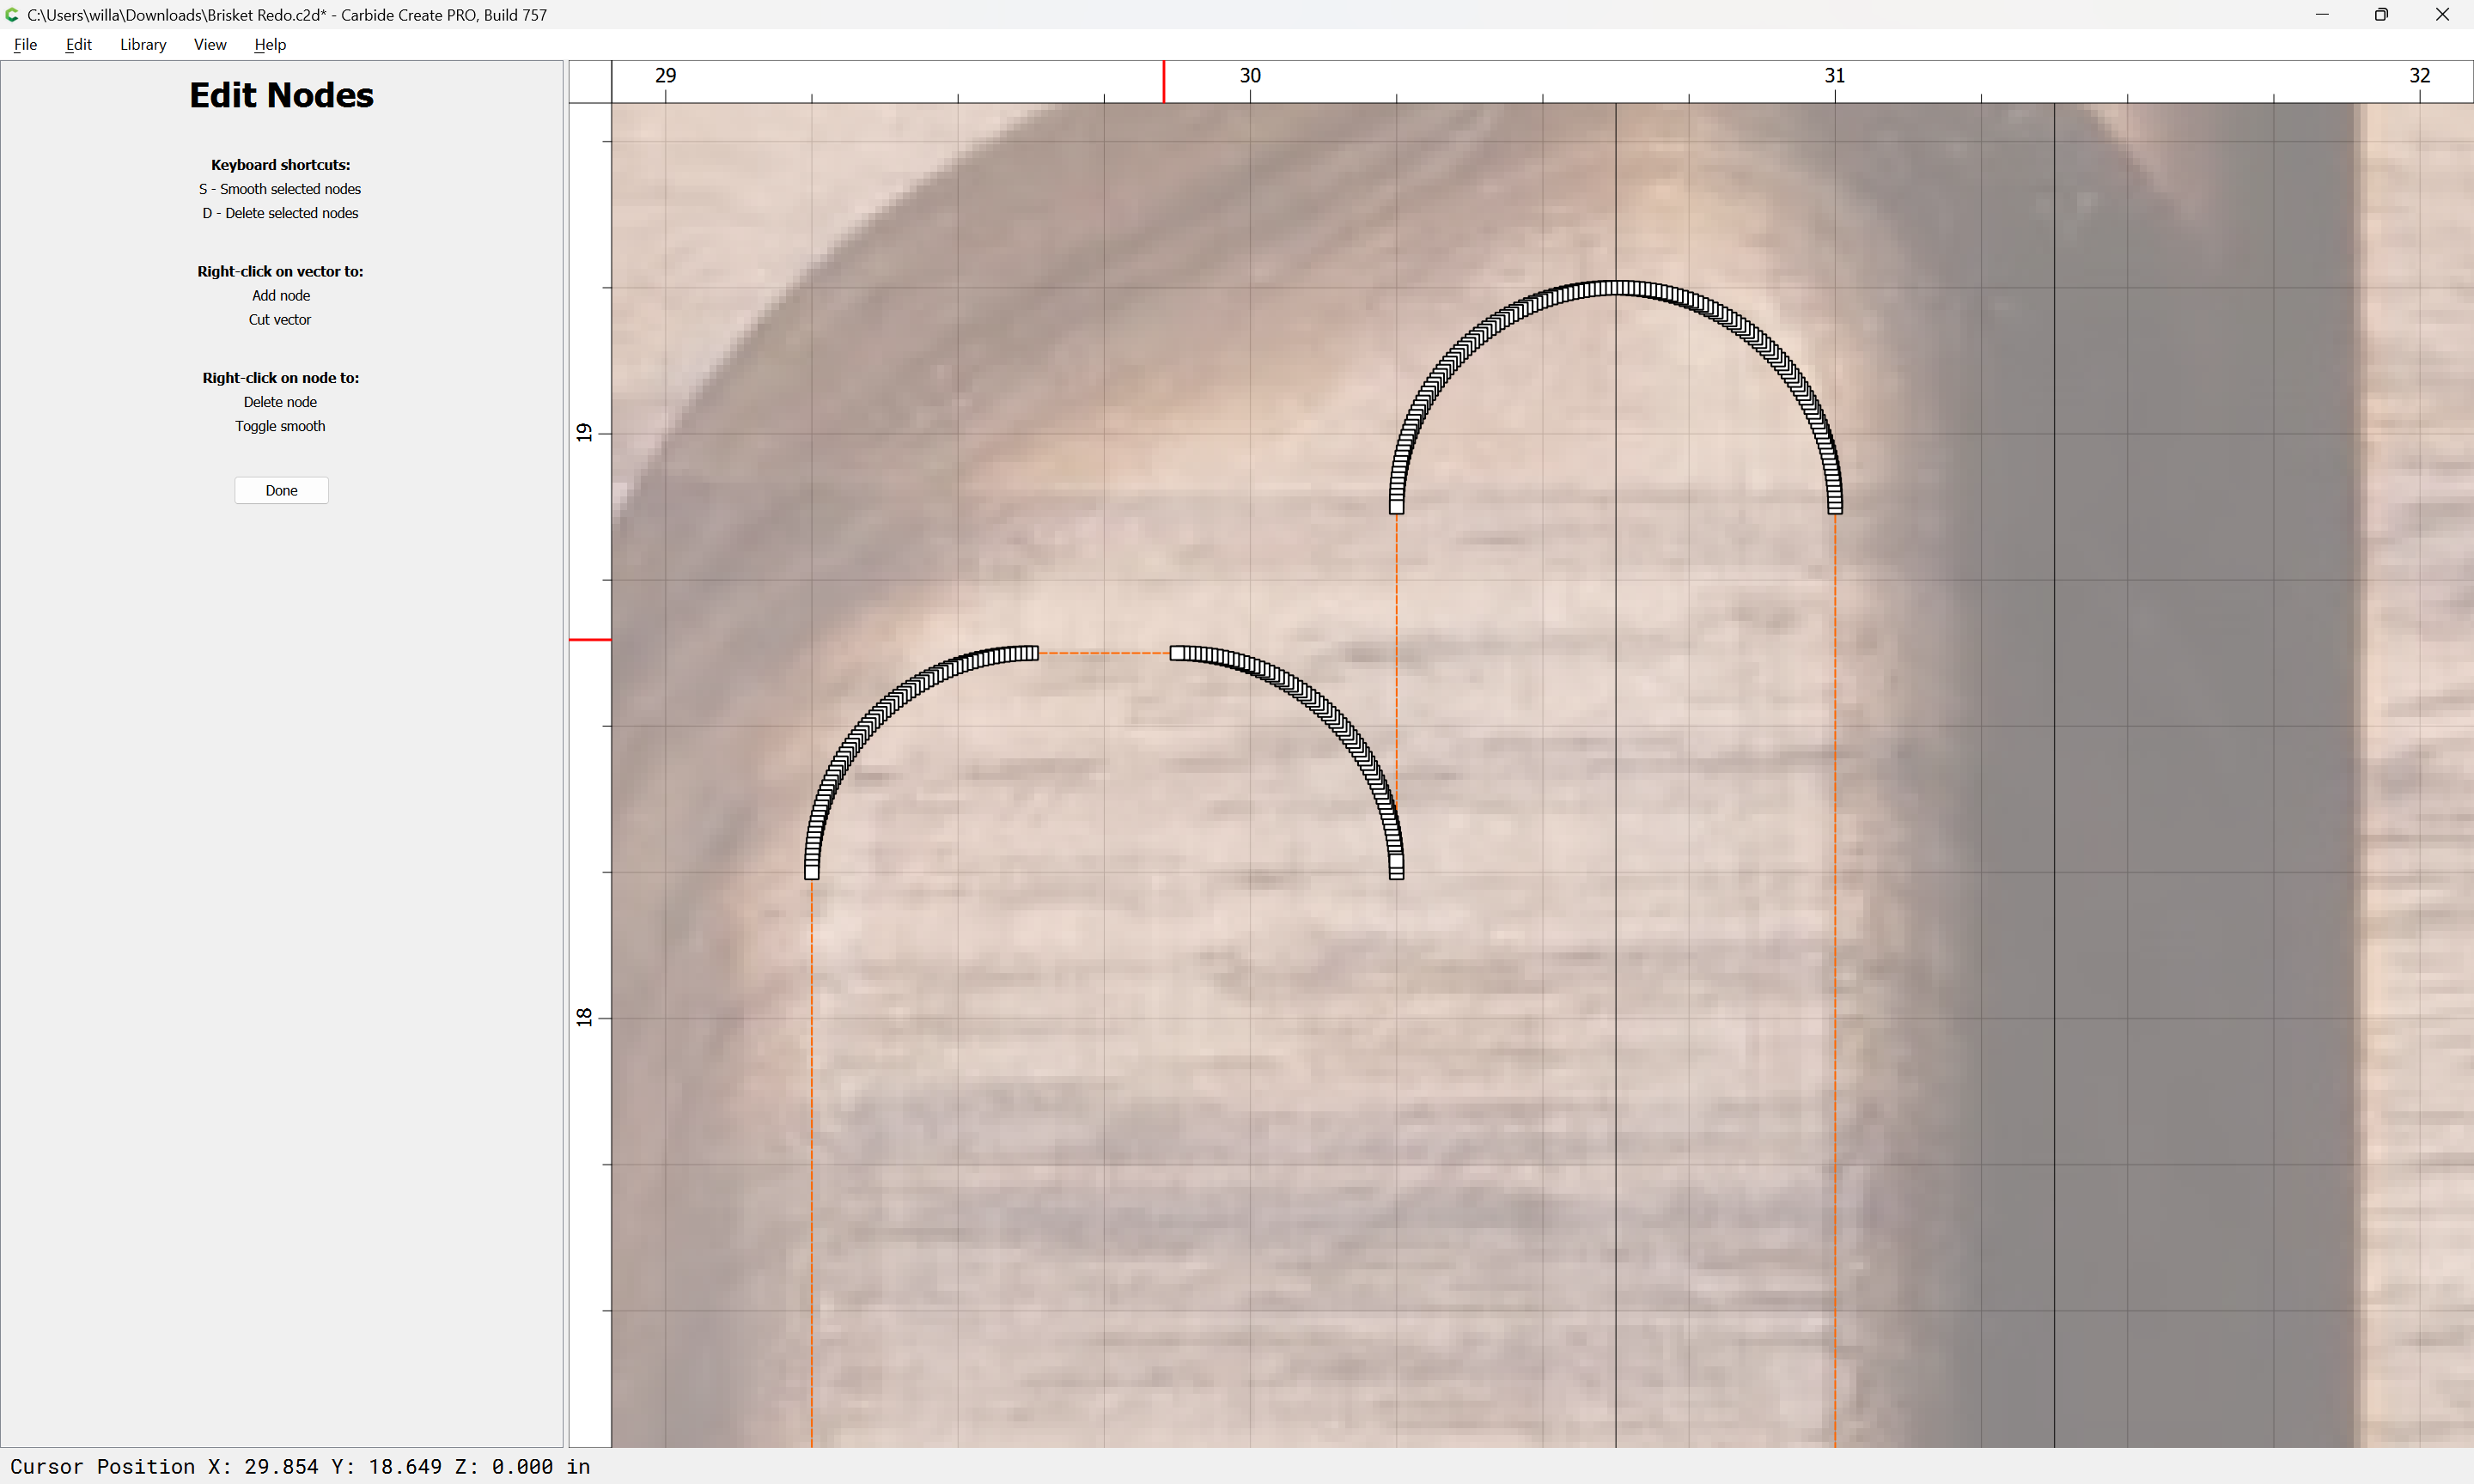
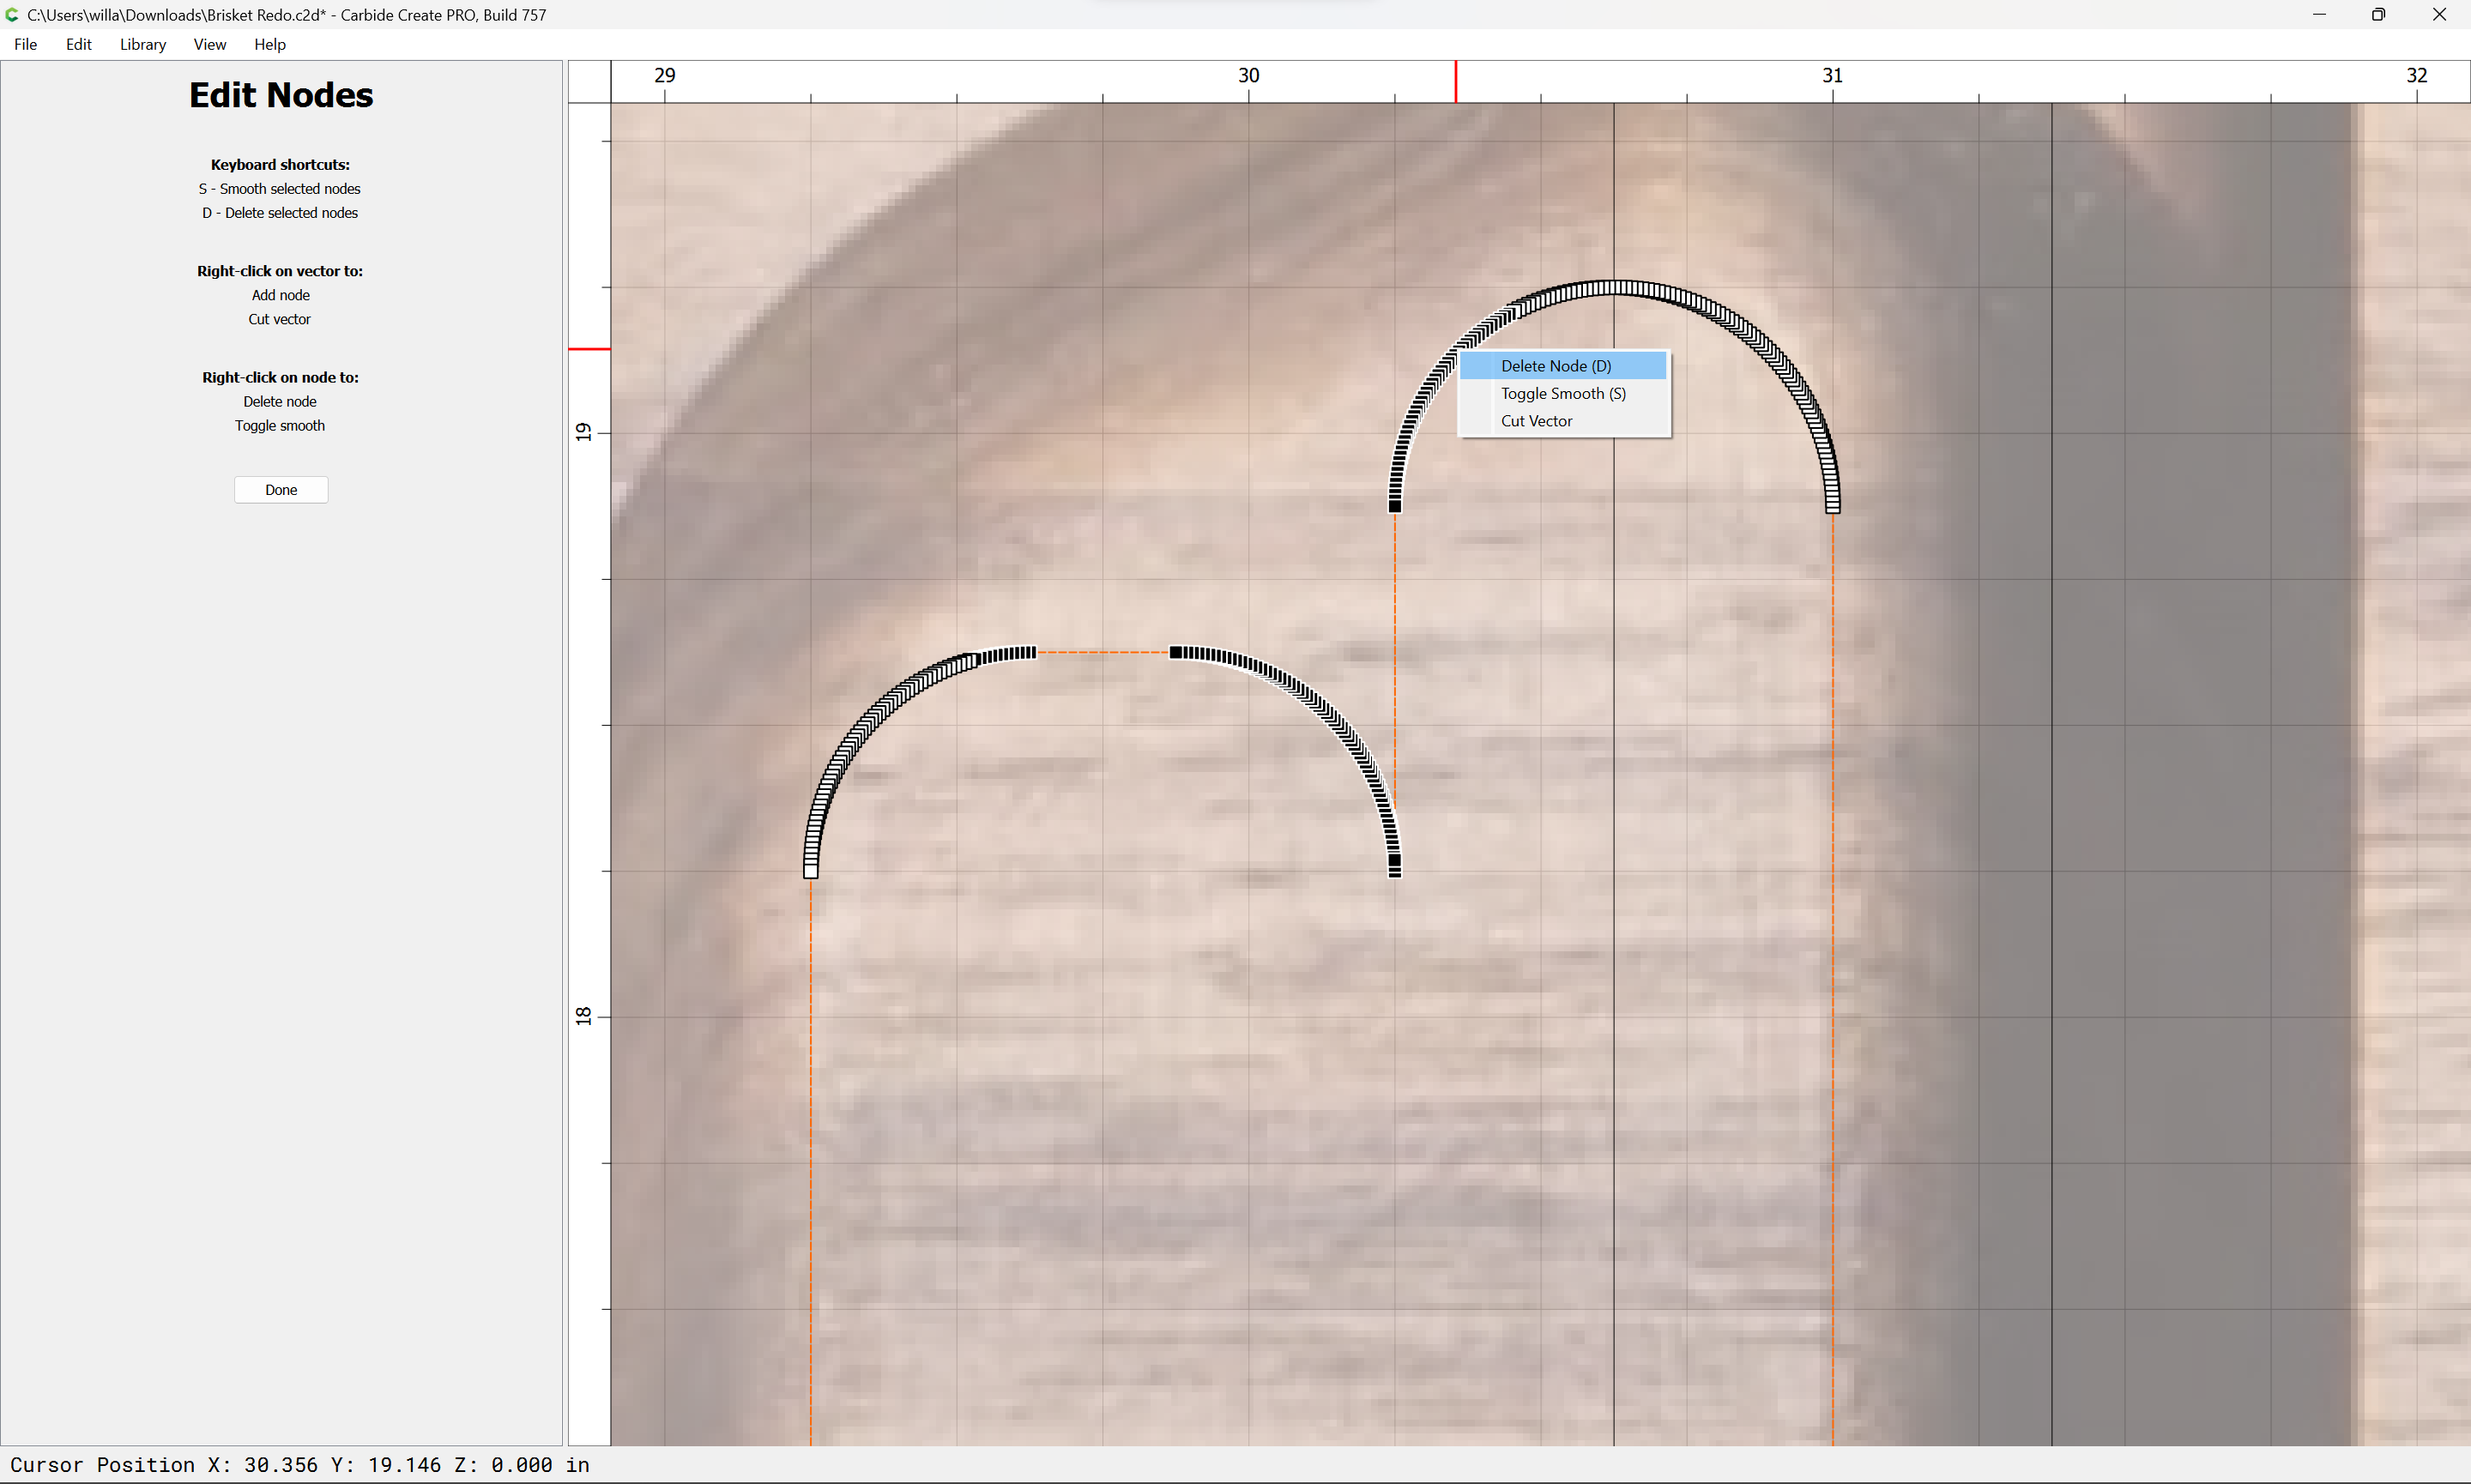
Then go into Node Edit mode and delete extraneous nodes to get a smooth join:
Zoom in as necessary to determine and select what should be deleted:
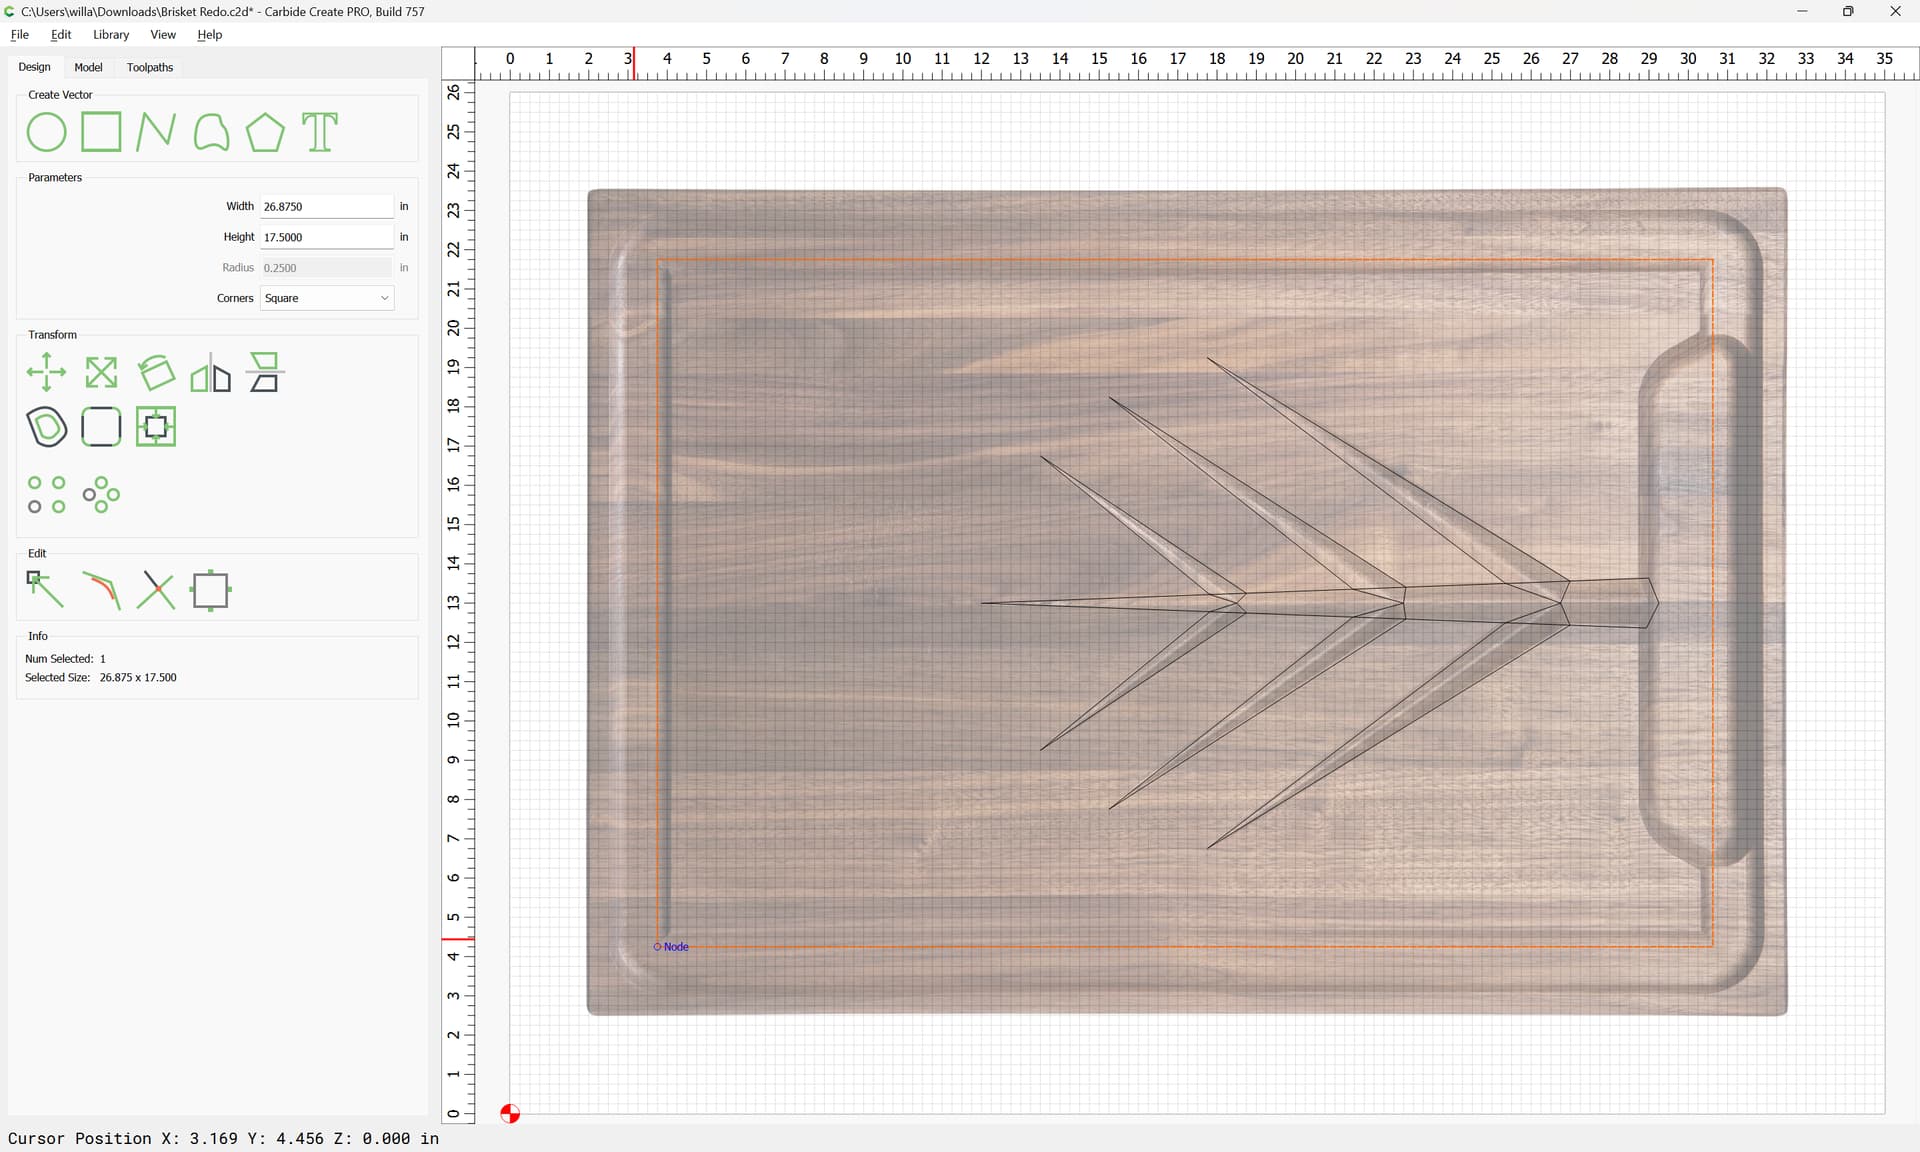
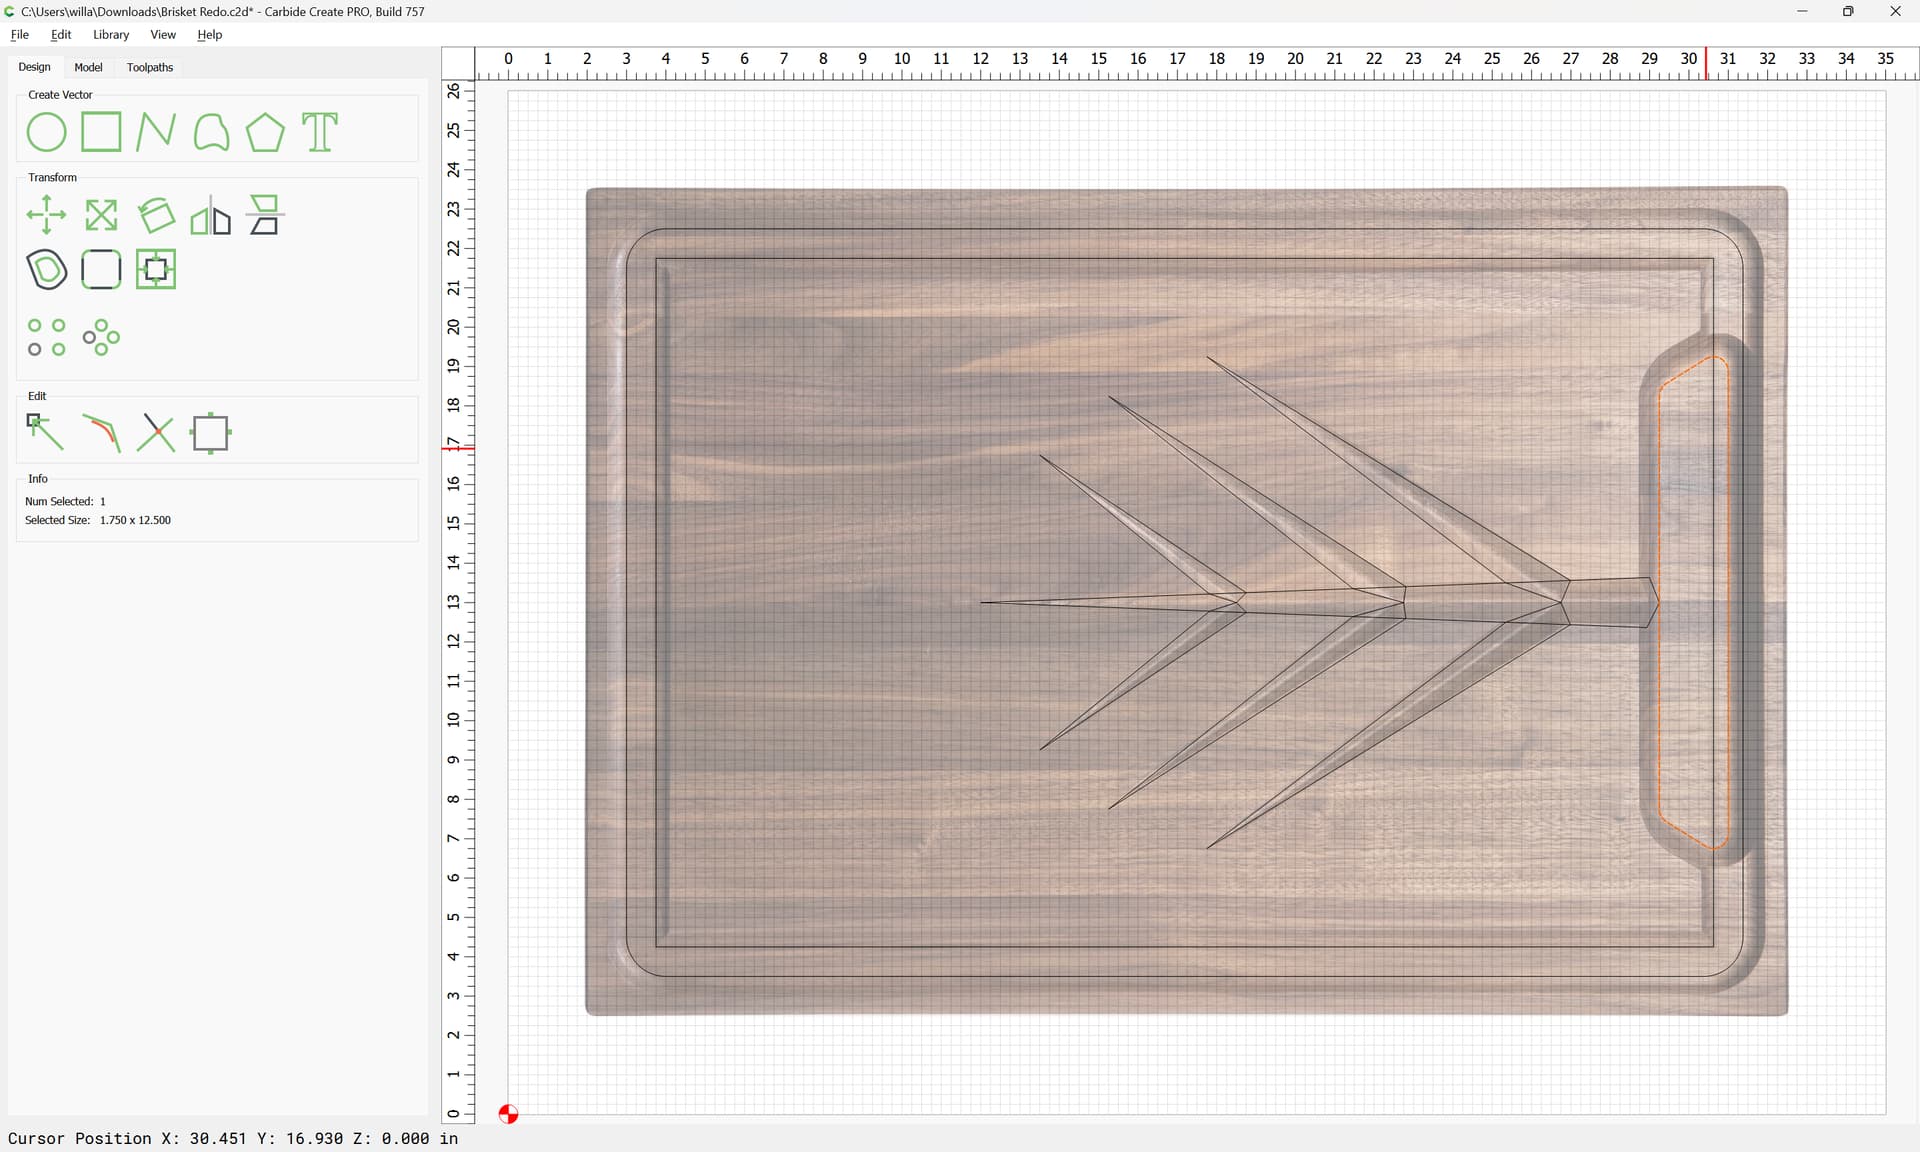
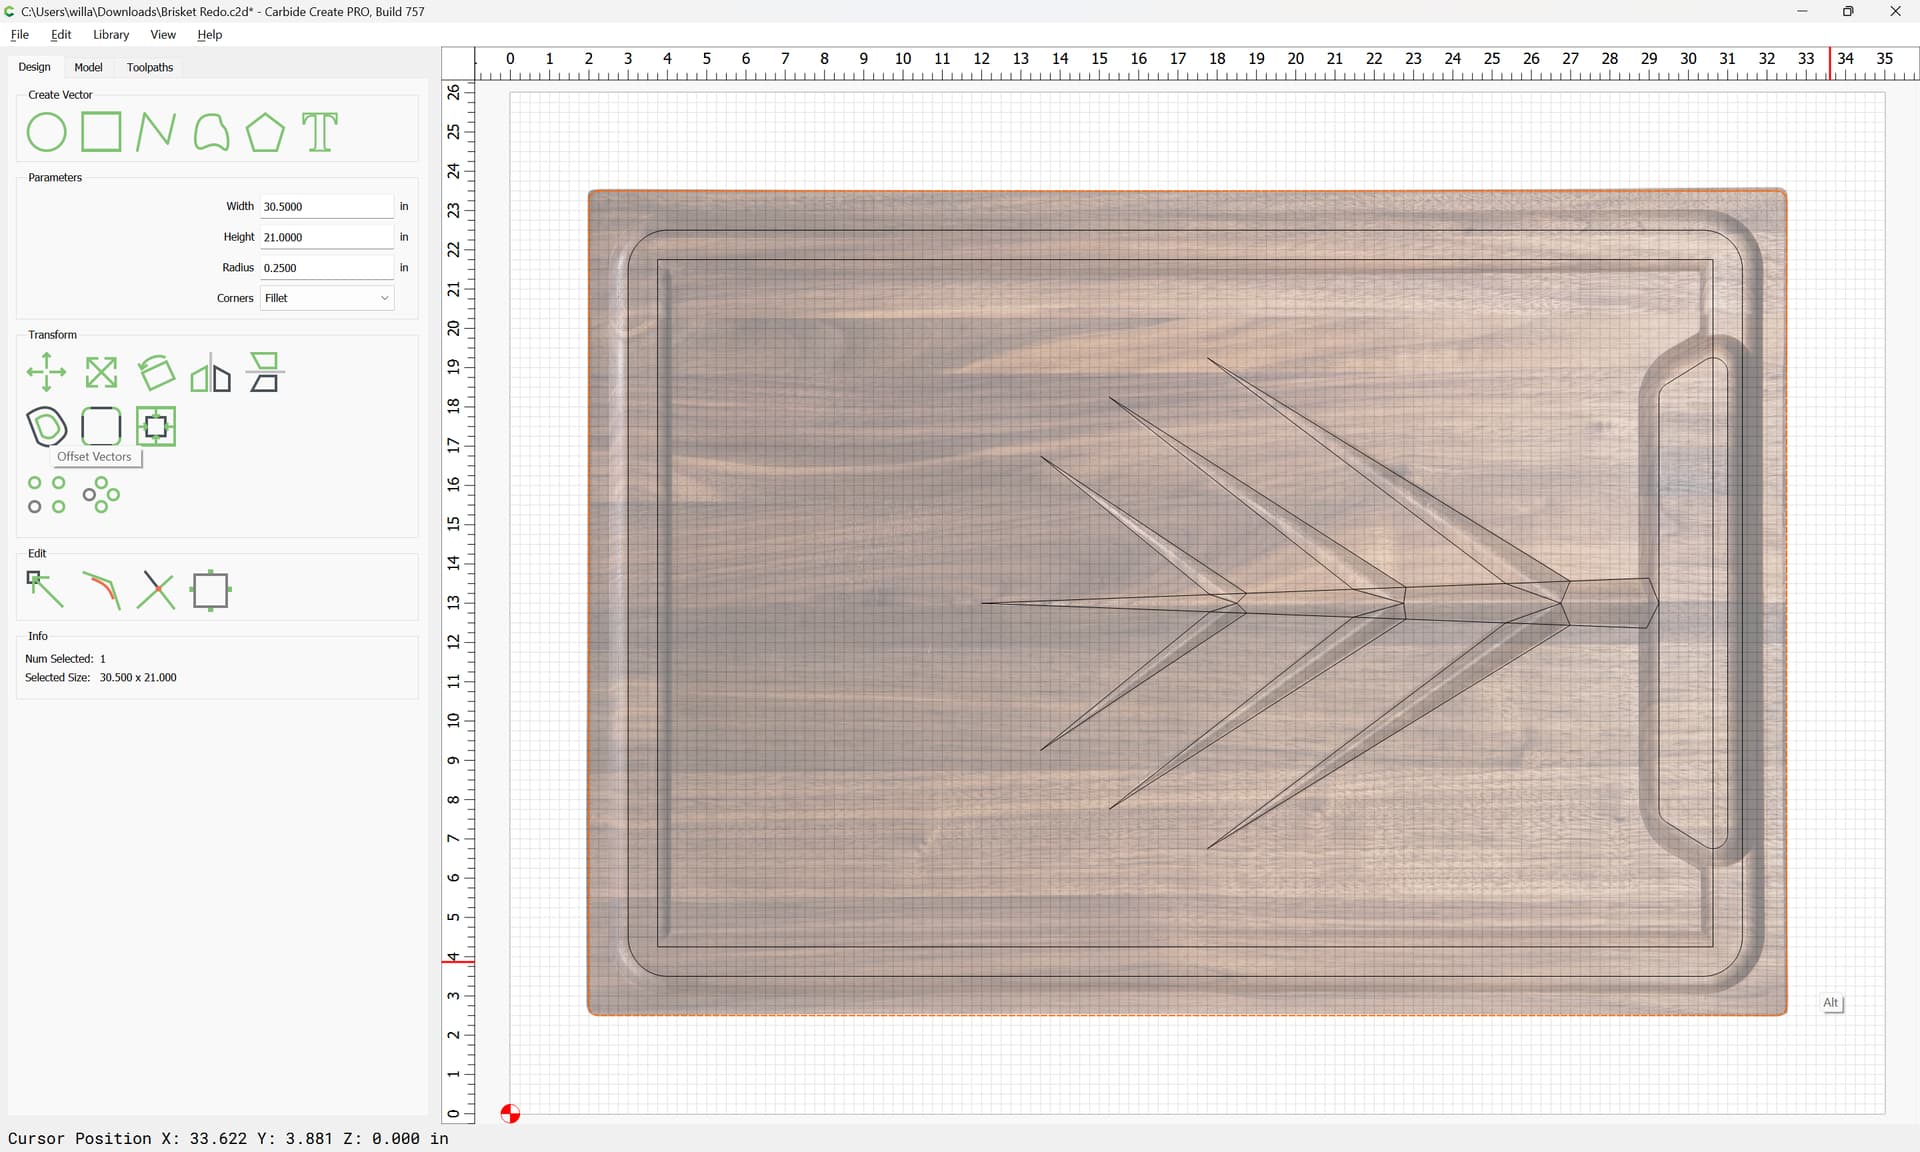
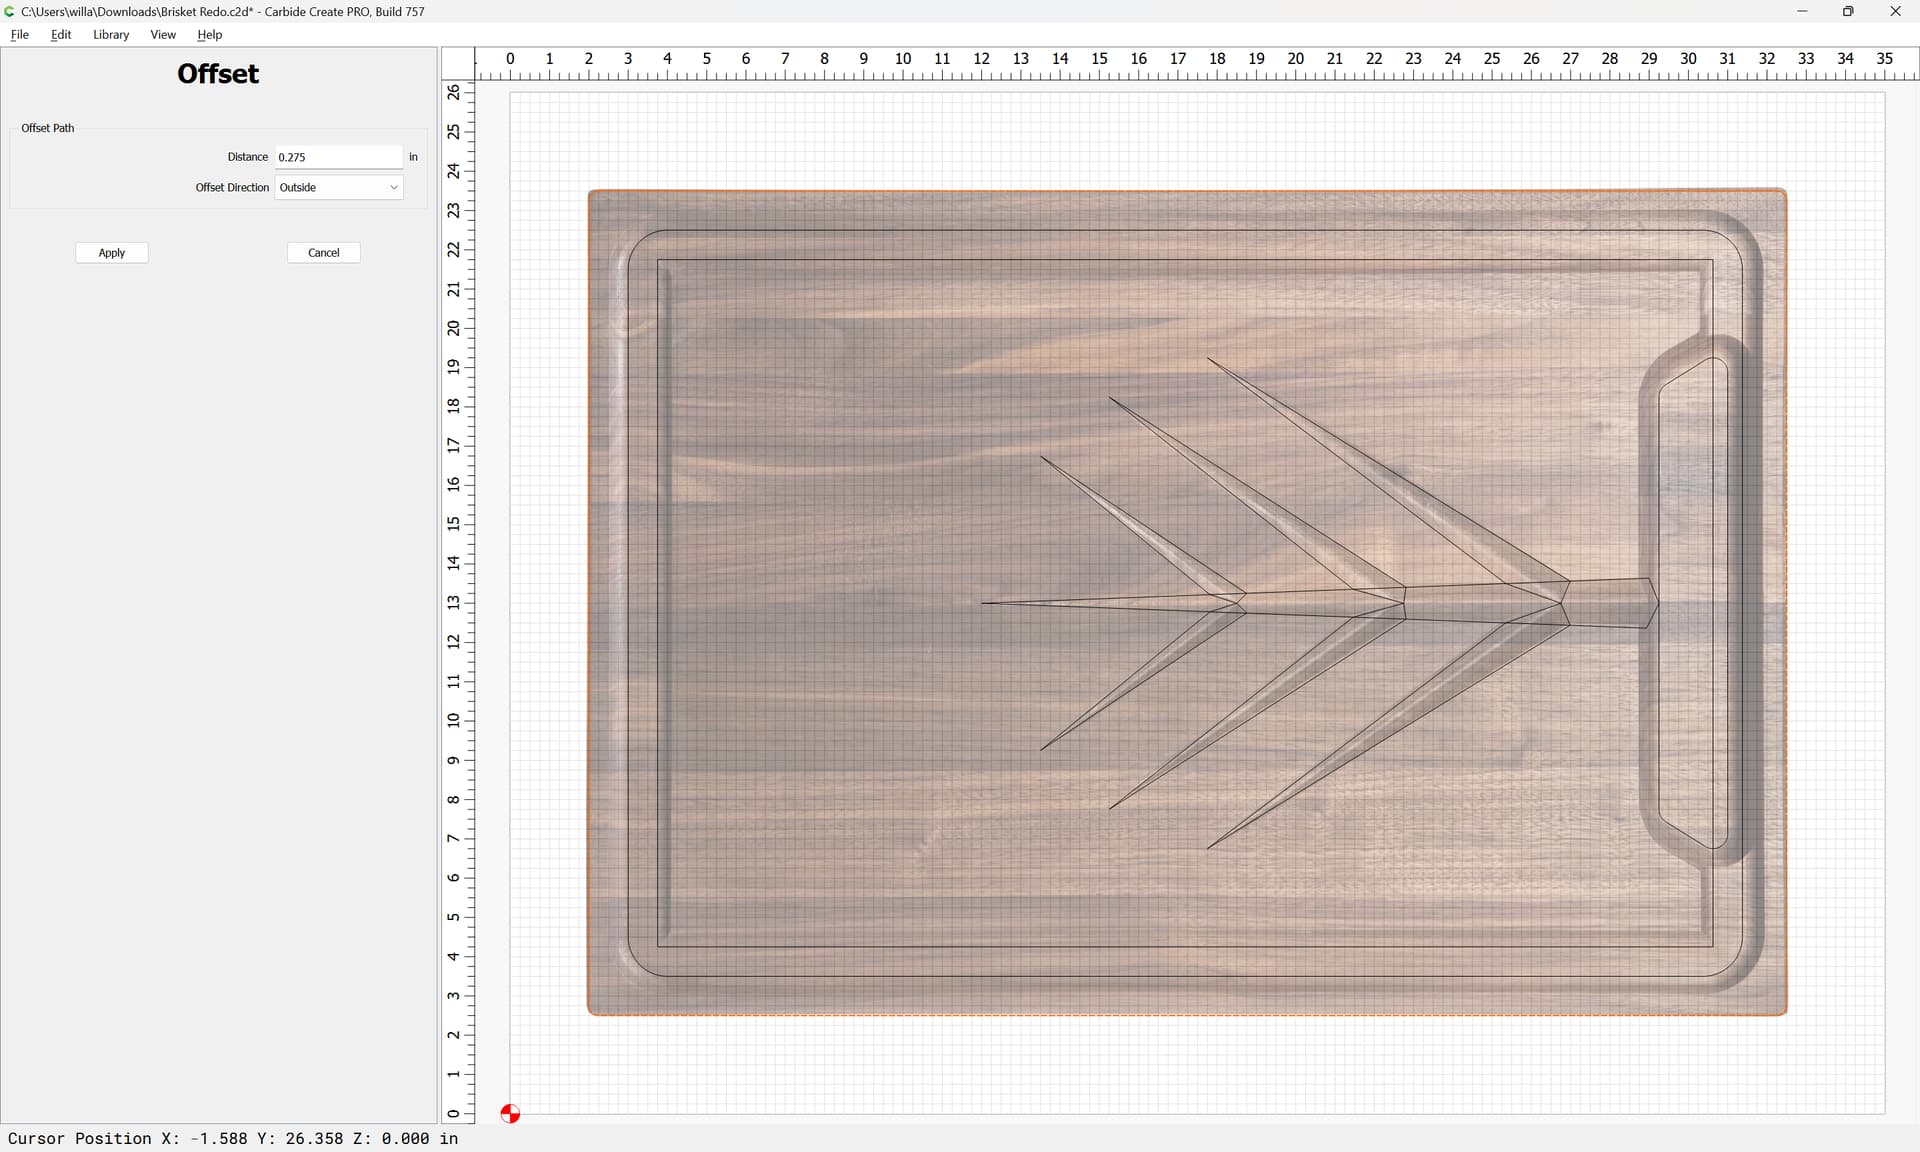
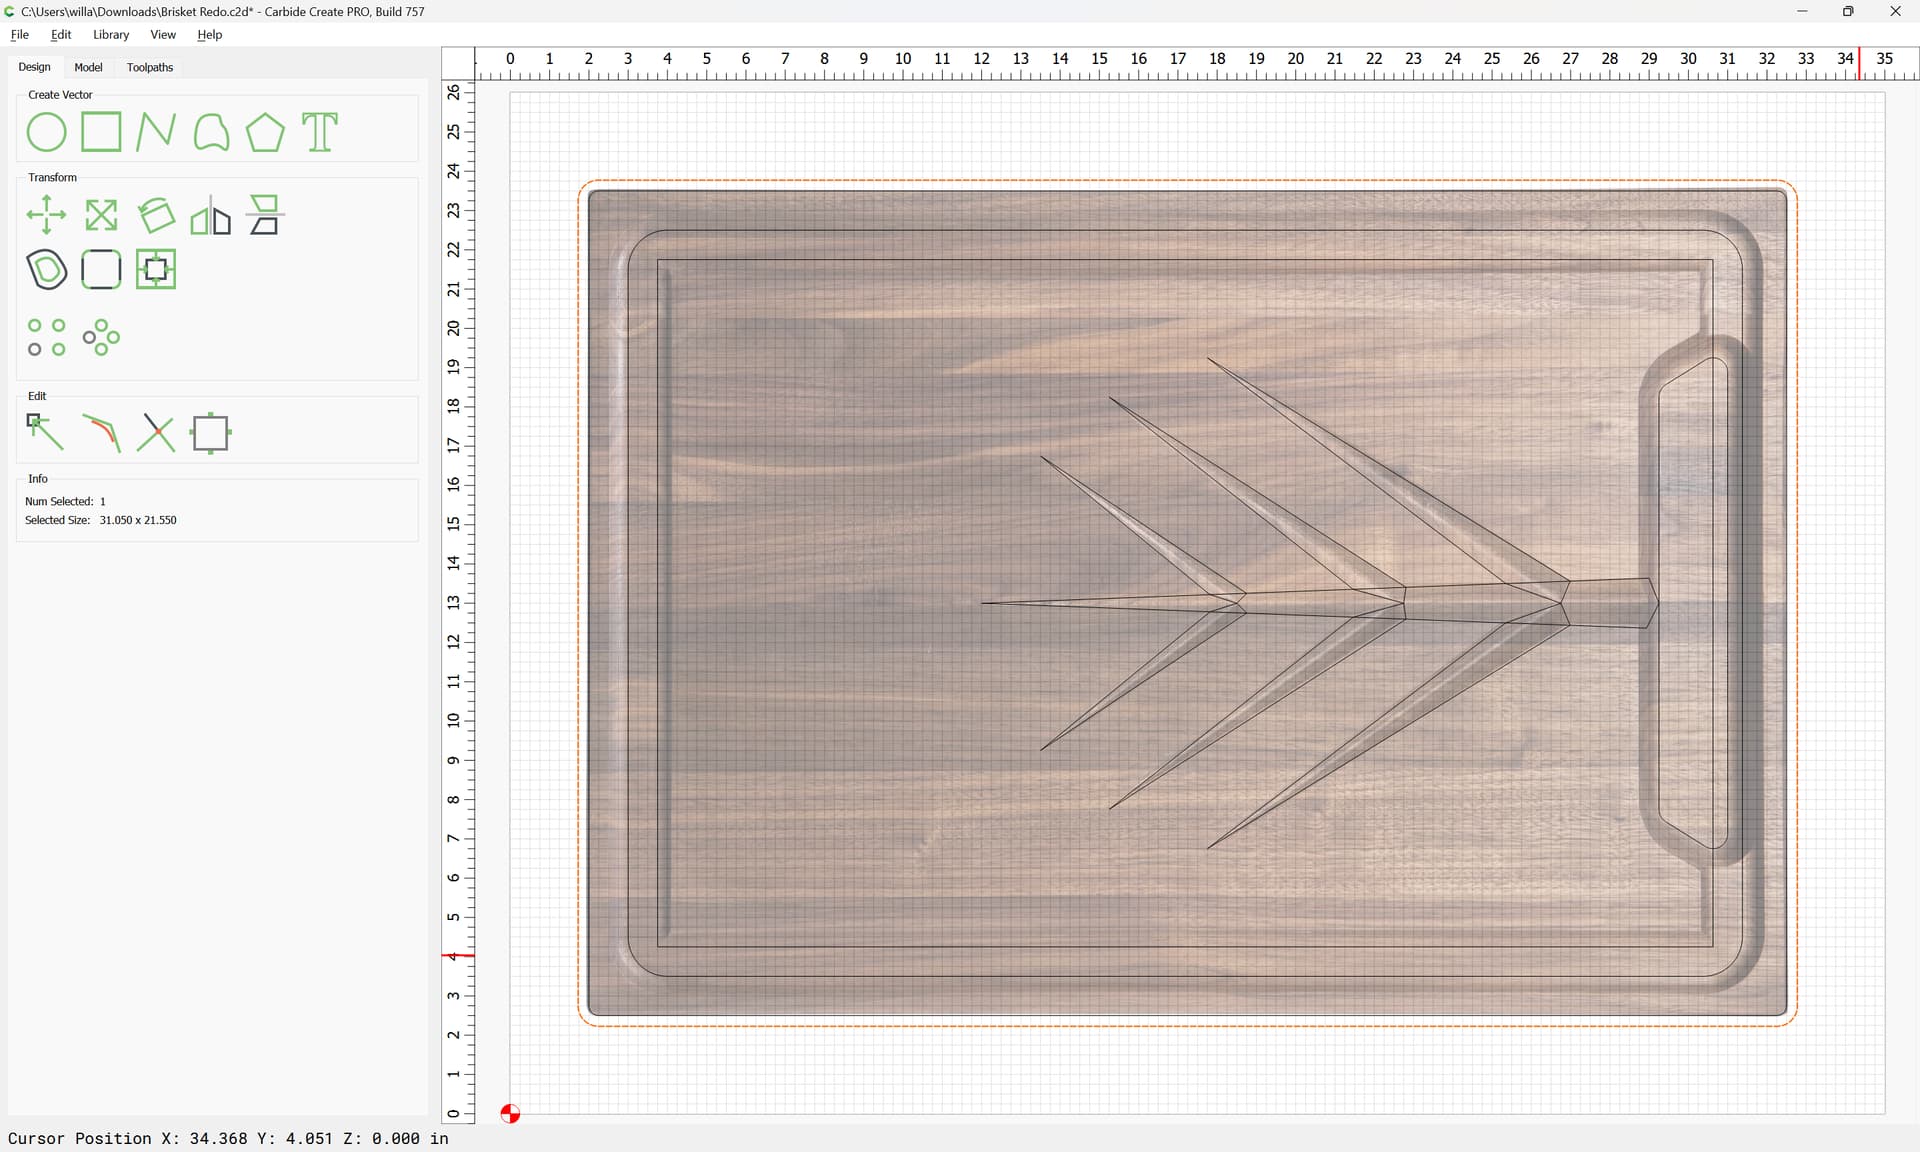
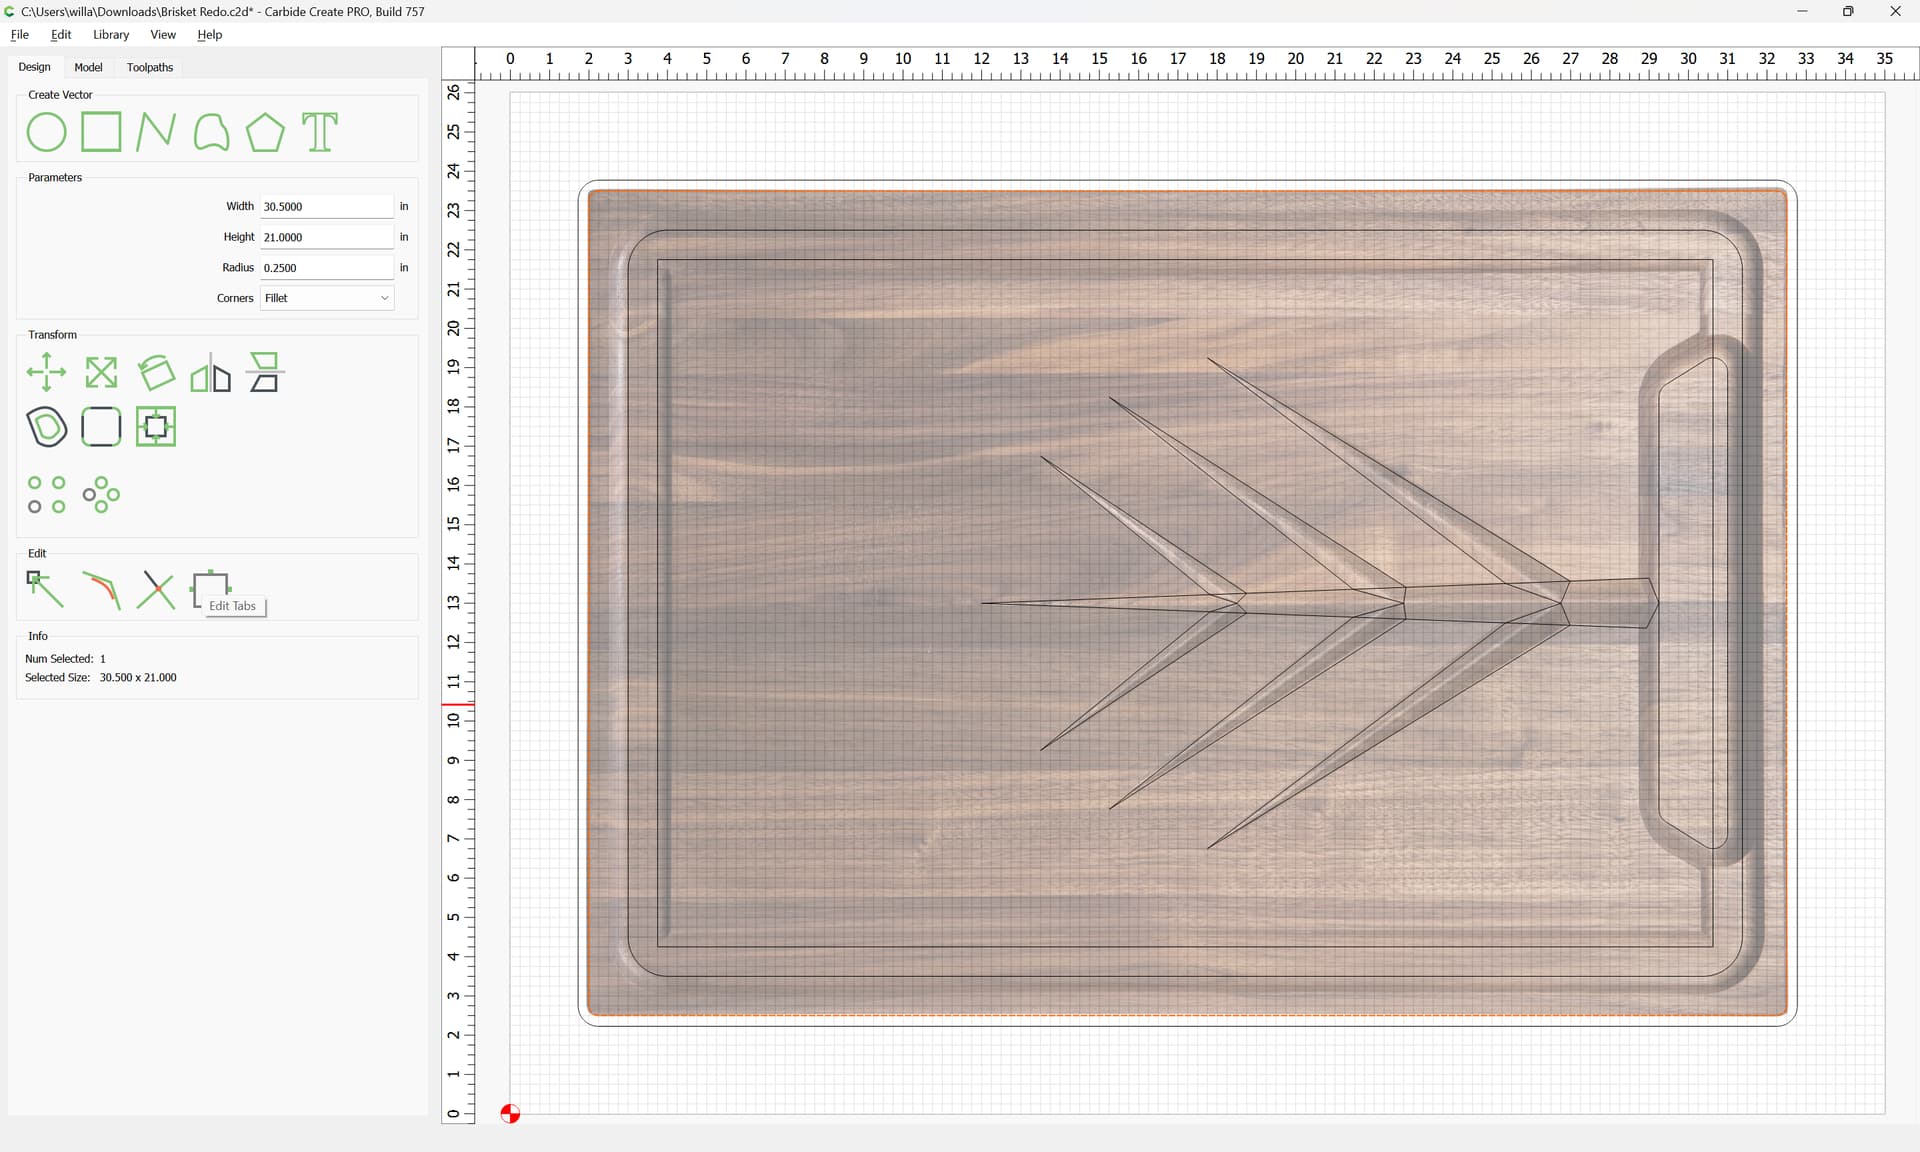
Lastly draw in the geometry for the outer contour:
and offset it by endmill diameter plus 10%:
Apply
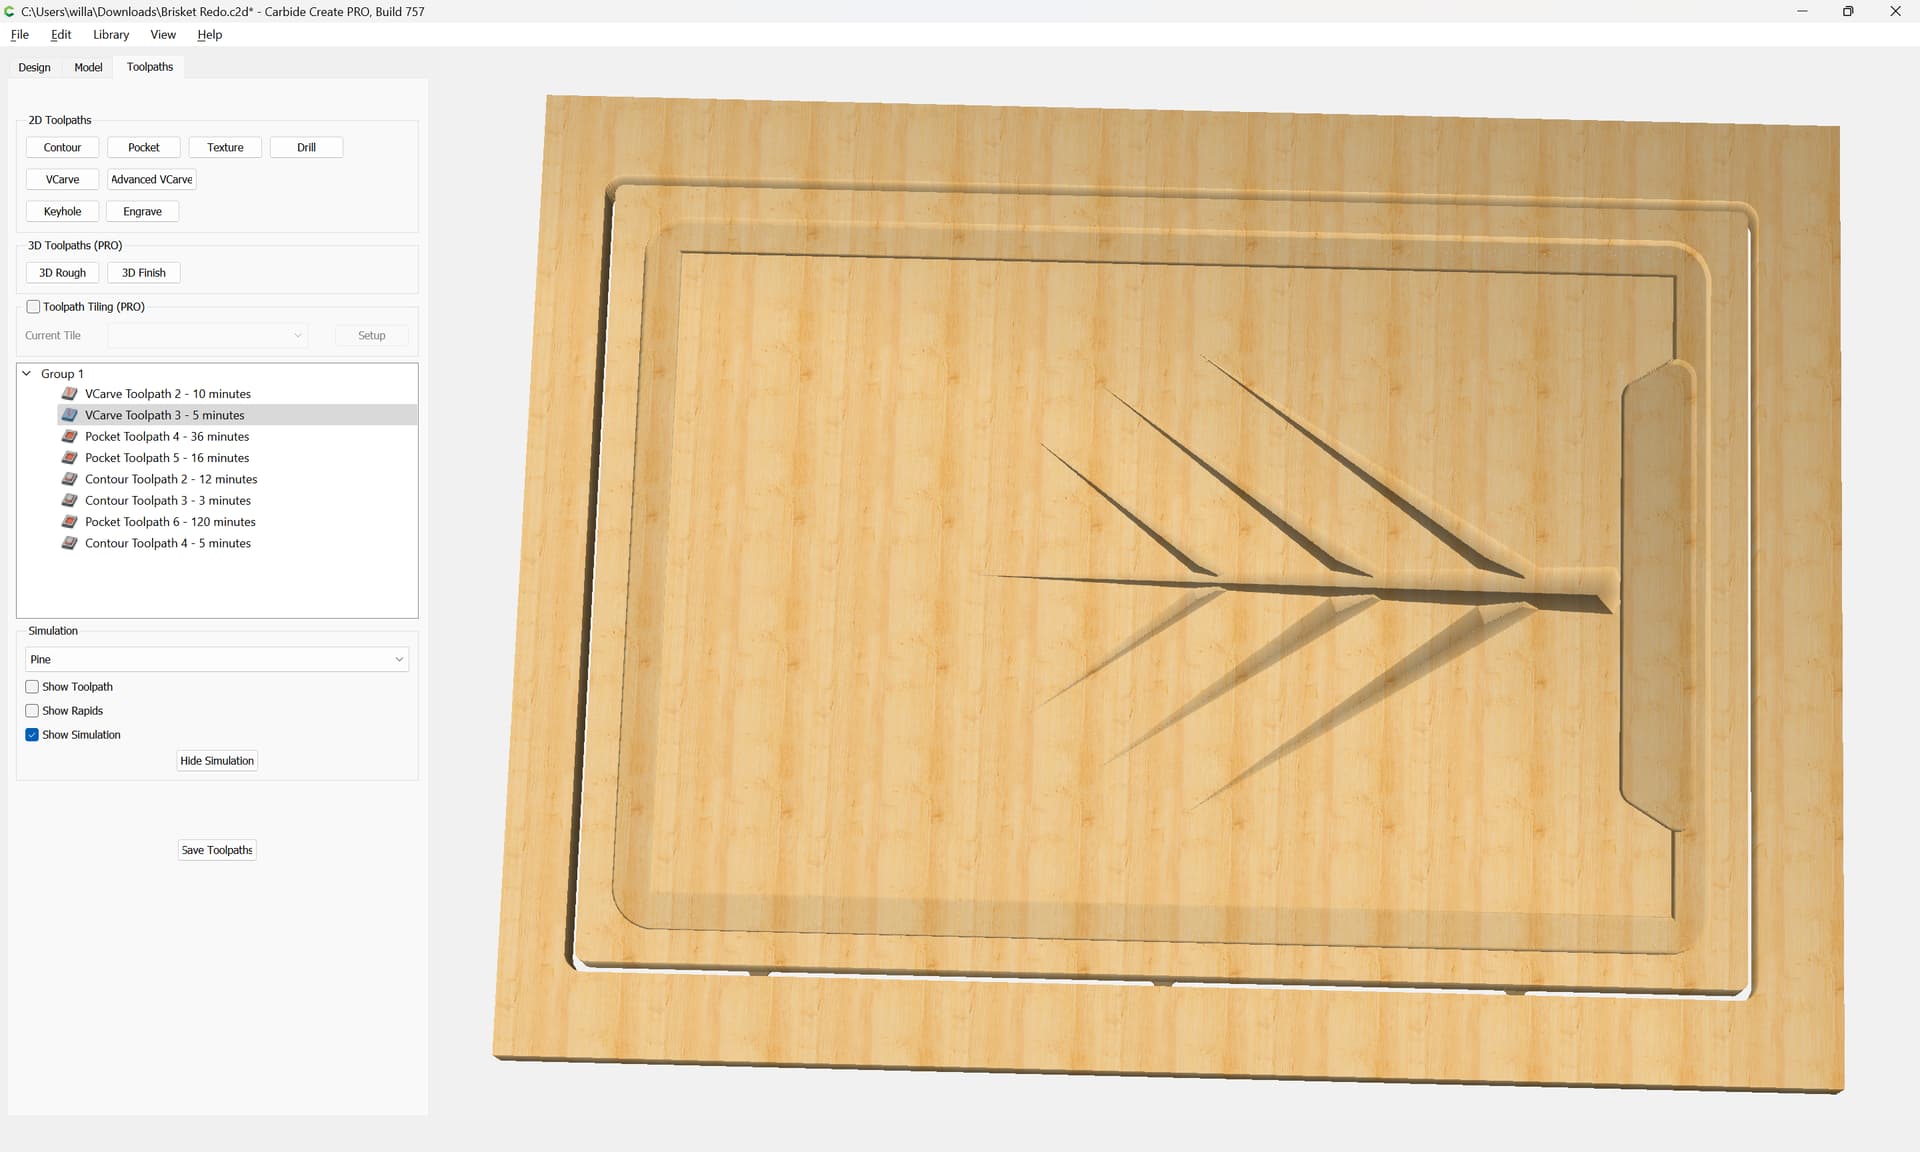
Lastly apply toolpaths:
Select the upper and lower branches:
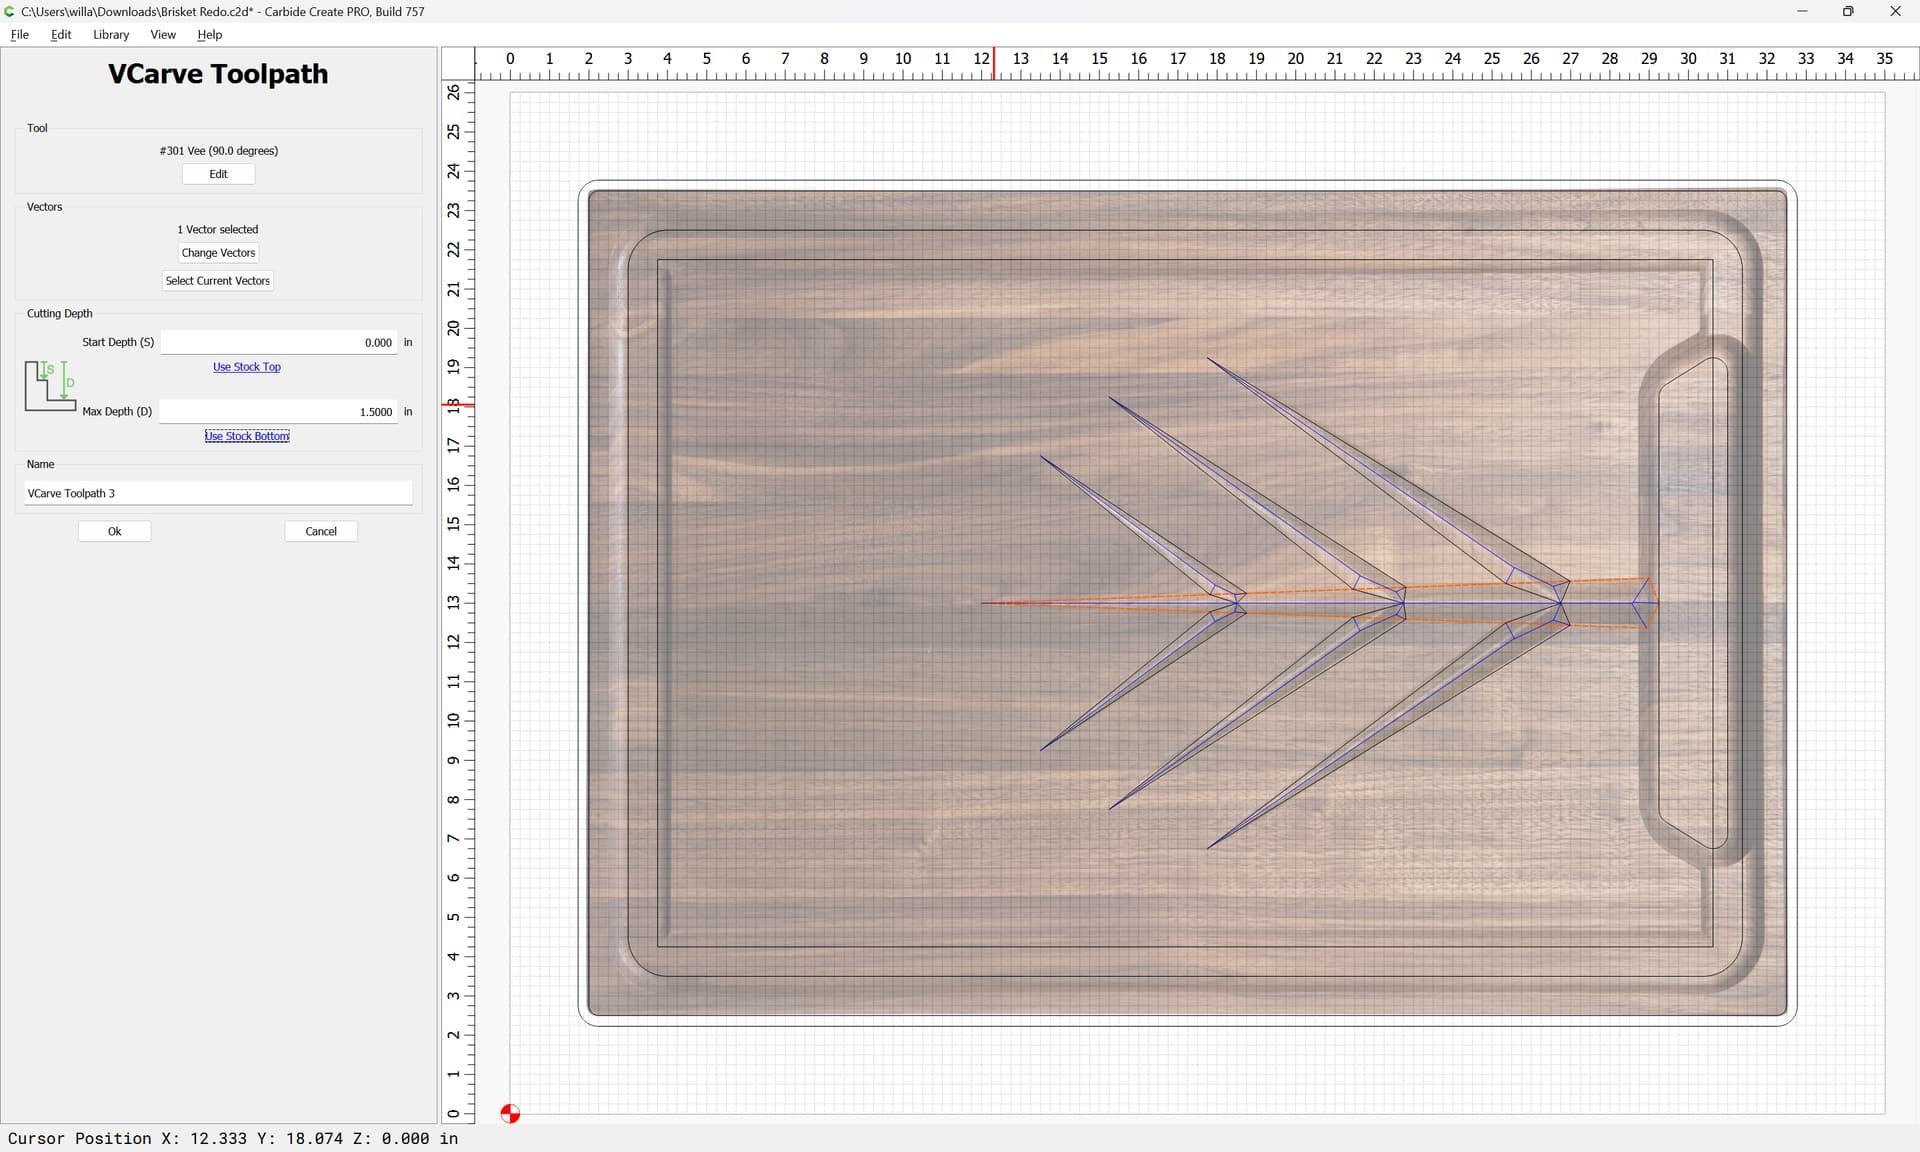
and assign a V carving toolpath
Assign a second V carving toolpath for the central geometry:
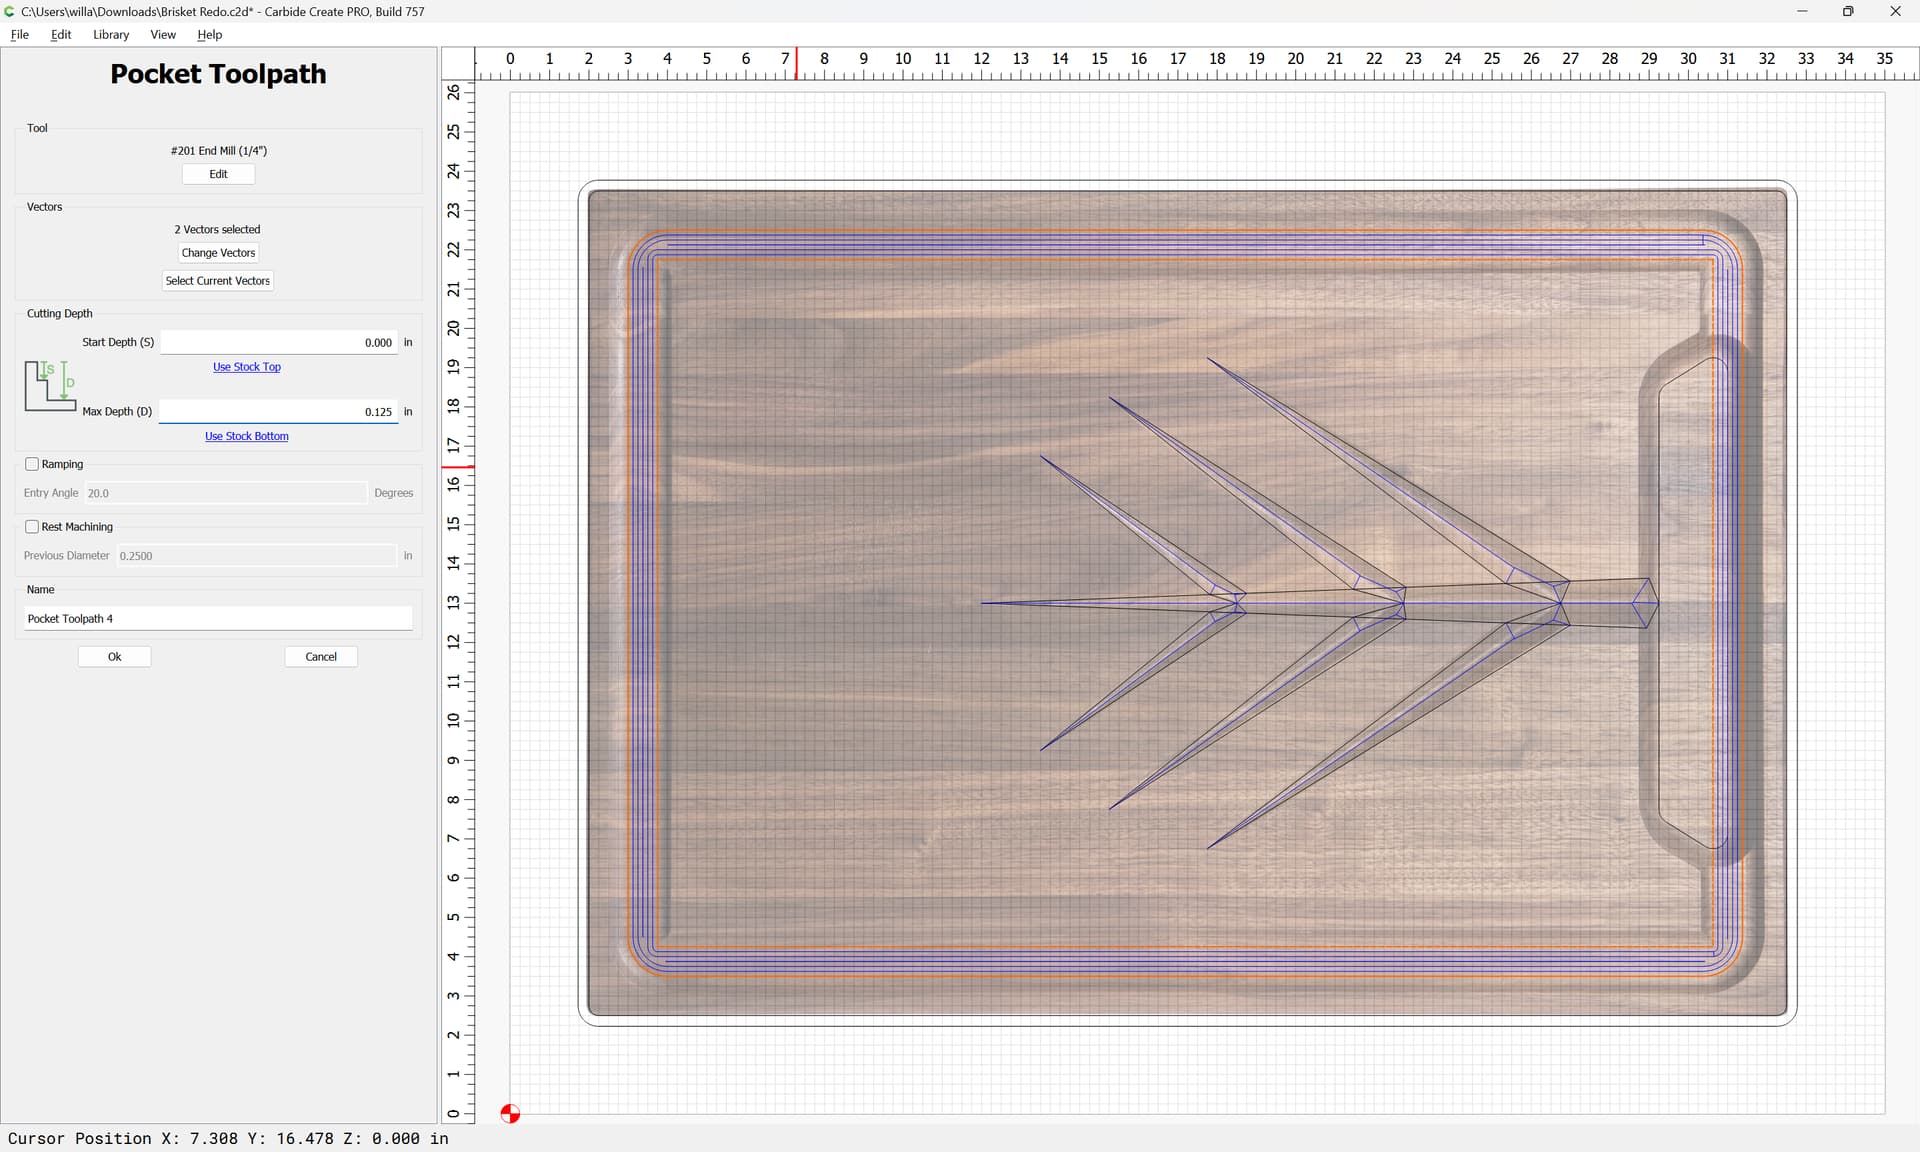
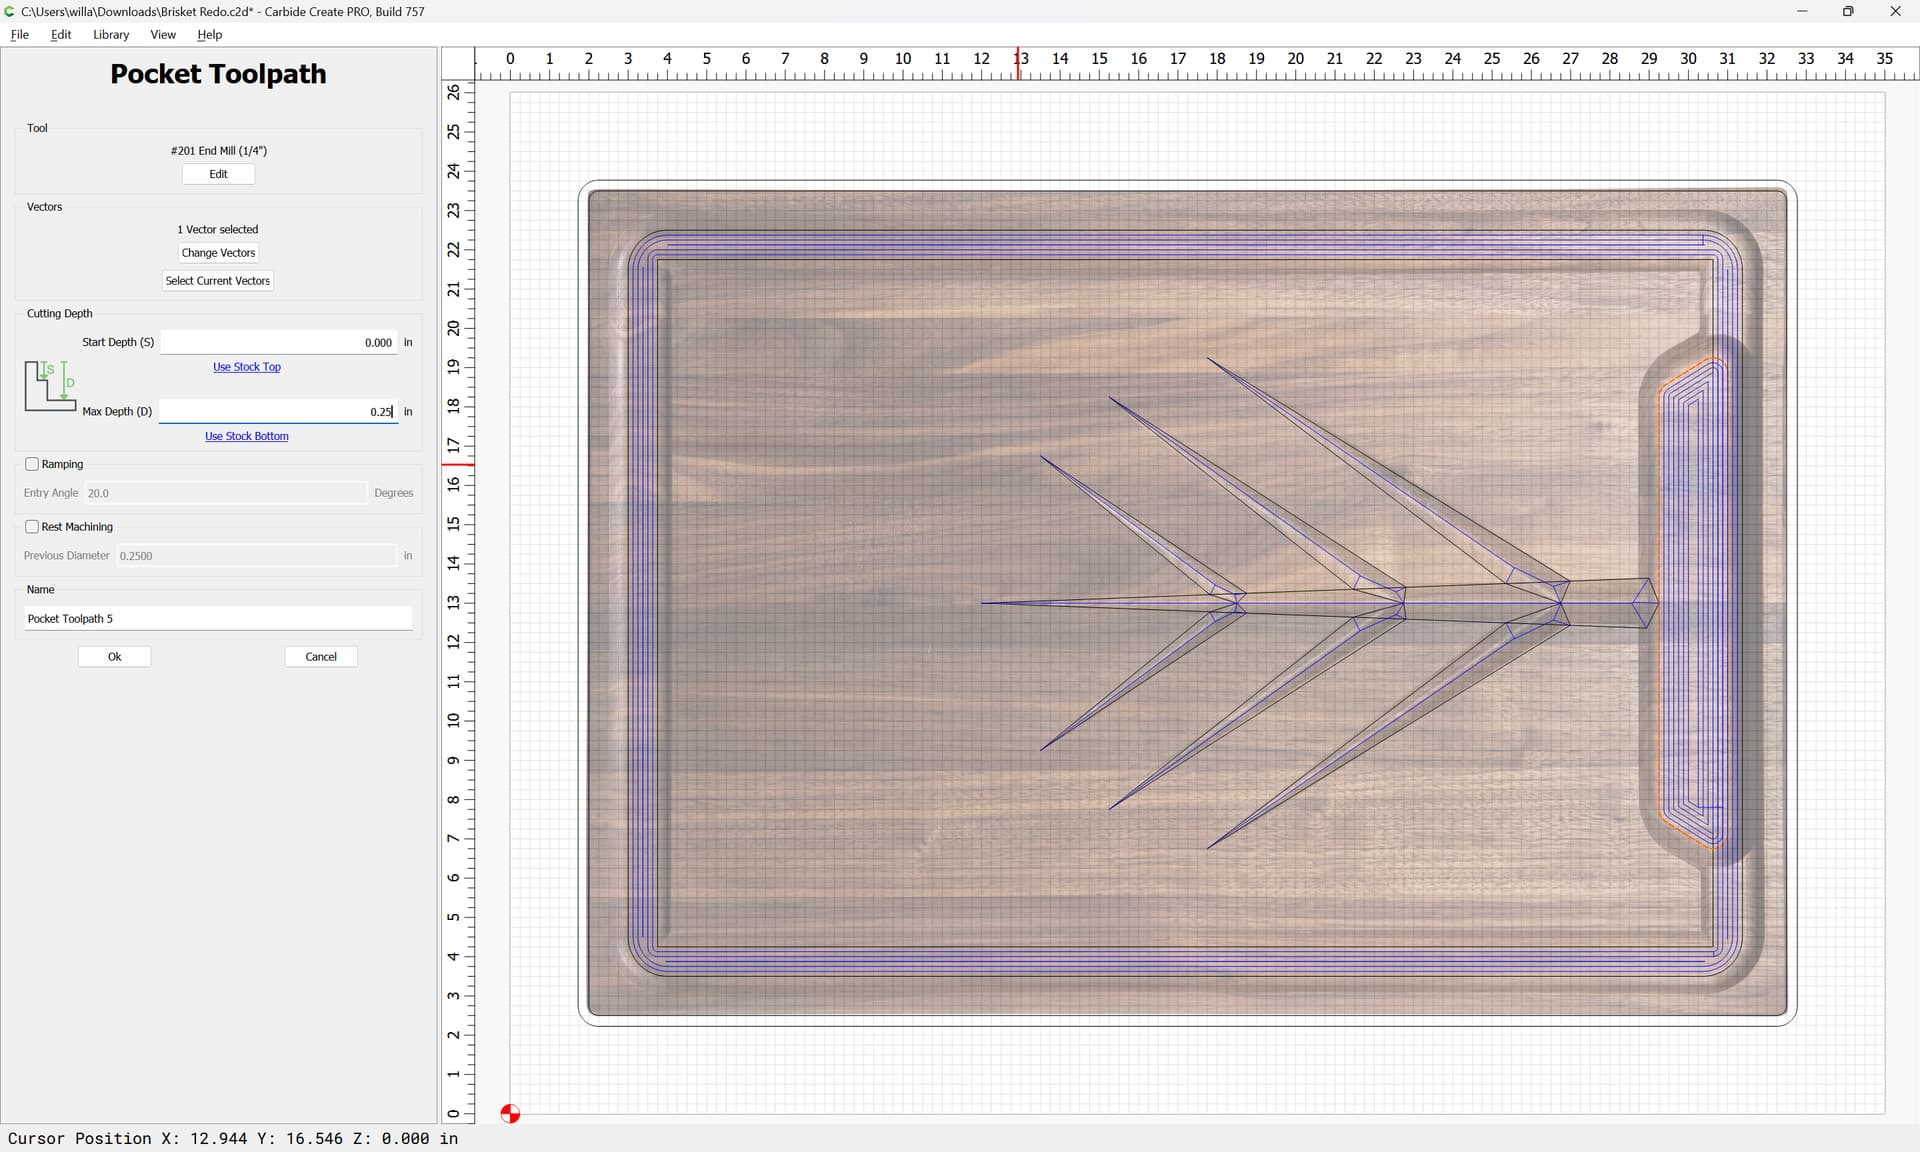
Assign a pocket toolpath to the geometry for the surrounding juice groove to a reasonable depth:
(Note that the depth may need to be adjusted based on the size of the ball-nosed tool you will be using)
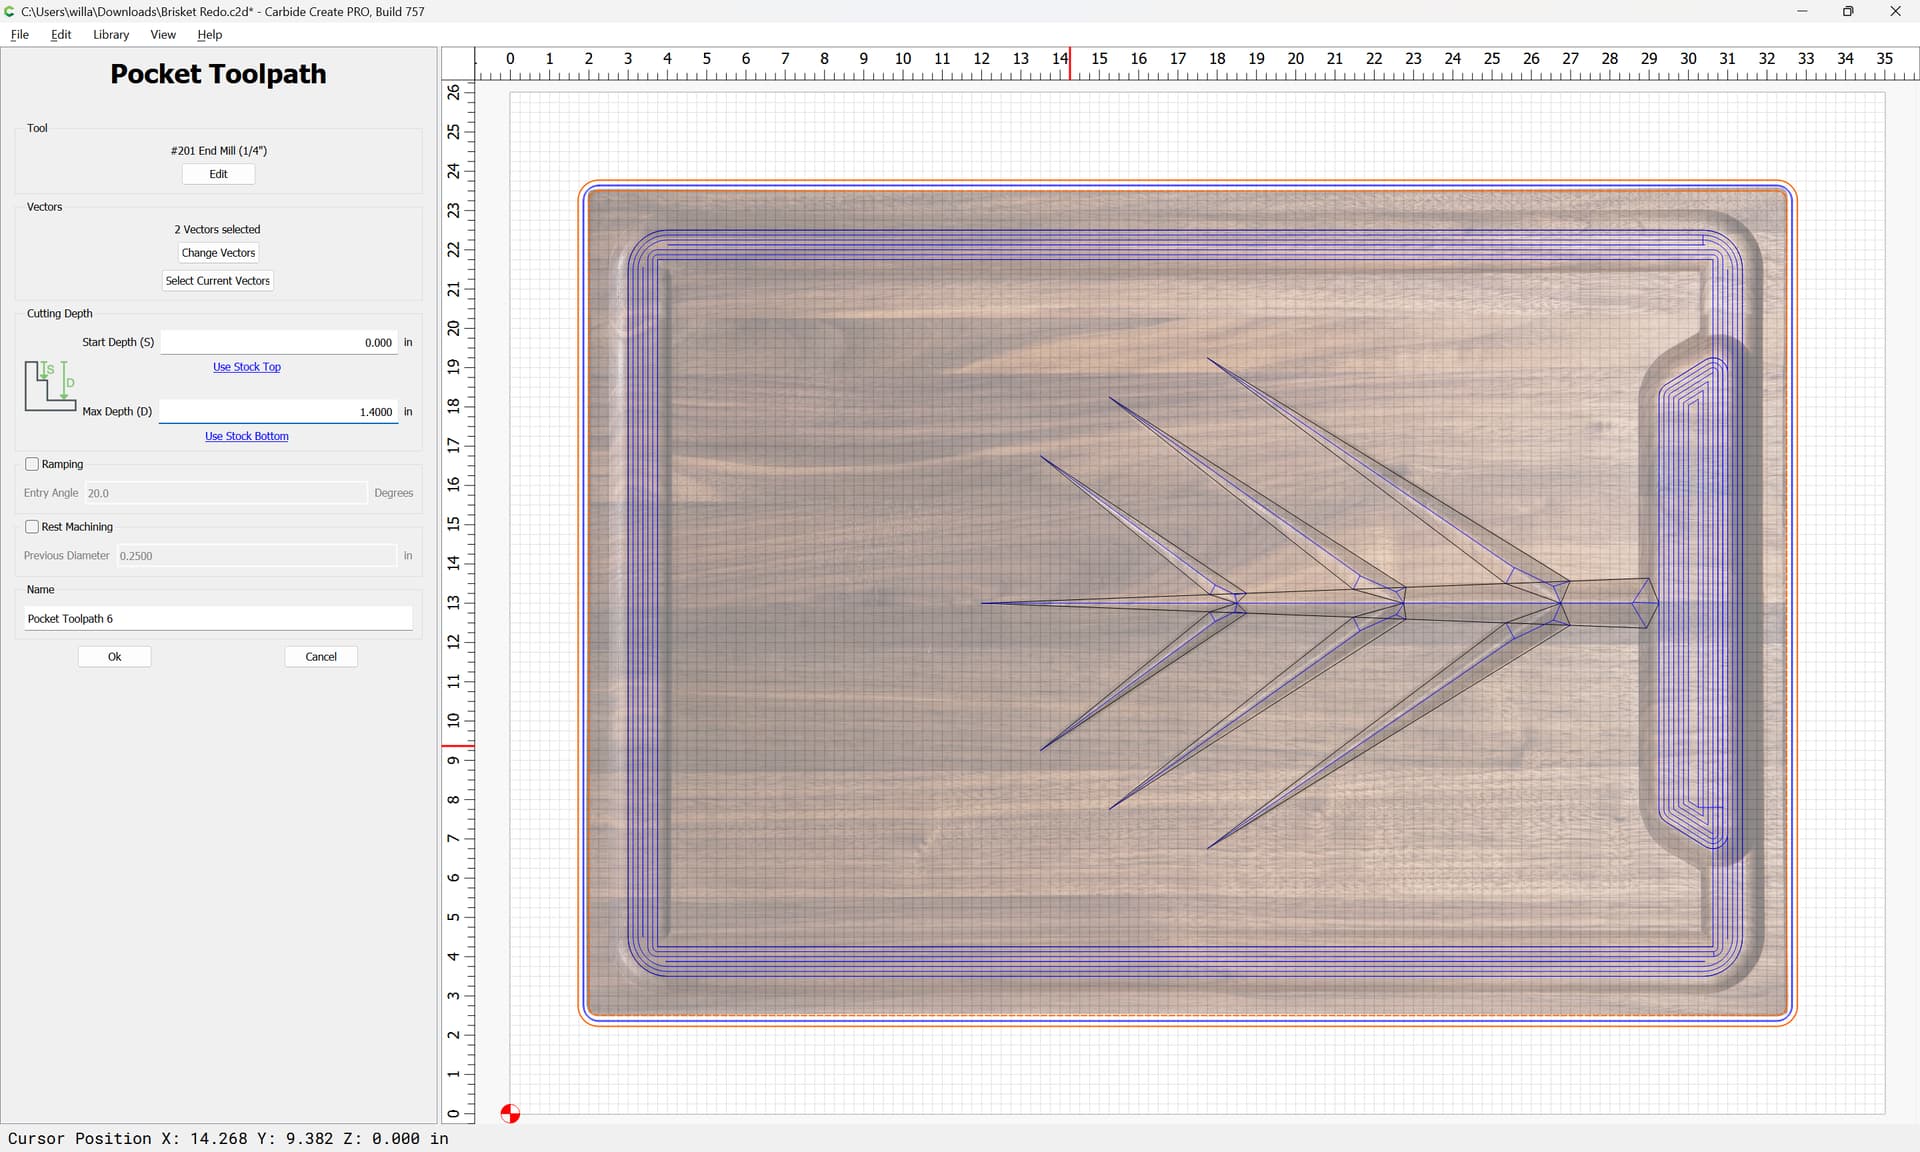
Repeat for the deeper geometry:
(duplicating and unioning geometry and assigning multiple toolpaths so as to avoid air-cutting and achieve more efficient toolpathing is left as an exercise for the reader)
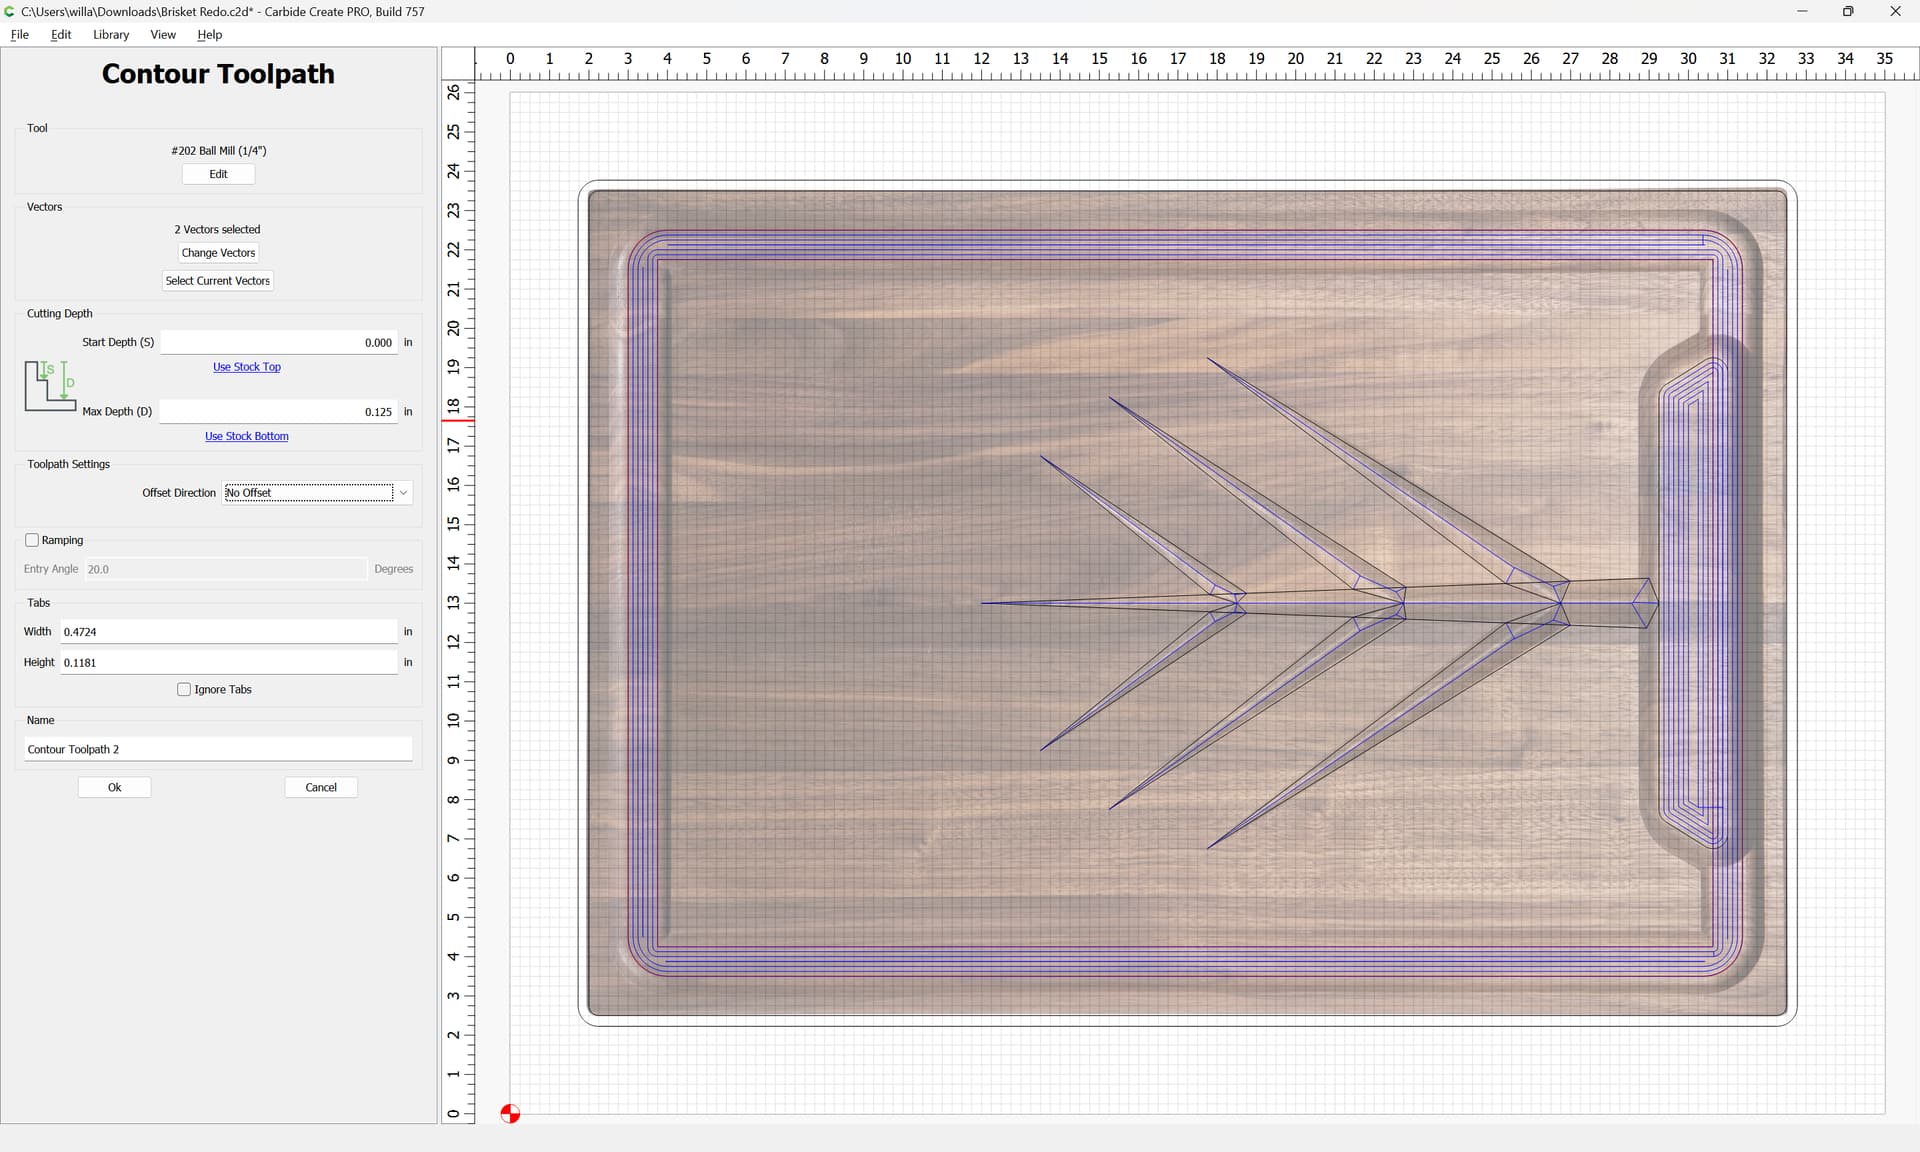
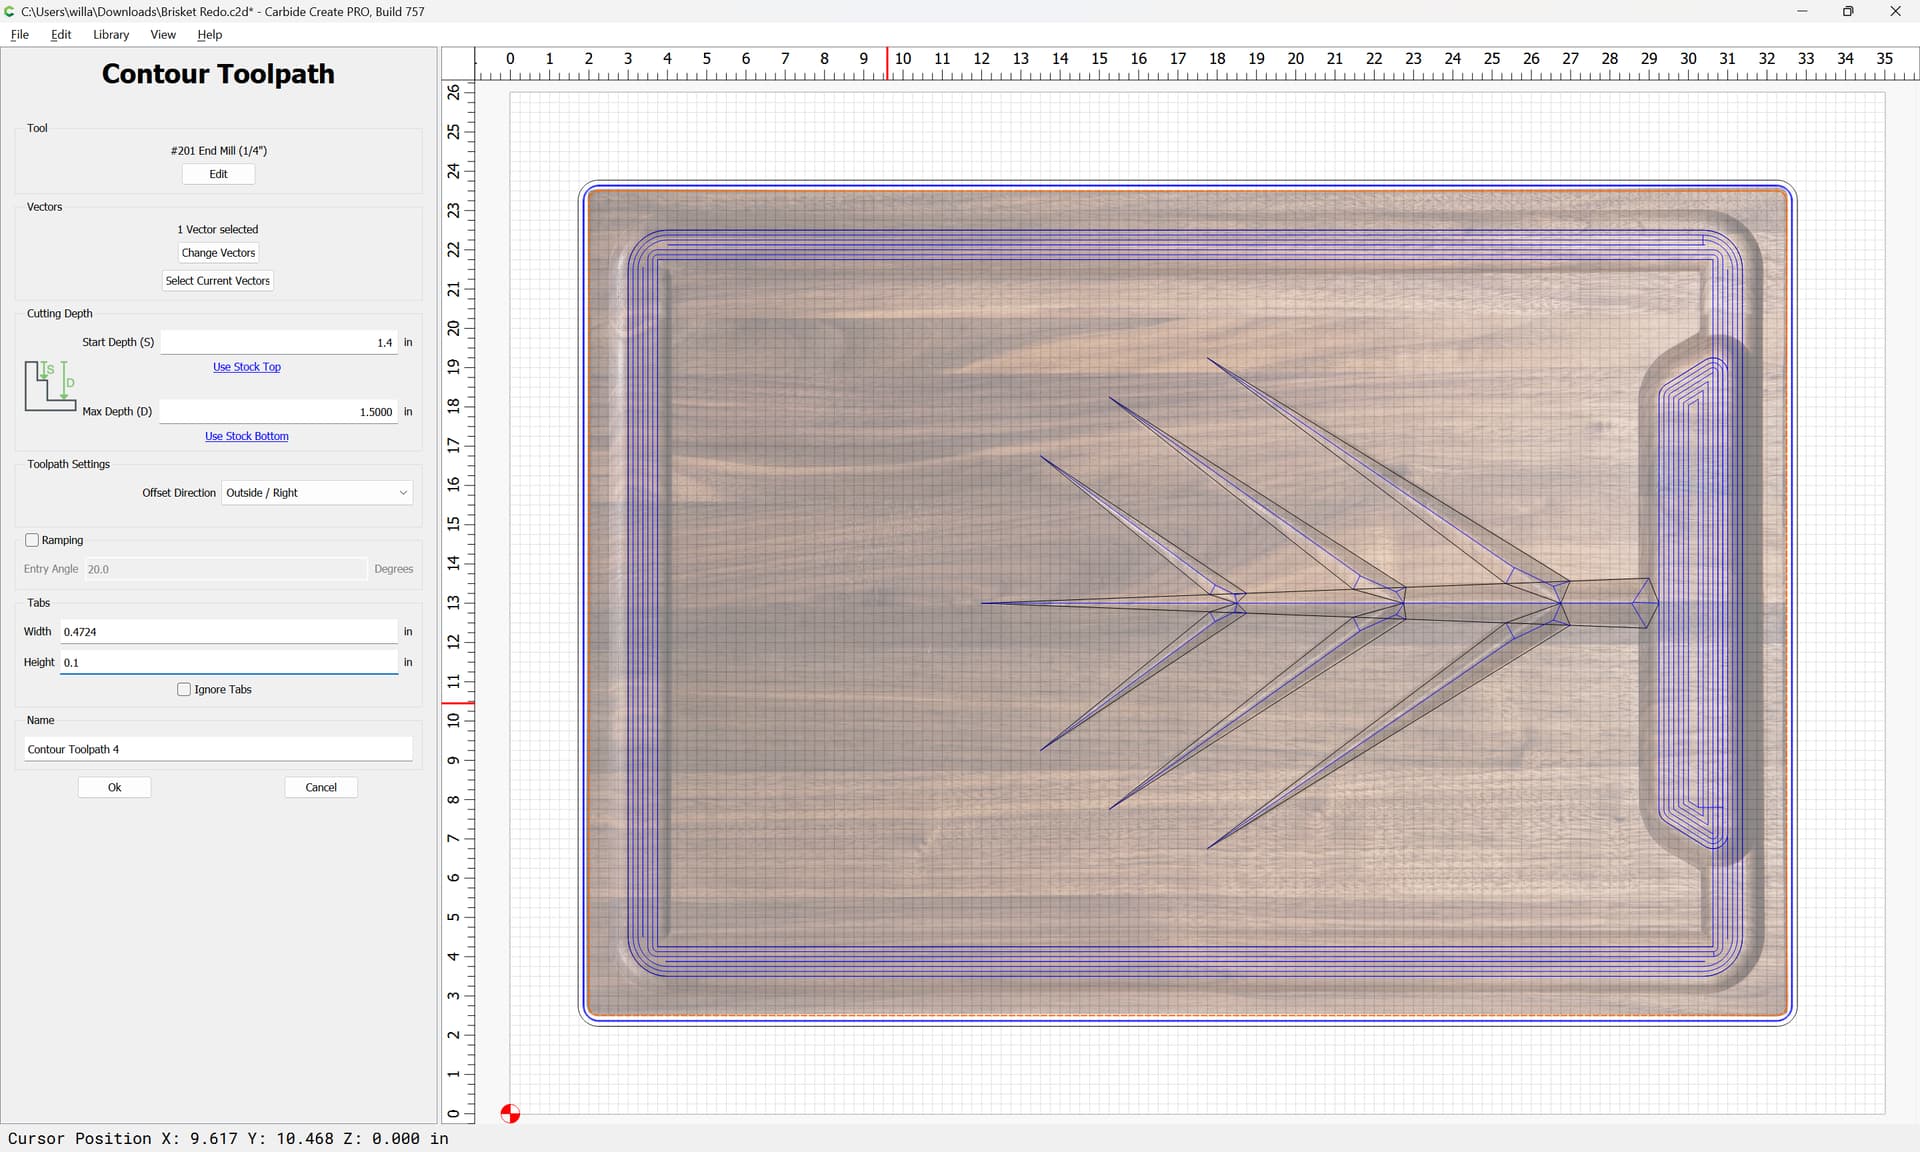
Then assign no-offset contour toolpaths using a ball-nosed tool to the geometry which wants the rounded elements:
Lastly assign a pocket toolpath for the surrounding geometry down to tab height or the penultimate pass:
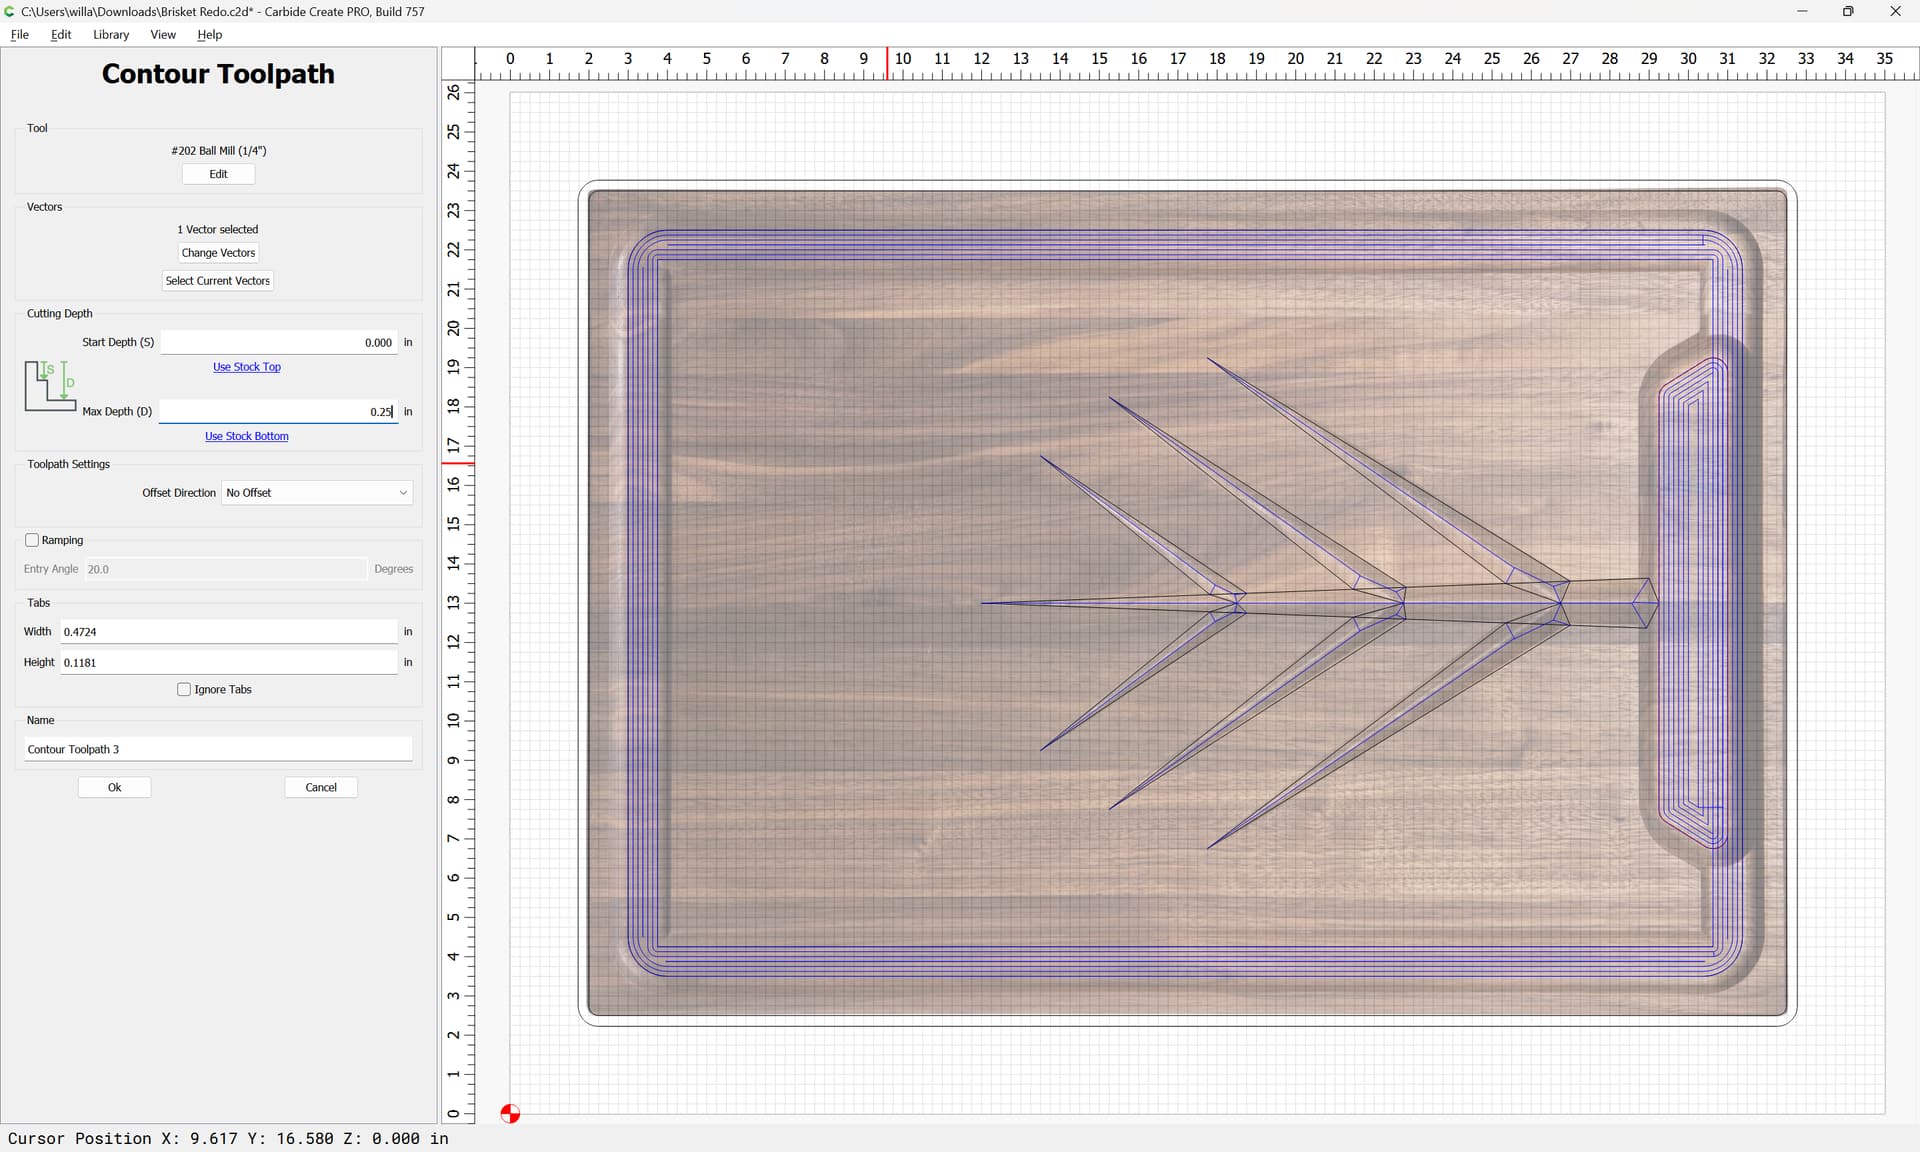
Then an outside-right contour to finish the cut:
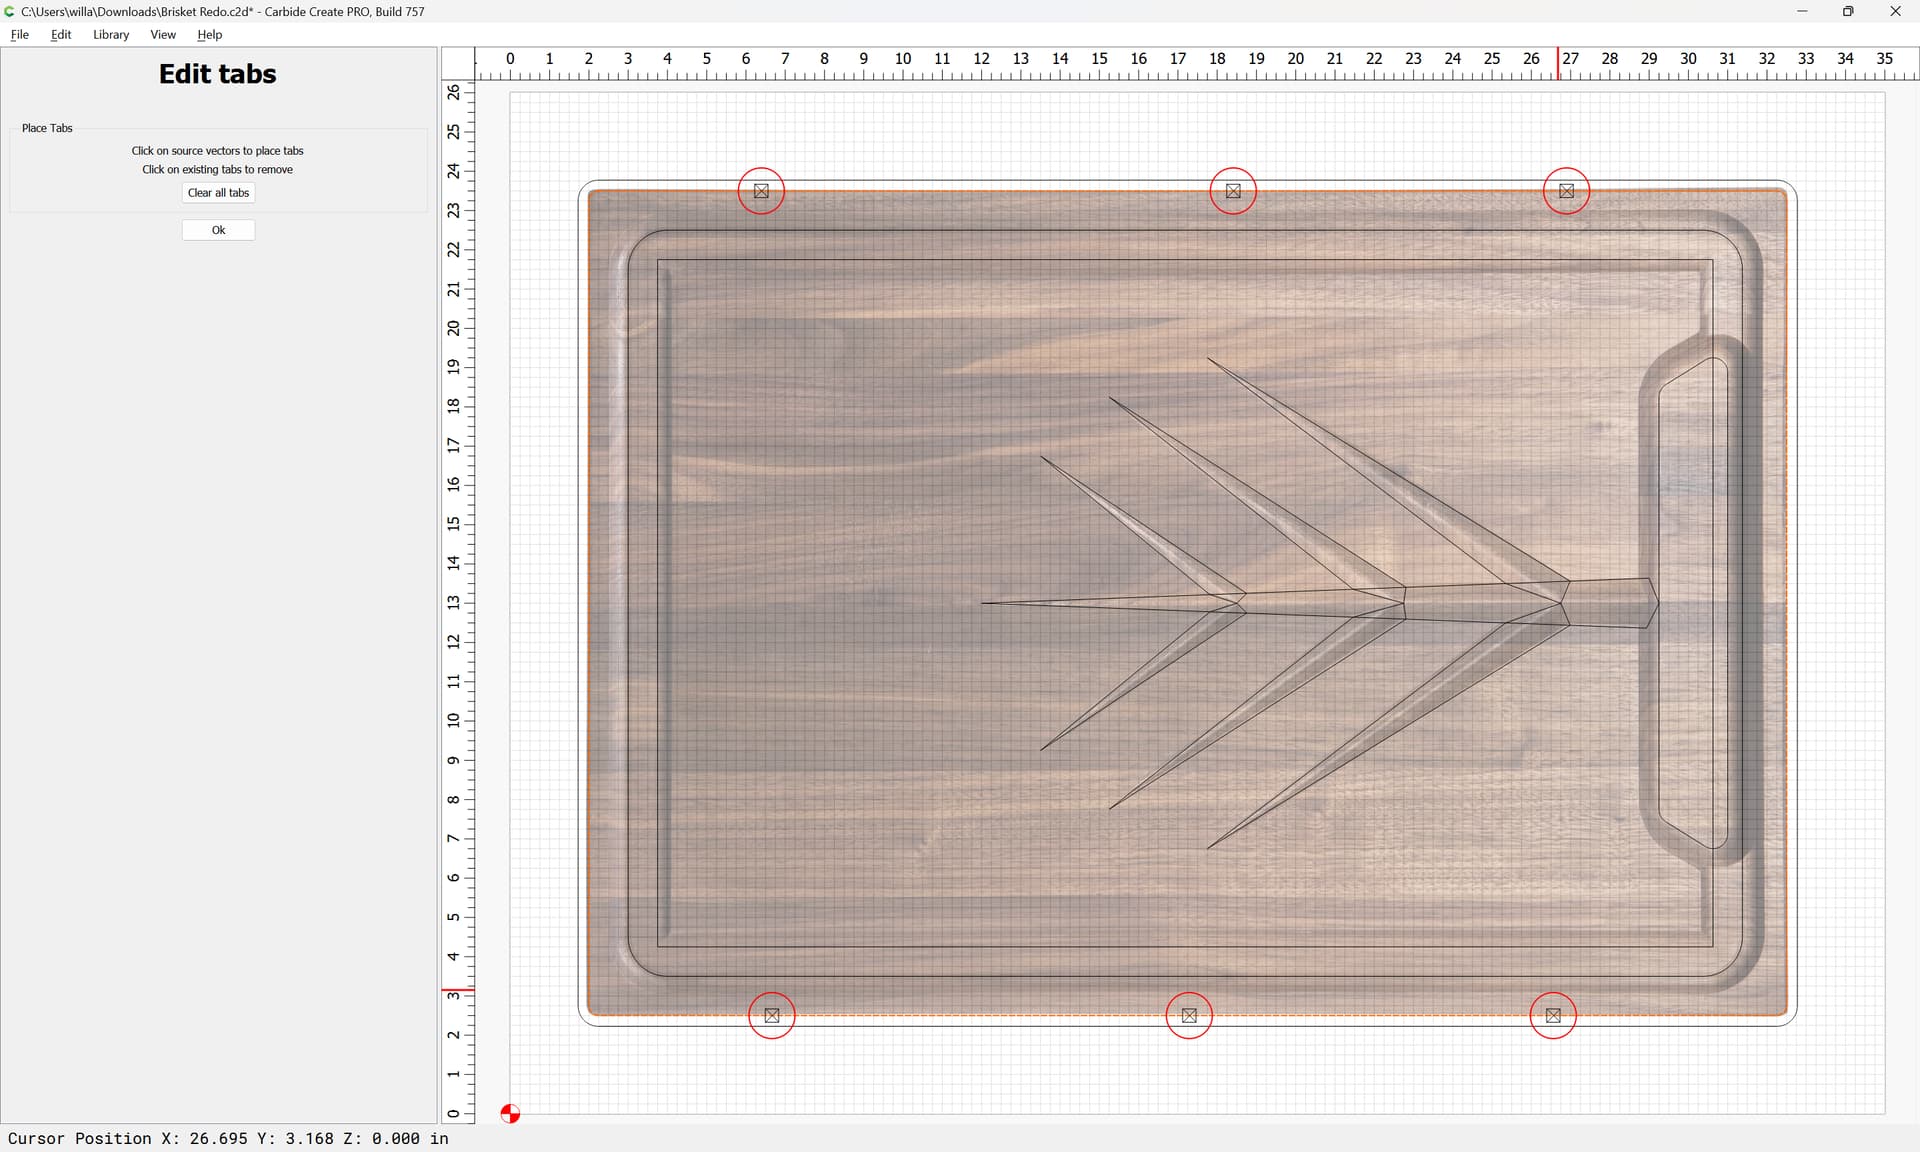
Go back to the design tab to add tabs:
and the 3D preview is pretty much what is desired (after changing the V tool used for one sufficiently large):
The ball-nosed tool and so forth would want to be adjusted as well.
Again, Will comes through with an answer exceeding expectations.
WooHoo! ![]() Great Job!
Great Job! ![]()
This topic was automatically closed after 30 days. New replies are no longer allowed.