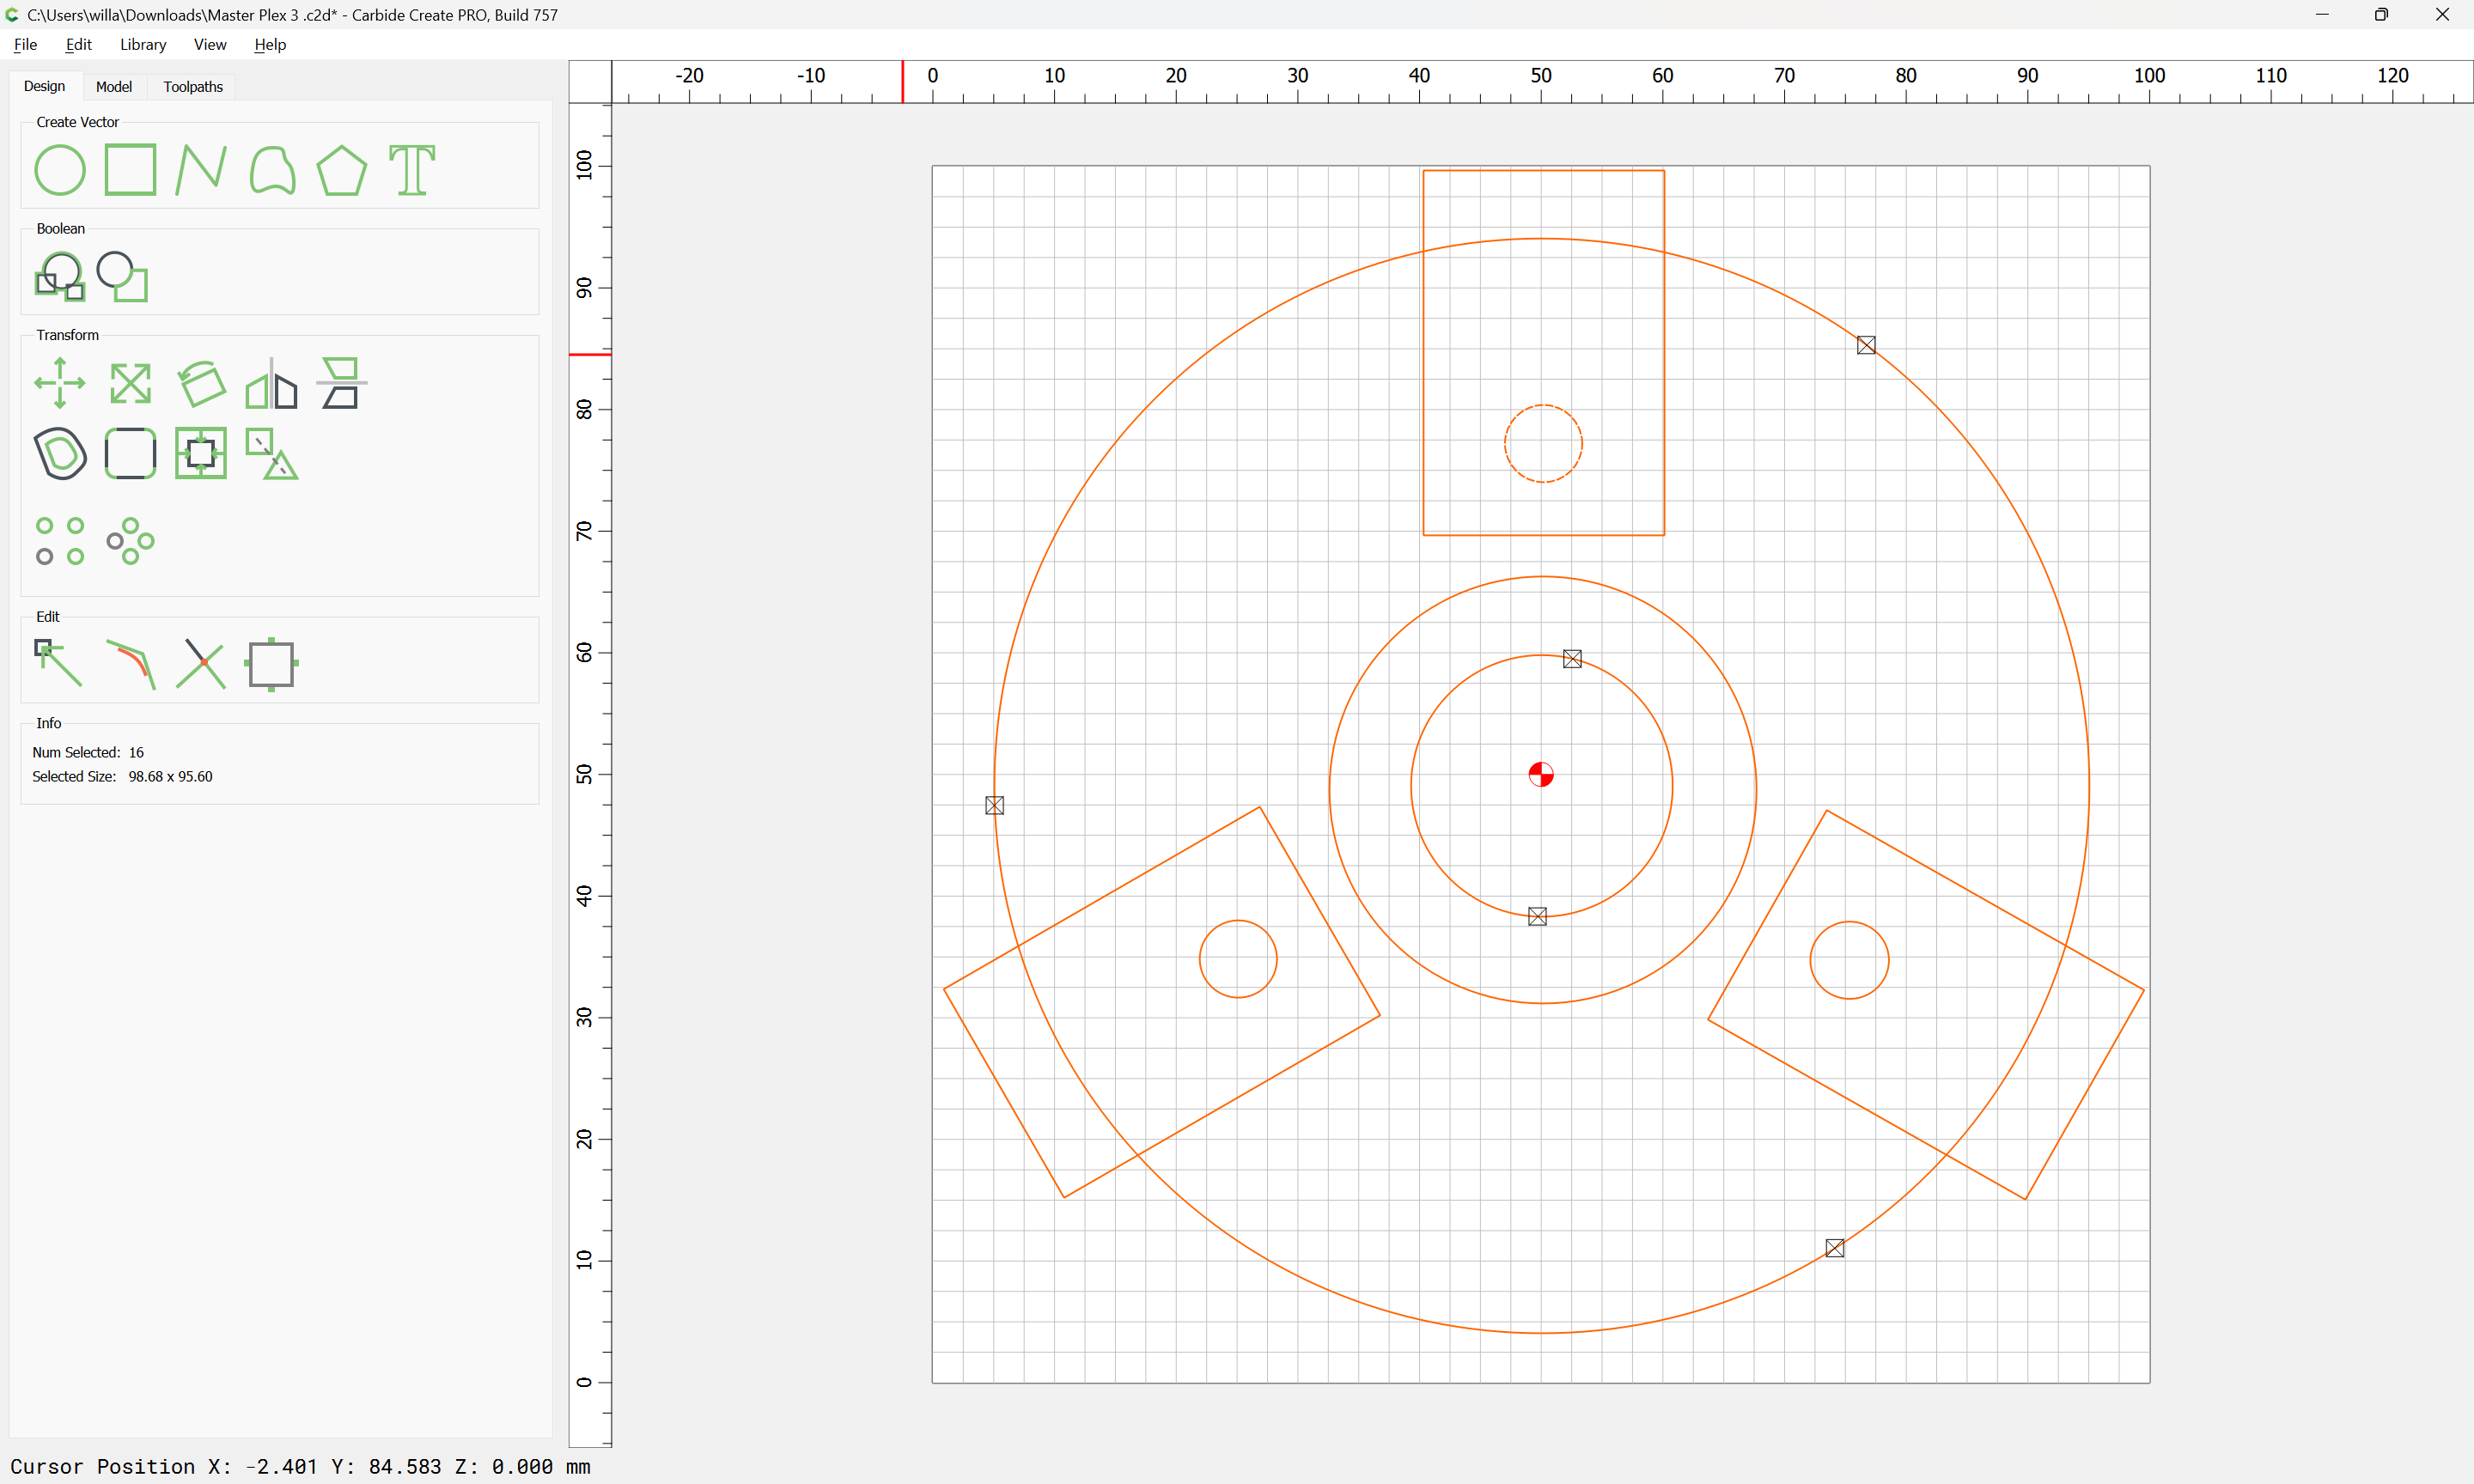
Given a design:
one would want to set things up so as to ensure things are symmetrical.
Start by measuring things:
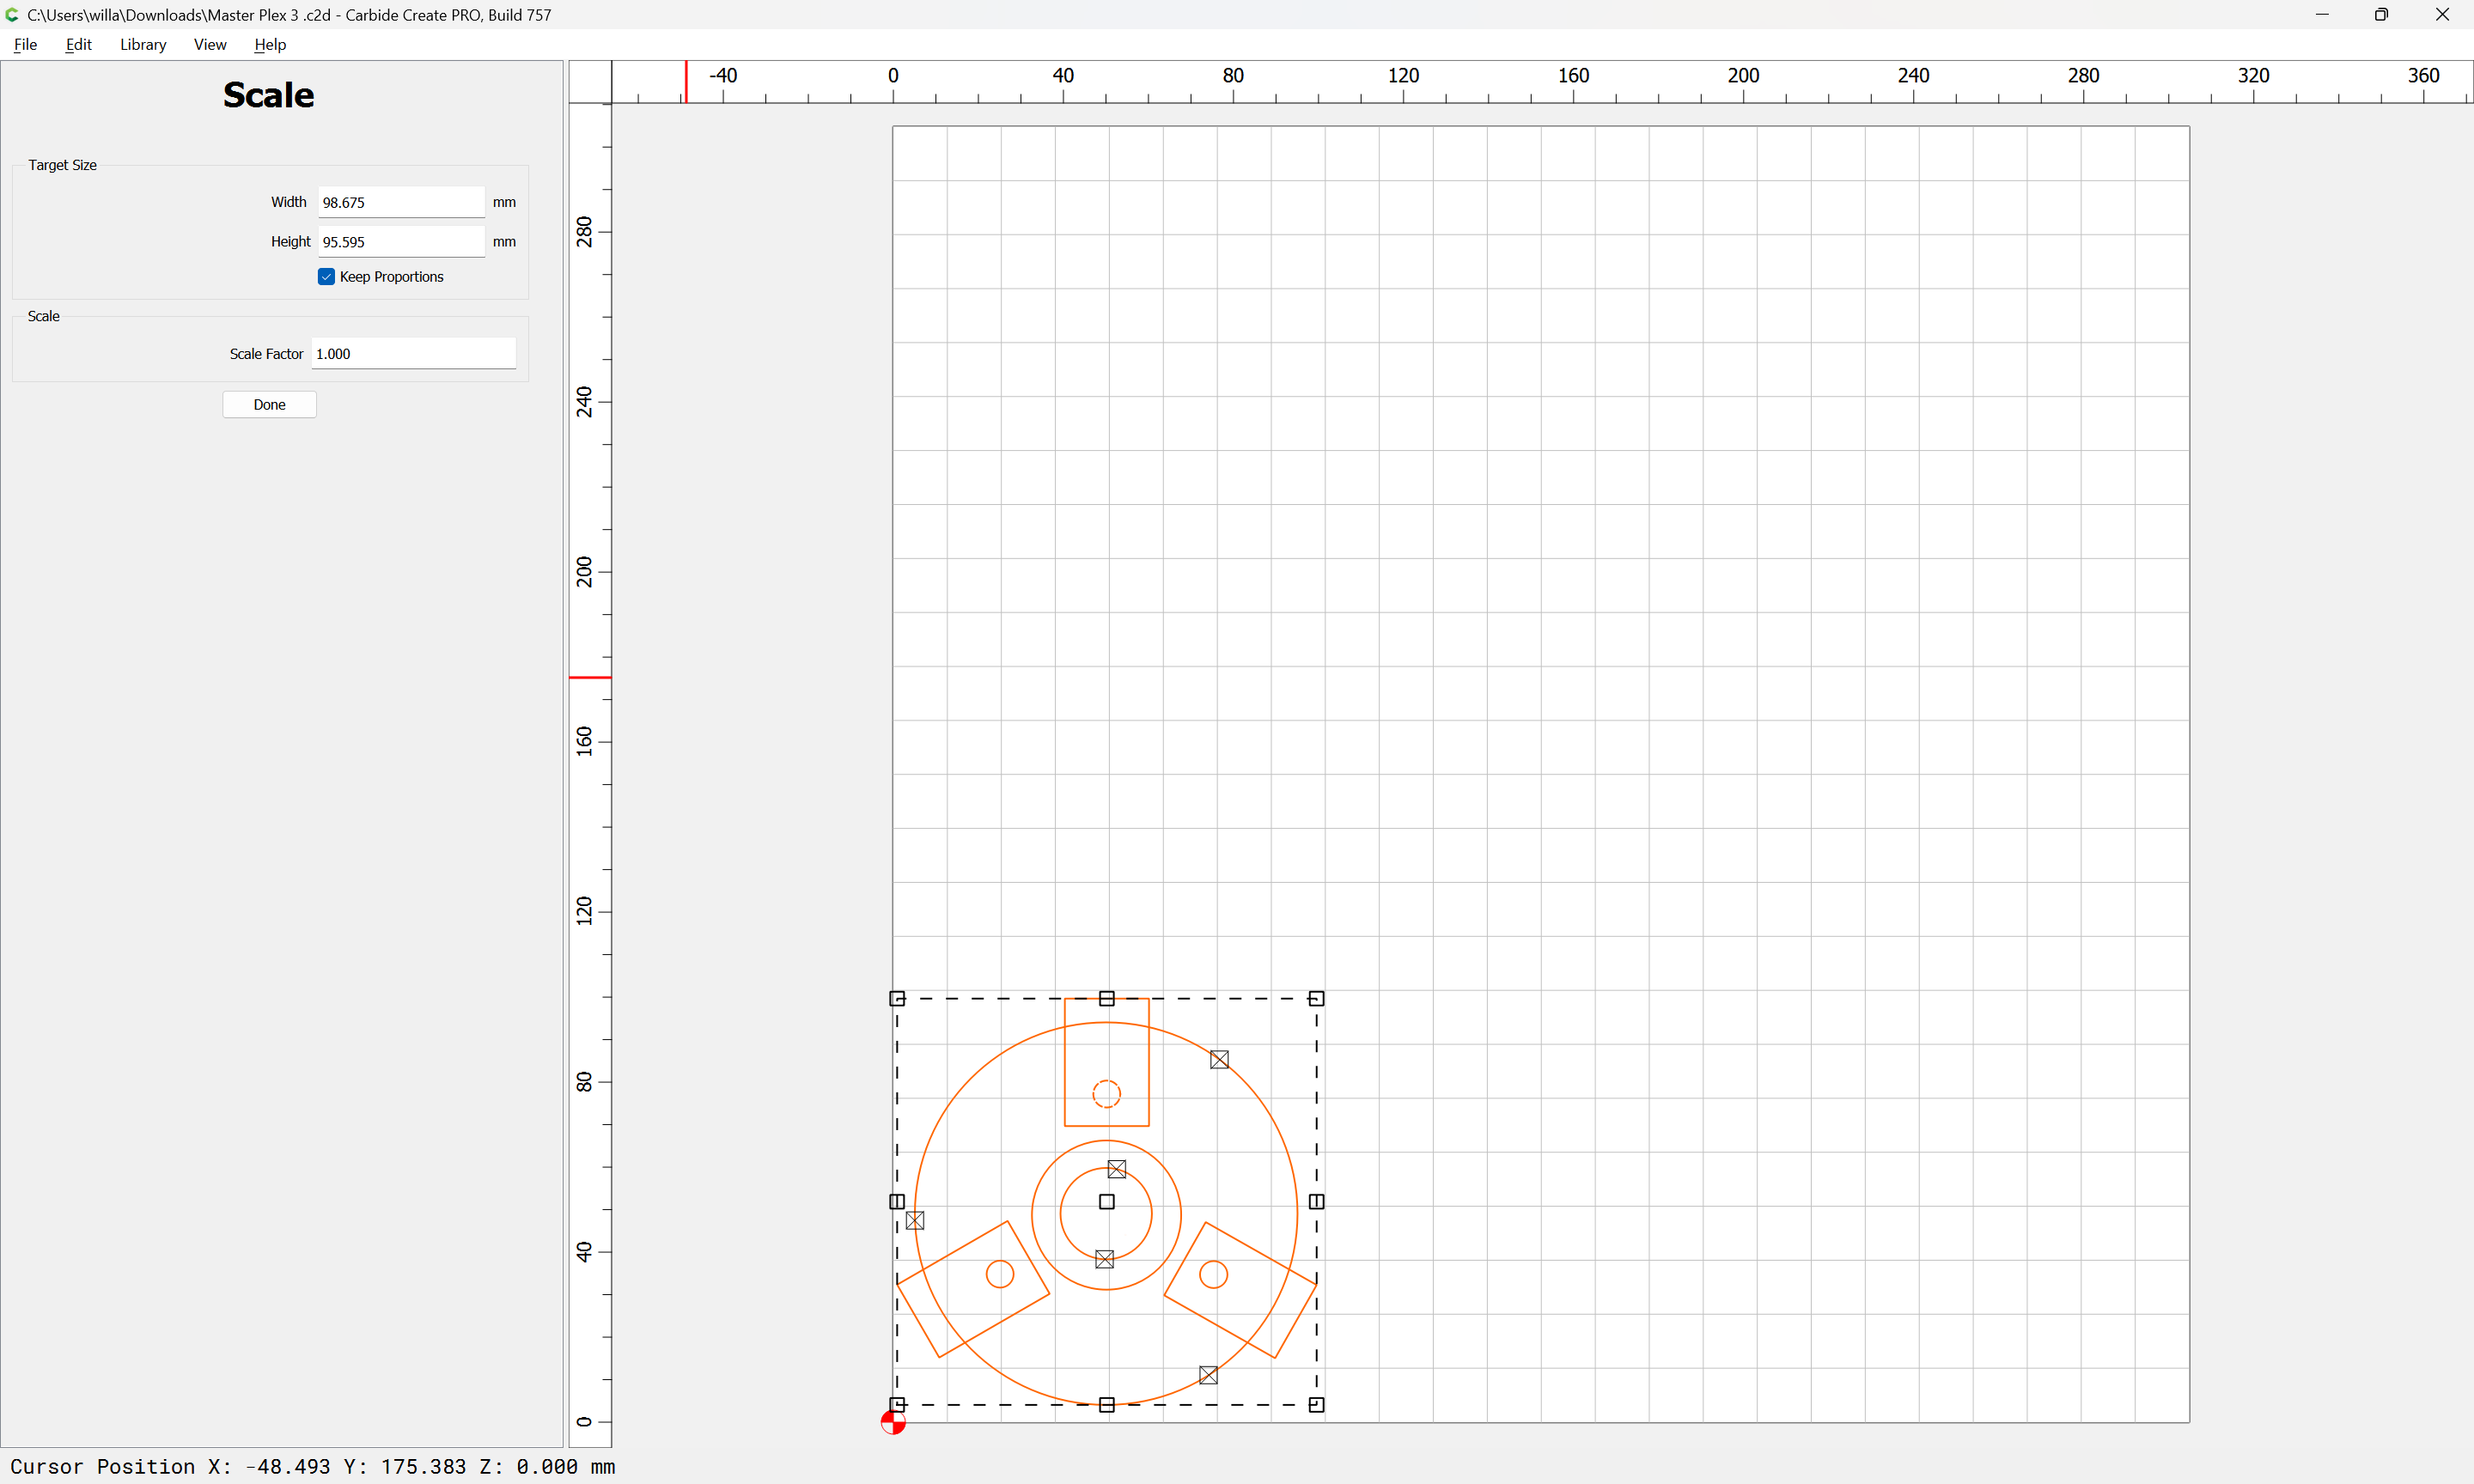
then changing Job Setup:

and verify Grid spacing will ensure the center is at a Grid intersection.
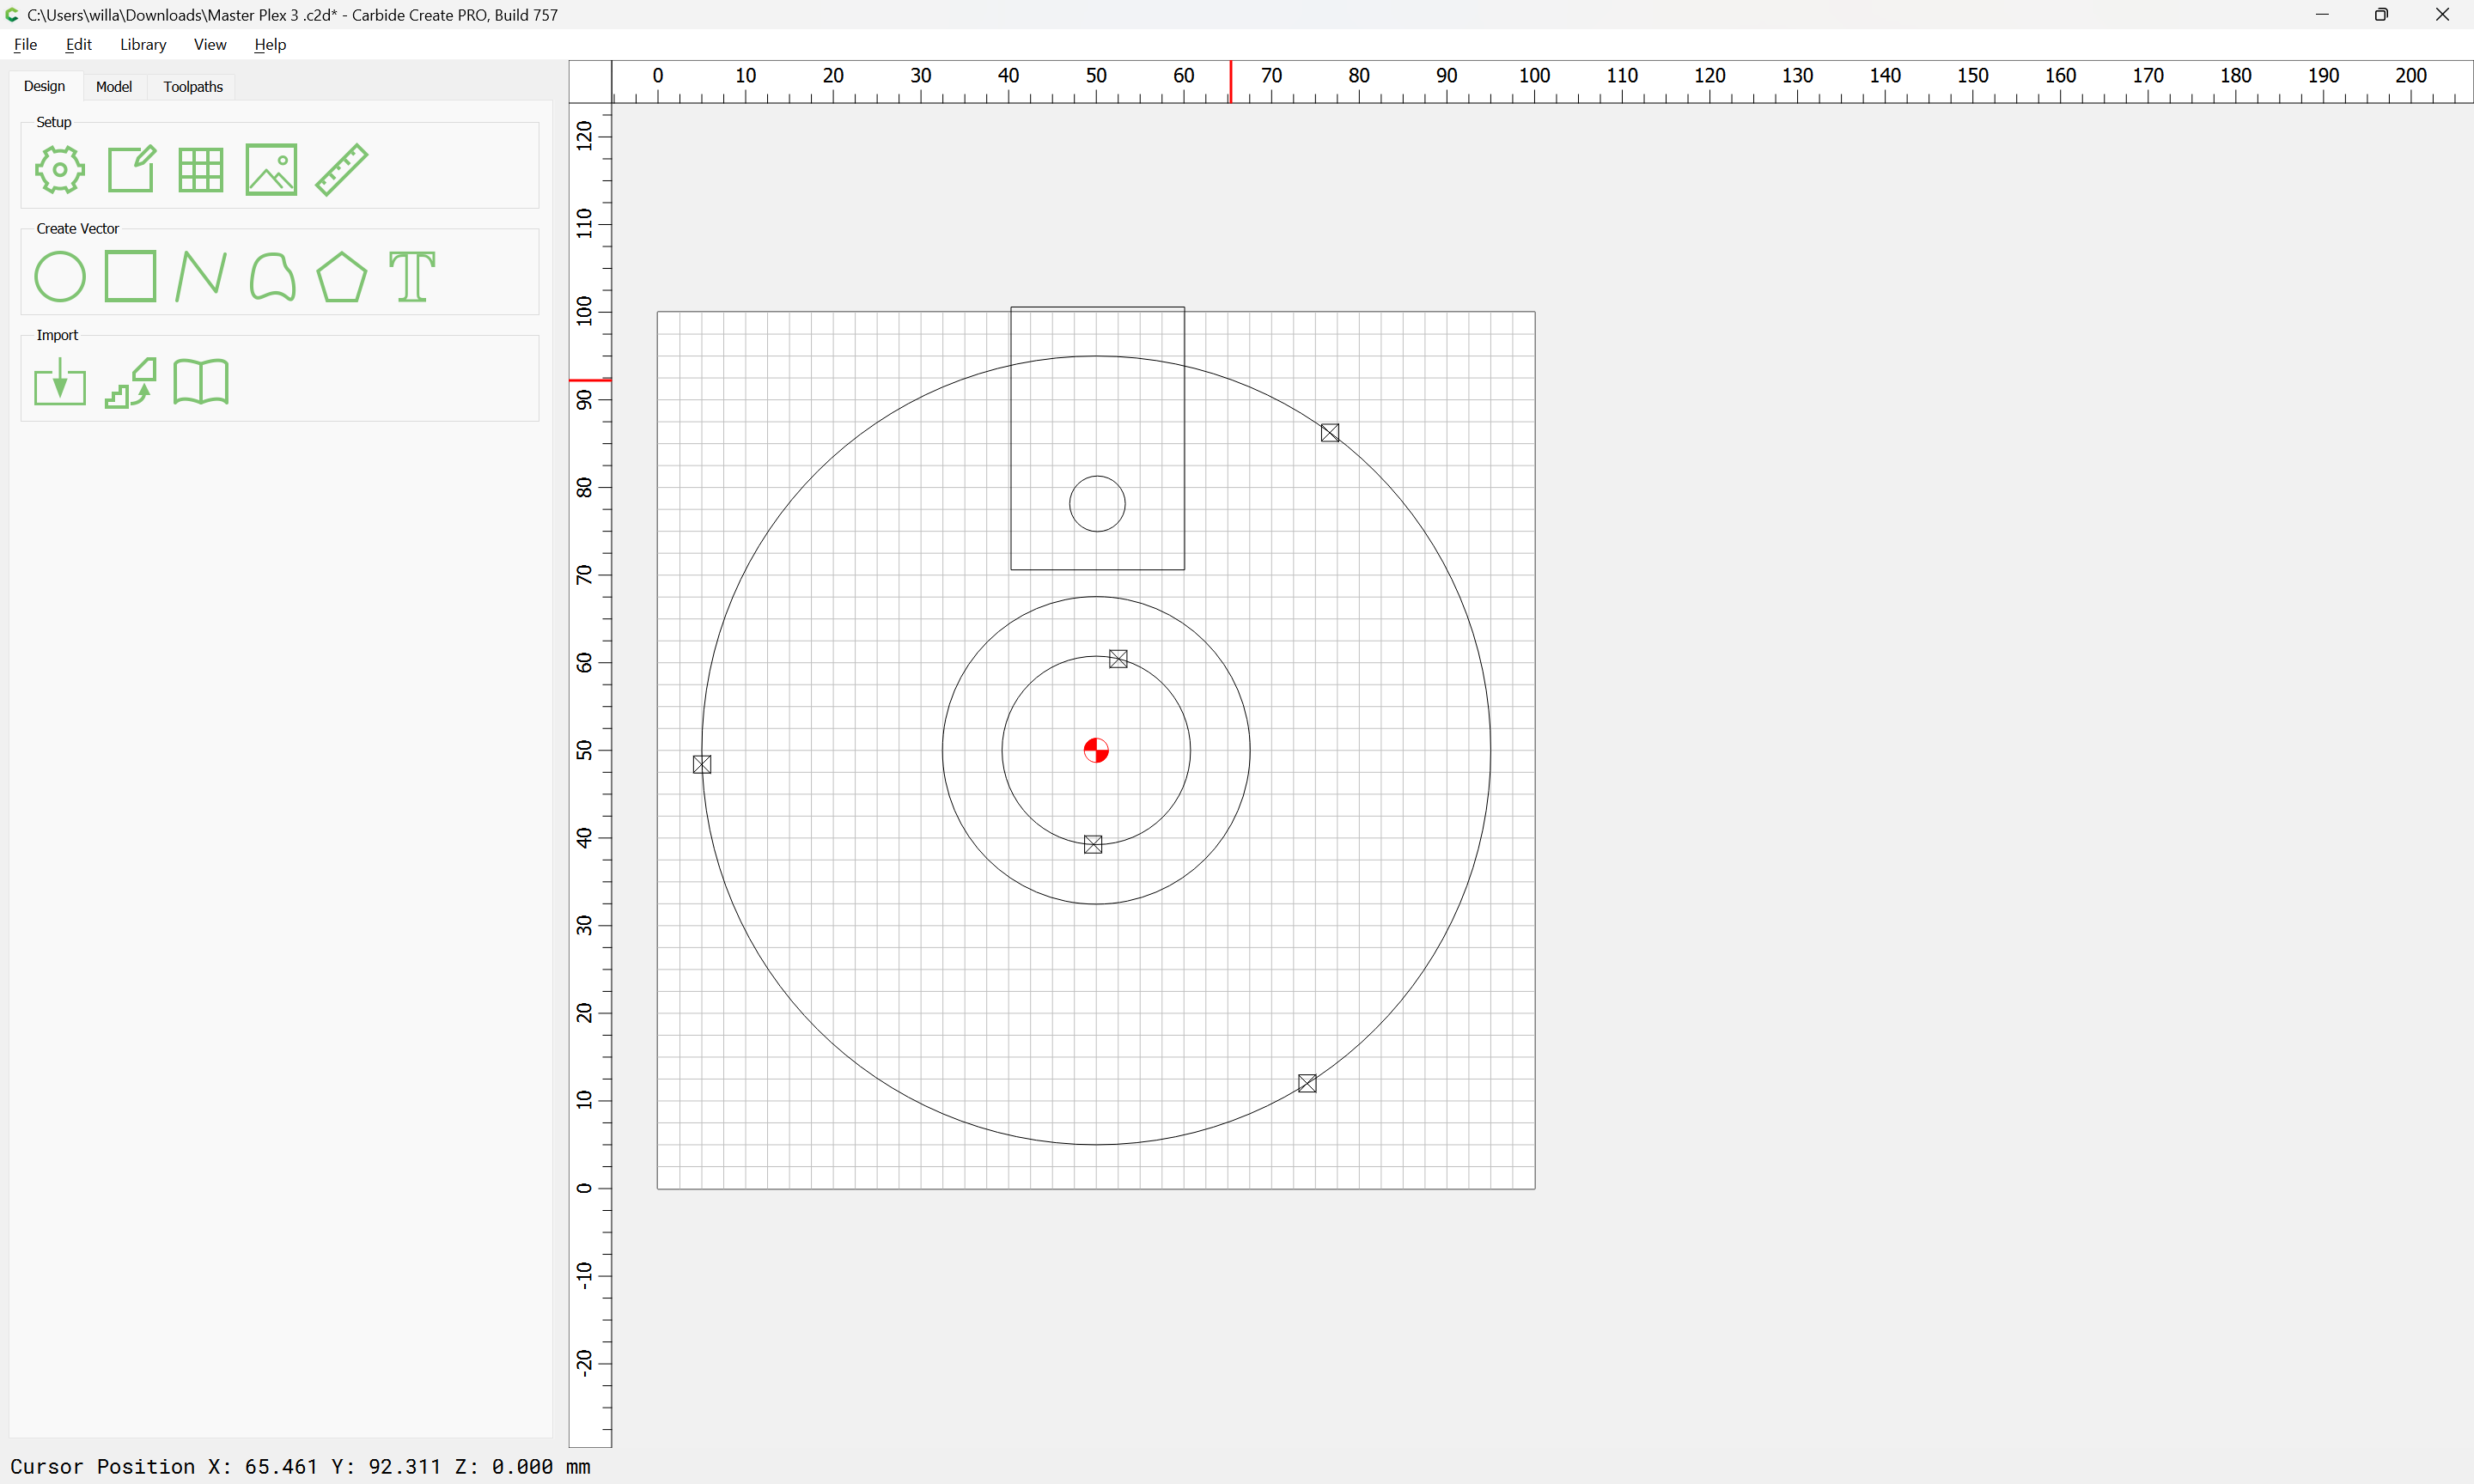
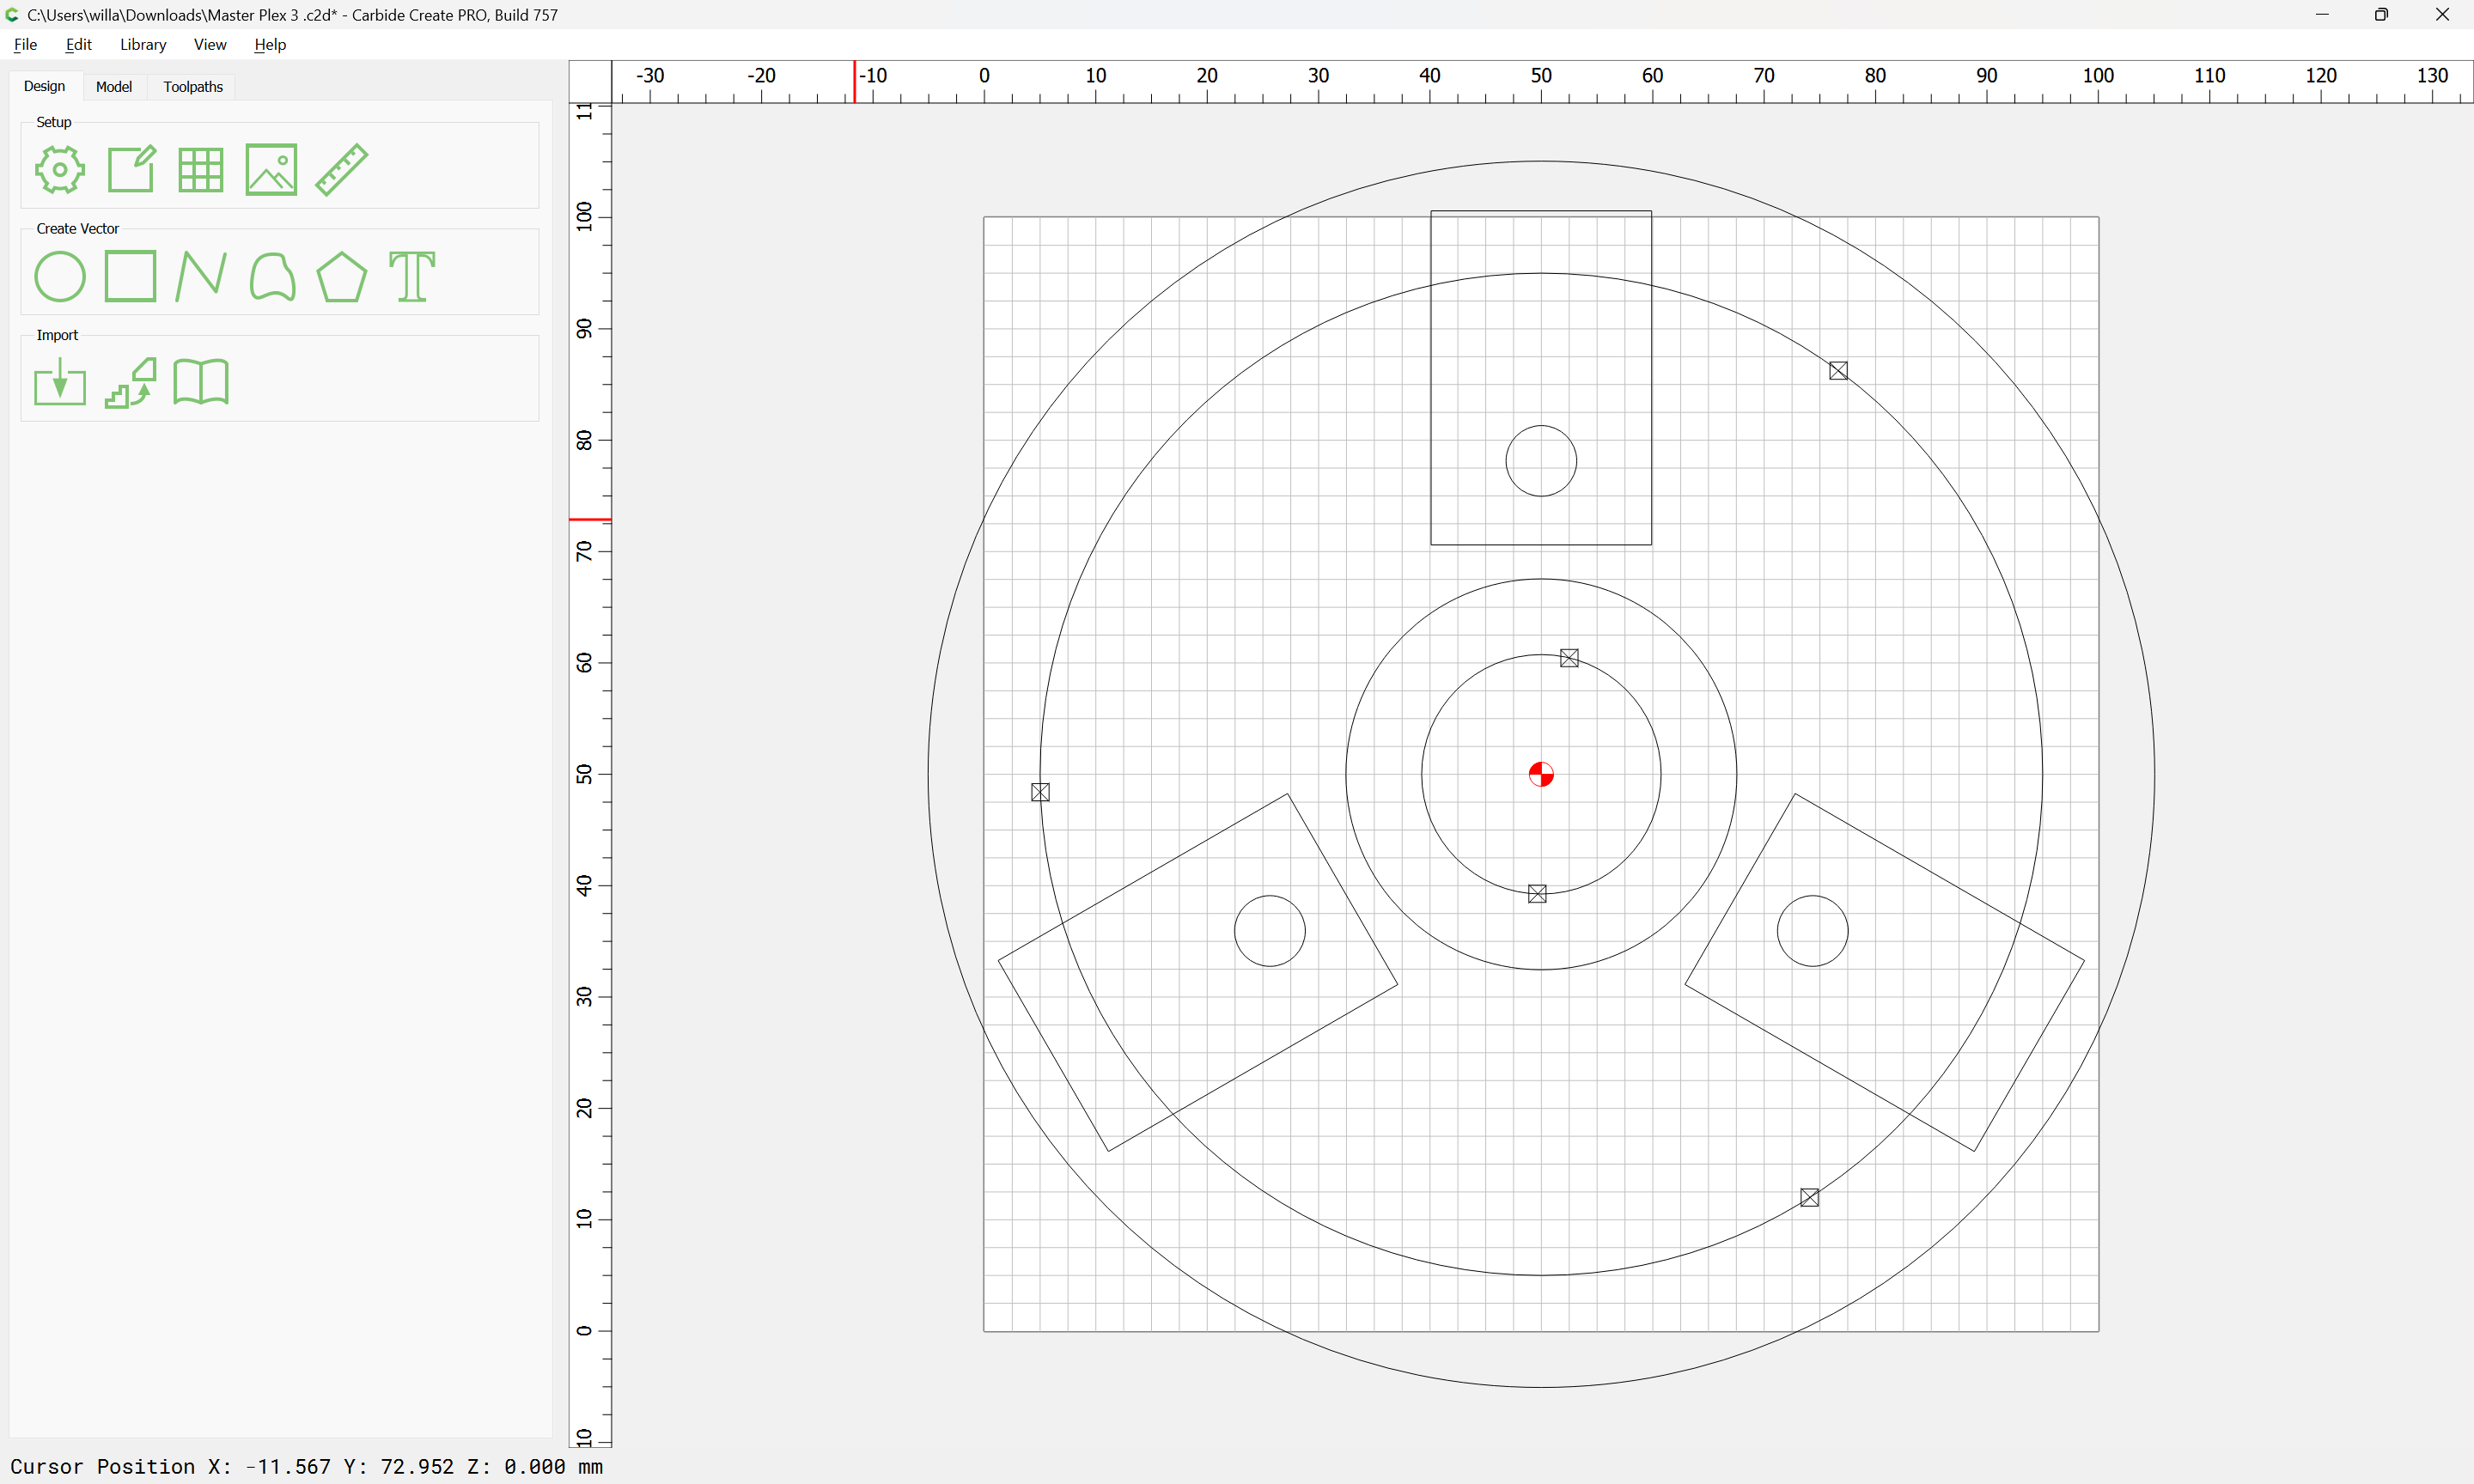
Given a design:
one would want to set things up so as to ensure things are symmetrical.
Start by measuring things:
then changing Job Setup:
and verify Grid spacing will ensure the center is at a Grid intersection.
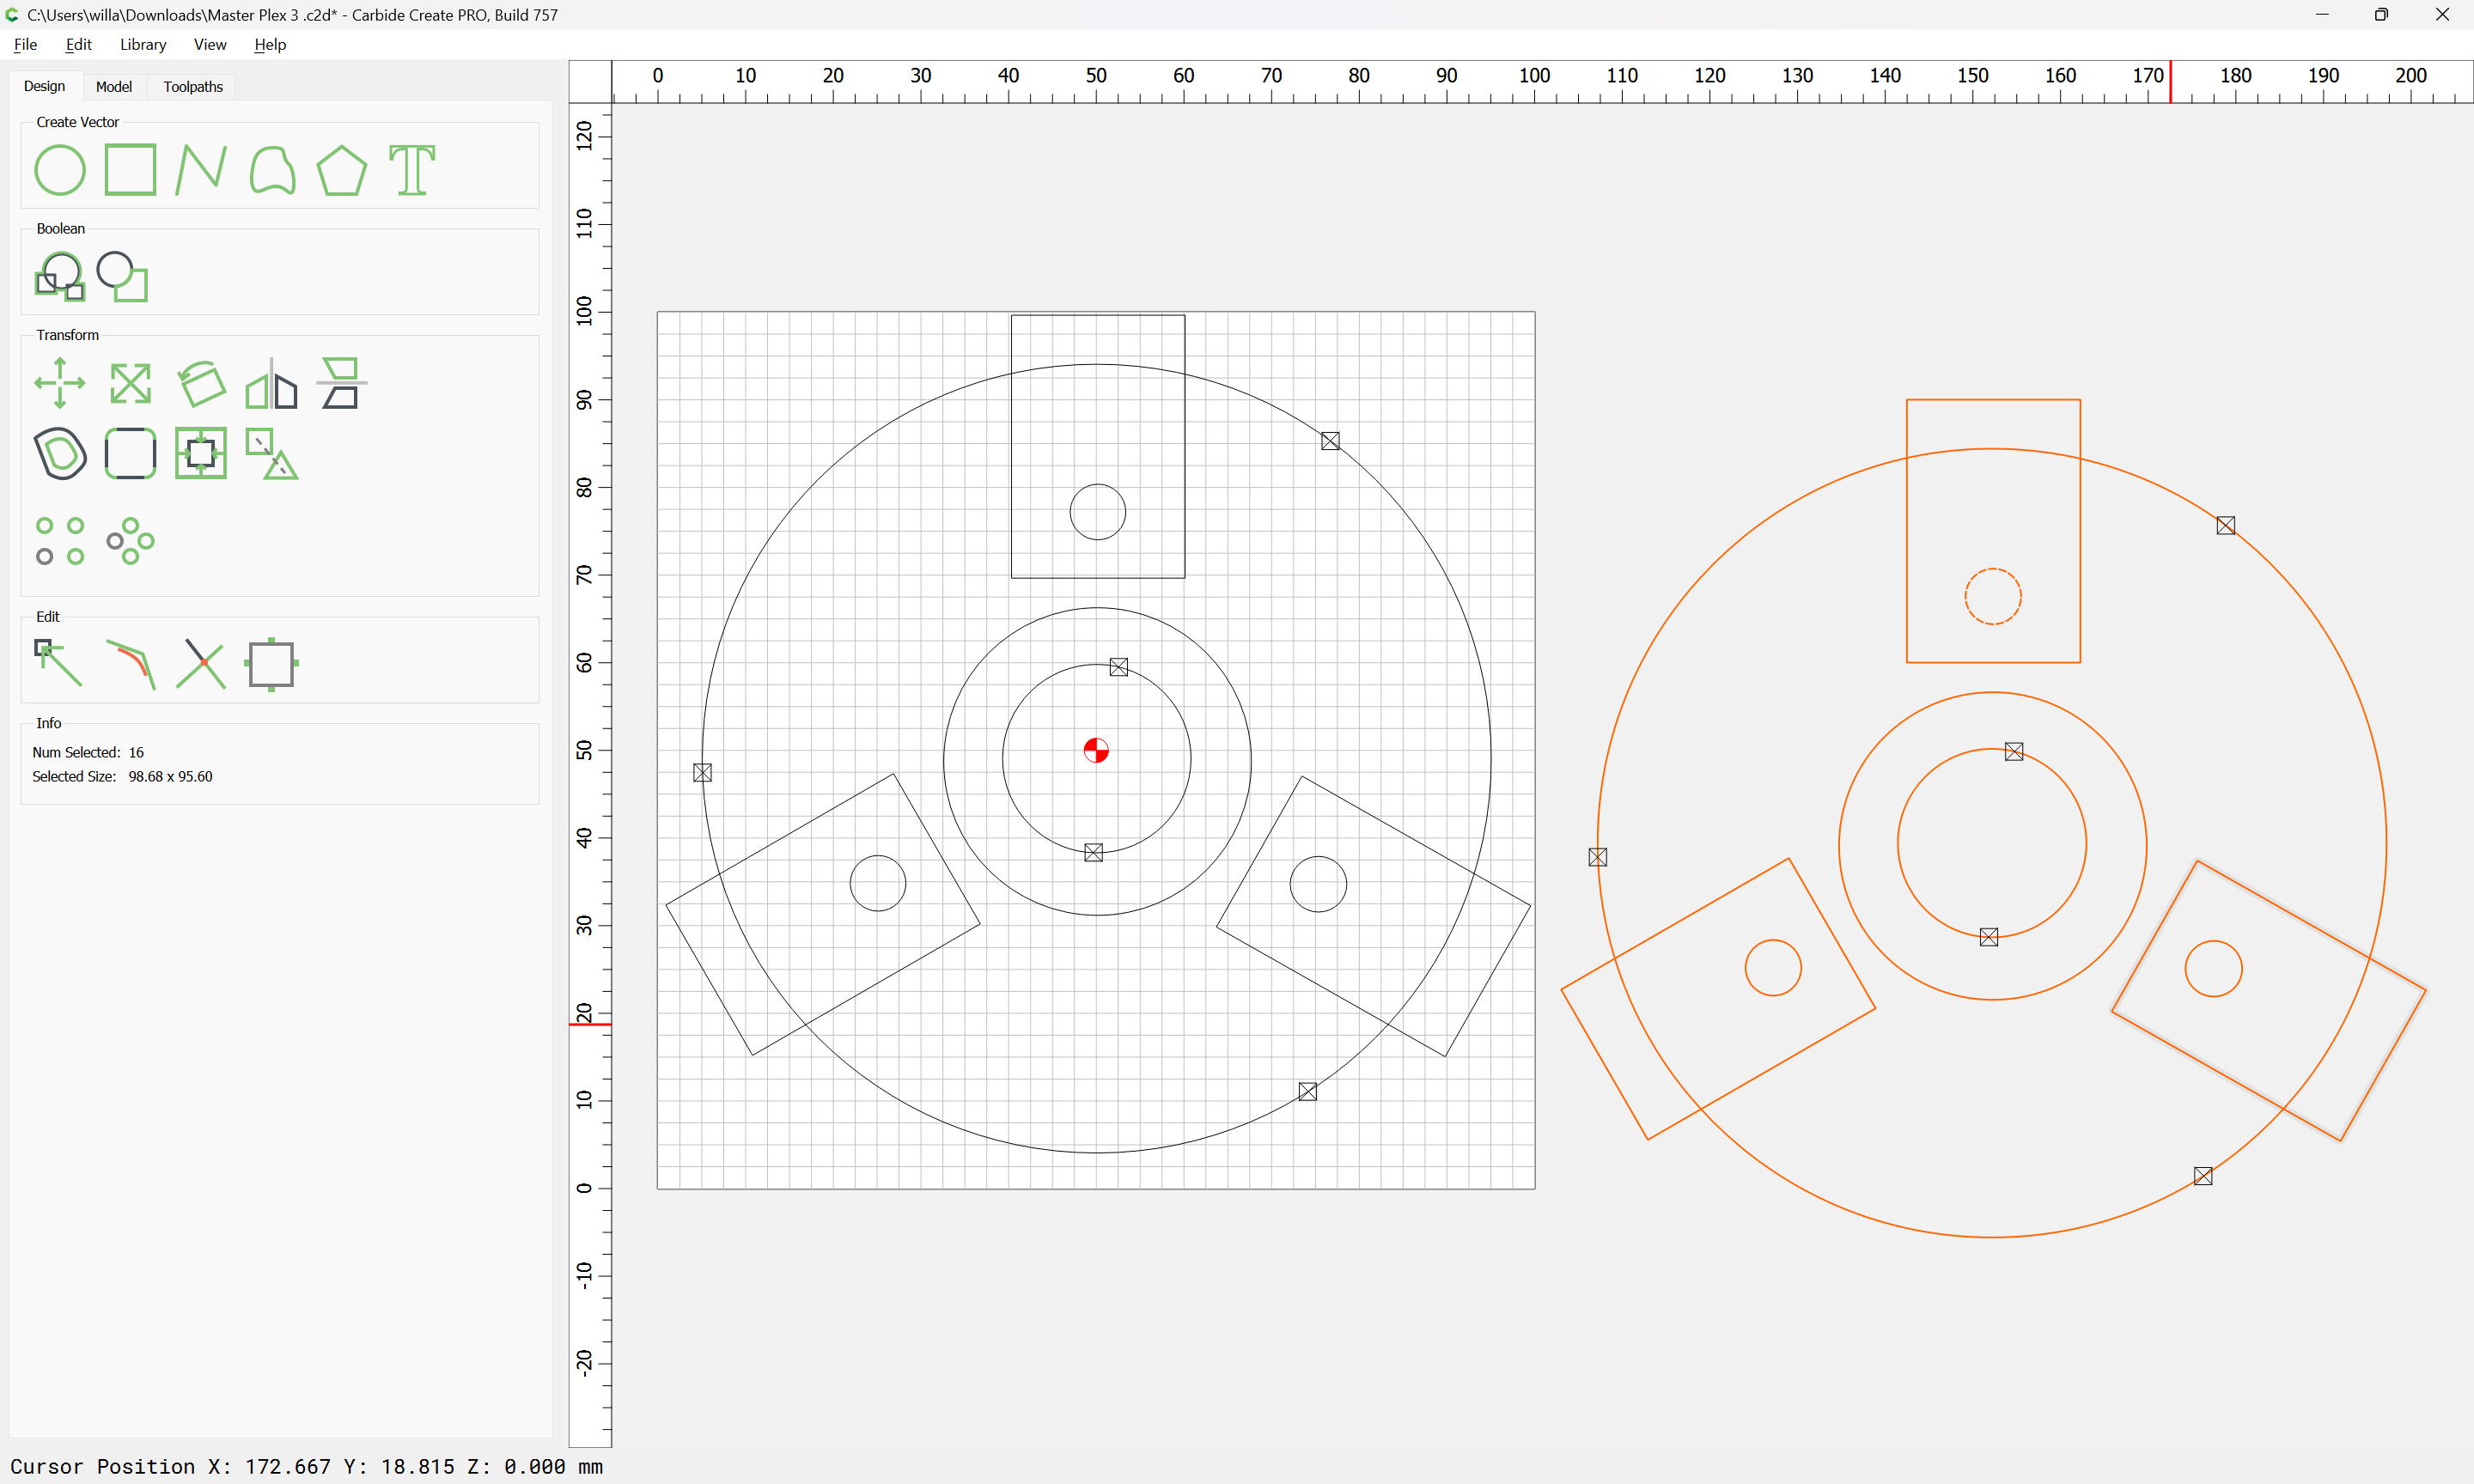
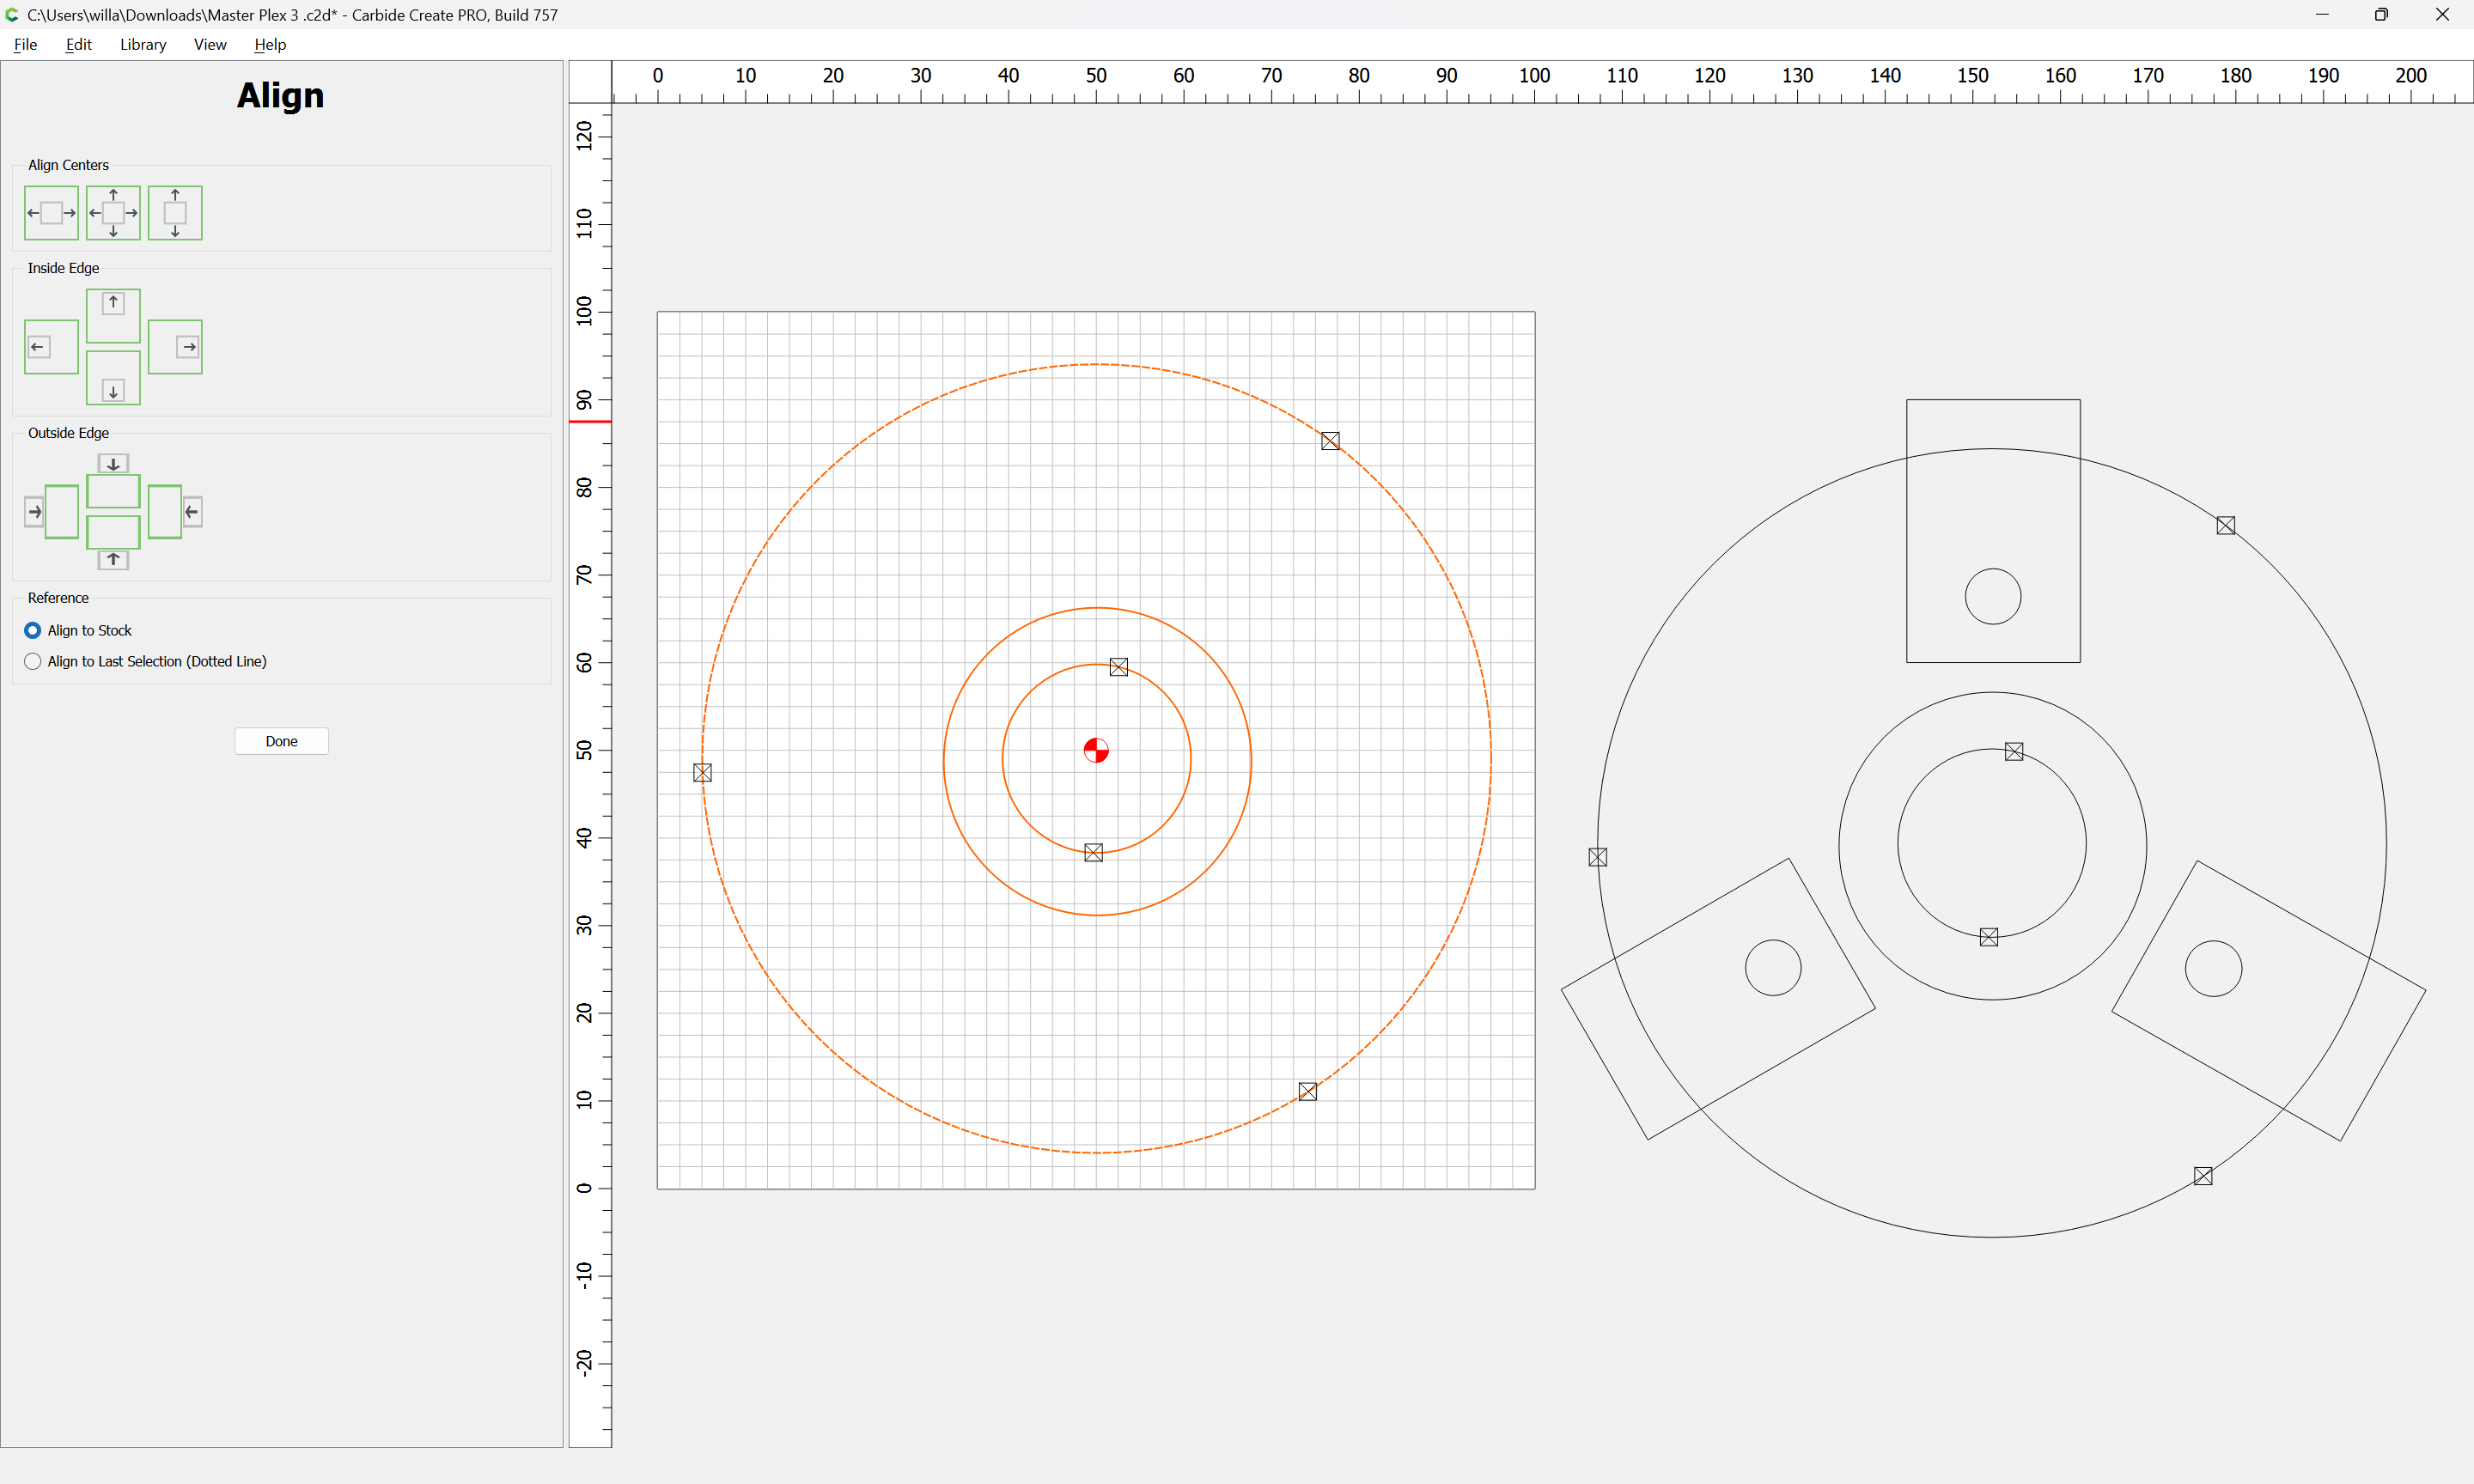
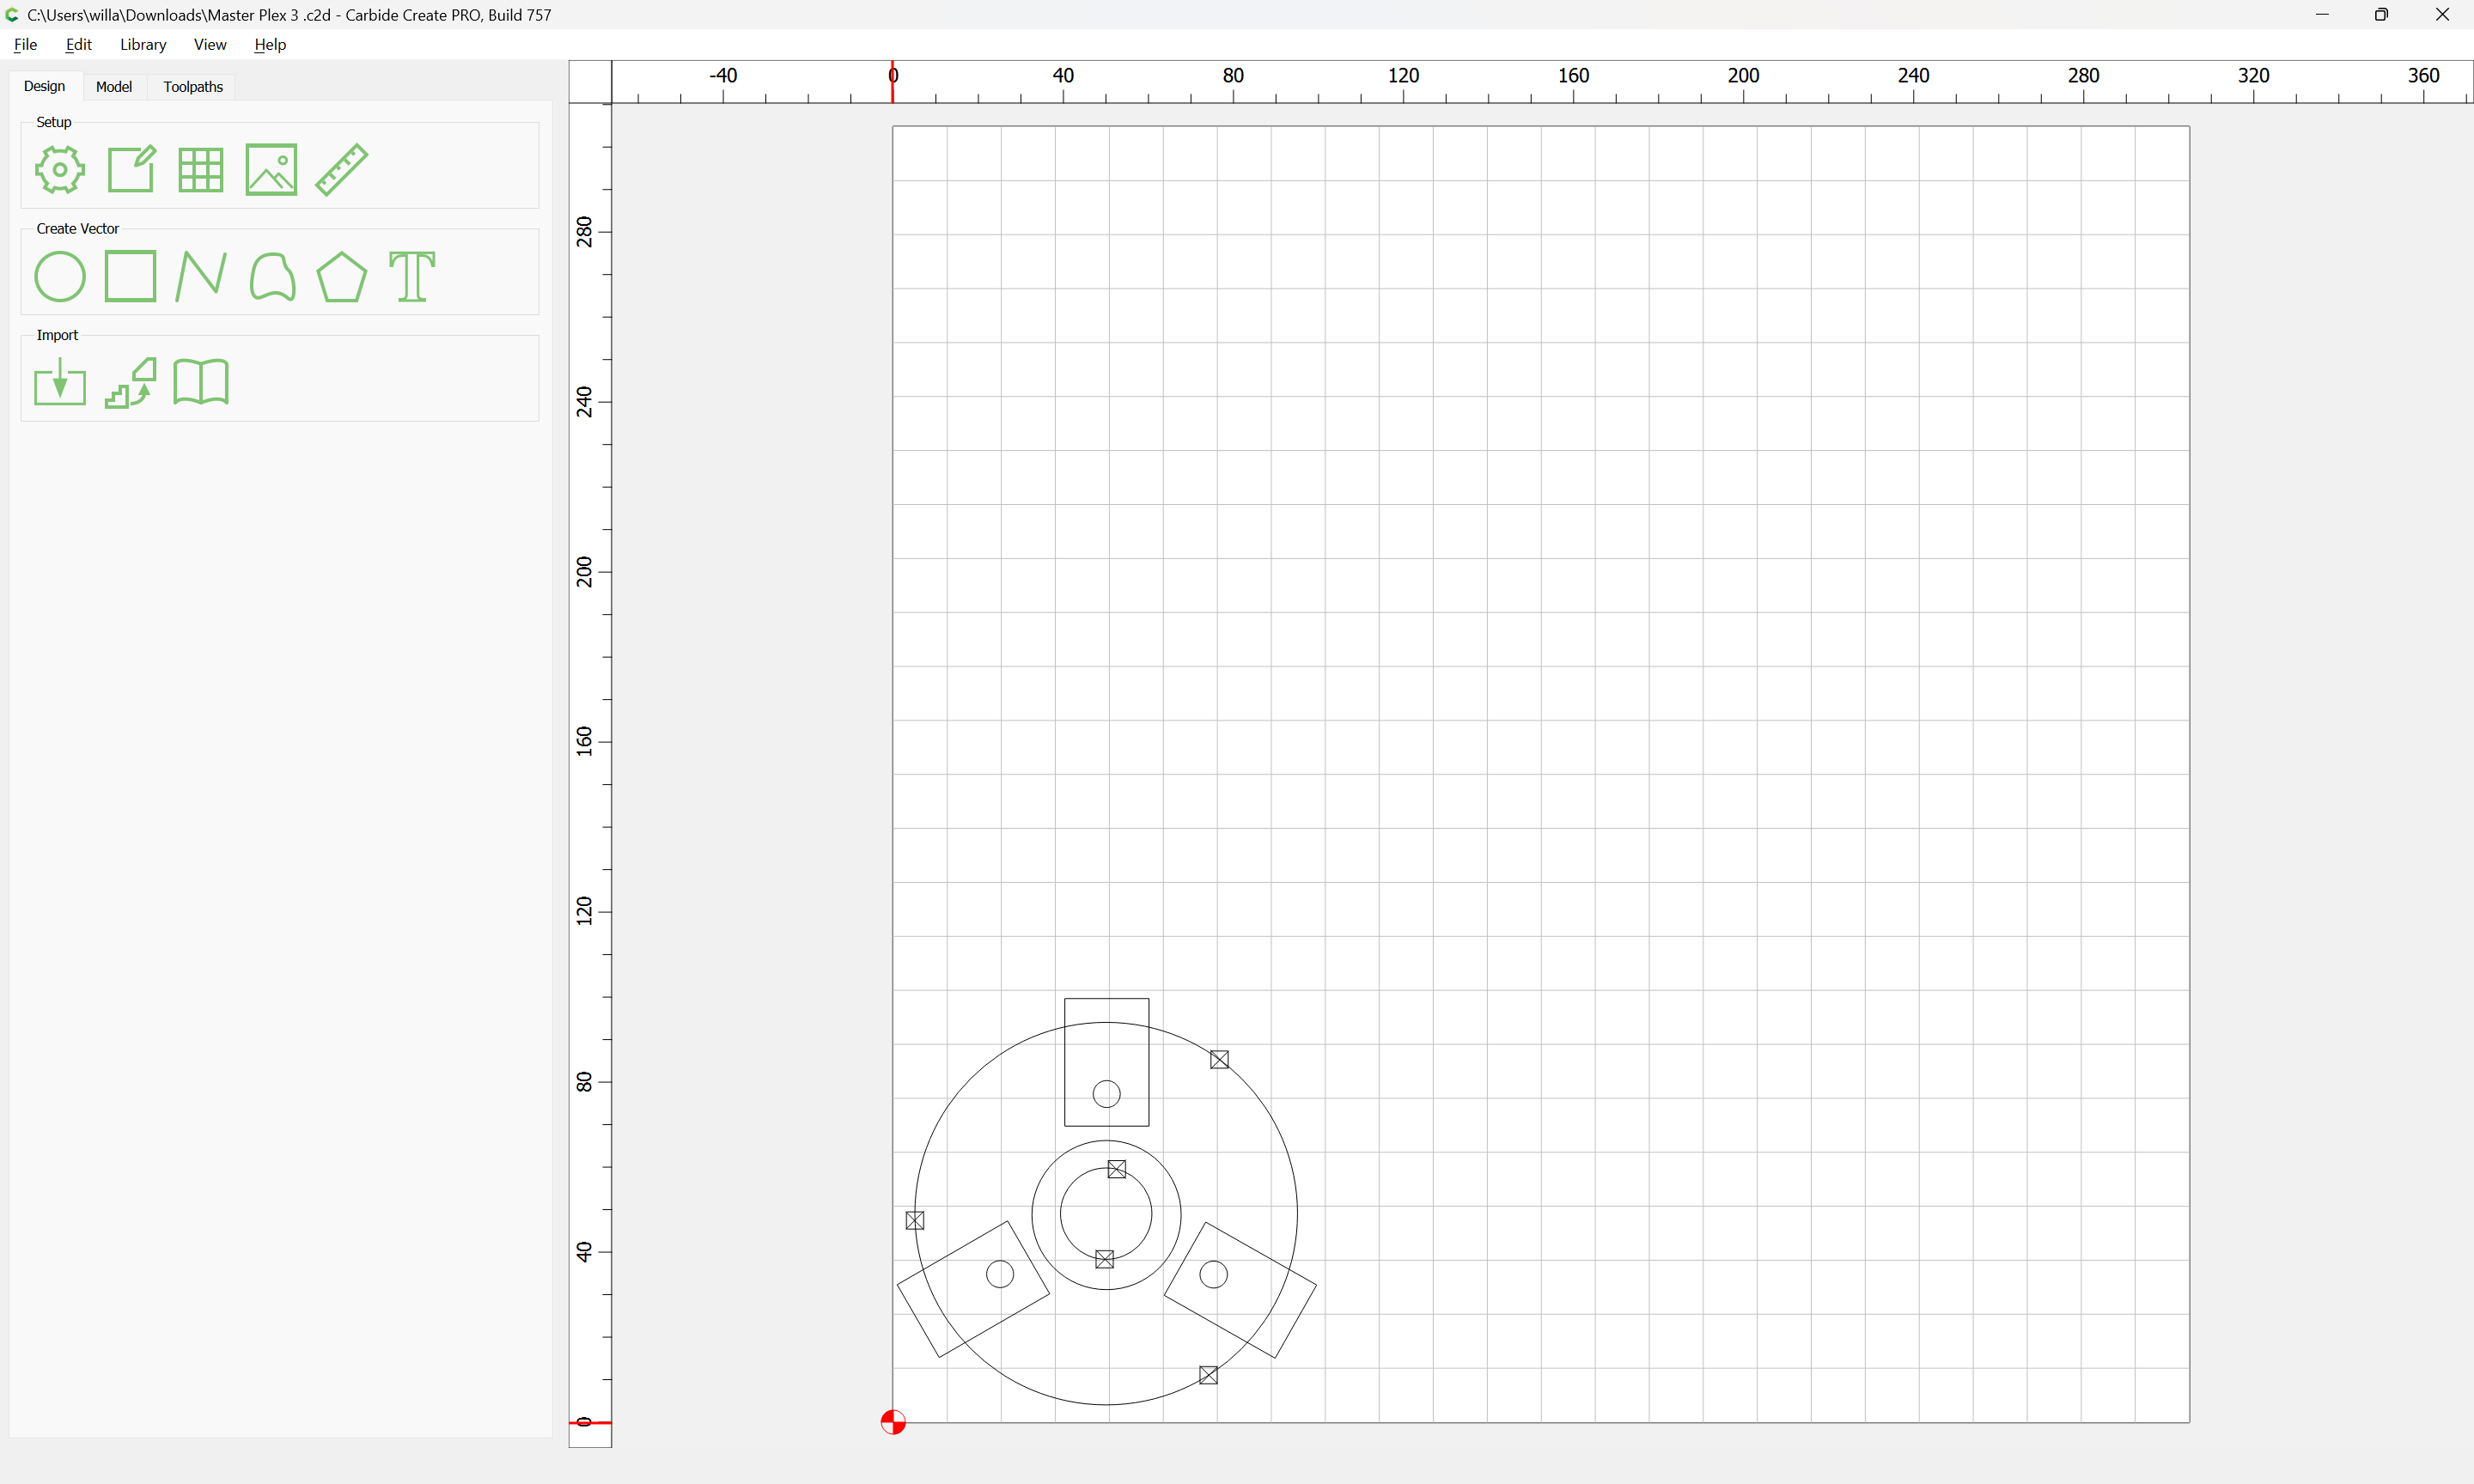
Select and copy everything:
Then delete everything but the circles in one copy:
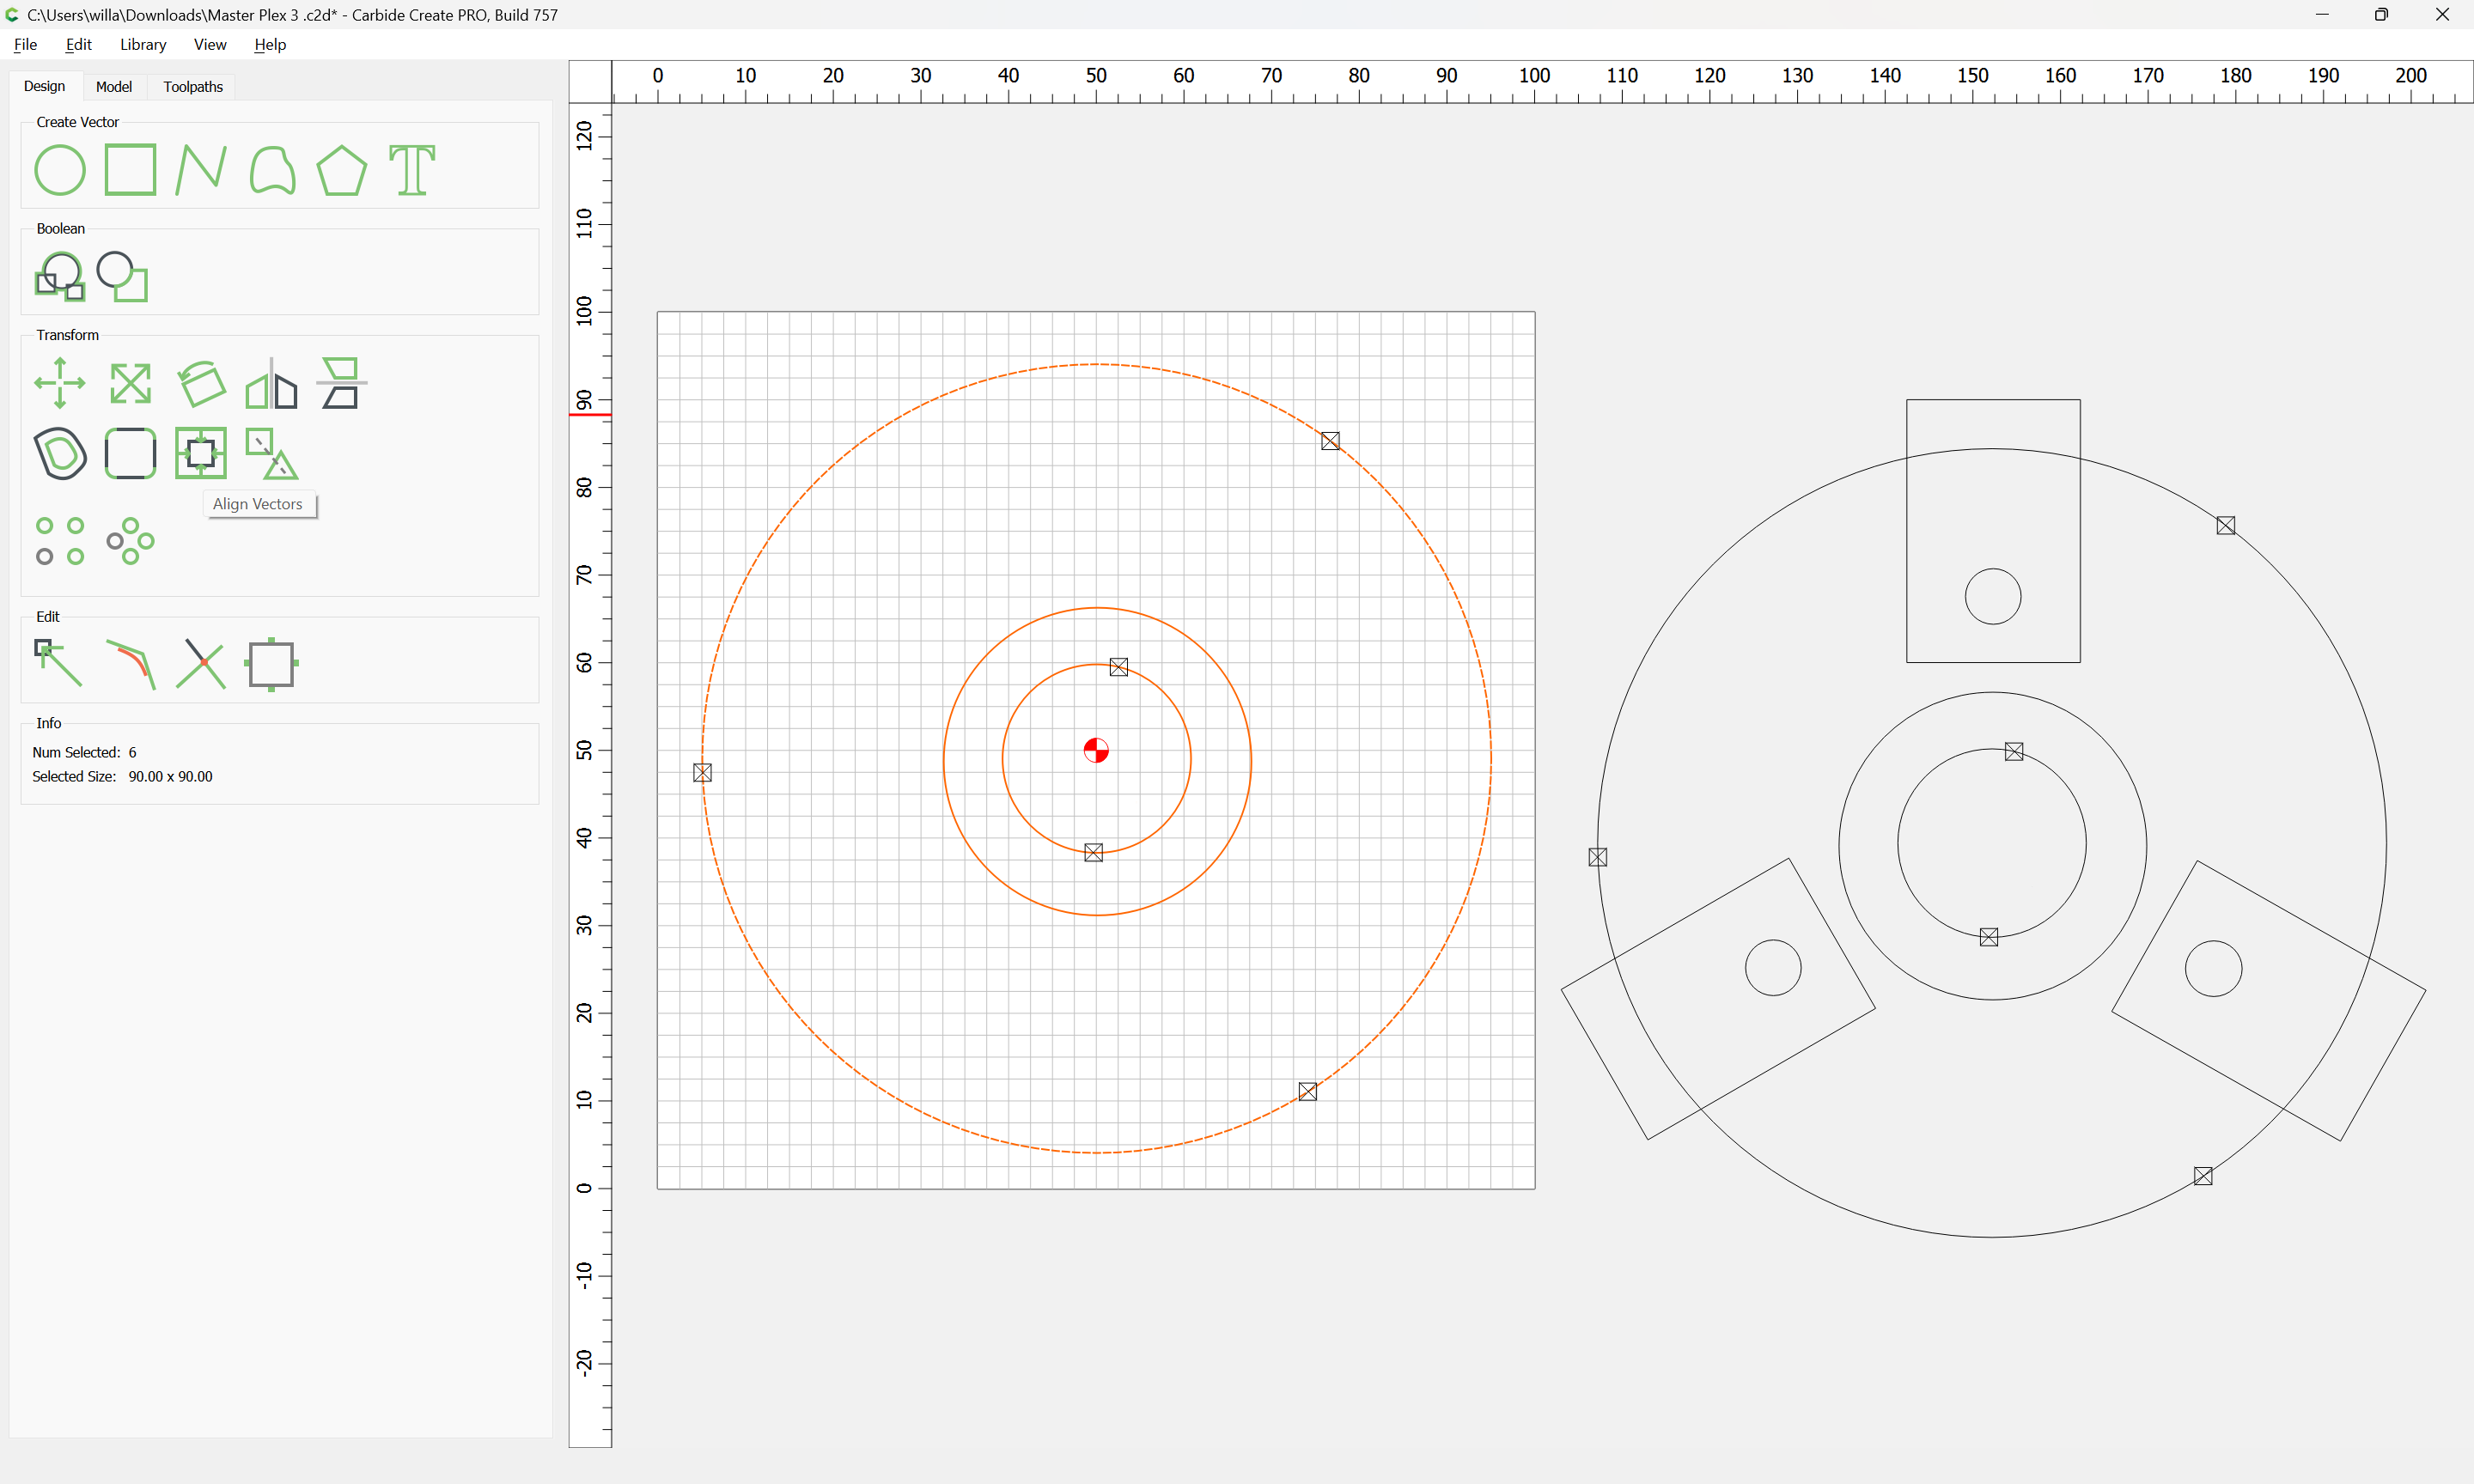
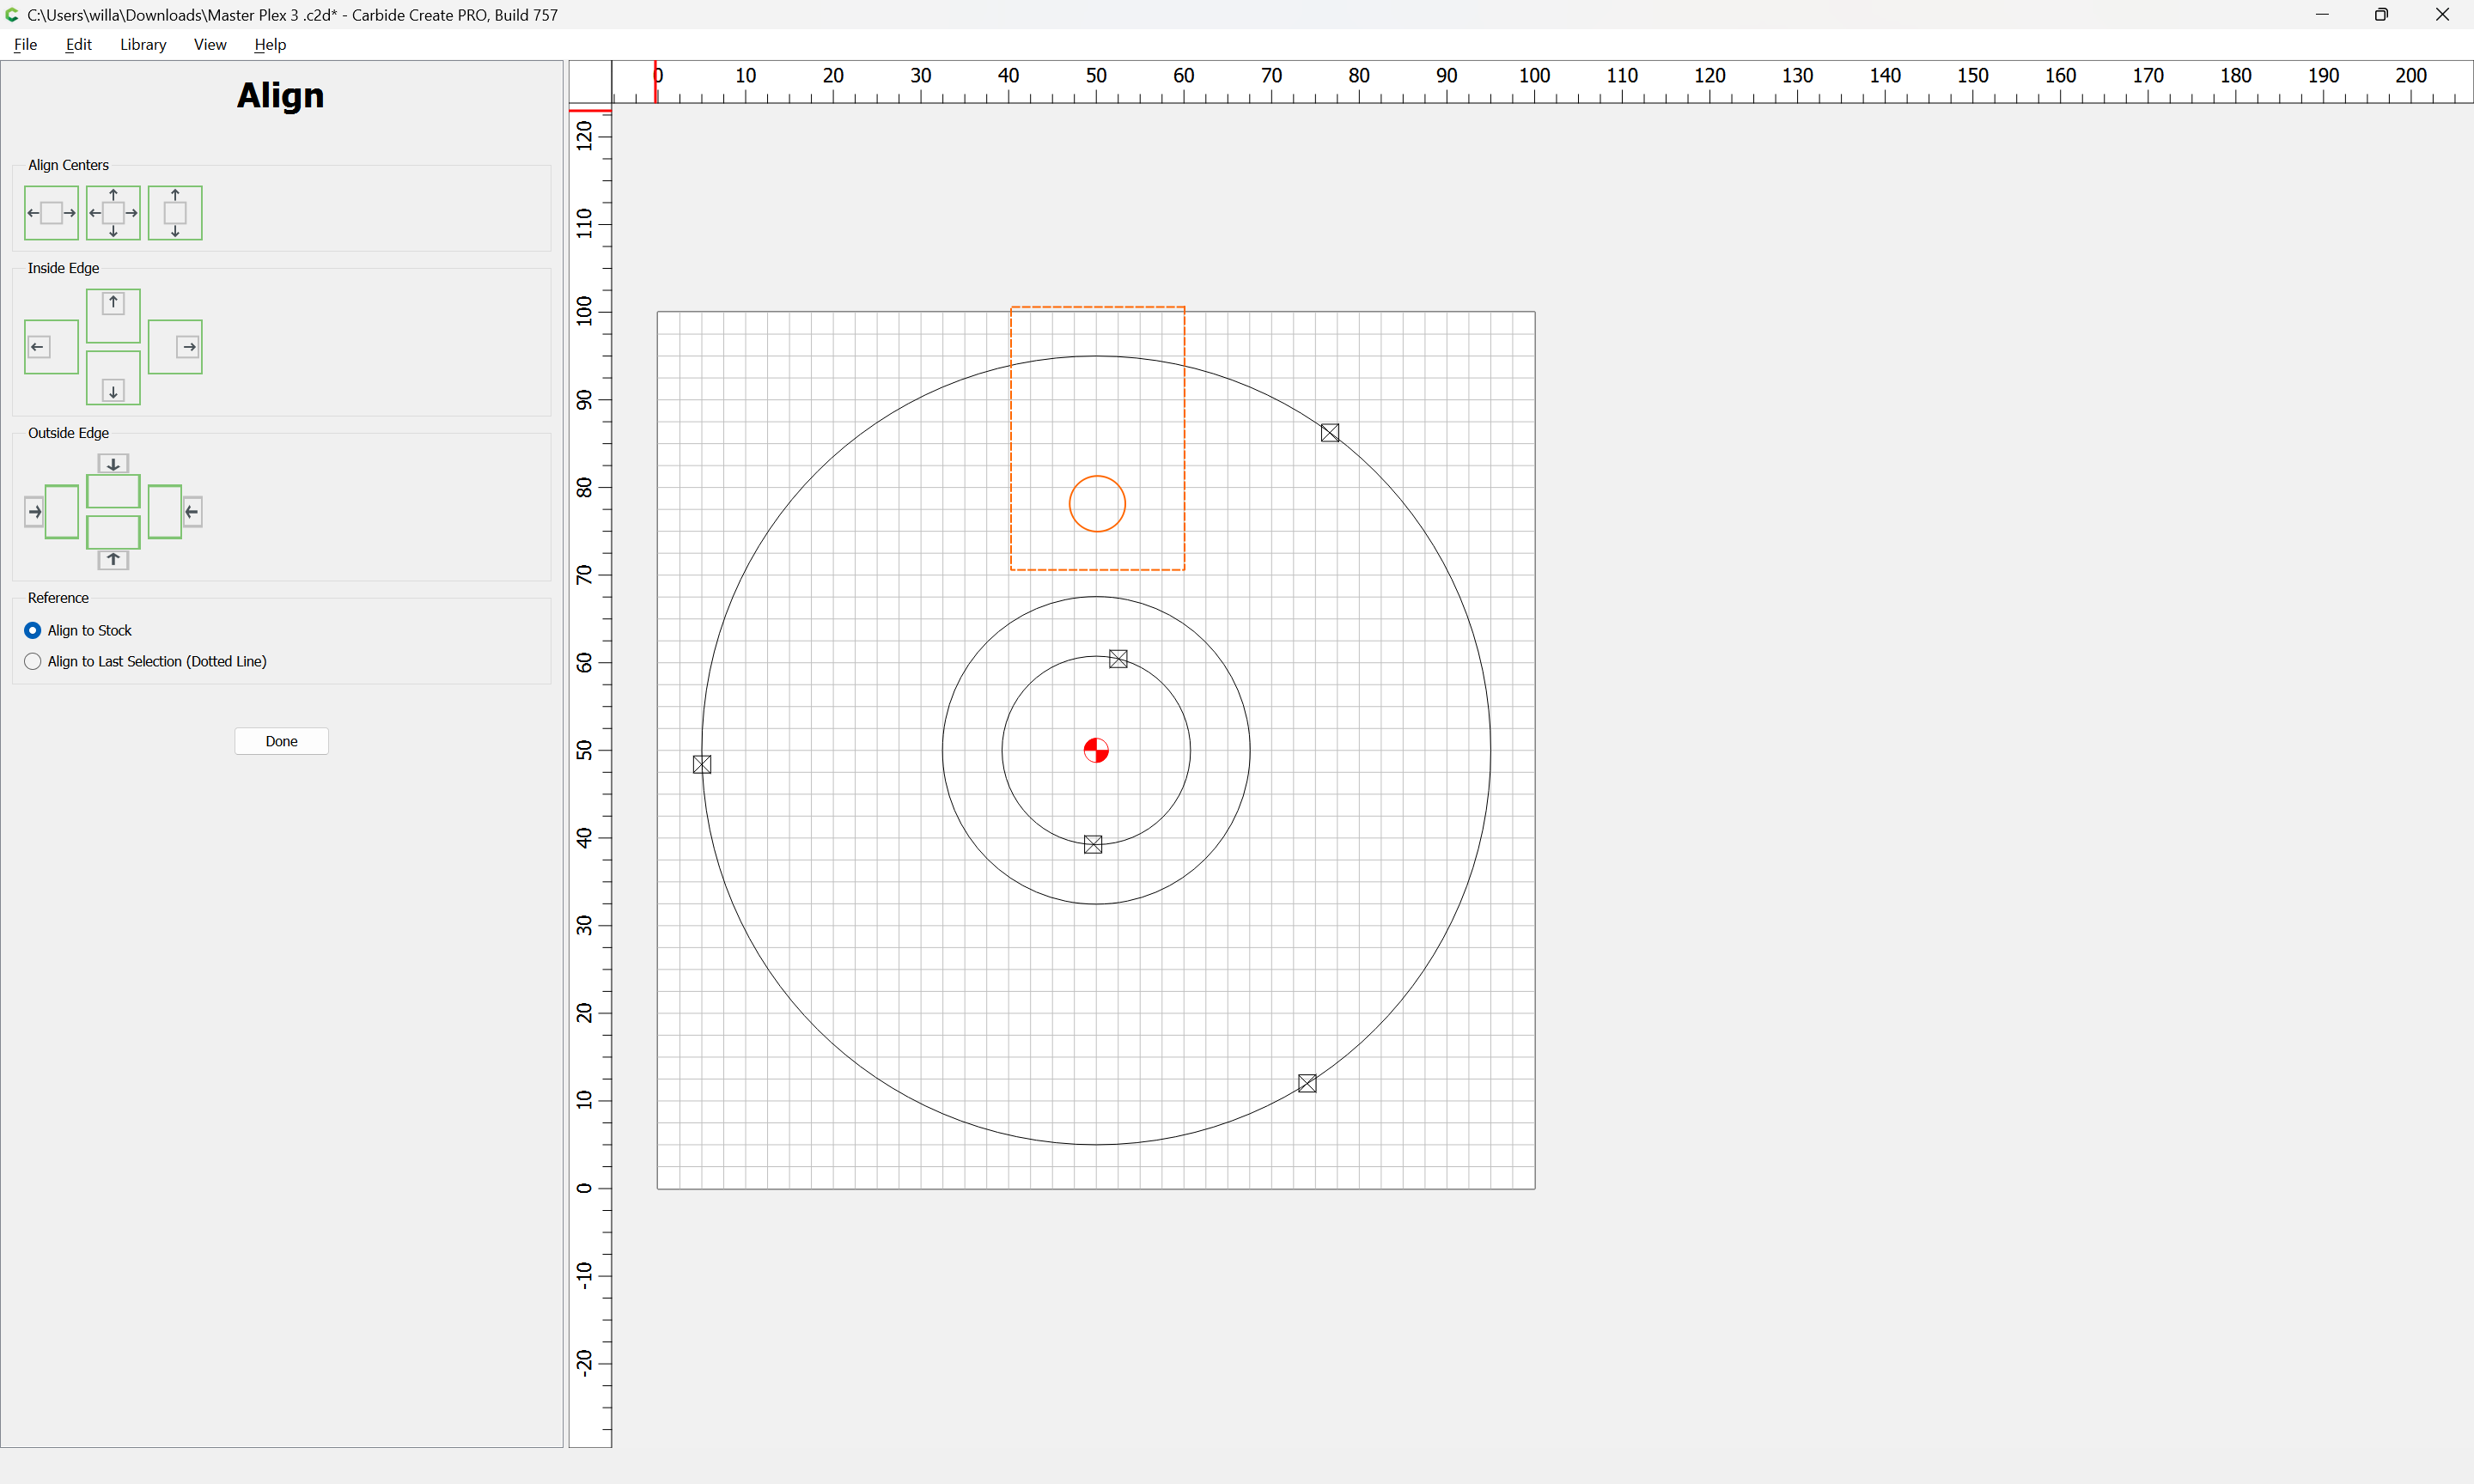
Select the Circles:
Align Vectors:
and align them to the center of the Stock:
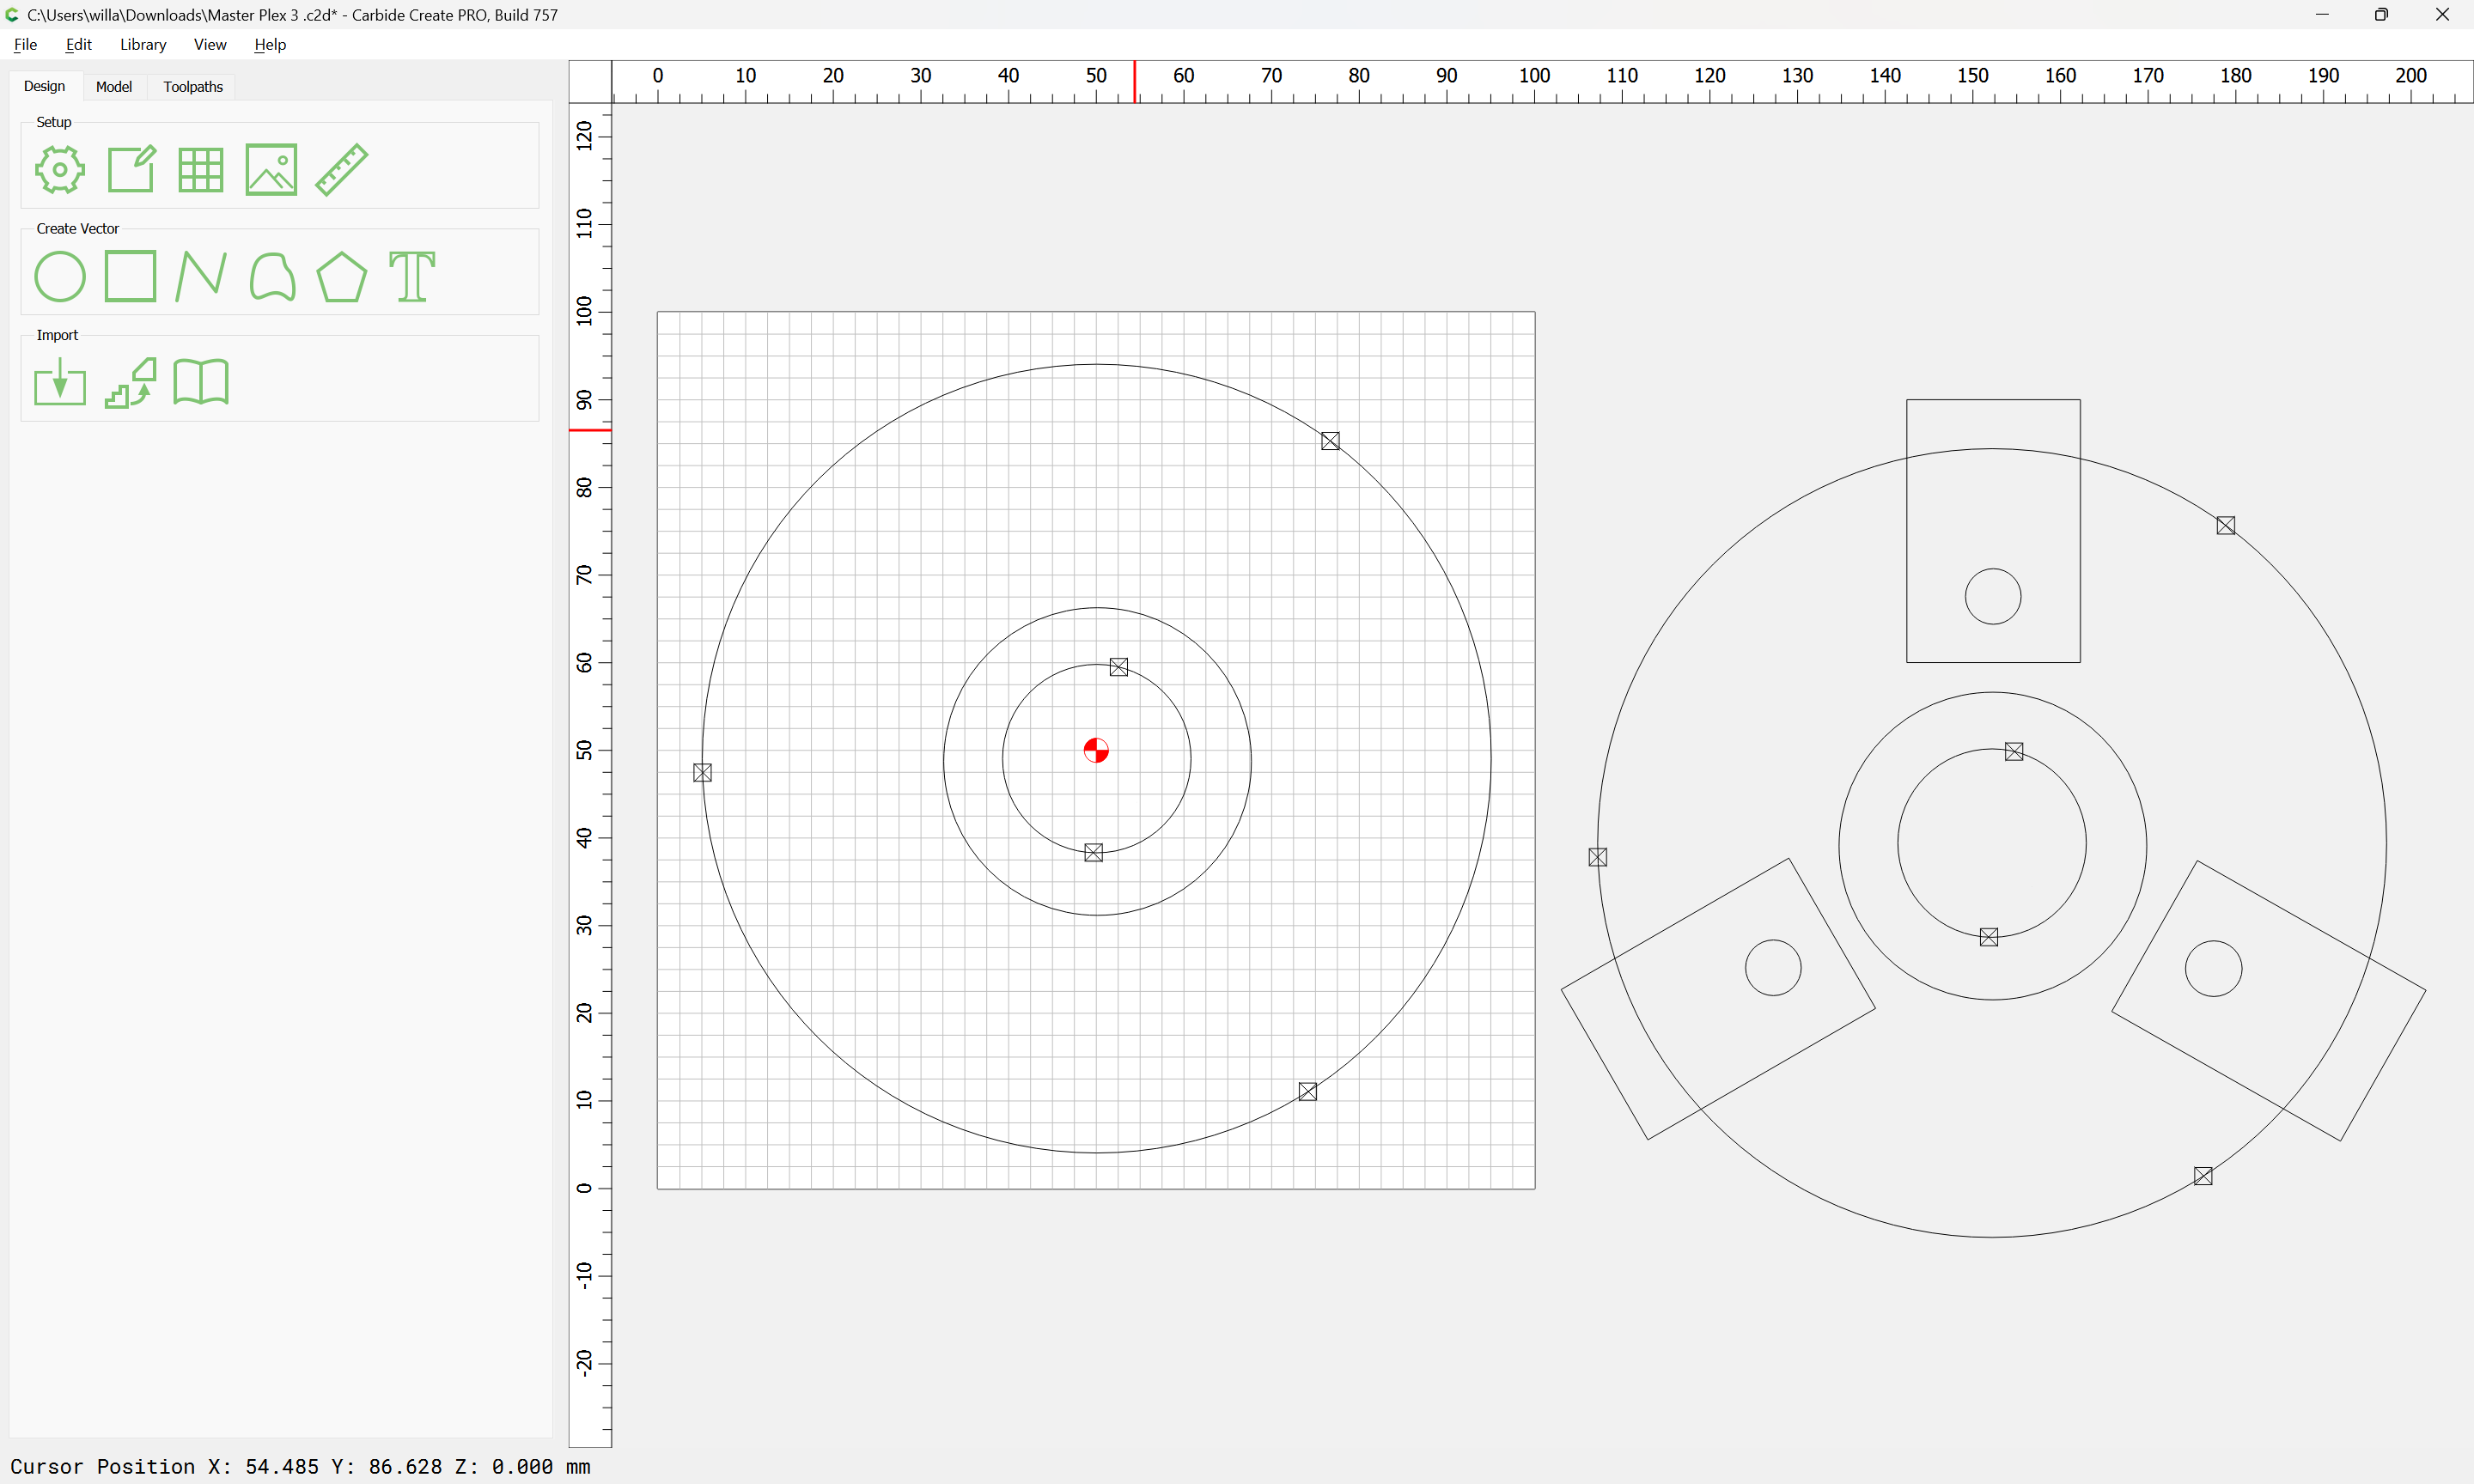
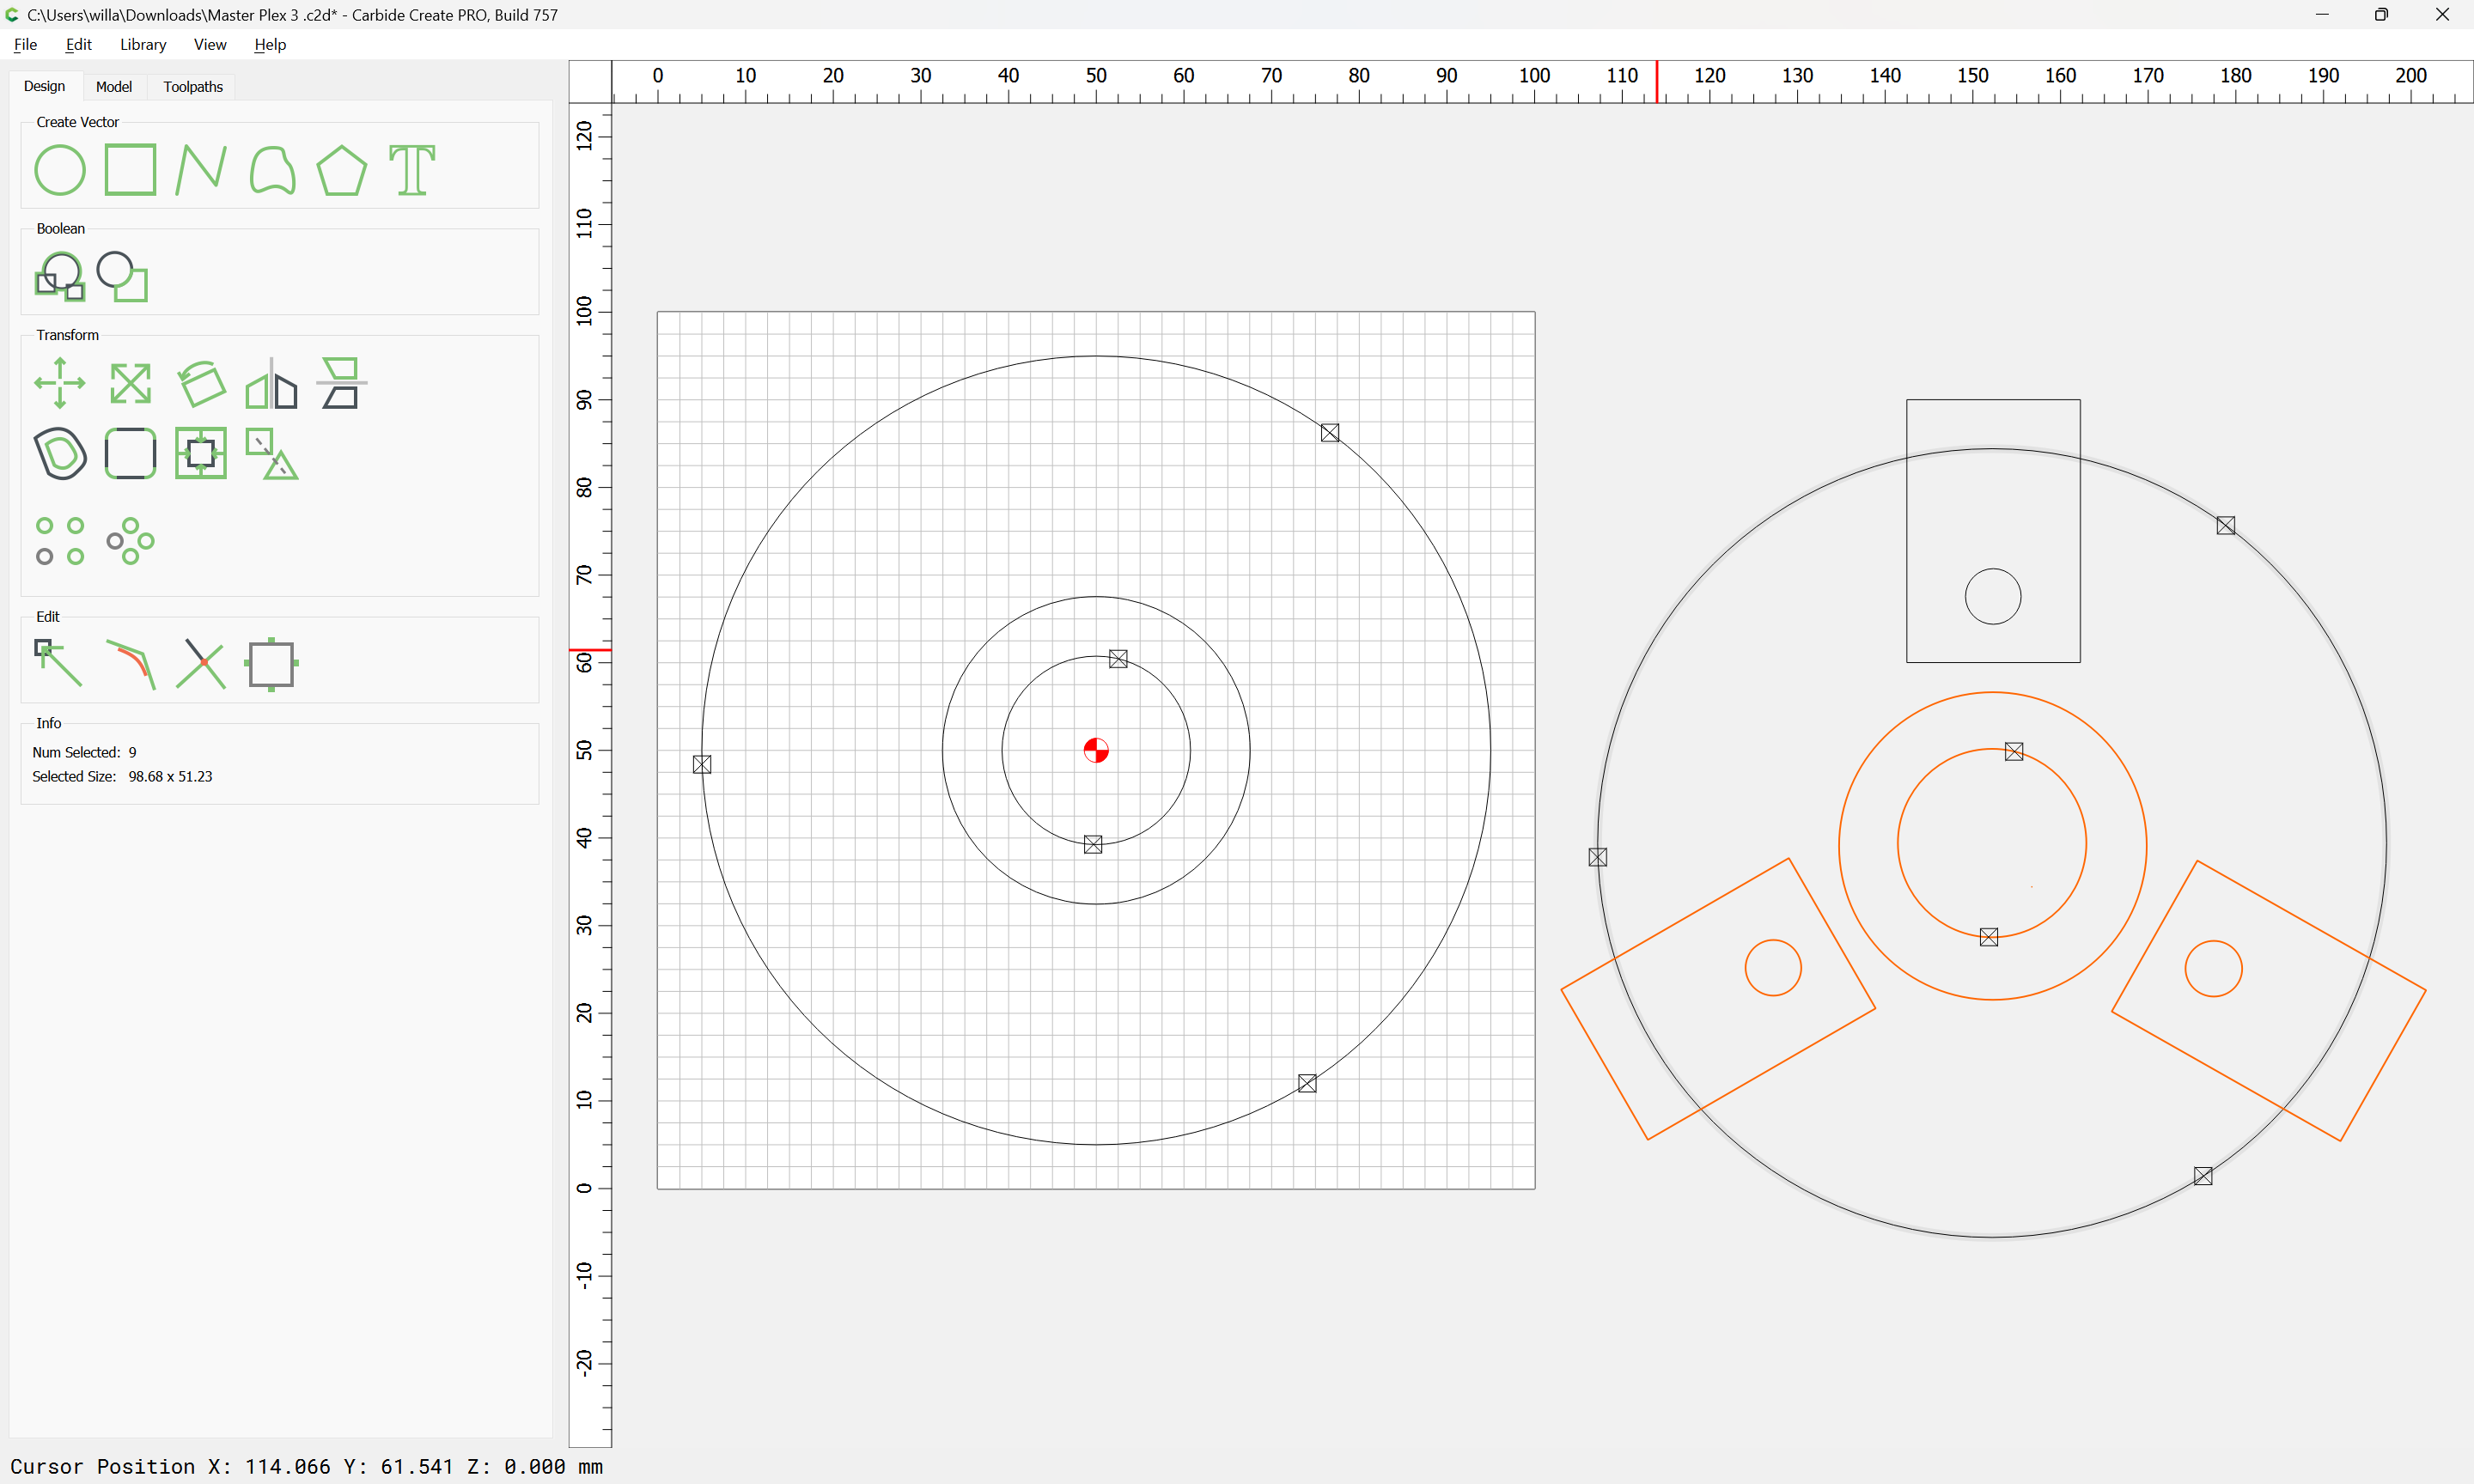
Delete all but one of the circles in the spare, and remove all but one set of the rotate geometry:
Drag into alignment with the original:
delete the duplicate circle:
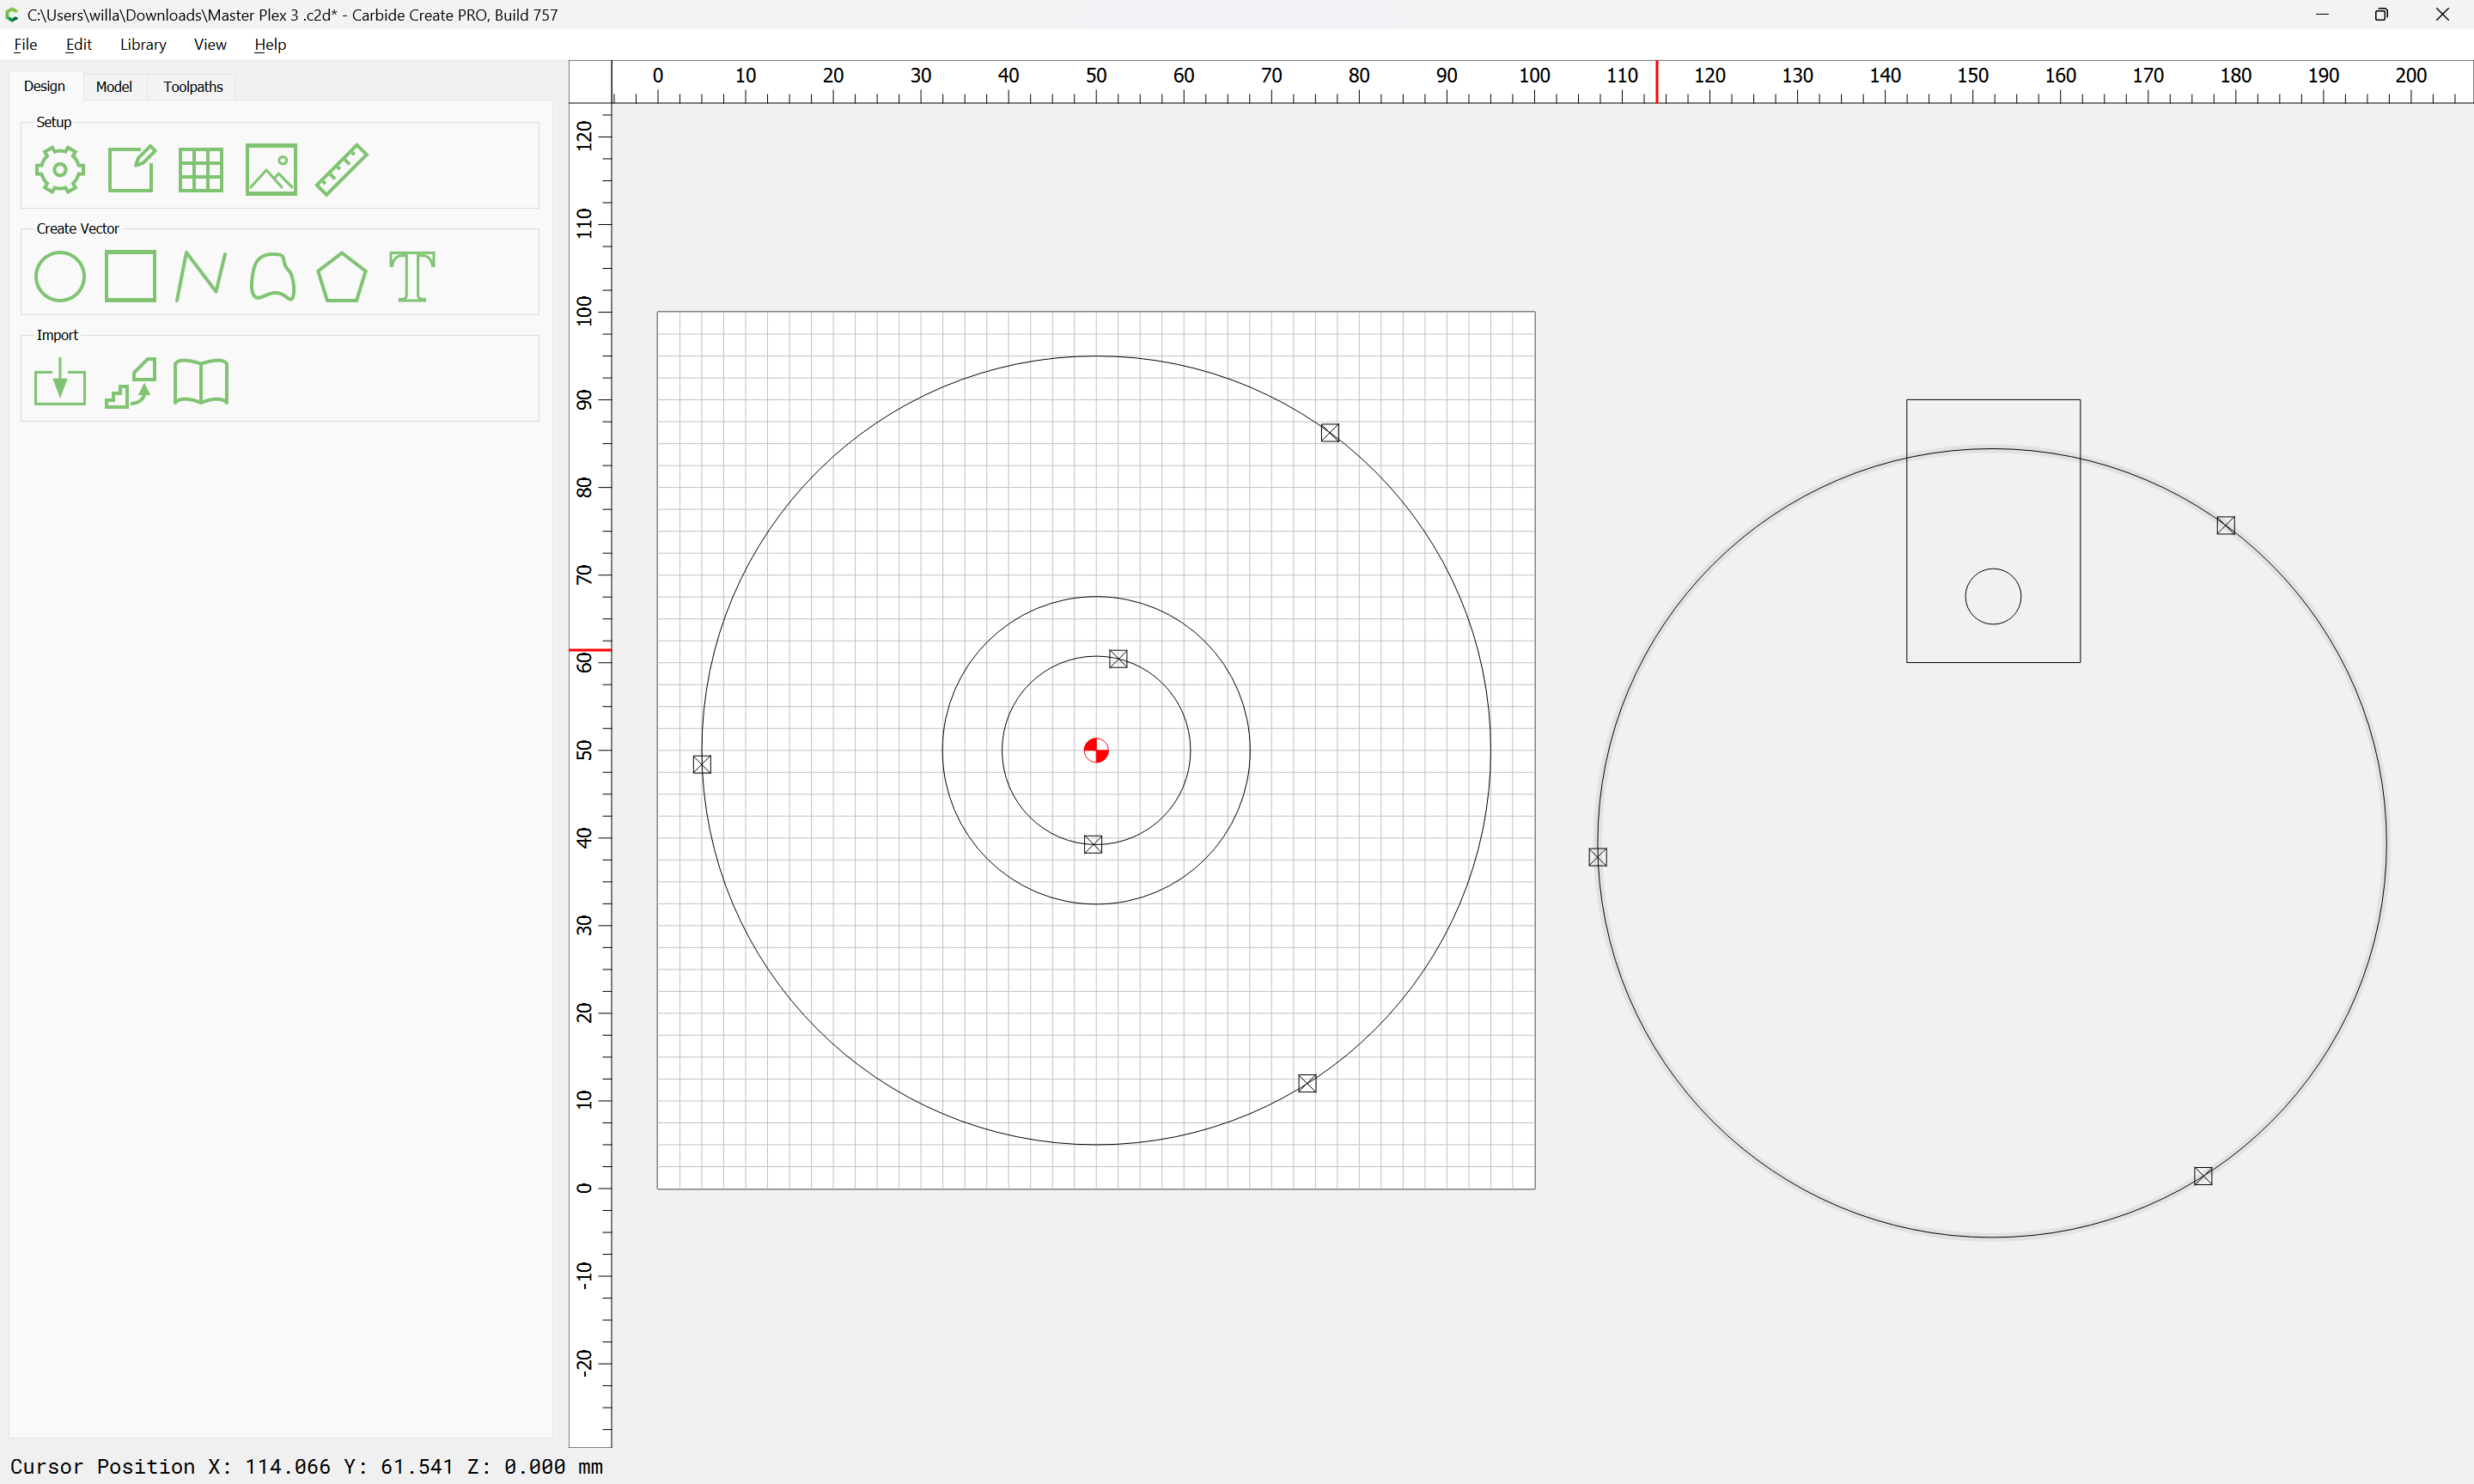
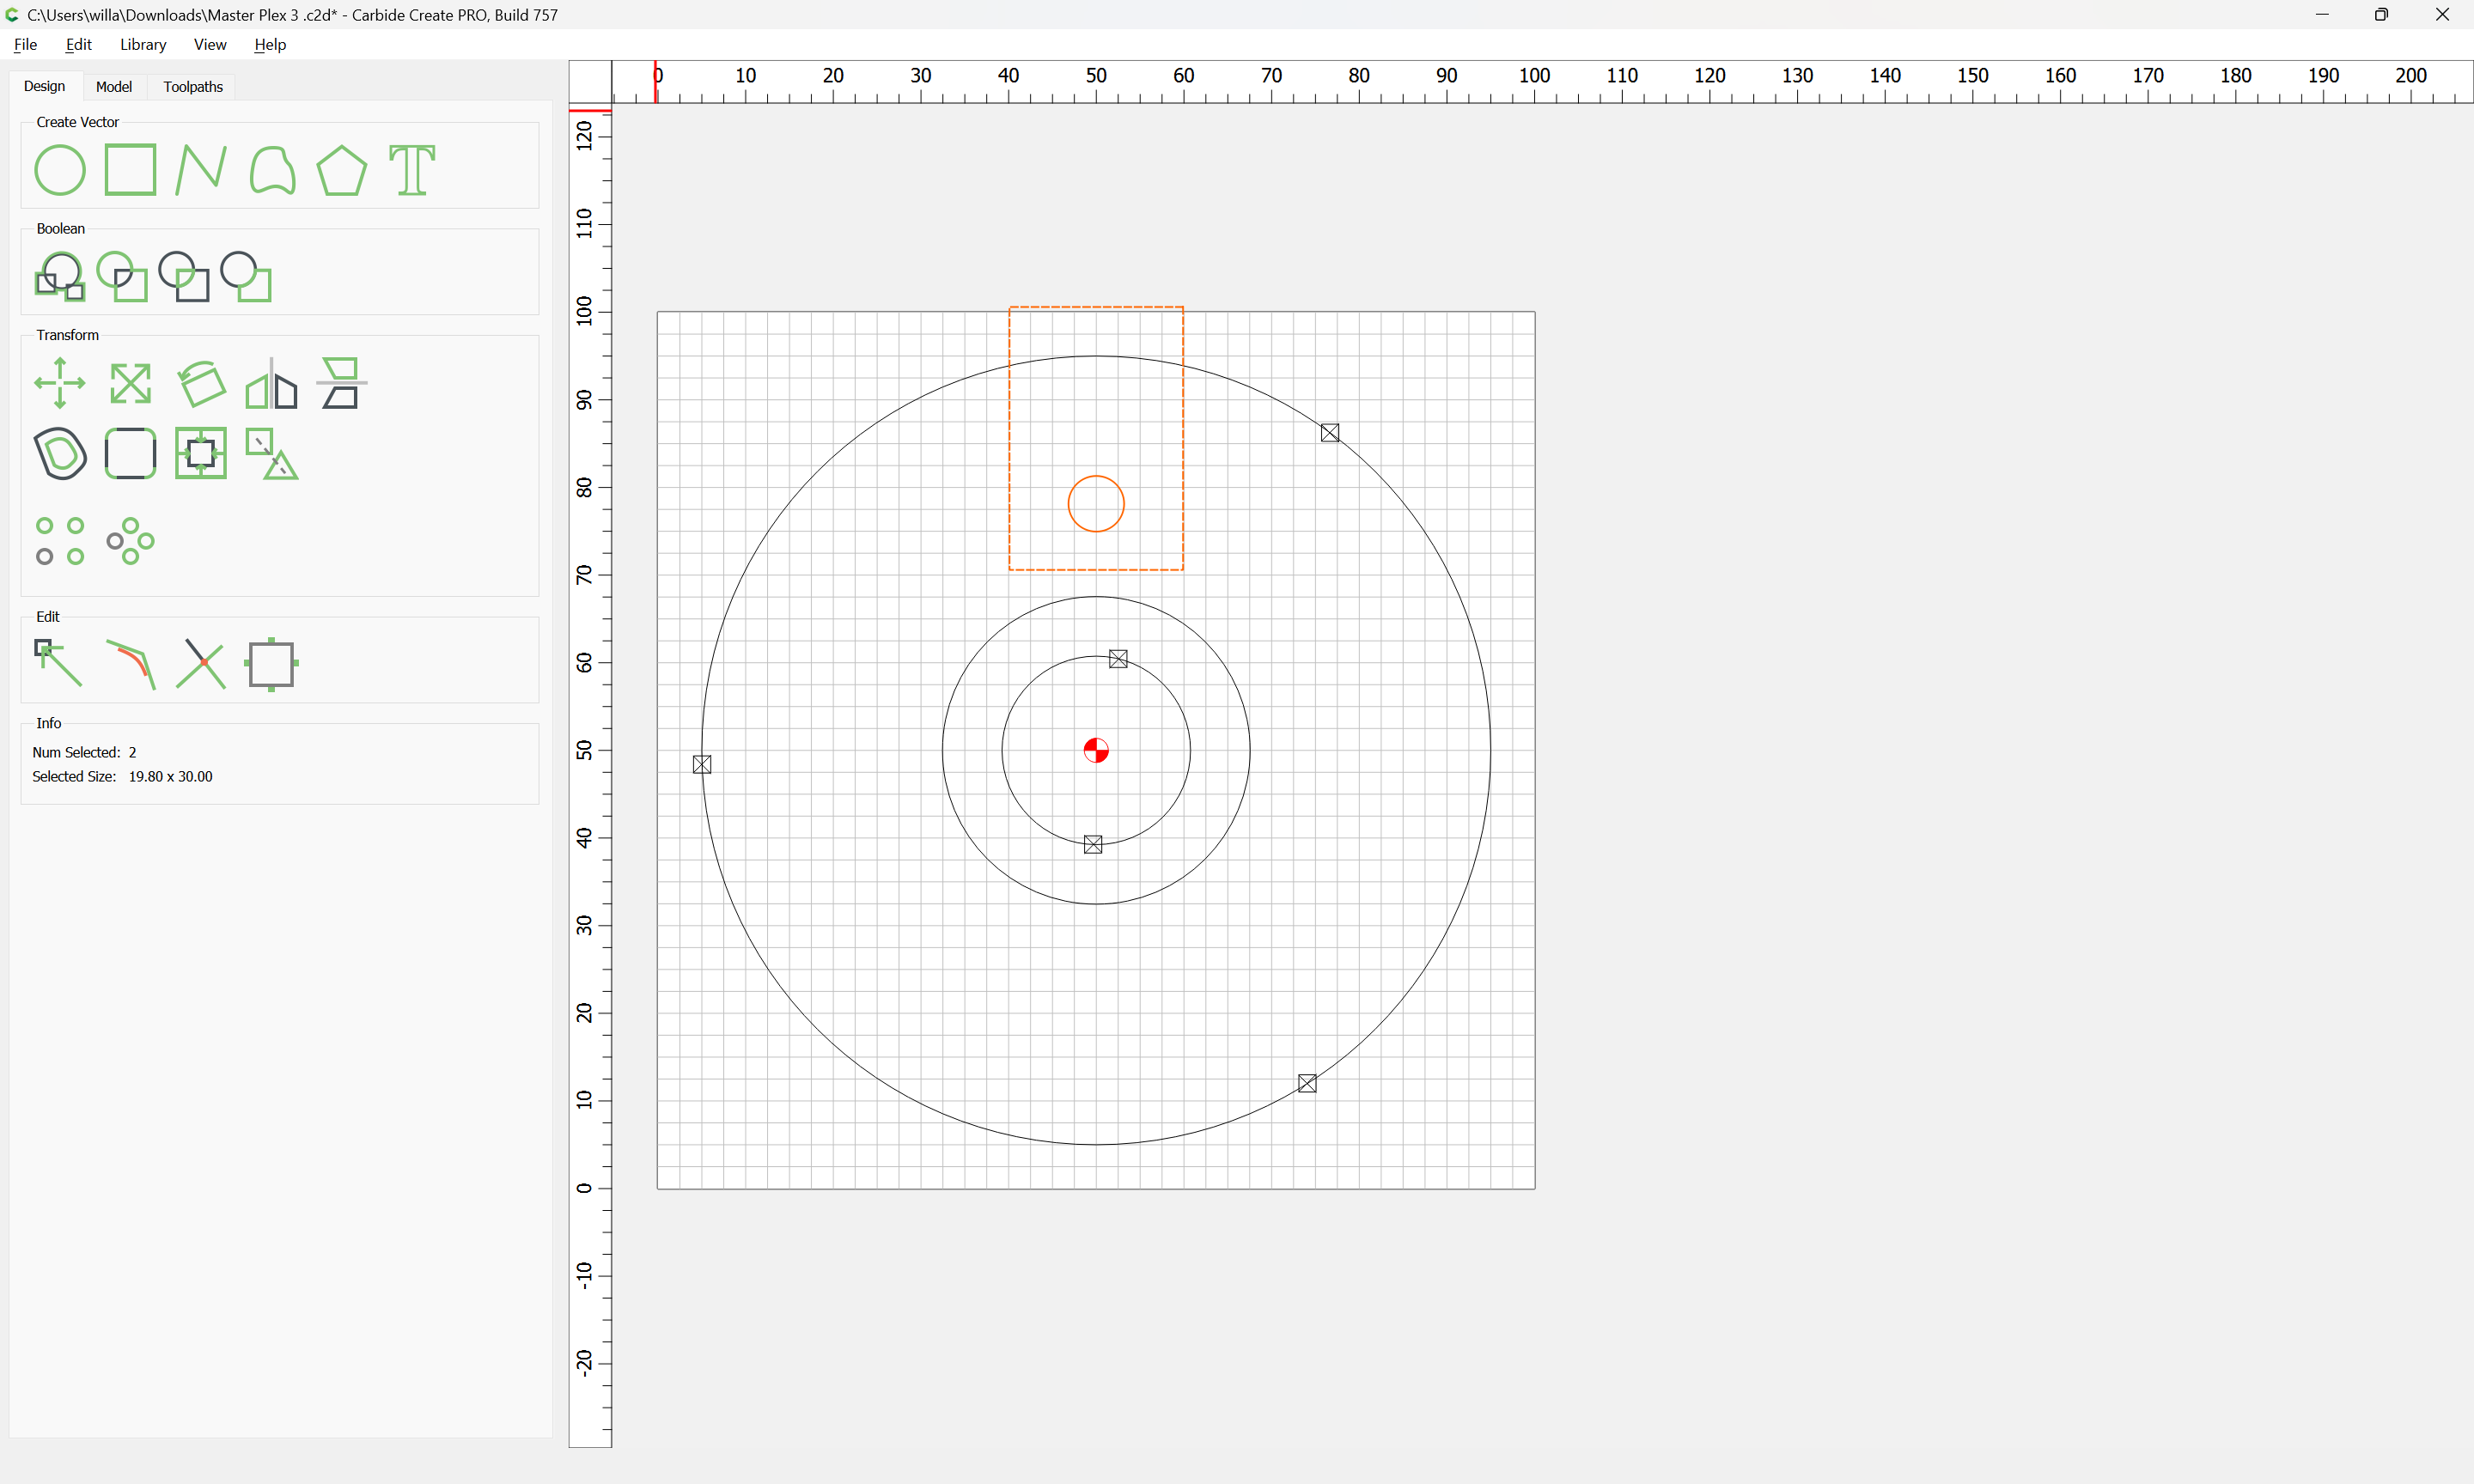
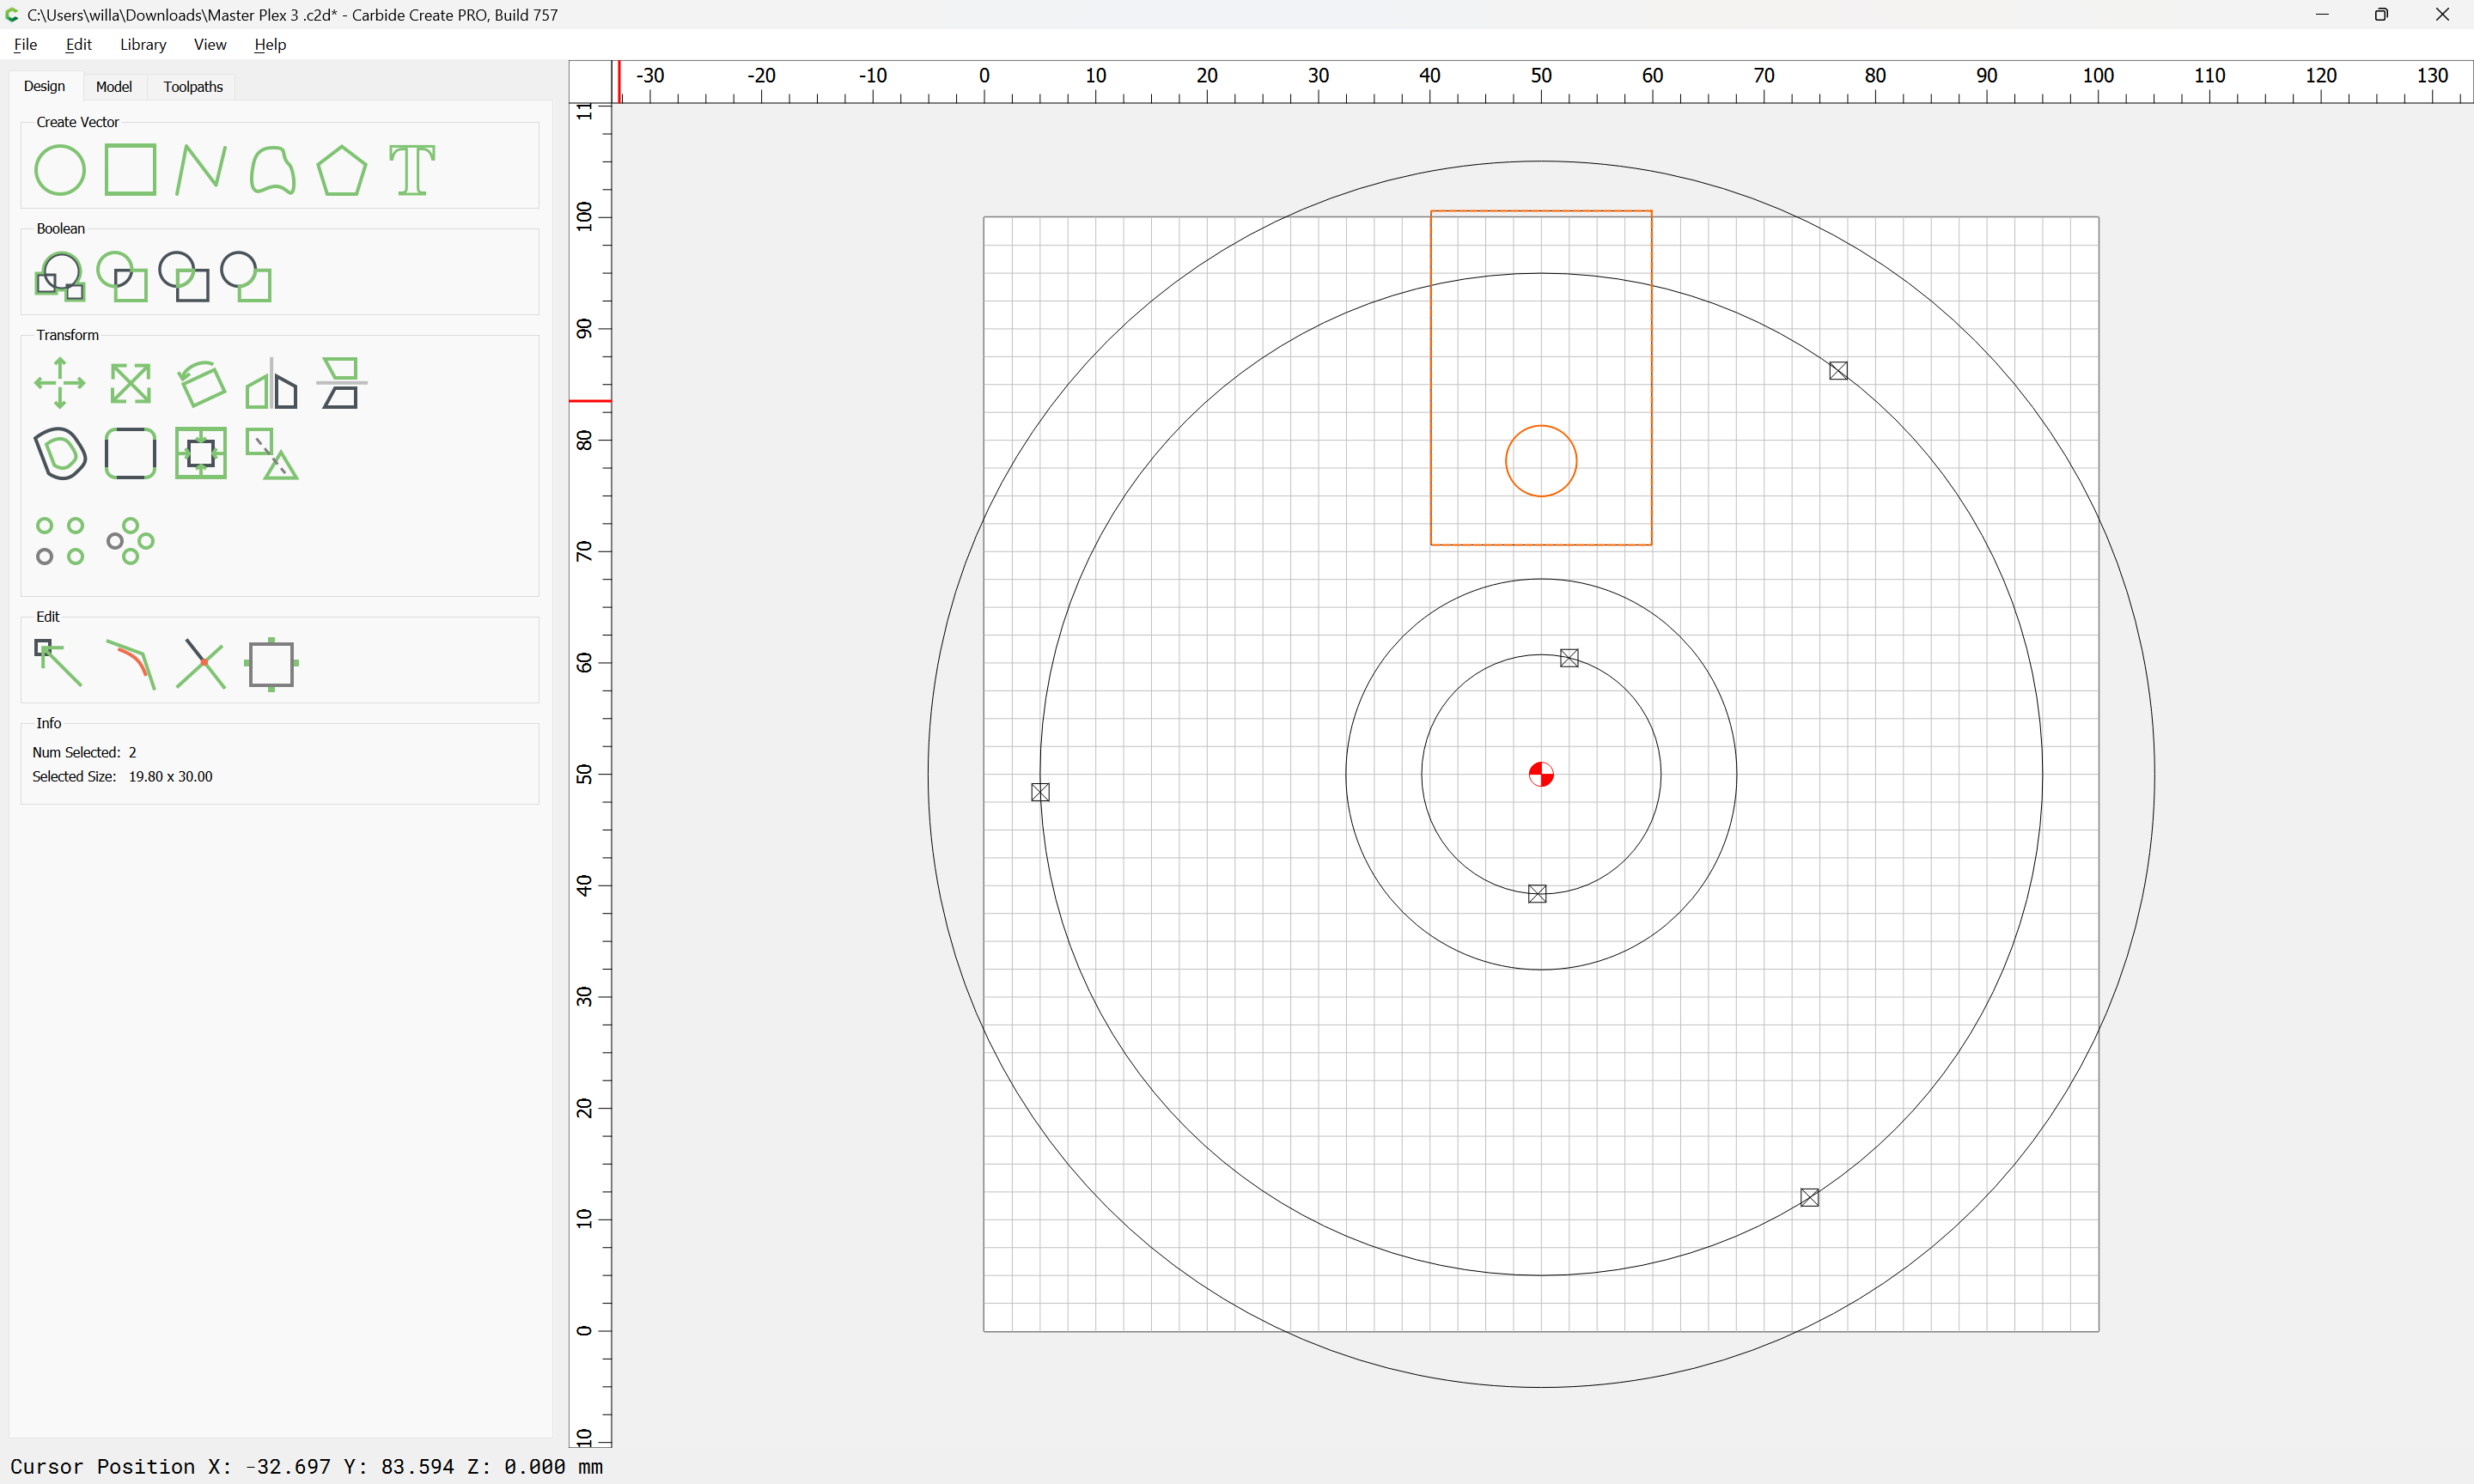
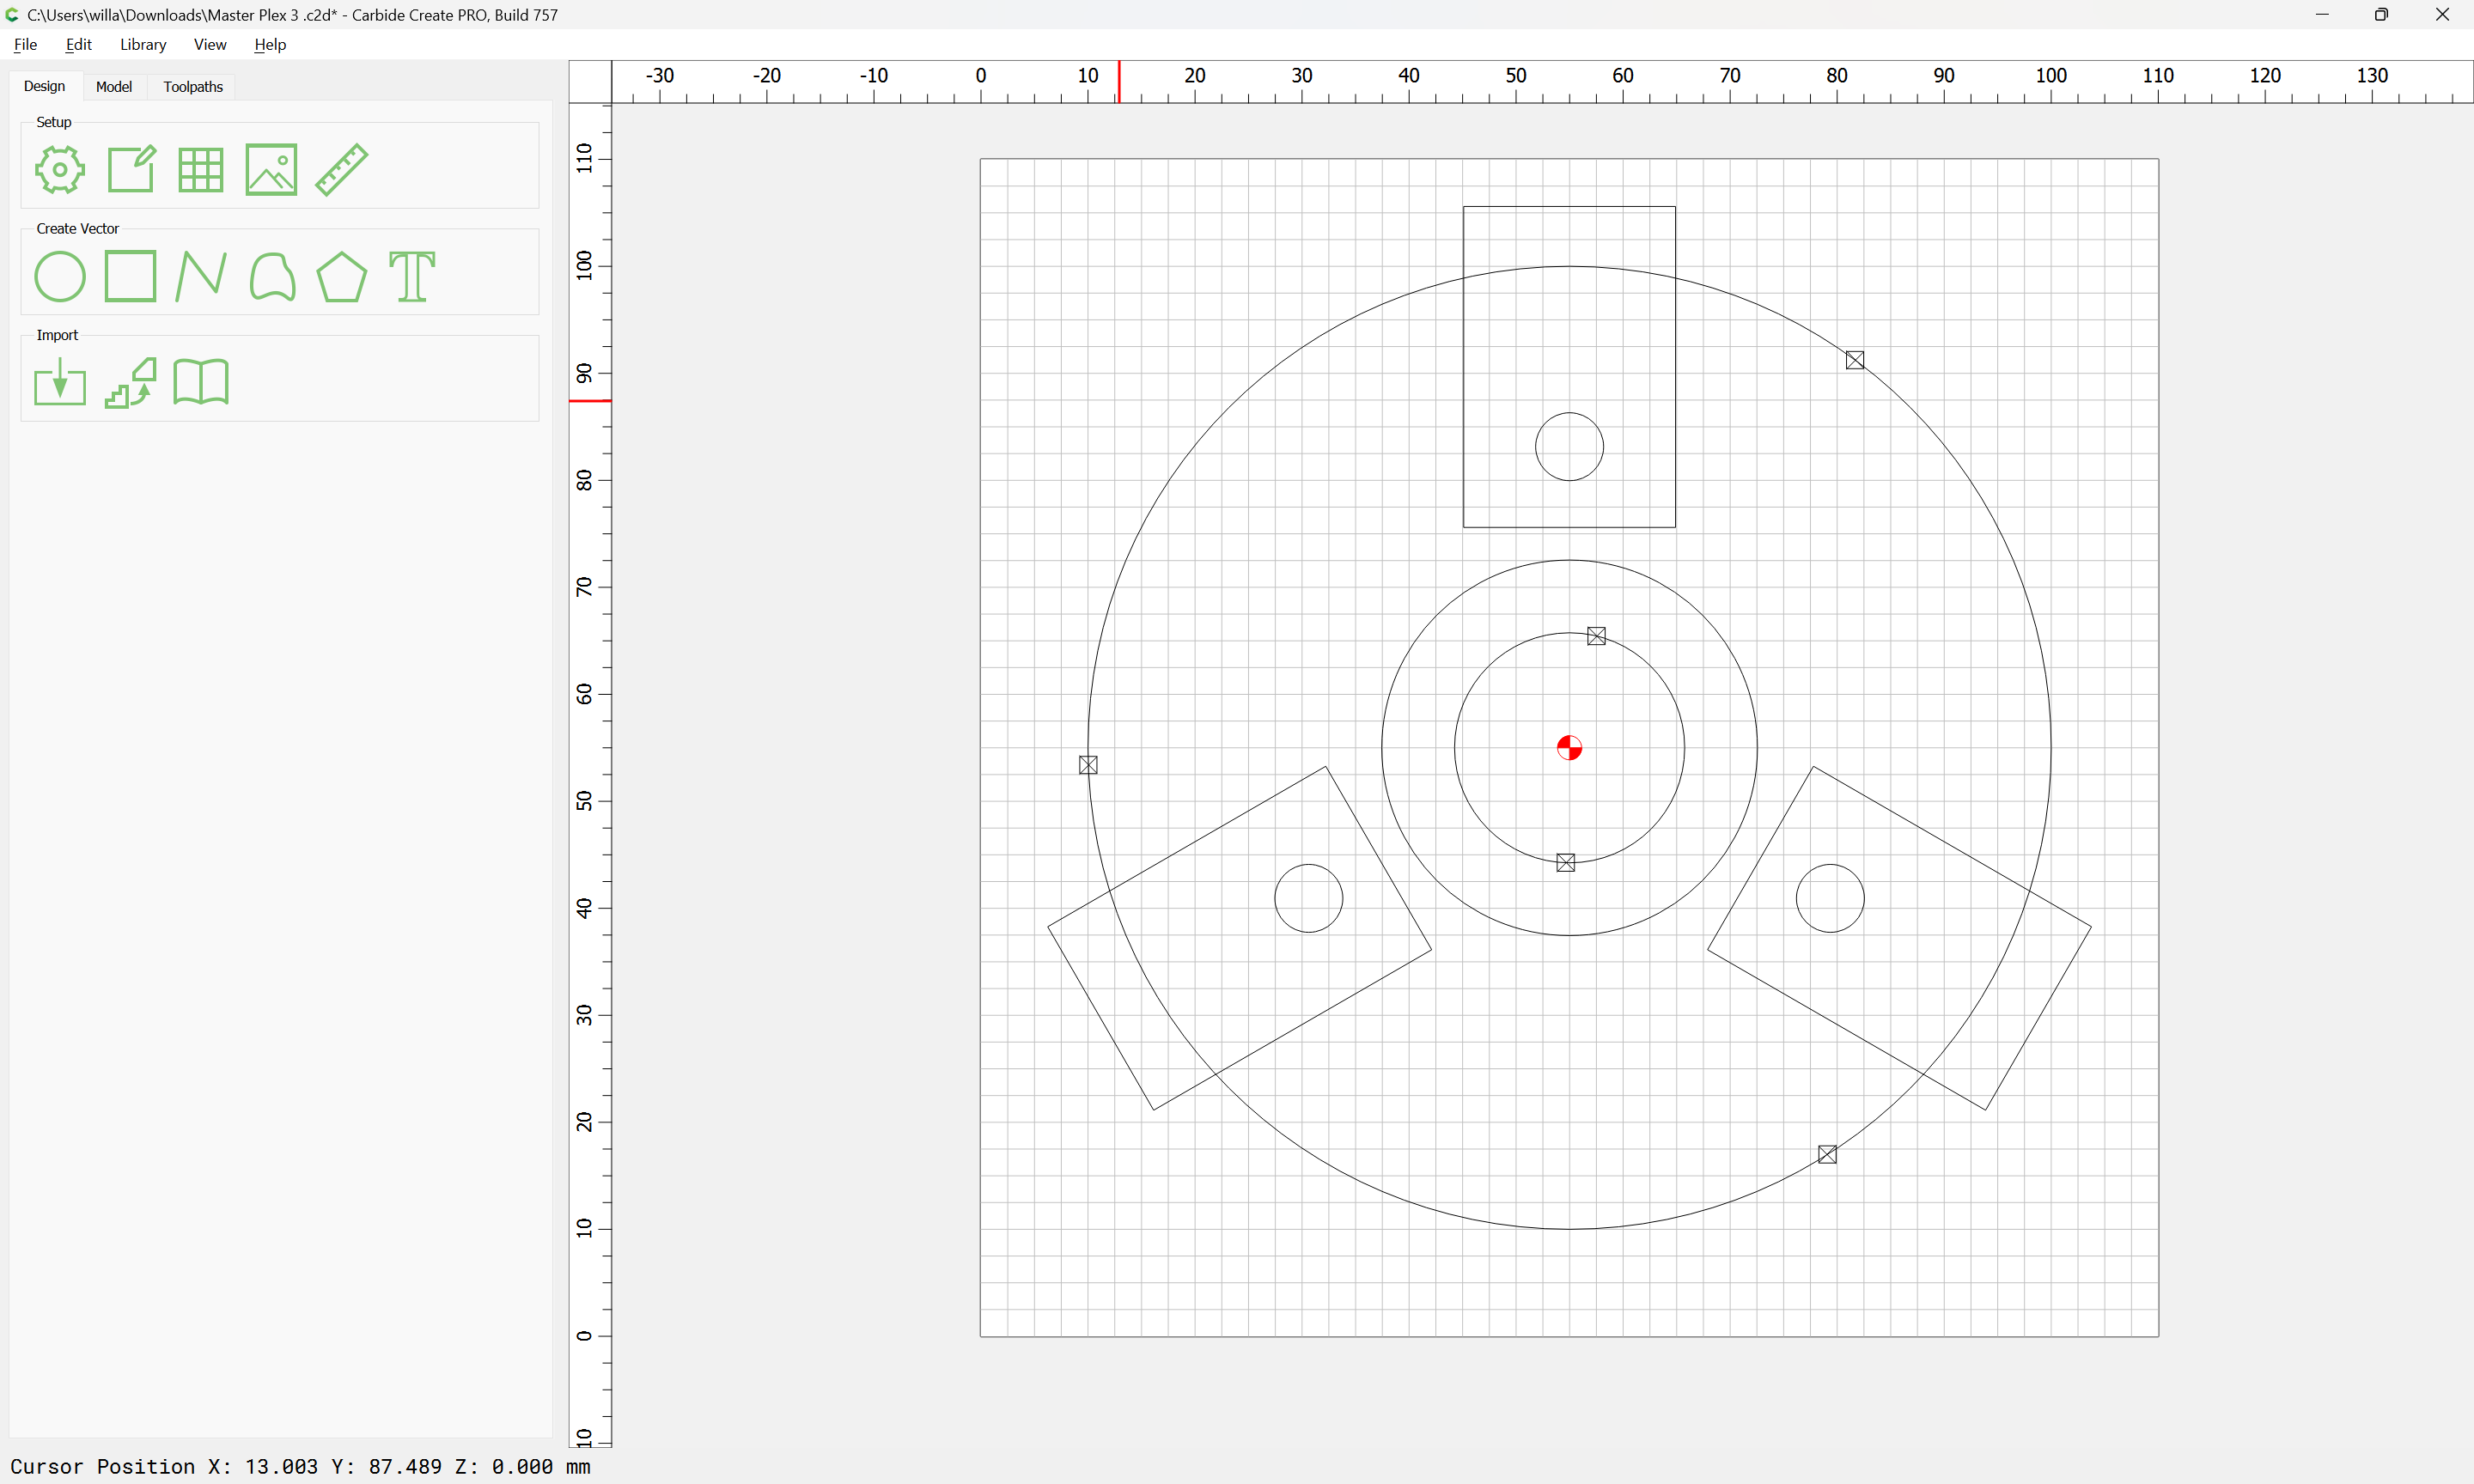
Make sure the rectangle and small circle in it are centered:
Align Vectors:
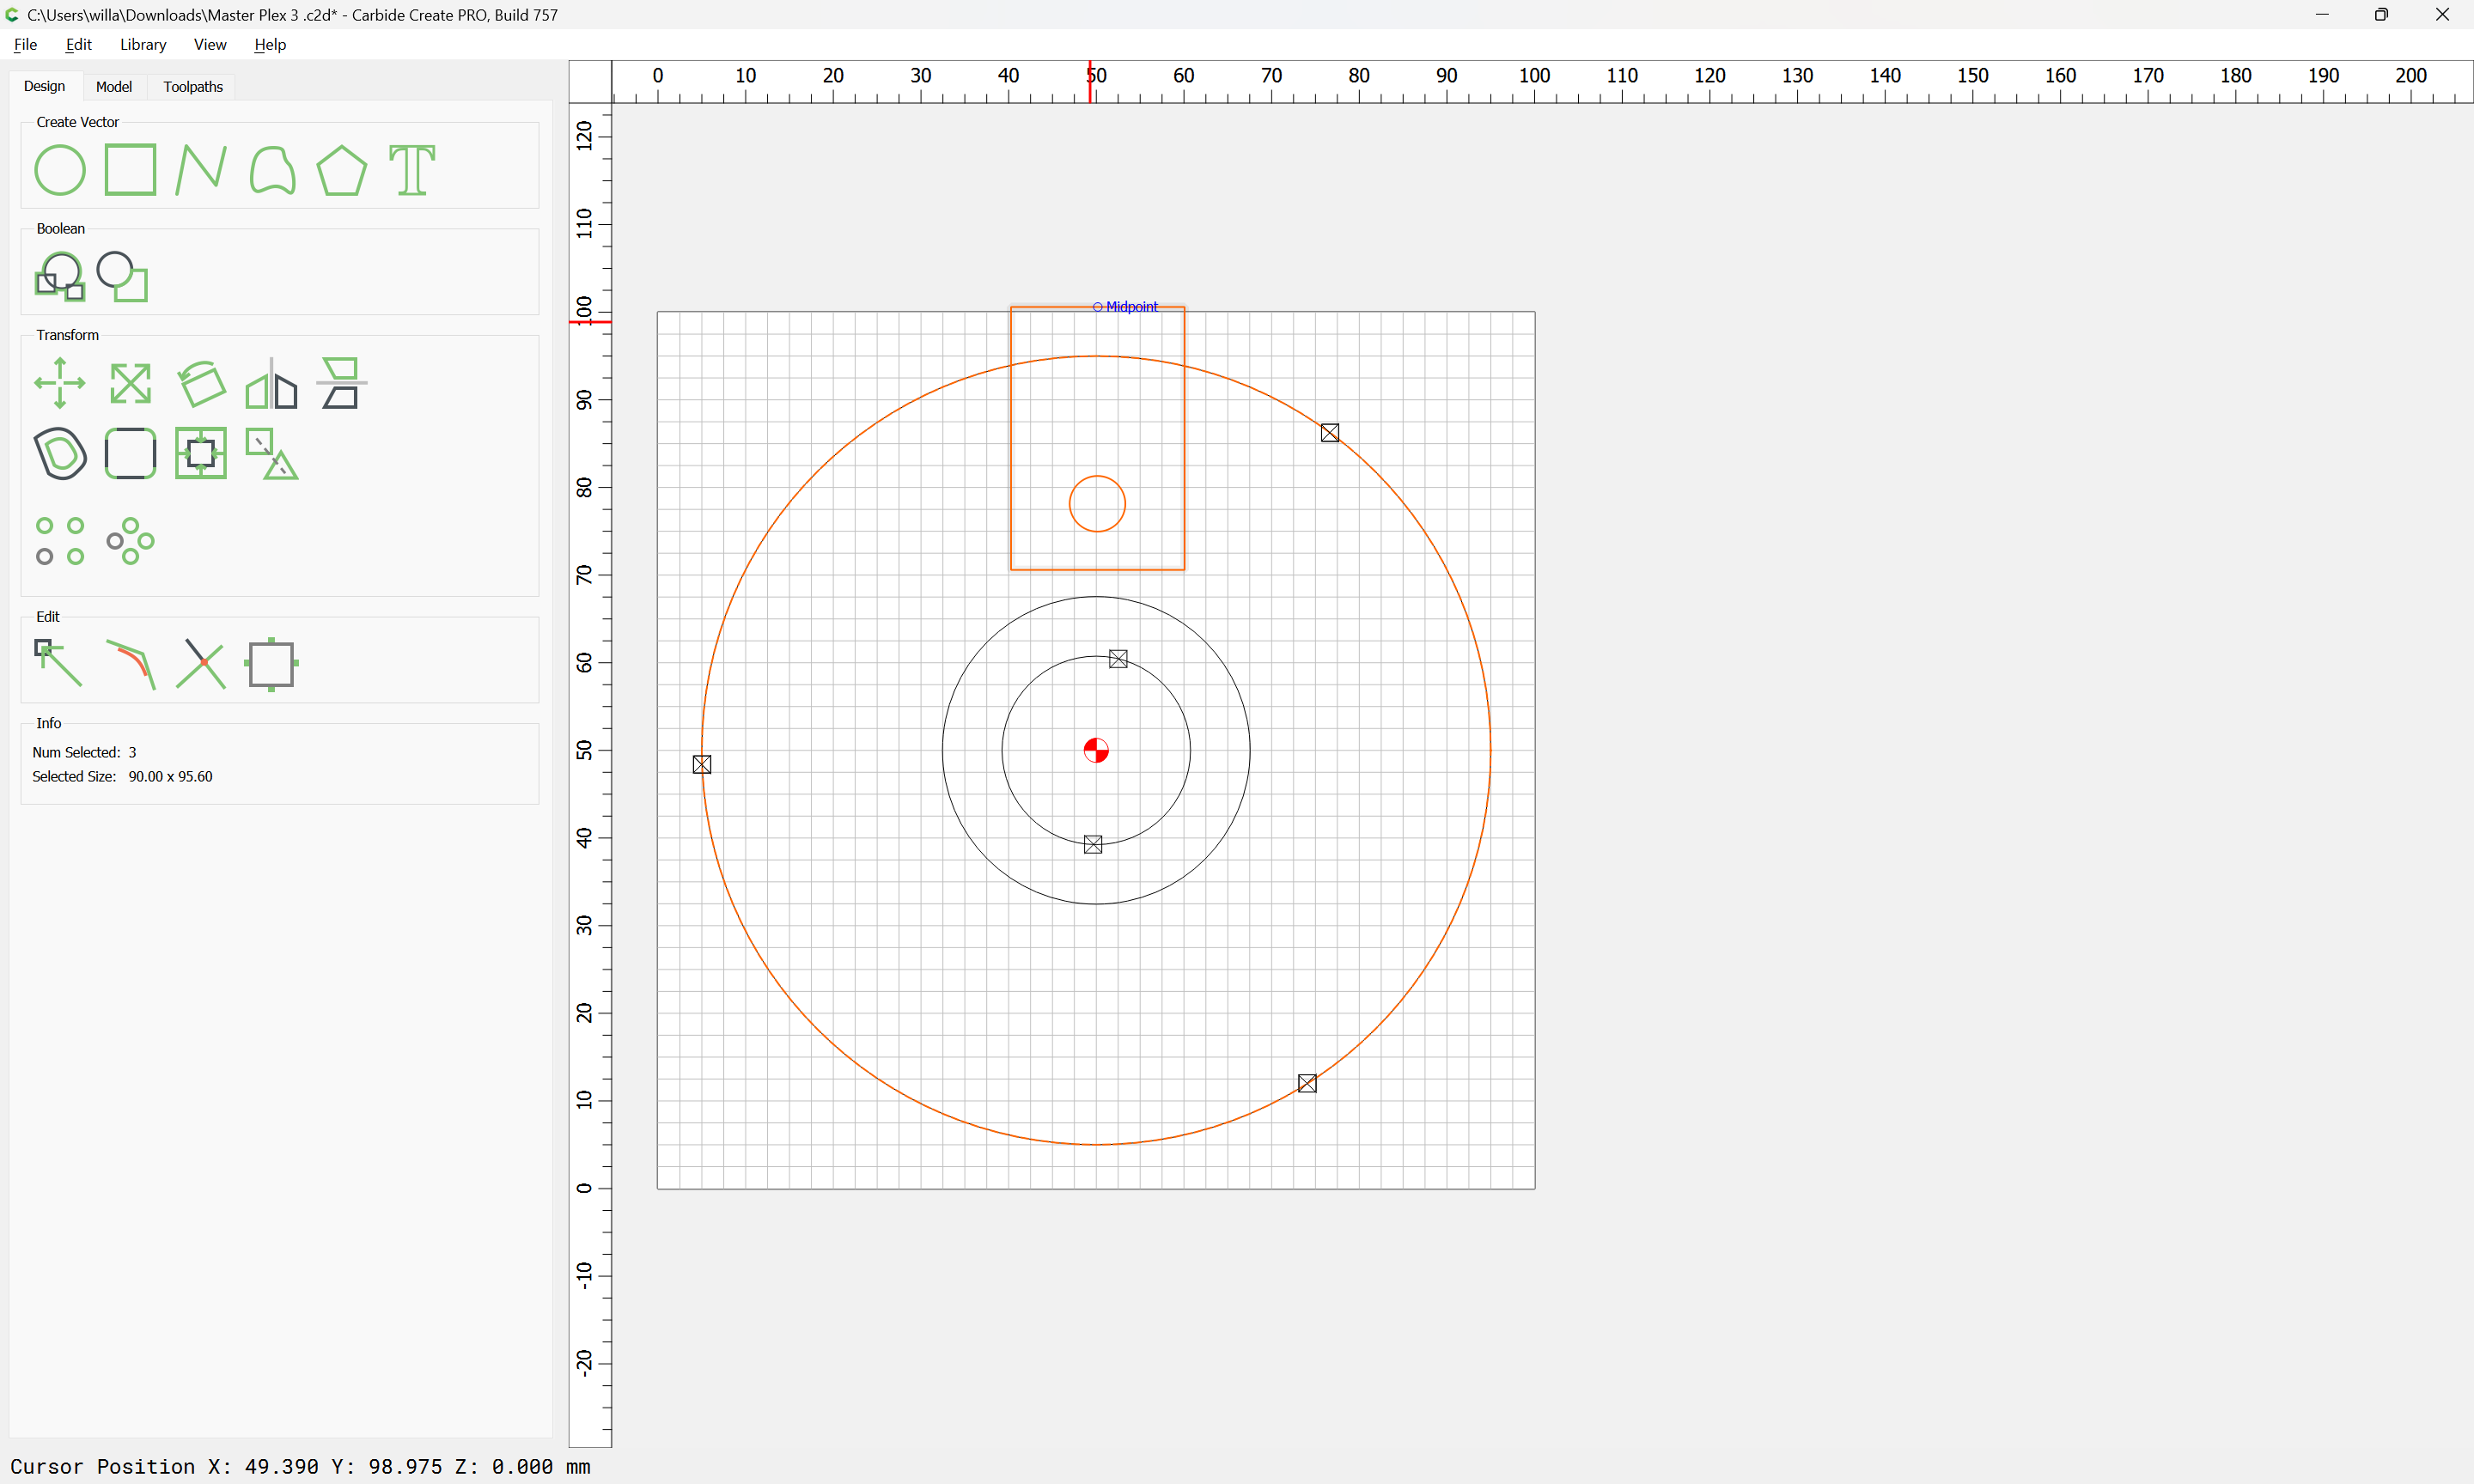
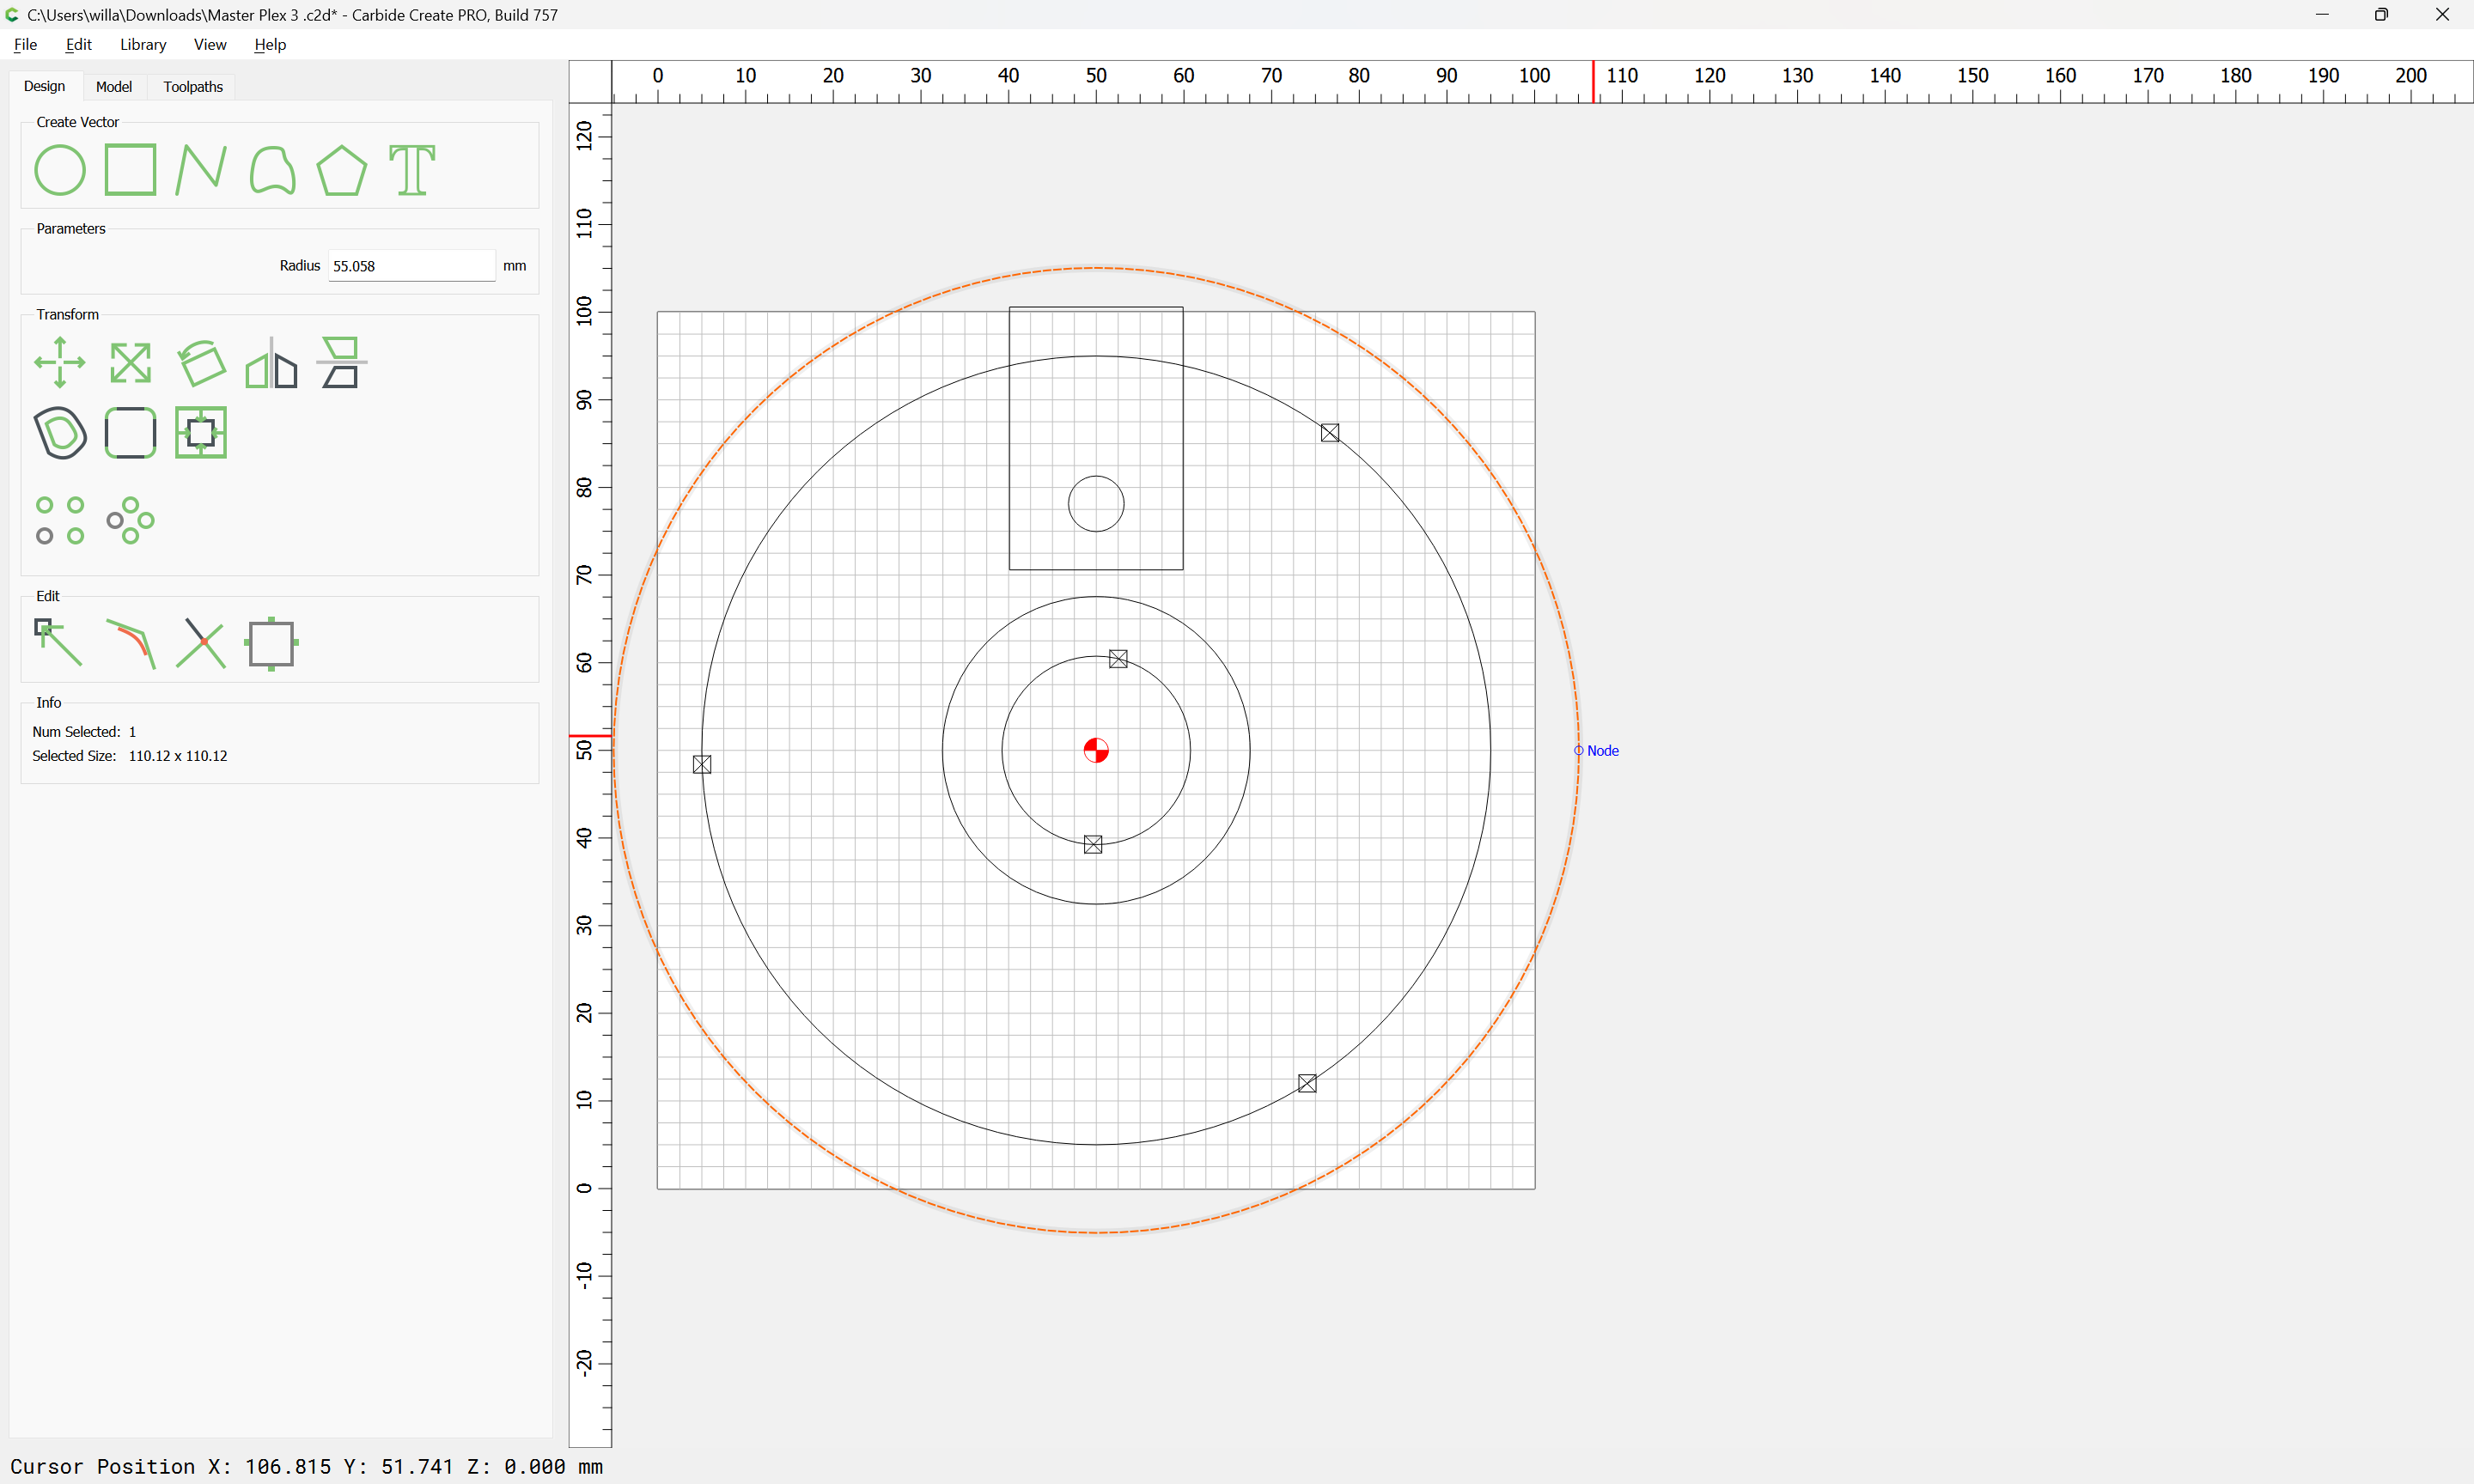
Draw a circle which is larger than all the geometry:
(and centered on the Stock)
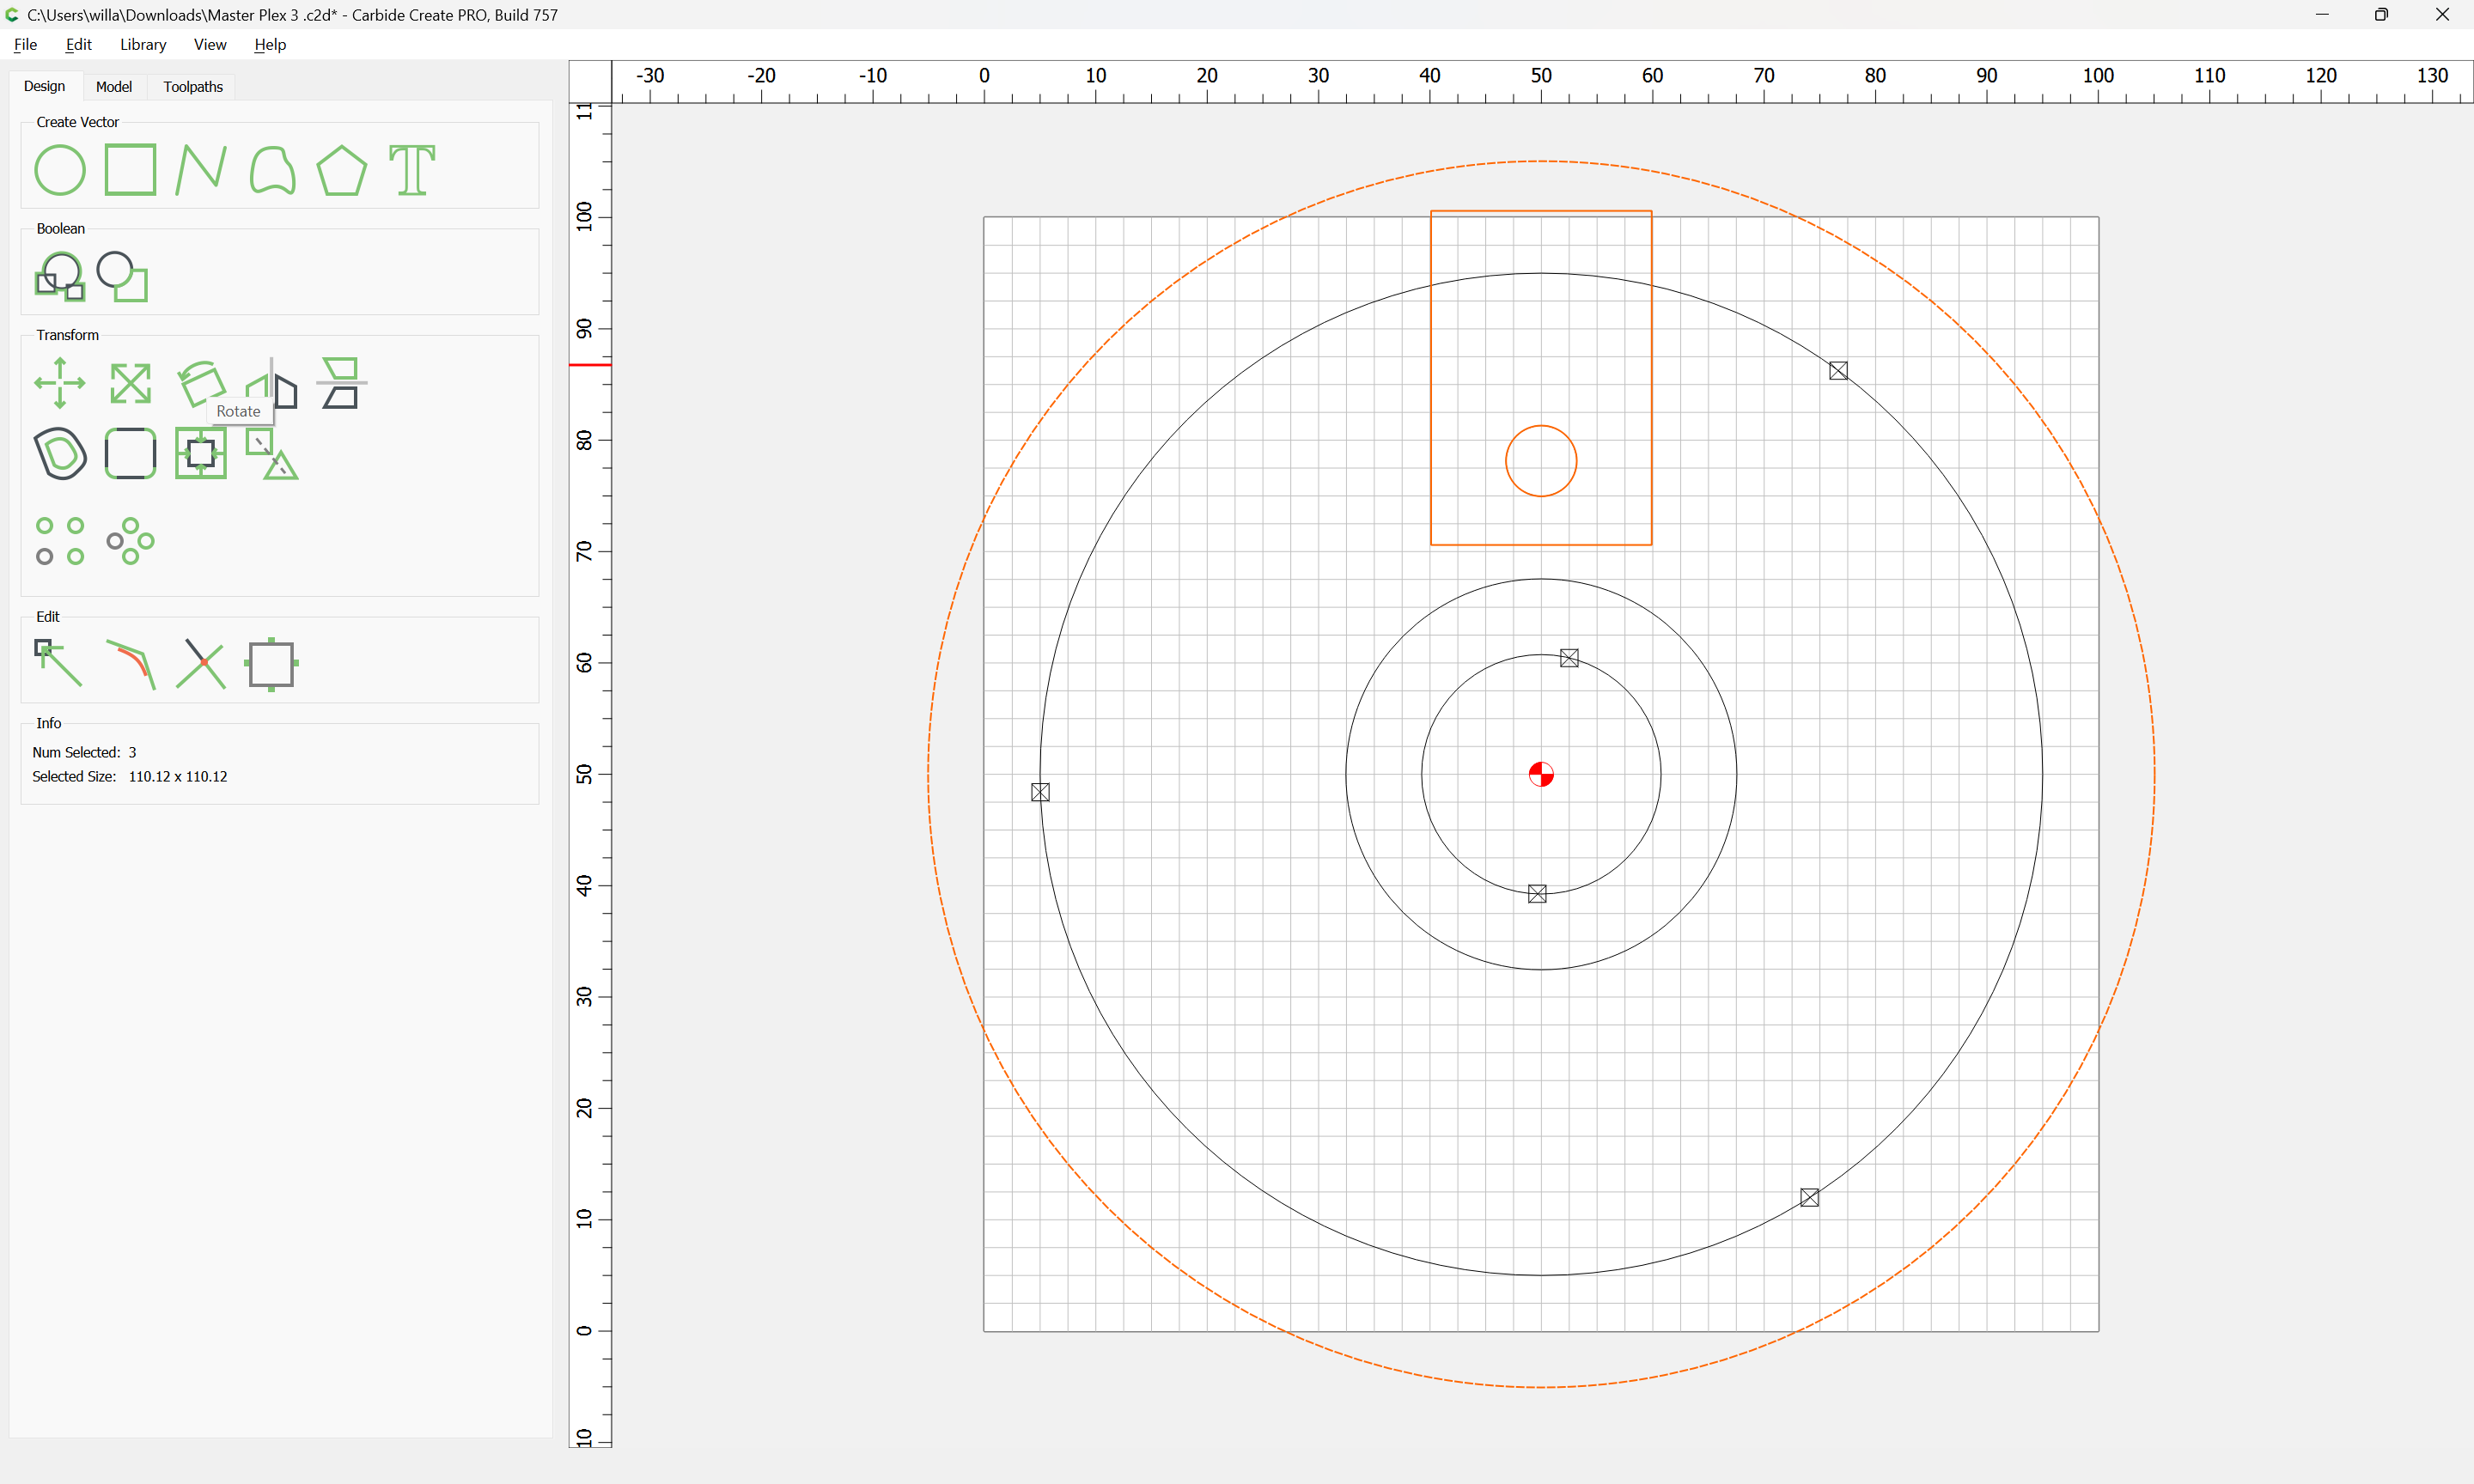
Select and duplicate in place by copy-pasting when the cursor is not in the drawing area the small circle and rectangle:
Select the larger circle:
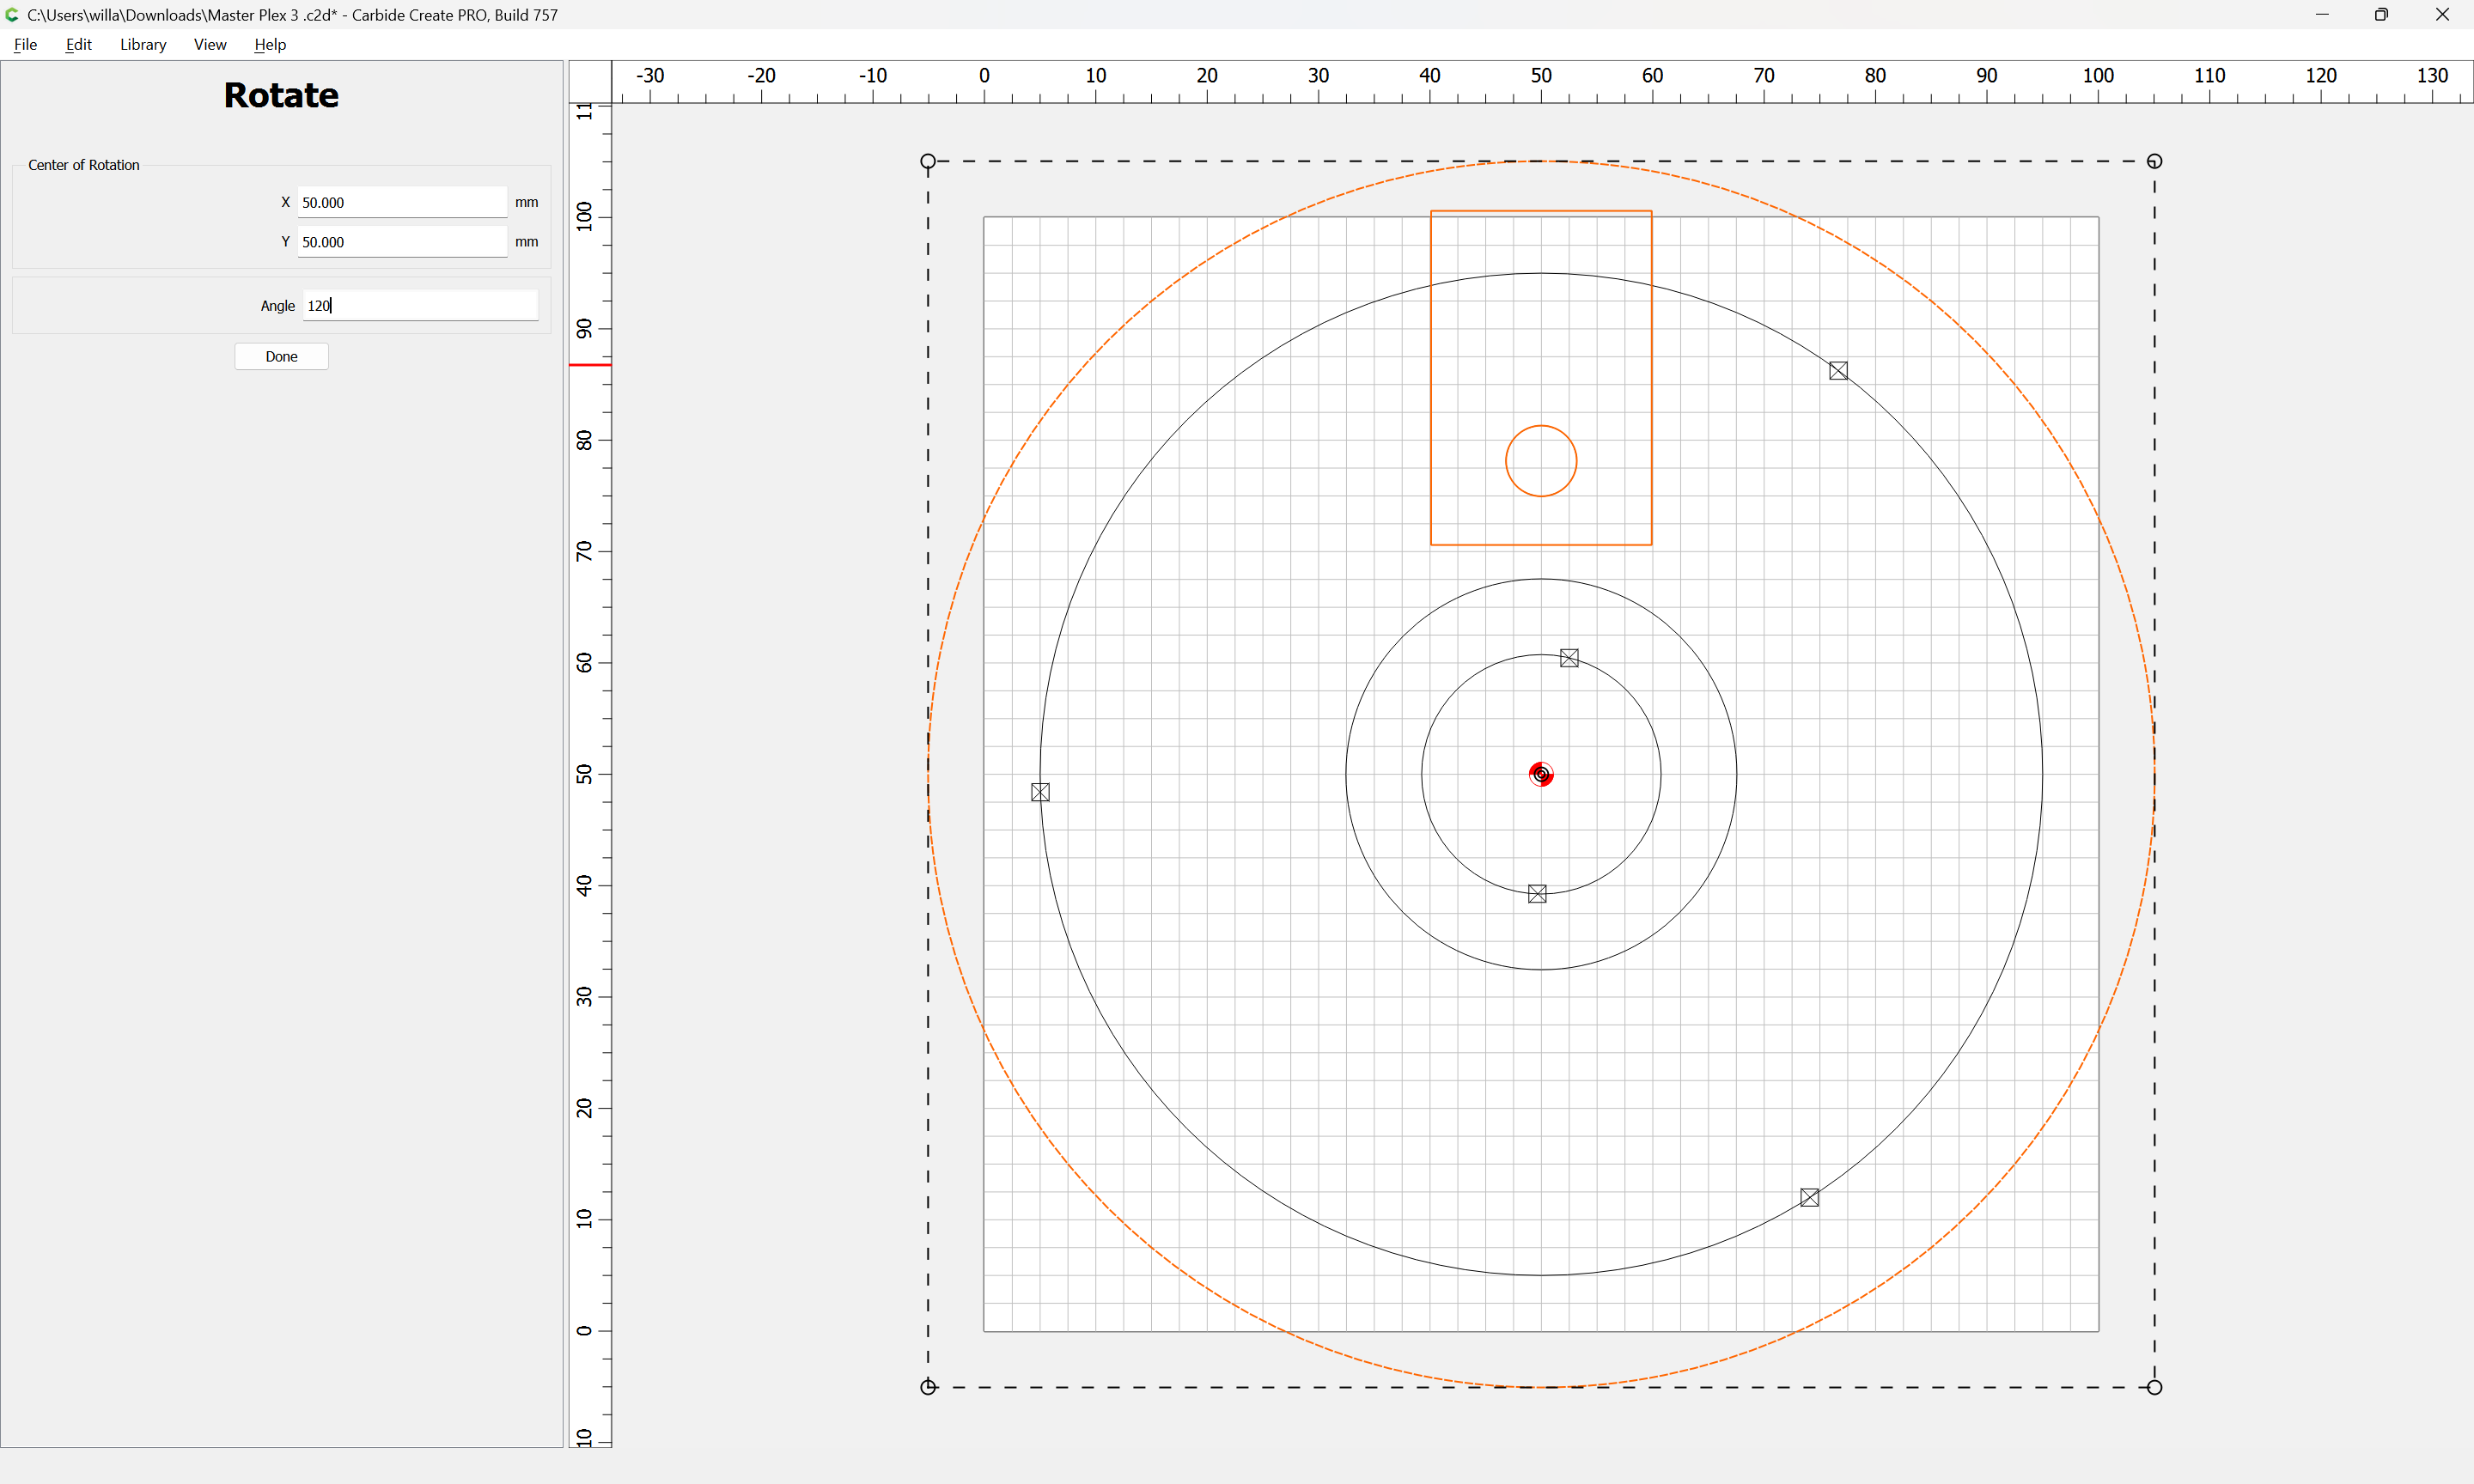
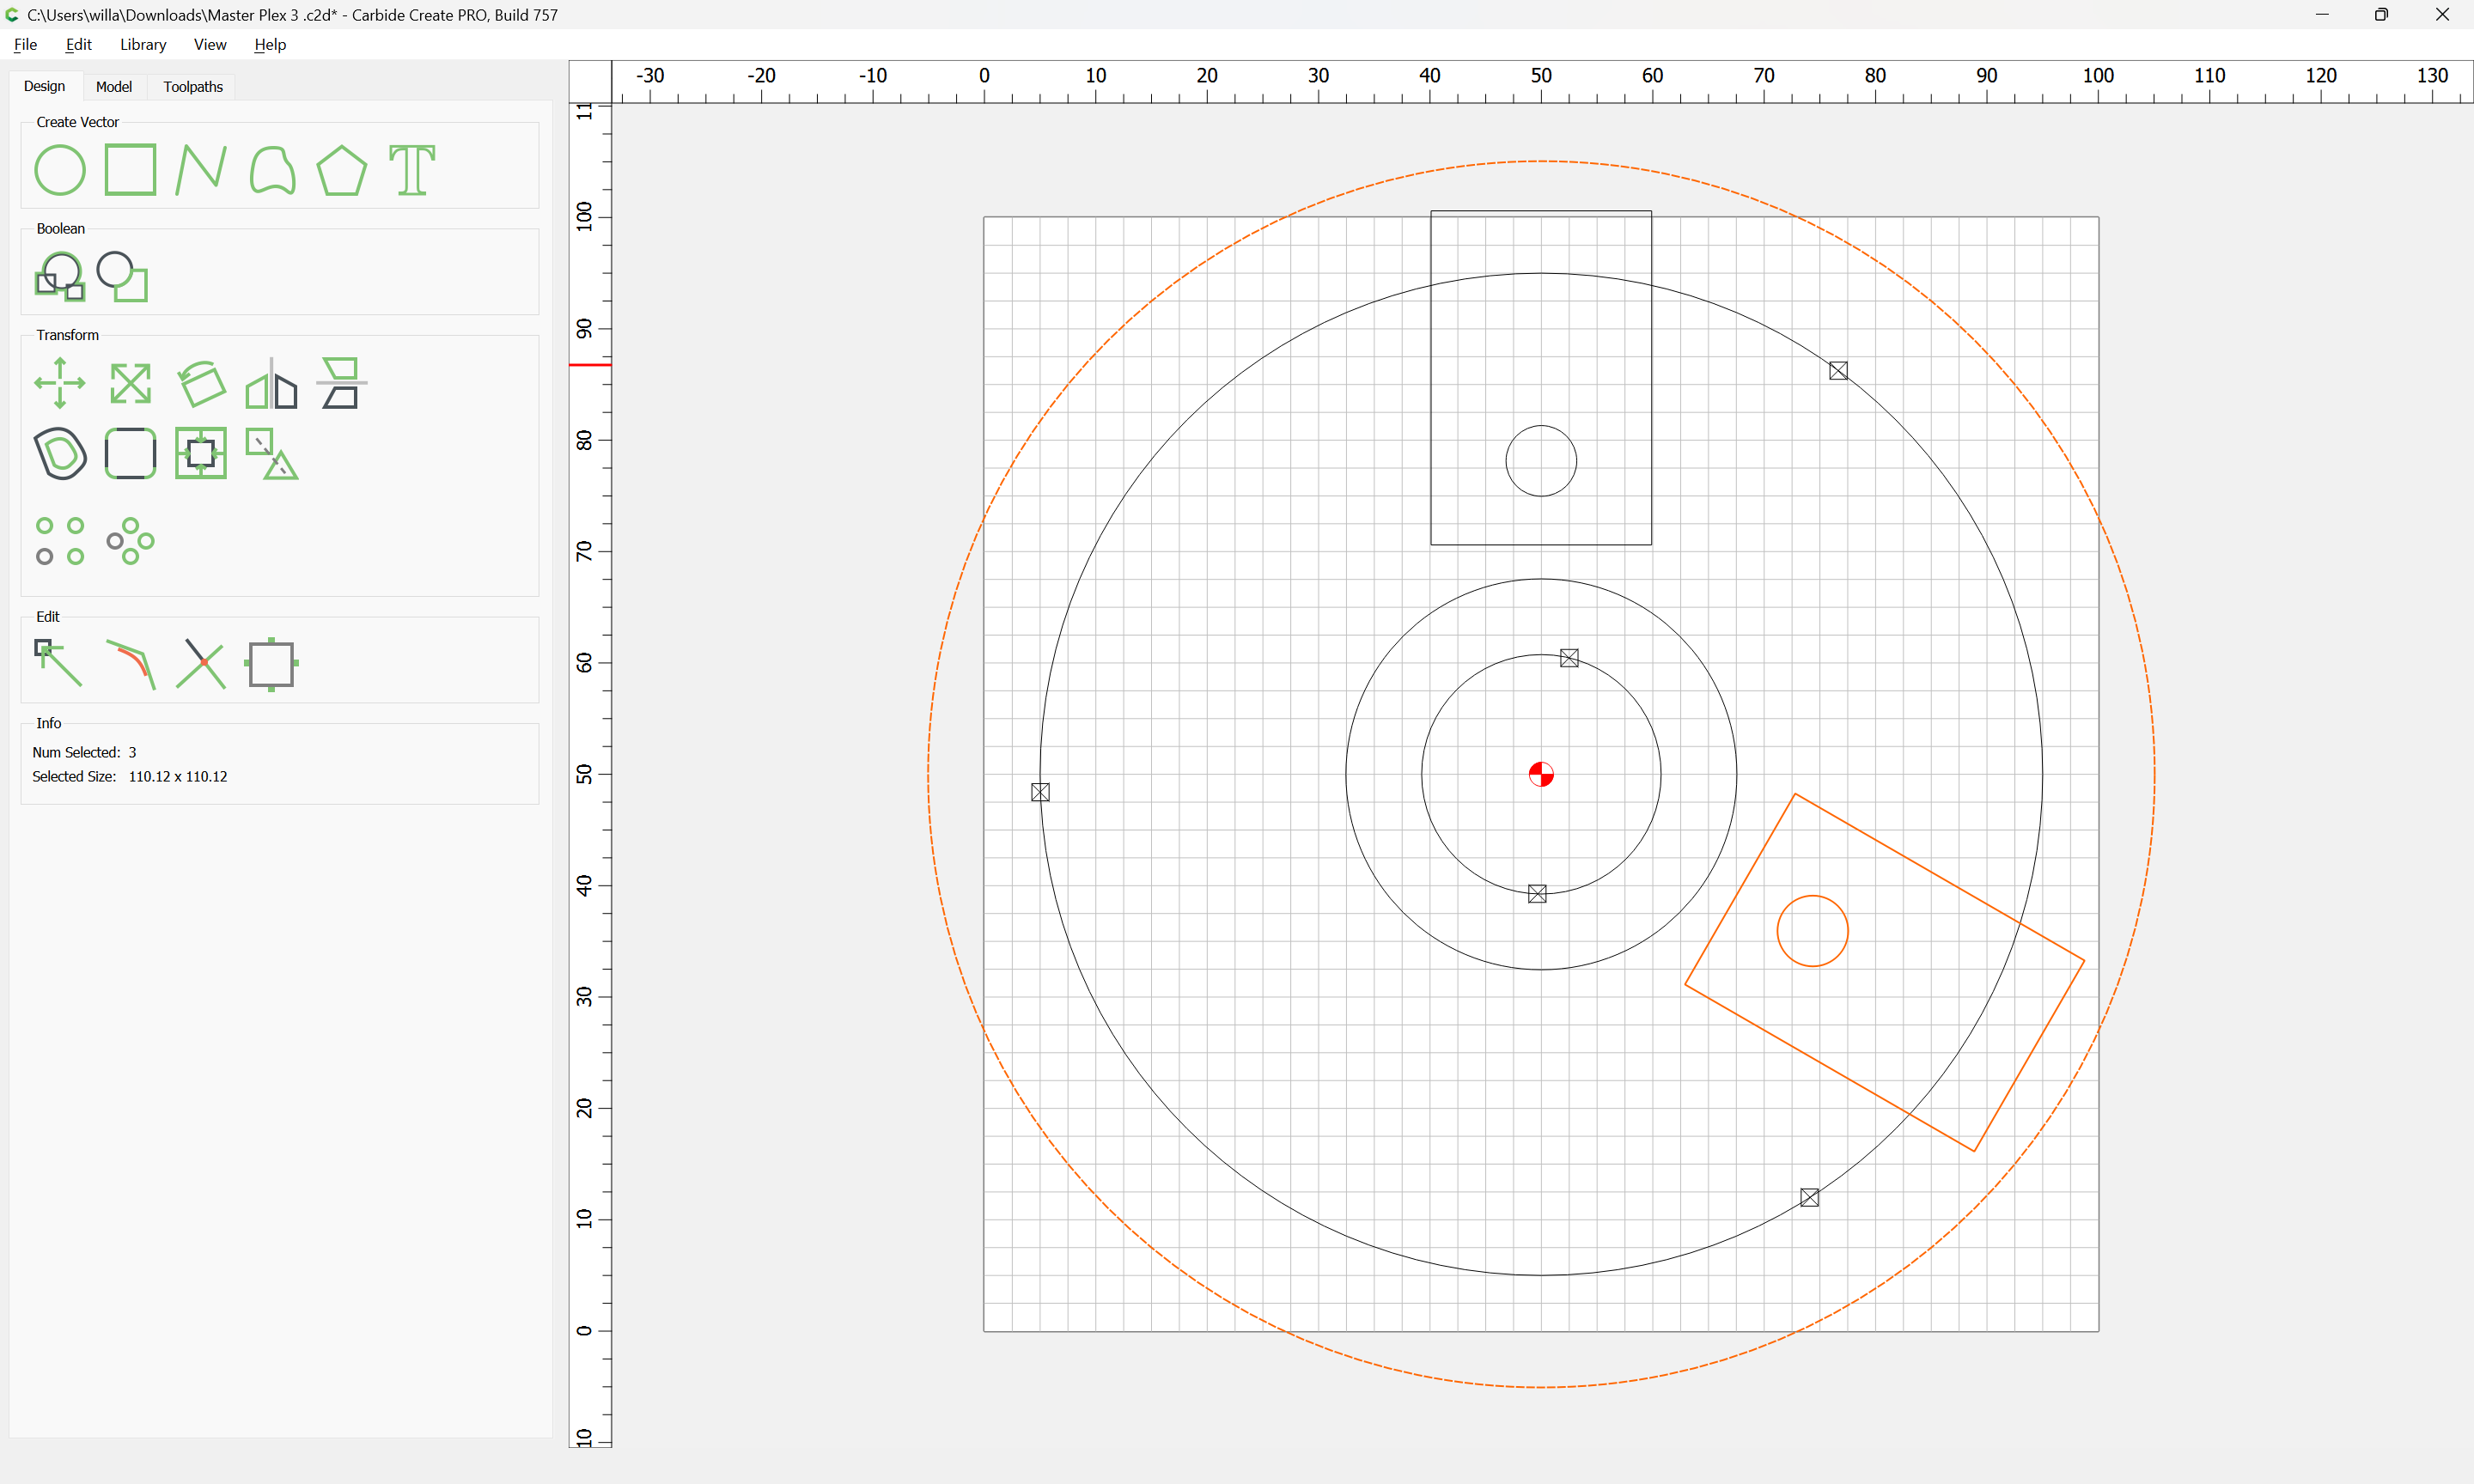
rotate 120 degrees:
Done
Repeat:
Adjust Stock size as necessary:
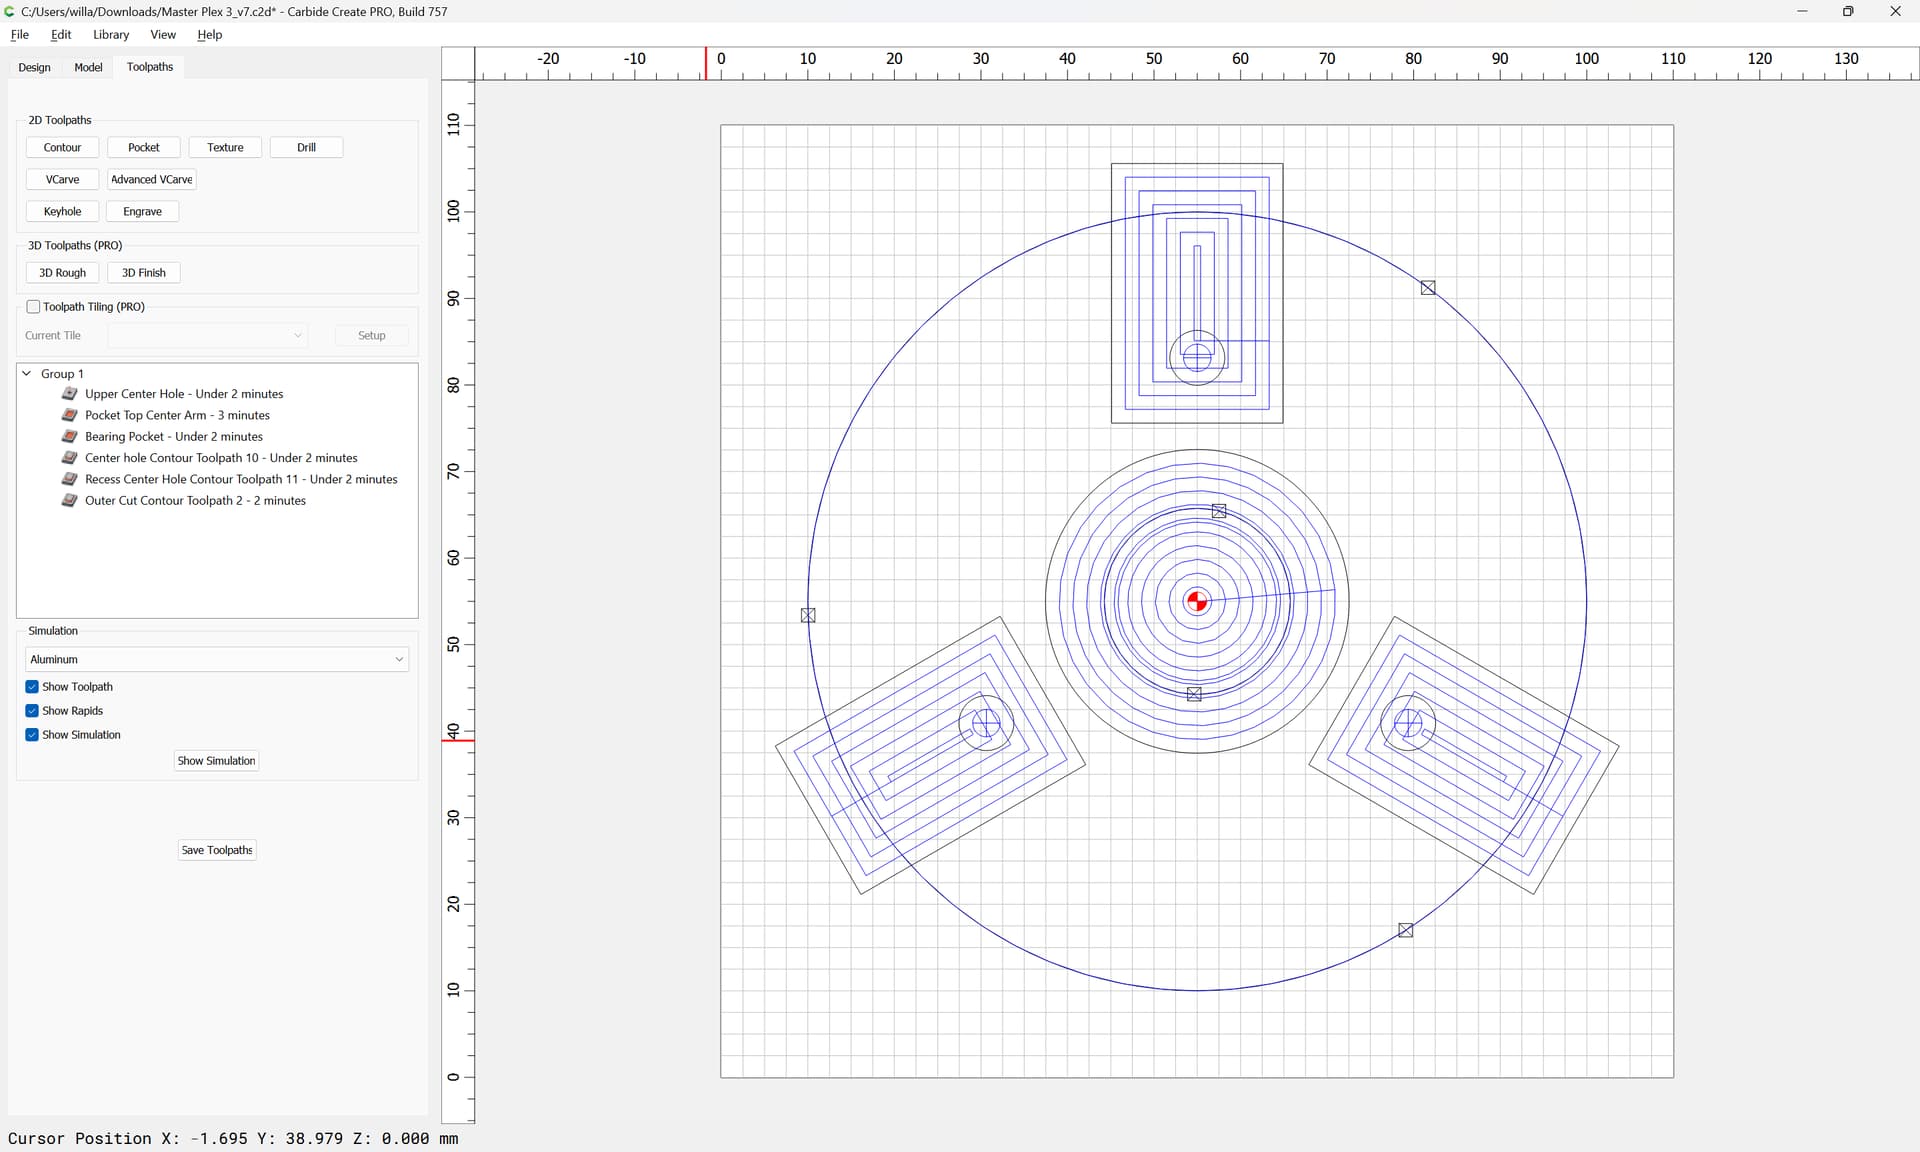
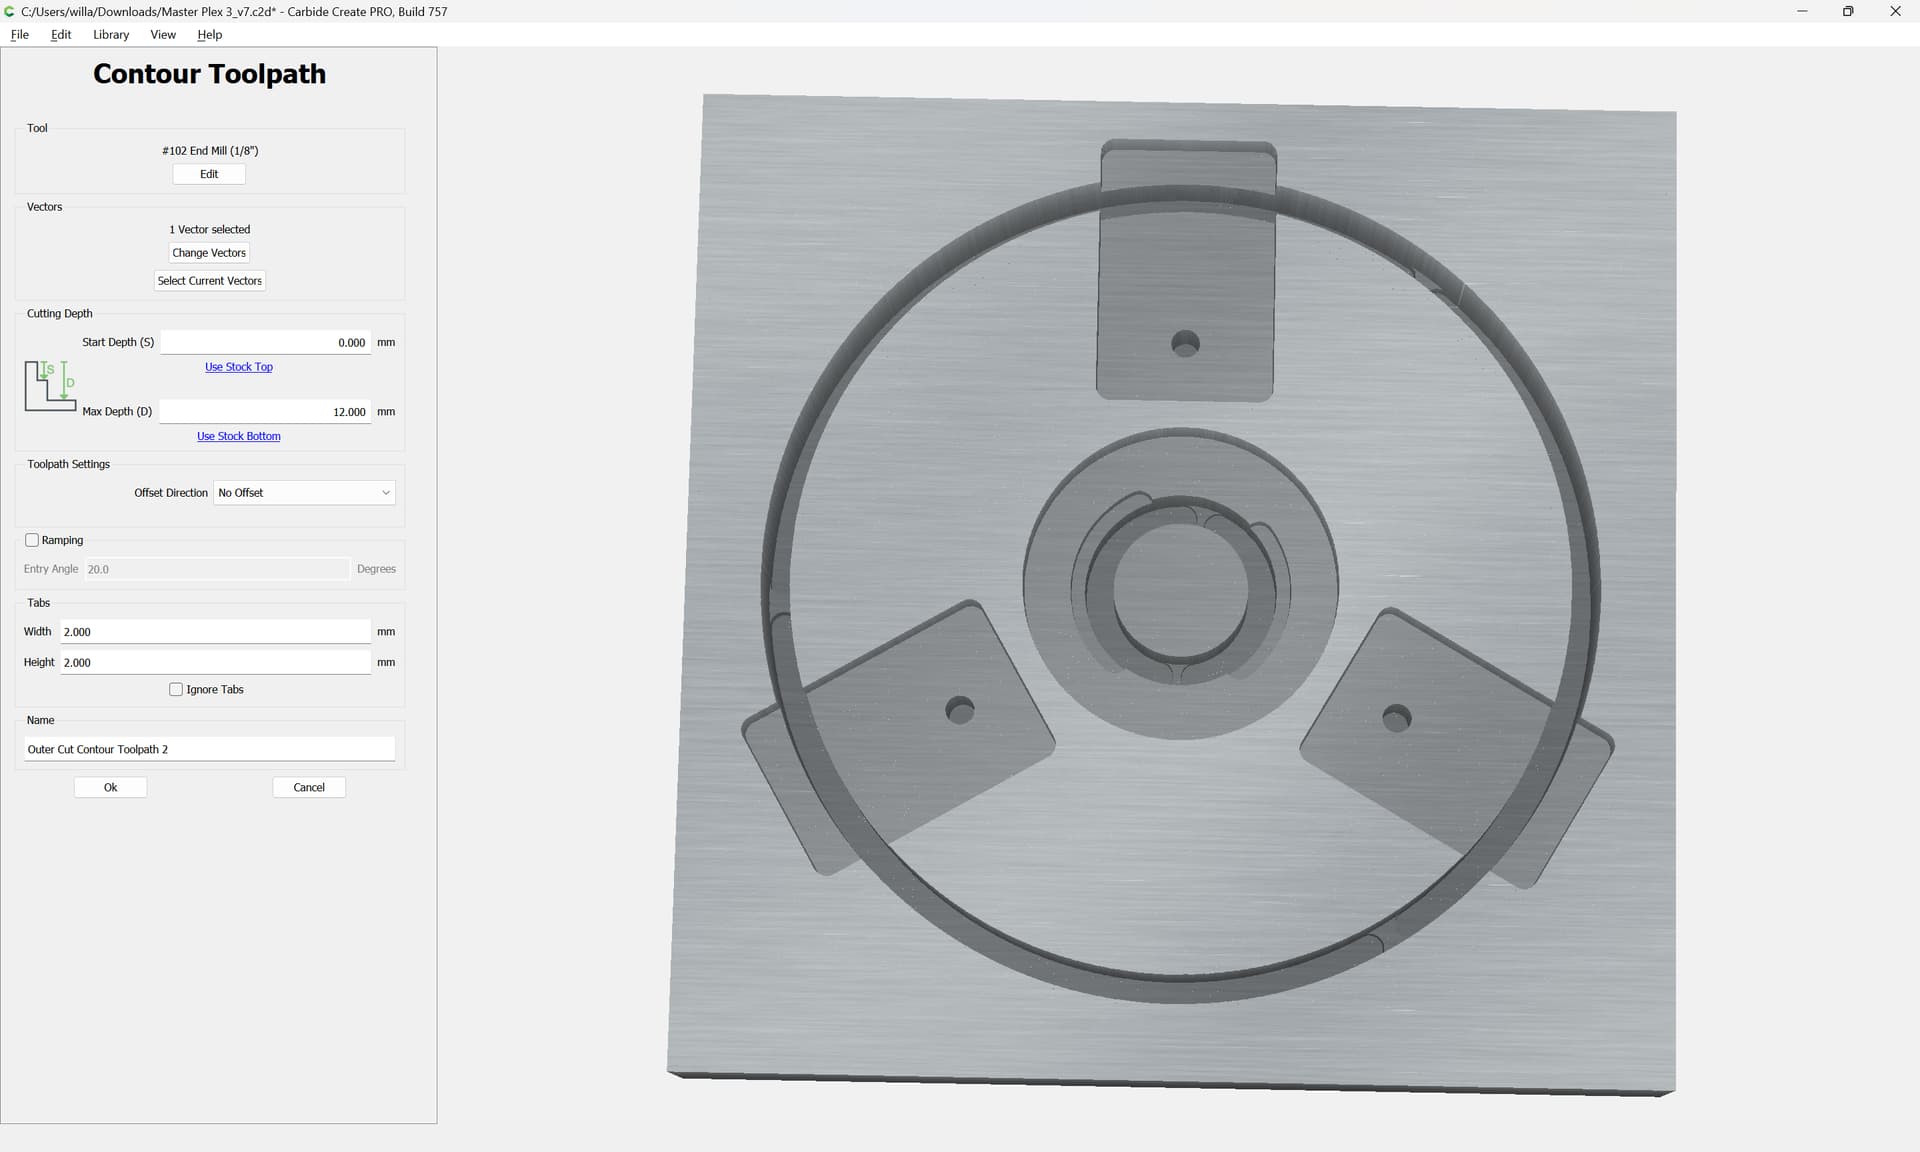
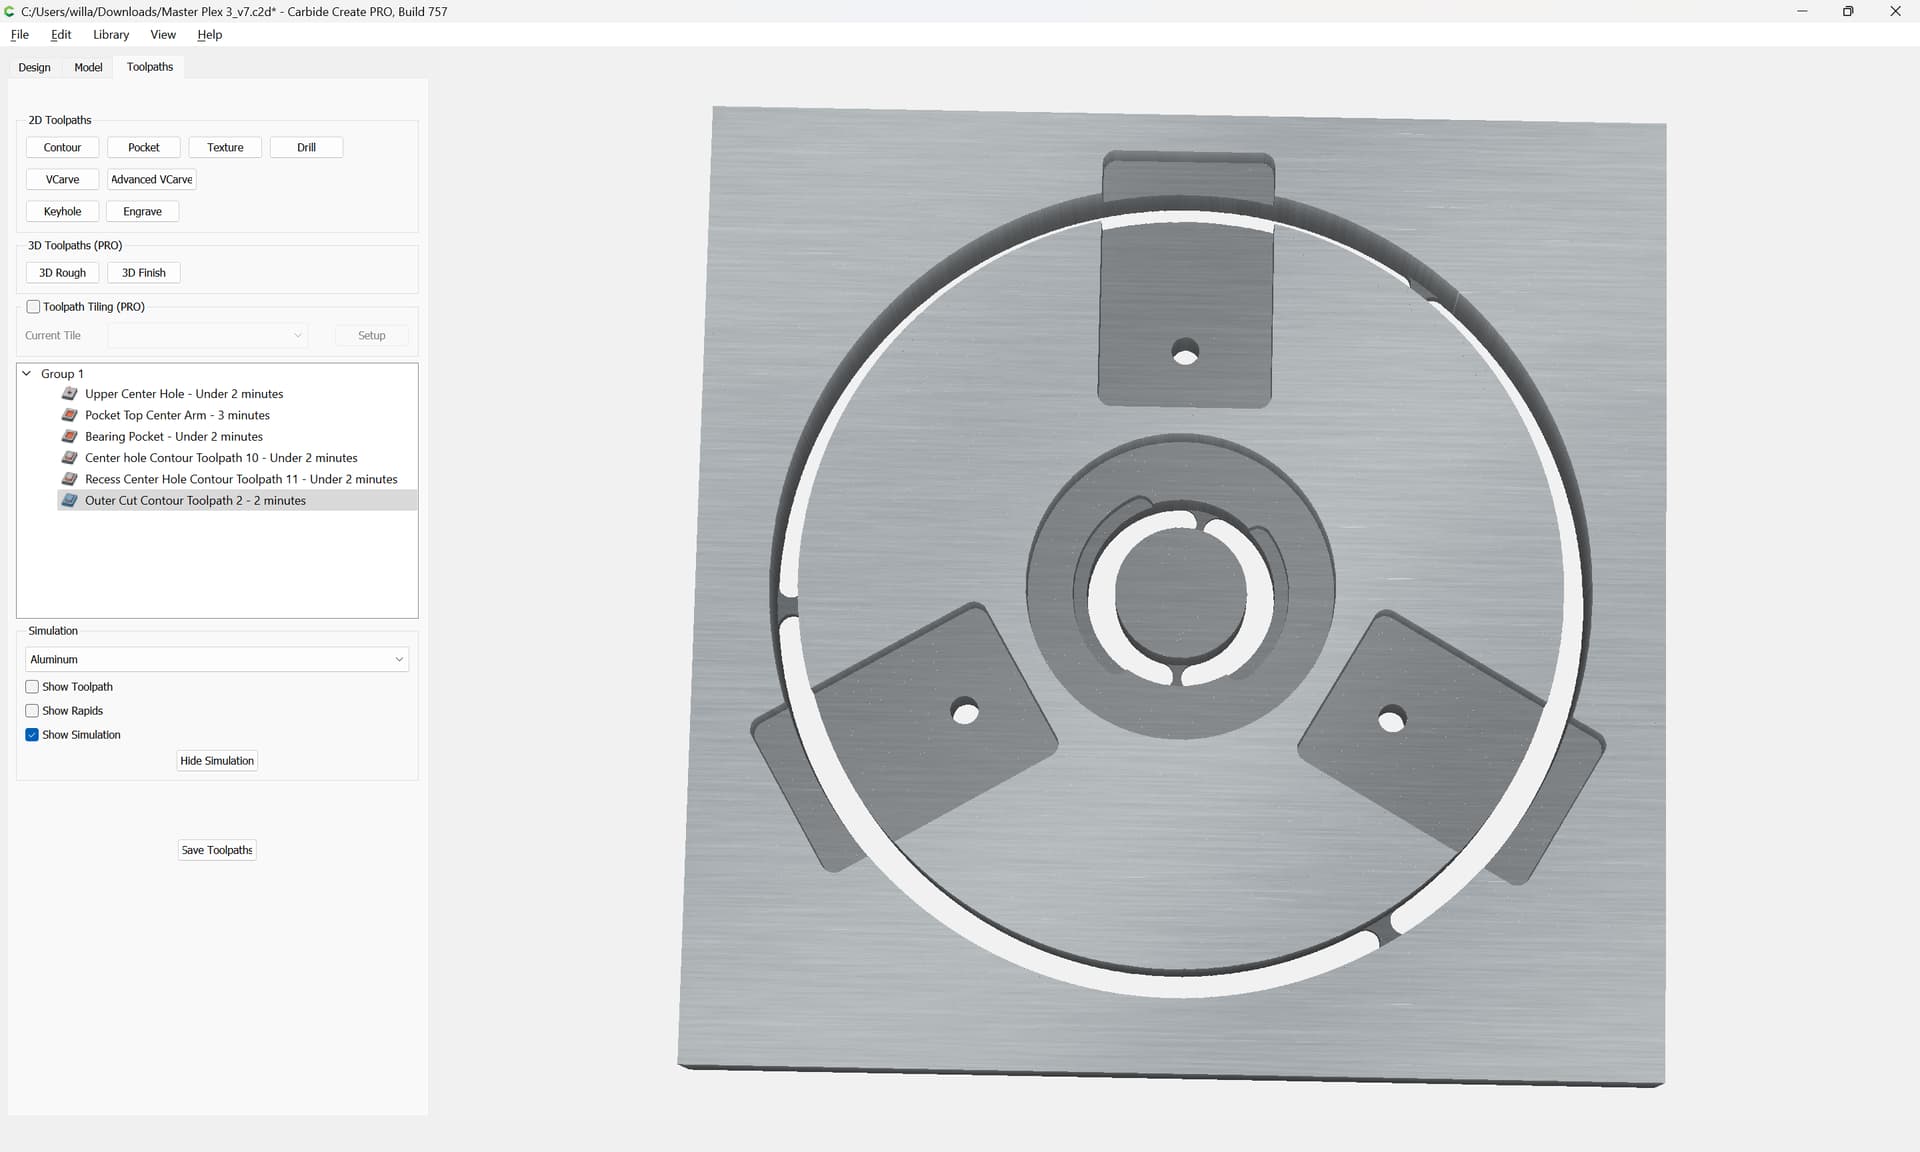
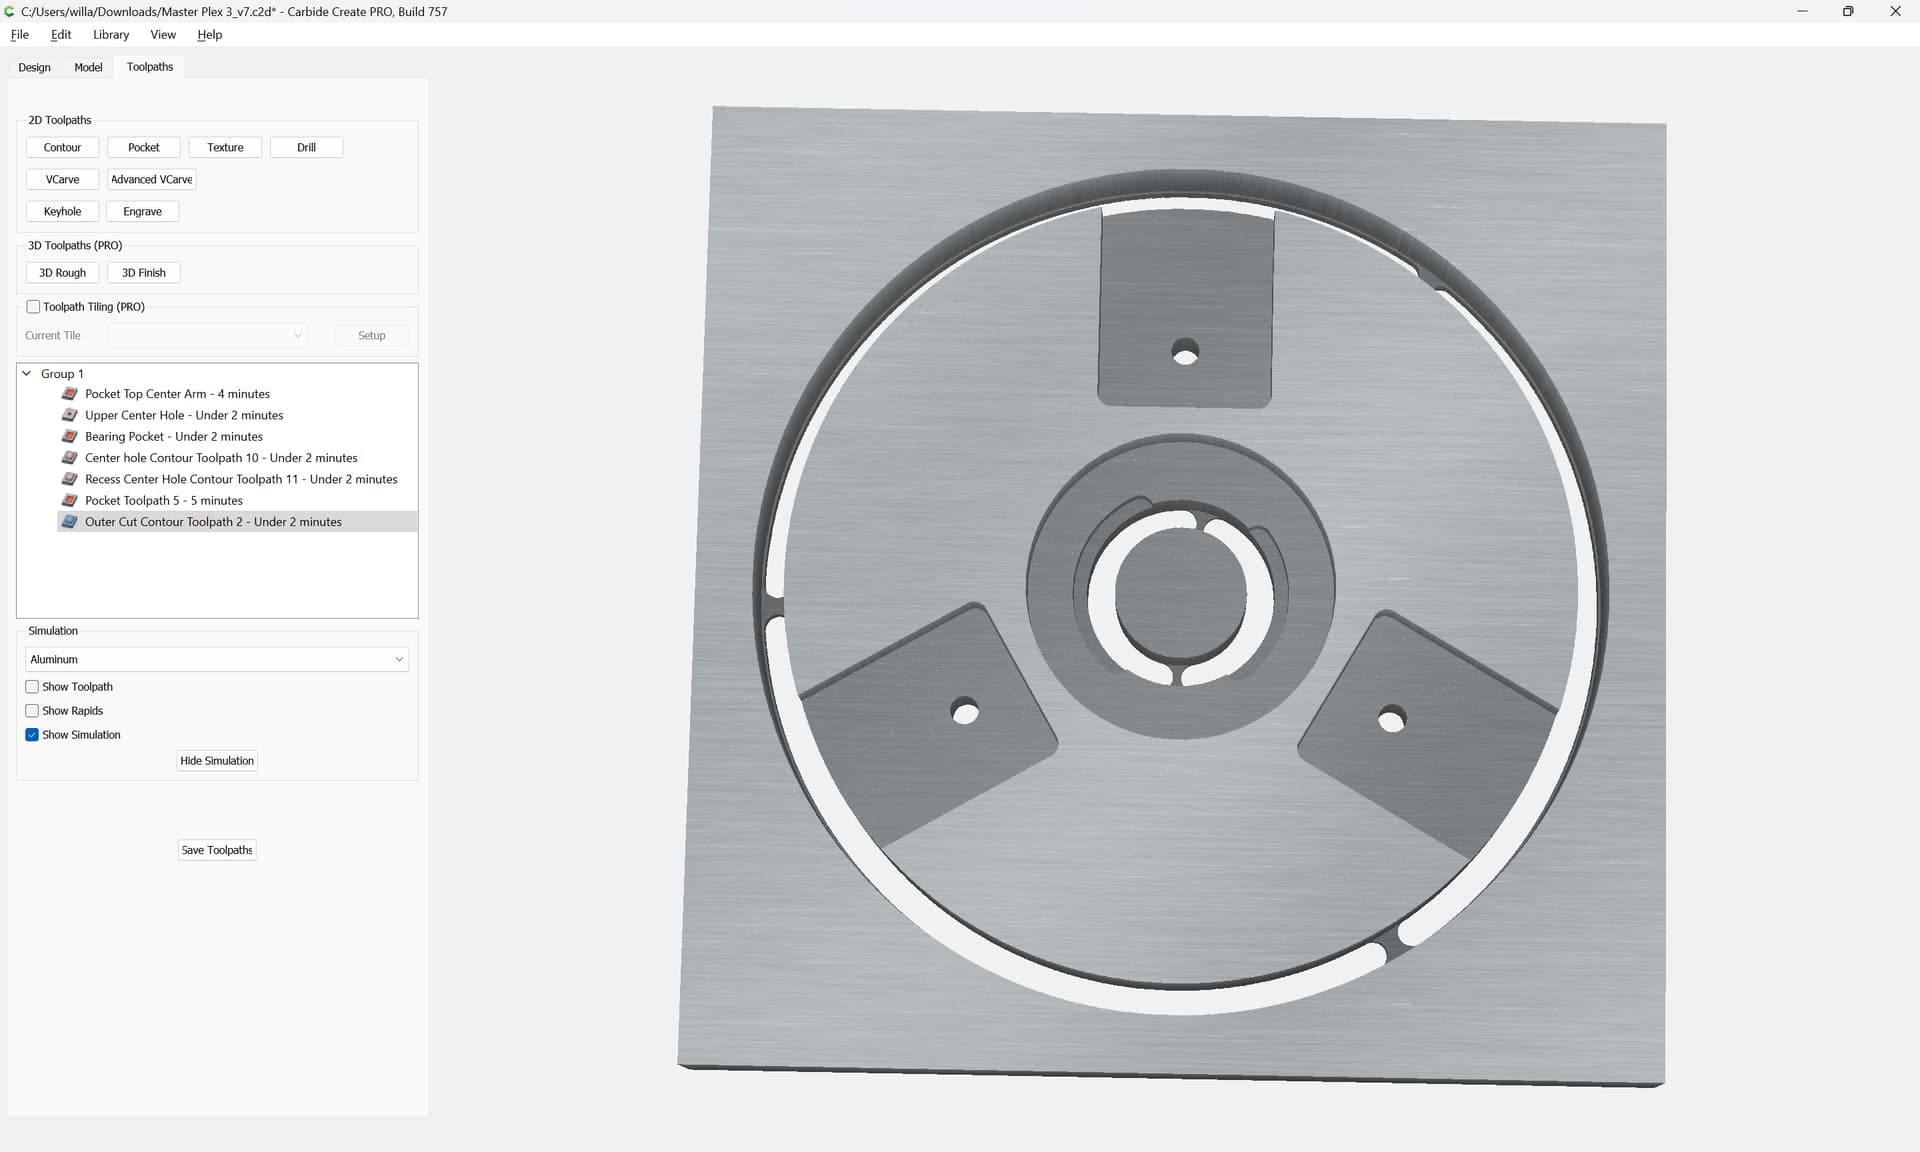
For the toolpaths, one deletes now redundant toolpaths to see:
which previews as:
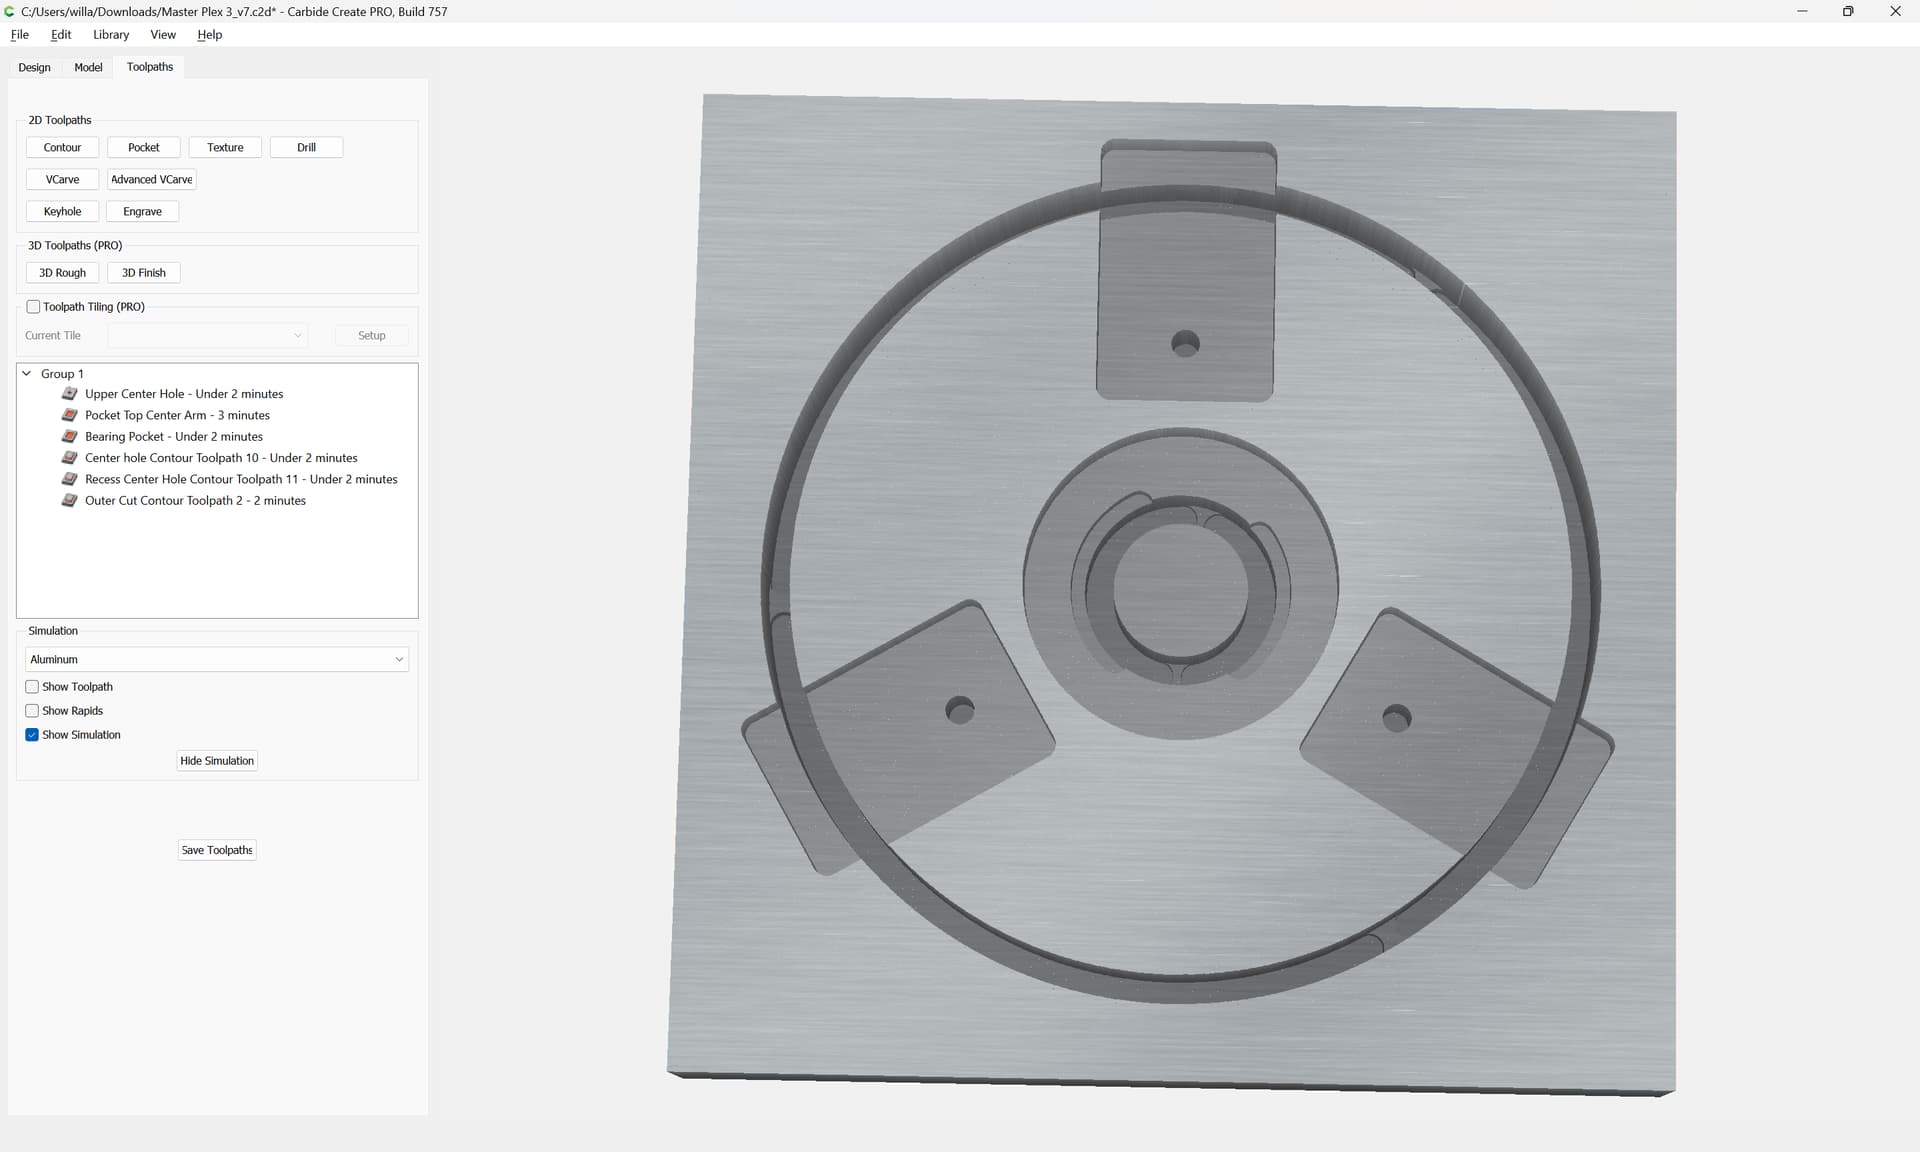
It is a bit confusing since there are tabs, but the part isn’t cut all the way through — assuming the depth of the Contour is correct:
we change this in Job Setup:
to see:
A further concern is that the No Offset Contour is reducing the size of the circle all the way around by the radius of the endmill — we will assume that is an error and that the geometry is the correct size.
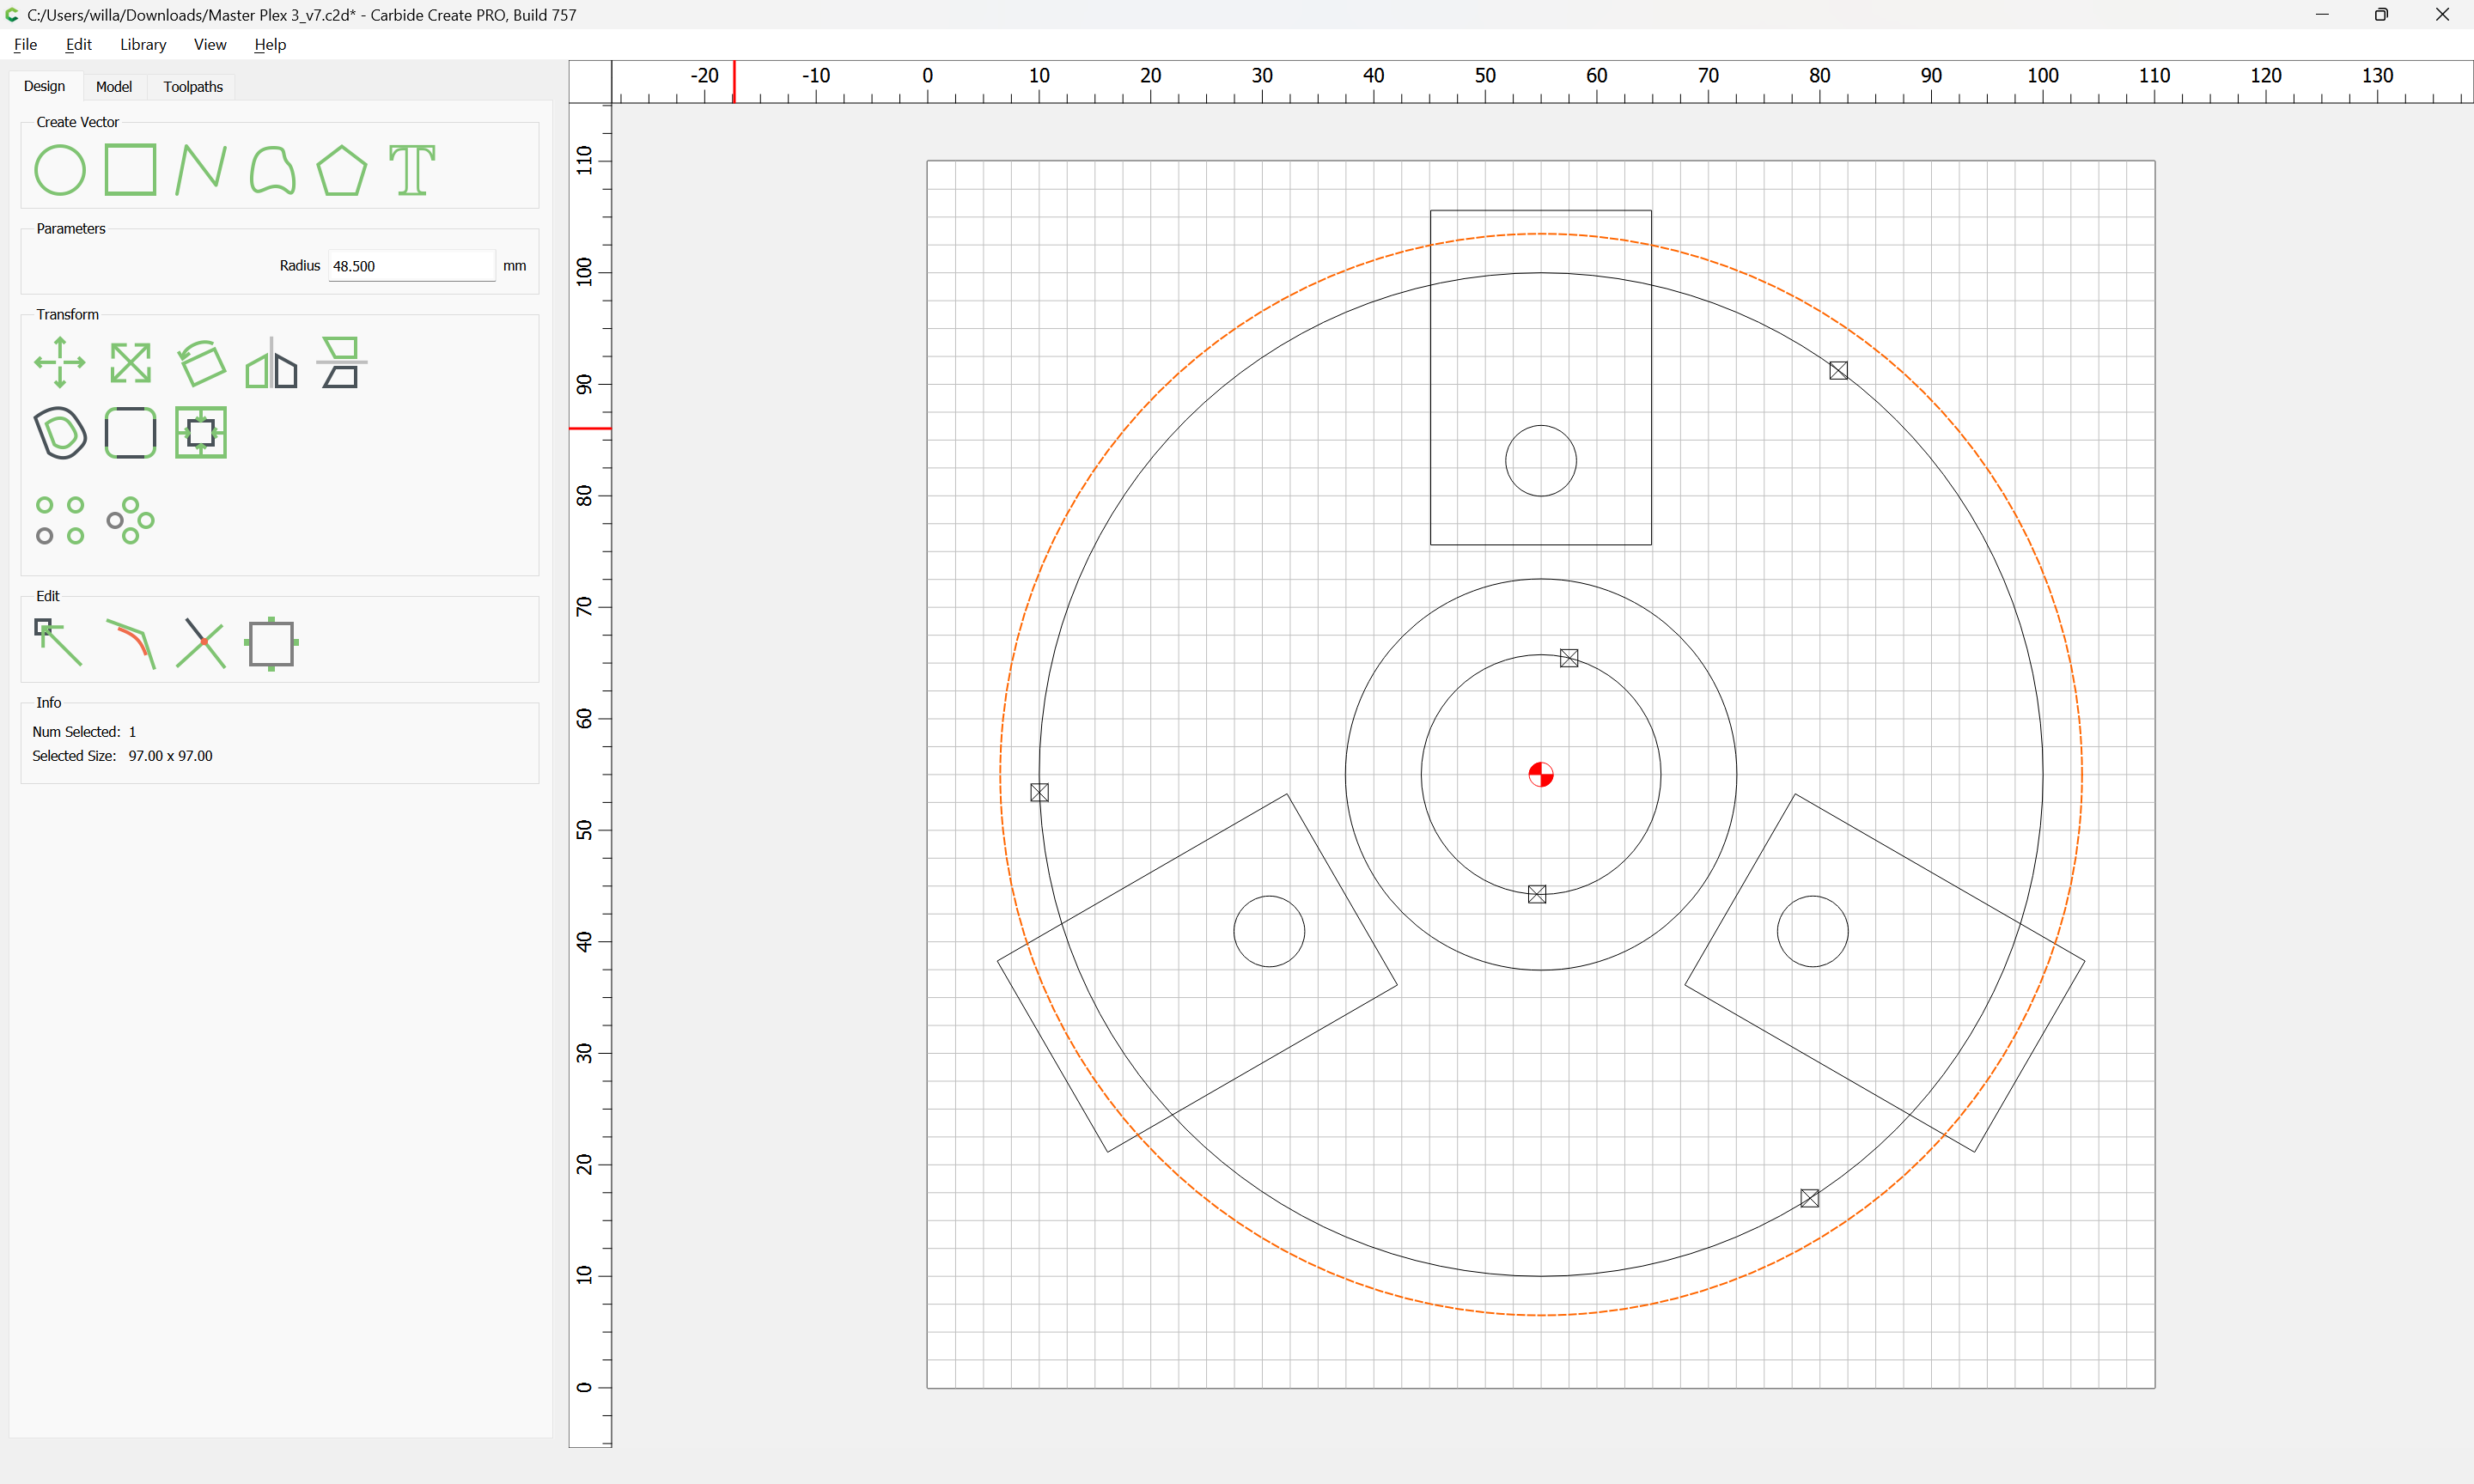
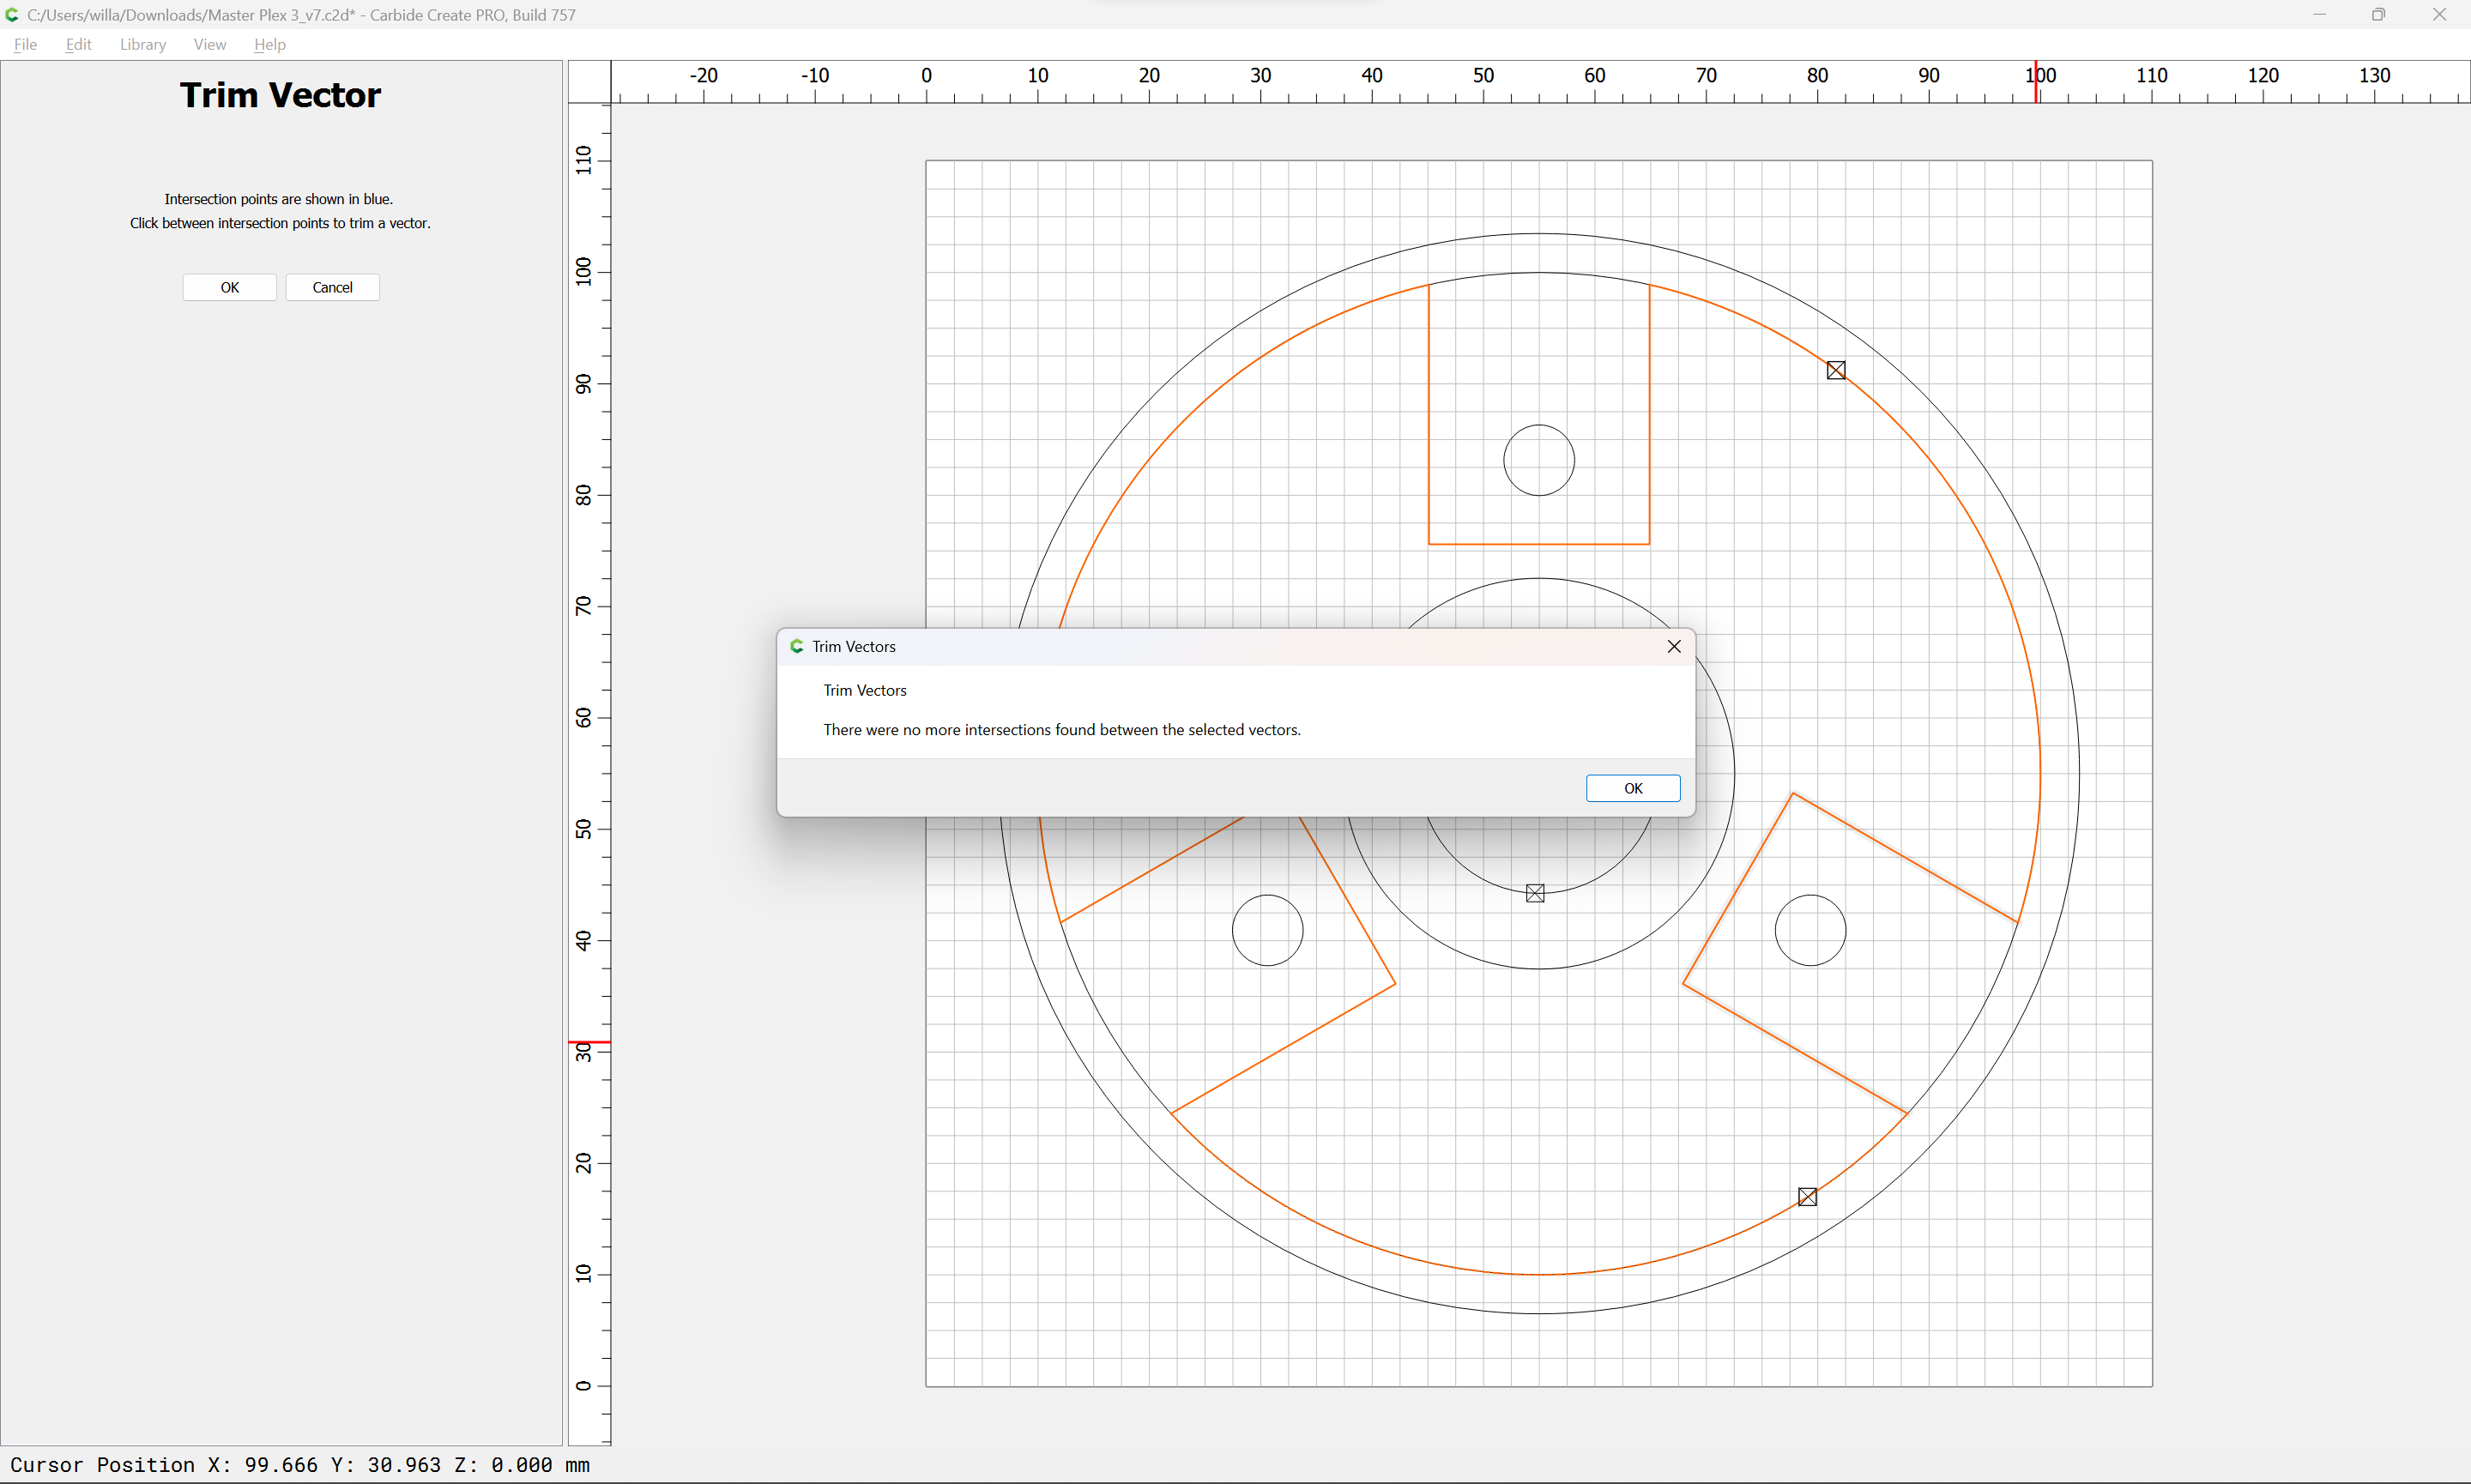
As one can see, there is some overcutting, and a further consideration is that a tool with an 0.5" length of cutting flute is being used to cut to a depth greater than the diameter of the tool — to address that, create a circle which is greater in radius by the tool diameter plus 10%:
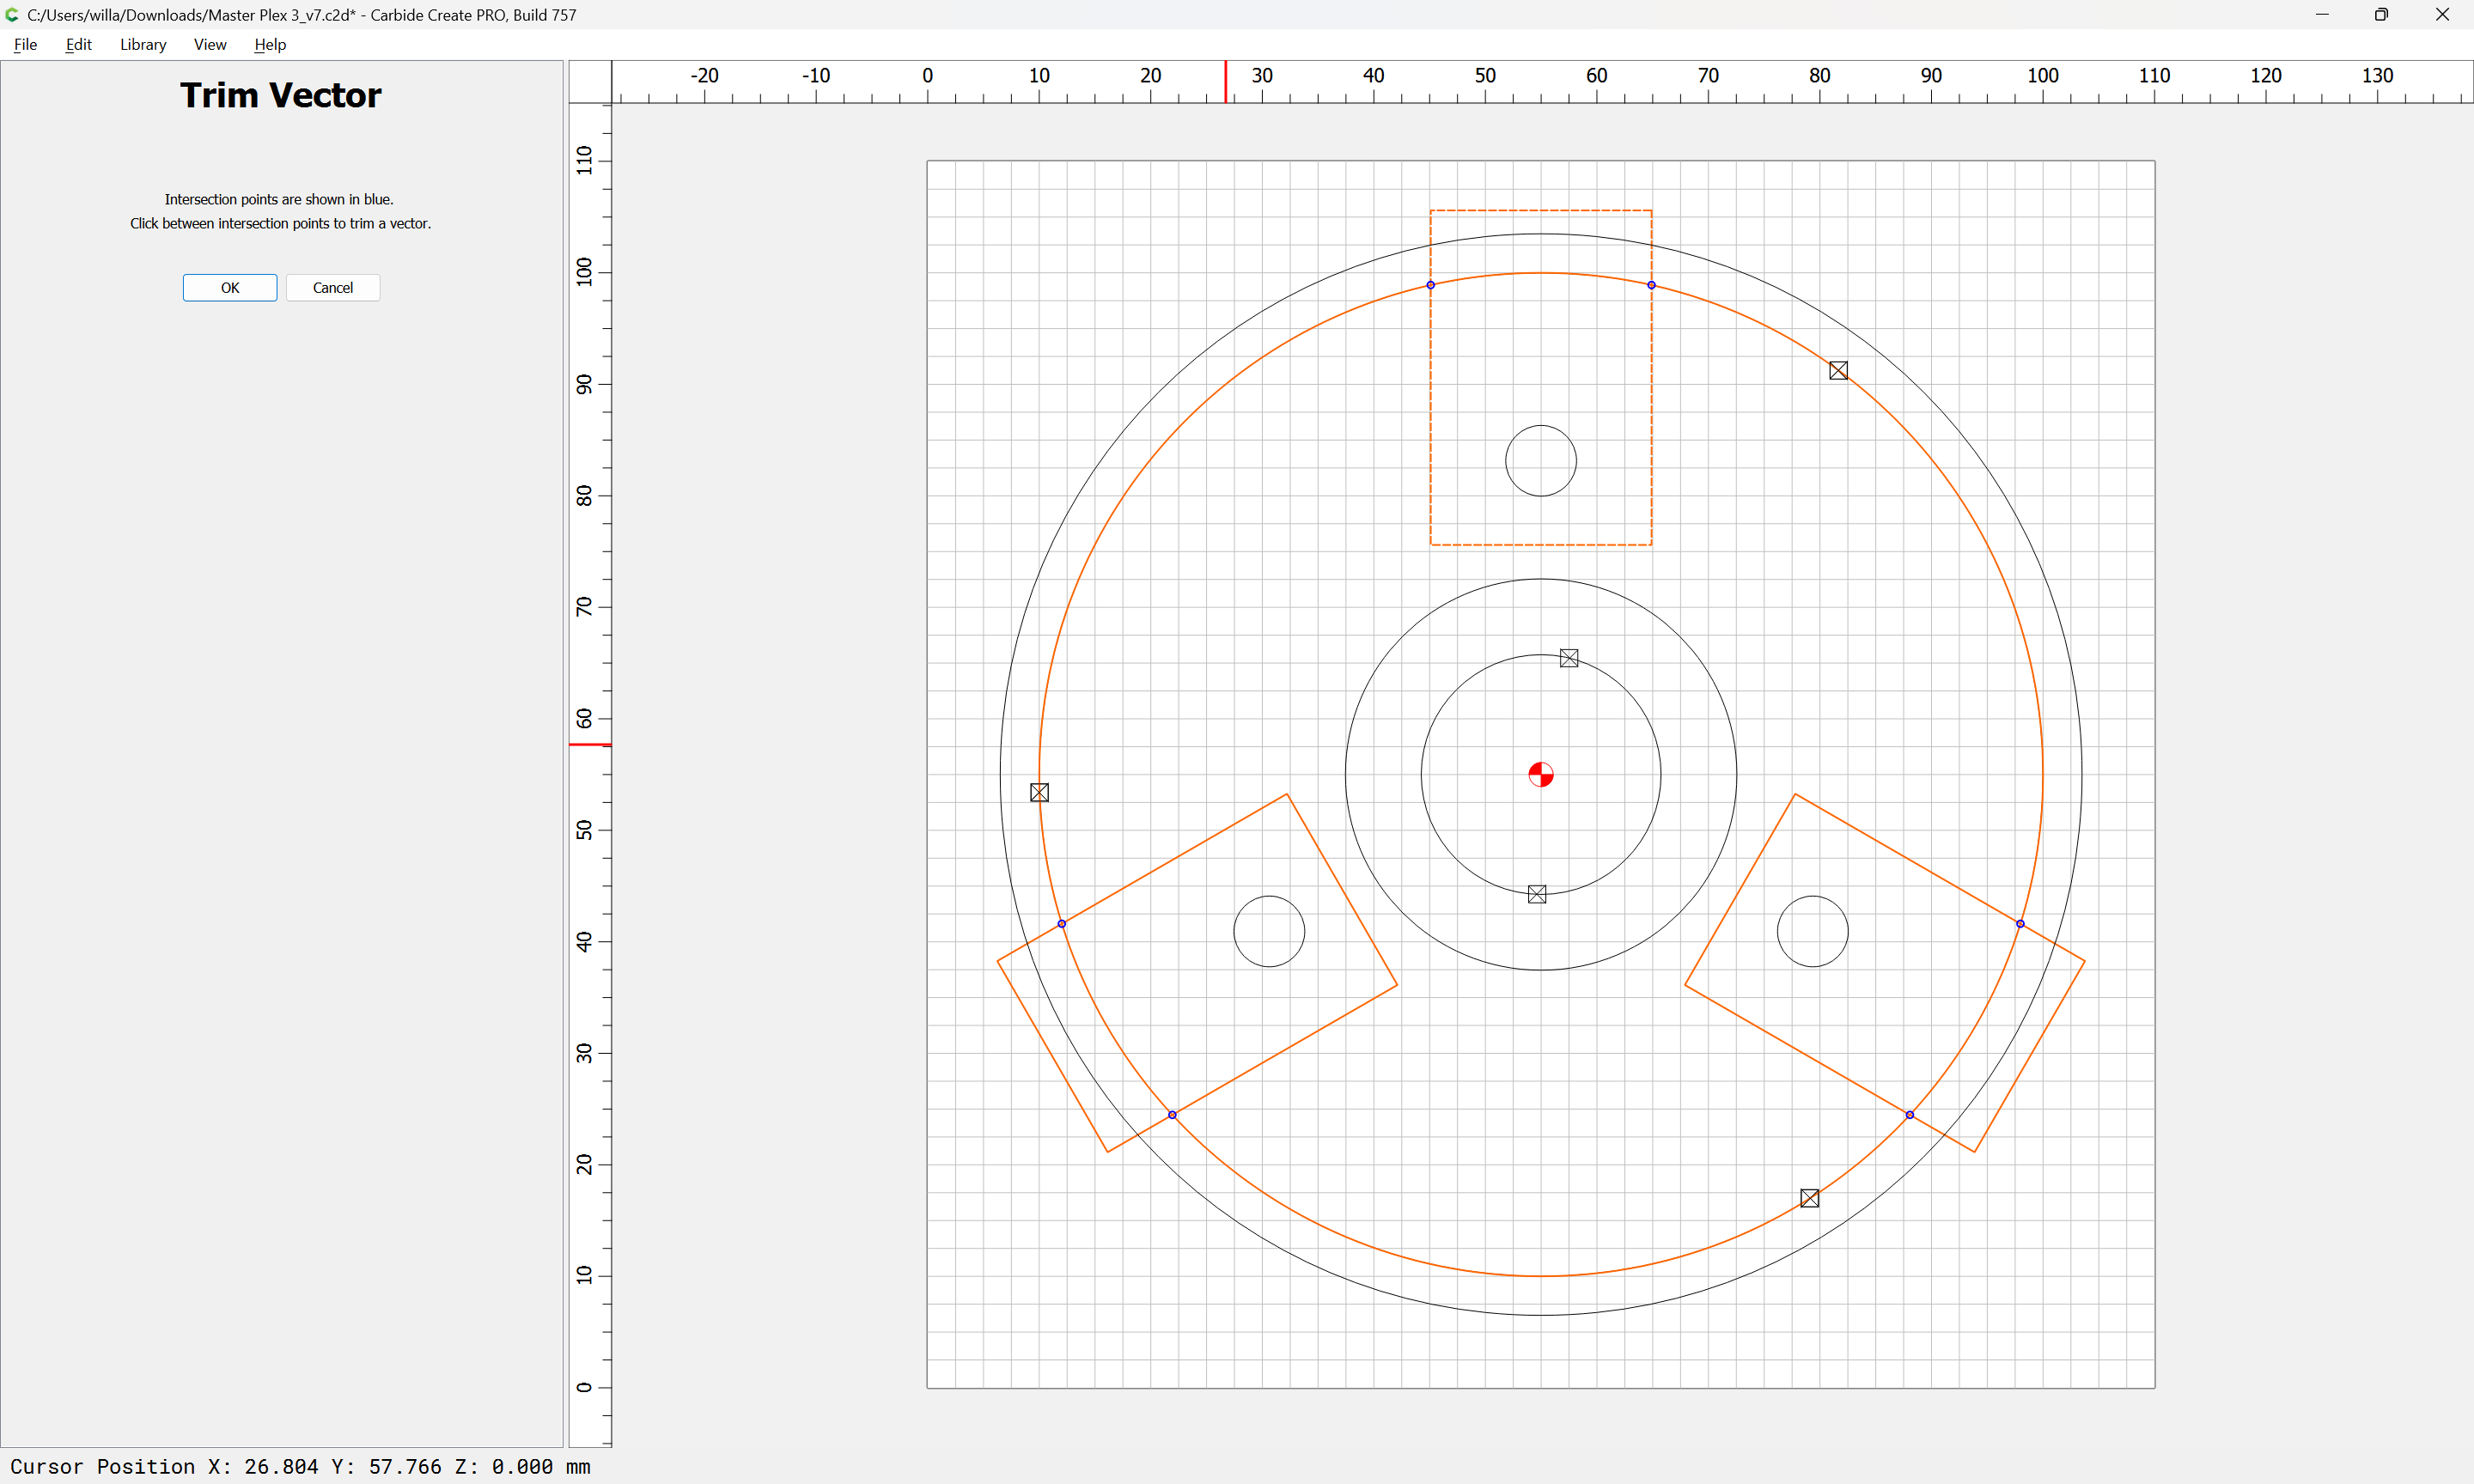
Then duplicate the original circle:
and select the duplicate and the rectangles:
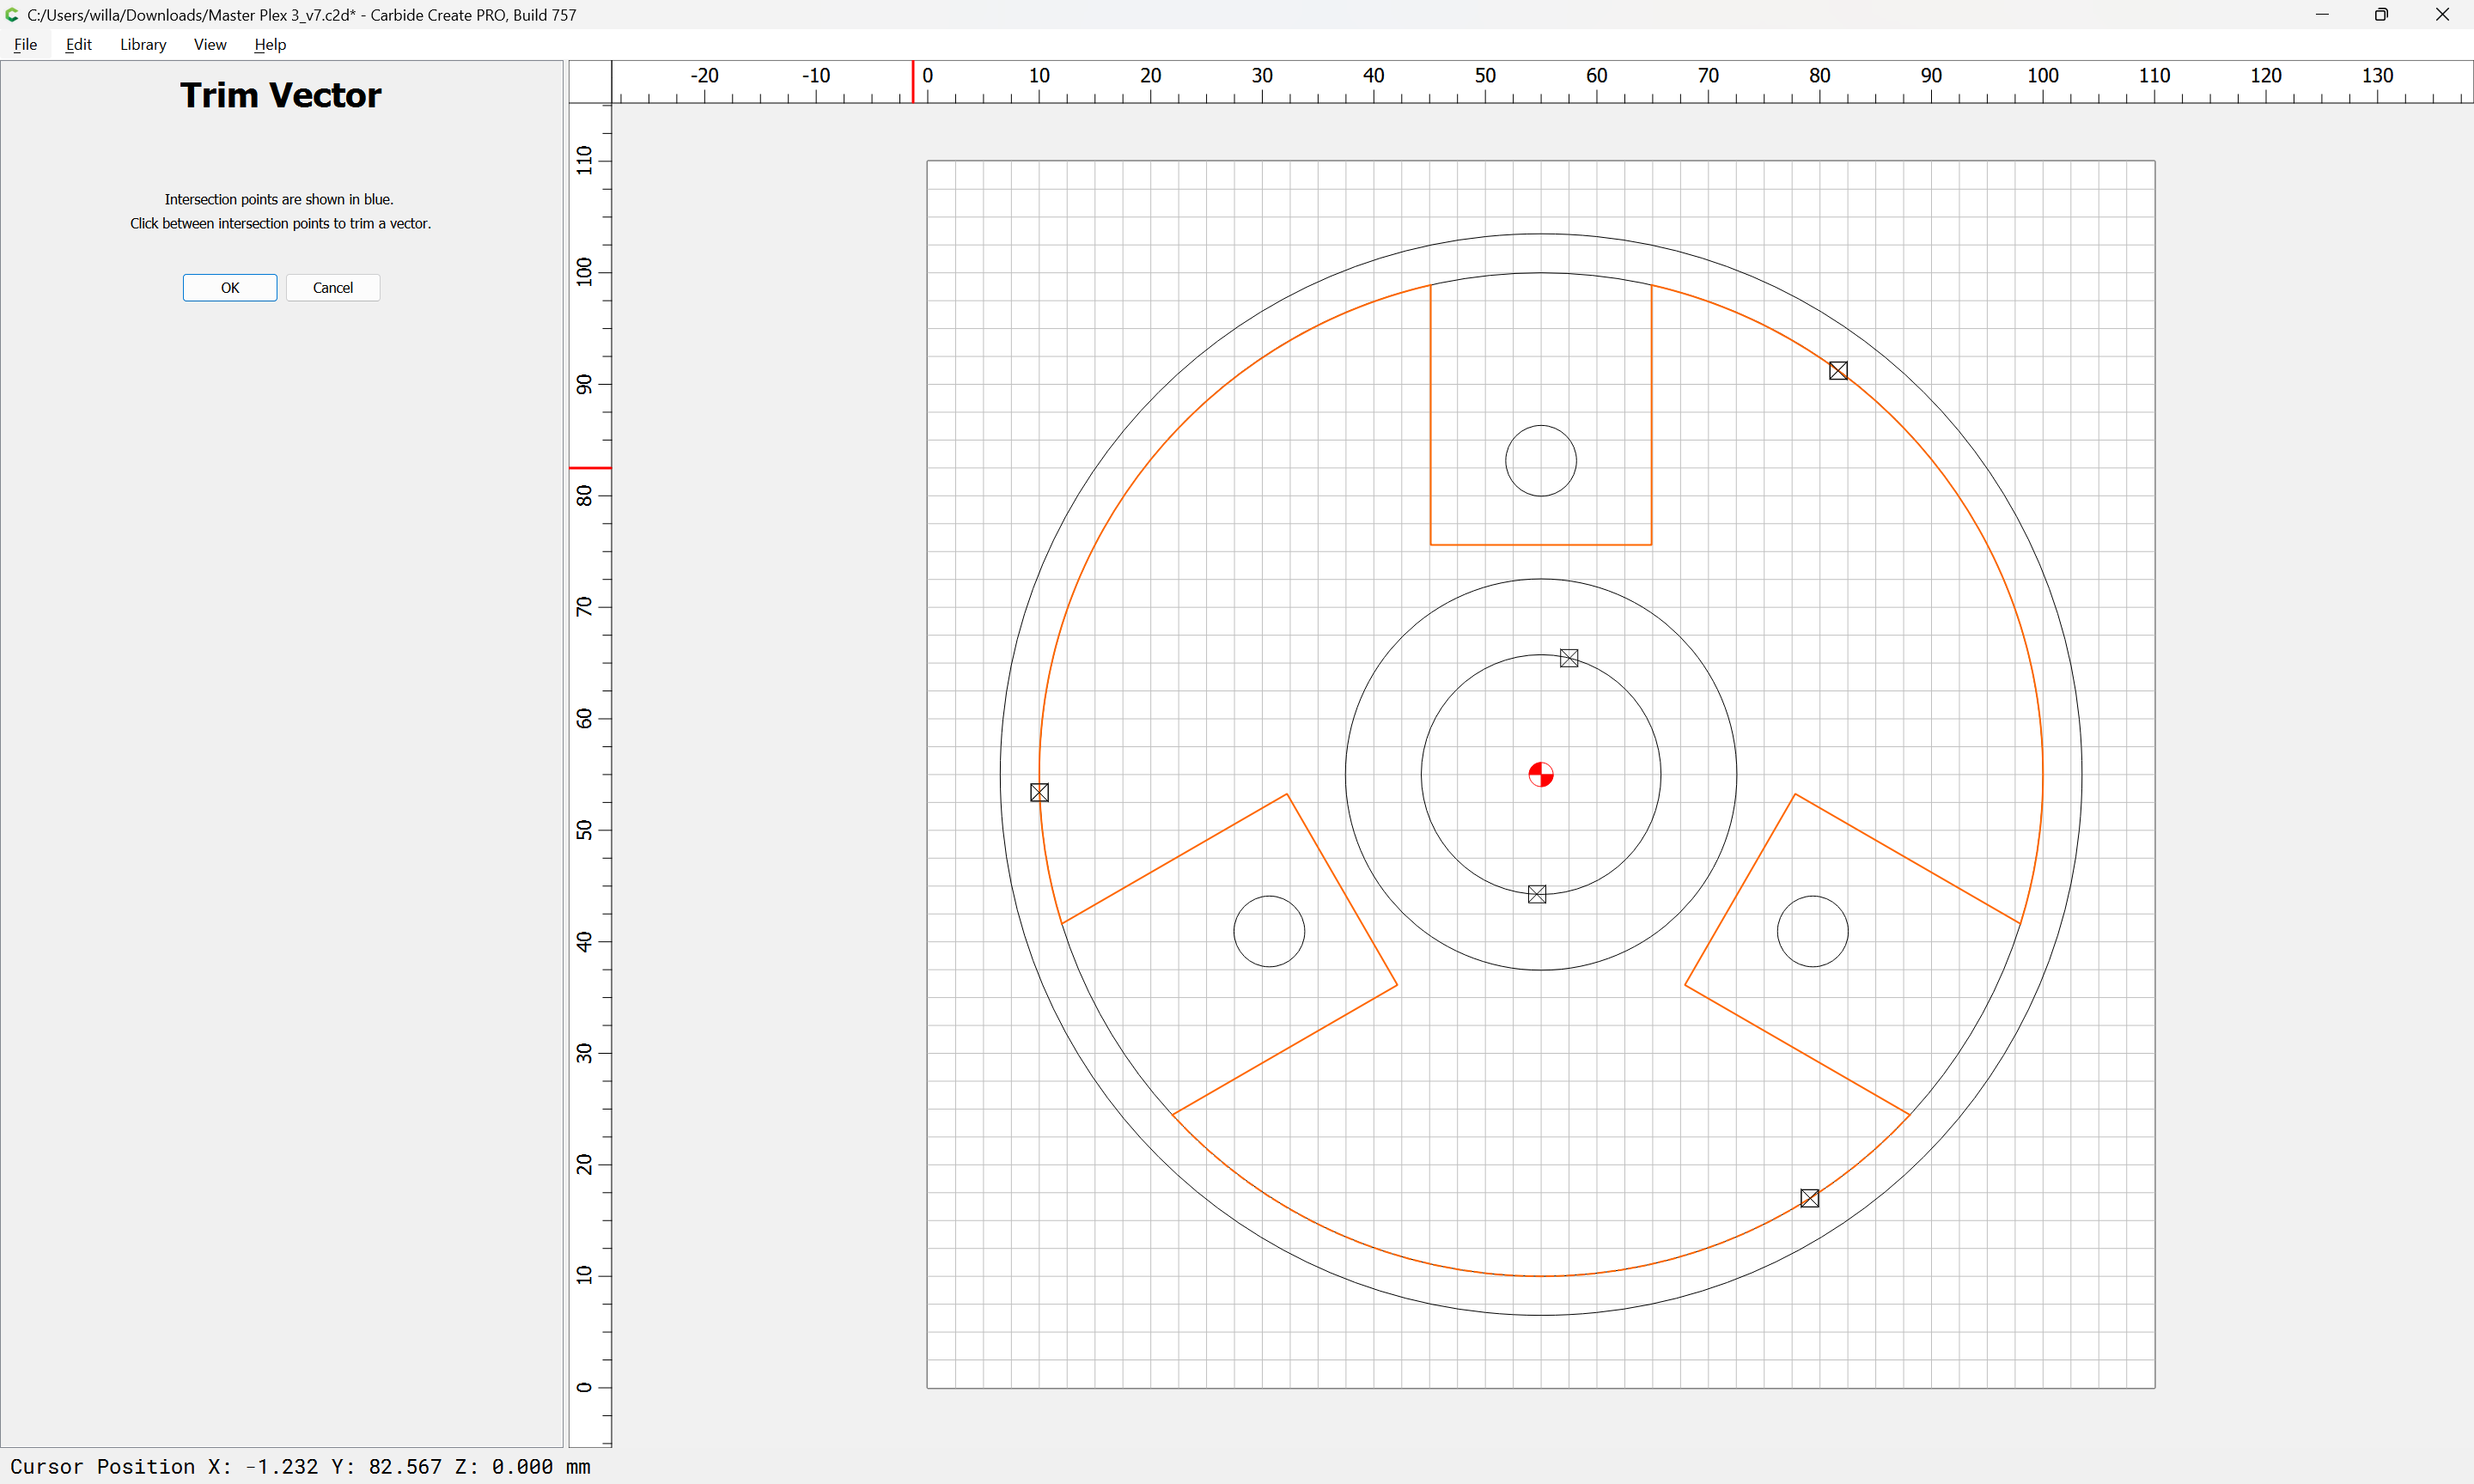
and use the Trim Vectors tool to remove geometry which does not describe the central region which is being kept:
OK
OK
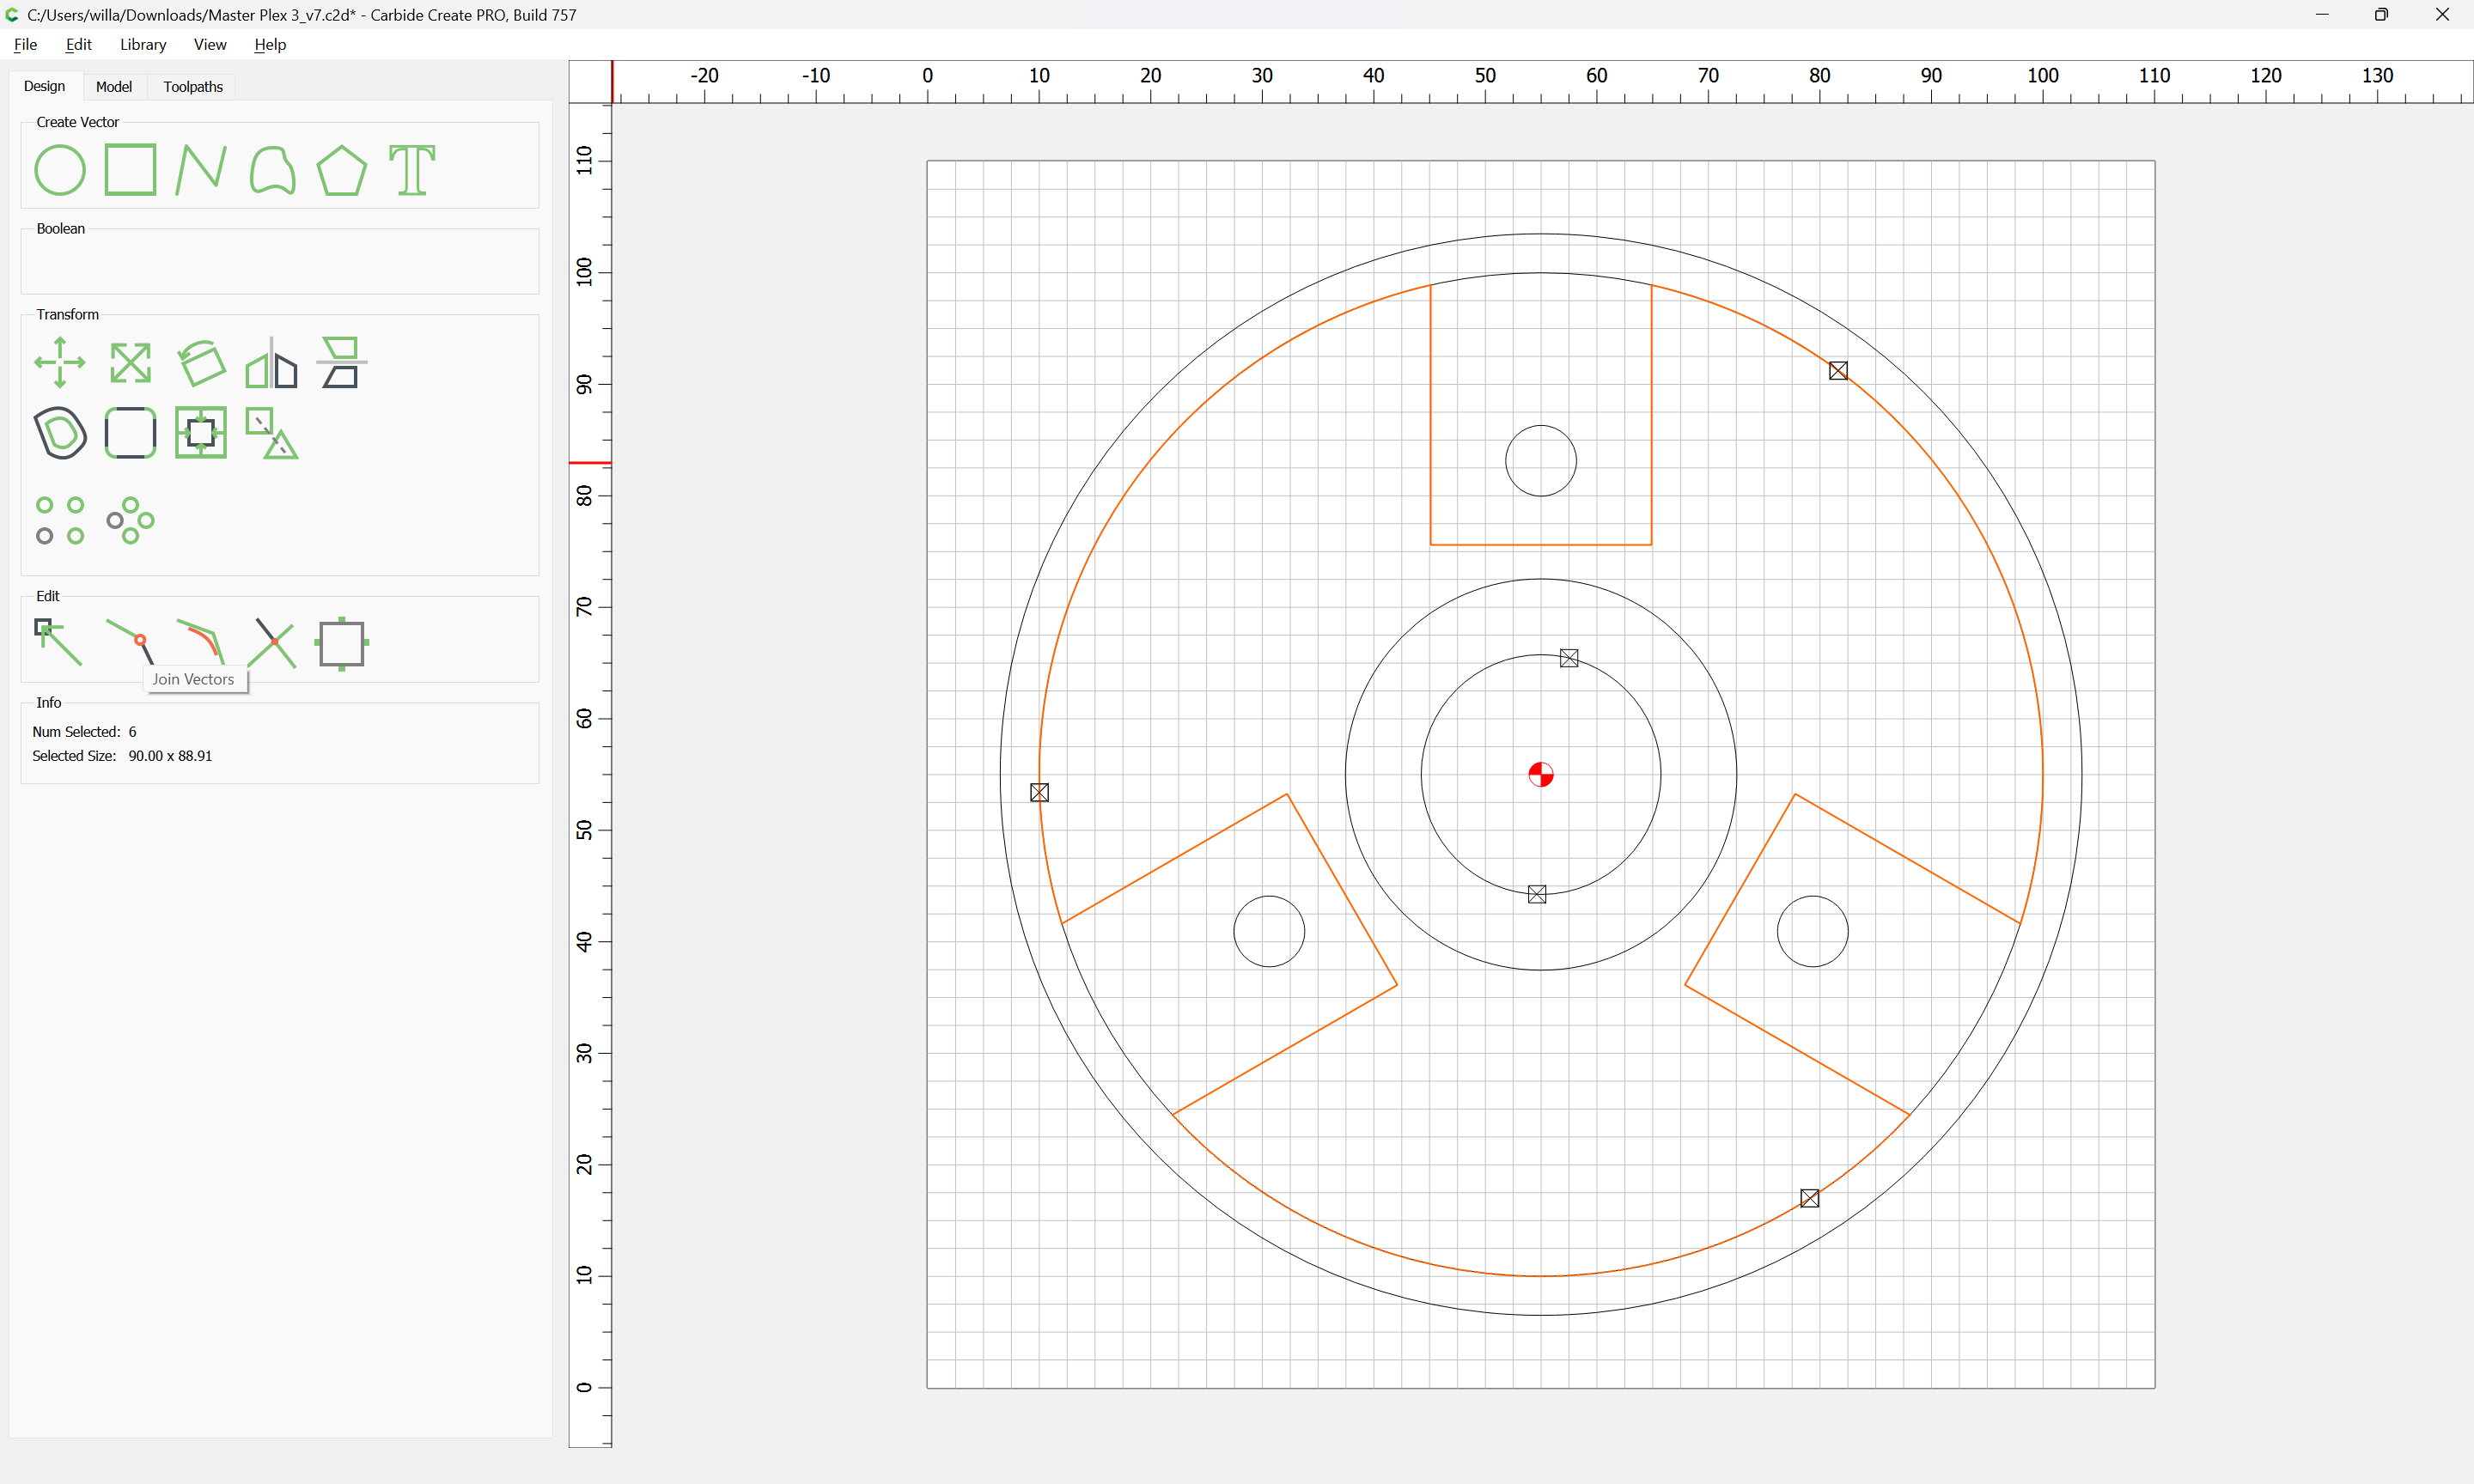
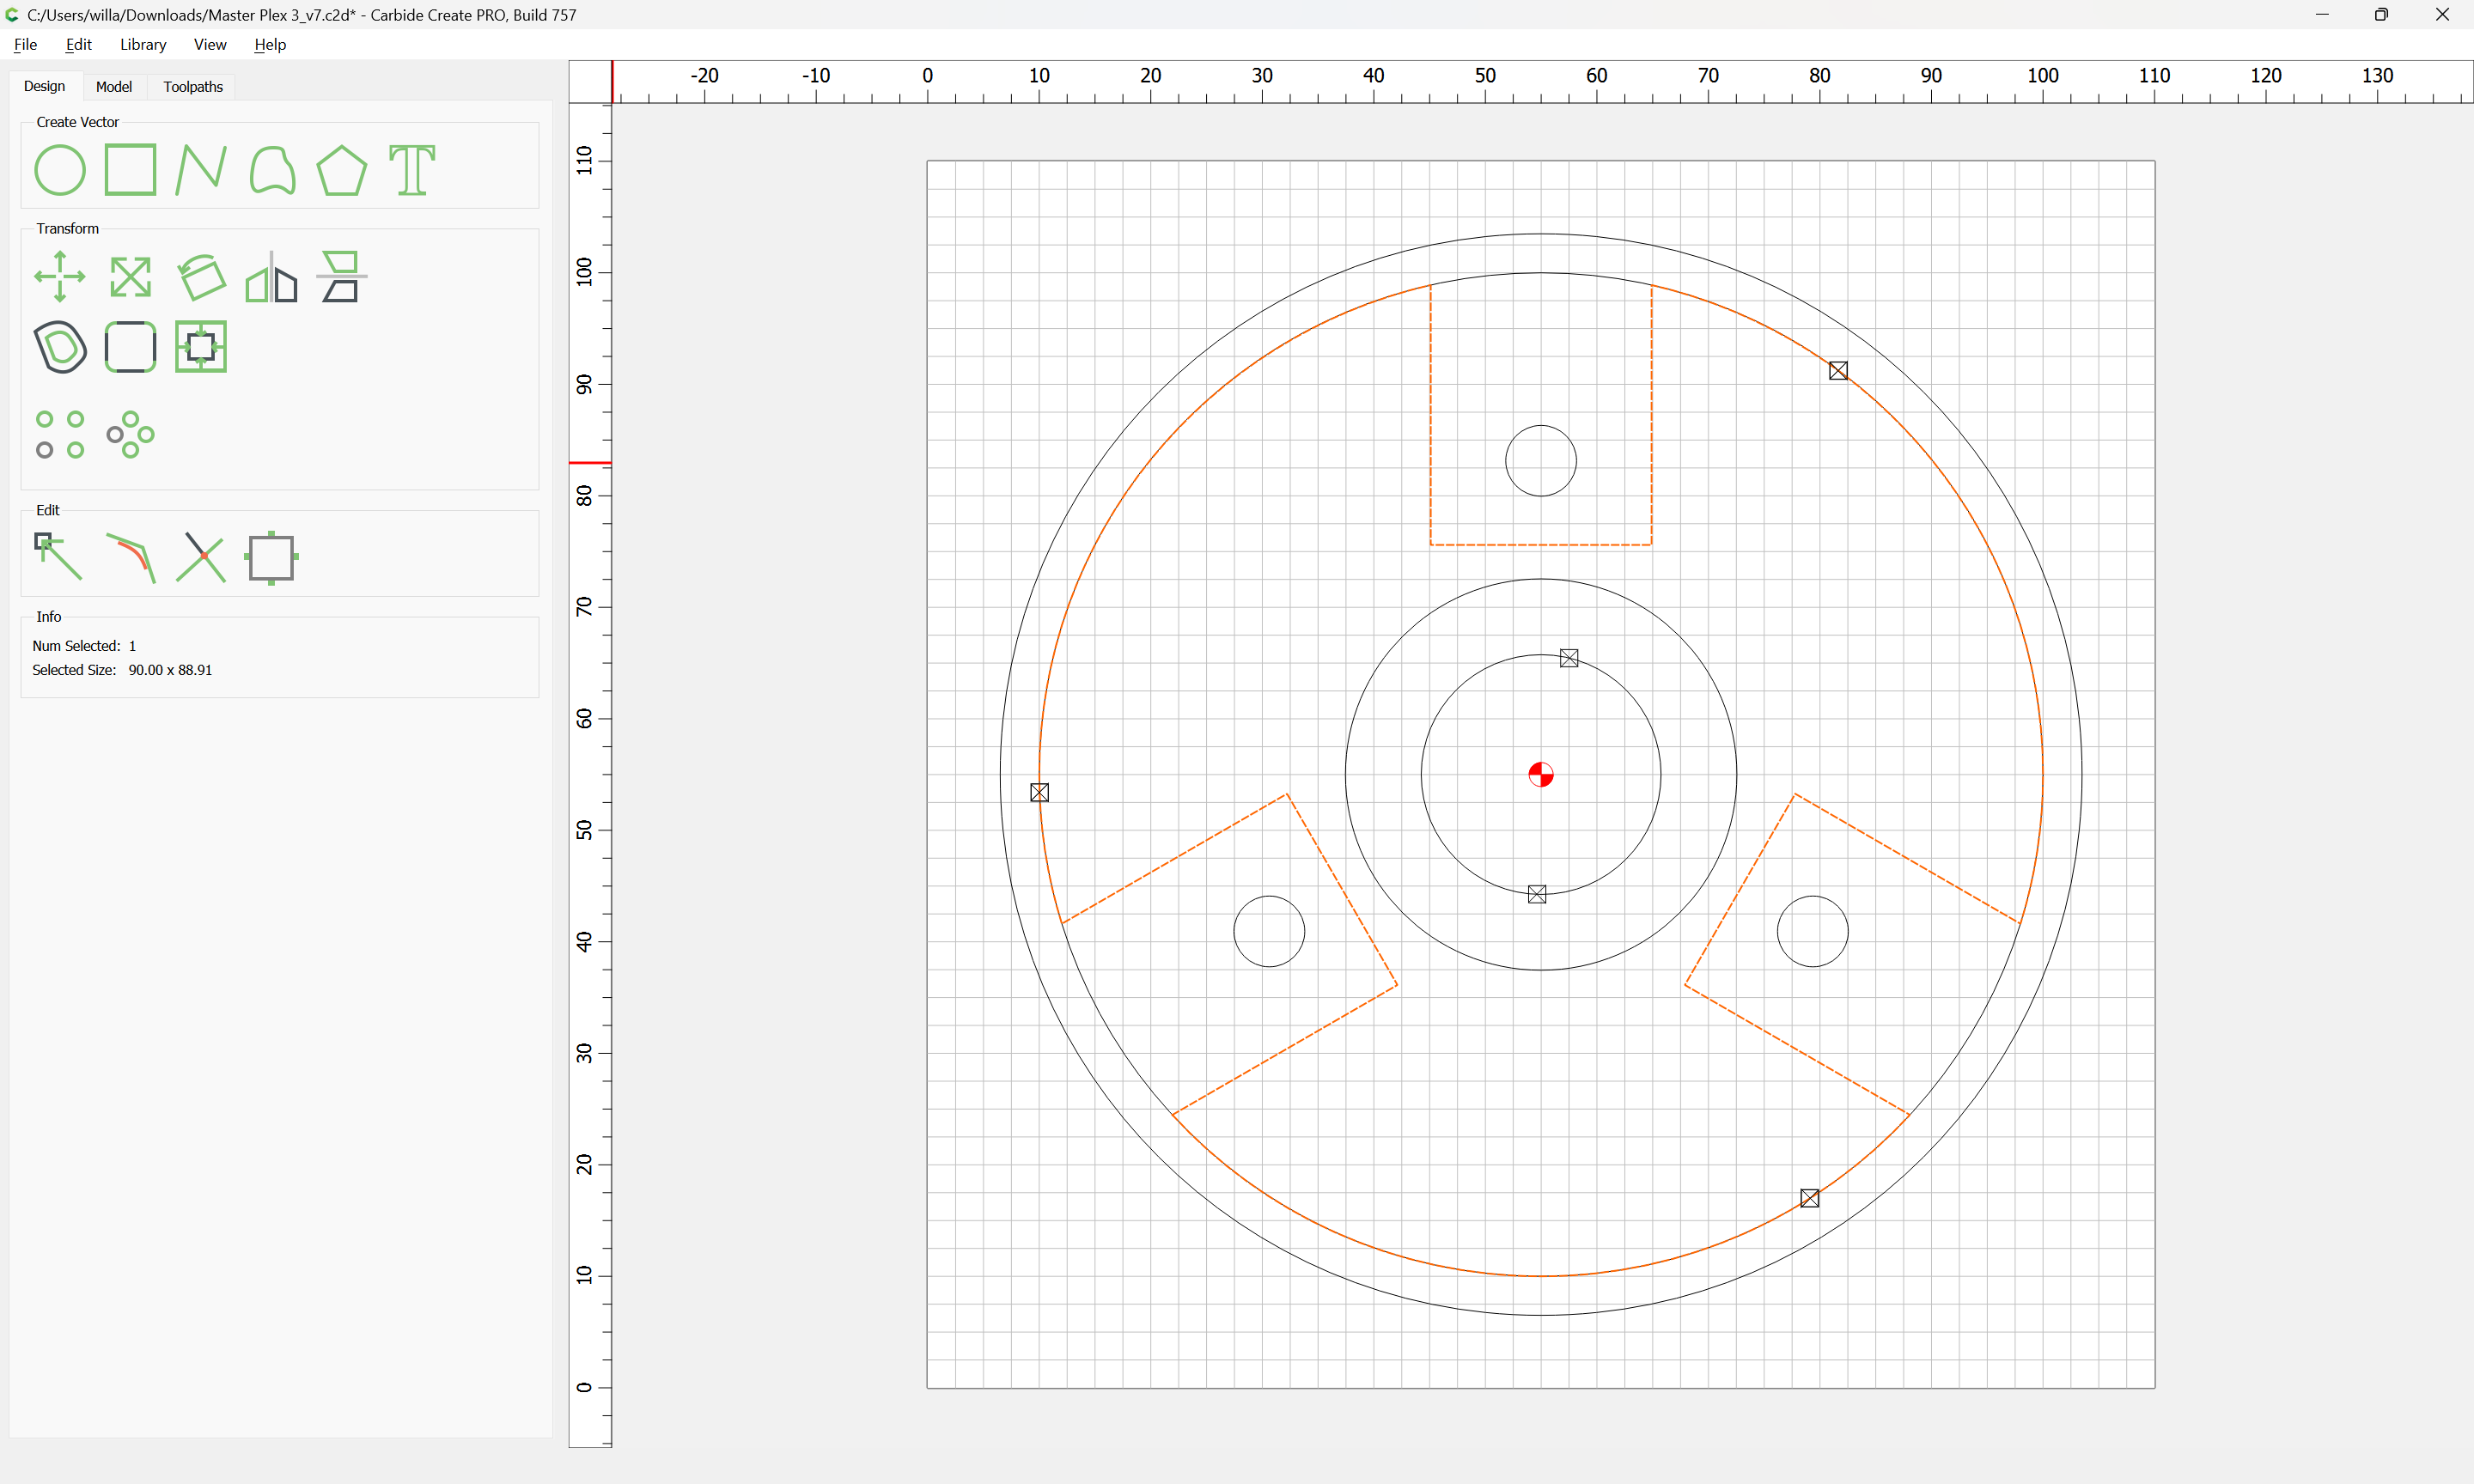
Use Join Vectors:
Modify the toolpath to cut this geometry and the outer circle:
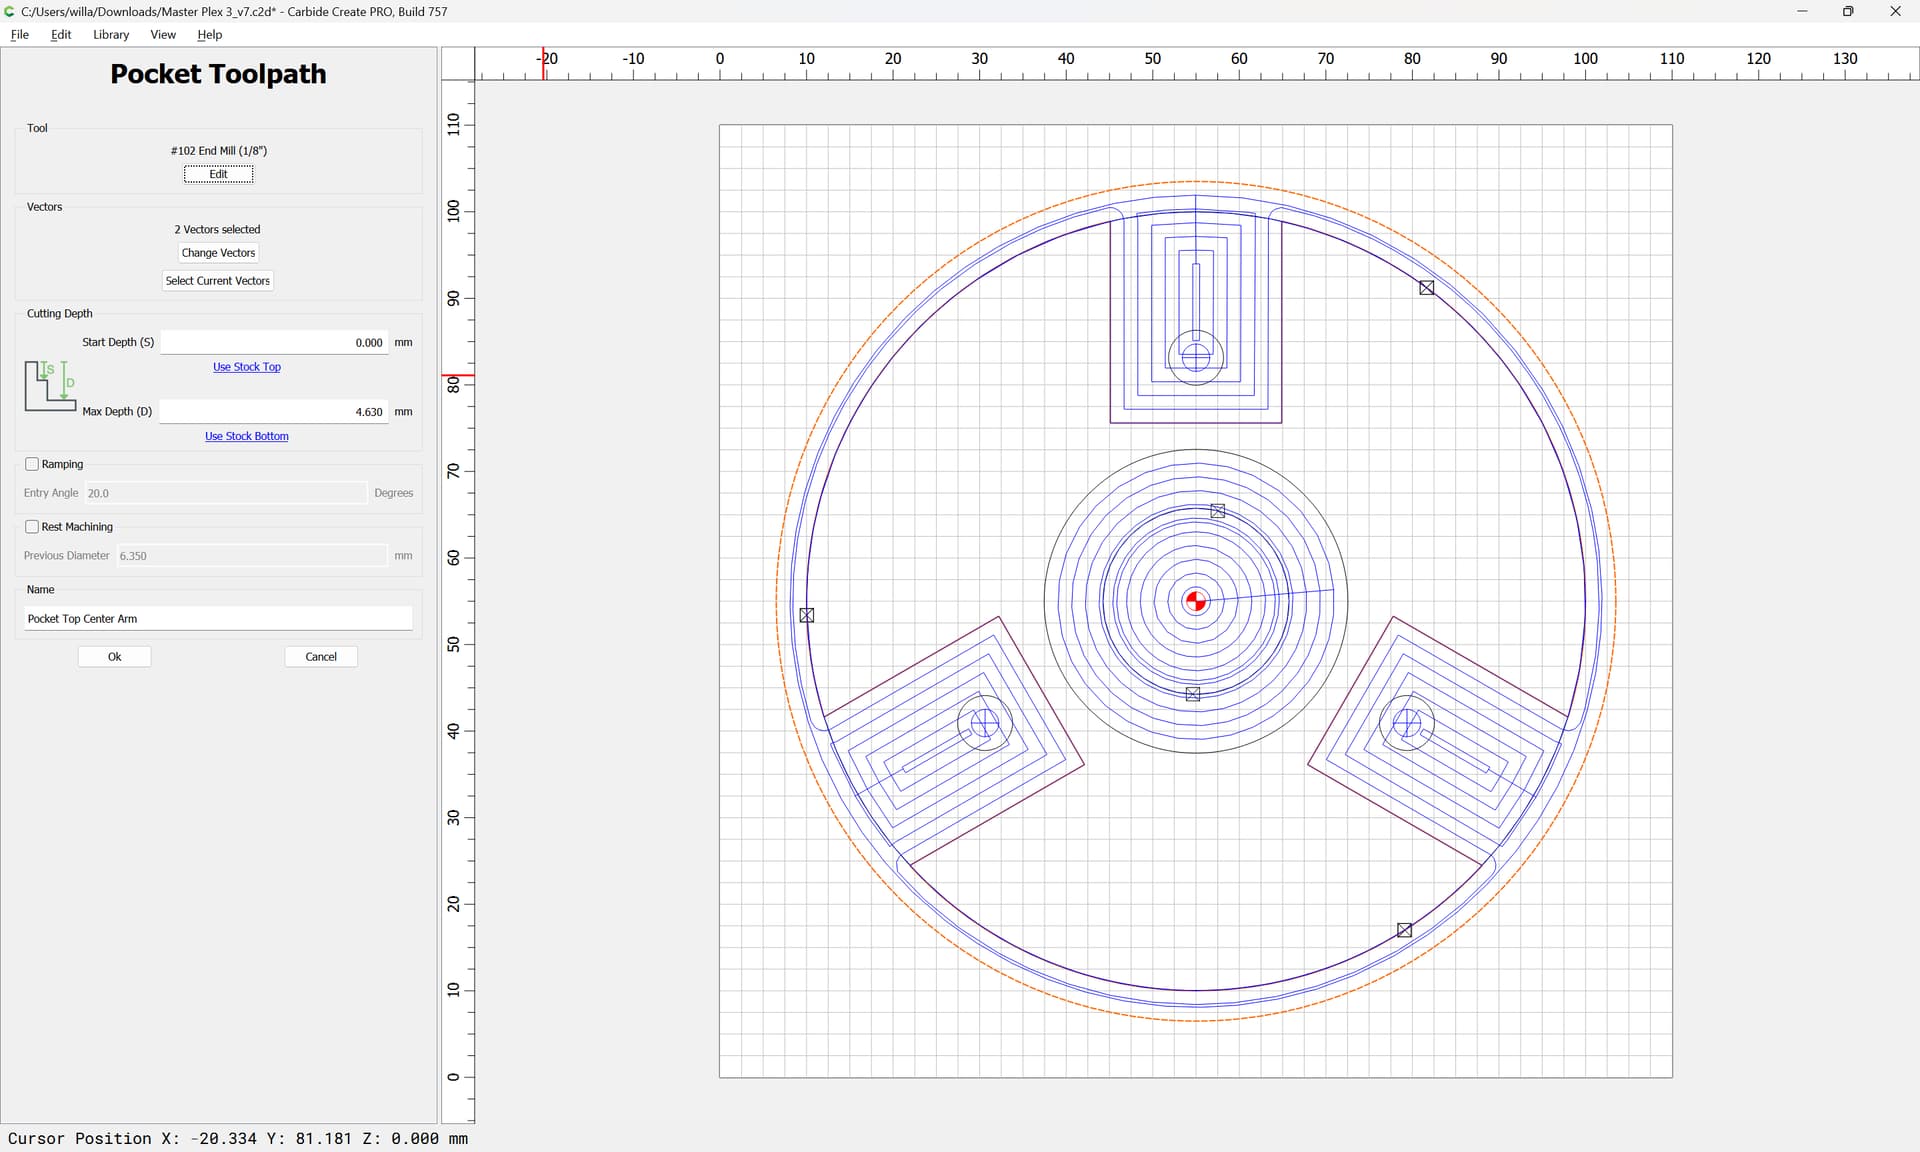
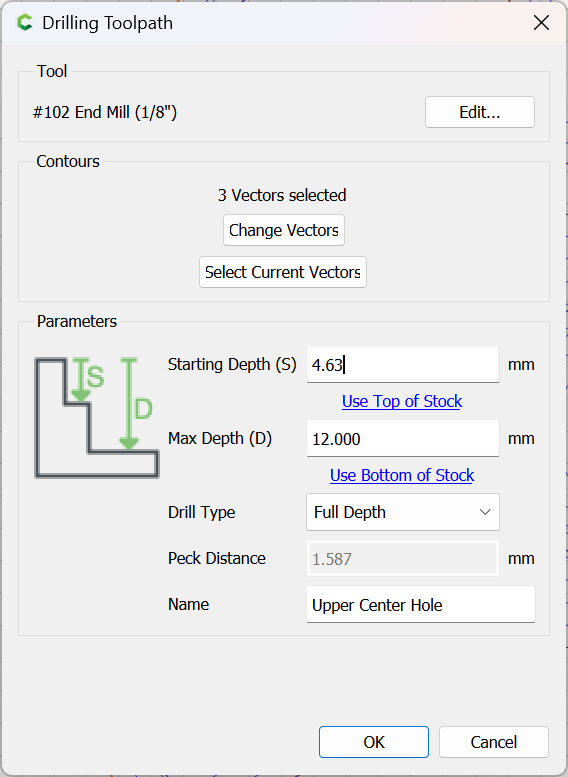
Then modify the geometry for the smaller circle holes to be below this toolpath and to start their cut at the bottom:
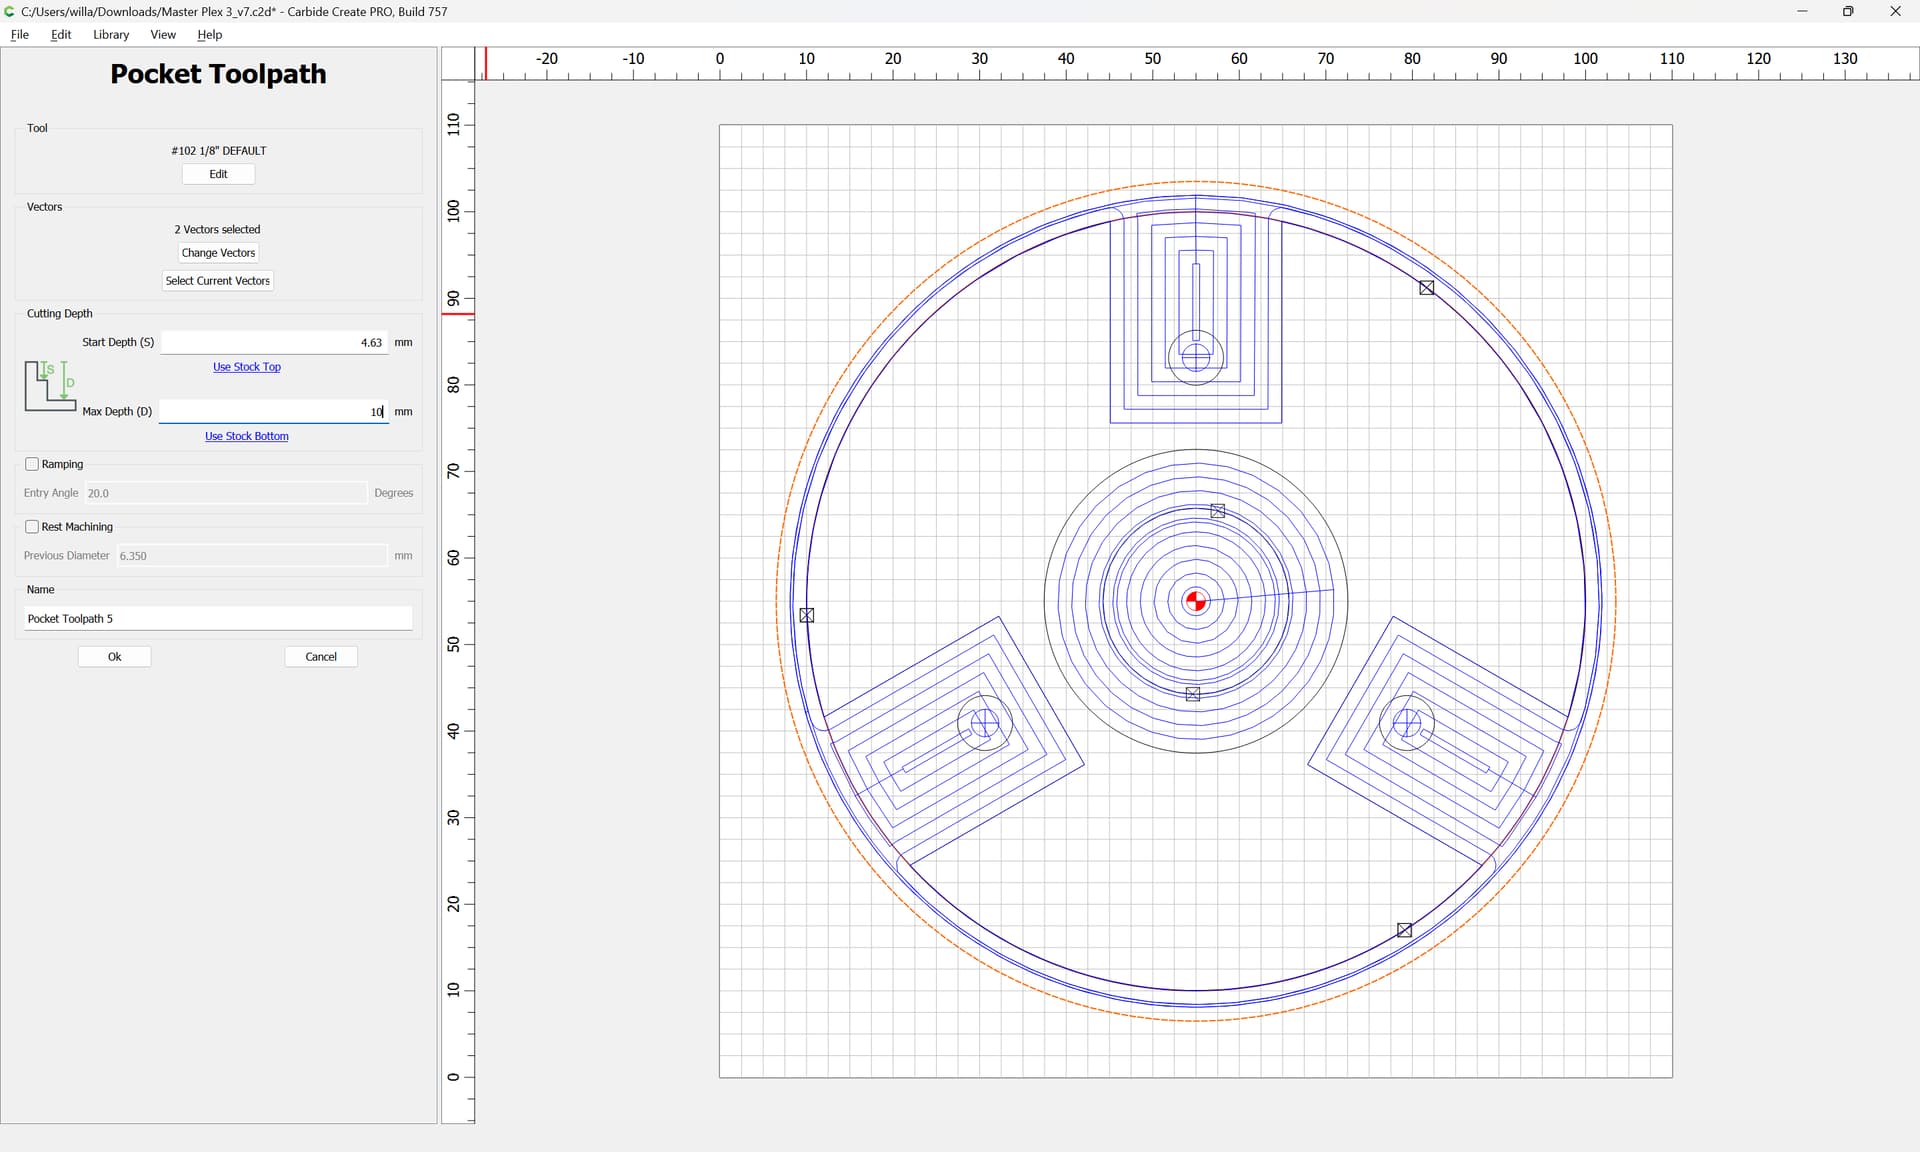
and create a pocket toolpath which uses the two outer circles and starts at the bottom of the previous pocket and cuts down to tab height:
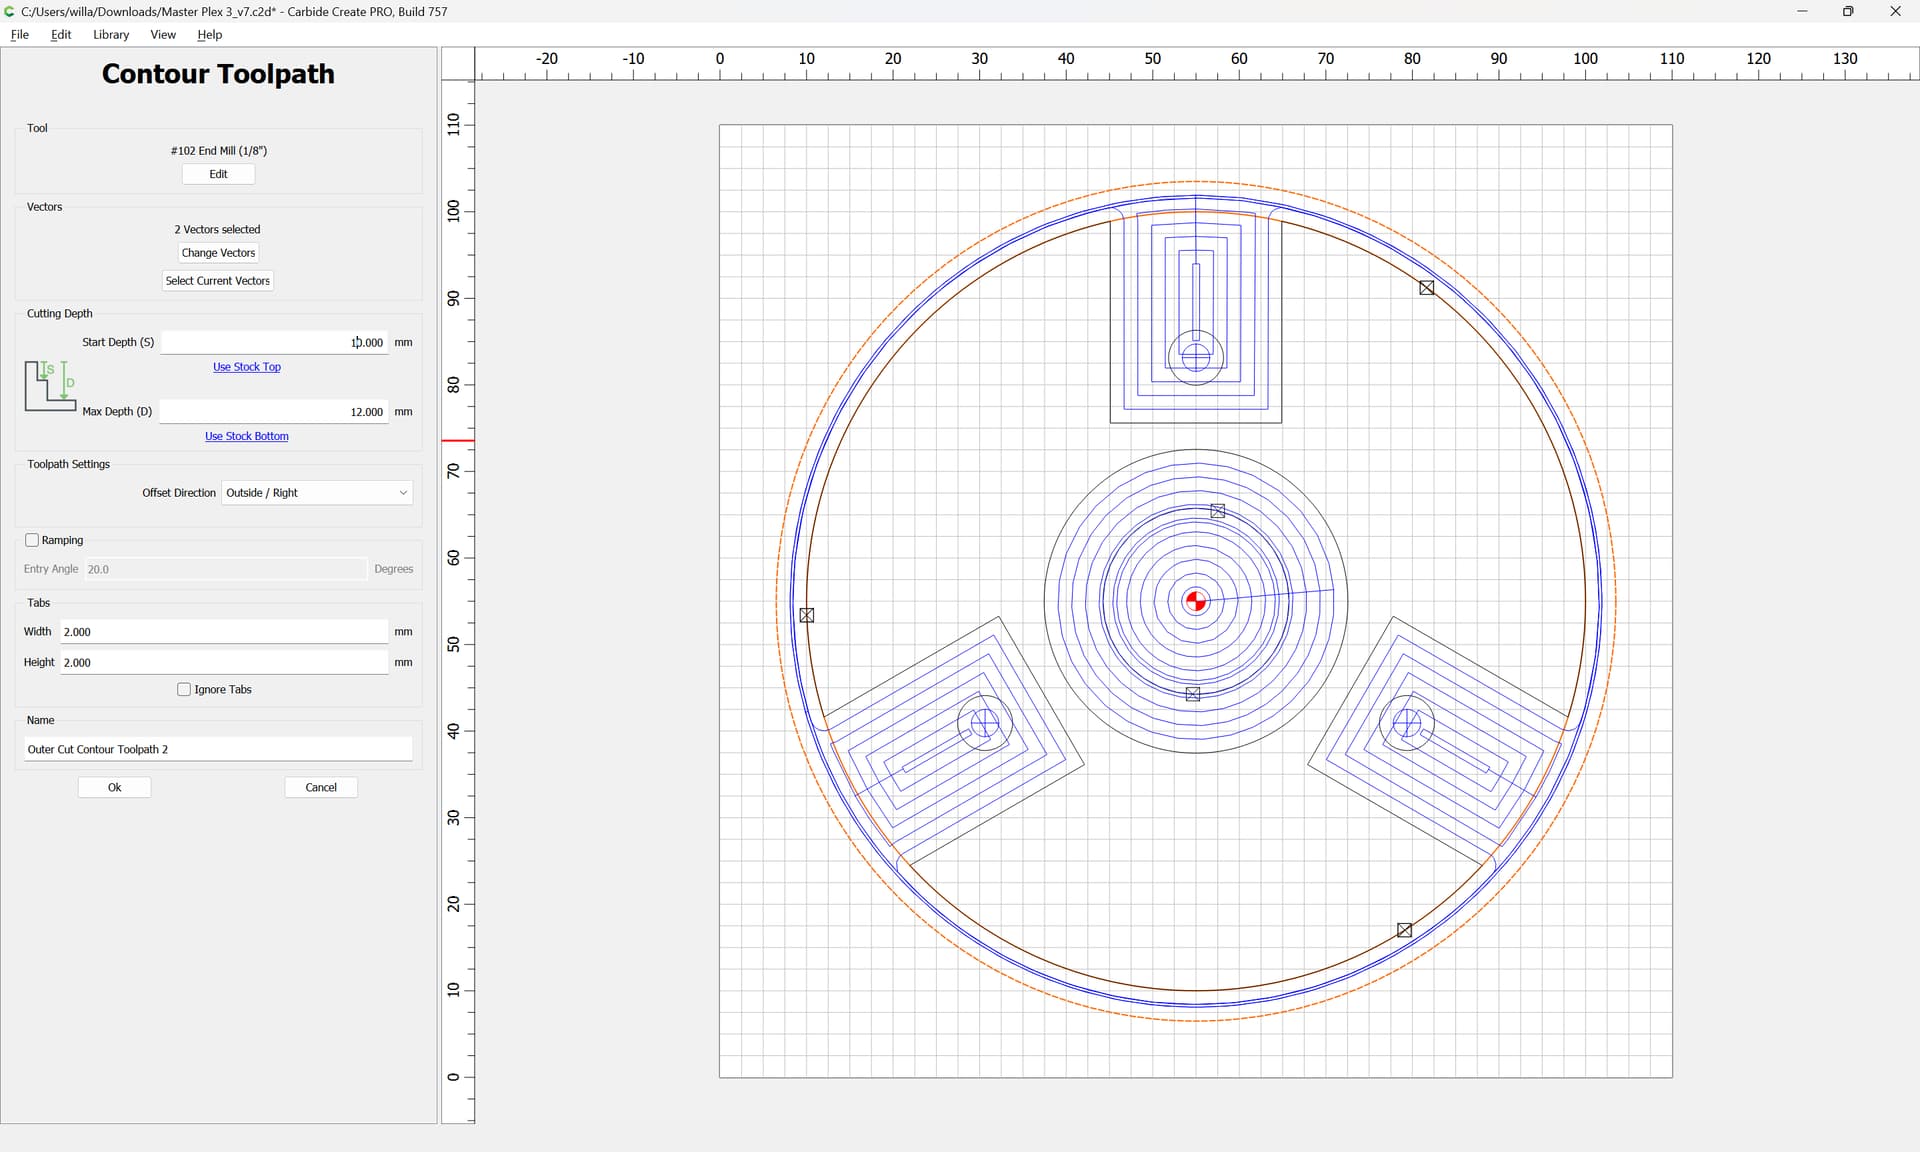
Then move the Outer Contour toolpath to after that pocket and have it cut the rest of the way:
This topic was automatically closed after 30 days. New replies are no longer allowed.