Hi all, i am setting up my Shapeoko 5 4x4 for sheetwork. I love the bitsetter but find it in the way. I have to program around it so the sweeoy does not collide with it, not to mention i lose 3 to 5 inches of useable workspace. Has anyone done a relocation of the bitsetter and how would i accomplish this task?
Suggestion is usually disconnect BitSetter after the tool is measured. There is no where to move it fully outside the cutting area because it has be to within the gantry’s travel.
I remove the screws and move it rather than unplug the cable - not sure if it matters. I have some jobs which get pretty close to it.
Reading here this question comes up mainly on surfacing large sheets or spoilboard. I make sure to start those toolpaths far away. When the spindle is well clear pause and disconnect Bit Setter. It isn’t my favorite thing…
I had sketched out a box about 2X by 6Y in from the front right corner on the spoilboard. The spindle/bit center has to avoid to have no collision.
Are you frequently running toolpaths that close to it?
1 Like
Thanks, i was hoping to process sheets for cabinets. It sounds like i will have to do an extra tile to be able to use as much of the sheets as possible
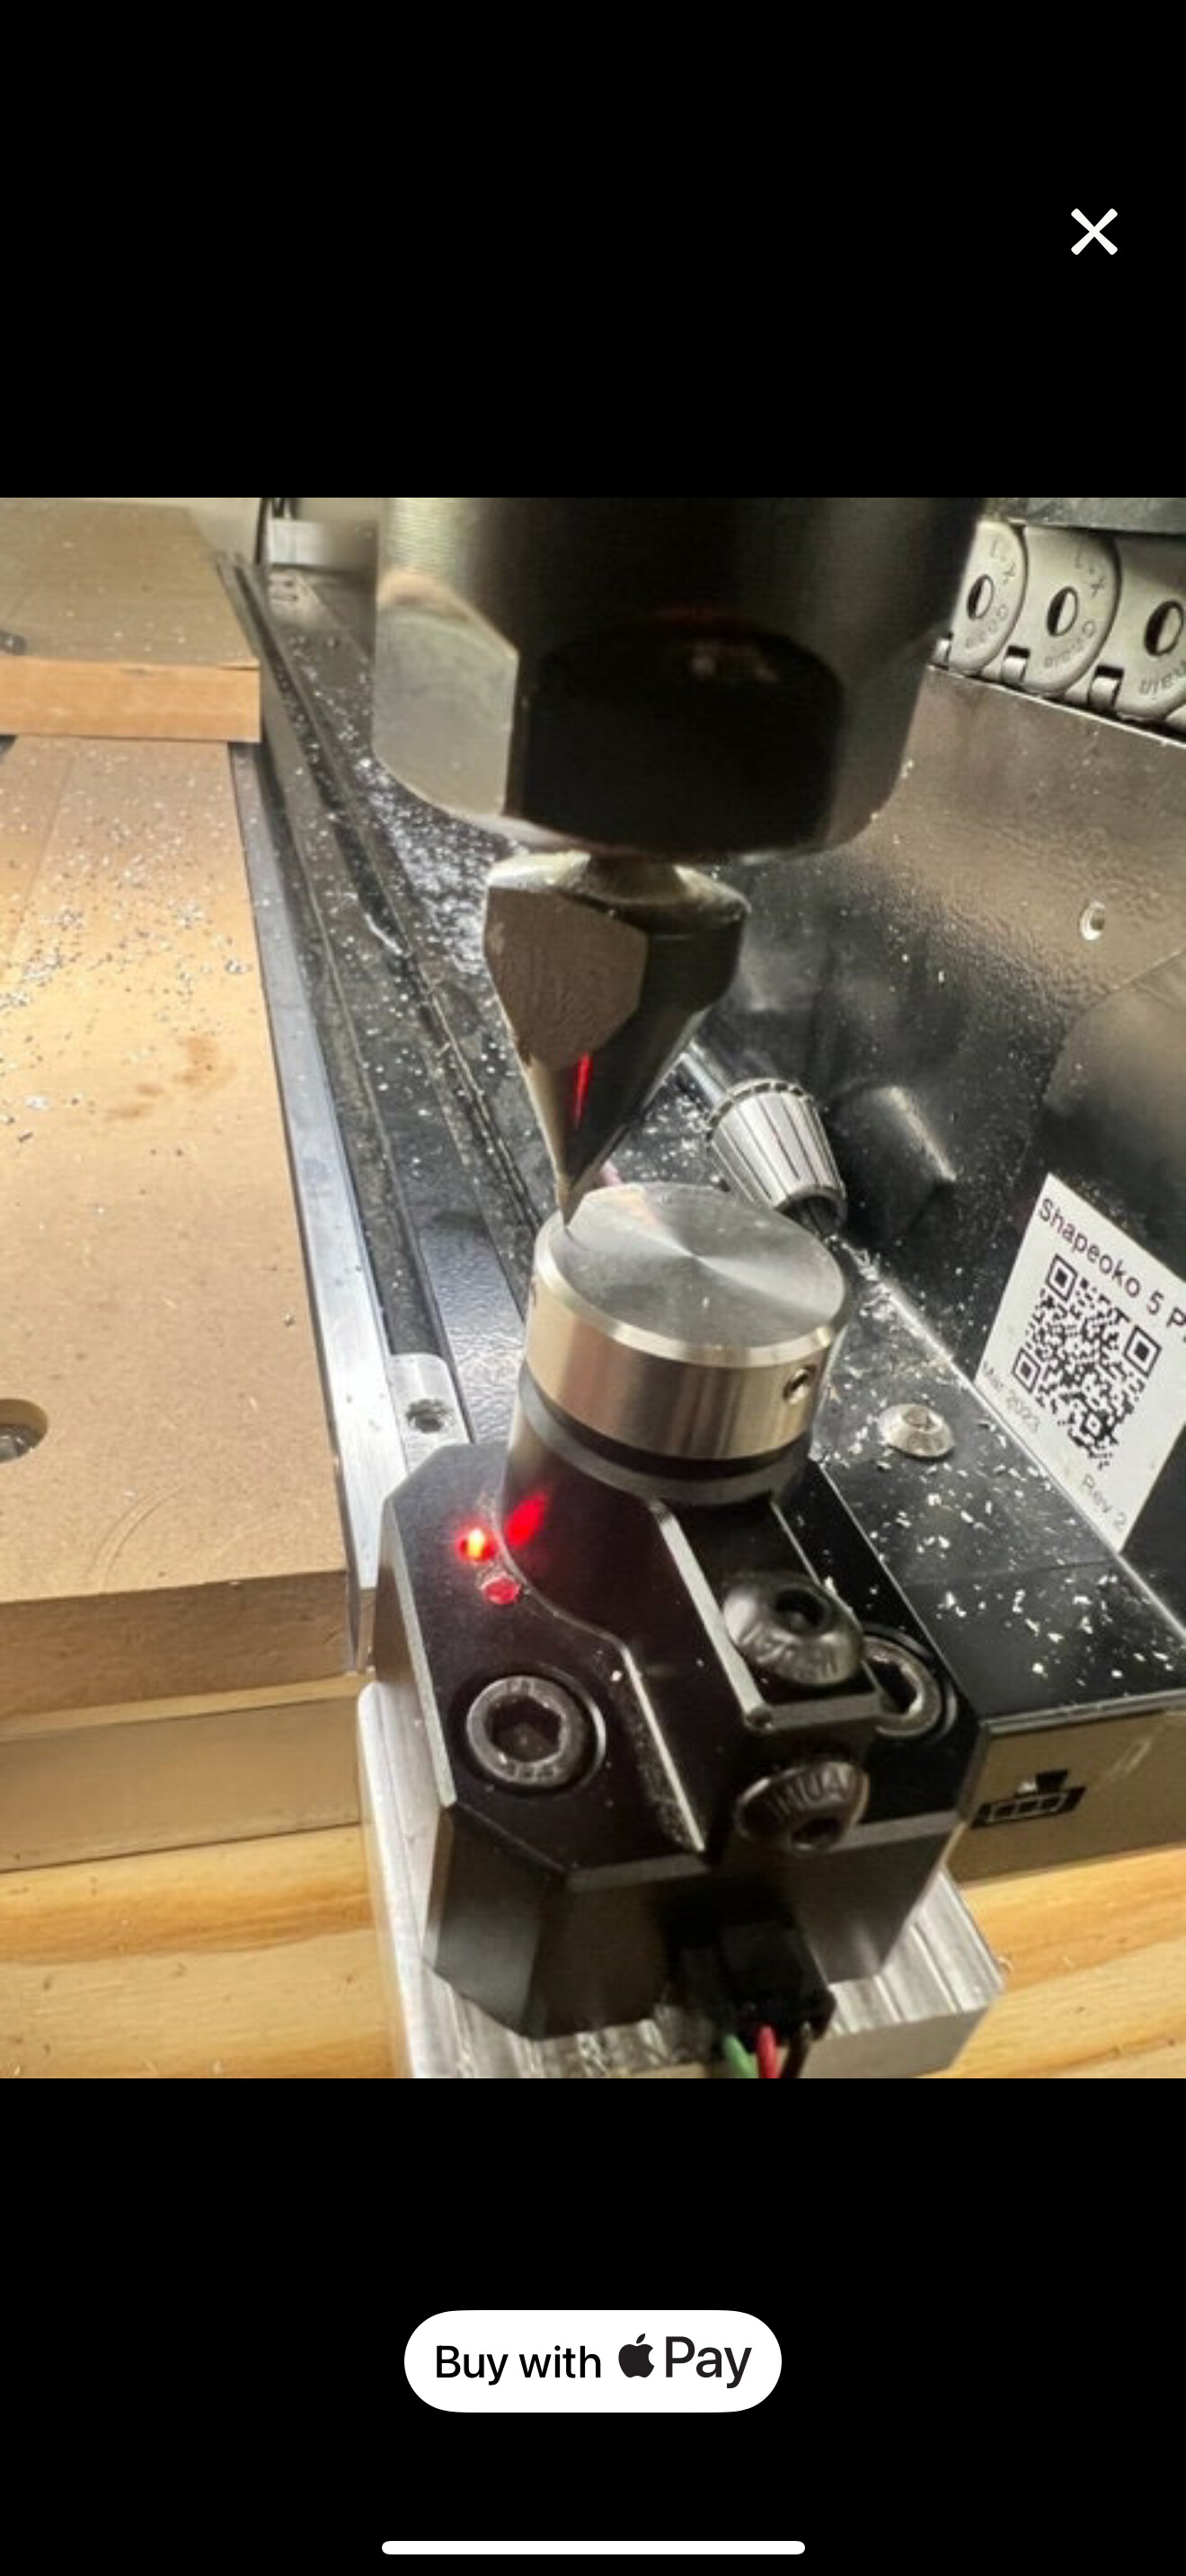
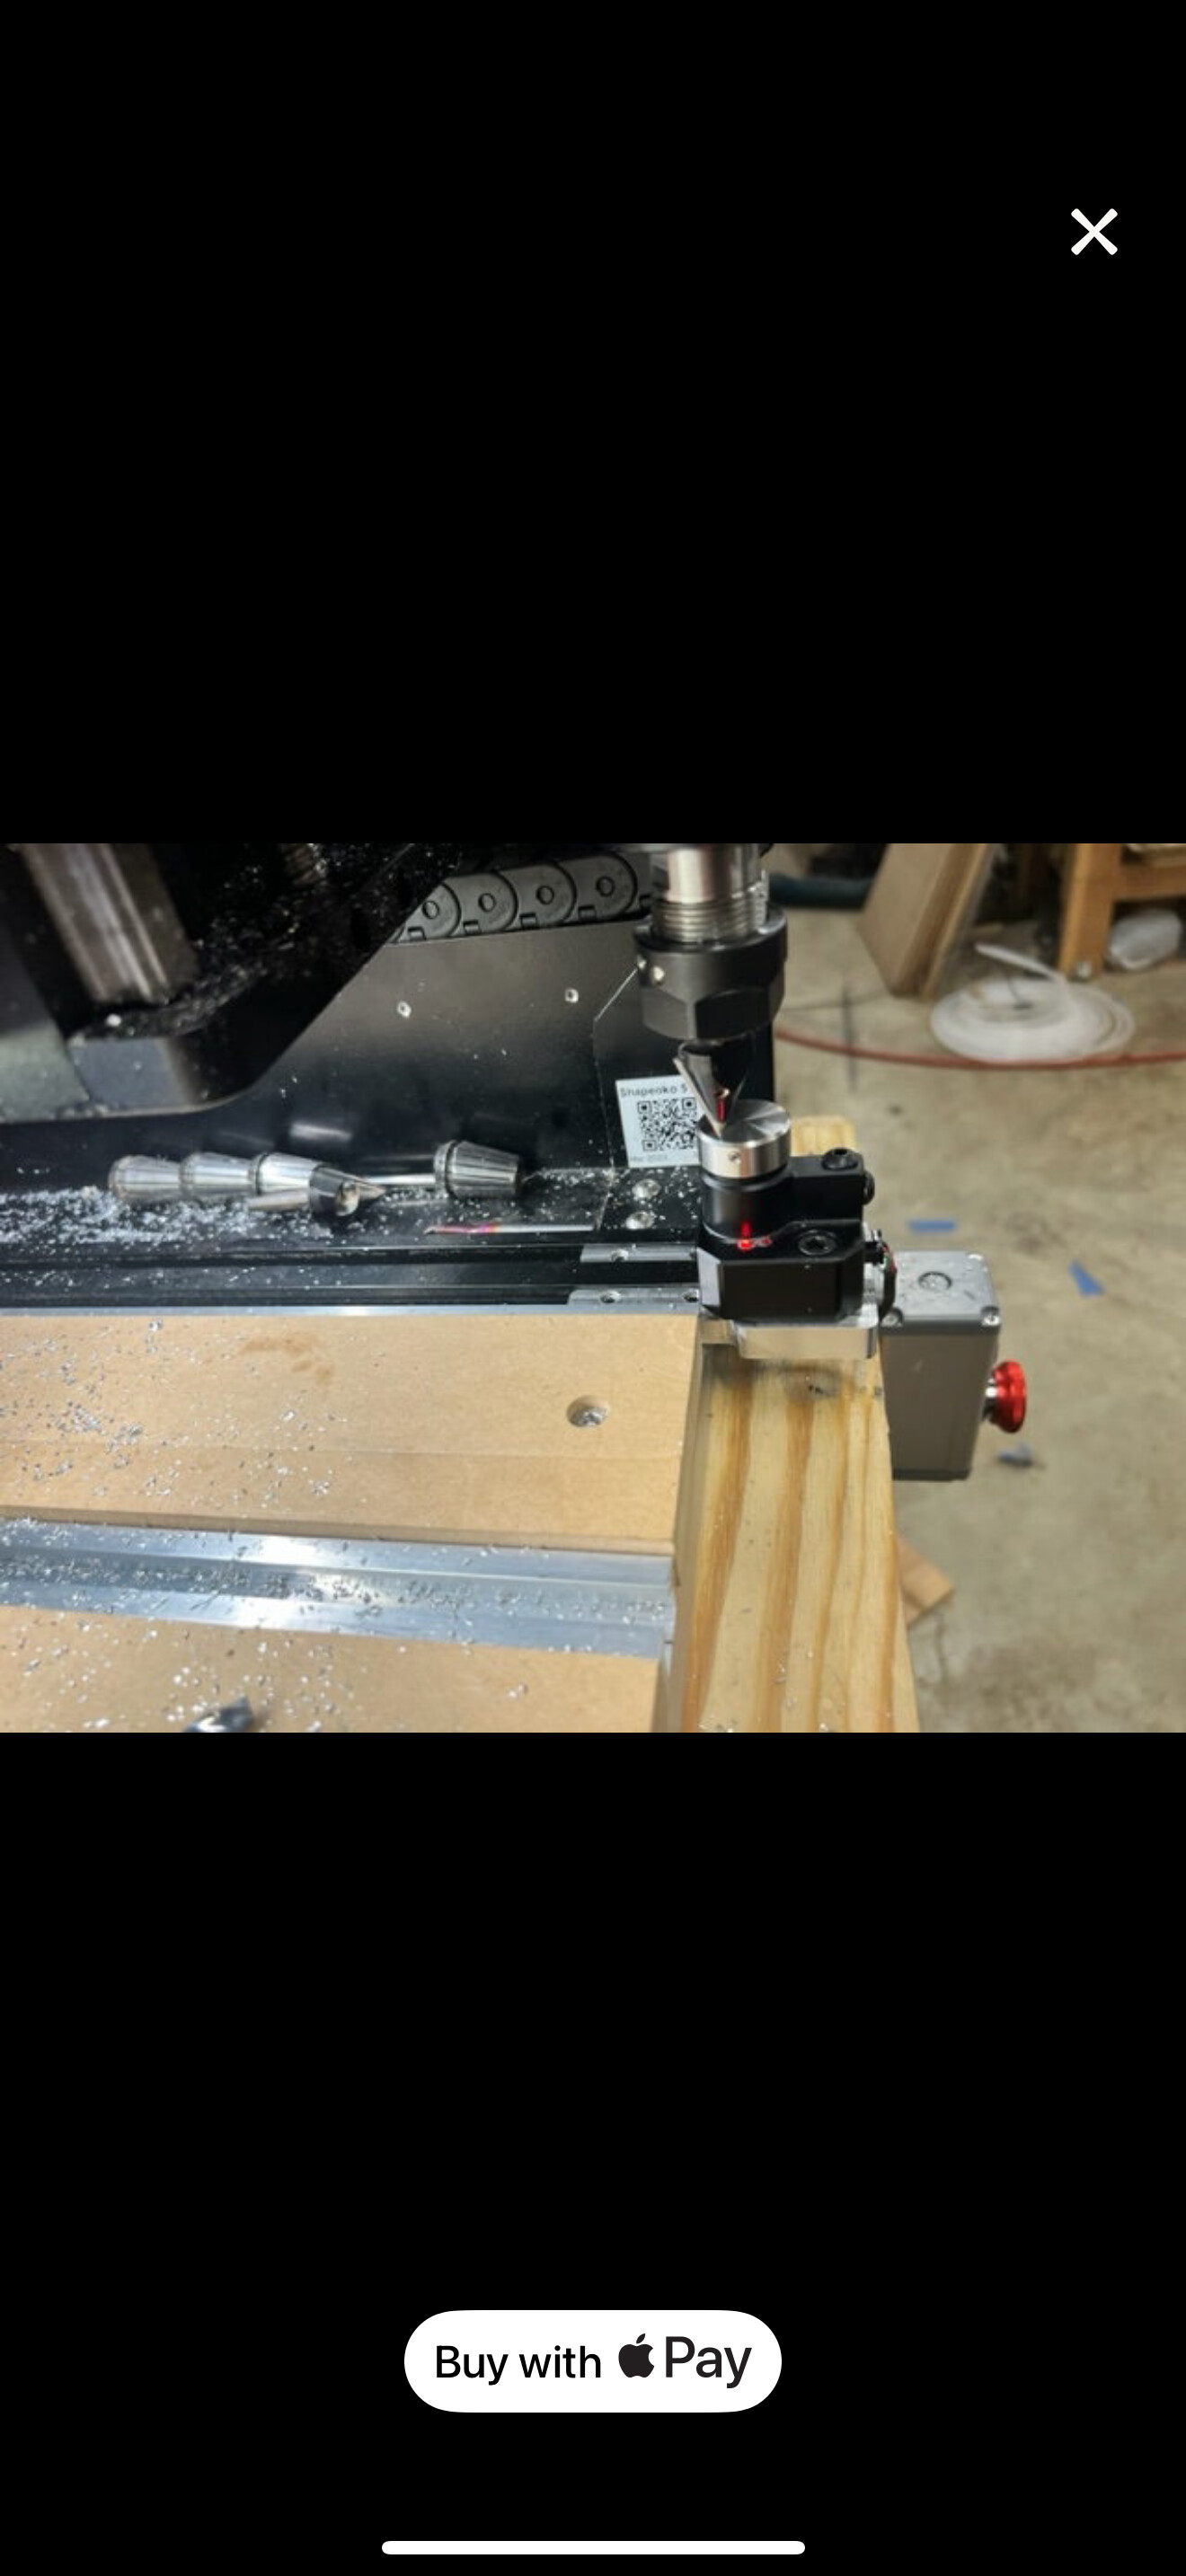
Thanks. Thats not an option to my knowledge and my spindle stops short of the front of the spoilboard as it is and thats with a 2" surfacing bit on an 80mm spindle. Its a 2024 model.
Short term for one operation I removed and set it back between carves to measure the bit. I have been tinkering with designing a “swing arm” type adapter that allows it to swing out of the way and then back when needed. I have also thought about mounting thru the table somewhat like the Nomad design is. I would rather not go that route yet.
2 Likes
Like most things in life, it’s a trade-off — if one implements “Gantry Shift”:
then one loses ~3.2" of travel at the back (I machined the MDF down flush w/ the Hybrid T-track) but gains the ability to relocate the BitSetter forward by that dimension.
The one time I needed to work with a full sheet of plywood I planned out the parts so that there were unused areas at each tile position corresponding to the BitSetter position, marked that out on the plywood before cutting and notched out openings for the BitSetter w/ a jigsaw before machining.
Like @Redlander I’ve been contemplating some sort of swing or sliding mechanism, but I worry about the tolerance stacking of a mechanism.
2 Likes
Thanks, I am also coming to the swing arm conclusion and looking into ways to automate it. To automate it google is saying i would have to use a different controller. Have you come up with a sturdy/ precise swing arm idea yet?
Yes, the tolerance/consistent measurability is exactly what the design has to overcome with a swing device. I have even played with a small latch mechanism once swung into place to ensure repeatability for accuracy reasons. I have not been able to work on or with the S5 Pro this year unfortunately but I will be getting back to it here shortly and I will report out on what ever solution I come up with. I did machine my tile reference Y axis farther to the left of the table which allows a minimum of 3/16th’s for 4’ sheet goods without having to move the bitsetter. Most random measurements provided an average of no more than 1/8th” over 48” width. I have a boat build project in the works that will need the internal bulkheads etc cut out from Luanne to make the molds. So at least 4x8’ sheets if not 4x12’ sheets if I can source them.
2 Likes
Can the limits be stretched past the outside of the t track that would allow use of a slide setup for the bitsetter? Possibly mounting the slide beside the t track or a bit further? The sheets i am using are 49"
That would be a question C3D would need to answer. The S5 Pro will handle standard sheet good which by design “standard” is 48”x96” in length. You’re using 49” material and this may not work unless you alter the bitsetter as we are talking about. I only plan on 48” wide sheets with the small manufacturing tolerances I have measured at 1/8” over. I noticed the small variance in the sheet material and cut my tiling referencing fence on the left Y axis wider to still allow the bitsetter to remain in place. But that means the sweepy can interfere based on the tool path and so far I have designed the file around it. You may not have that choice due to cabinet design and maximizing the sheet goods, as we all should be doing in reality.
1 Like
Ive done as much arranging as possible to work with the bitsetter in place and have been tiling. When its a multiple sheet project nesting becomes necessary and so far vcarve doesnt factor in the bitsetter area to my knowledge, so i have to work around it with sheet size in the setup which wastes material
I understand completely.
1 Like
How about the bracket to move the bitsetter forward but then a removeable cap/arm that can be placed on top and reached back to the normal bitsetter location so you don’t need the gantry shift.
If im picking up what you are putting down, you are thinking of a sliding mechanism? If so i think whichever mechanism/slide used would mean having to alter/cut into the t track to allow for the height of thr mechanism, which i wouldnt have an issue with. Finding a mechanism with proper tolerances is the main thing
In your second photo that shows your collets in the background, I was thinking of fabricating an arm that the Bitsetter would mount close to the vertical of the right Y axis rail that in turn would swing the bitsetter back into position that would allow measurement and then swing back out of the way.
Edit: Sorry, not your second photo but the one Quicky06 posted.
1 Like