Going to start down the road of improving repeatability on my machine. I currently have a fairly large issue (as in, noticeable by eye not needing calipers). I had to restart a job and it was quite evident very quickly the machine was not in the same location. It mostly seemed limited to the Y axis but that’s just based on what I could see. I didn’t get any pictures while it was happening but this elaborate diagram which I spent many hours on illustrates the issue:
Black line was the original then after restarting you could hear it ‘missing’ the piece up top and cutting deeper down below.
Now I’ve checked the set screws and belts and all that, but to be honest I doubt they’re the issue. I’m guessing it’s limit switch related as once the job begins running it seems okay within that job.
I’m going to slow down the speed at which the machine approaches the limit switches and see if that makes a difference. Unrelated but while I’m doing this I’m going to explore the squareness of the rails, I noticed when one hits the front of the machine the other still has a little room to move, but not sure if the rail is perfectly square to the machine or not. Since I’ll be cutting some test squares anyways it’s a good time to figure that out. I know other people have taken to filing down their X rail, hoping to avoid that.
I have also had this issue on my X axis as you have. I have not been able to work out why… belts are tight, pulleys are confirmed not slipping. I use a Gecko G540 and LinuxCNC to drive my S03, which has the standard limit switches.
Unless there is an issue with a driver or stepper and steps are being lost - but it would have to be two steppers losing steps which seems very unlikely. the weird thing is that I turned my machine off and re-homed and it was right on the money… weird
Indeed I’m wondering about ‘bouncing’ with the switch causing slight disagreements on where home is. GRBL appears to offer two main settings to address this, a minimum time the switch has to remain engaged (debouncer) and a speed to approach the switch at. Default seems to be 25 unless the S3 changes that. I’m going to try doing an overlapping cut at the current setting and then drop that down to say 10 (if it’s at 25) and try it again.
Bouncing might explain what you saw too, if it only occurs sometimes.
I don’t believe it’s switch bounce, given the way GRBL does this. It -may- be inaccuracy in there the switch trips, but that’s easy to measure - home the machine and measure where it pulls off to. It should always be in the same place.
That there are two steppers on Y is a blessing and a curse. If the tension on the two belts isn’t REALLY close, it’s easy to lose a step there (basically, the two steppers end up fighting each other). Two steppers, if everything is working great, and perfect, should provide more force/holding to the tool…but if not, can potentially add inaccuracy there.
If the machine isn’t quite square and worst case hits on the left side of the back before it hits the back on the right side/switch then the zero provided by the switch (it is NOT a limit switch, by the way, it’s a home switch, there’s a difference) will not be accurate, and the machine will be “flexed” in that home position, but it will go away when it pulls off the switch. I think it’ll show up as an inaccuracy between runs. If it hits on the right first, it would manifest a little differently…maybe not even show up.
Are you -positive- that the switch is activating before the carriage hits the back of the machine? This has been an issue for others where the switch bracket is such that the switch and the buckle, and the screw that holds it line up just wrong. If it doesn’t trip before the carriage hits the back, it will lose one or more steps when it homes before the switch activates, and hold the twist in the carriage until it pulls off the switch, which is post-homing, with the result that the carriage moves and there were no steps (and therefore, home is wrong). If the switch is sometimes hitting, sometimes not, it would look exactly like what you see as well. You would never see this sort of behaviour between runs, it would only happen when homing.
I’ll double check this evening but the Y-axis homing switch appears to activate consistently and before the left side stops moving. I’ll run a test this evening and pay close attention to that component while it’s homing.
I’m curious to see how this plays out because it would have to be happening inconsistently to produce inconsistent results as well. I could see the geometry of the machine doing what you describe but would then need to be inconsistent enough to not occur each time.
It looks to me that the x-axis is correct, but the y- axis is off.
This is what I have experienced. I found that the x-axis, after homing, was very repeatable, but the y-axis was not. Actually the right side of the y-axis was repeatable (where the homing switch is) but the left side varied up to 0.040".
My solution was to have the carriage in the same position every time I started the machine.
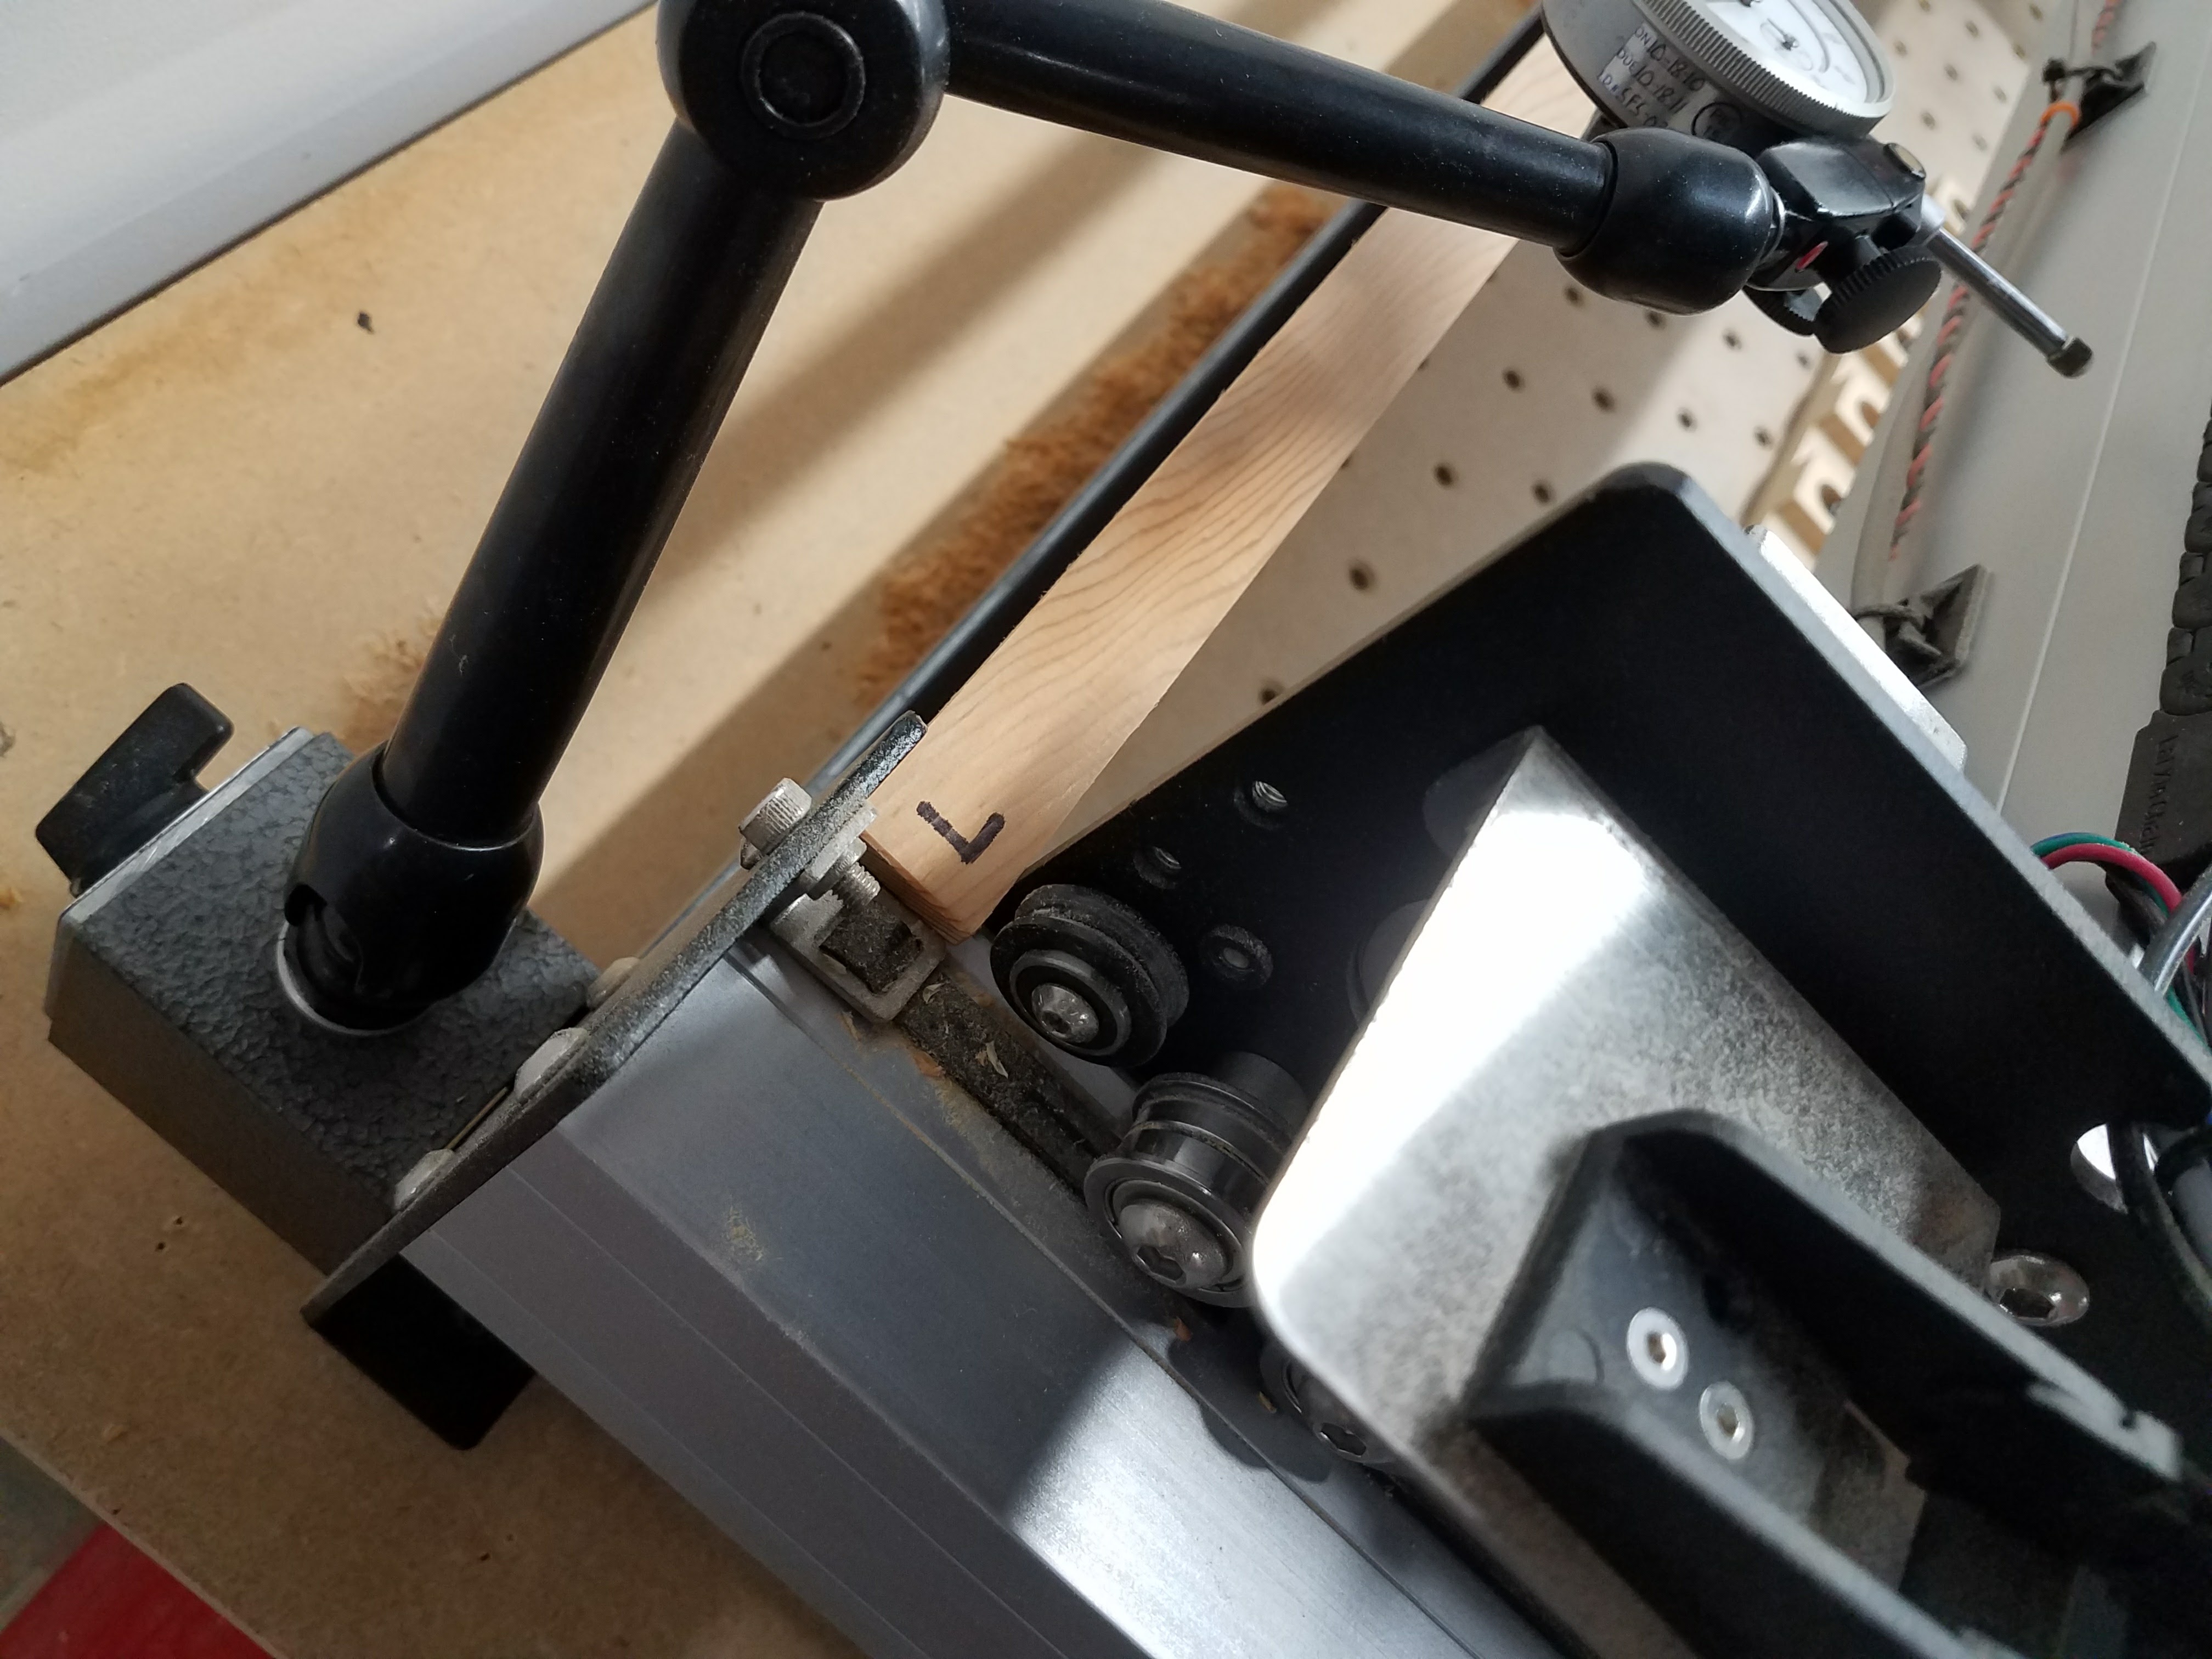
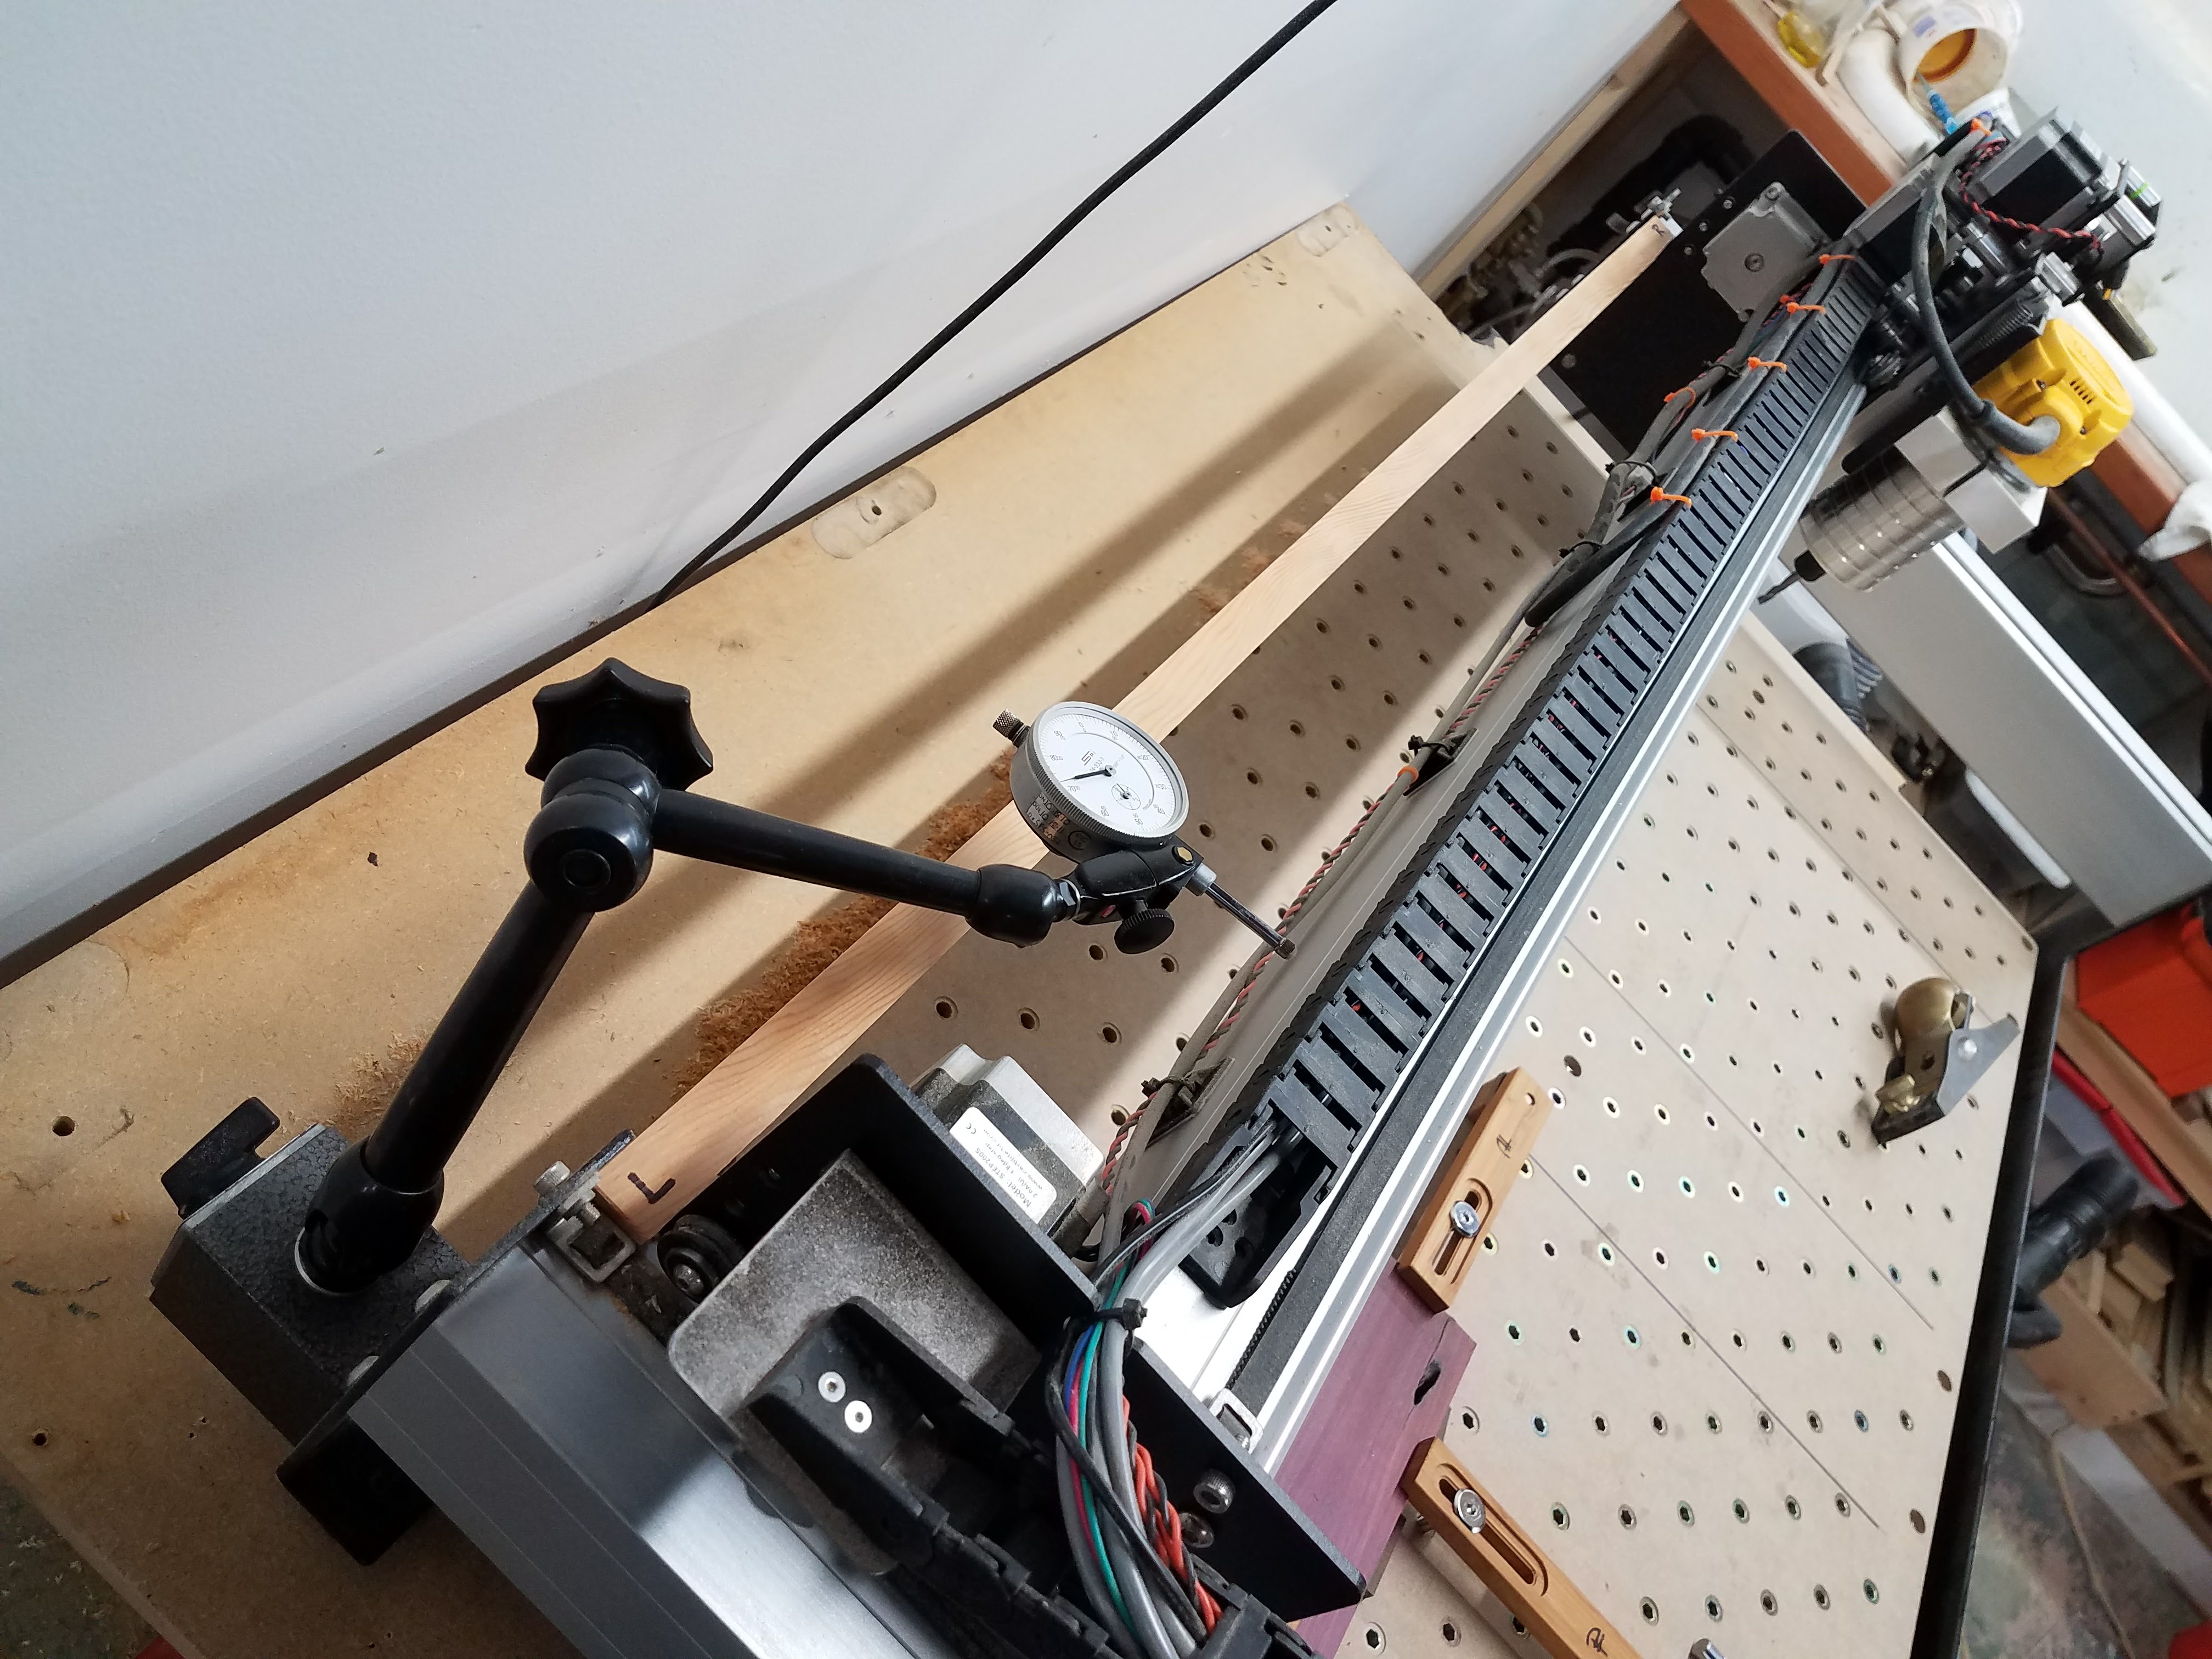
I created a stick that I put between the carriage and back bracket, roll the carriage back to contact the stick, then power on the unit, and remove the stick.
With this process in pace both the x and y axis are very repeatable.
I shaved each end of the stick down until the machine jumped very little when the power was turned on. This is why it is marked with L and R so I use the stick the same orientation each time it is started. The stick hangs from a nail behind the machine, where it is within easy reach.
Note: be sure to remove the stick before homing. Machine makes very bad noises when it cannot move the carriage back to hit the homing switch. Or so I have been told, I am certain I would never forget to do such a thing.
Nice setup. I’m glad to know others have experienced similar issues and found workarounds. I have a whopping hour or so tonight I can mess around with it so I’m going to try and run a few homing cycles, get pictures and video where useful. It’s tucked into a bit of a corner, on one hand I’d like to pull the machine out to get better access, on the other I don’t want to disrupt the setup and have it affect the results. We’ll see how much I can do without moving it.
The inconsistency happens at the switch plunger and the point it contacts the screw/buckle-thing. On -my- machine that’s right on the edge, and I had a problem with it “skipping off” the edge of the screw and hitting the captive nut on the buckle -sometimes-. I just needed to move the switch a tad (a washer under it) and things were a lot better because it consistently hit the back frame instead of the screw edge.
Gotcha, mine’s hitting the frame already so that’s one thing down. Annoyingly it’s decided not to produce the errors today at least in isolated tests. I checked that the switch was hitting a solid spot and that the left side of the system wasn’t hitting first and causing it to bend.
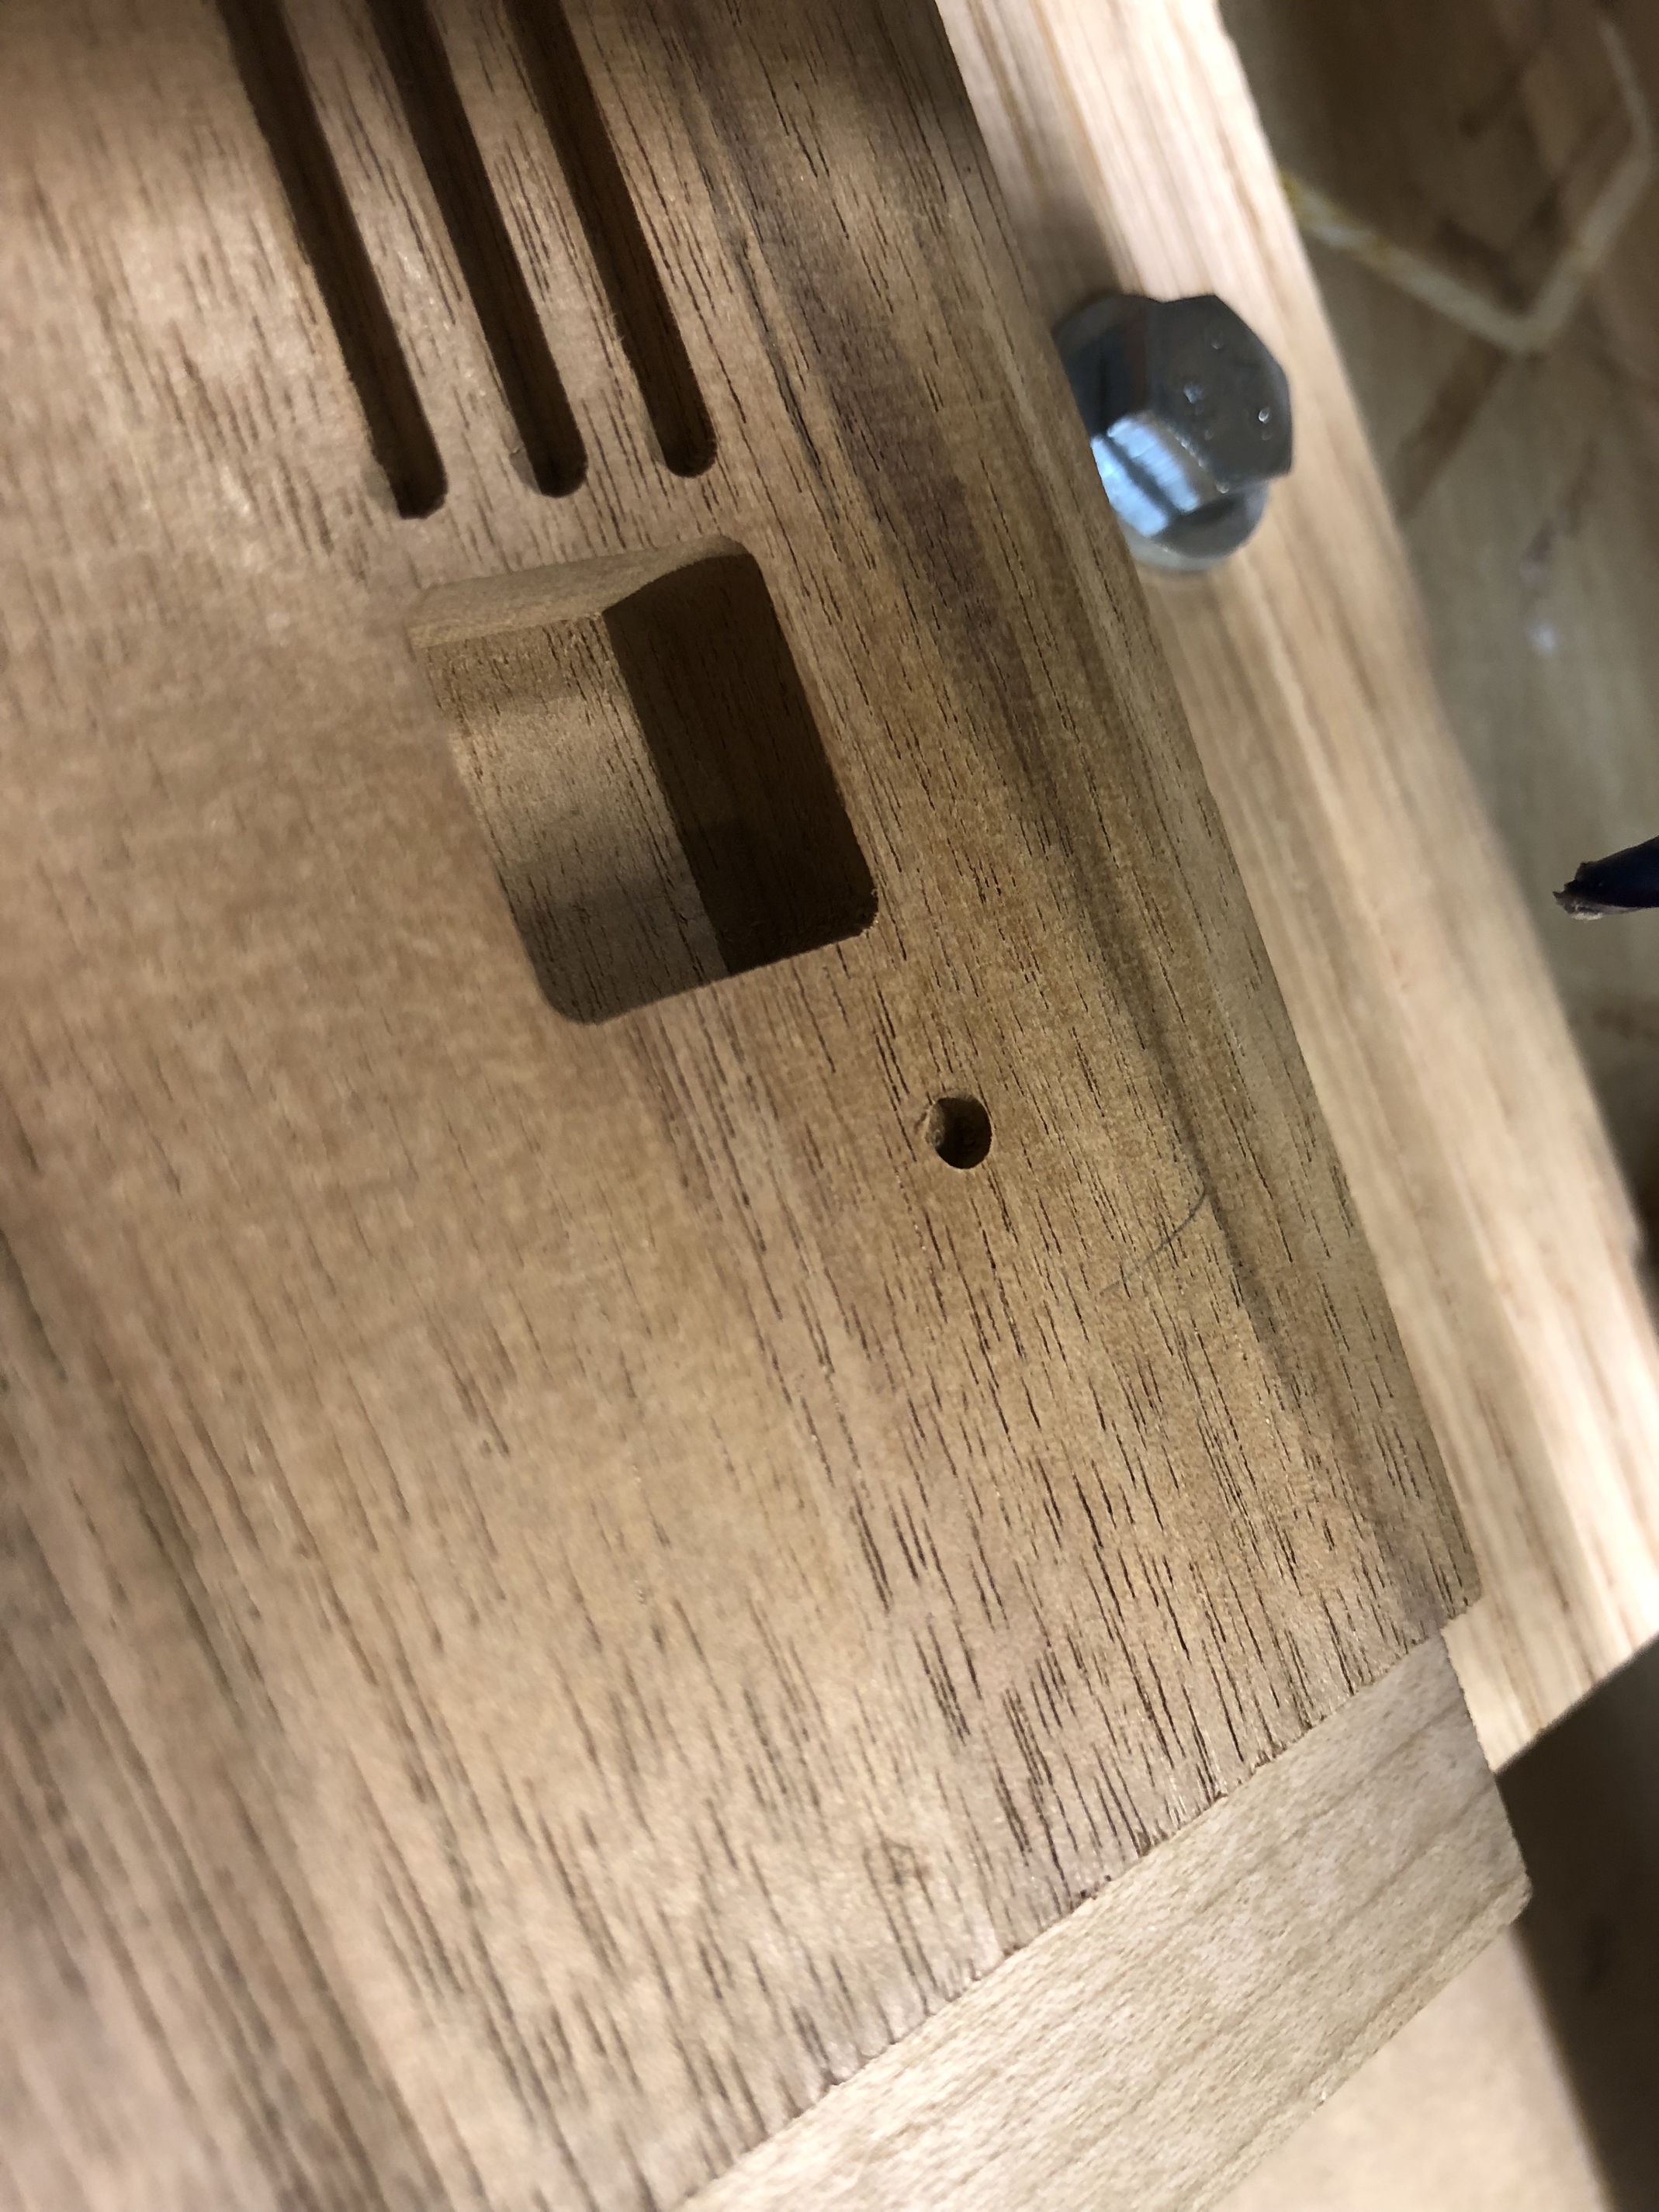
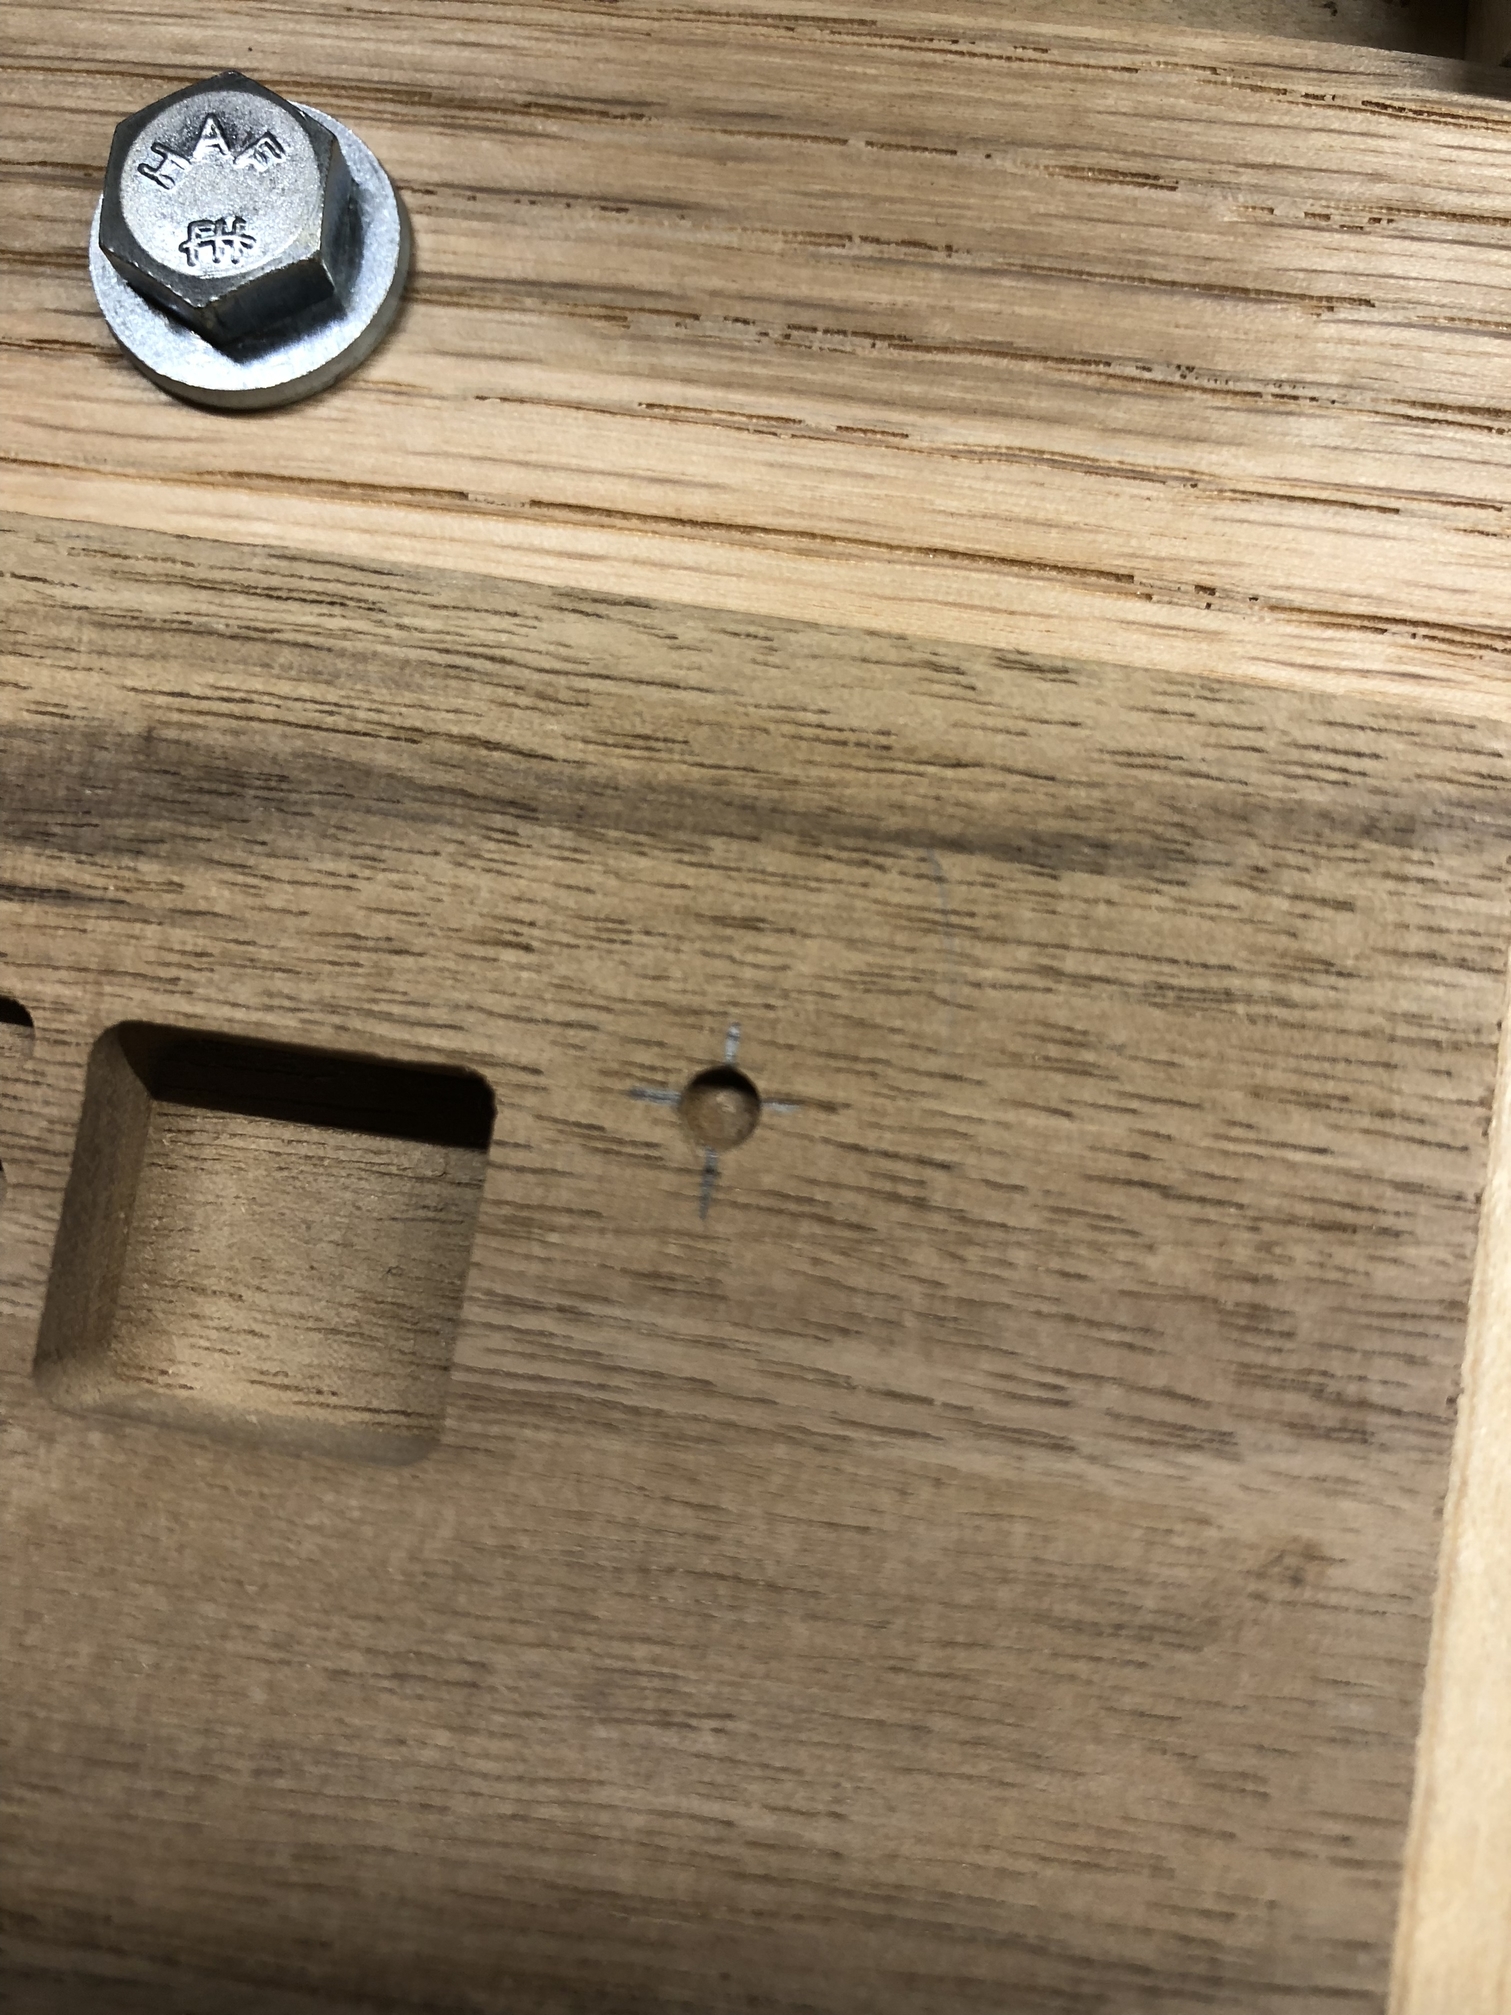
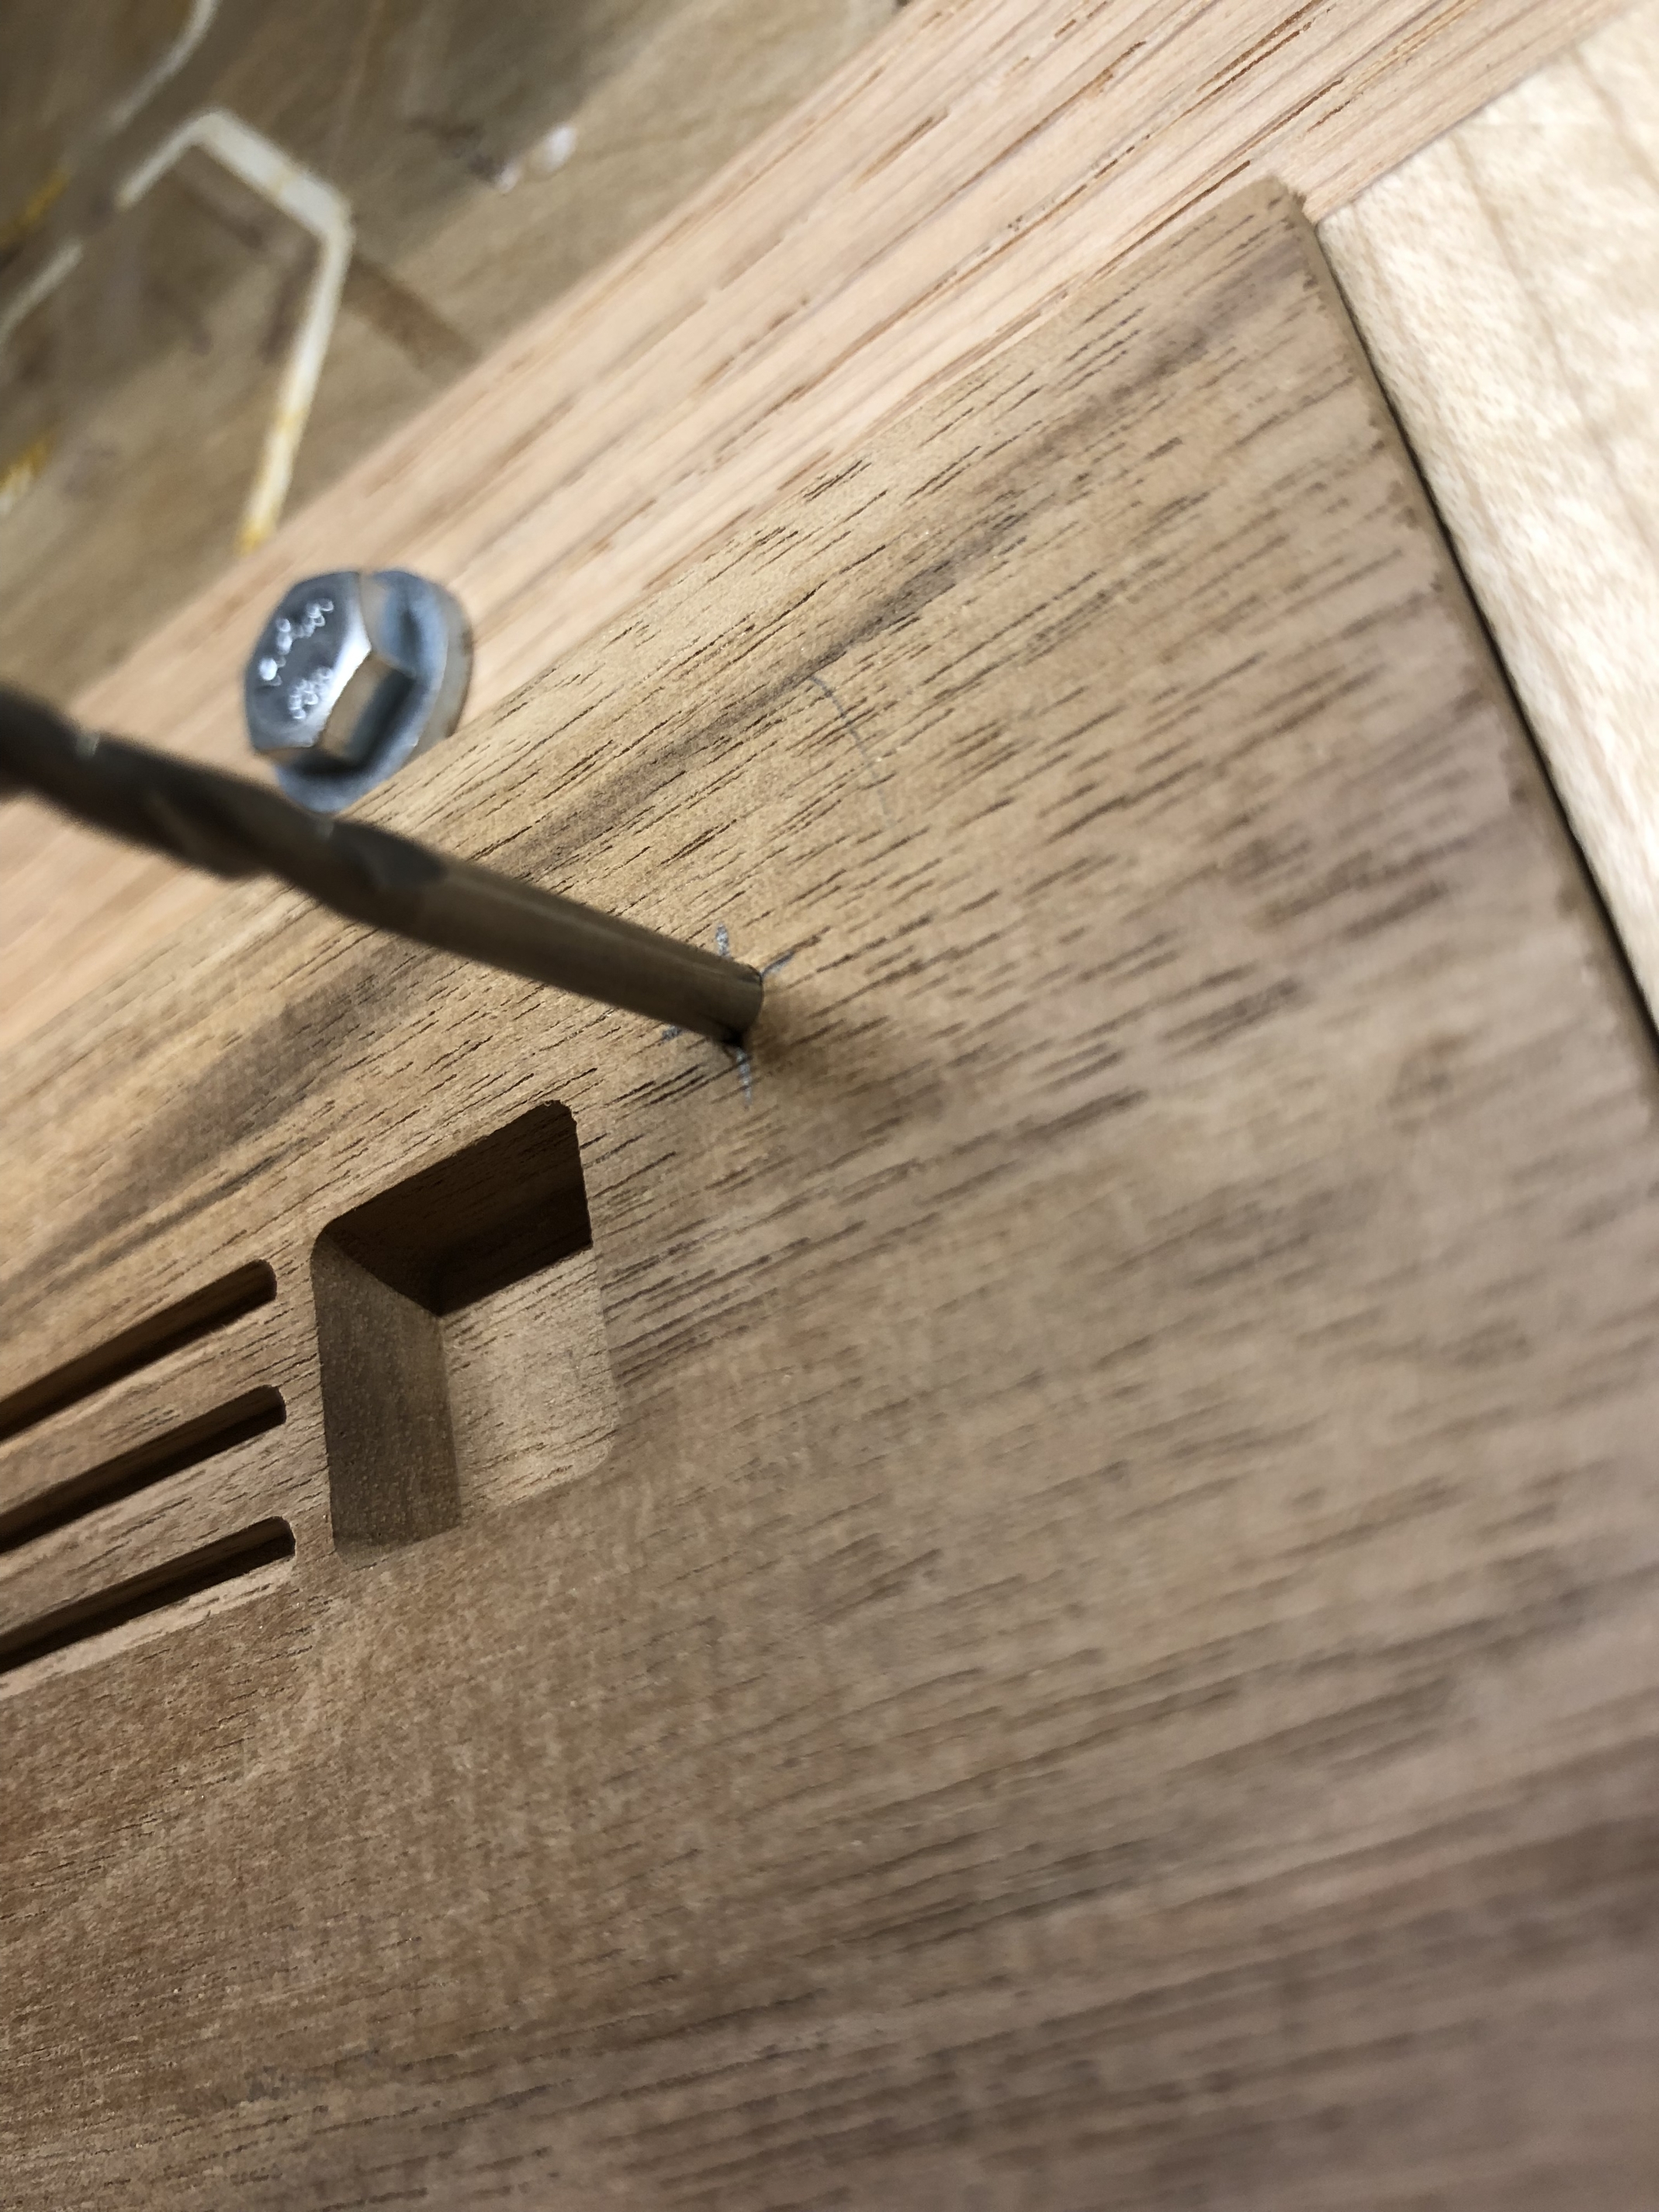
I then did some light manual milling. I zeroed the the machine into a spot over some scrap then jogged it 2mm into the piece. I then re-homed the machine, returned to the previous zero, and ran it 1mm into the piece. The idea was I would in theory see a ridge halfway down giving an idea of which direction it was off.
So I decided to do a slot cut, same procedure except I also milled a 6mm slot. I repeated this in Y as well. In both instances the operation seemed to mill almost precisely over the previous spot.
I had a solar issue. Based on guidance from Luke (aka Mr. Beaver) I lowered my rapid movement on x,y, and z. Solved the problem. Also, highly recommend his Z access upgrade you can see it at beavercnc.co.uk.
I had a solar issue. Based on guidance from Luke (aka Mr. Beaver) I lowered my rapid movement on x,y, and z. Solved the problem. Also, highly recommend his Z access upgrade you can see it at beavercnc.co.uk.
The videos are more eloquent, change the X axis final switches, I have also had problems with them, however they are good, they are delicate.
Beaver is very nice switches also !.
Thanks for all the input. I’m going to try and reliably reproduce the error, might try rapid’ing around the board after homing and then going to the last known zero to see if that does it. If so I can probably solve it by slowing down the rapids. I’m not quite ready to replace the switches but will keep that on my list. Probably still going to slow down the speed it approaches the switches first. Adding slowness at something you do once per cut at most generally isn’t a big deal if it gets me that repeatability.

 ️
️