My X axis leadscrew failed, and I ordered a new one from Carbide3d. This process was neither solicited nor endorsed by Carbide, but I thought maybe others could benefit from seeing it. Here’s how I did the replacement.
Remove the whole case
I started by trying to remove one side only. This was a mistake. It only takes a few minutes to remove both sides, the back and the top.
There are 4 aluminum spacers for the long screws, 1 per corner of the machine. They go between the side panel and the frame; don’t forget to put them back on!
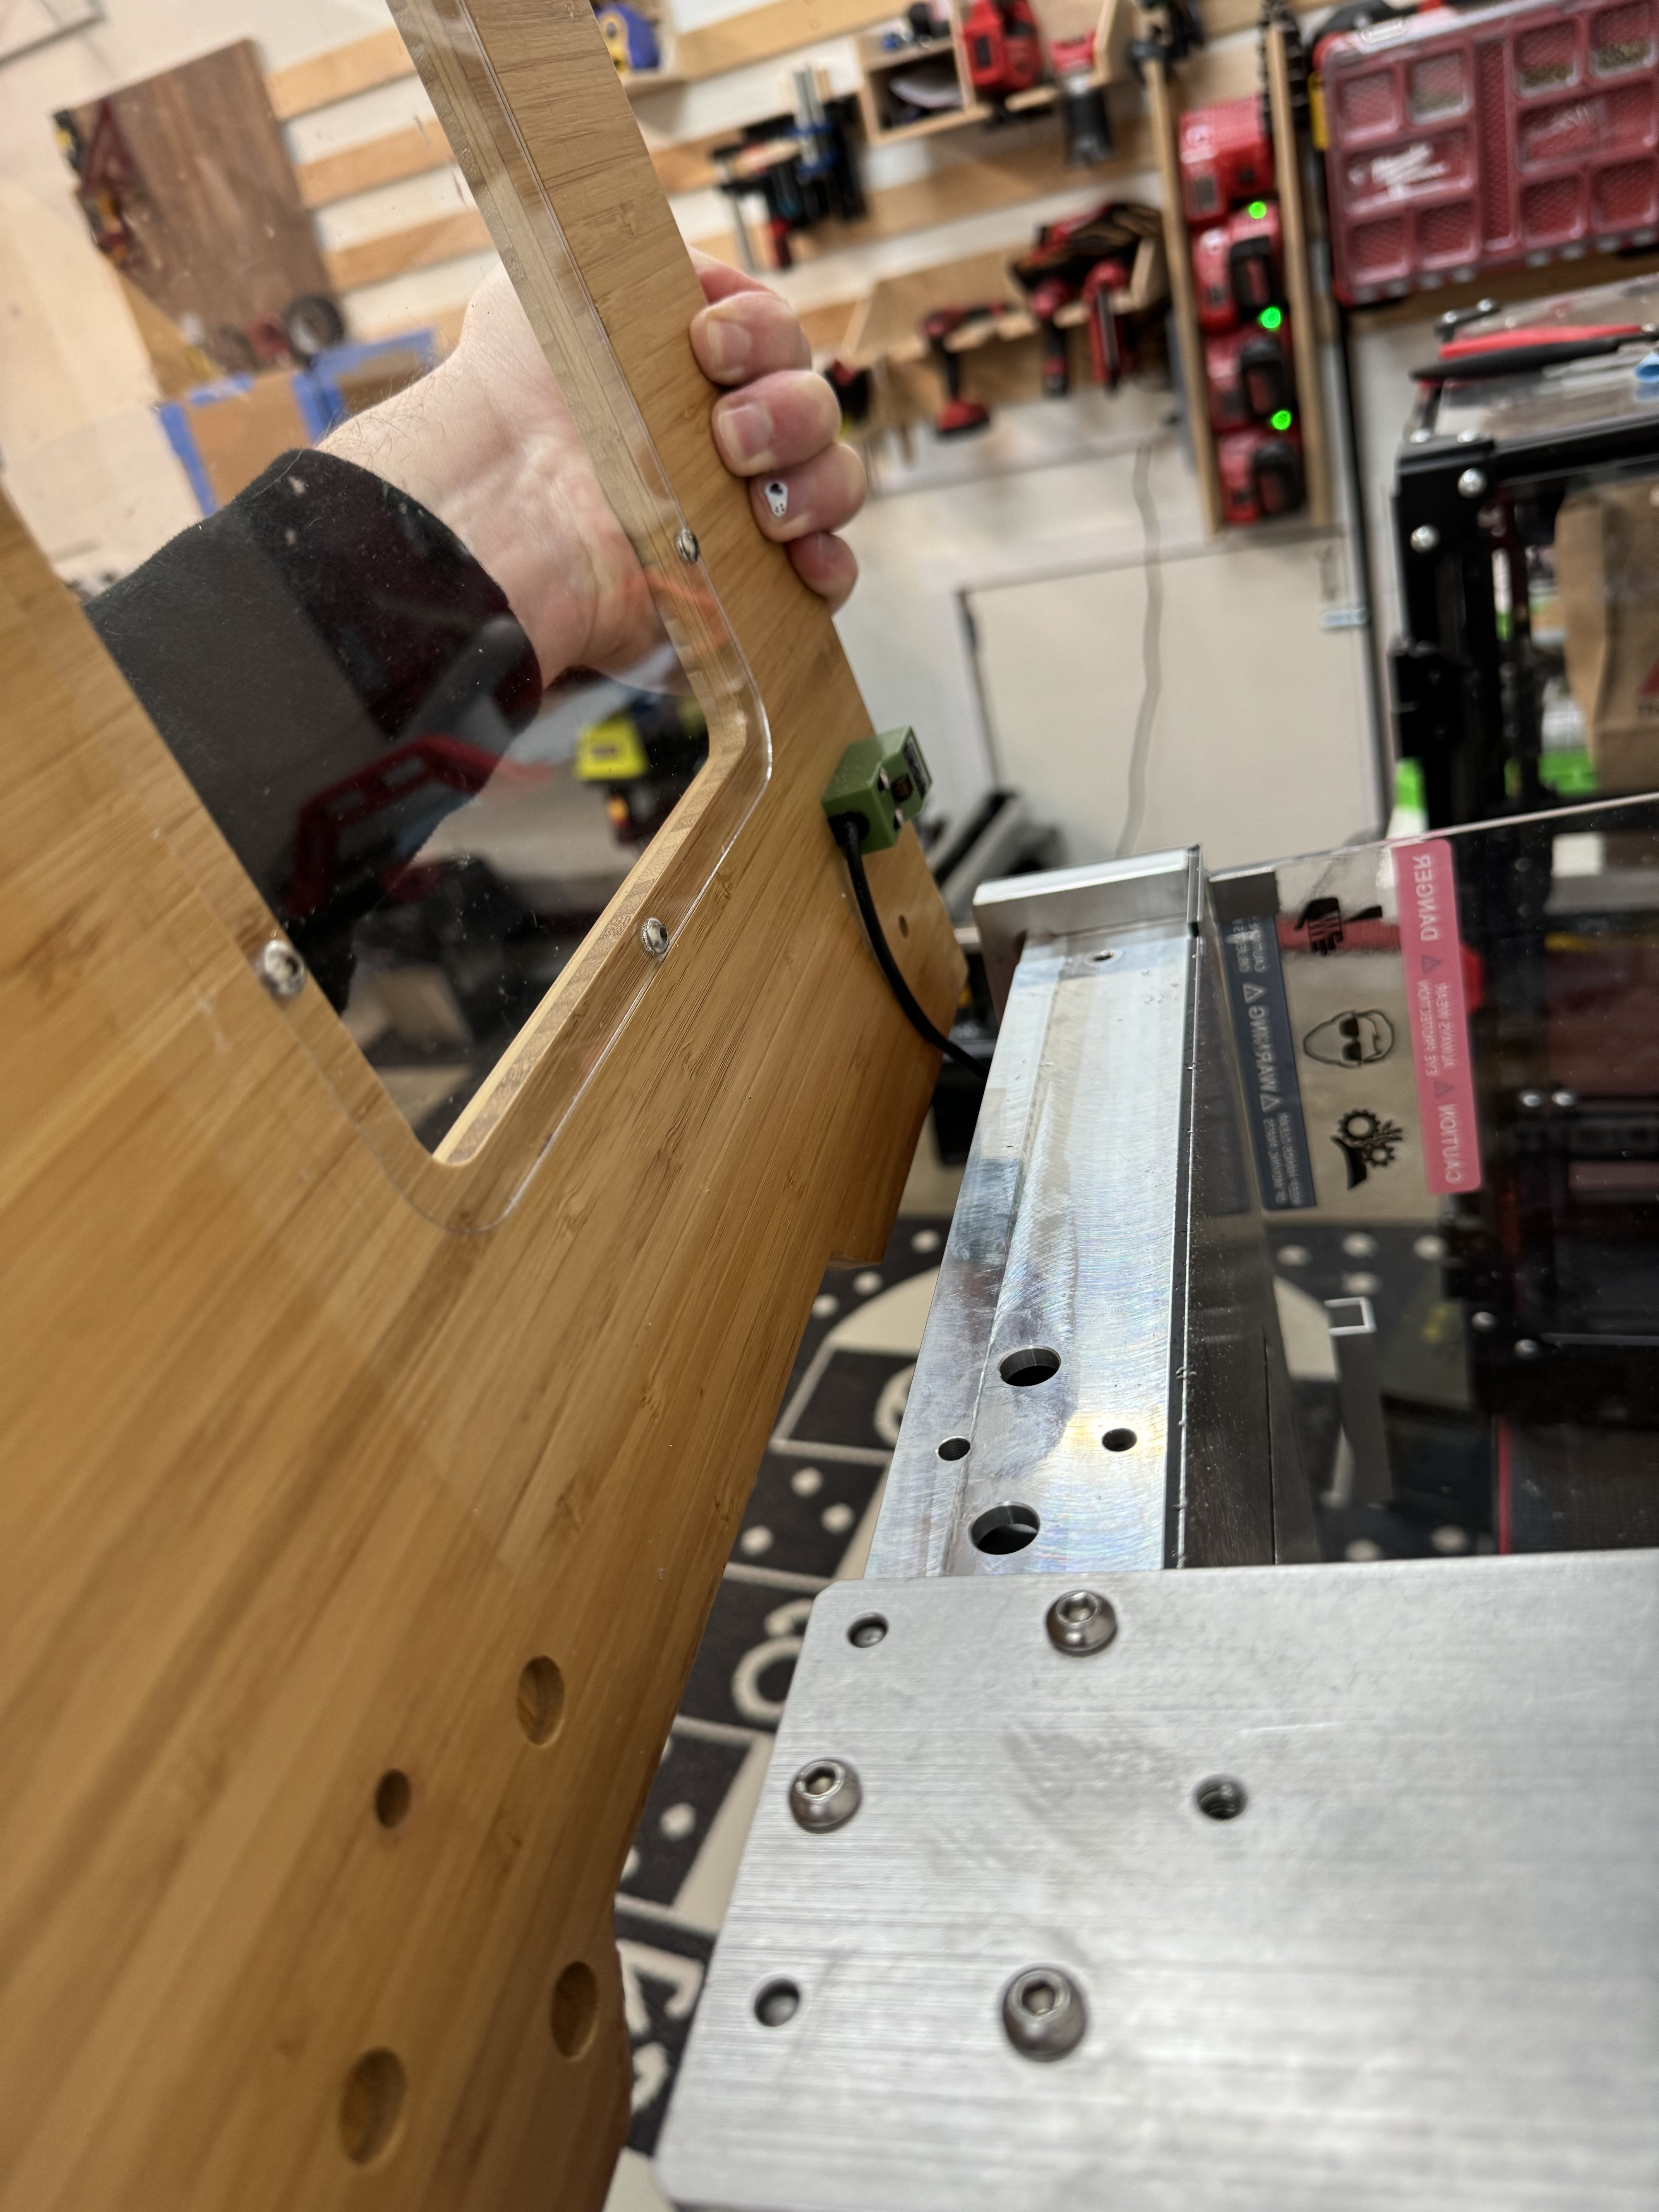
Be careful taking off the side with the door safety switch. Be super careful putting it back on! It is very easy to pinch that wire.
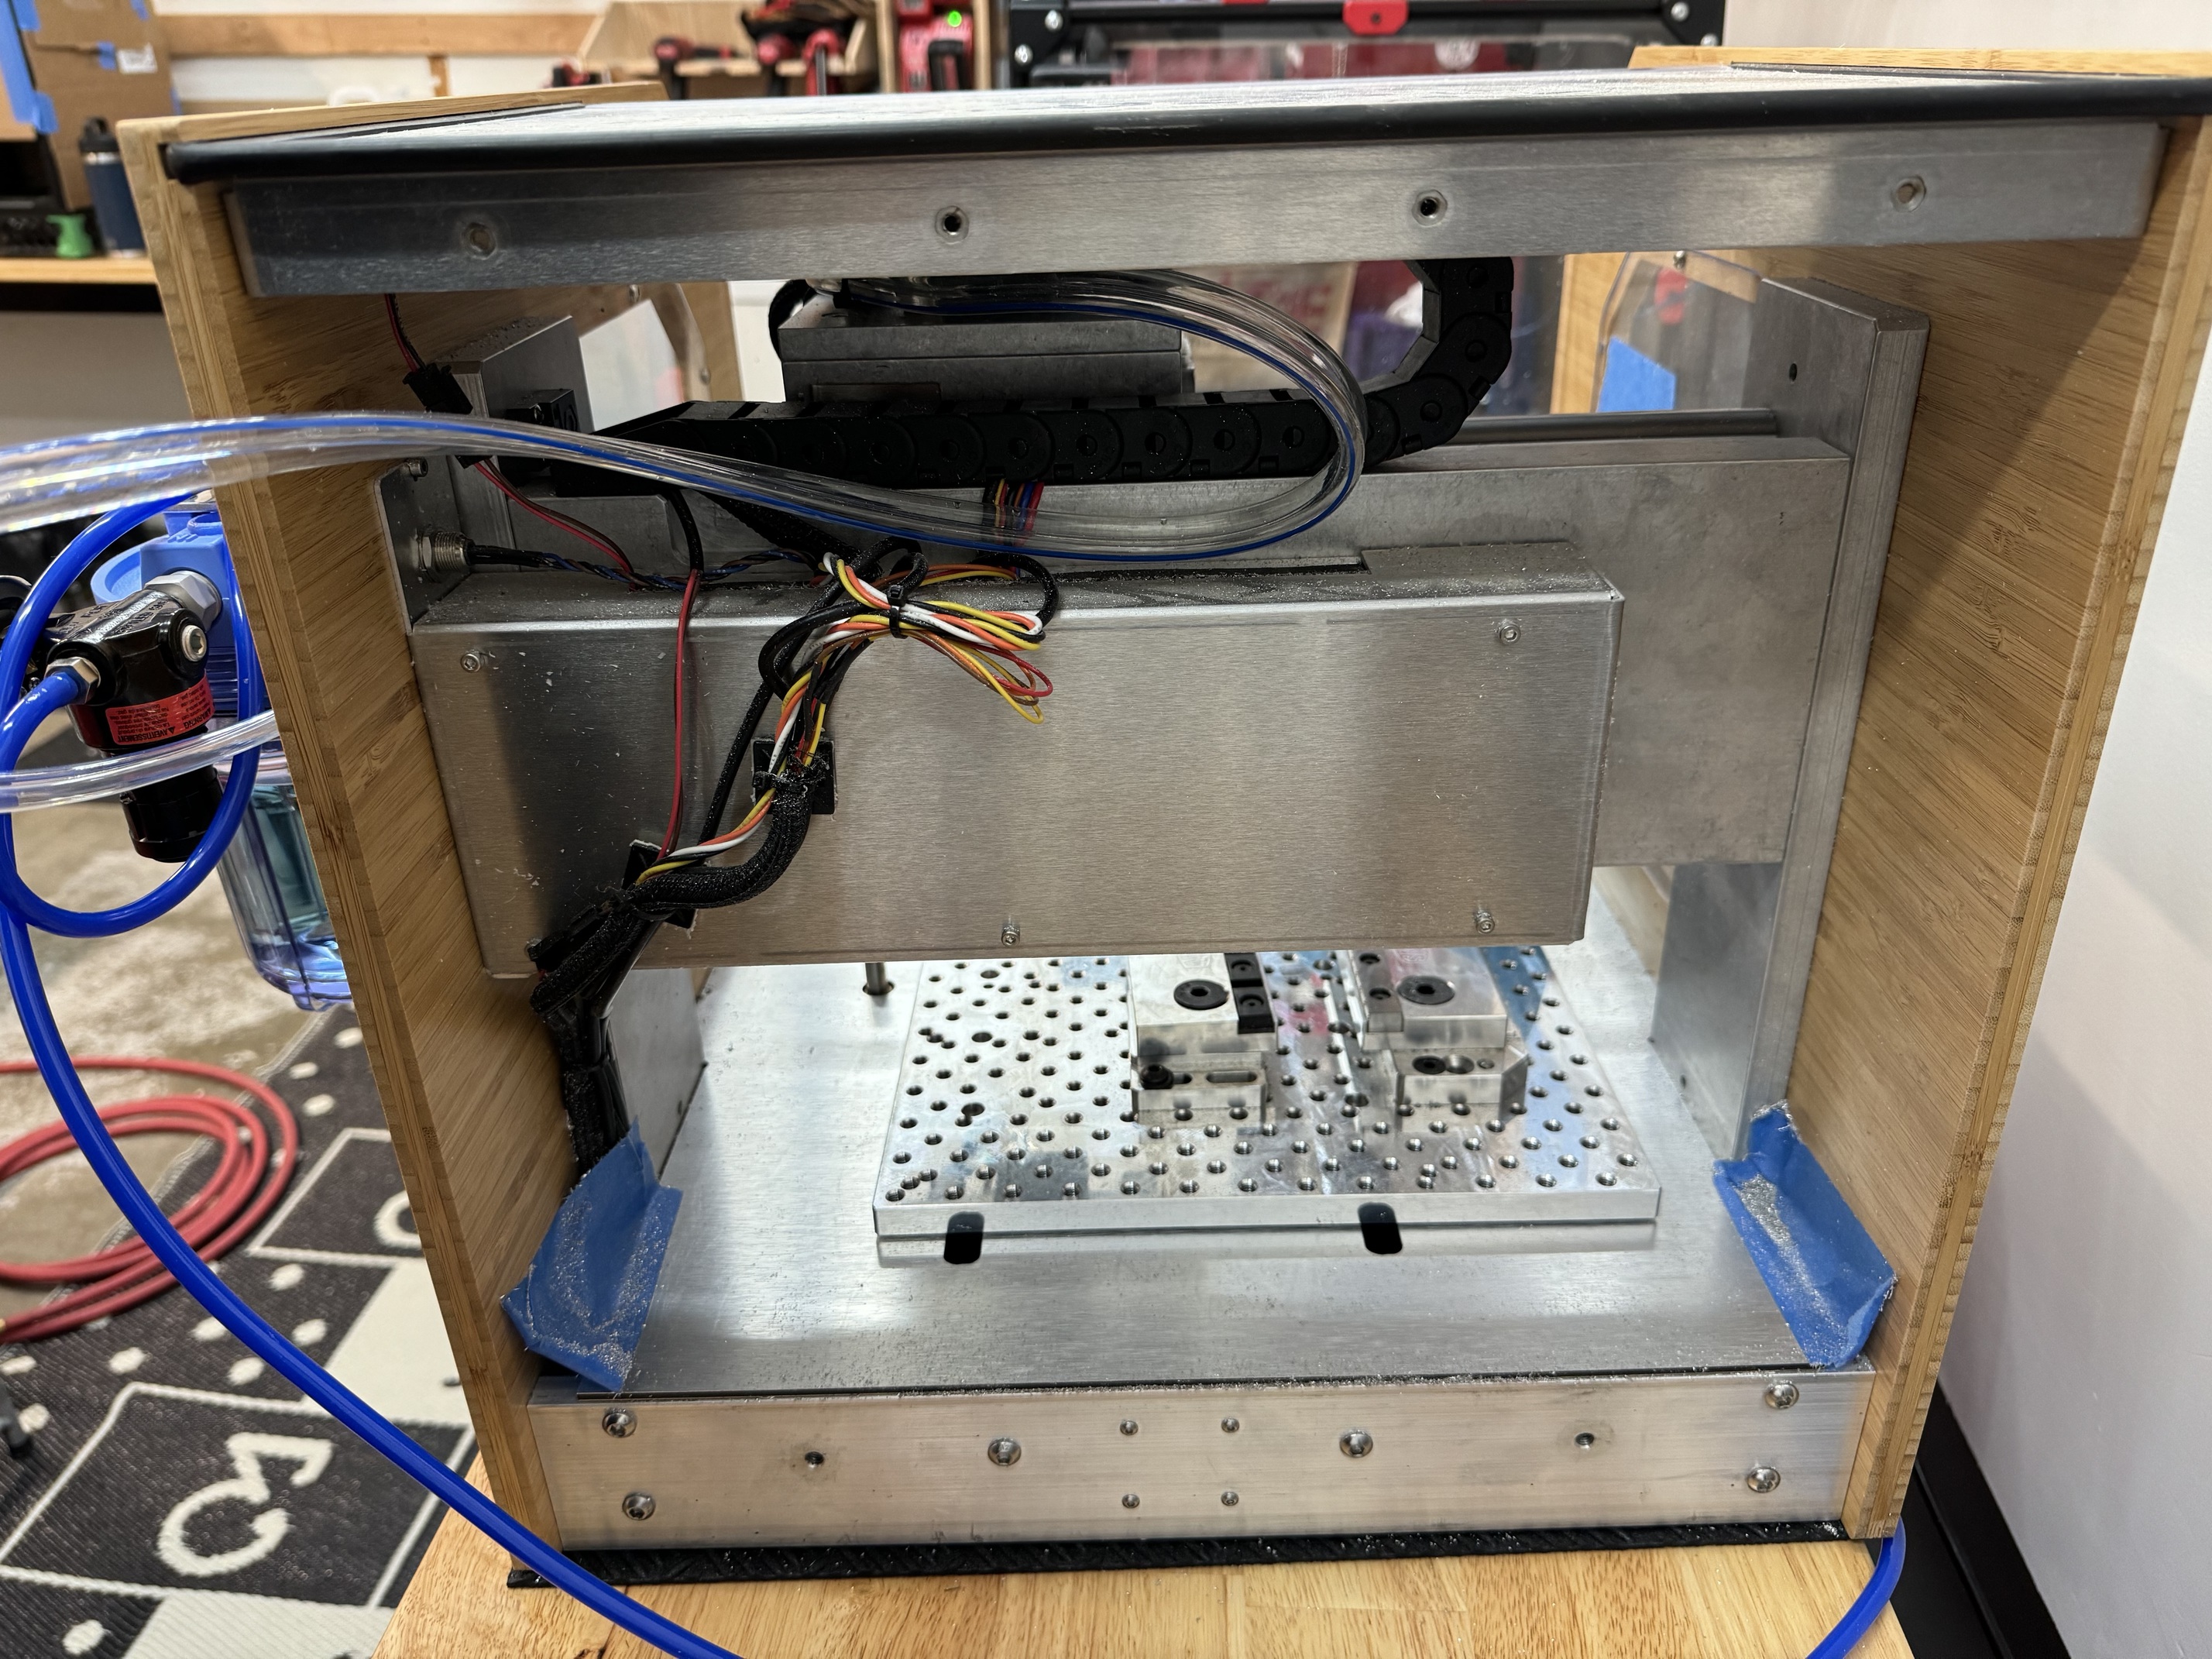
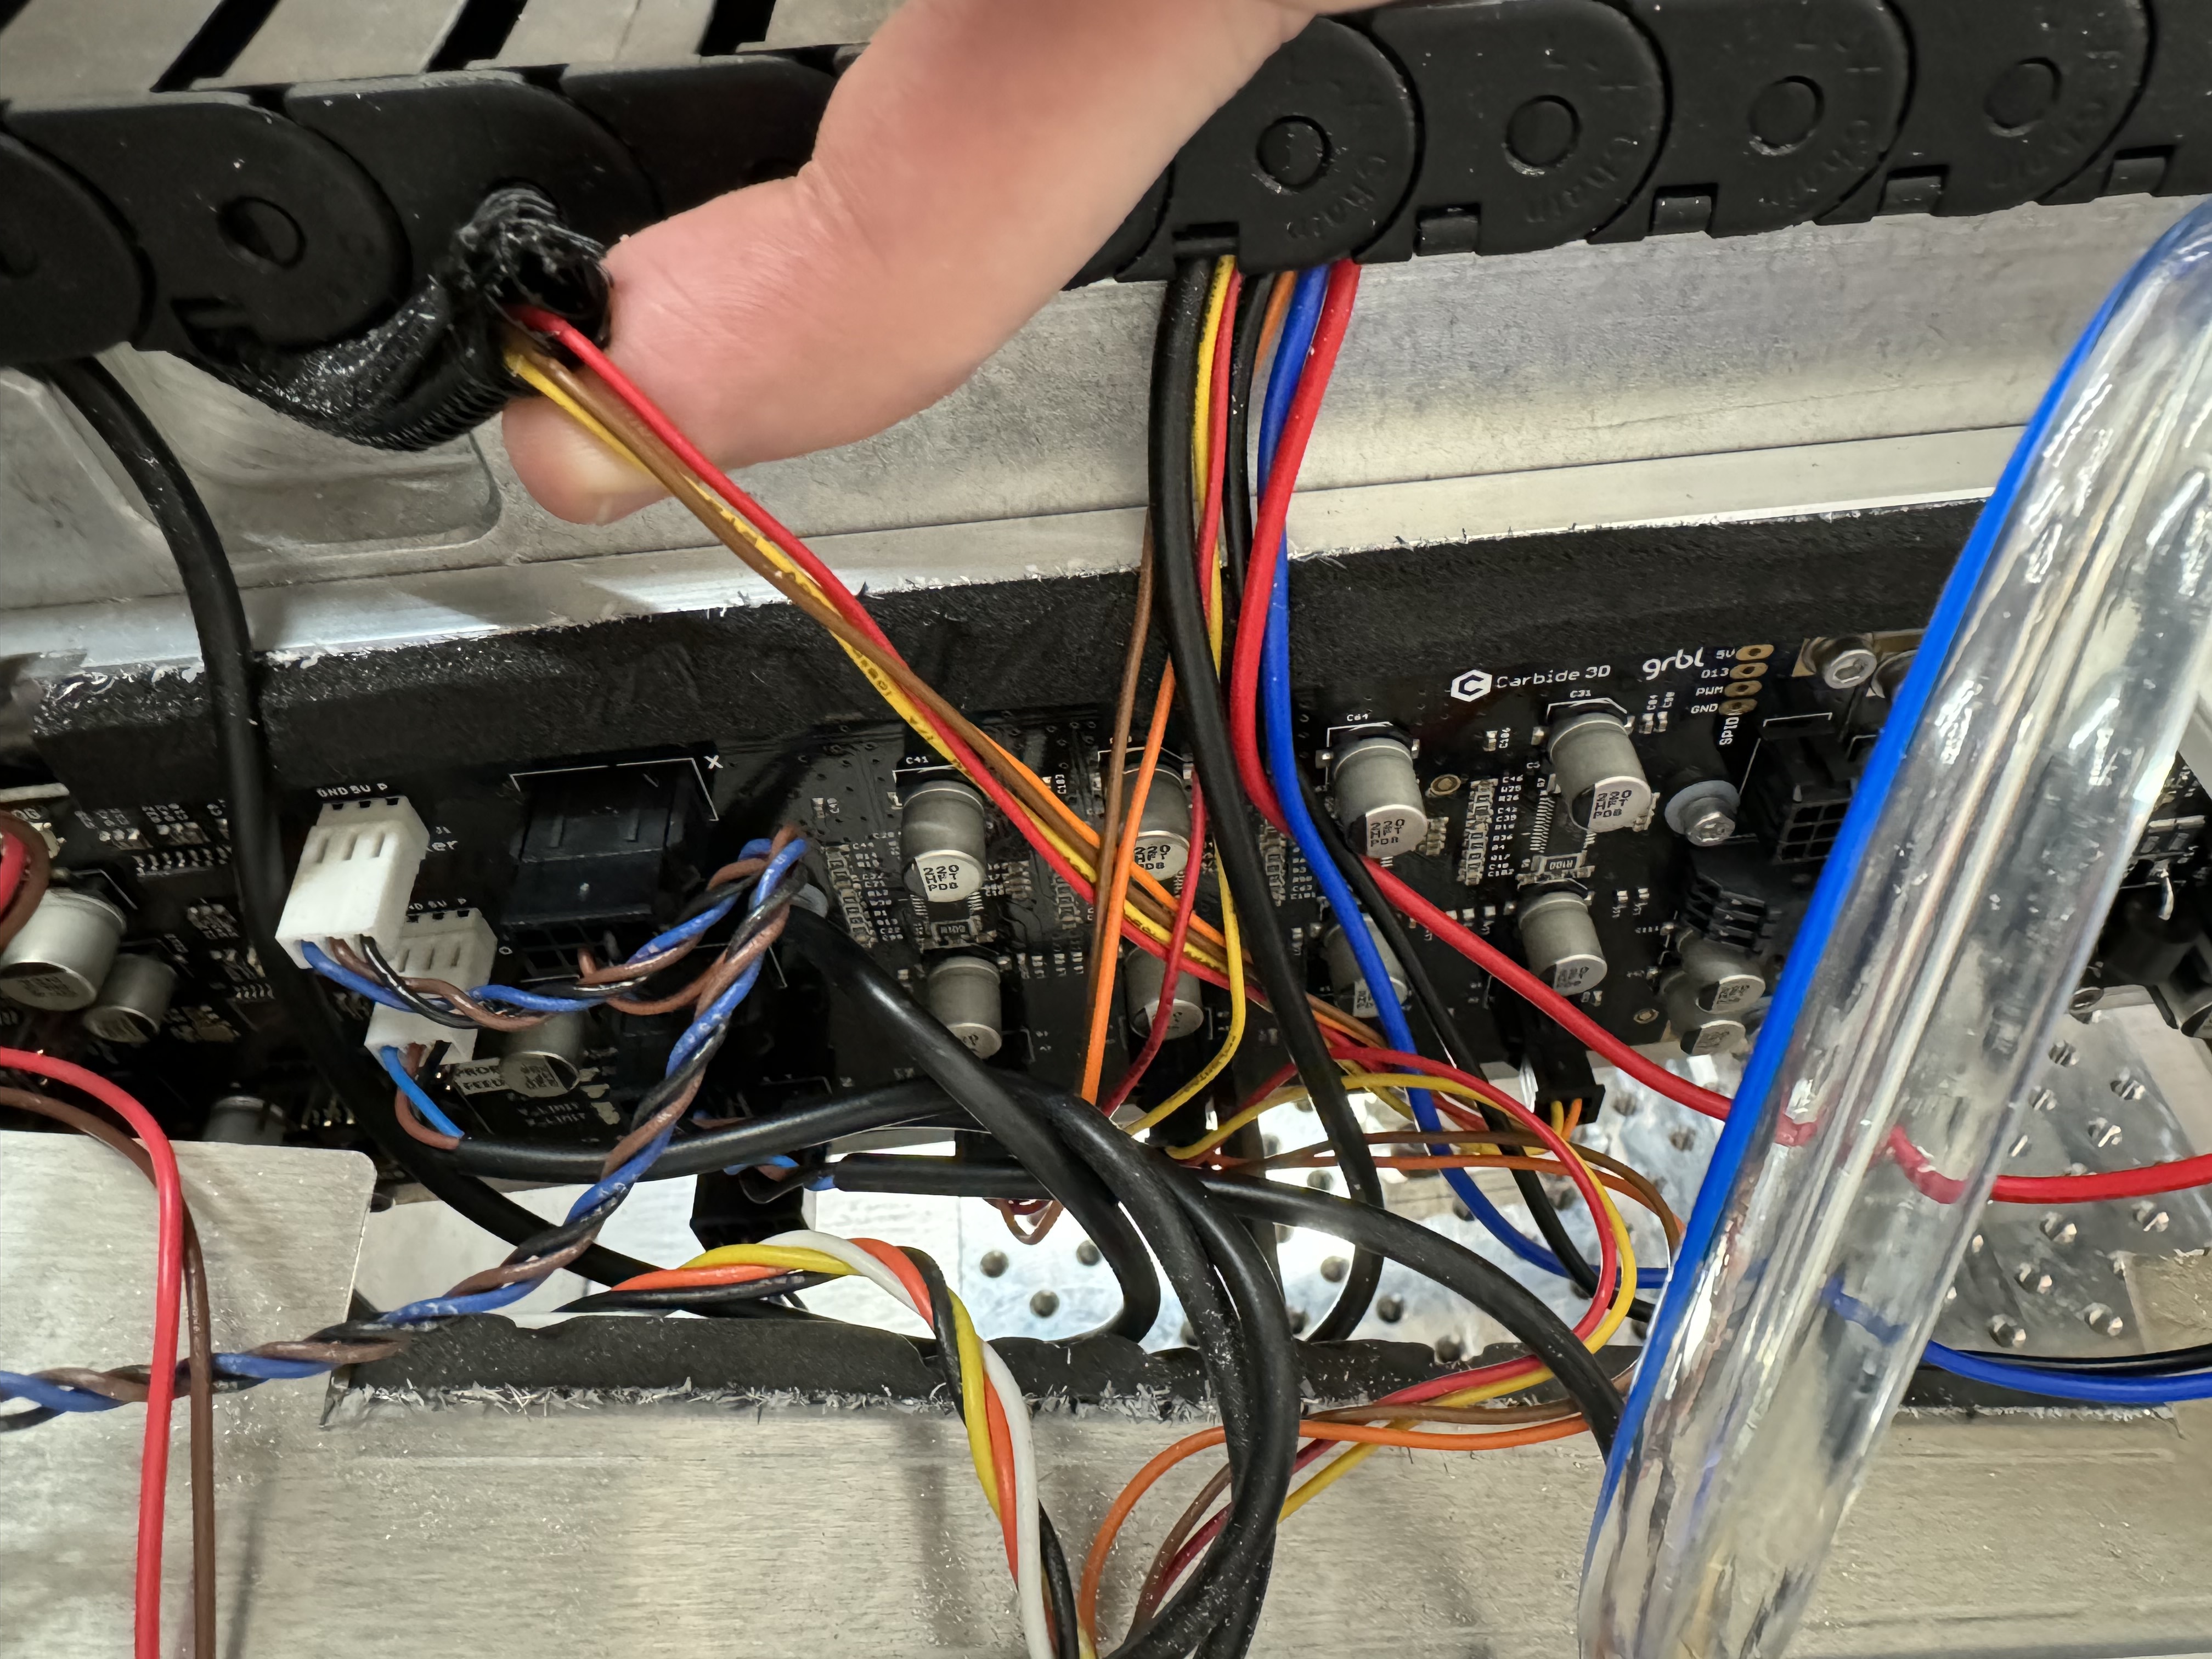
Backside opened up.
Careful with this wire!
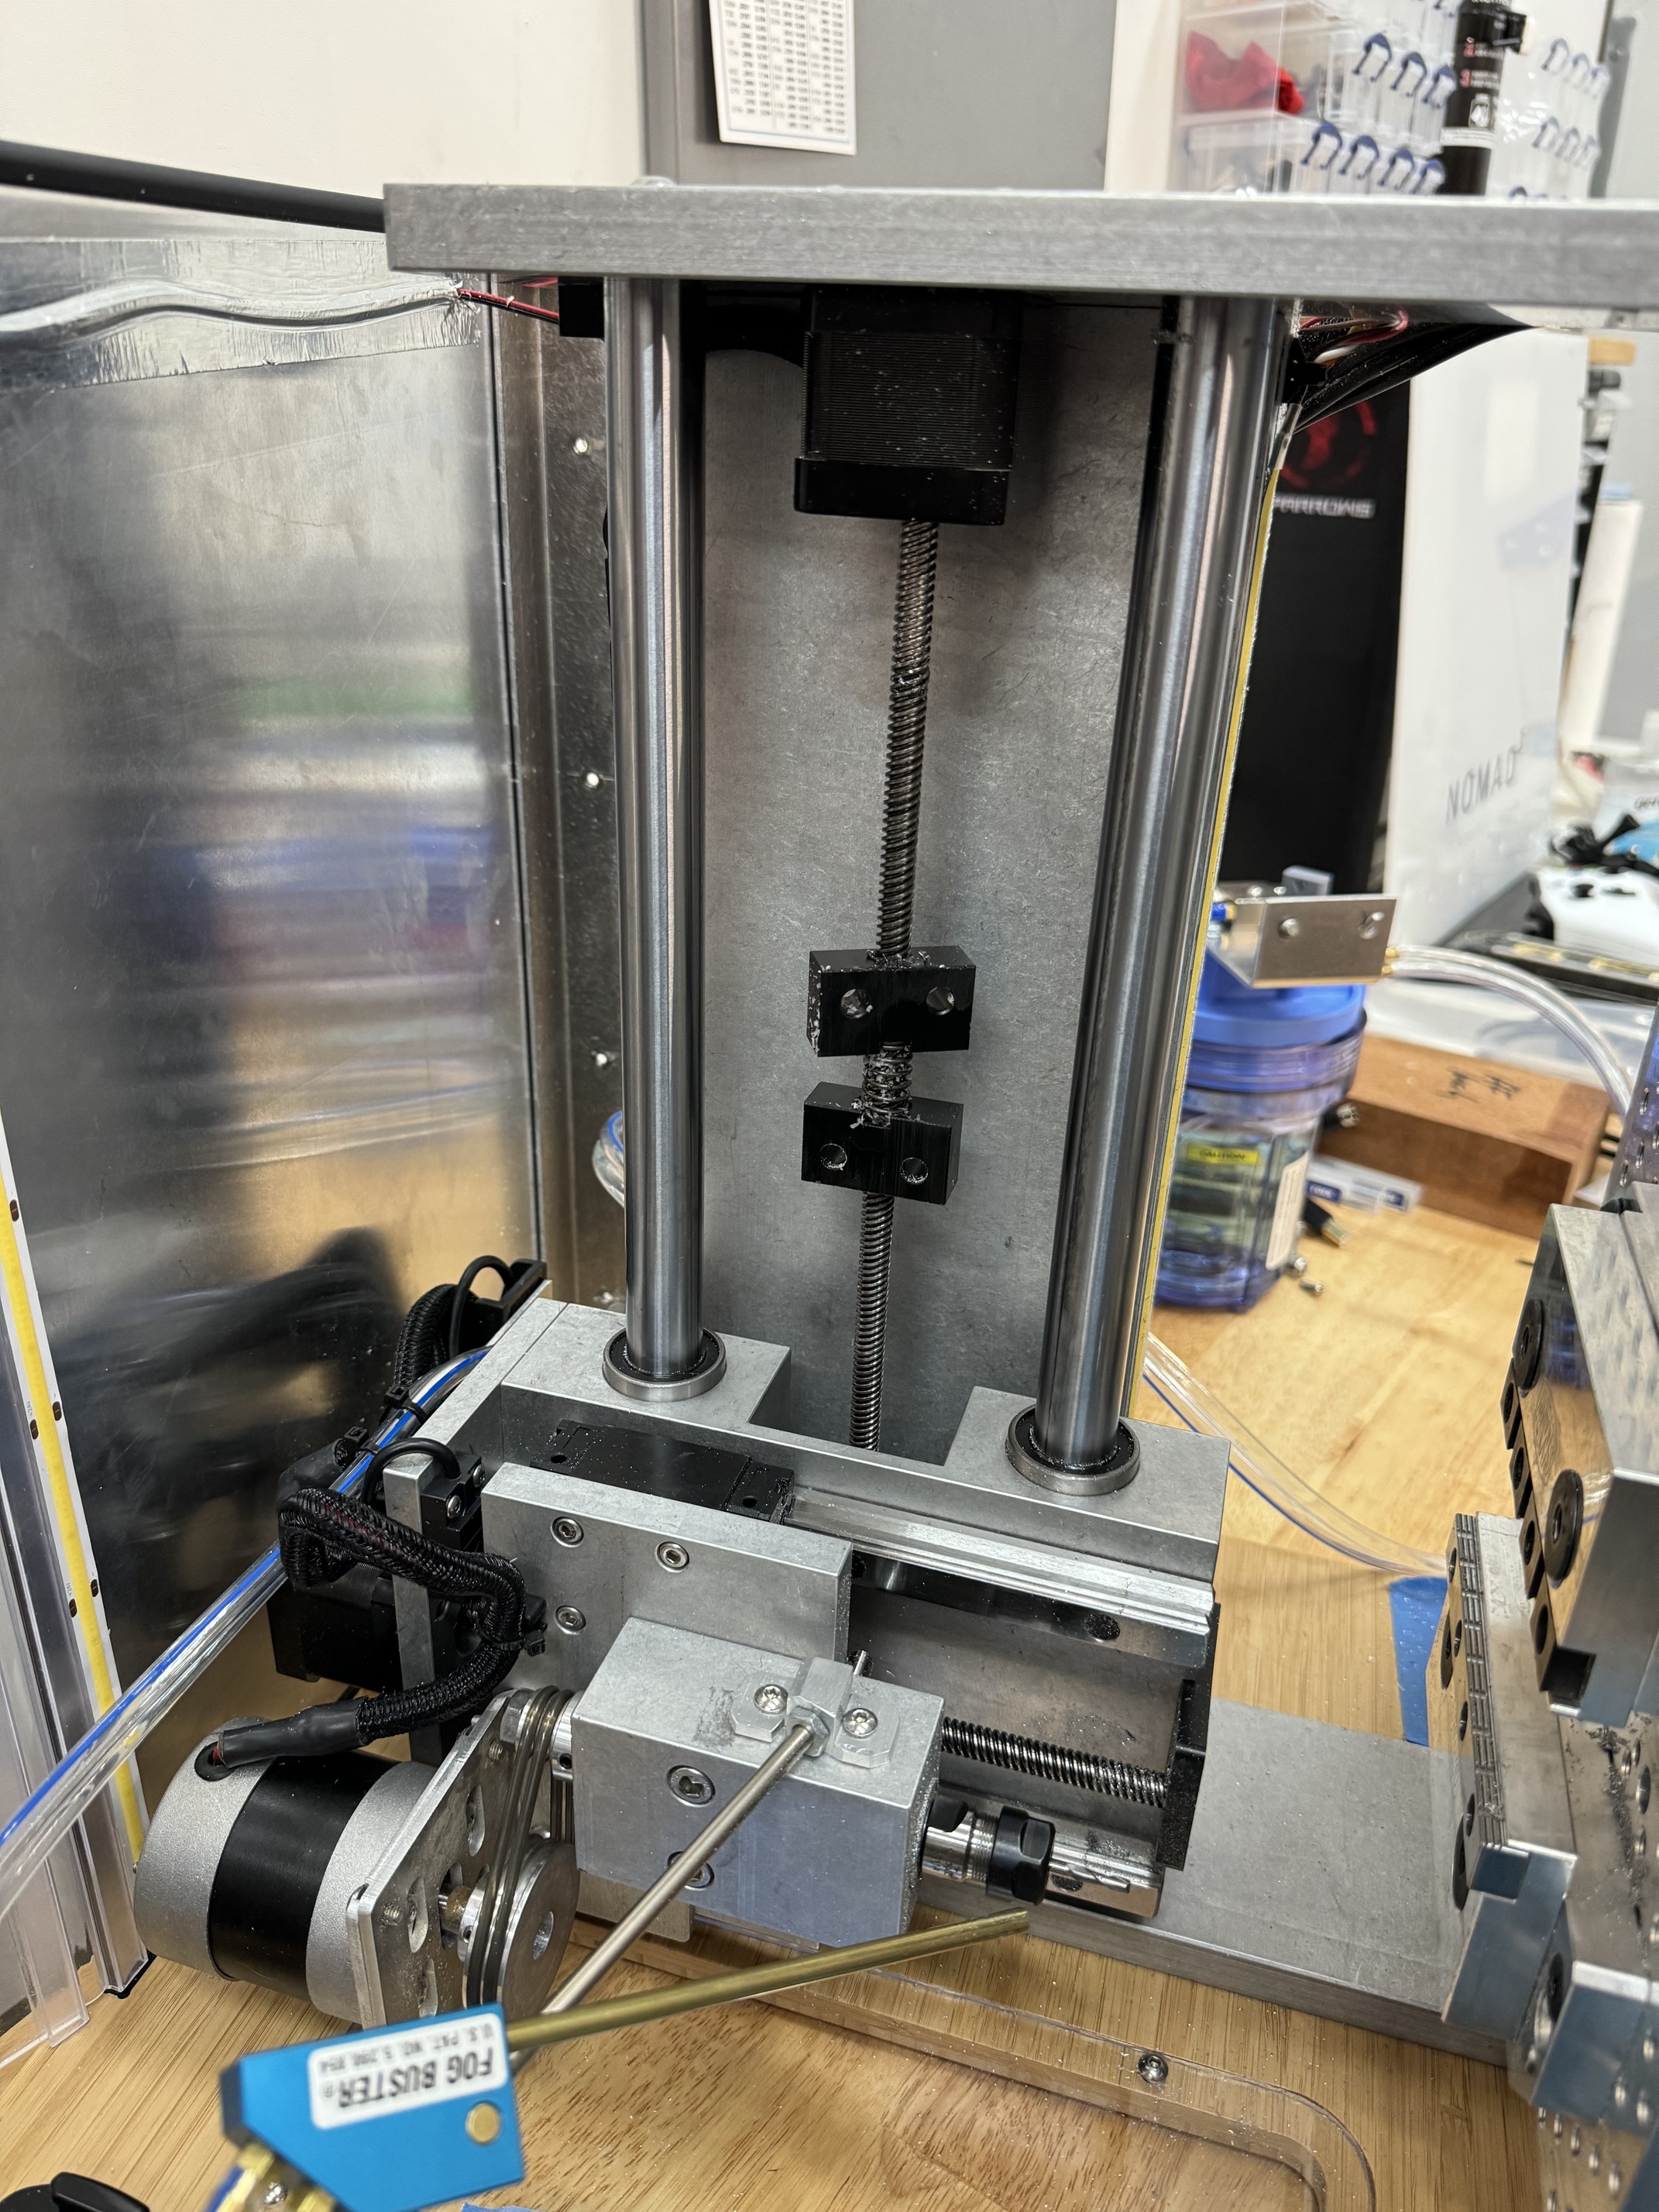
Remove the X axis motor
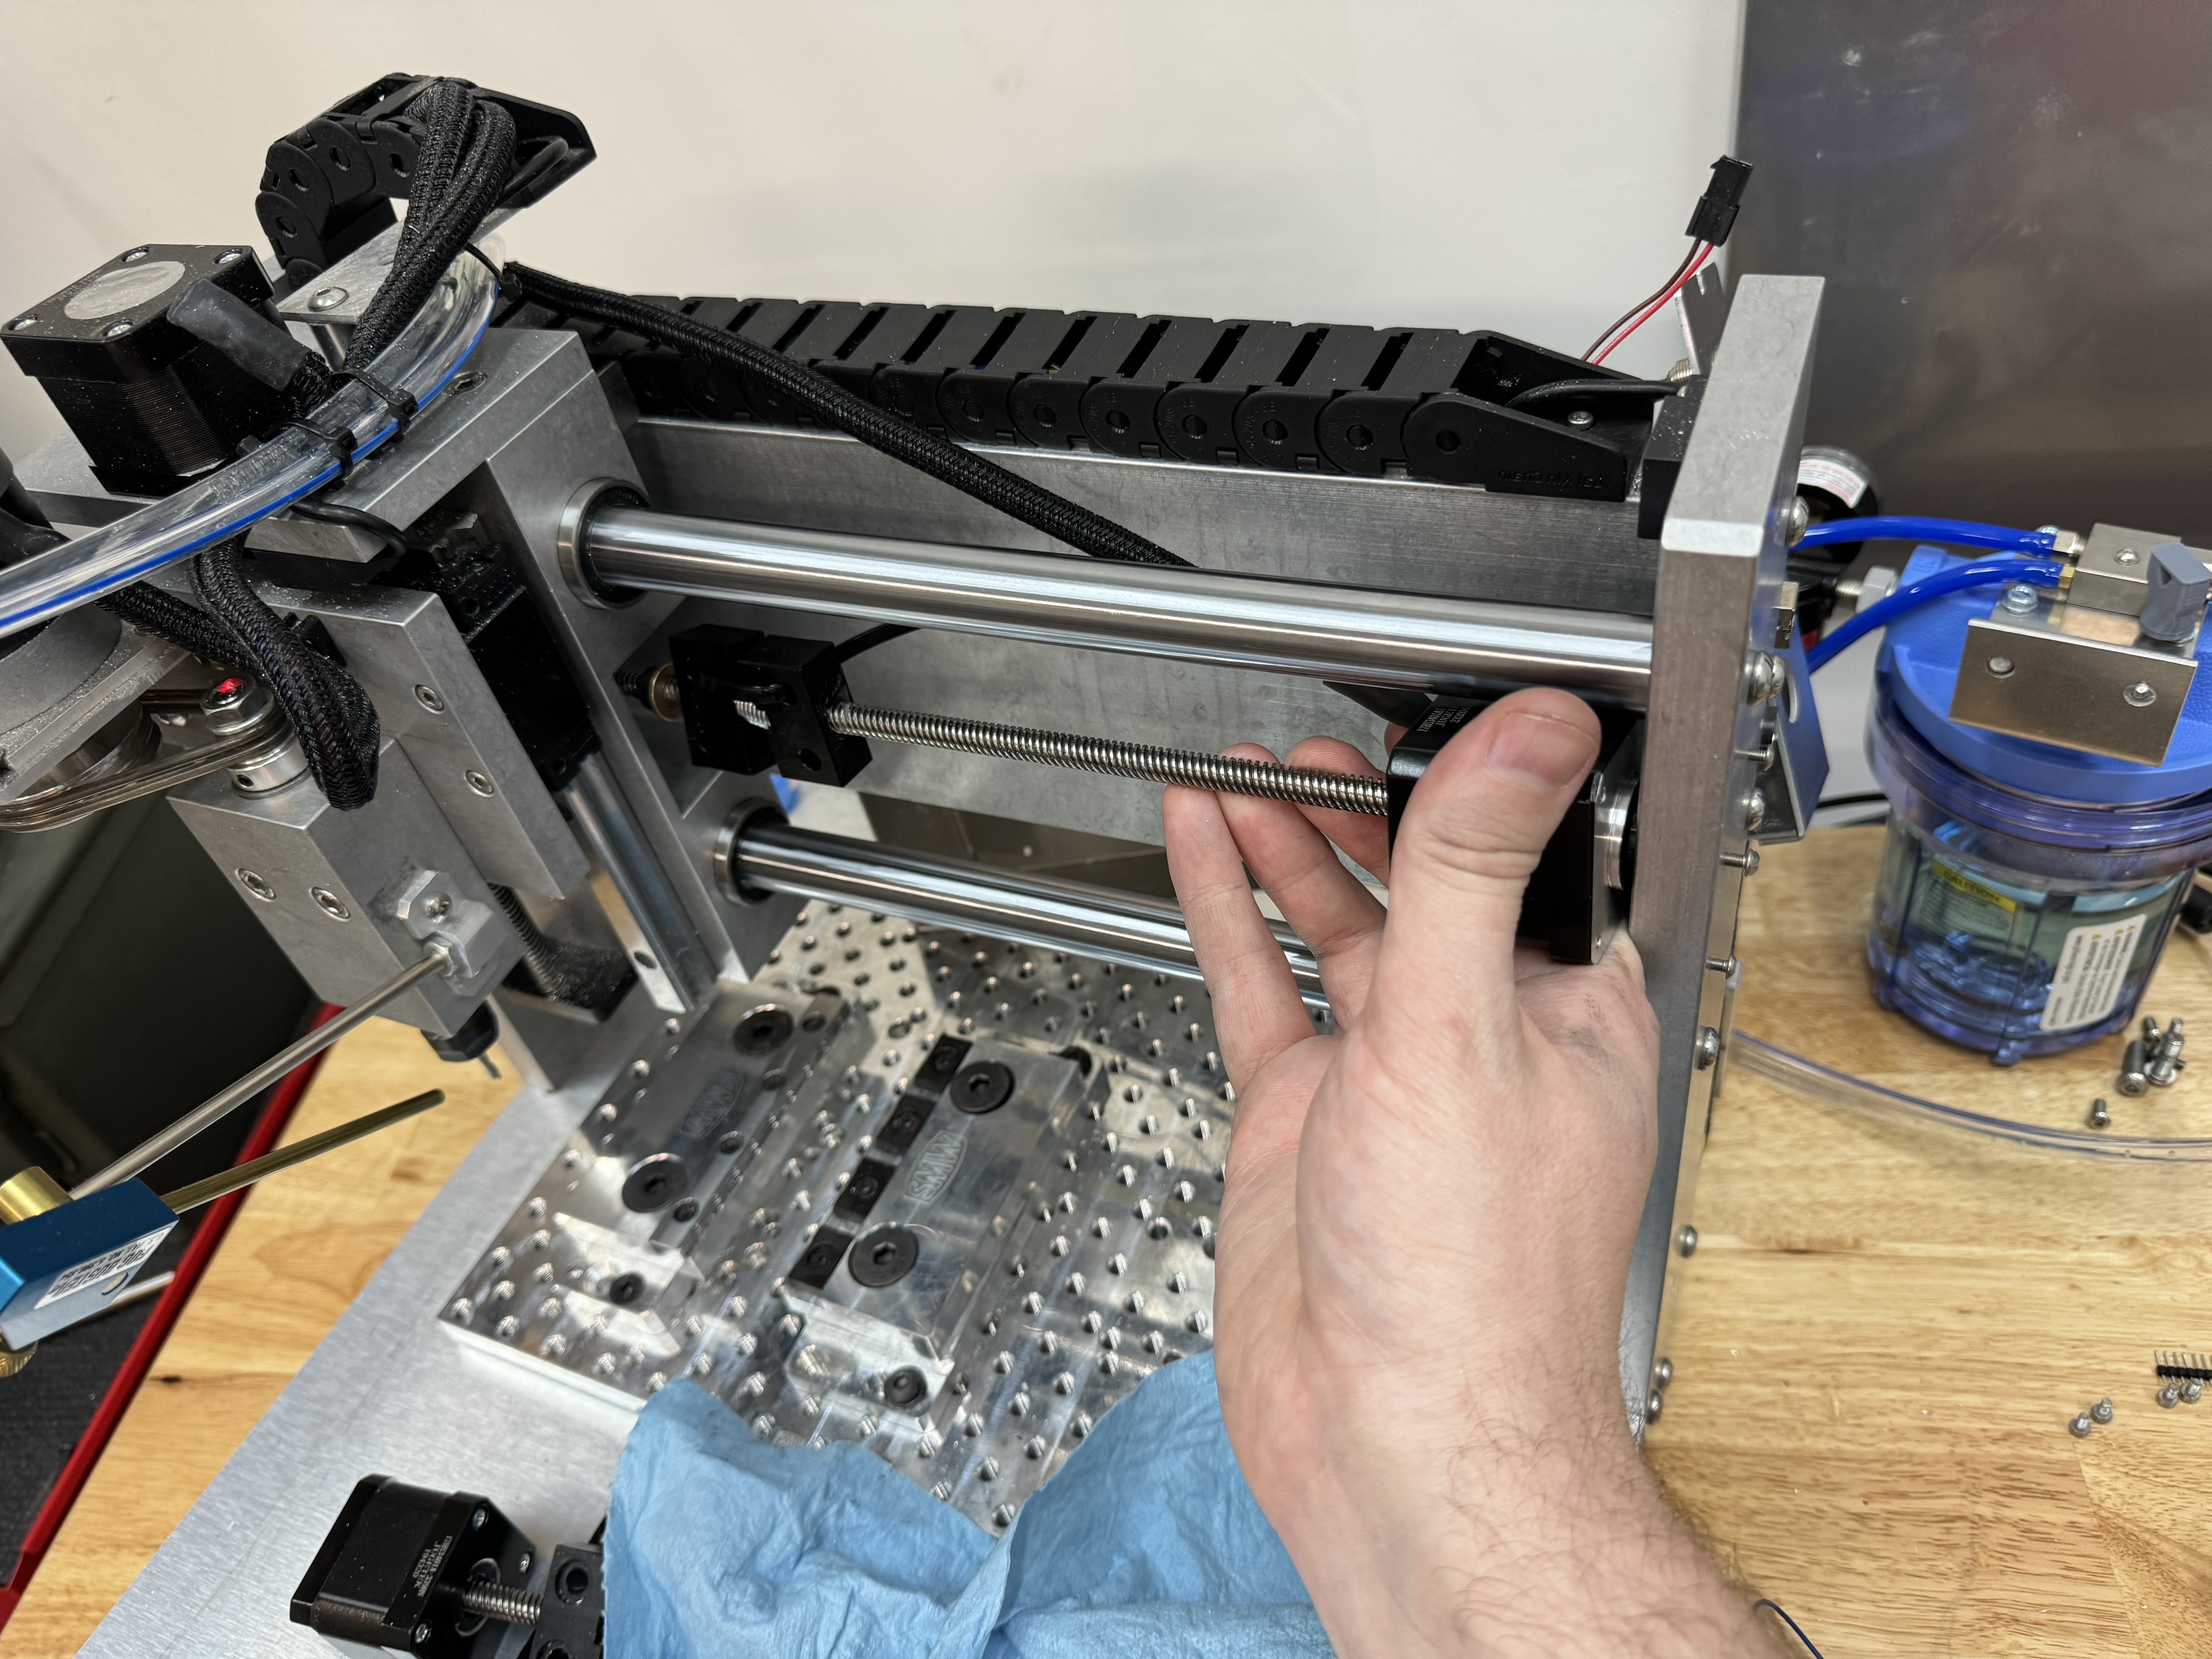
You will want to do this with the machine sitting normally. I did it with the machine on its side, and though I was ready for it the cutting head is surprisingly heavy. If you’re not really ready it could fall and hurt you or become damaged. To avoid this risk, just take off all of the machine panels and then remove the motor with the machine in its normal upright orientation.

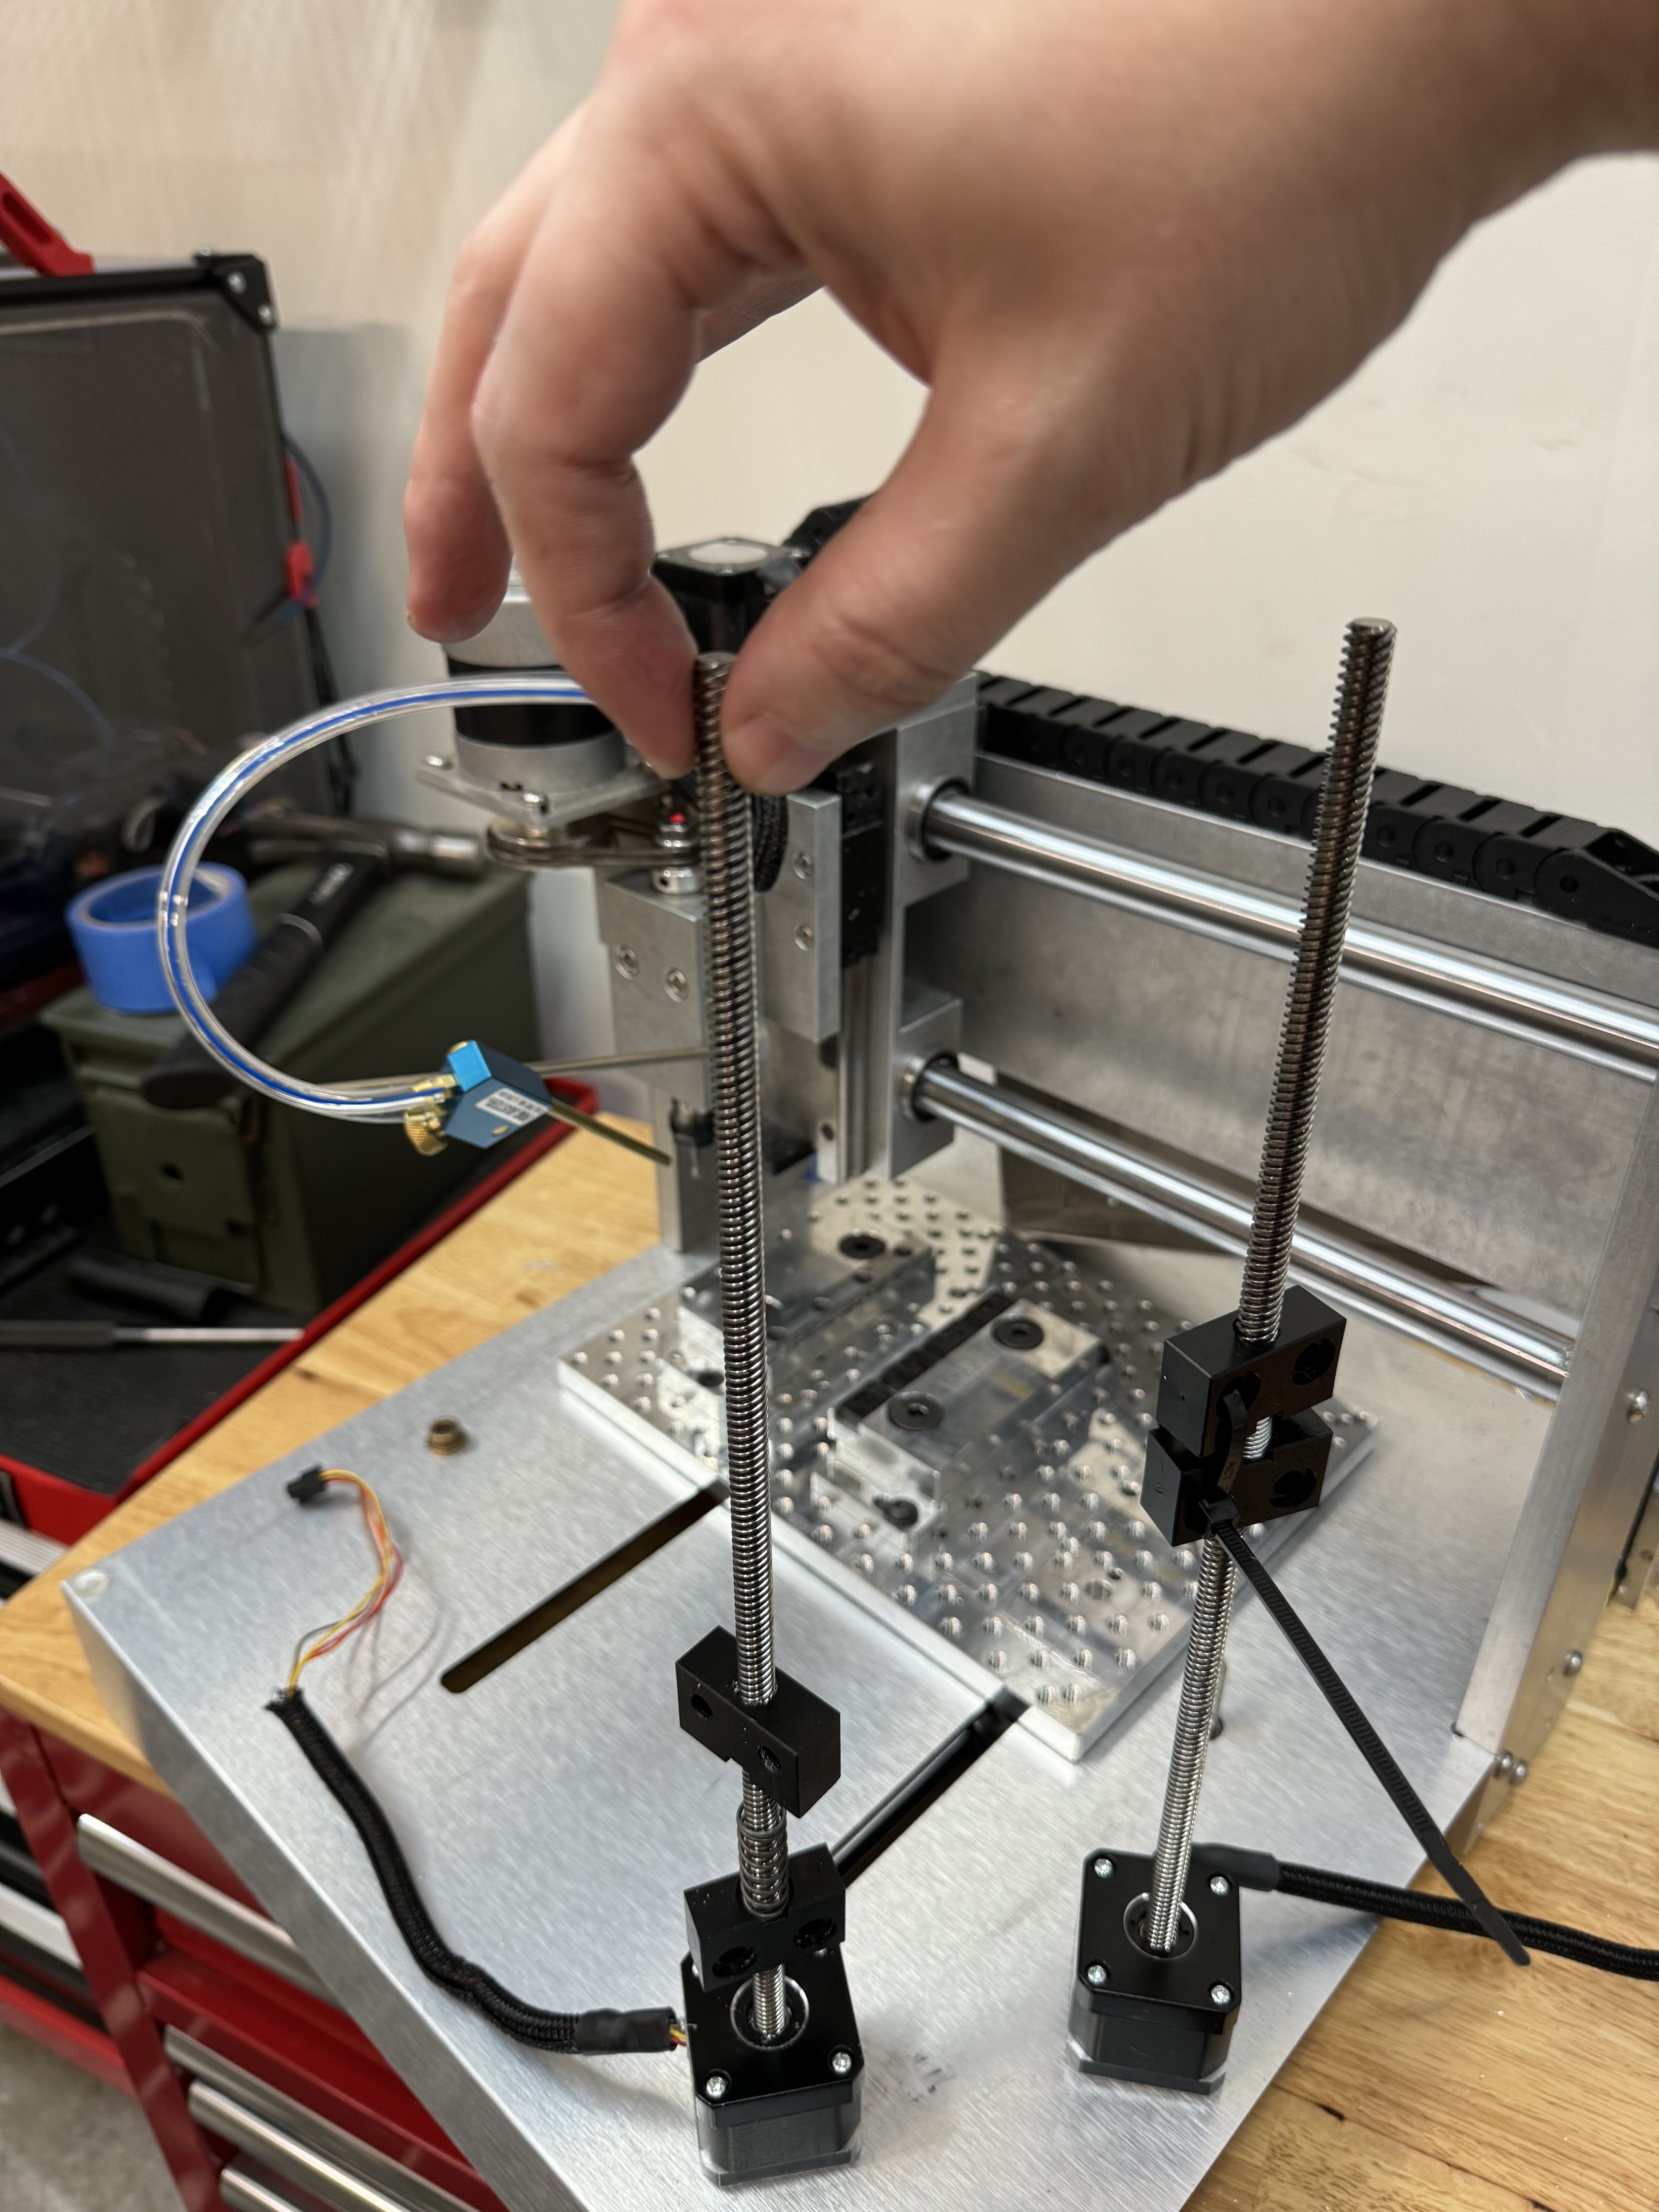
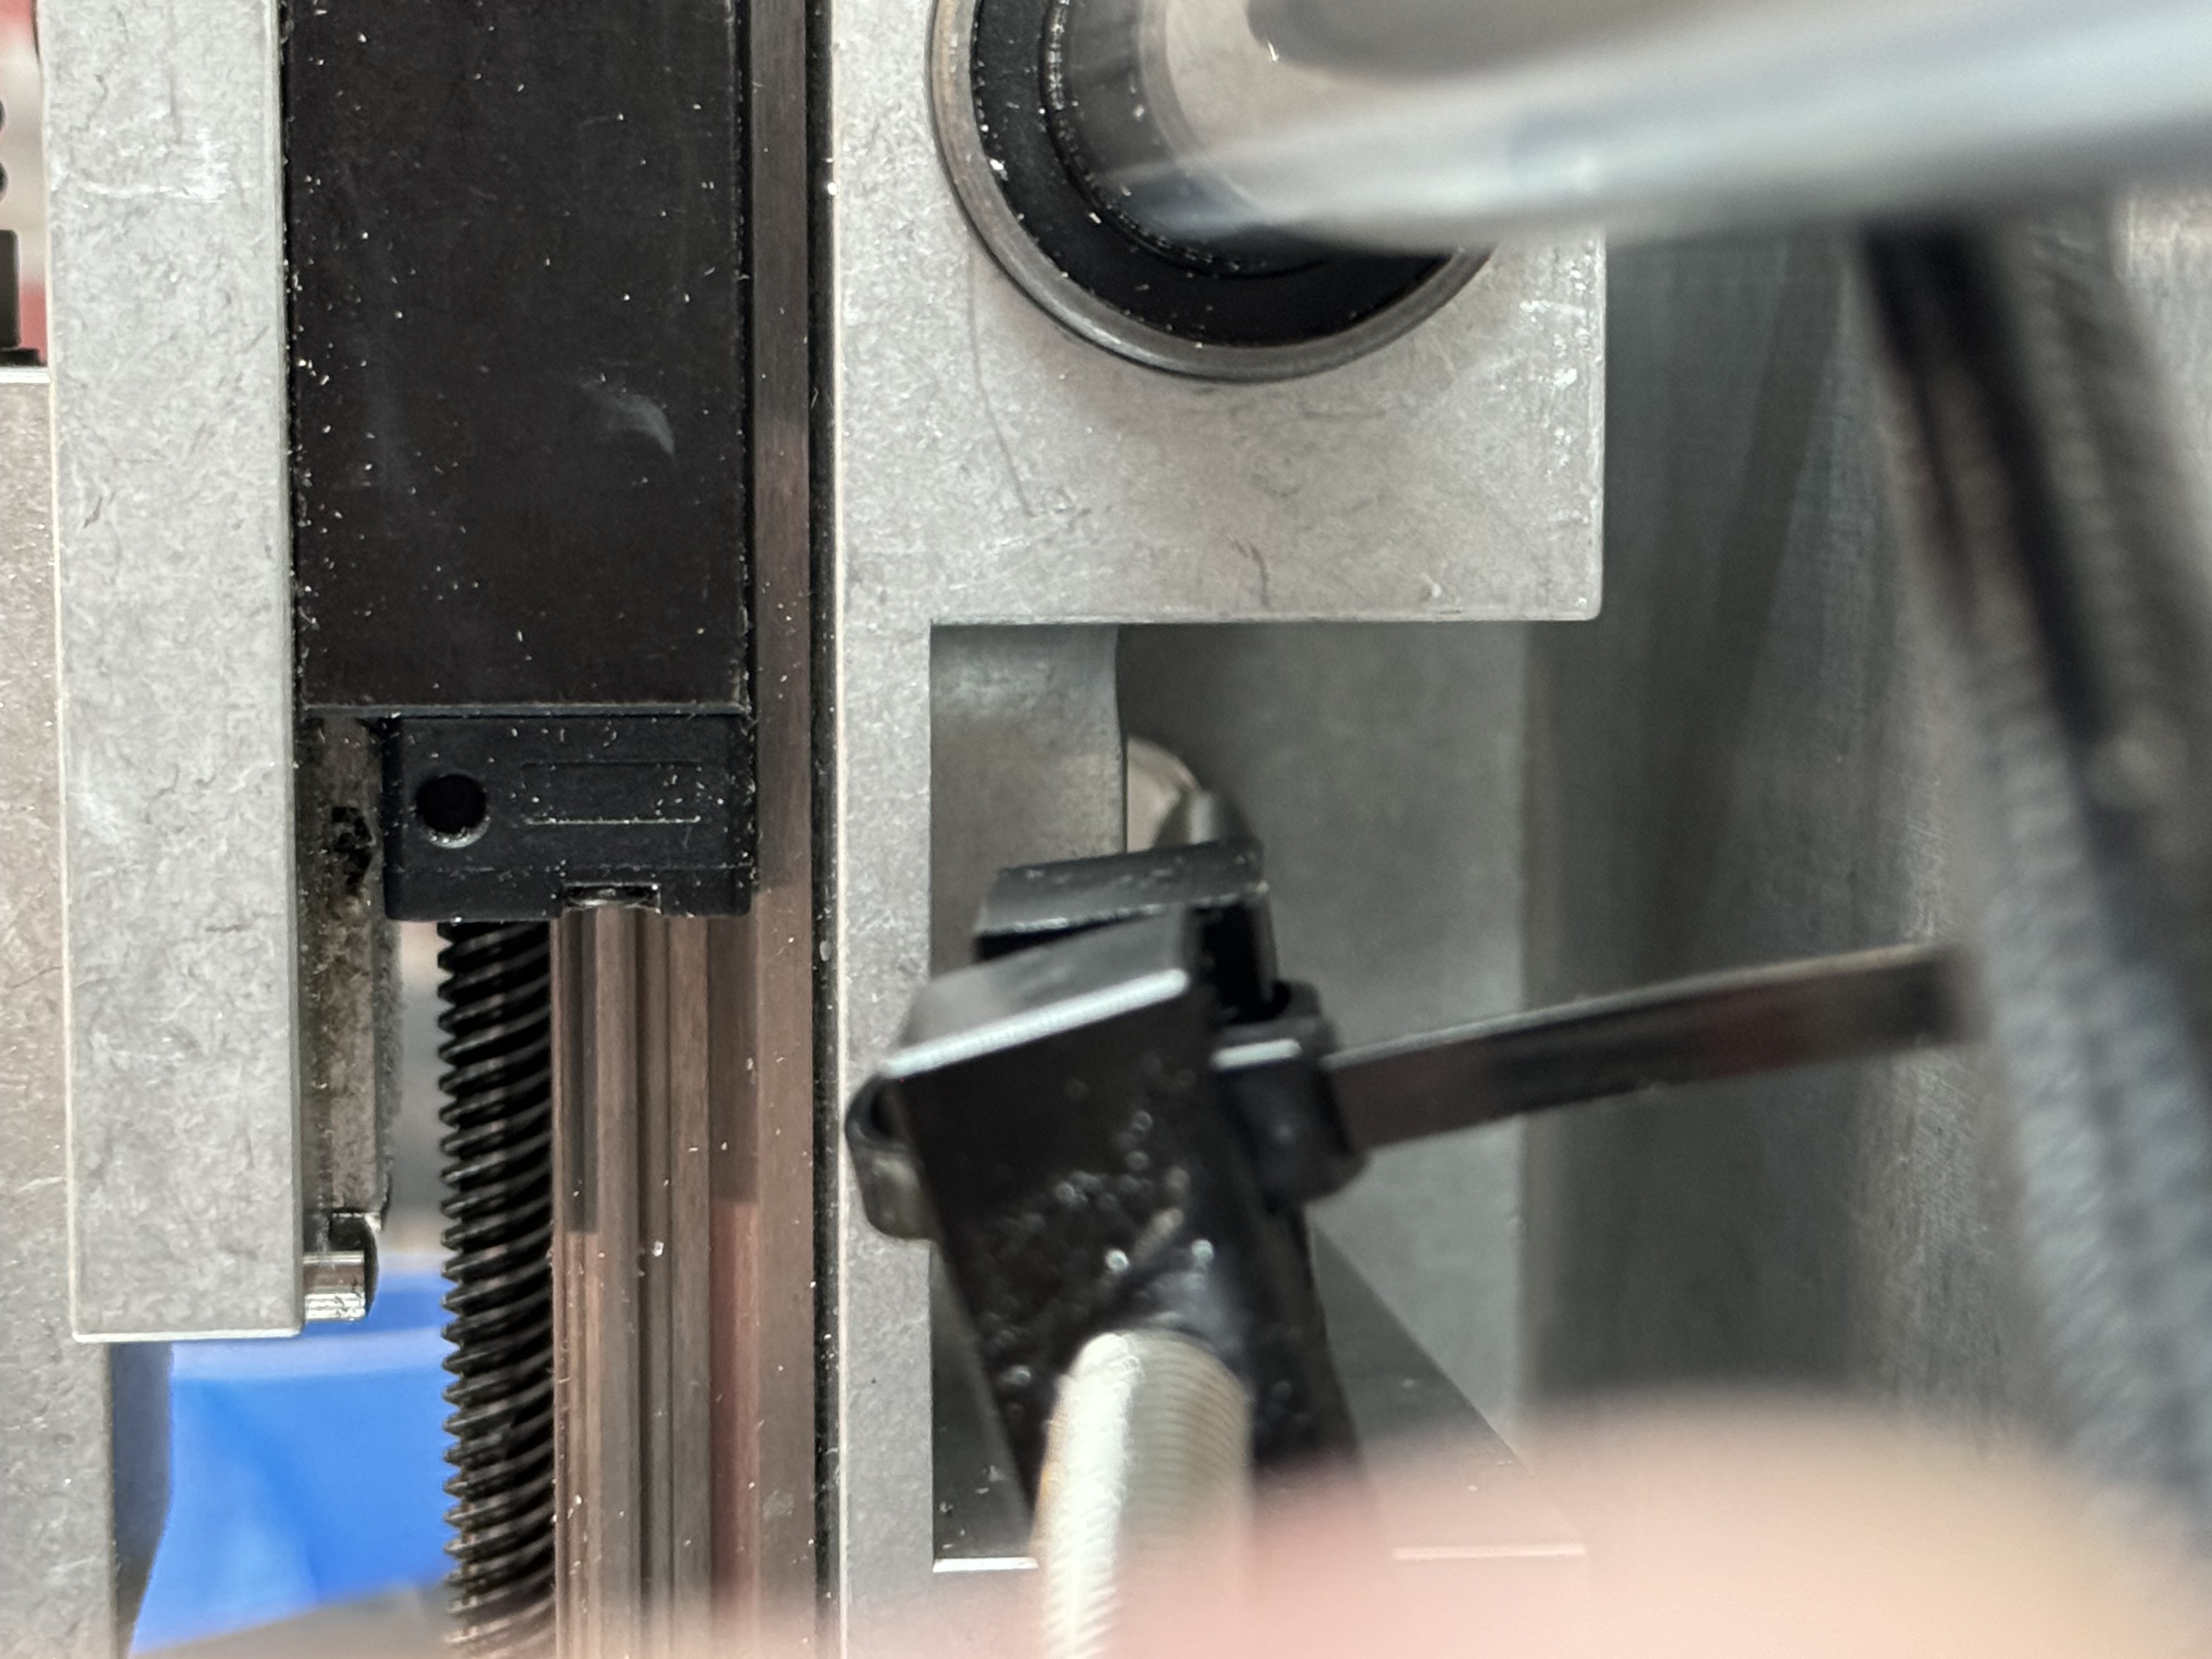
These 4 little bolts go through the frame and into the motor. You take these off and the motor is free of the frame.
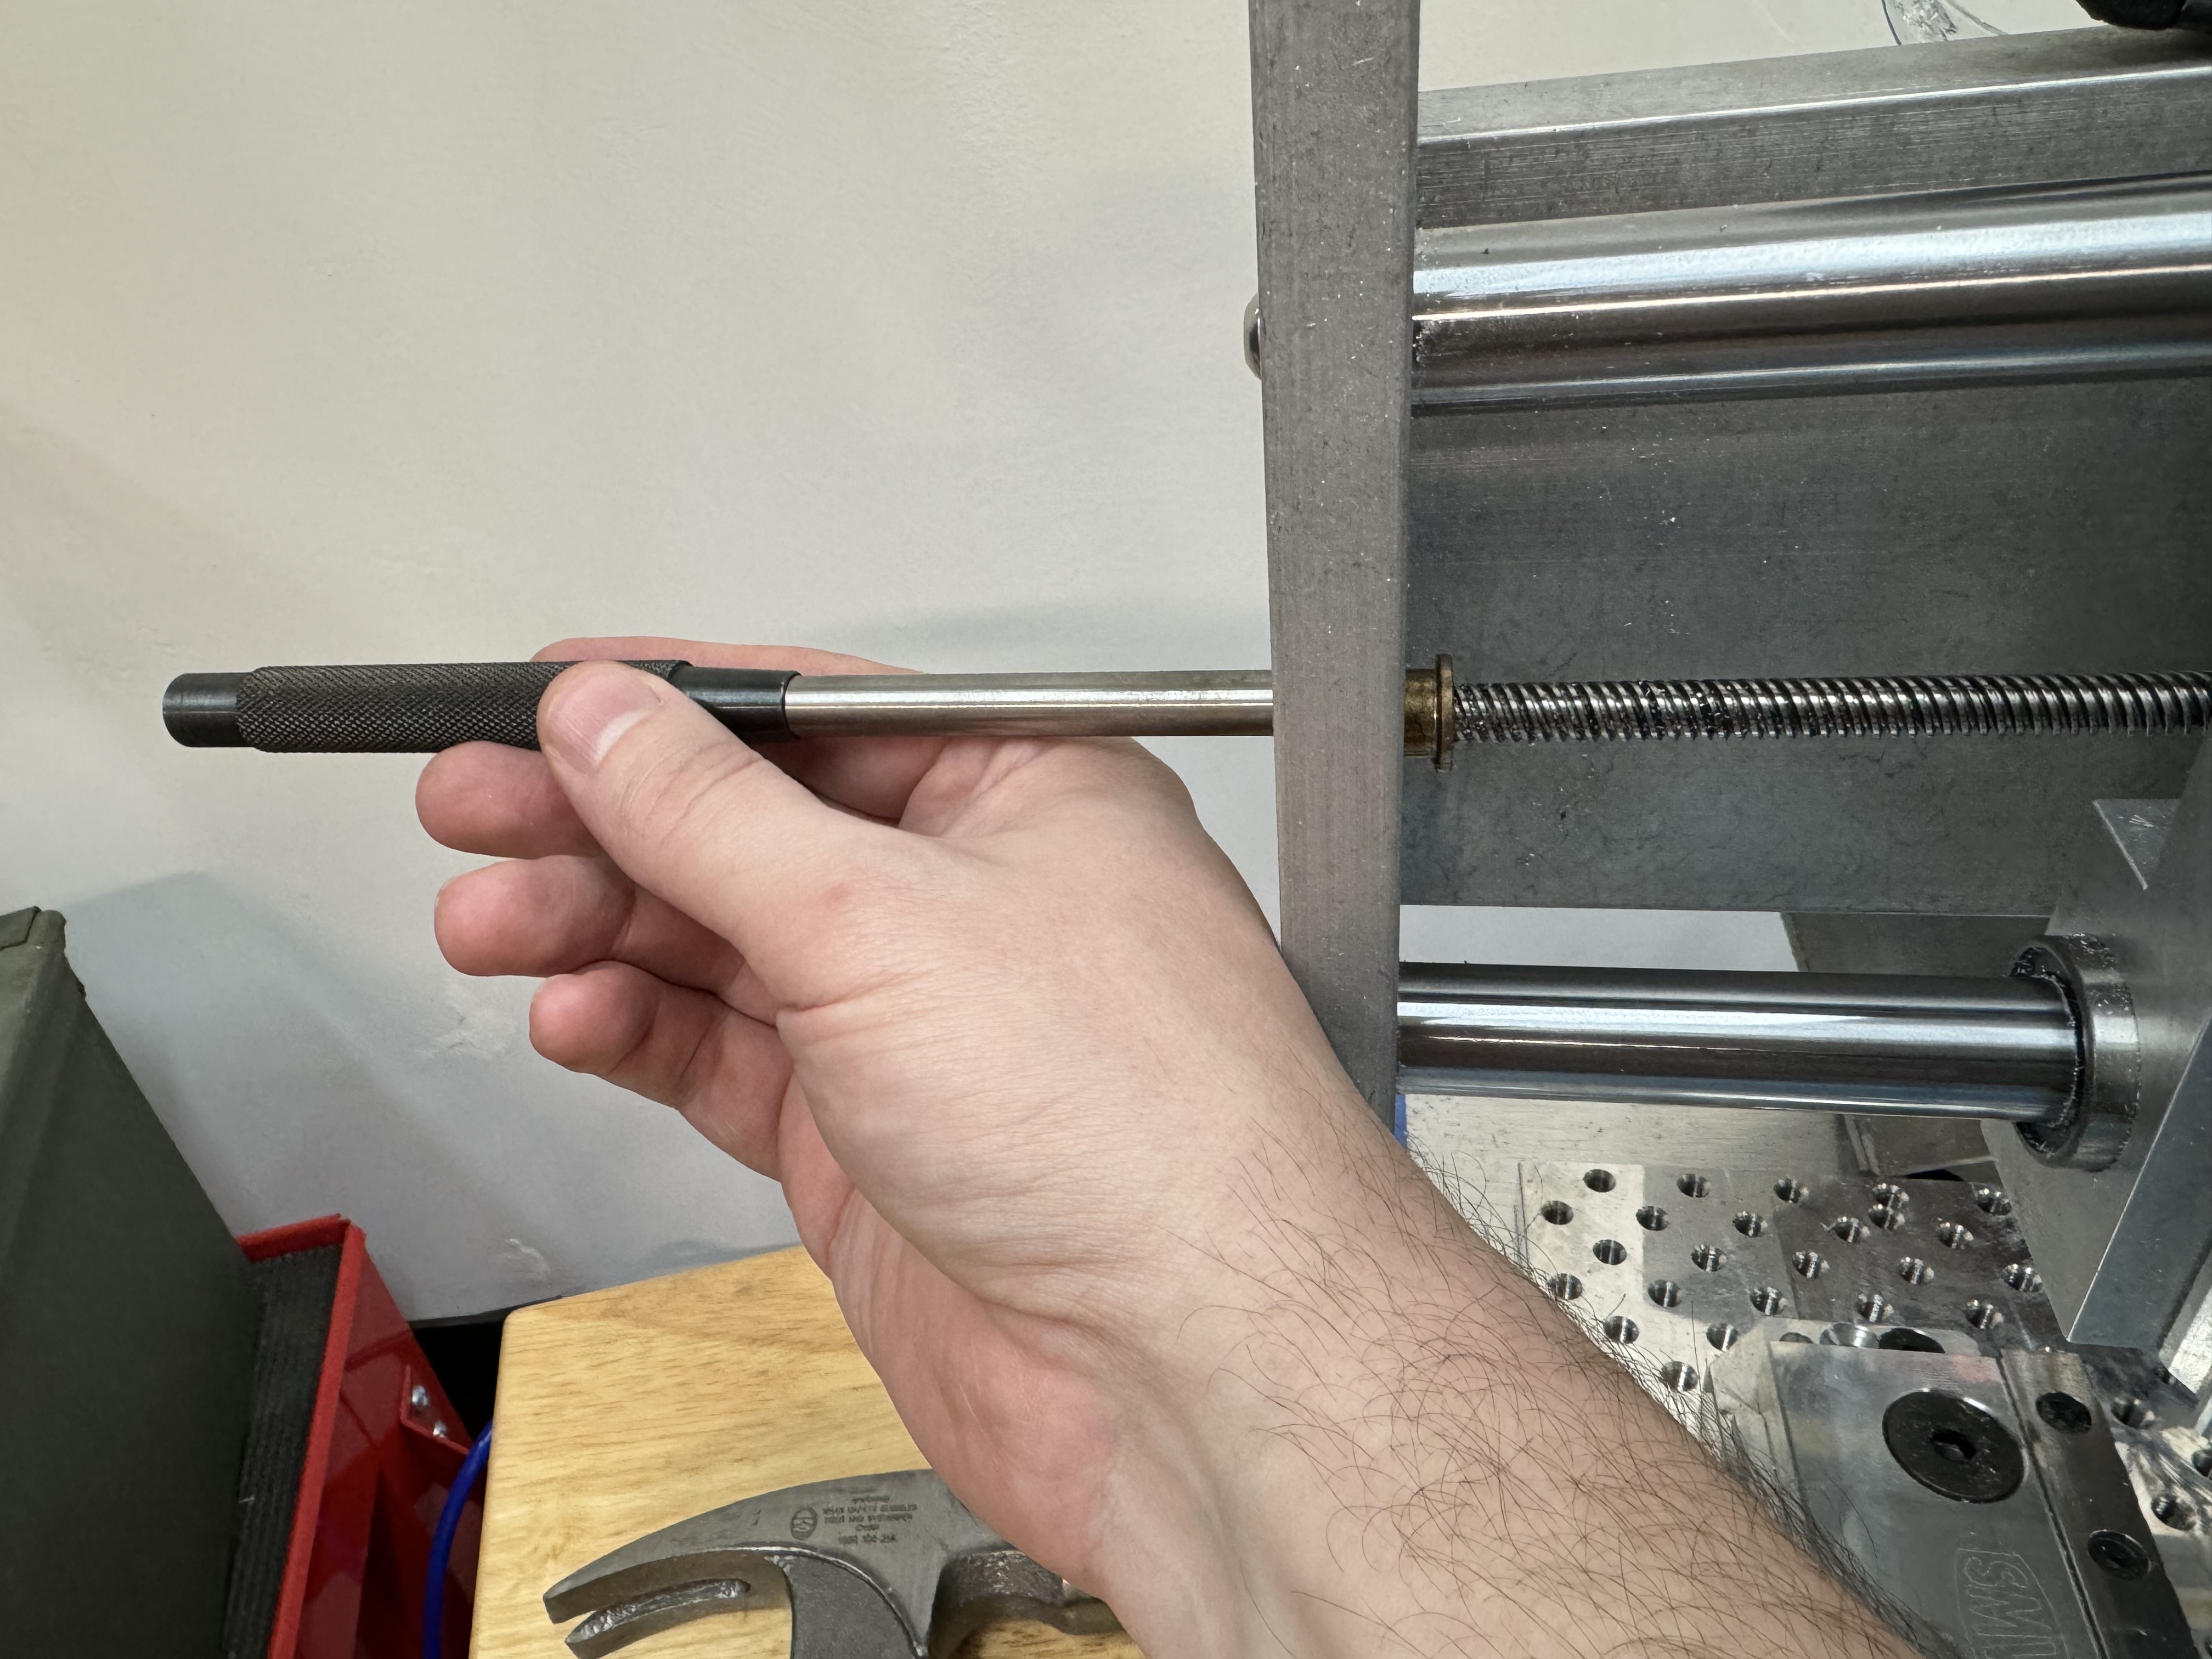
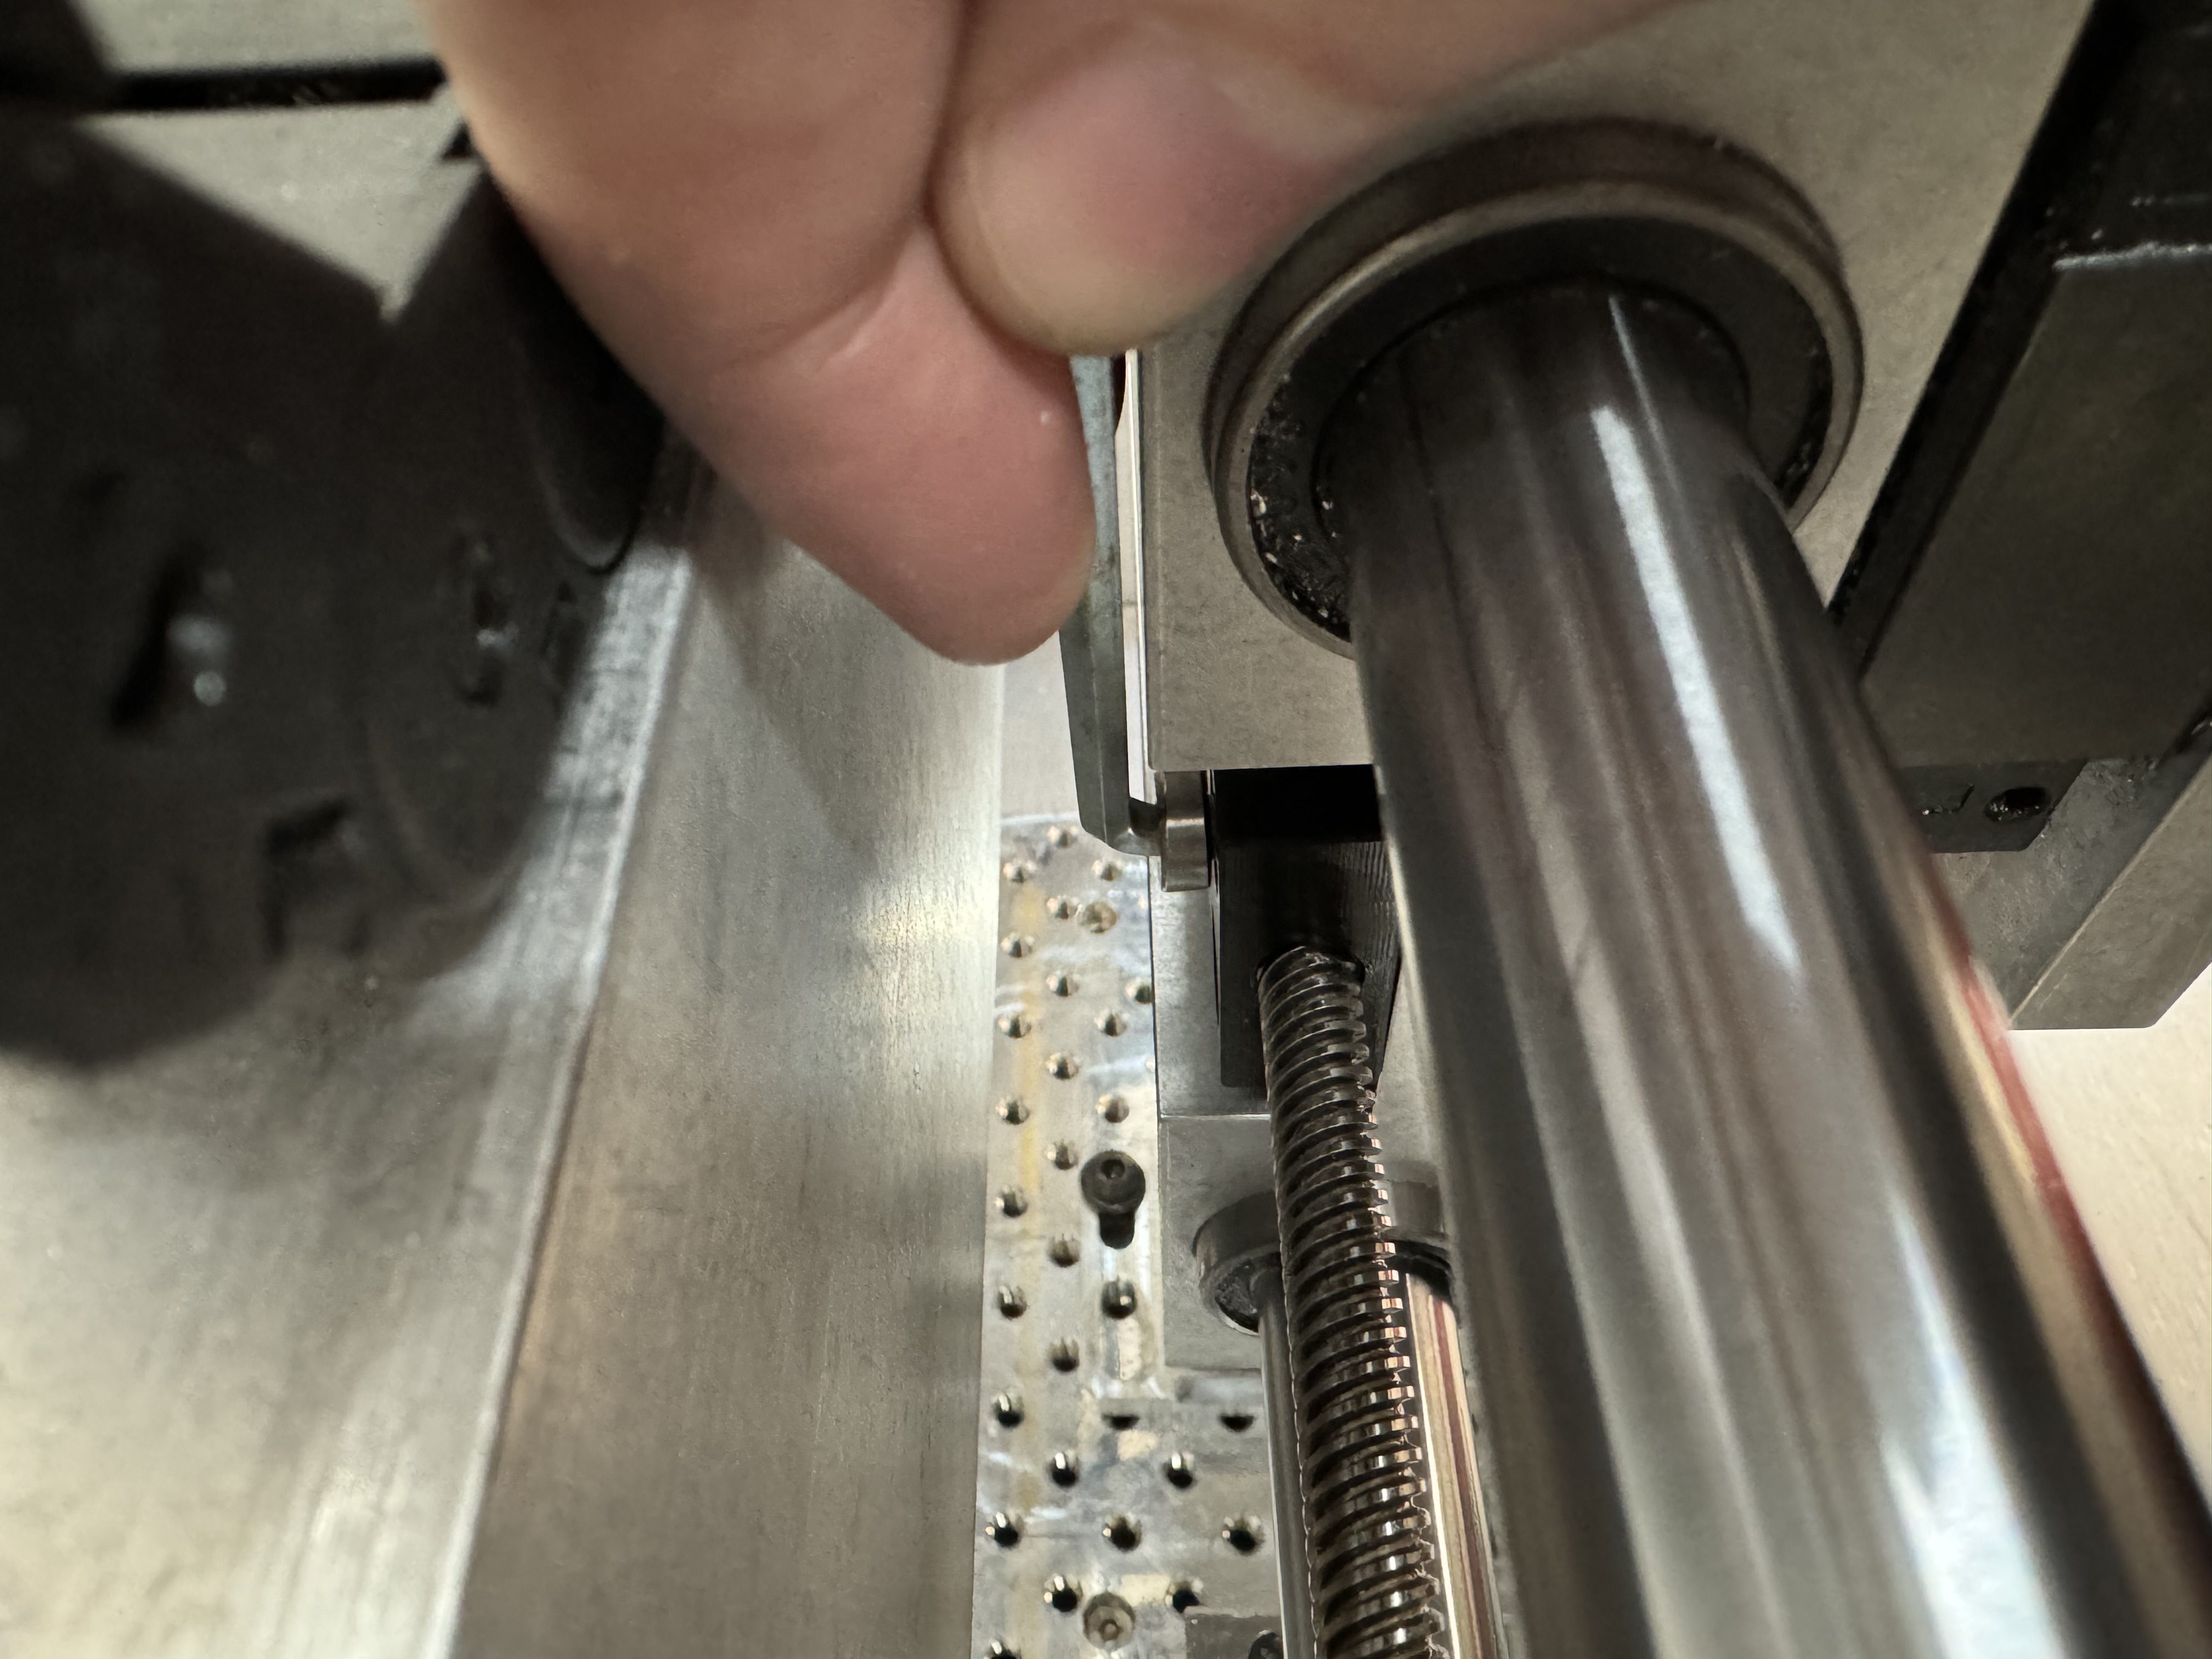
You need a 4mm hex wrench to get the nut off the leadscrew - but it needs to be stubby or you will not have room.
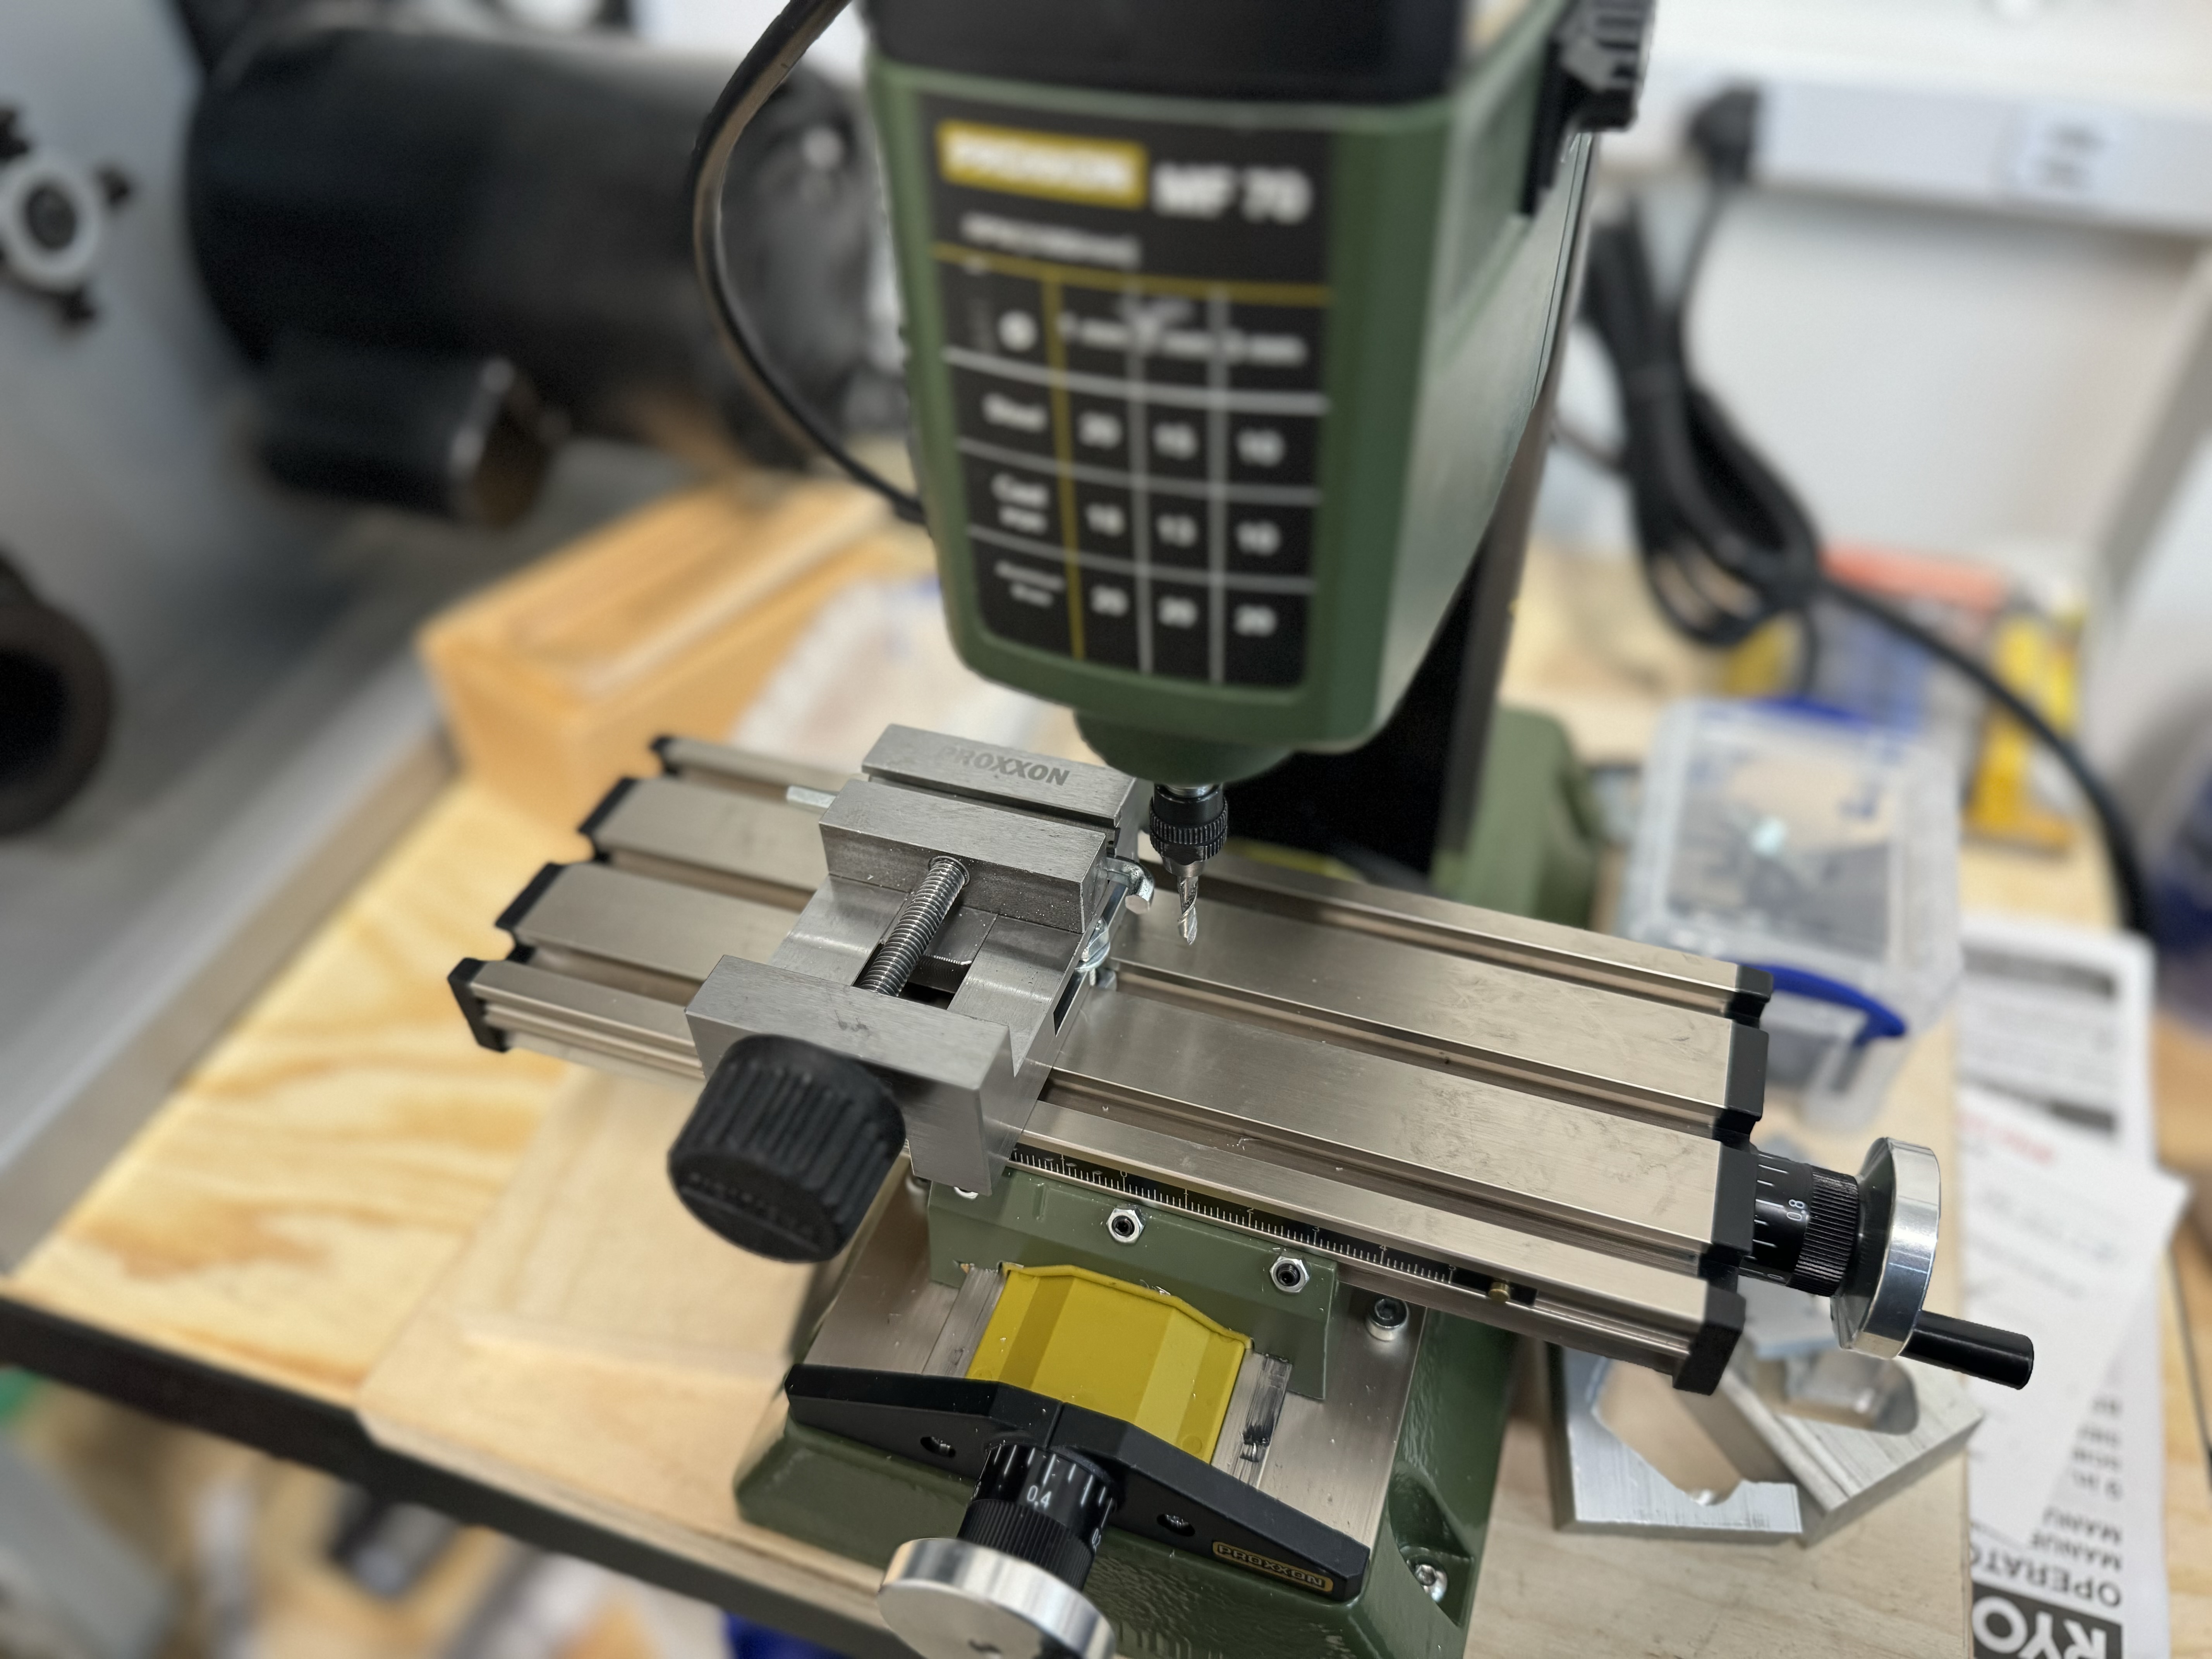
Machining a sacrificial ikea 4mm hex. Obviously a dremel or angle grinder or hacksaw or (…) would work.
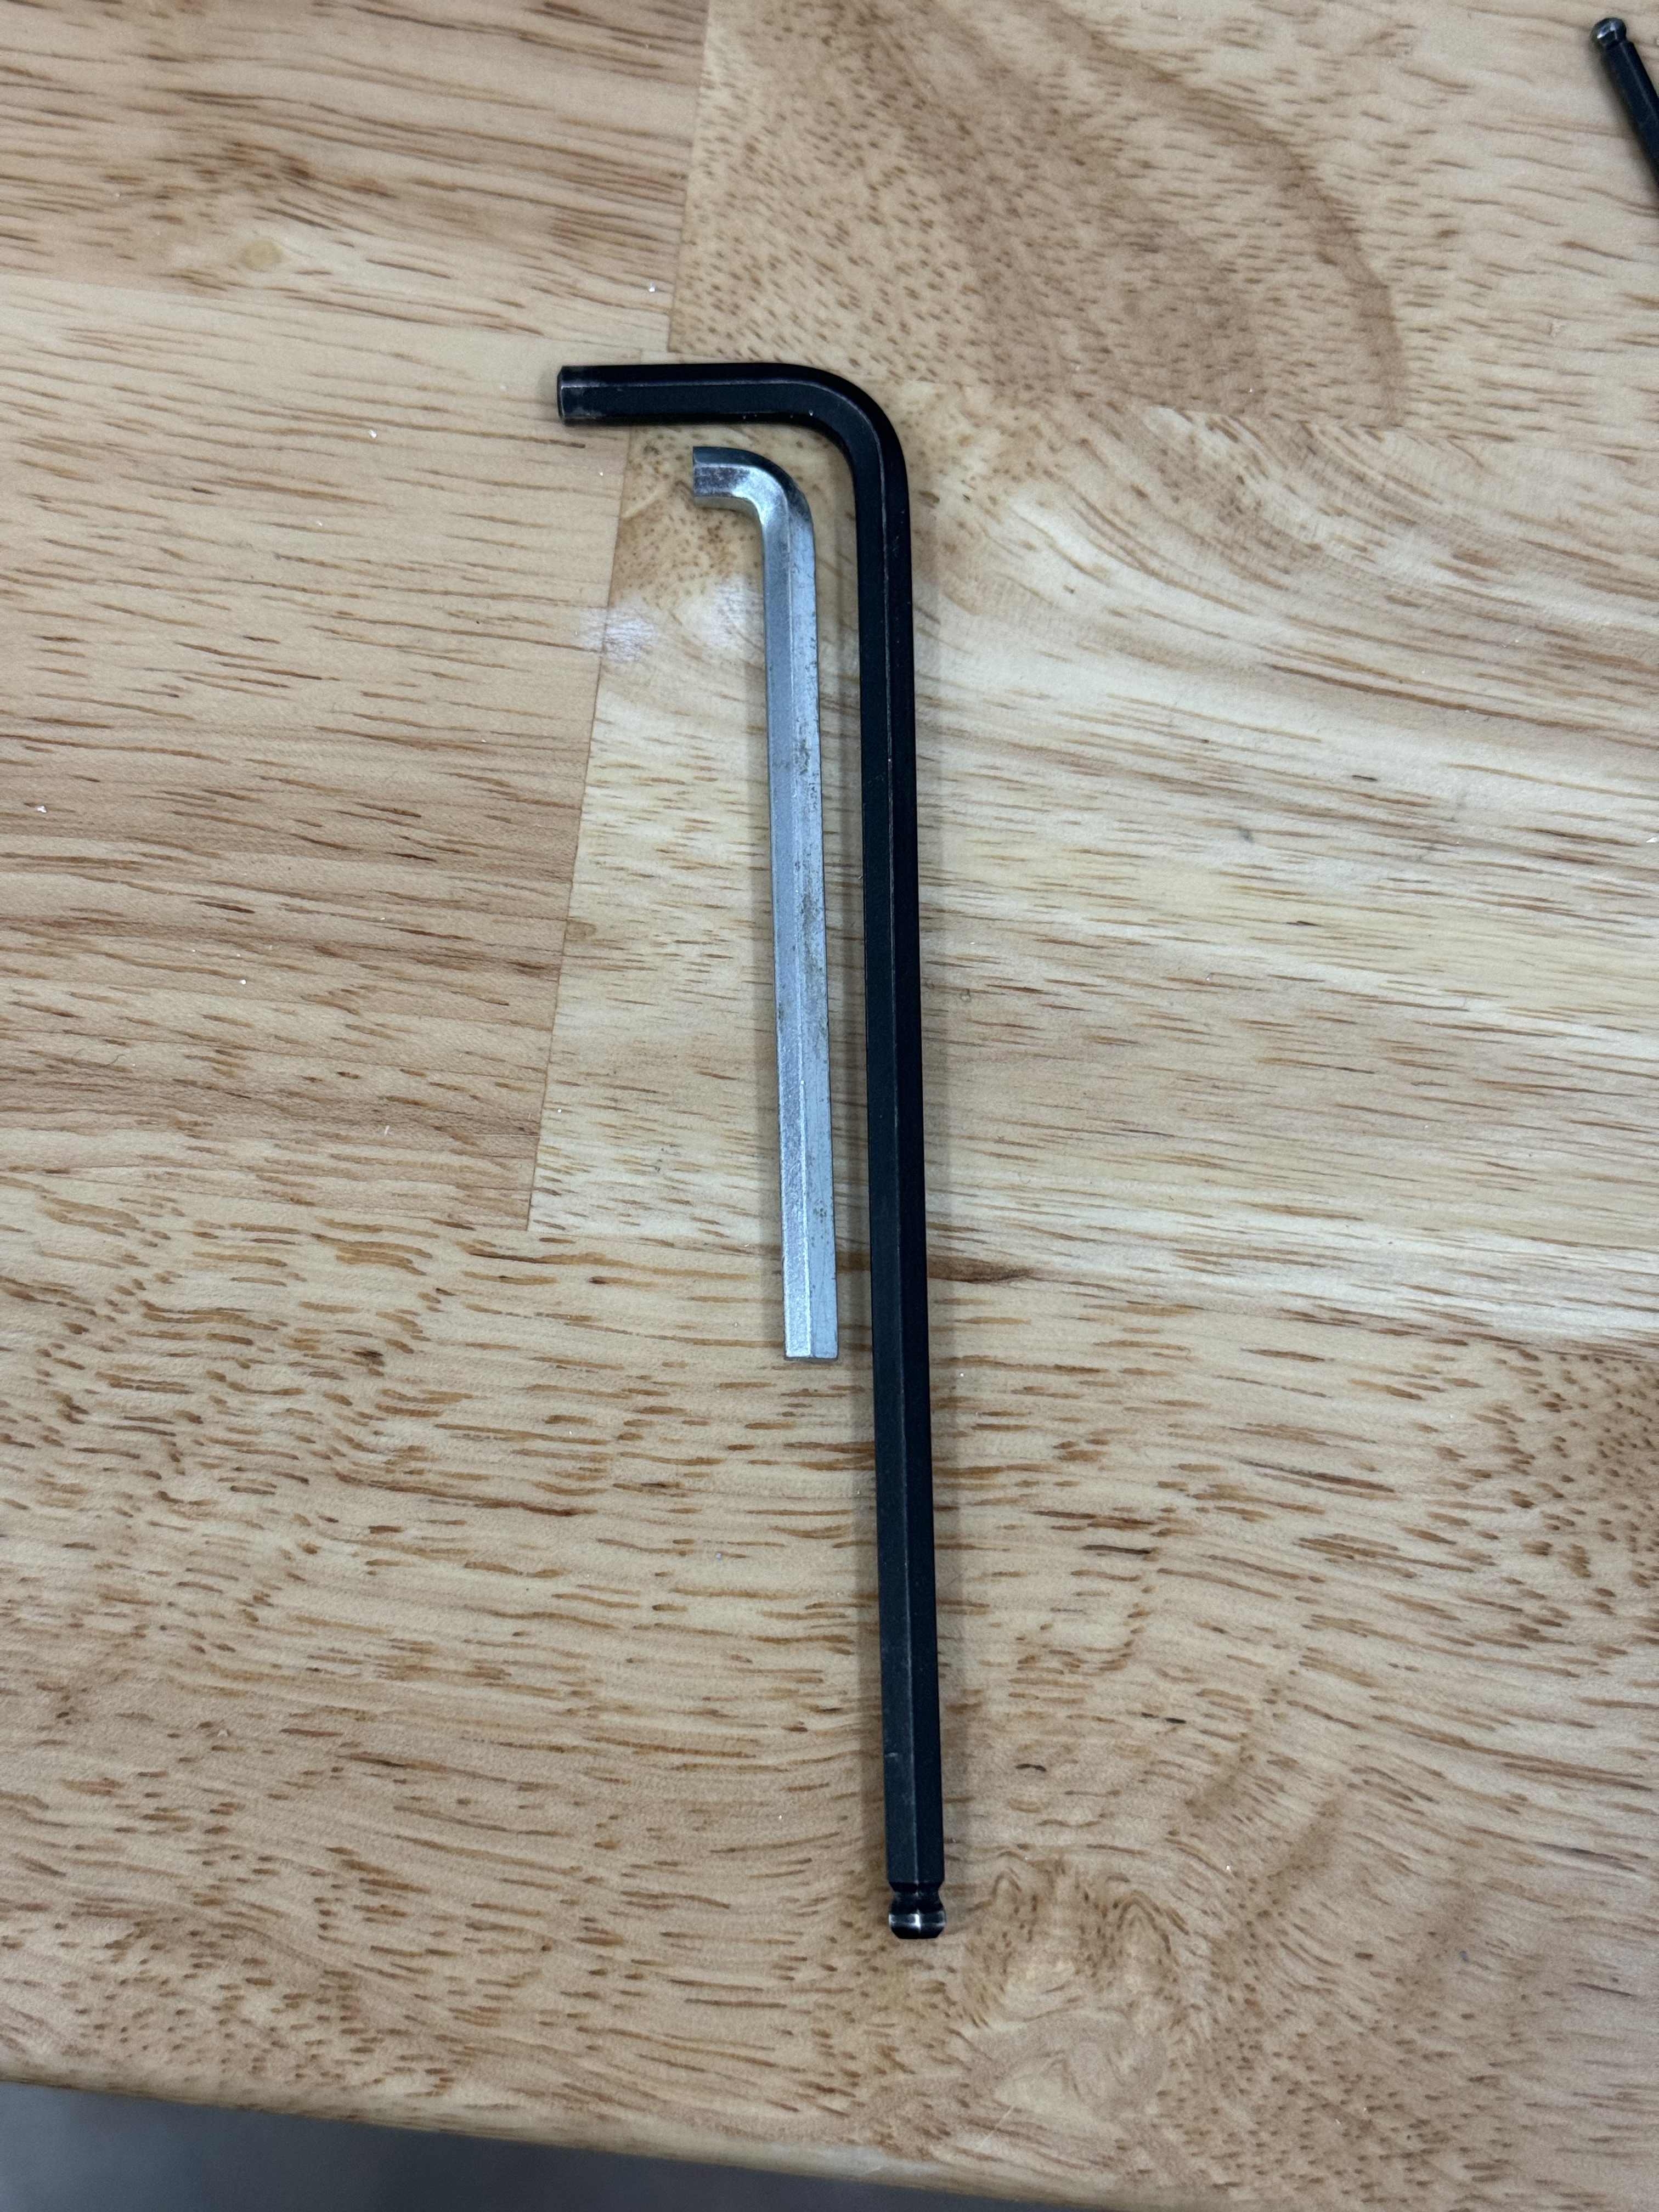
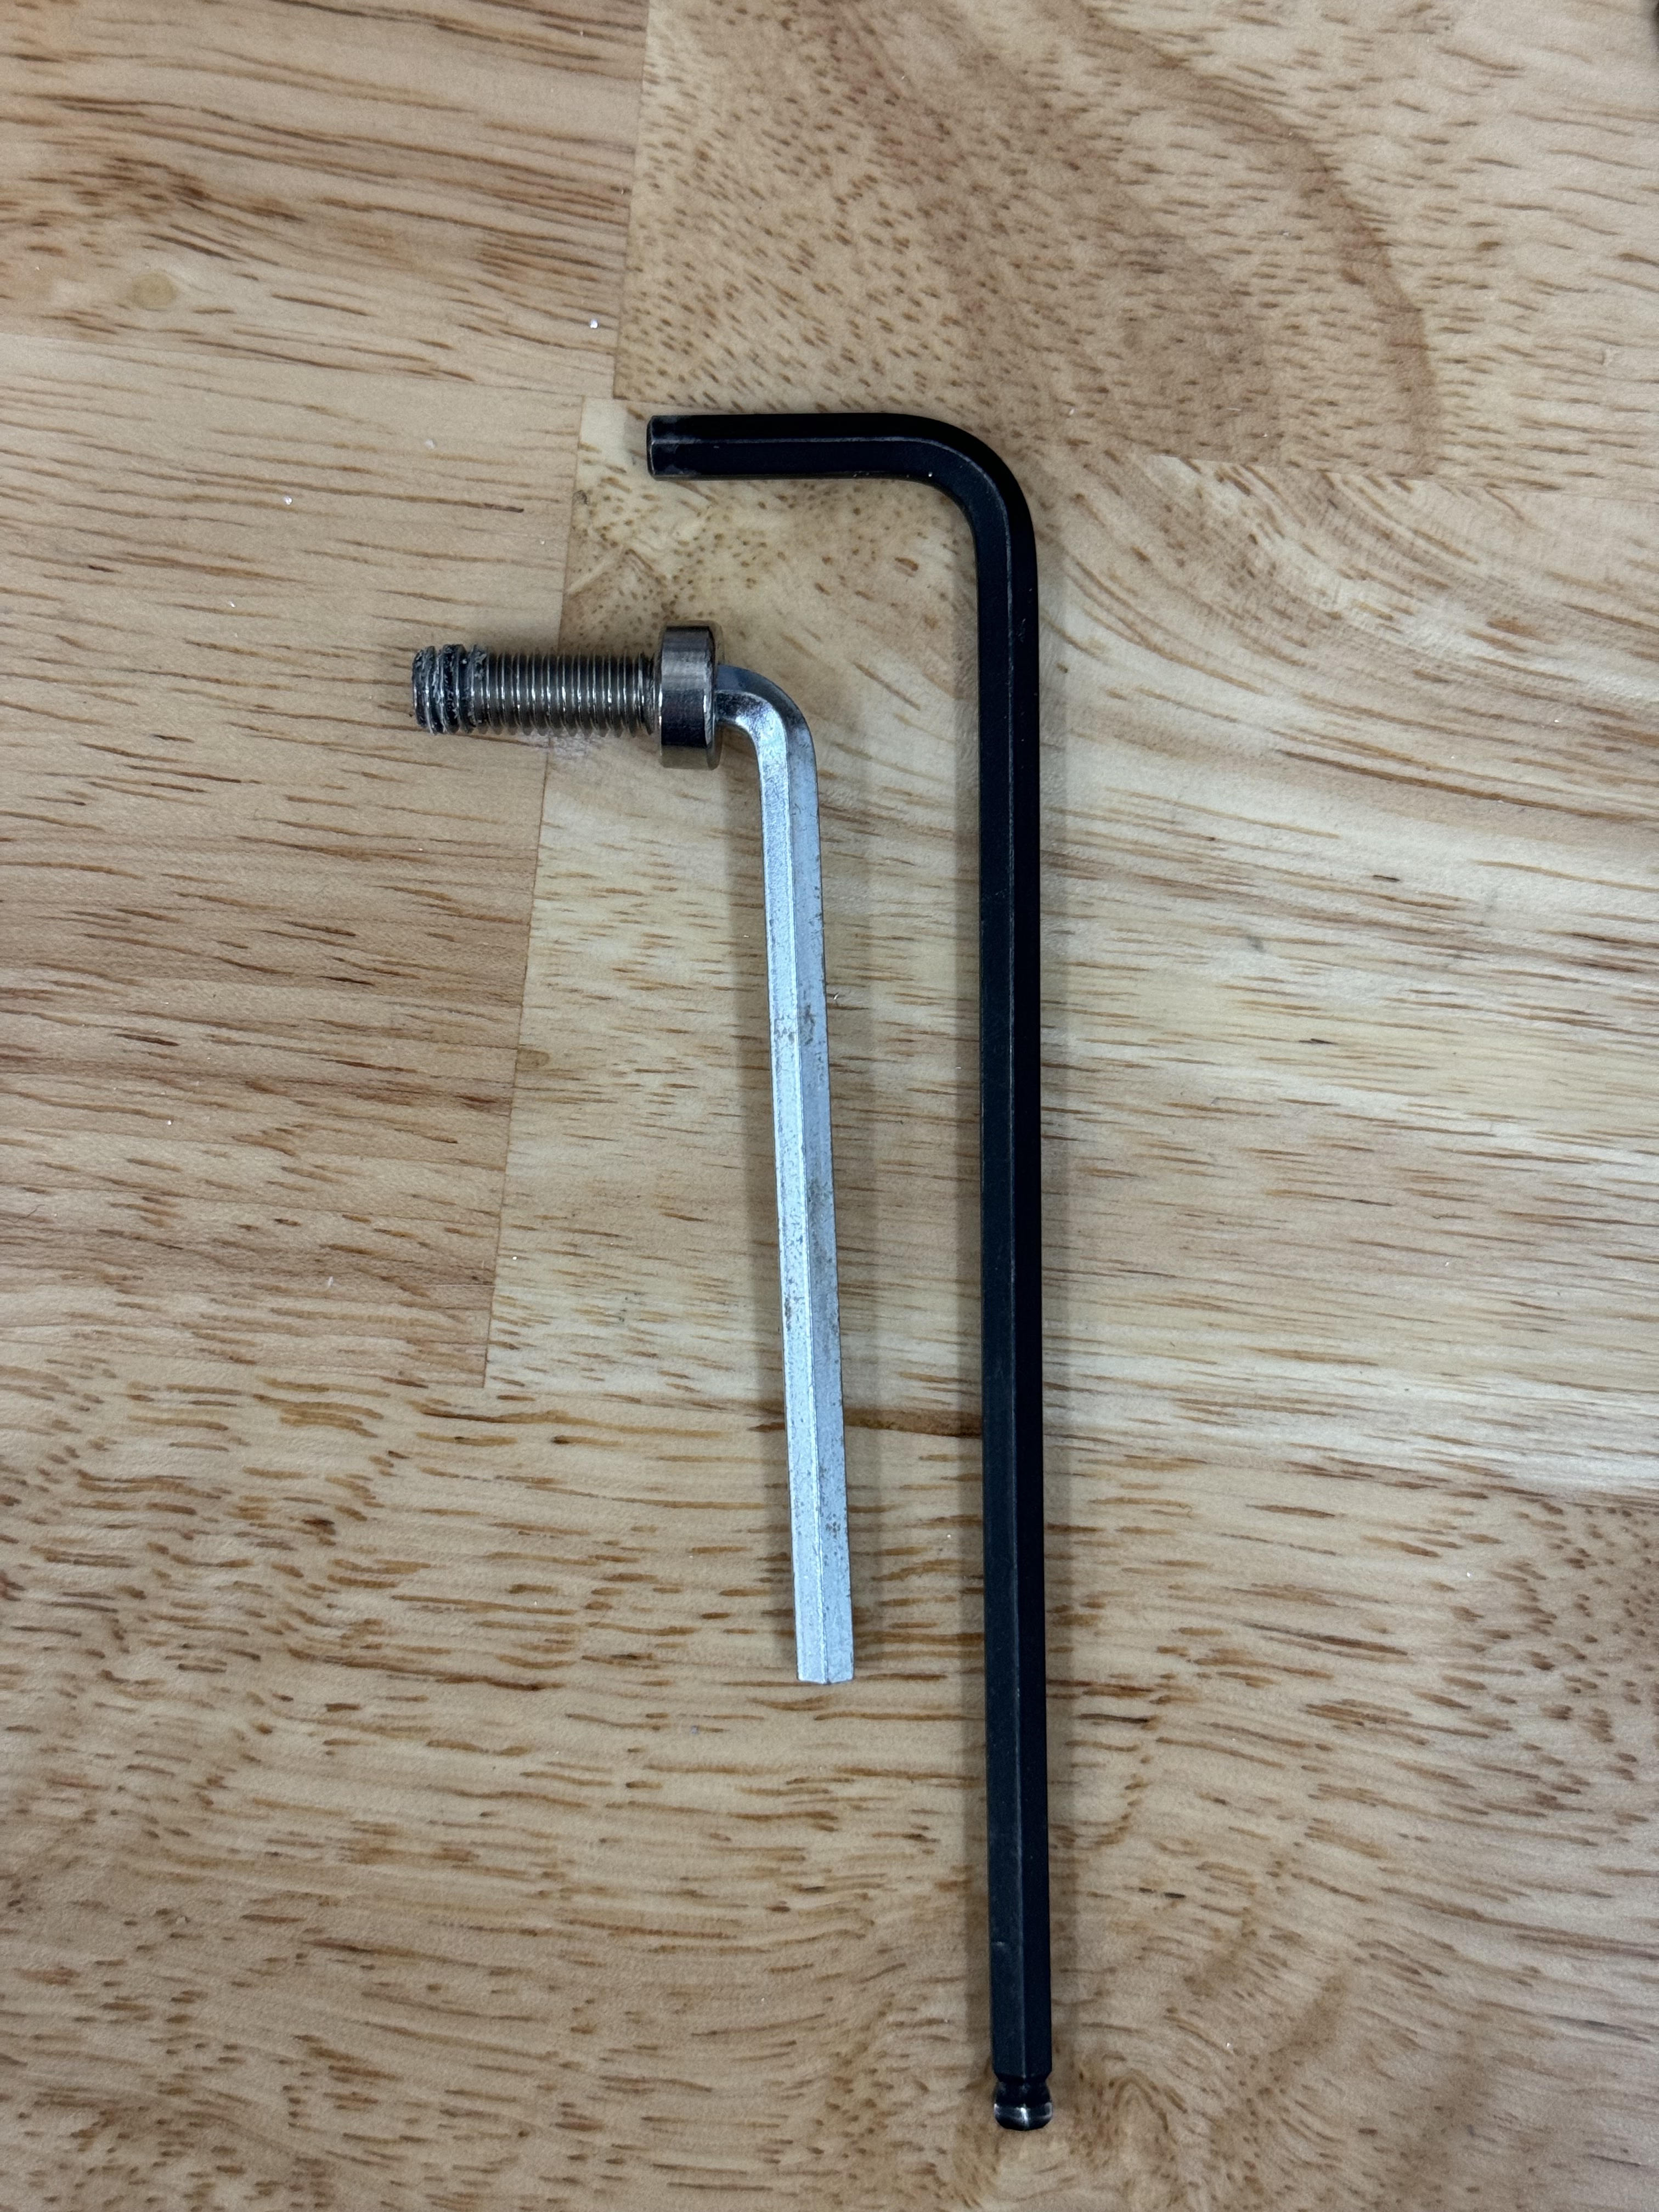
This is what you’re aiming for. If you have it short enough, it will fit just right and allow you to spin it all the way around behind the cutter head, while not interfering with the frame after unscrewing.
Don’t do it this way. I let it down to rest very gently, but it’s quite heavy and I don’t recommend you do it this way. It will be easier to disassemble using the approach I used for reassembly (no panels).
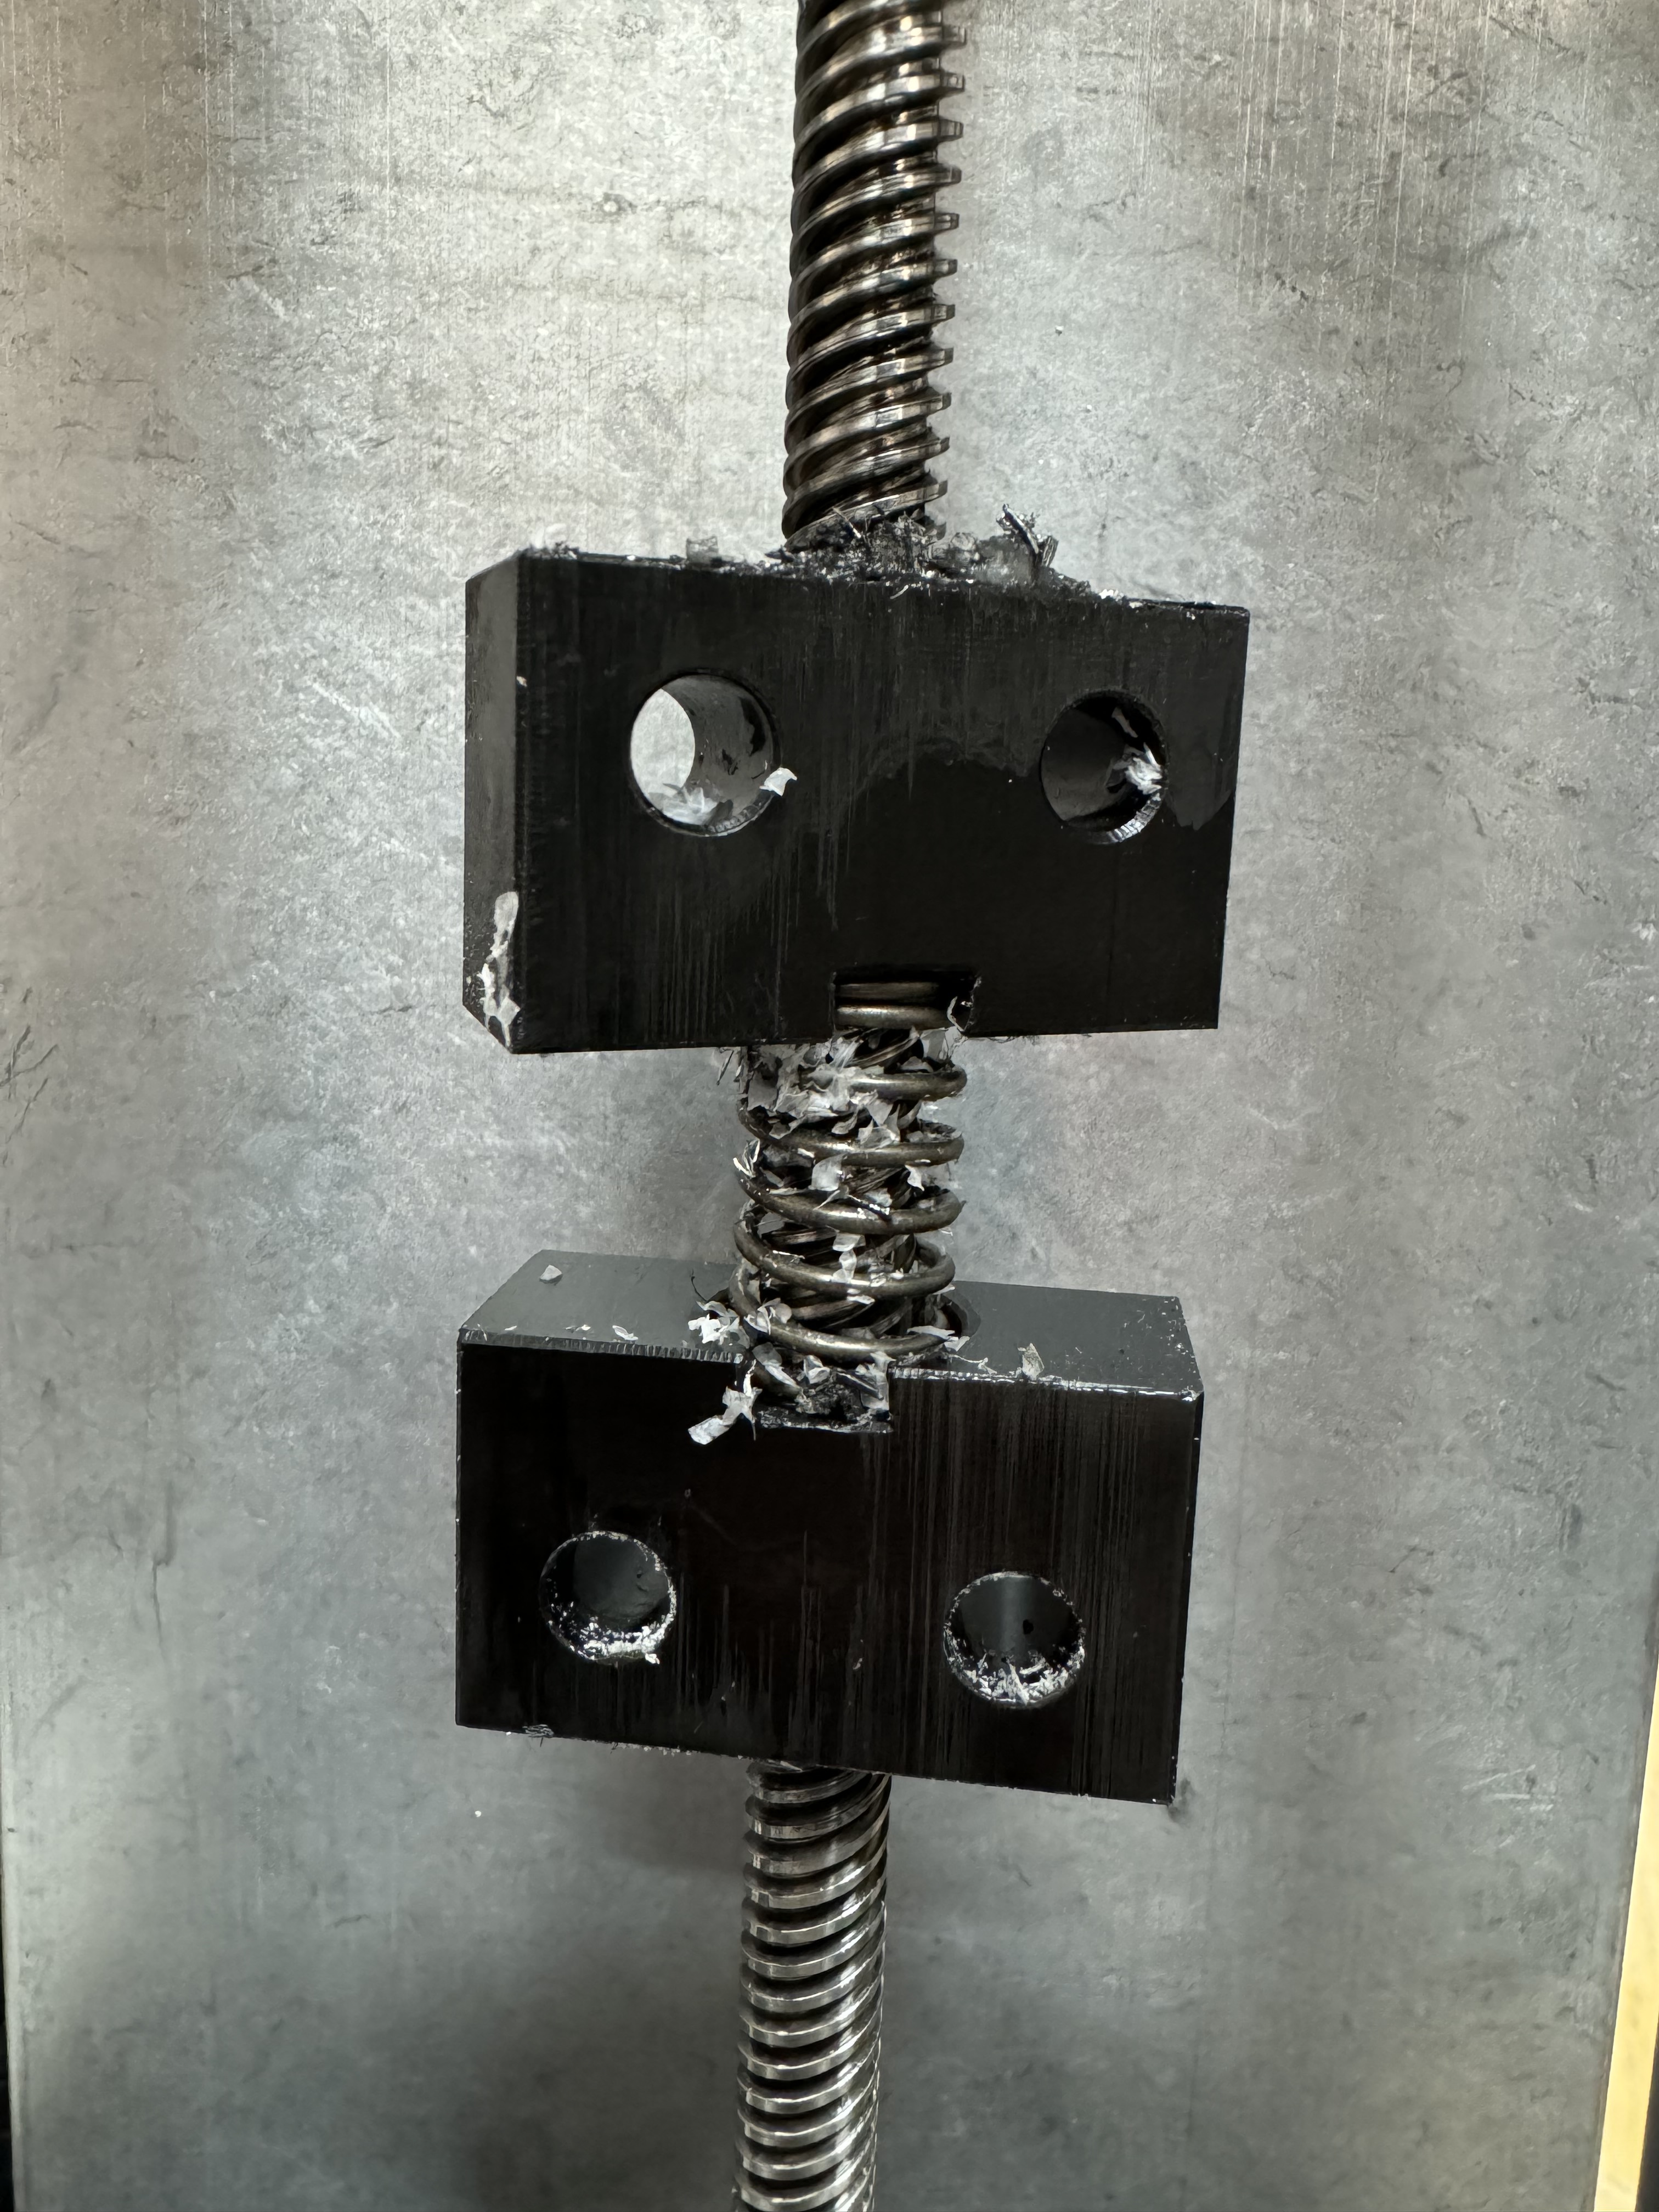
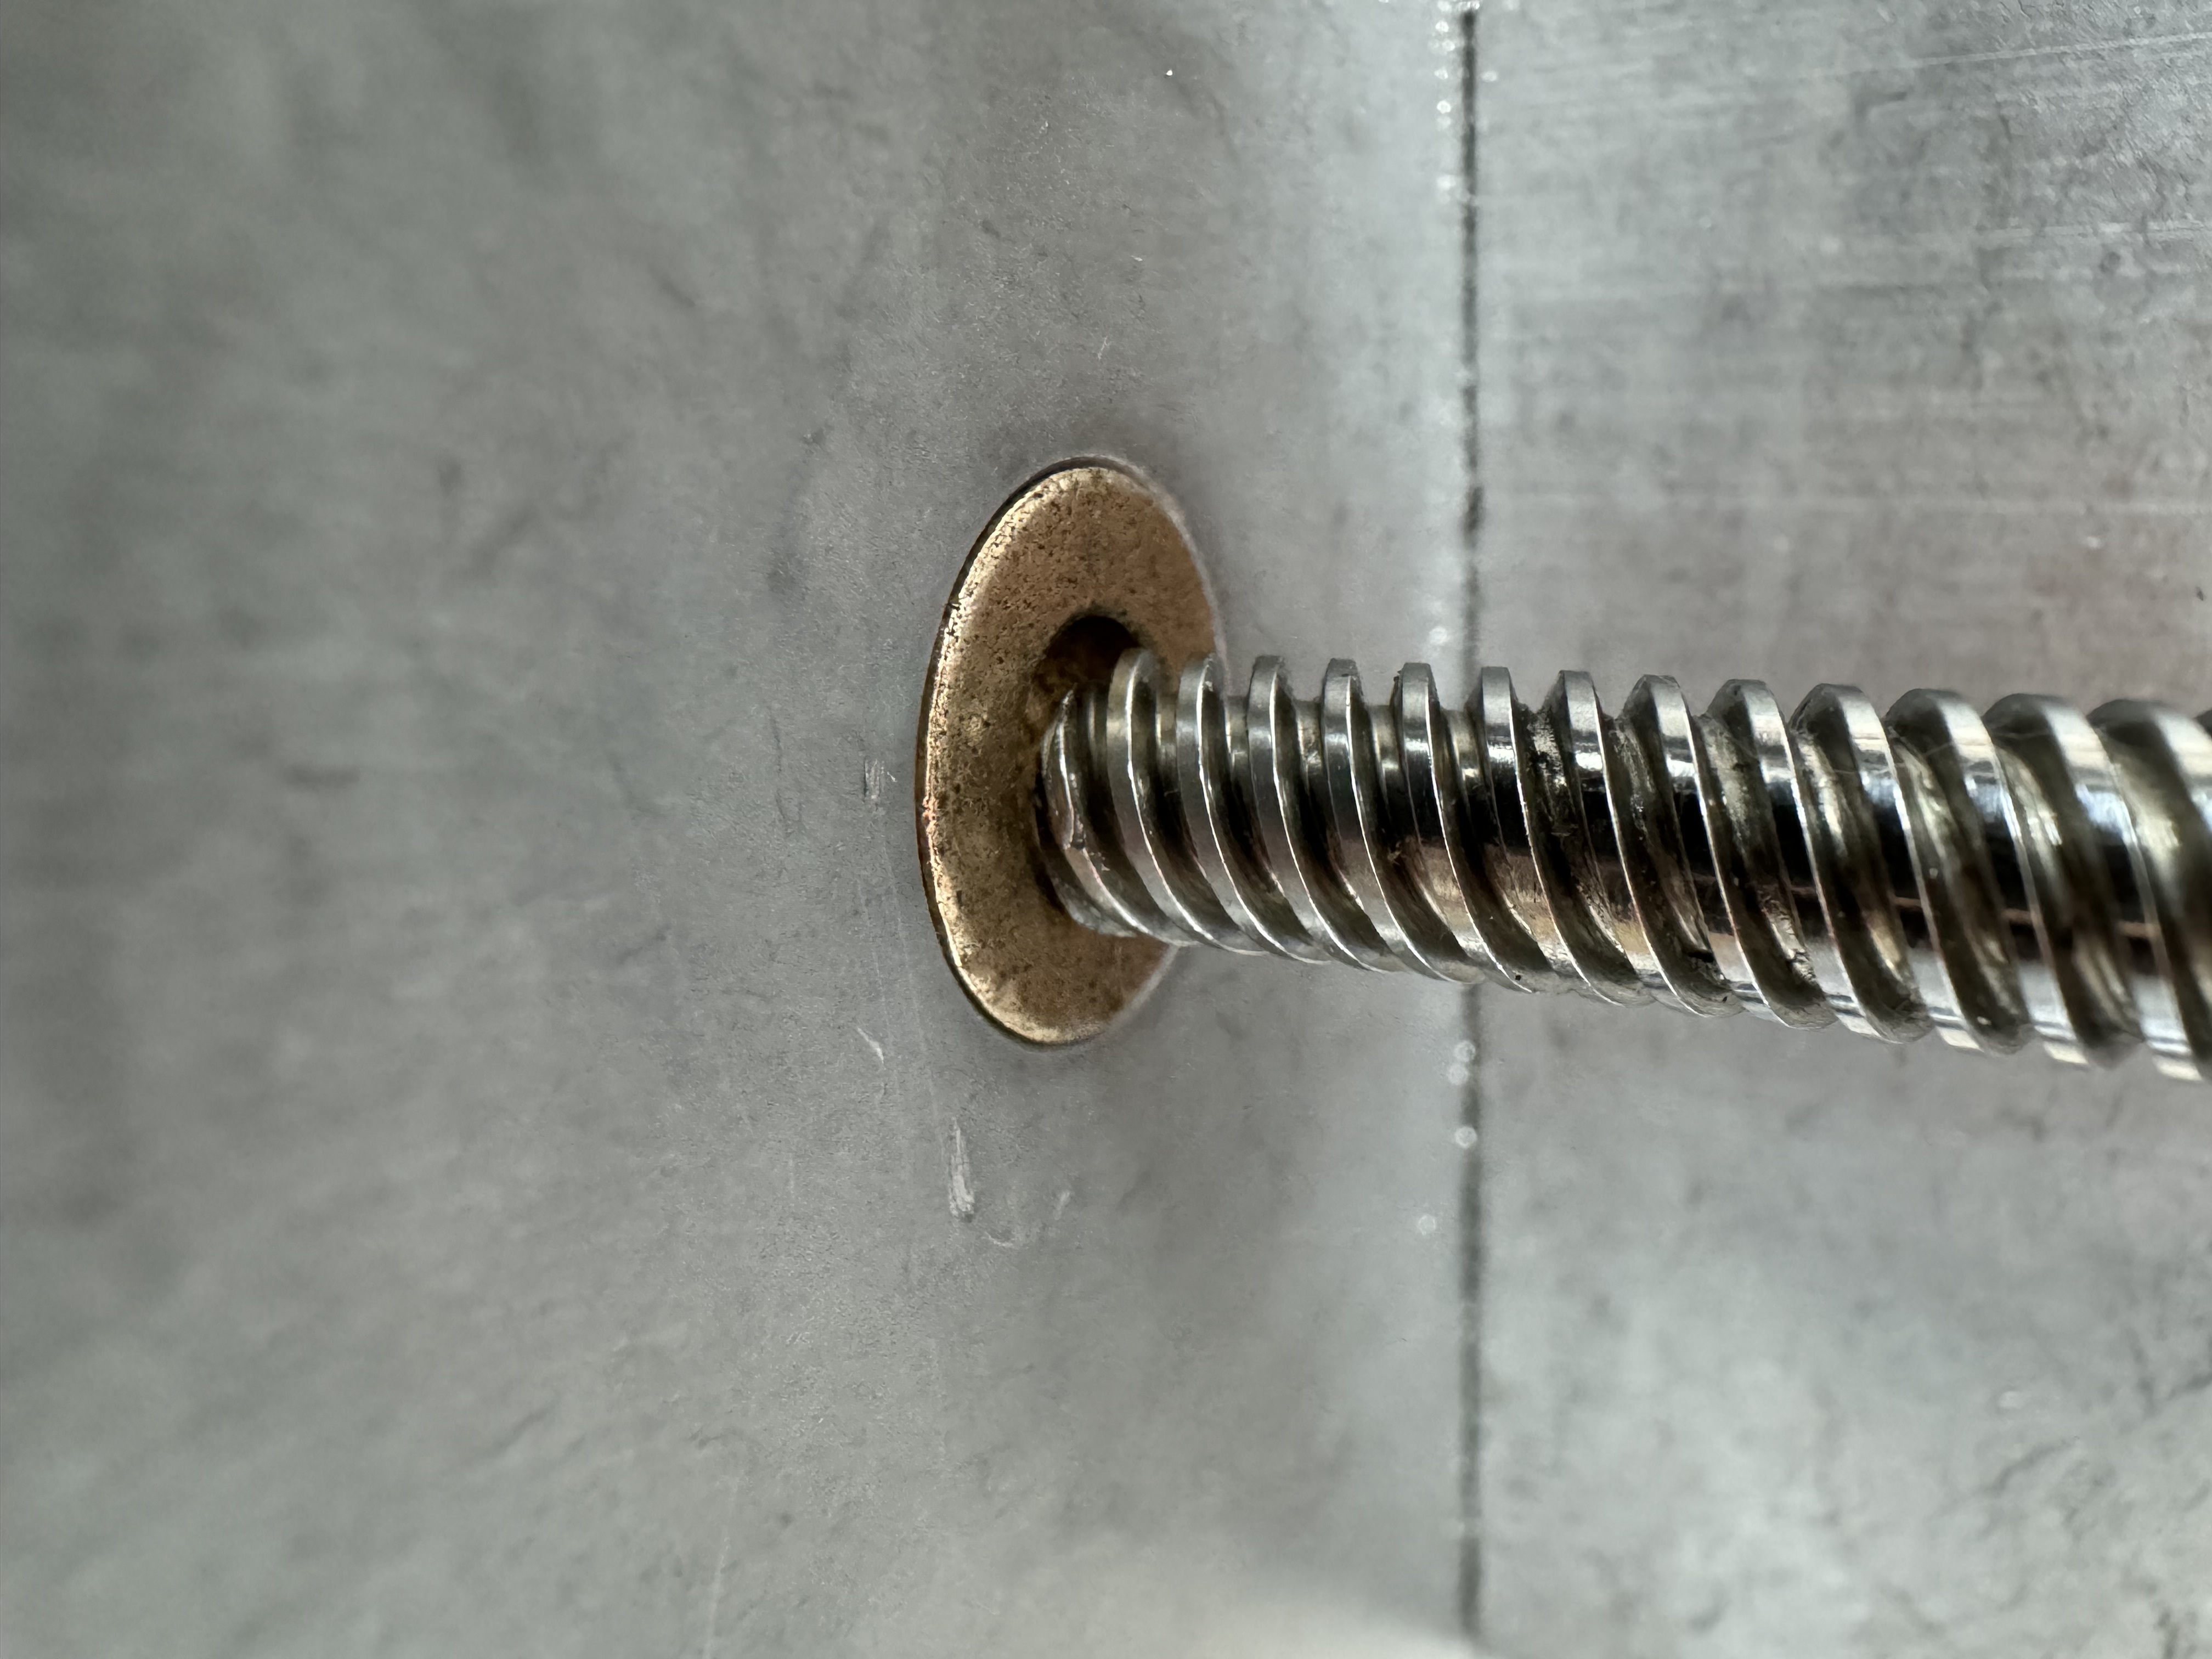
I have wiped, vacuumed, and cleaned religiously. But acrylic from 3 years ago is still in the backlash nut. Nasty material, I don’t cut it anymore.
Remove the screws…
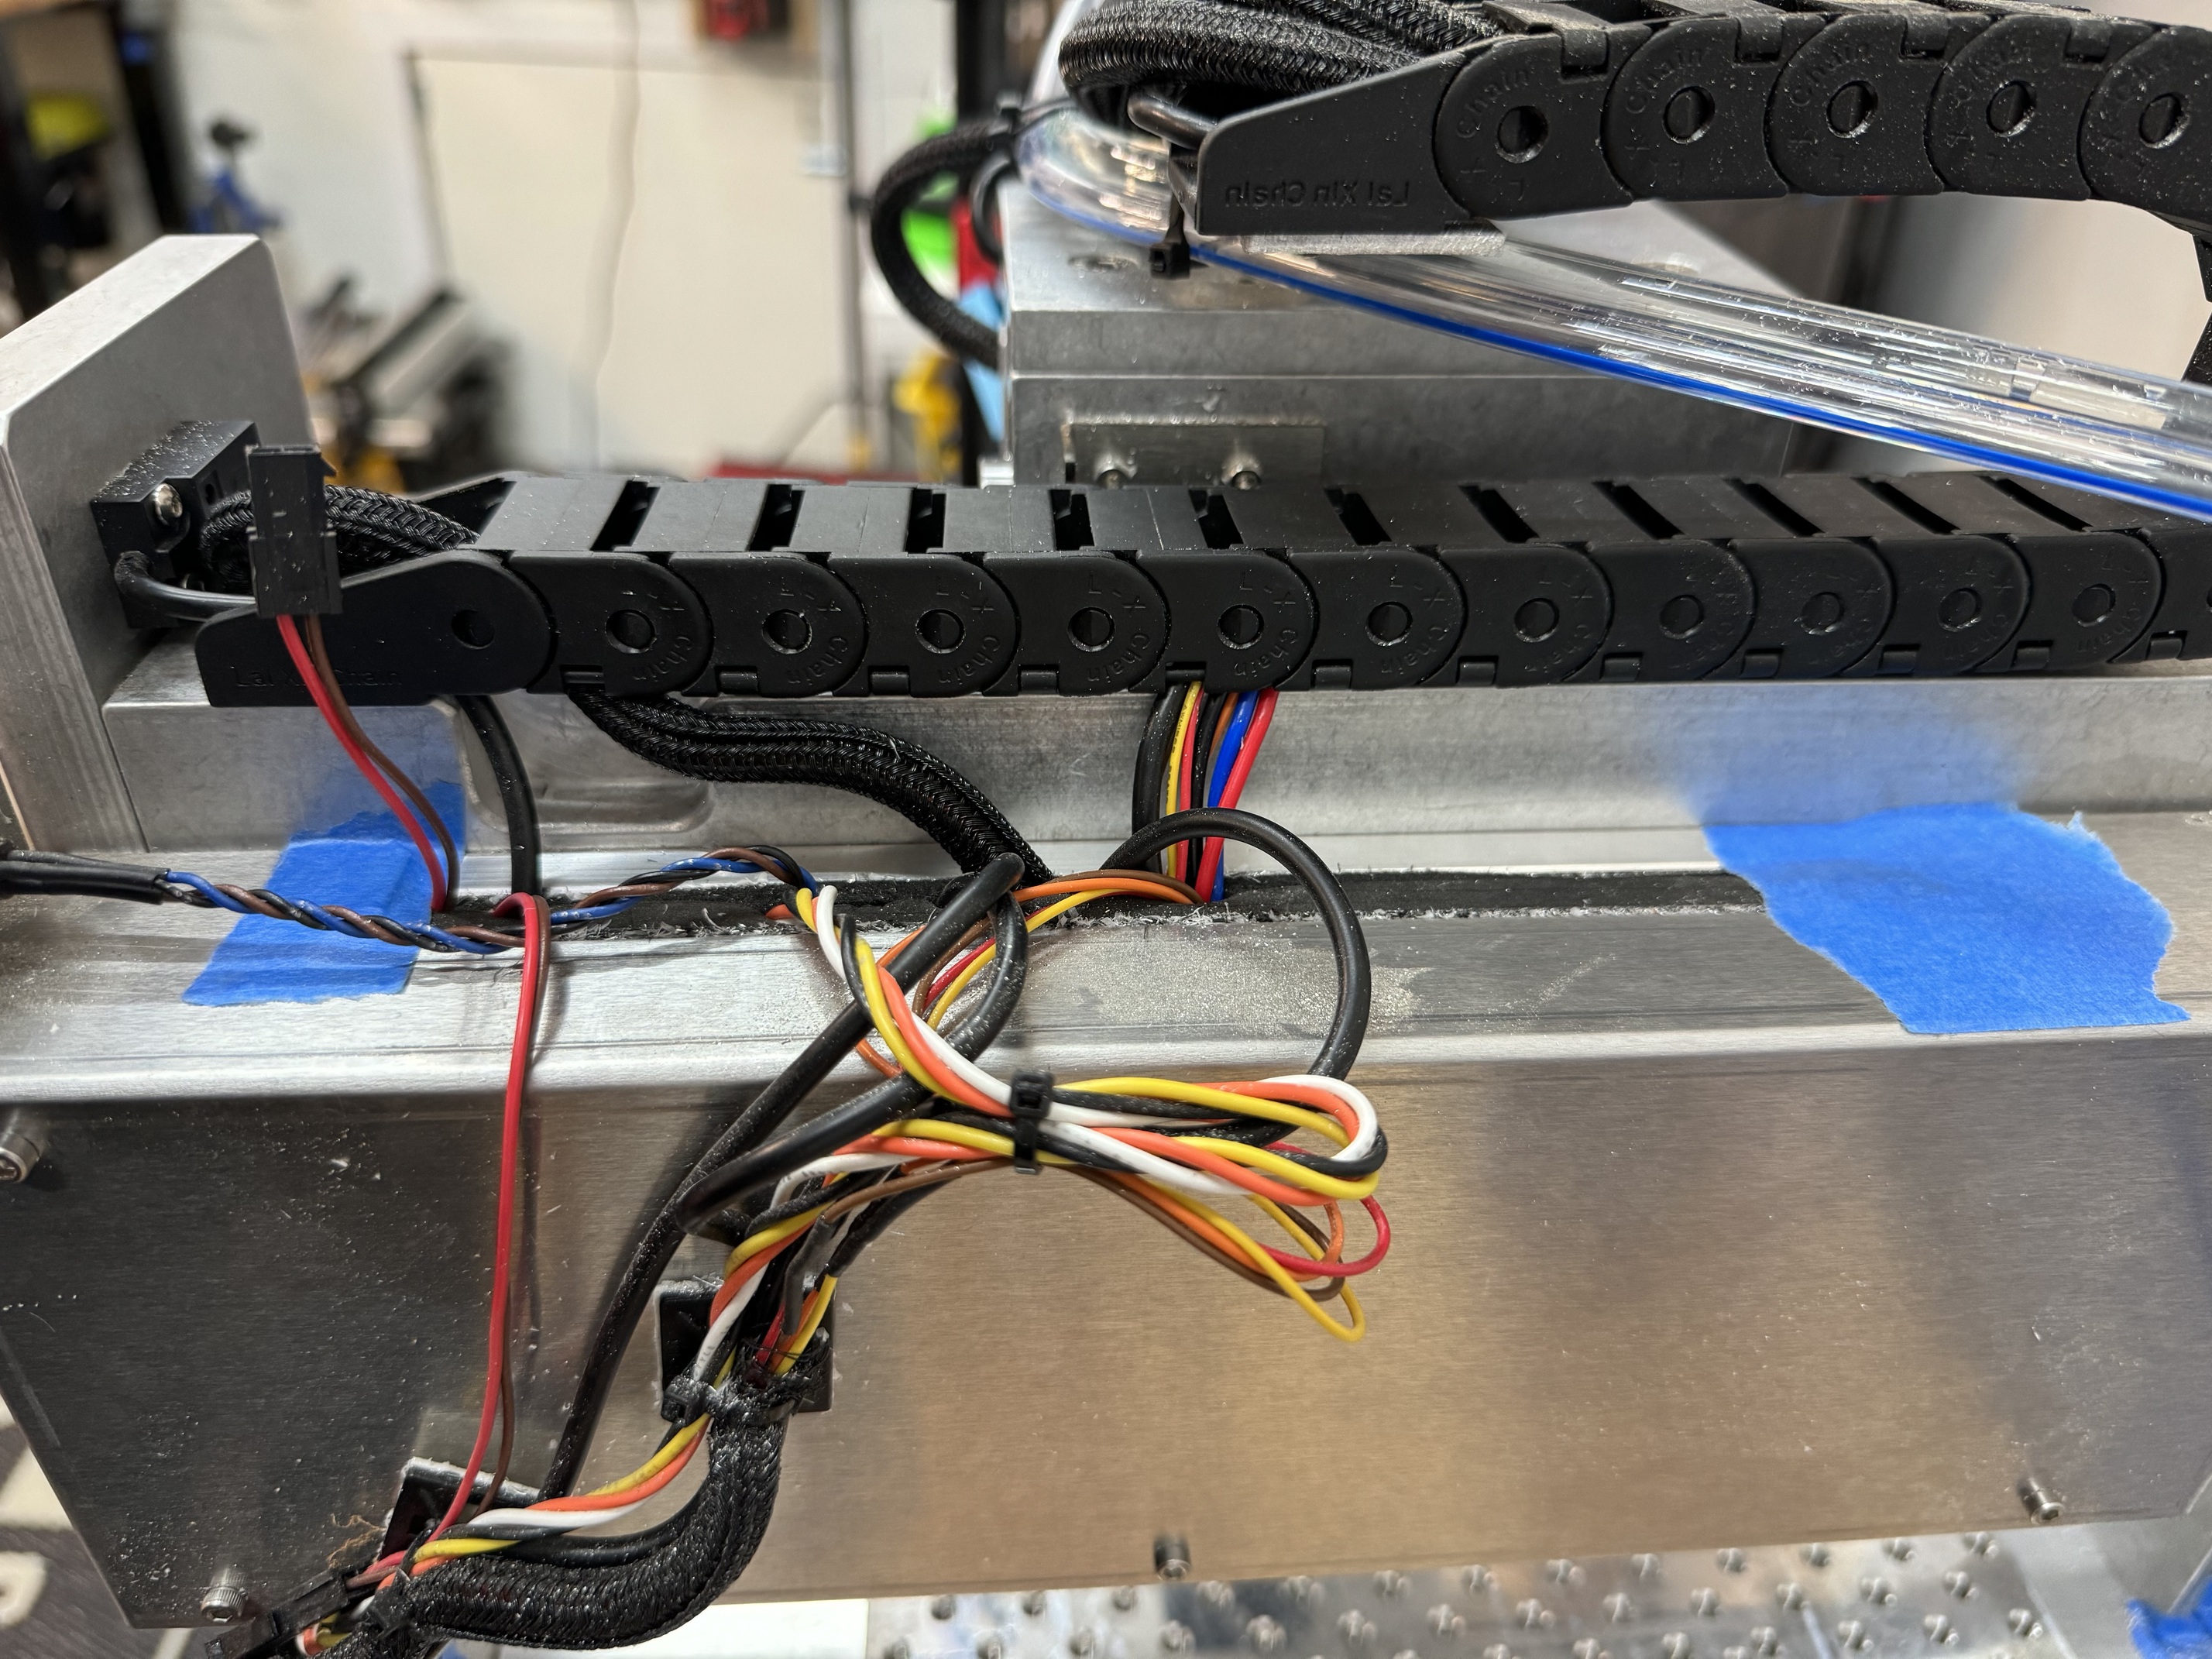
Remember of course to unplug the motor. Mind which plug it uses on the board. There’s 1 unused stepper output.
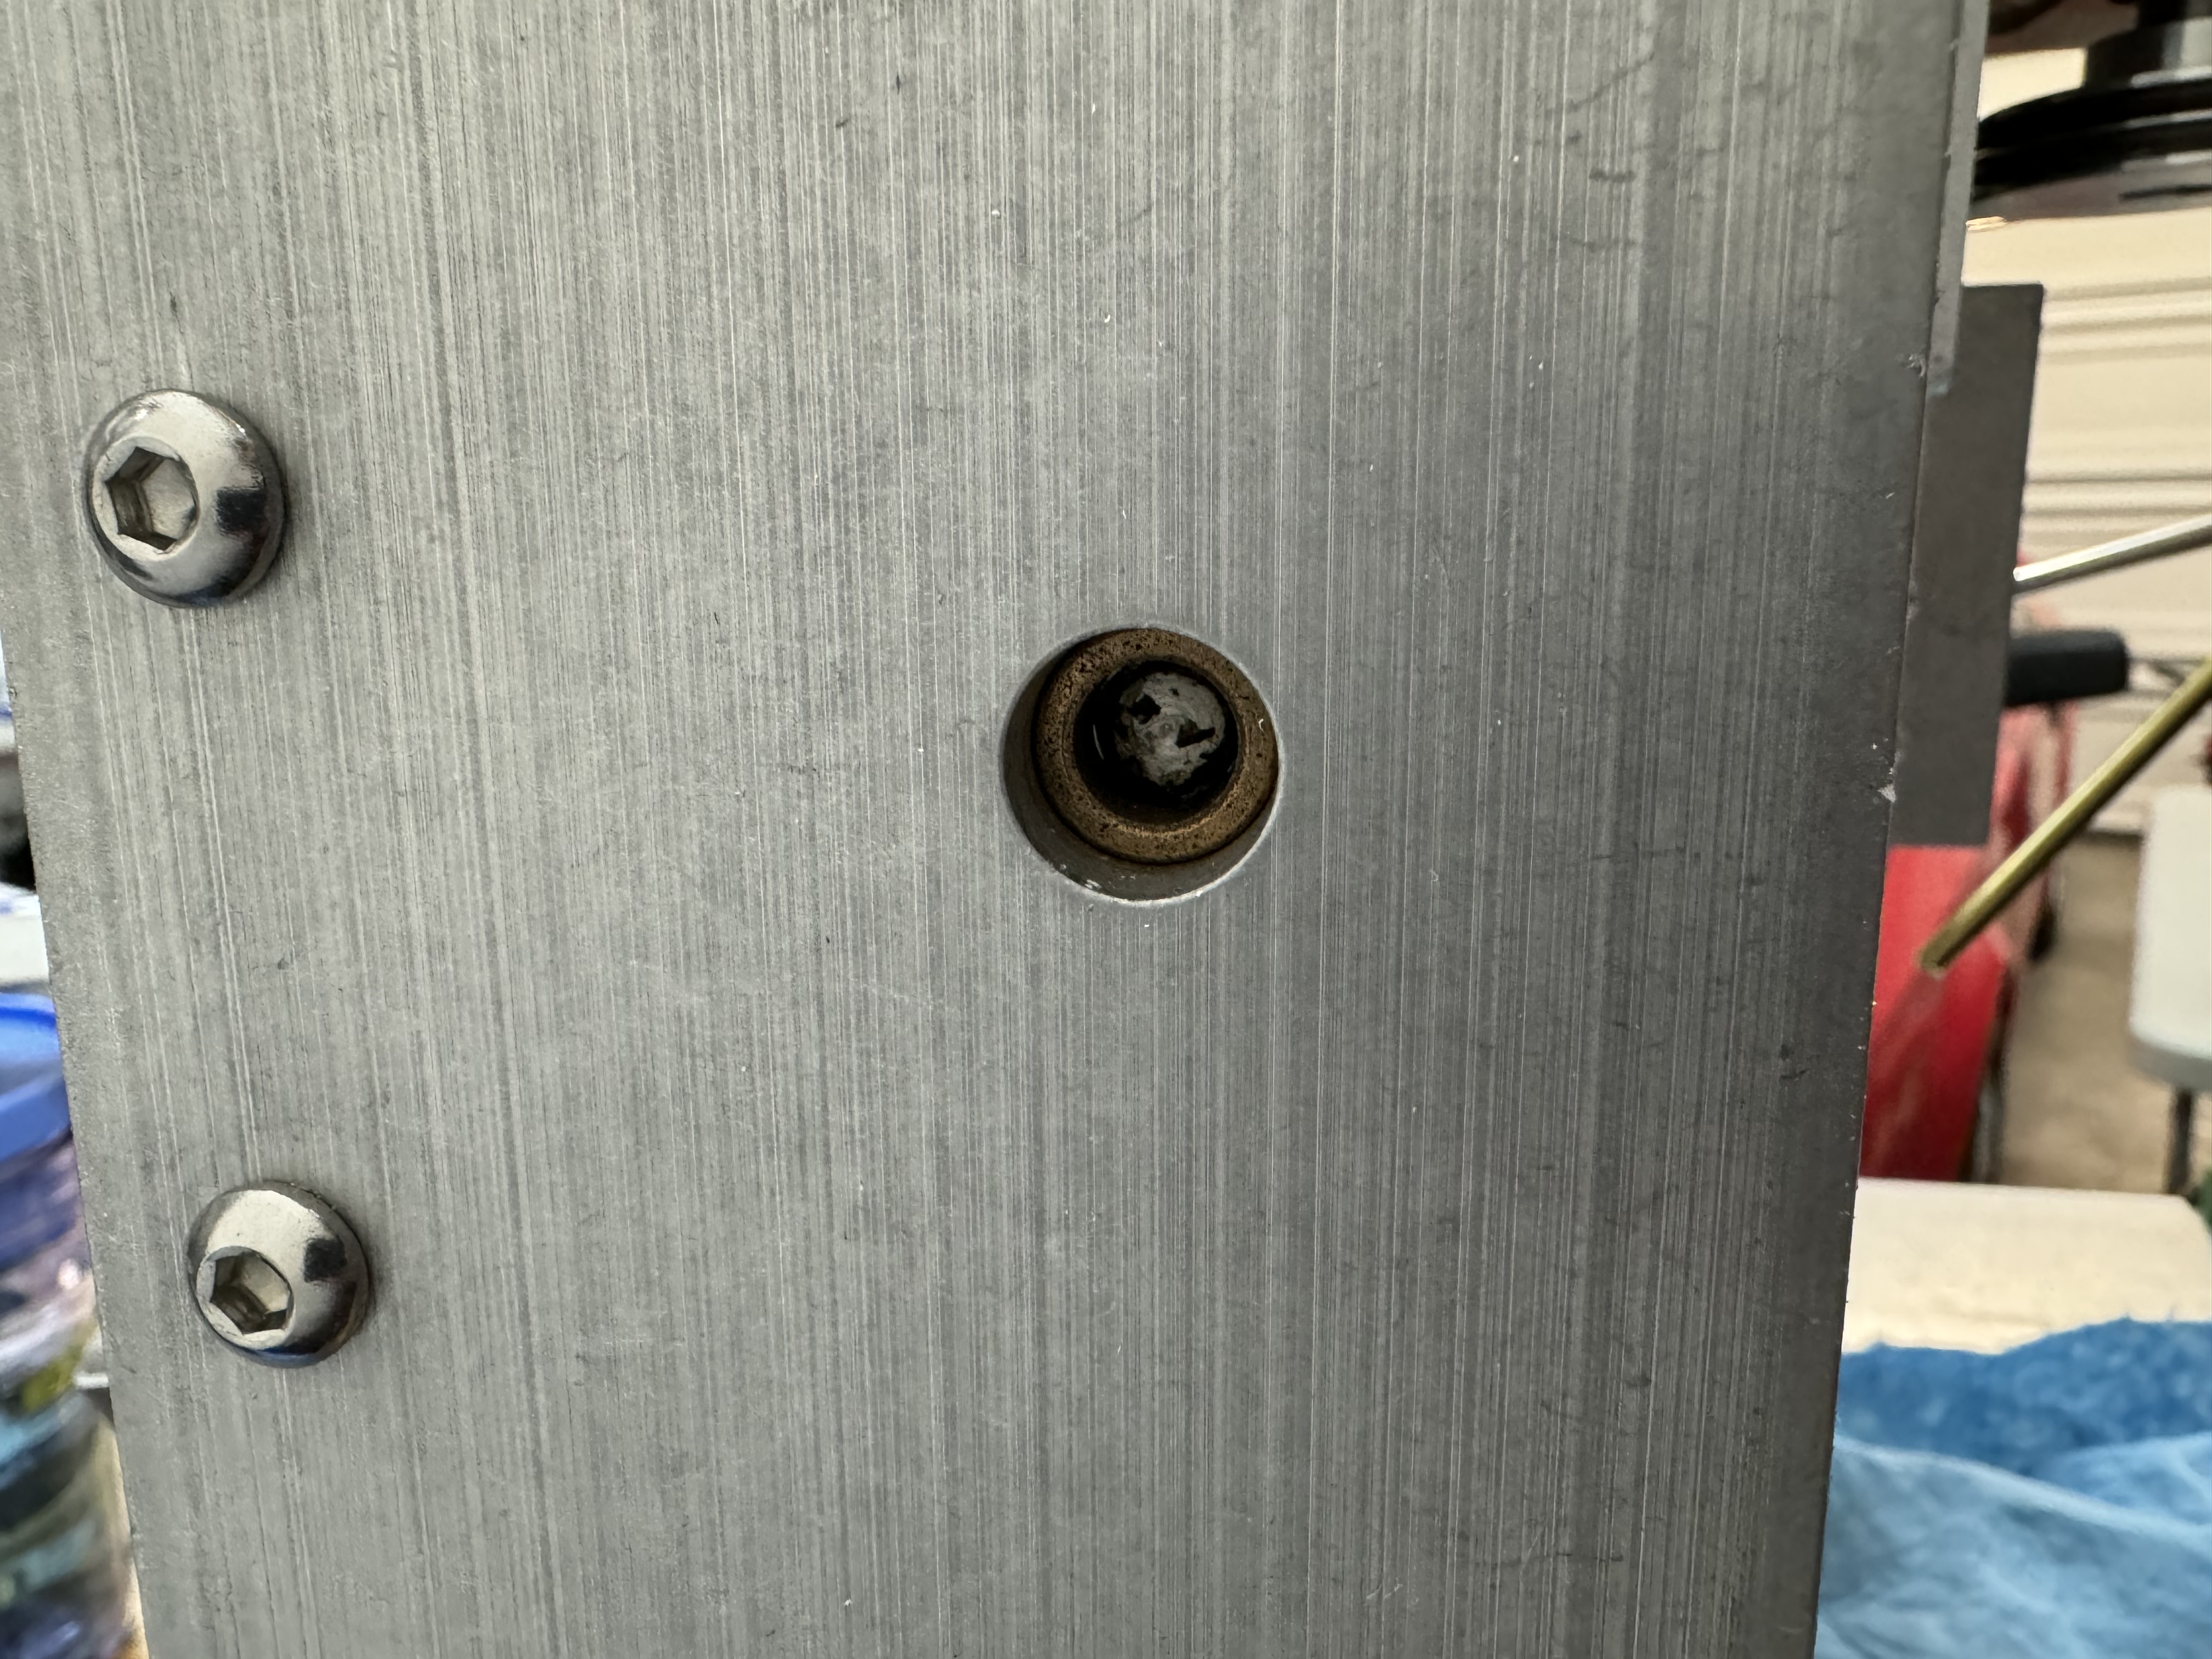
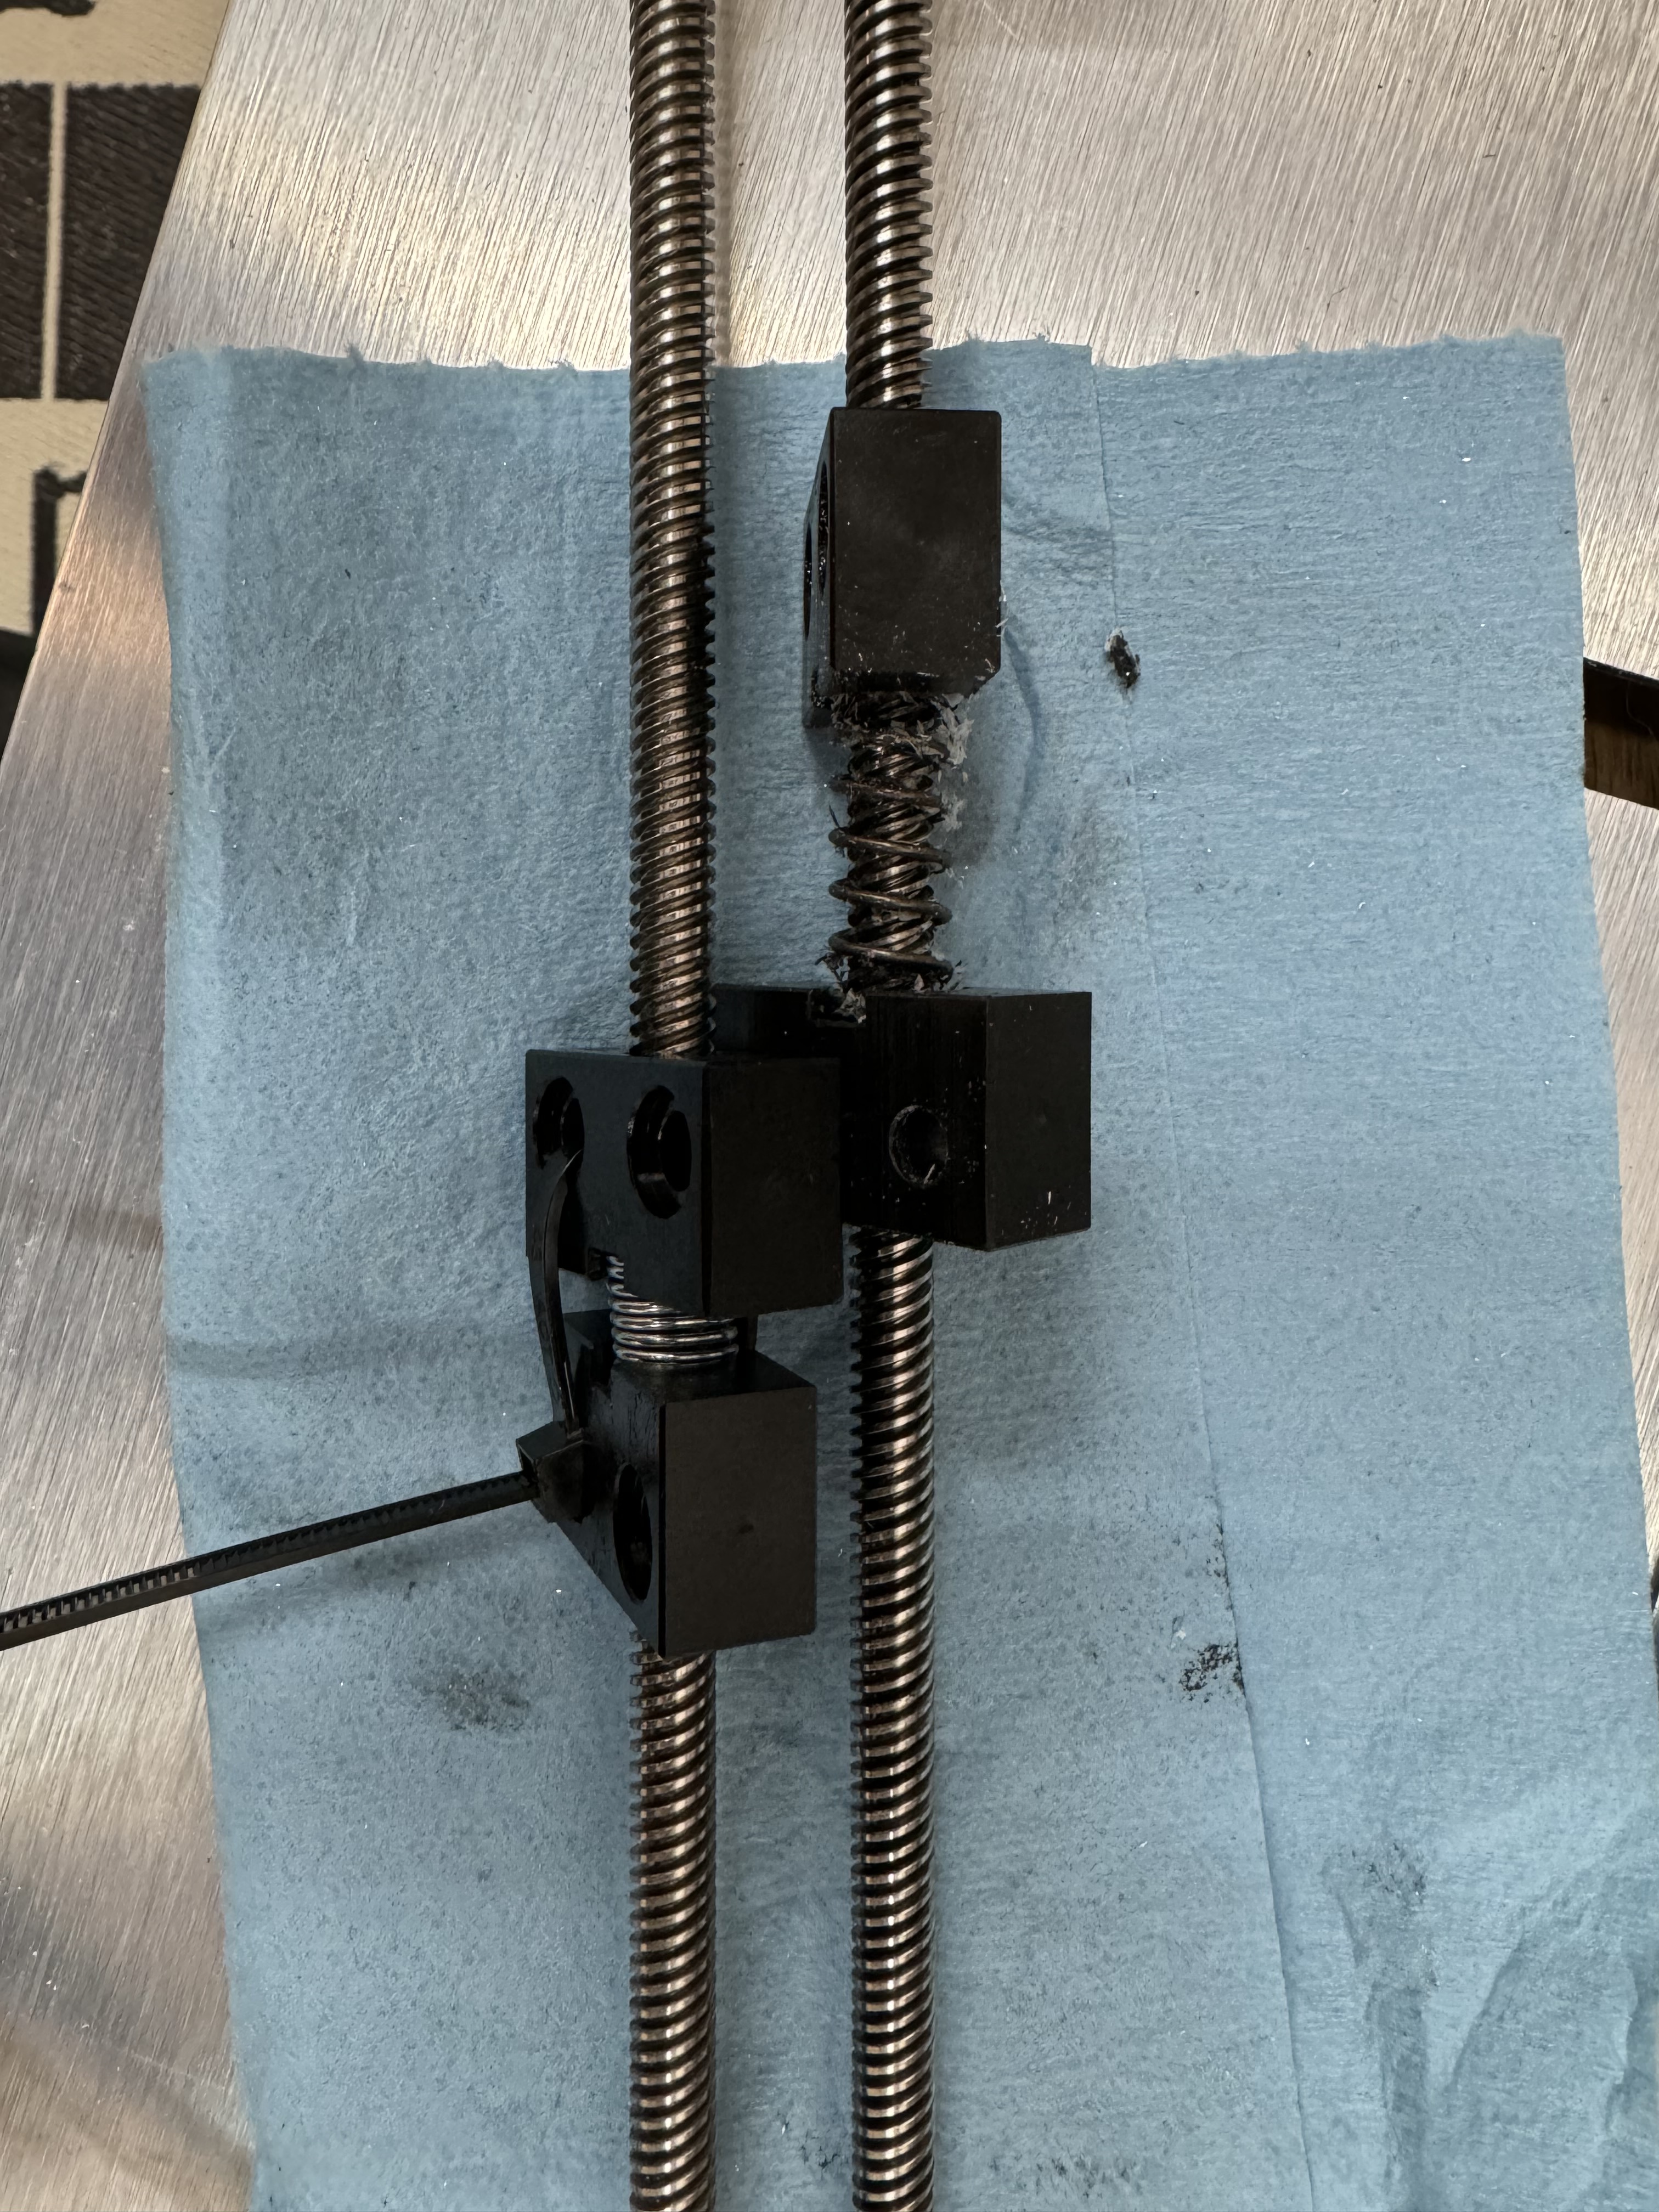
I needed to remove the brass nut to get a little angle ability on the shaft.
A gentle couple of taps and it frees up.
I just twisted and felt around until I found an orientation that let the motor come loose. I don’t know what worked - it was quite tough to get it out without a lot of force.
Comparing old vs new
- Old motor looks to be 1-2mm longer.
- Preload on the nut from Carbide3d is set more aggressively than the preload on my Nomad. My Y screw has quite a bit of spring room while this new X screw is pretty much bottomed out.
Old motor was shot. Multimeter backdriving testing showed it was slipping at 250ma while the new one holds steady past 450ma (the most I could check). The old one is easily turned with the lightest of finger pressure. The new one feels like a normal stepper, with stiffly pronounced step detent.
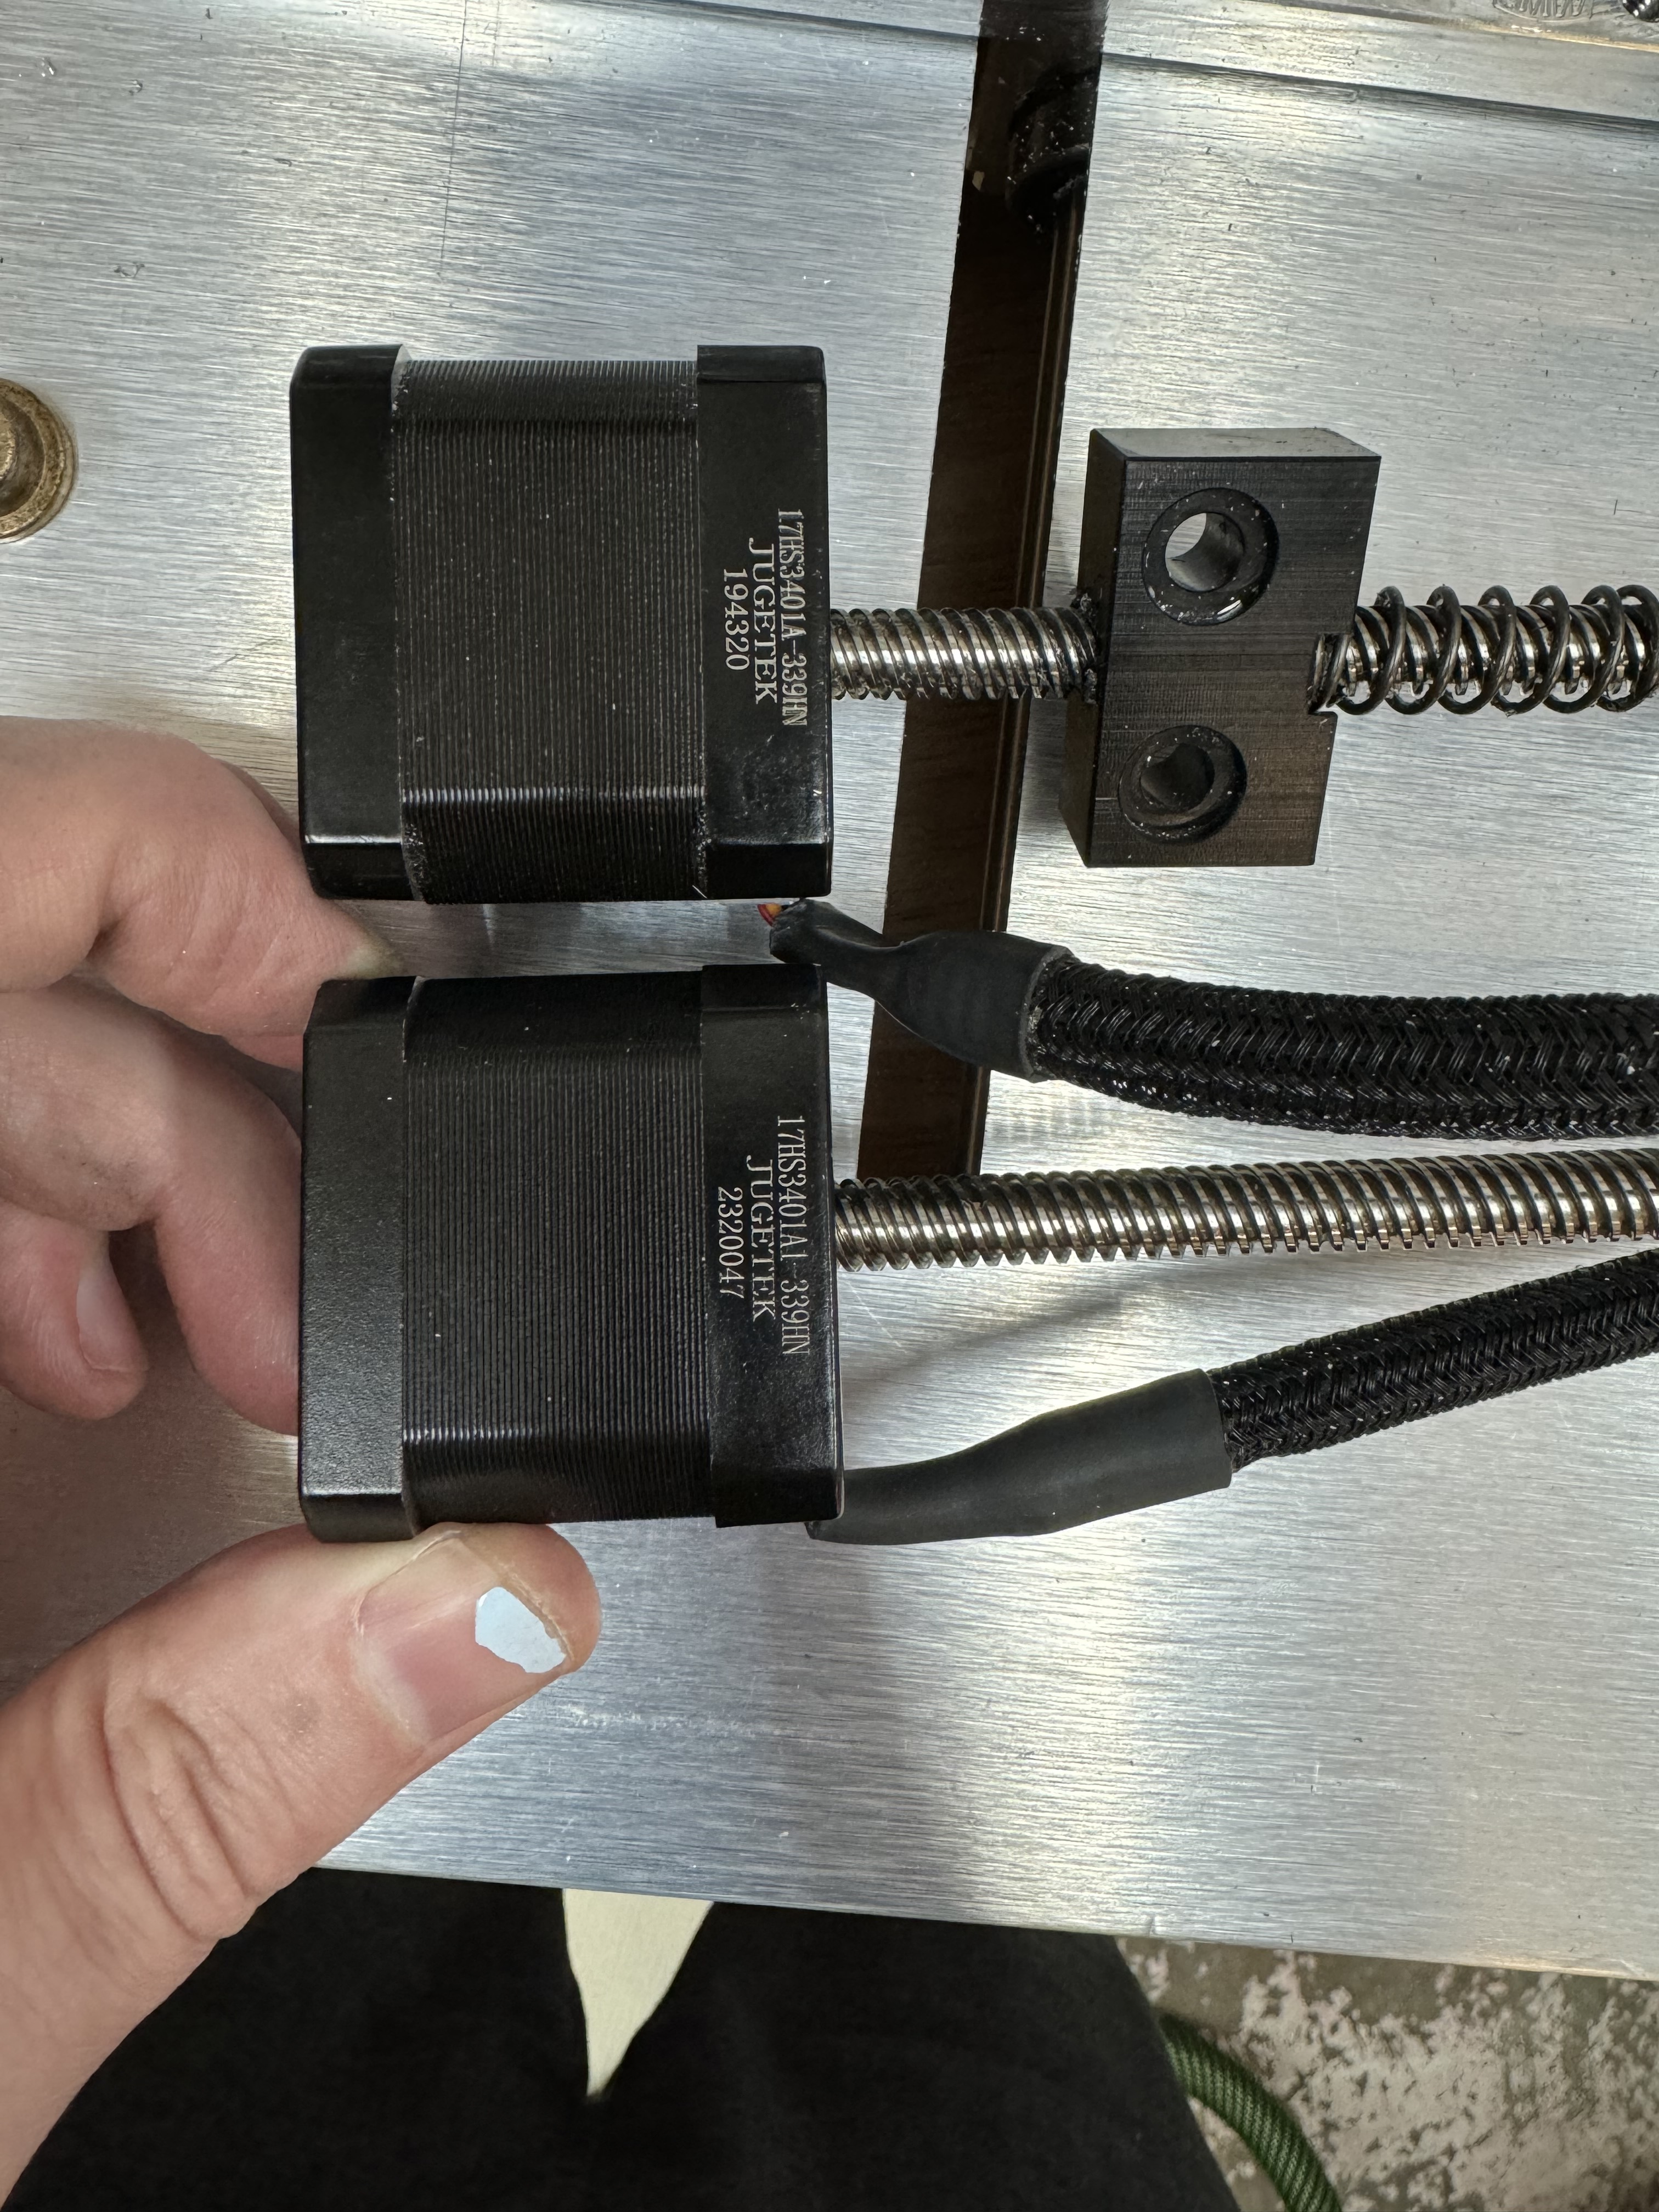
New motor has an extra
1 in the model: 17HS3401A versus 17HS3401A1.
Installation
Remember to put the brass nut on the leadscrew!!!
The angle is kind of tough to get right.
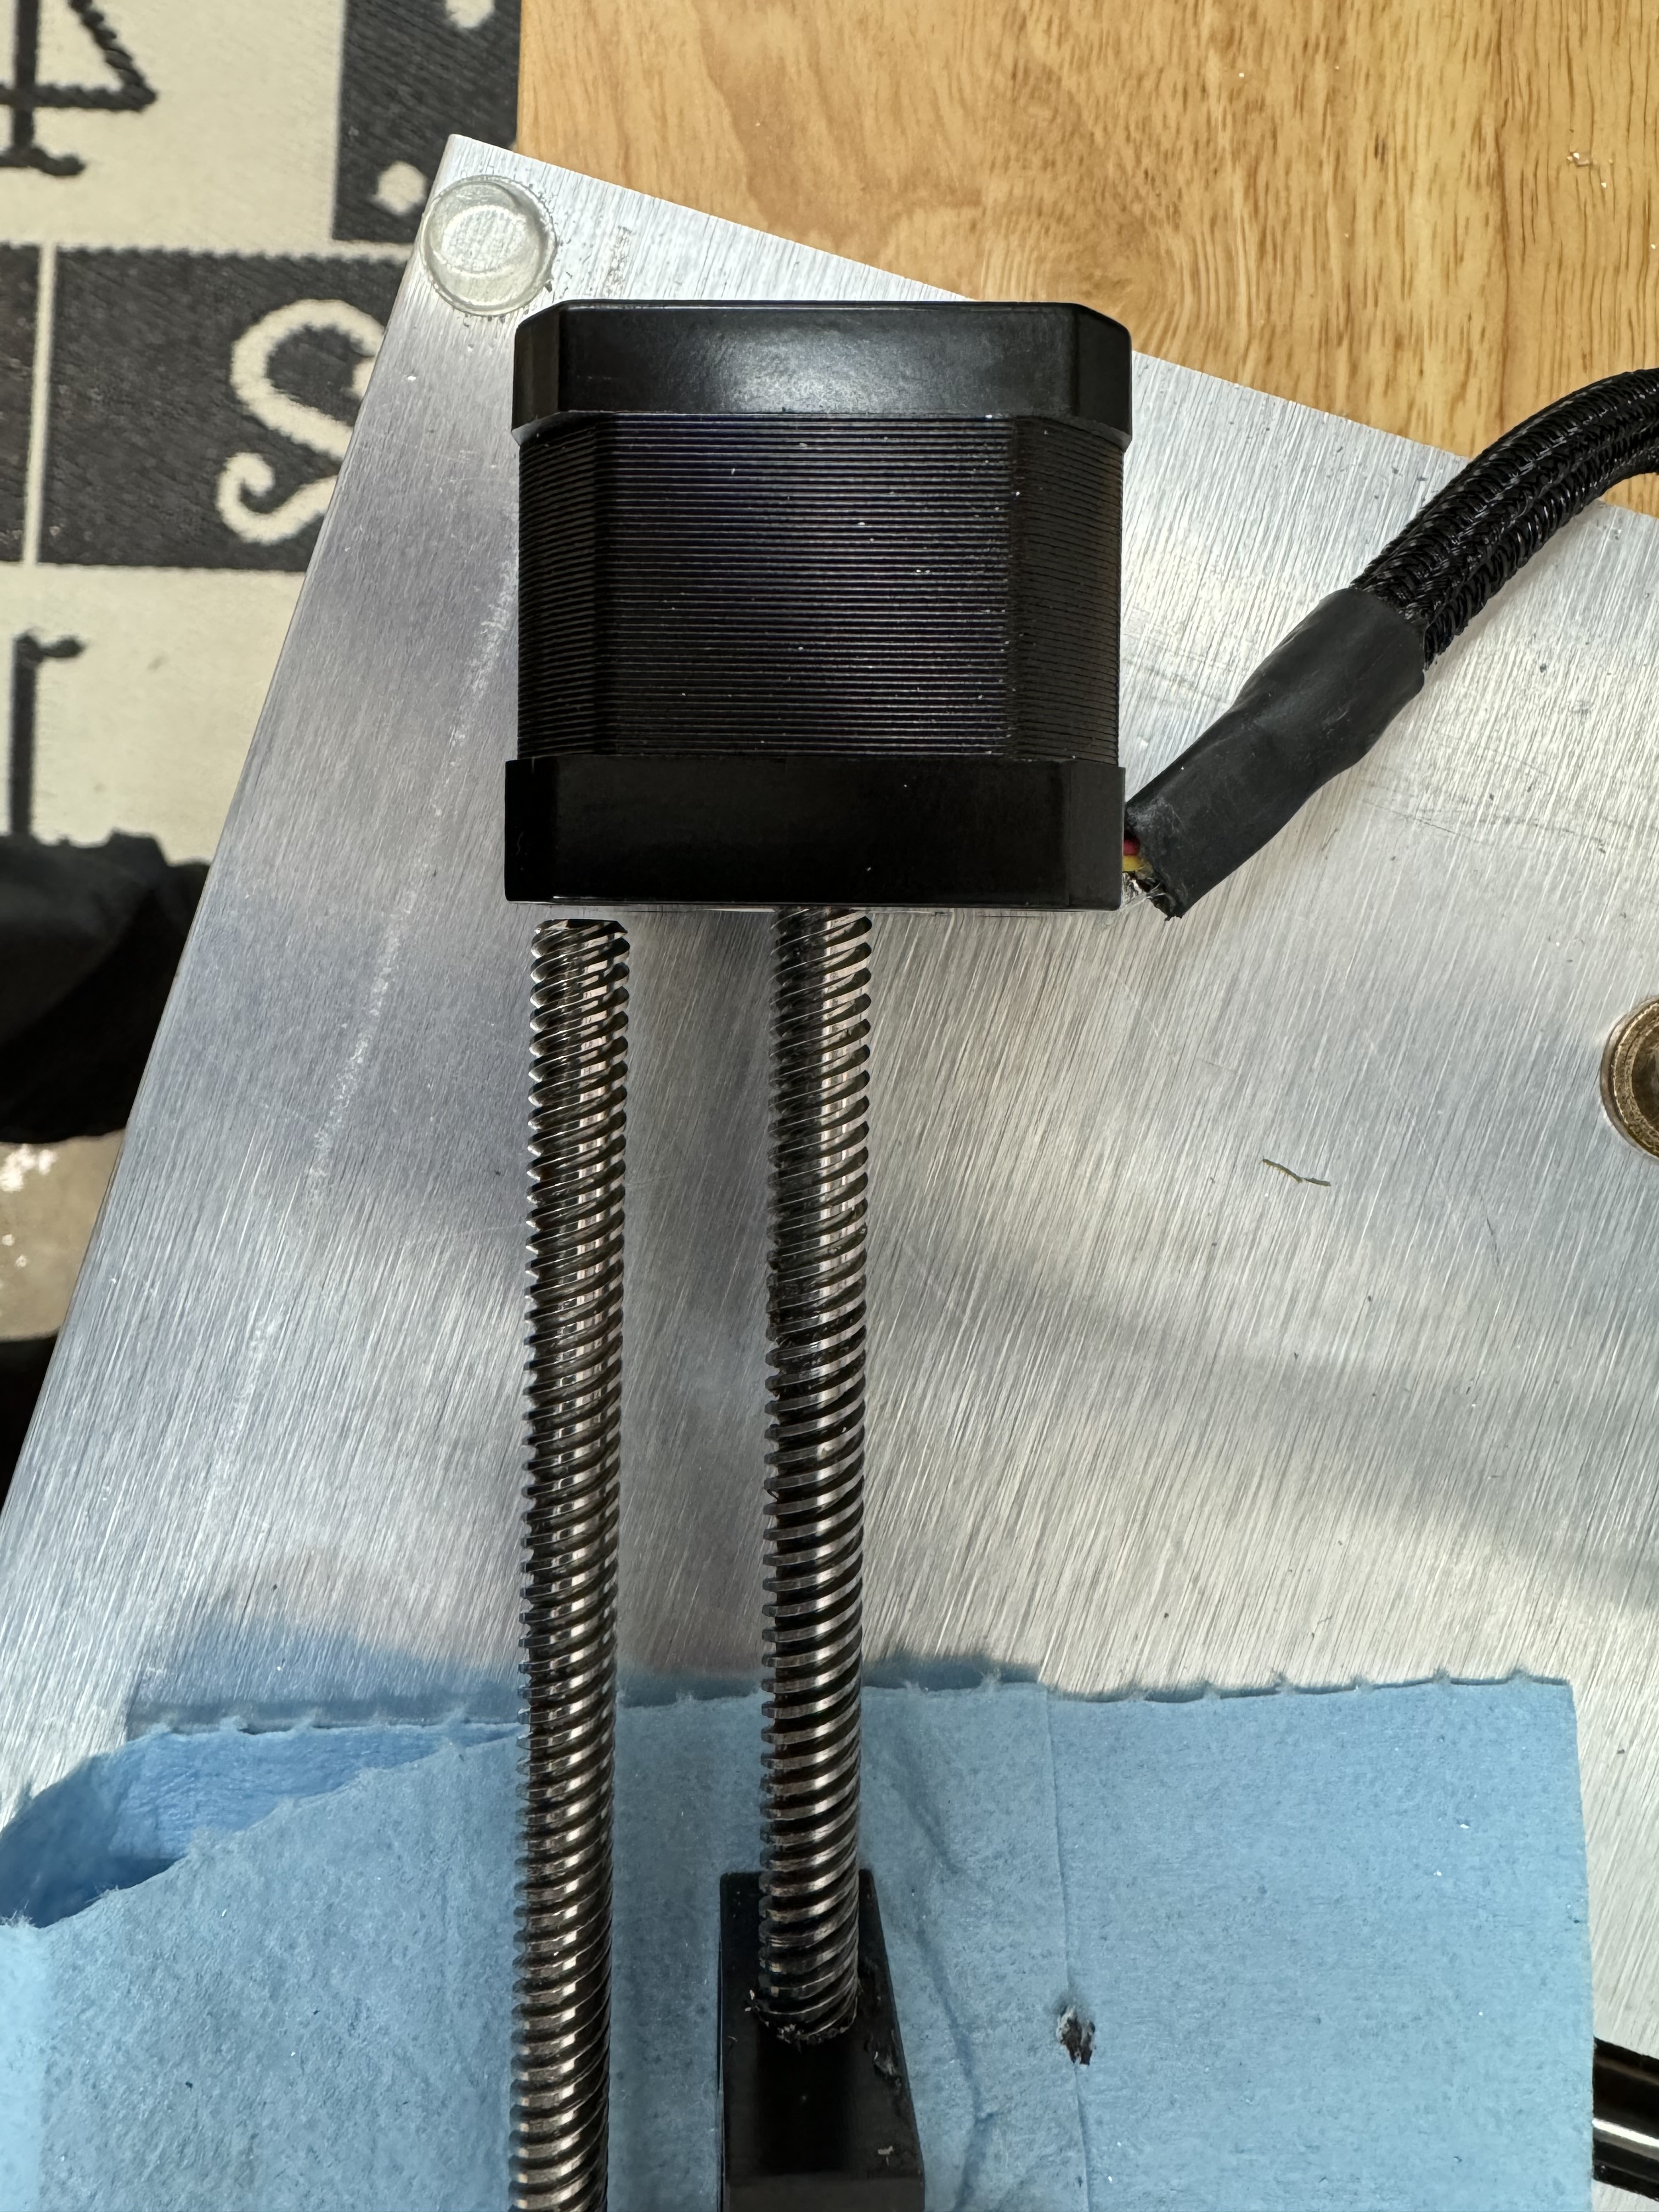
This is the magical orientation in which the stepper slides in with no resistance at all.
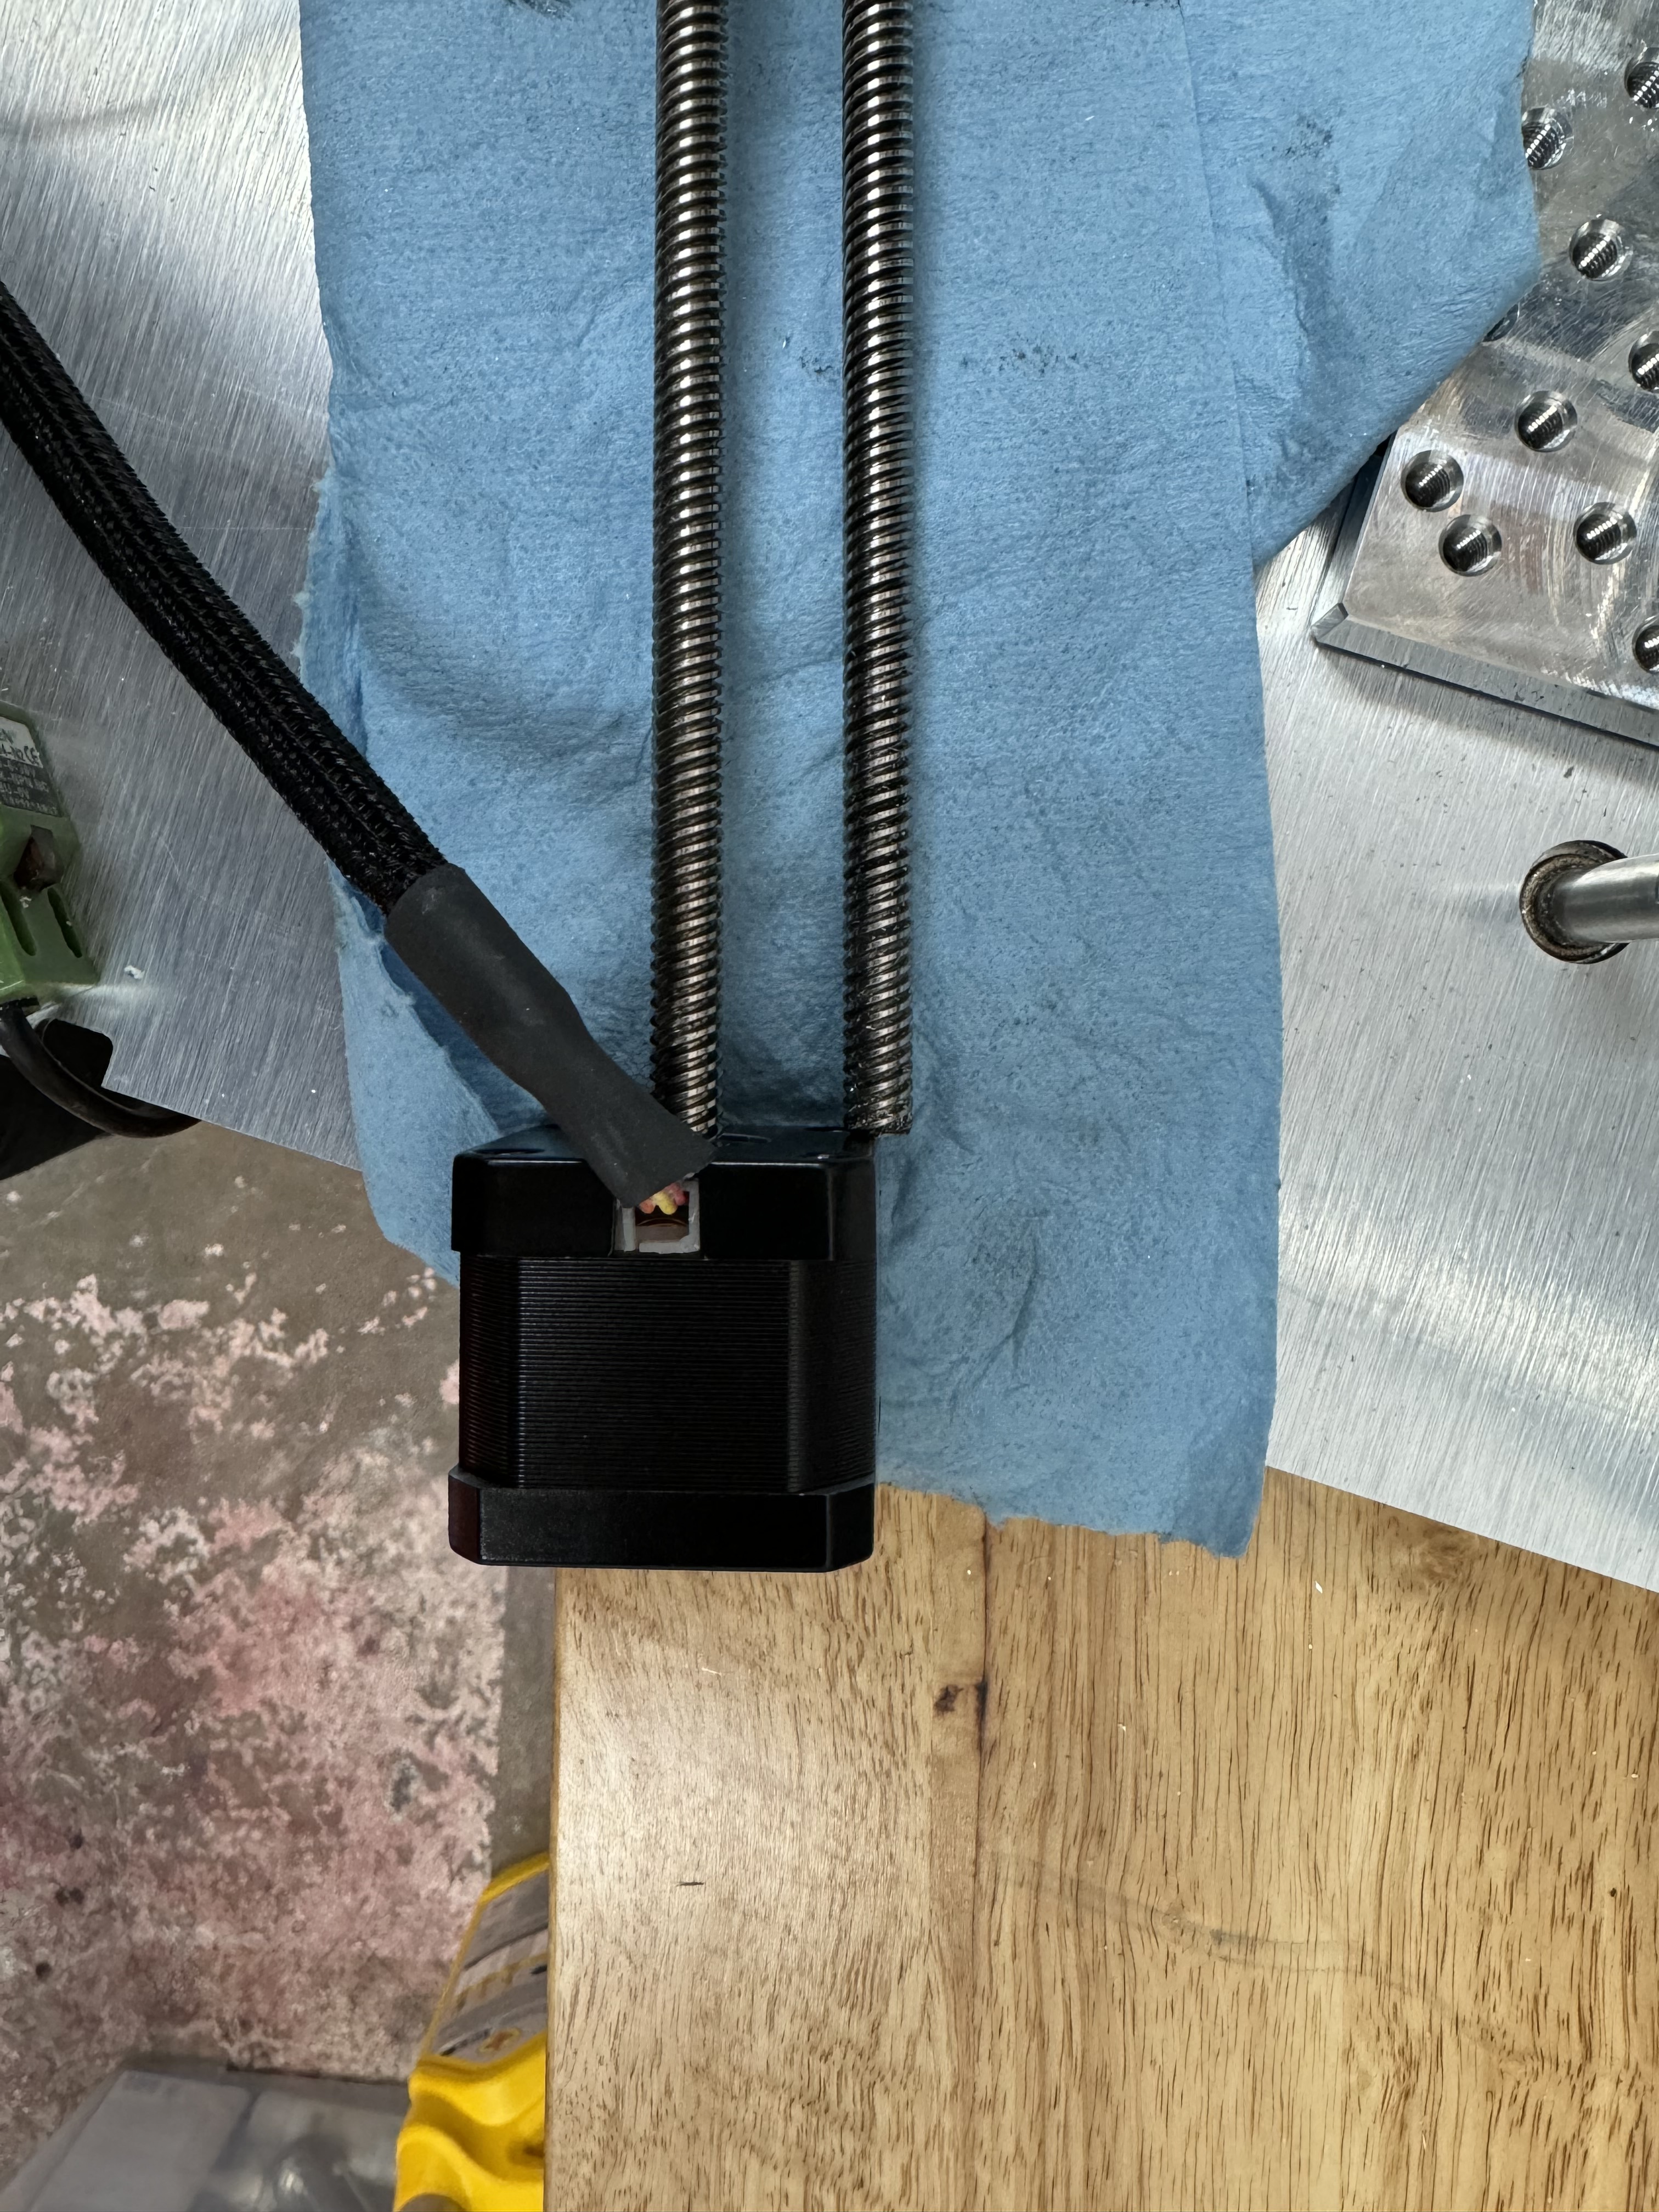
Tap this back in carefully and gently. See, the new motor is 1-2mm shorter. It barely reaches the bushing!
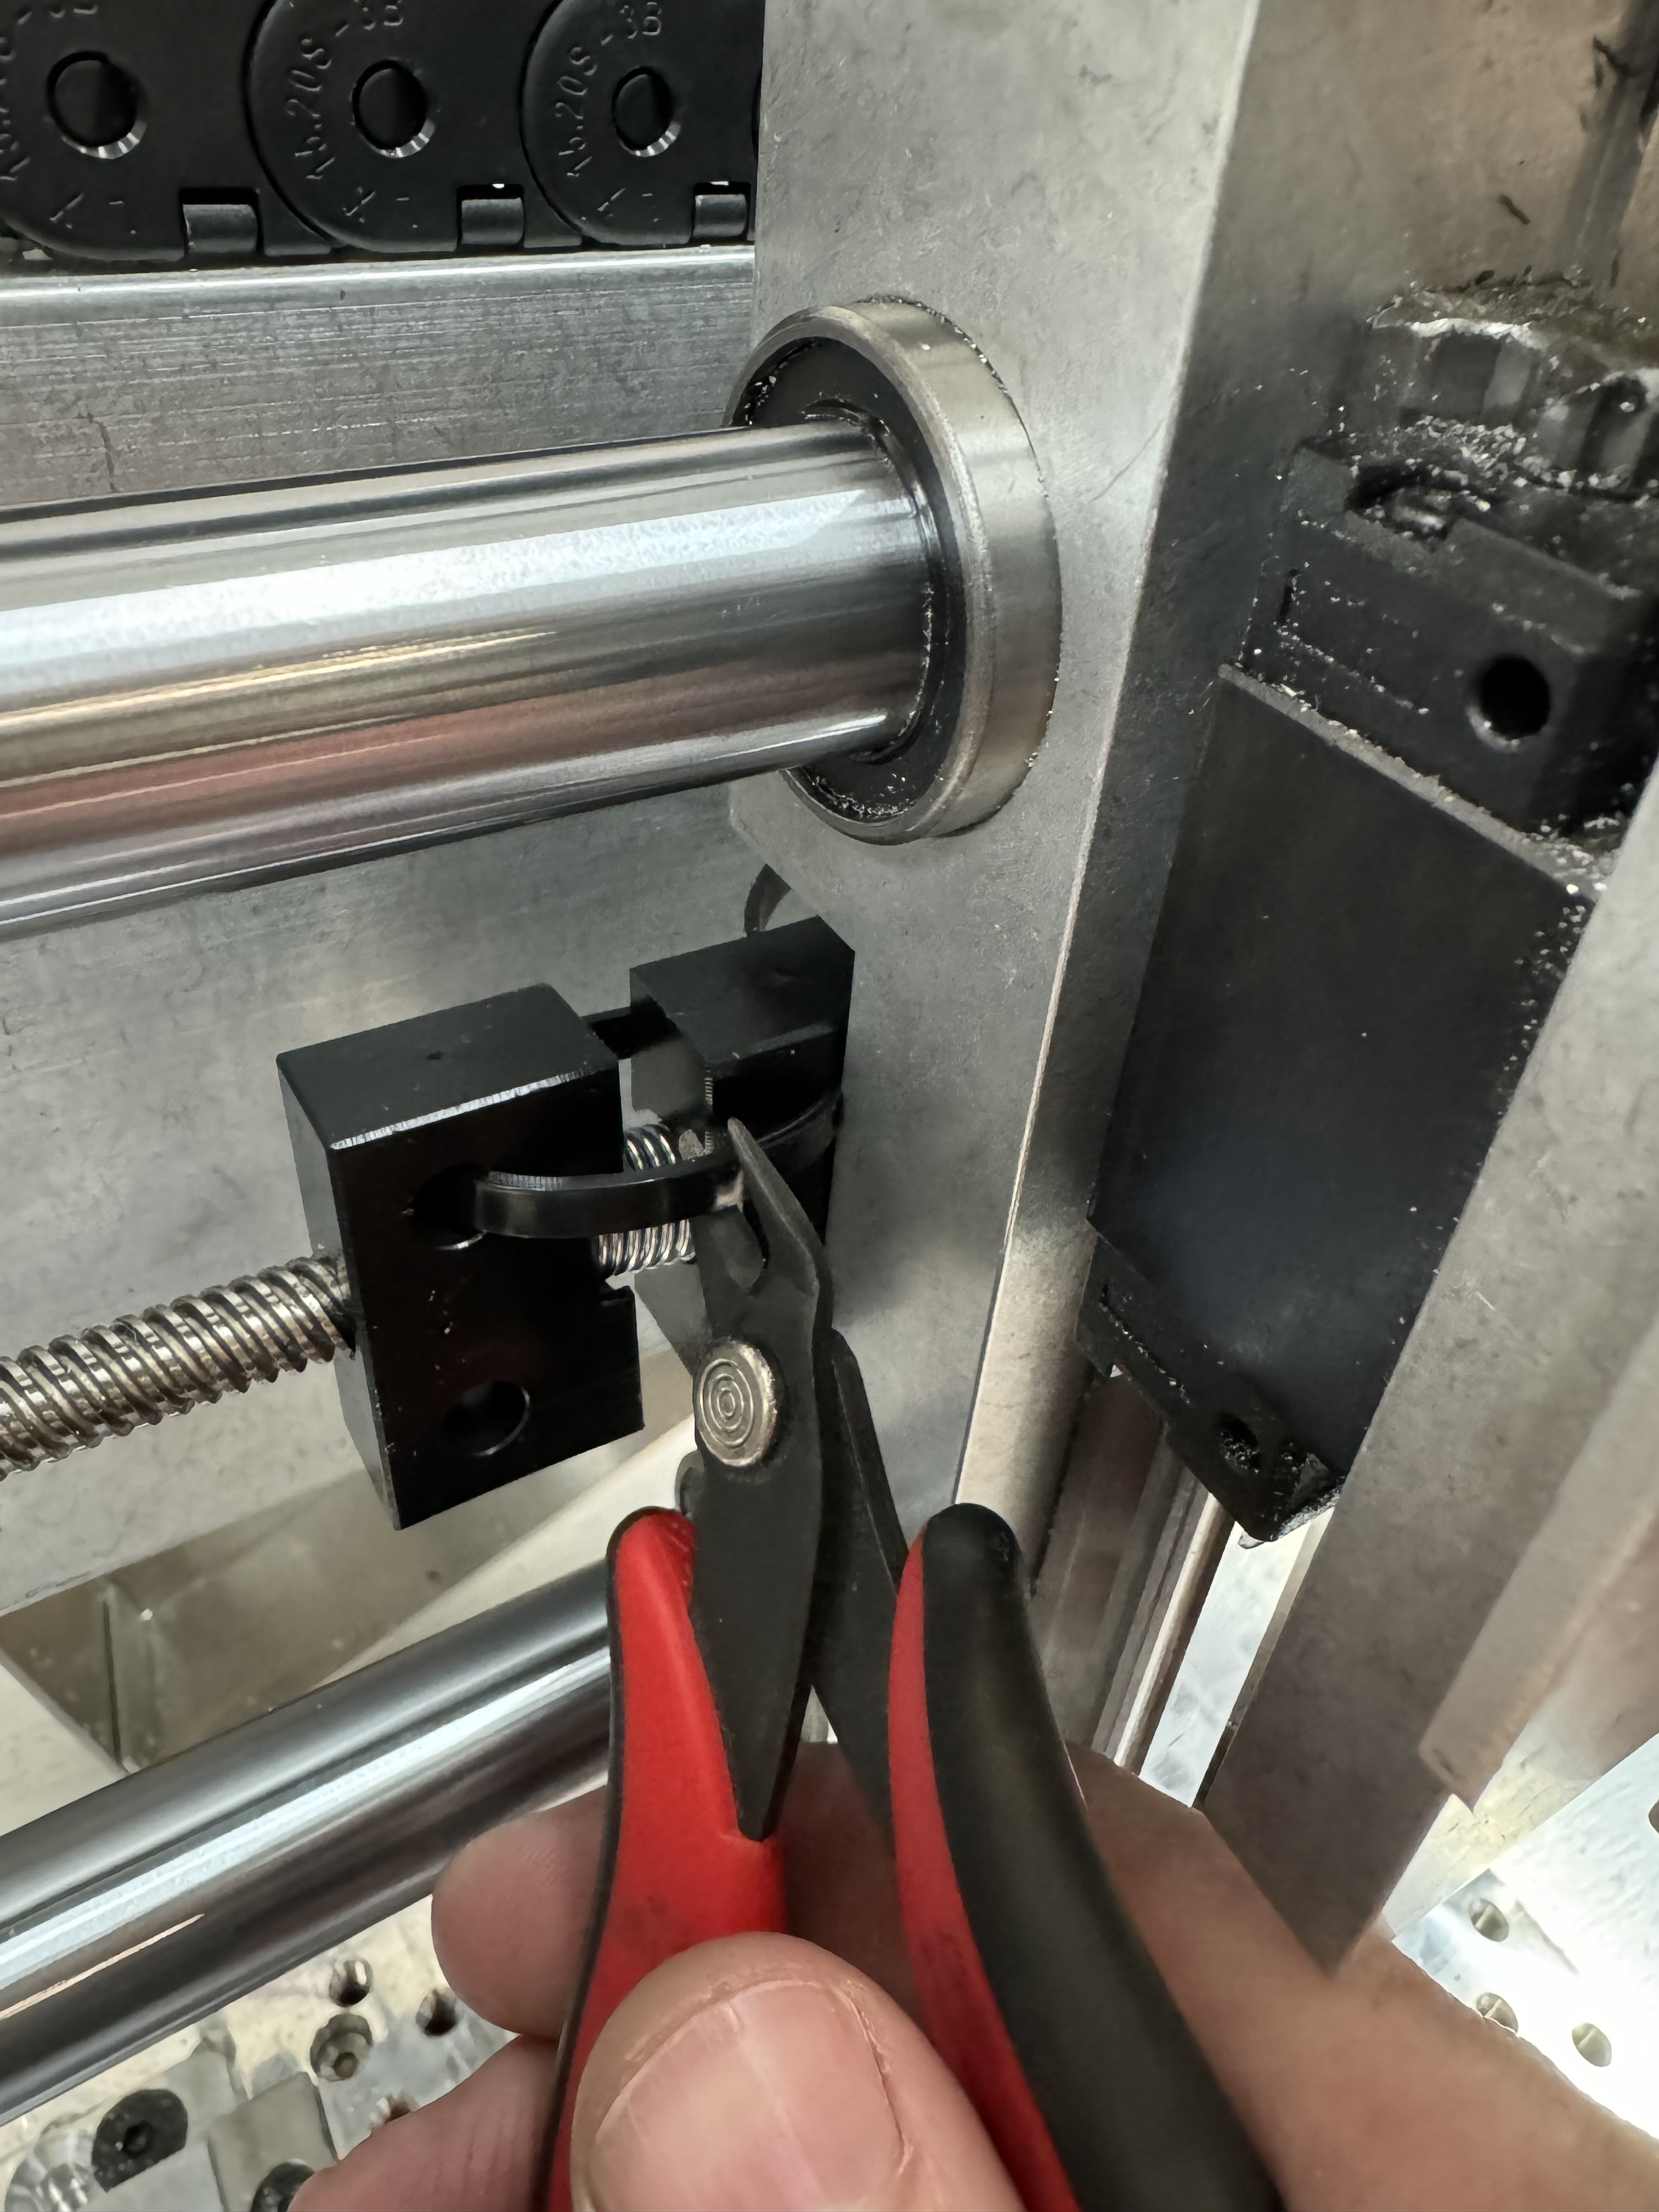
I kept the preload that Carbide shipped to me up to this moment. Grab that other side with your free hand so when you snip this tie, it doesn’t unwind. (I put the phone down and did that). In this way you can install it how Carbide shipped it.
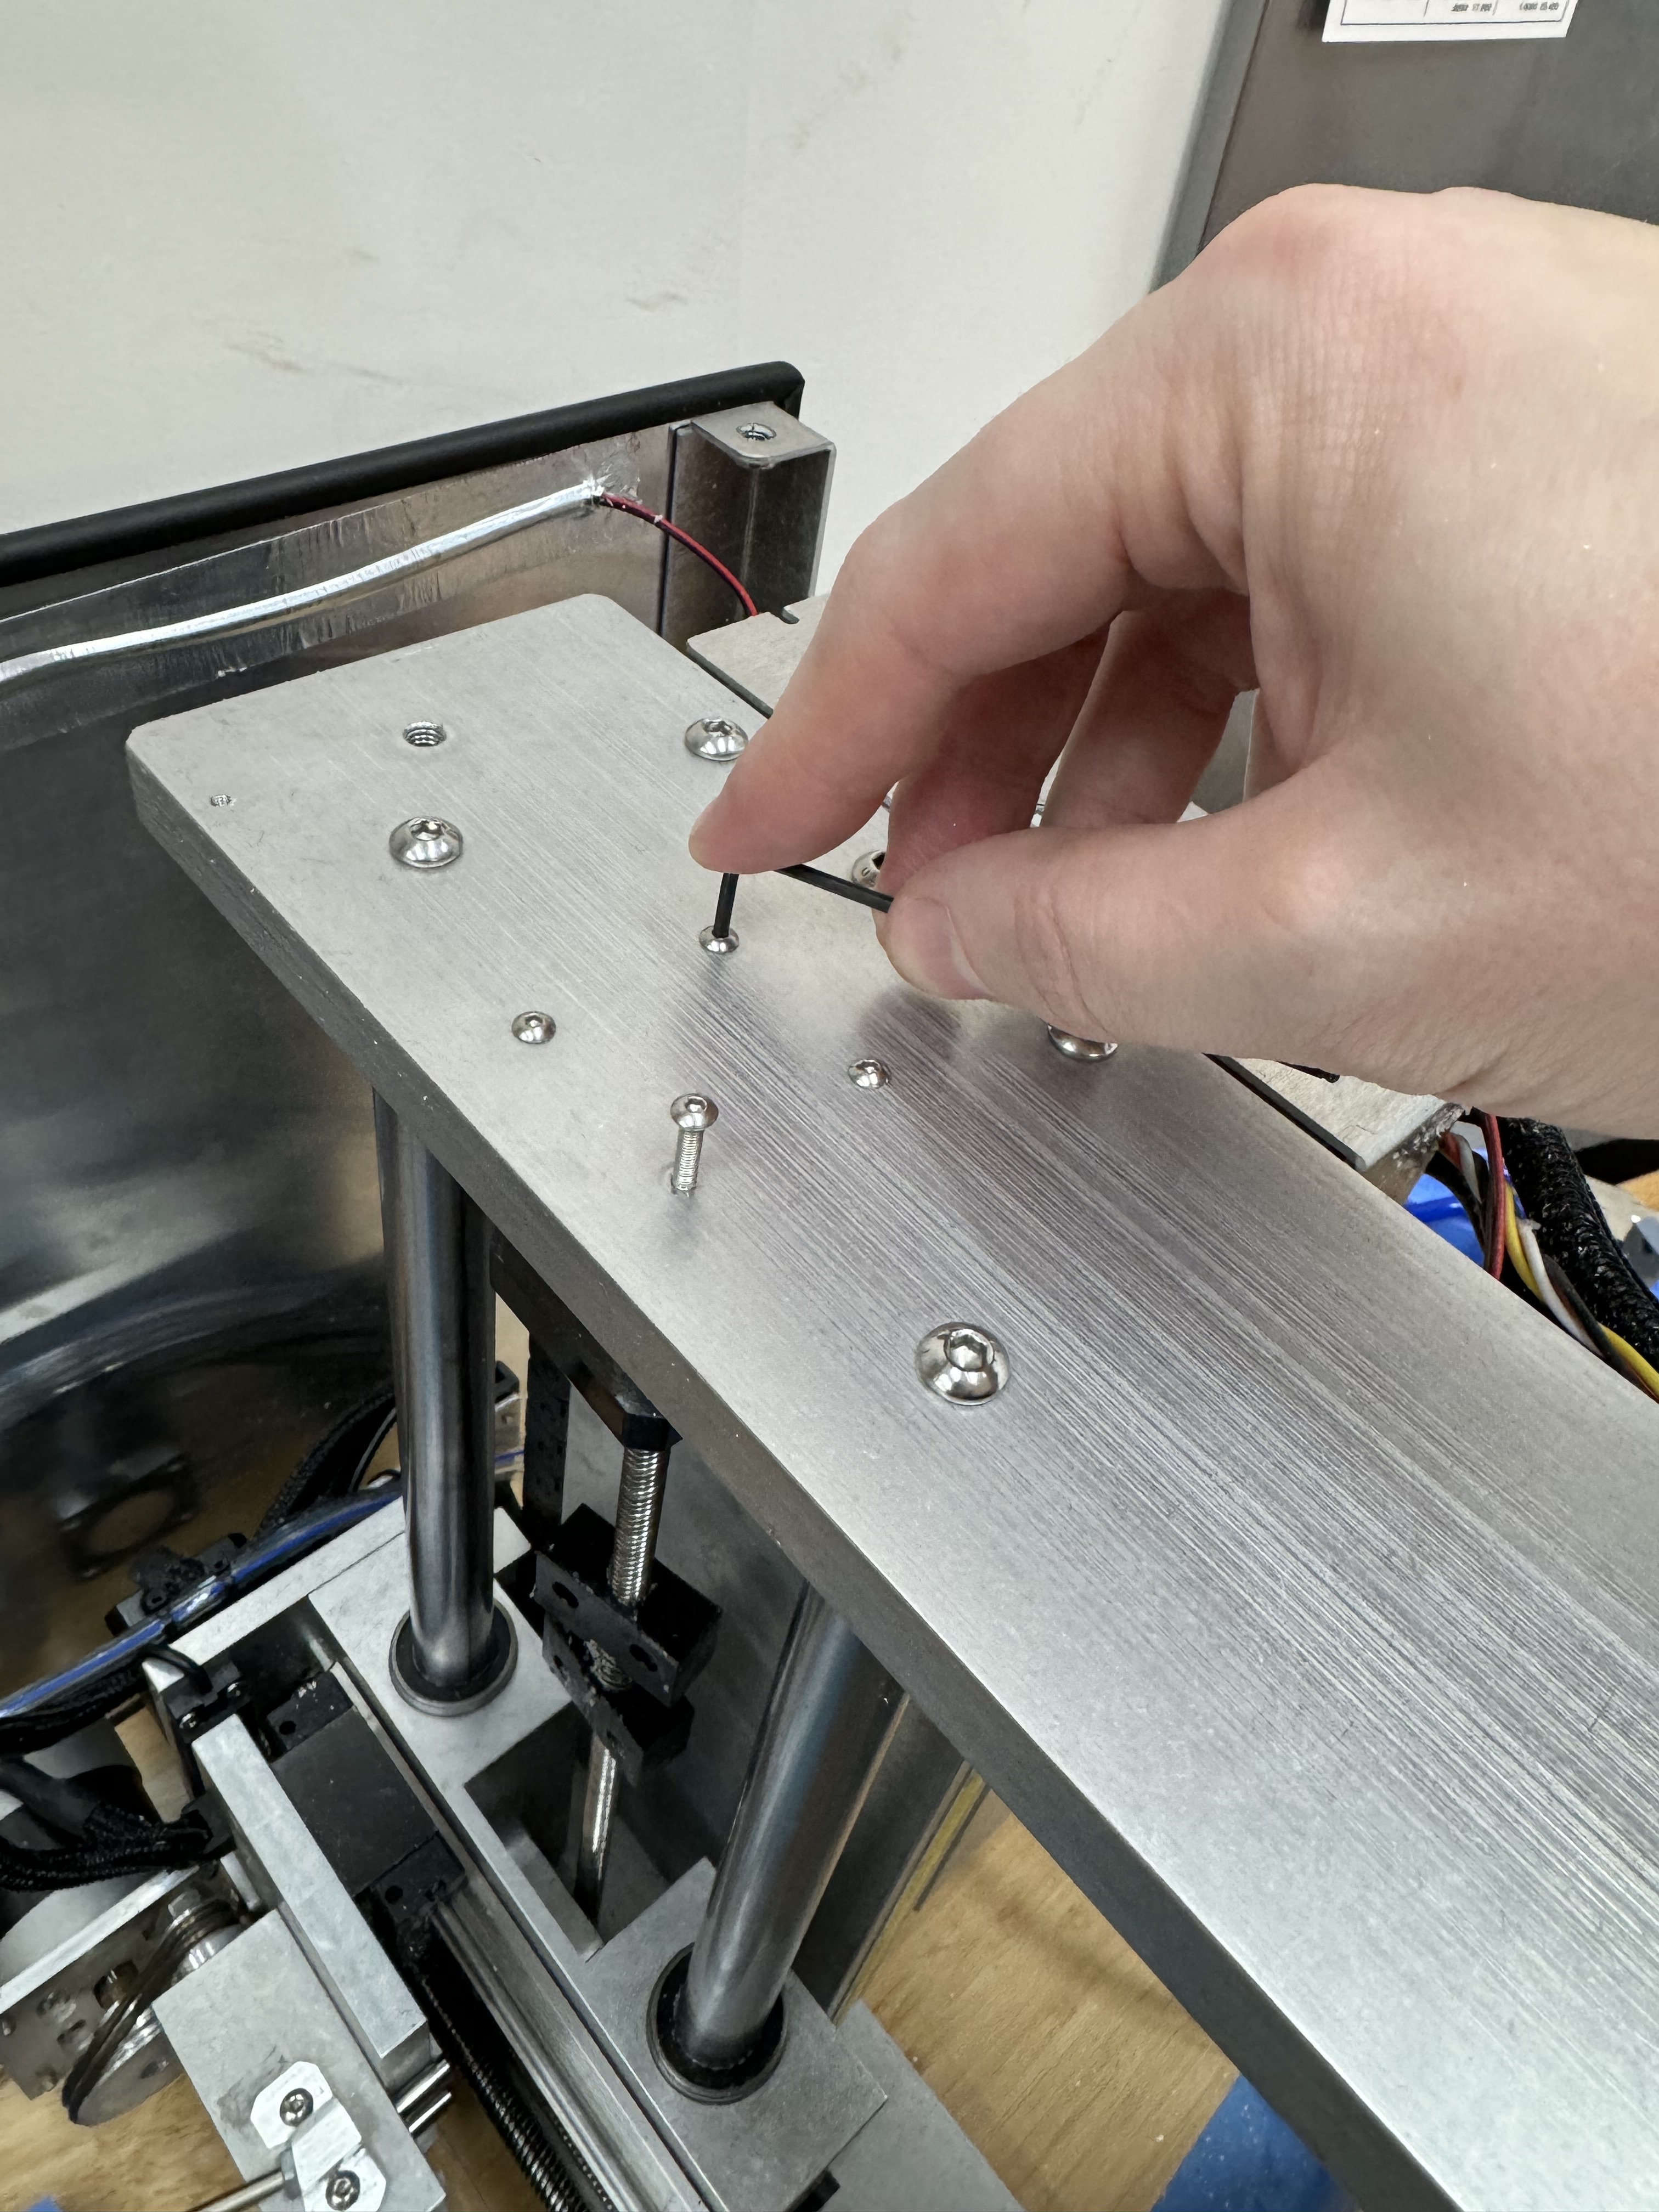
These screws are easily accessible with all panels removed and the stubby modified hex wrench.
And you pretty much just reassemble from here.
While you’re in there…
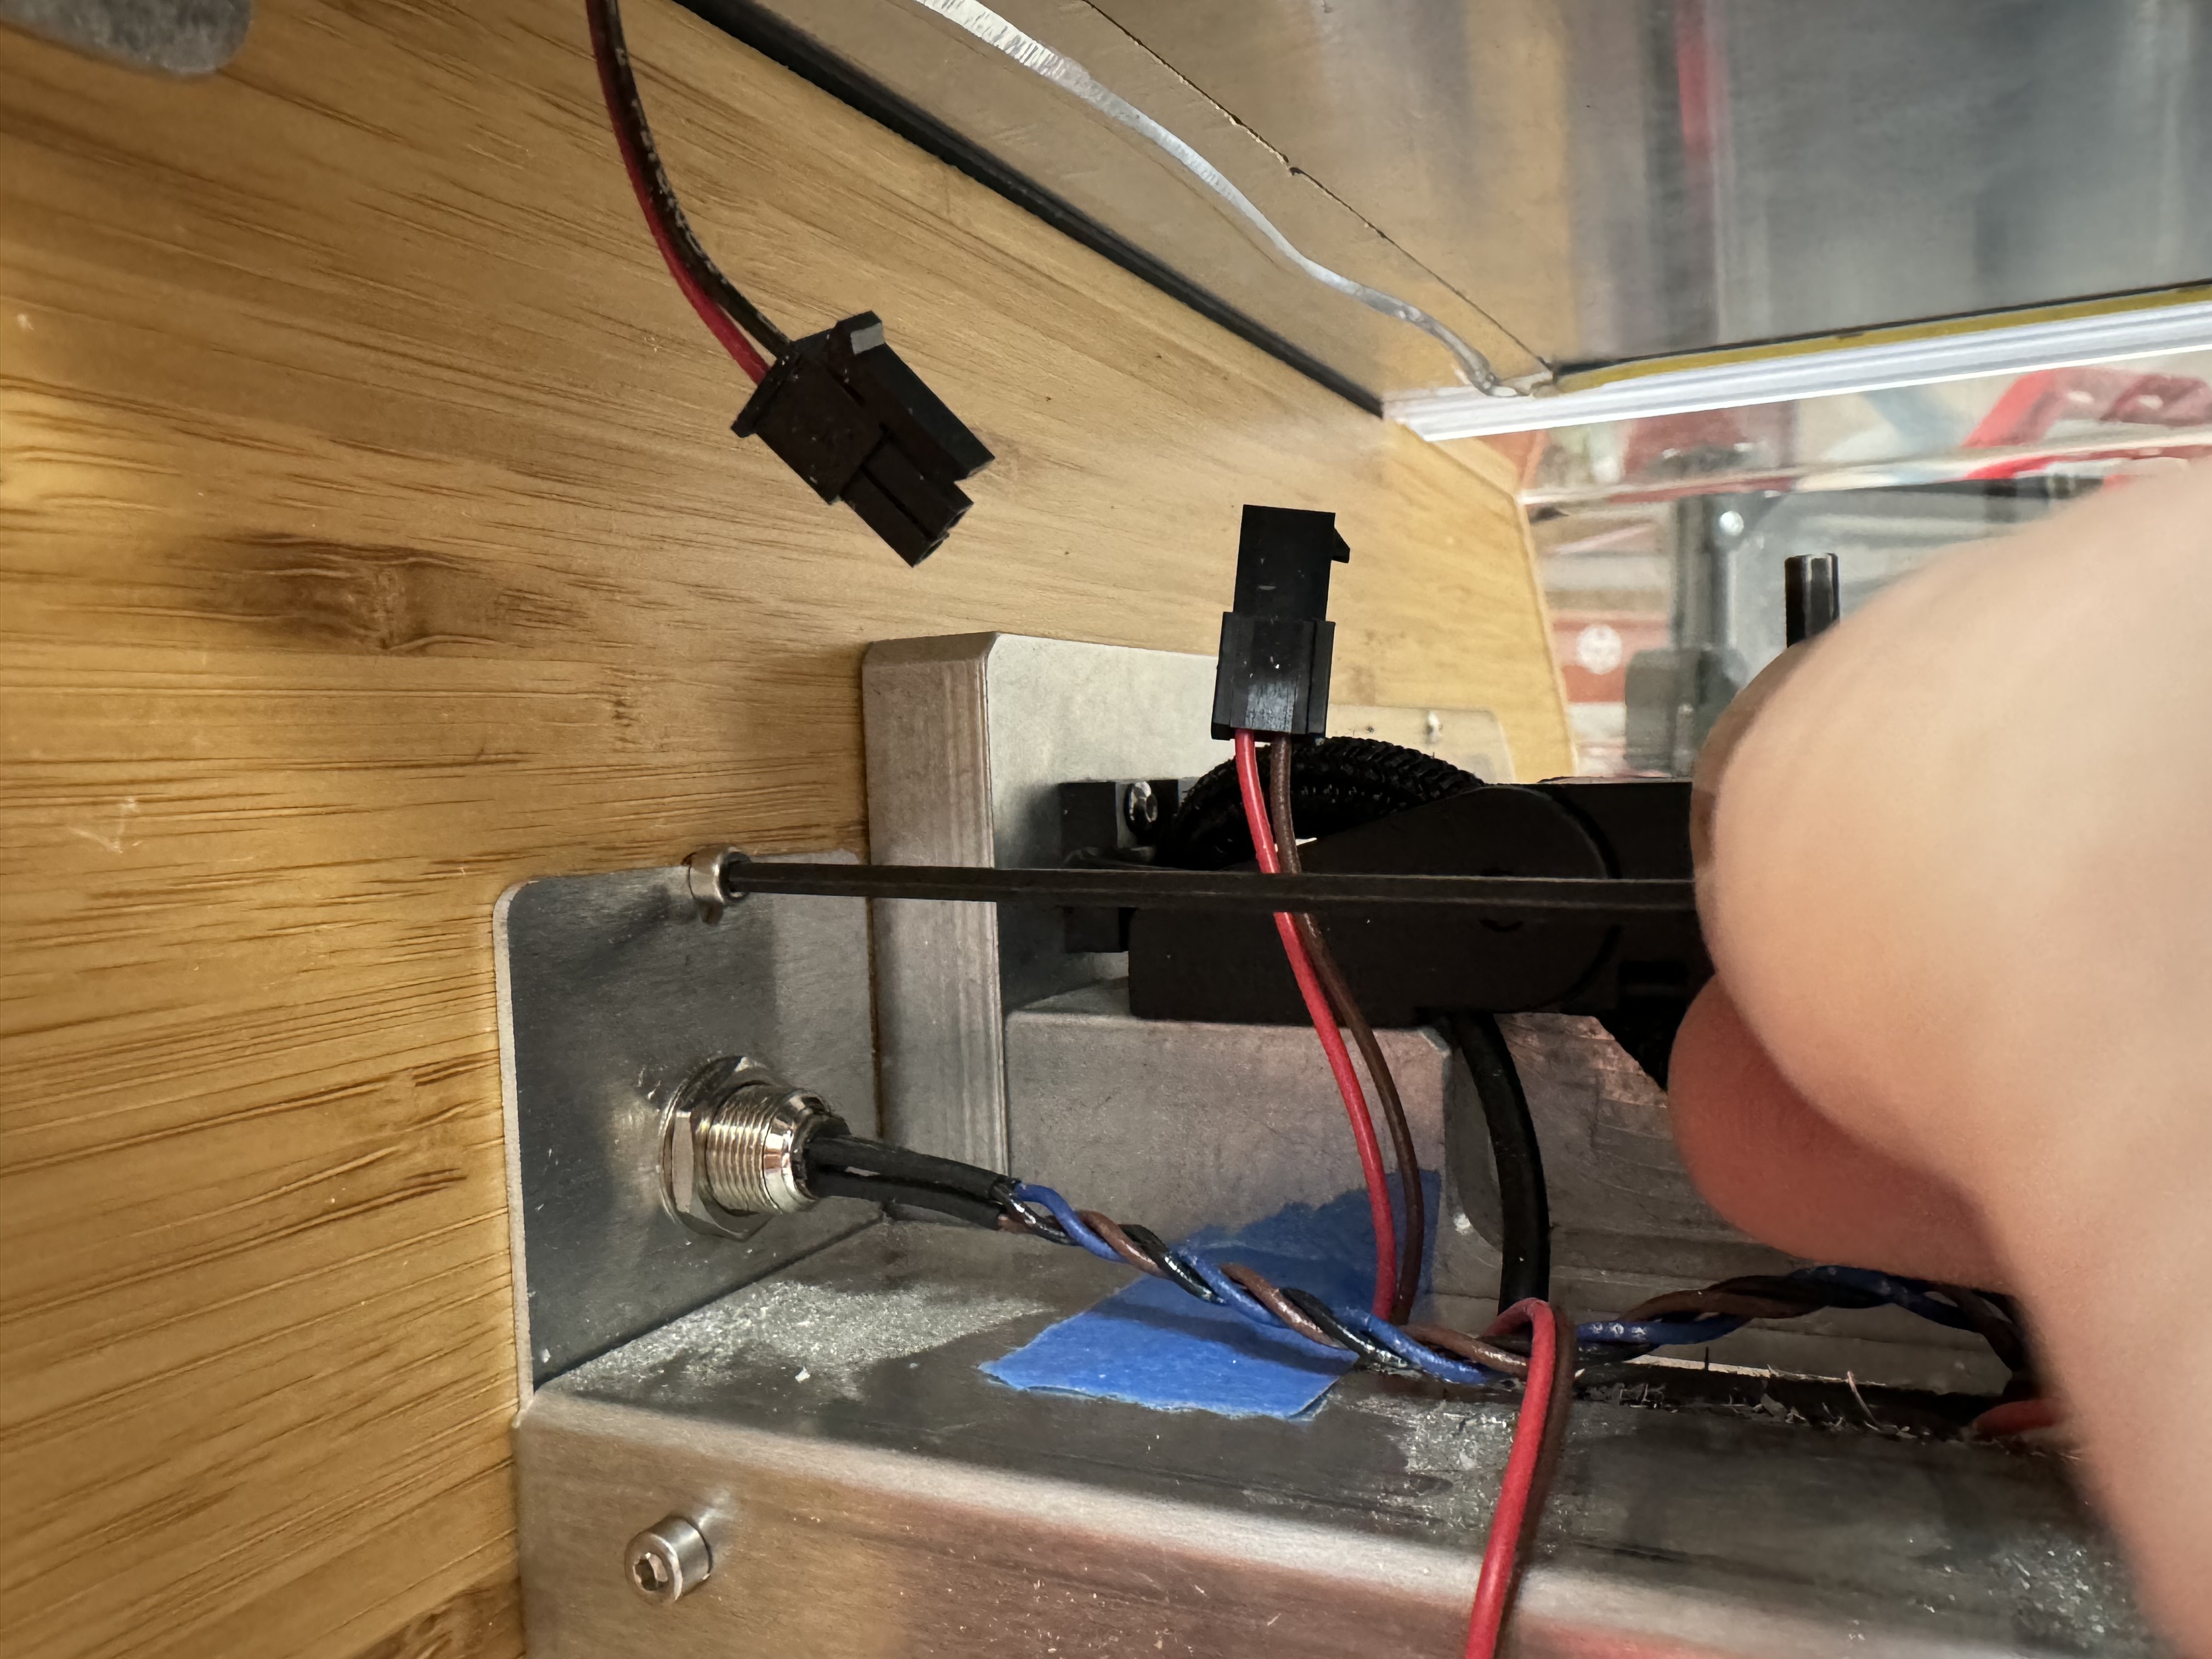
Clean the electronics box, and check it for easy ingresses!
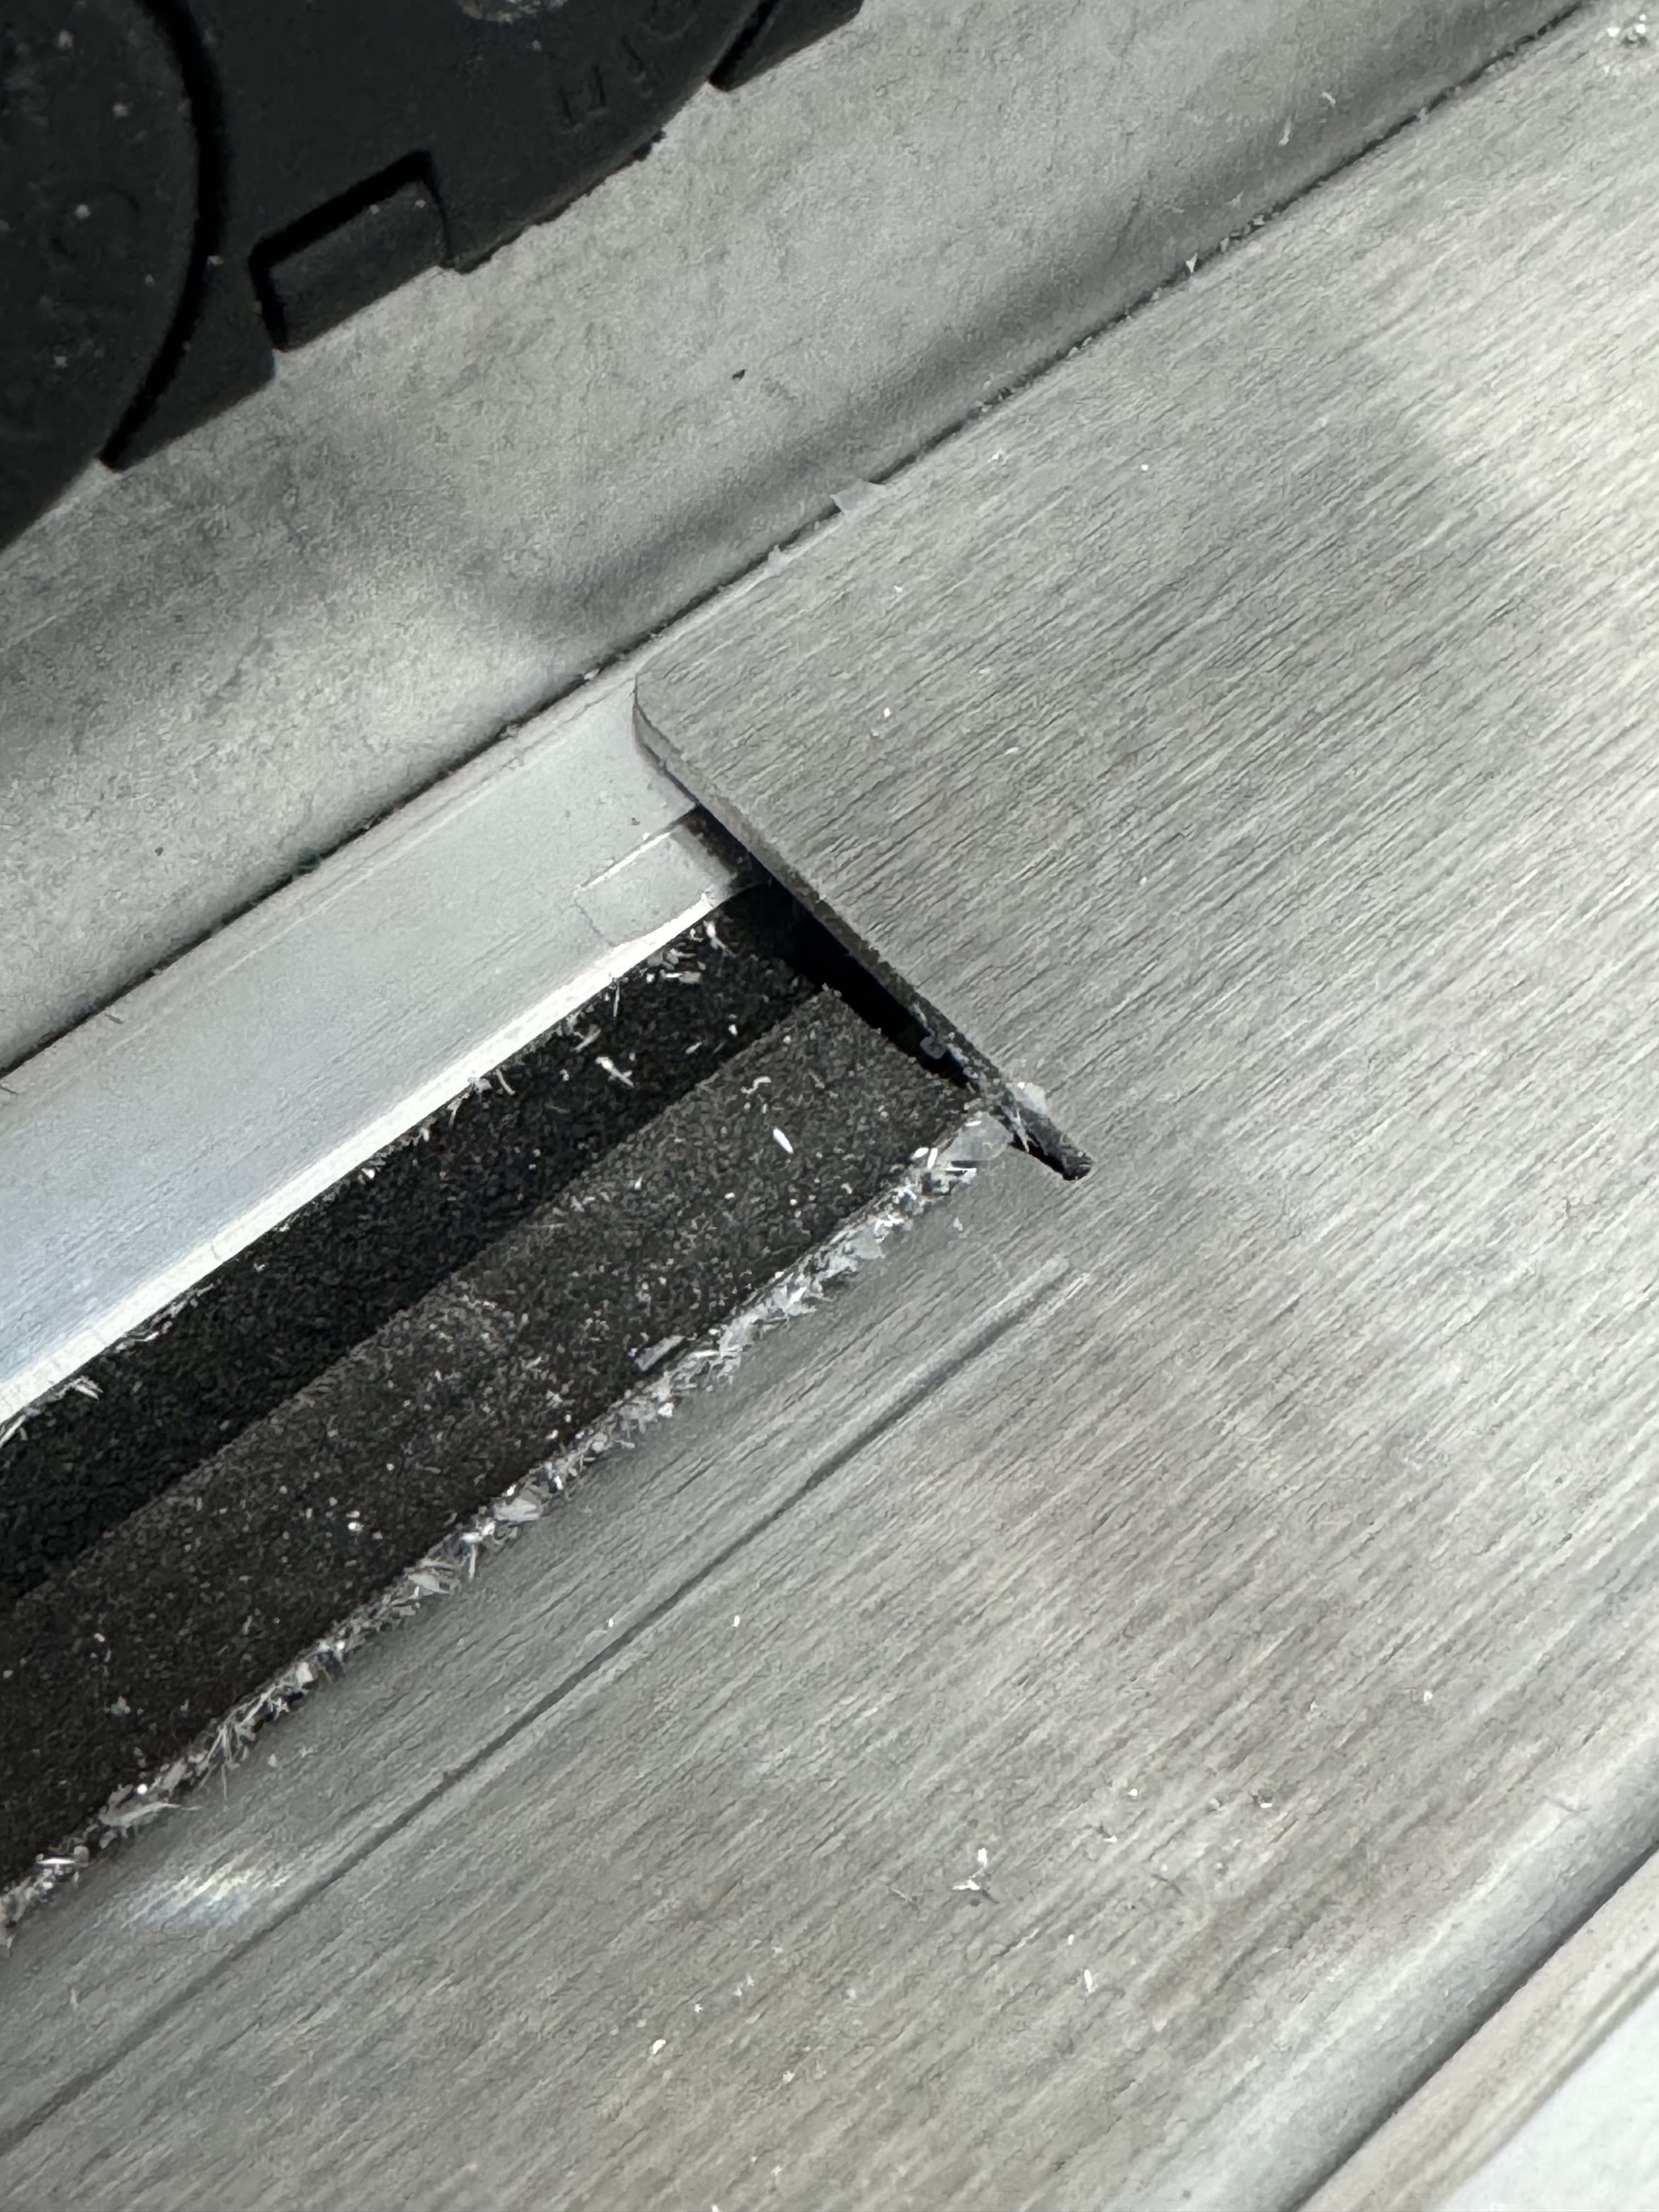
This gap is right over the motor plug. I had aluminum shavings piled on top of the motor connector!
I didn’t get very fancy with my solution to the gaps on the ends of the box seals.
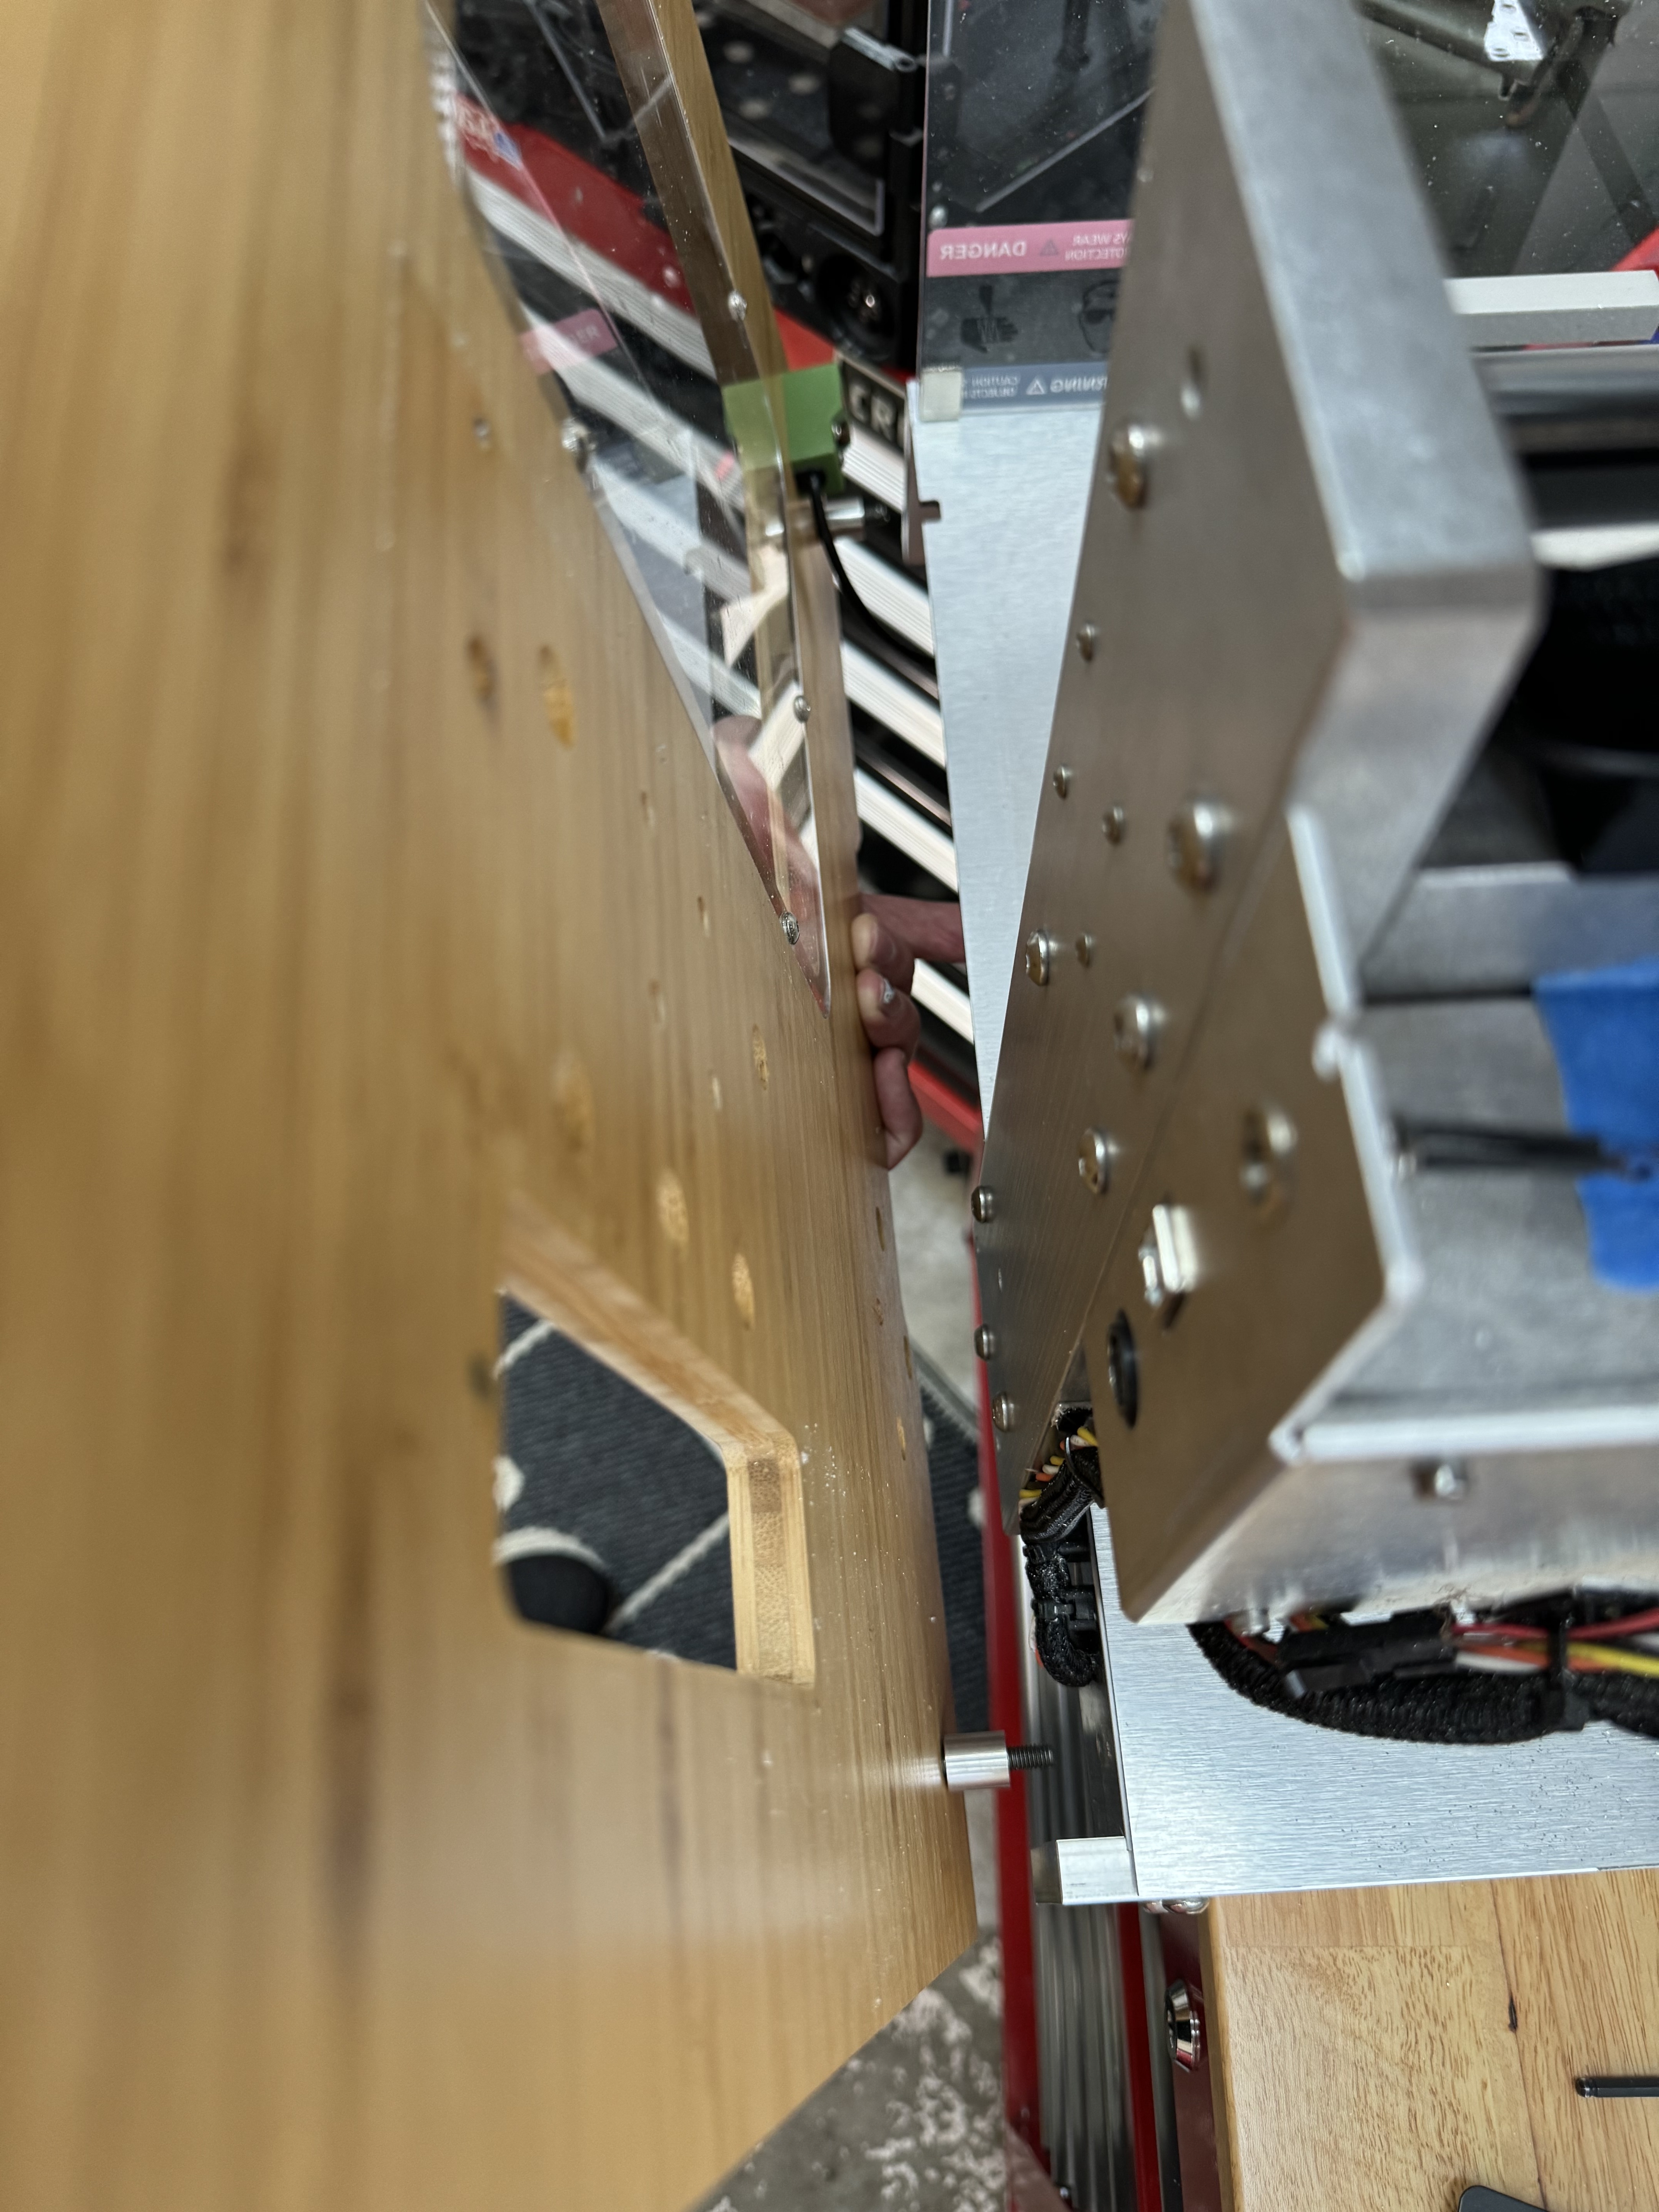
Remember those spacer nuts, and mind the probe wire at the front!!!
You had to unplug this wire at the beginning, but I didn’t tell you. Surprise! Remember to plug it back in.
When cleaning and inspecting everything at this close degree you might notice some other things that need fixing while you’re here. Look carefully and make the most of your time restoring the machine!