Hi!
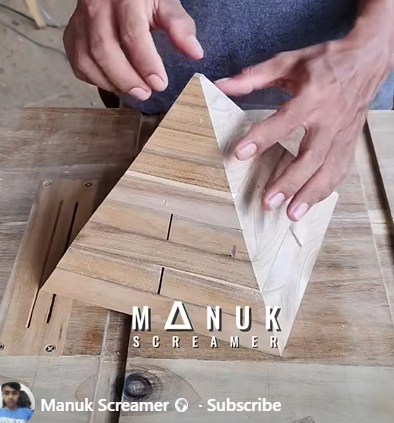
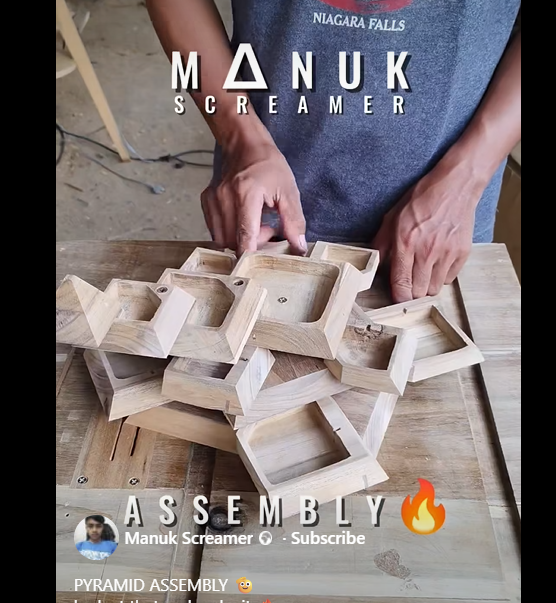
Had the shapeoko 5 4x4 for about 2 years and finally found a project I want to do… but its just from a video from FB…
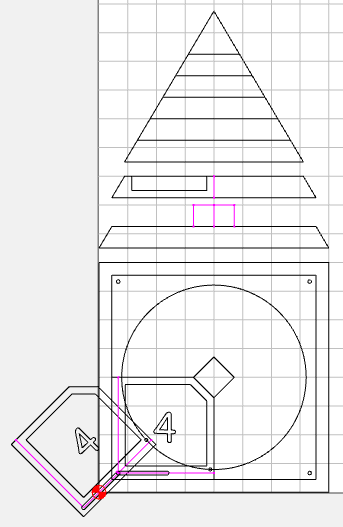
It’s an awesome pyramid box that has a well designed opening system… I will try to upload 2 pics and add a link to fb…
Would anybody more experienced than me be so kind as to have a go at making the files for this please?
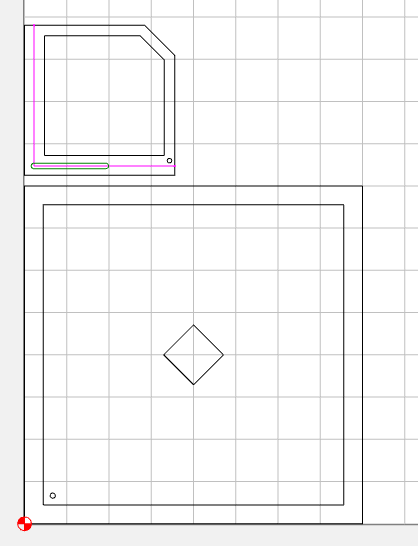
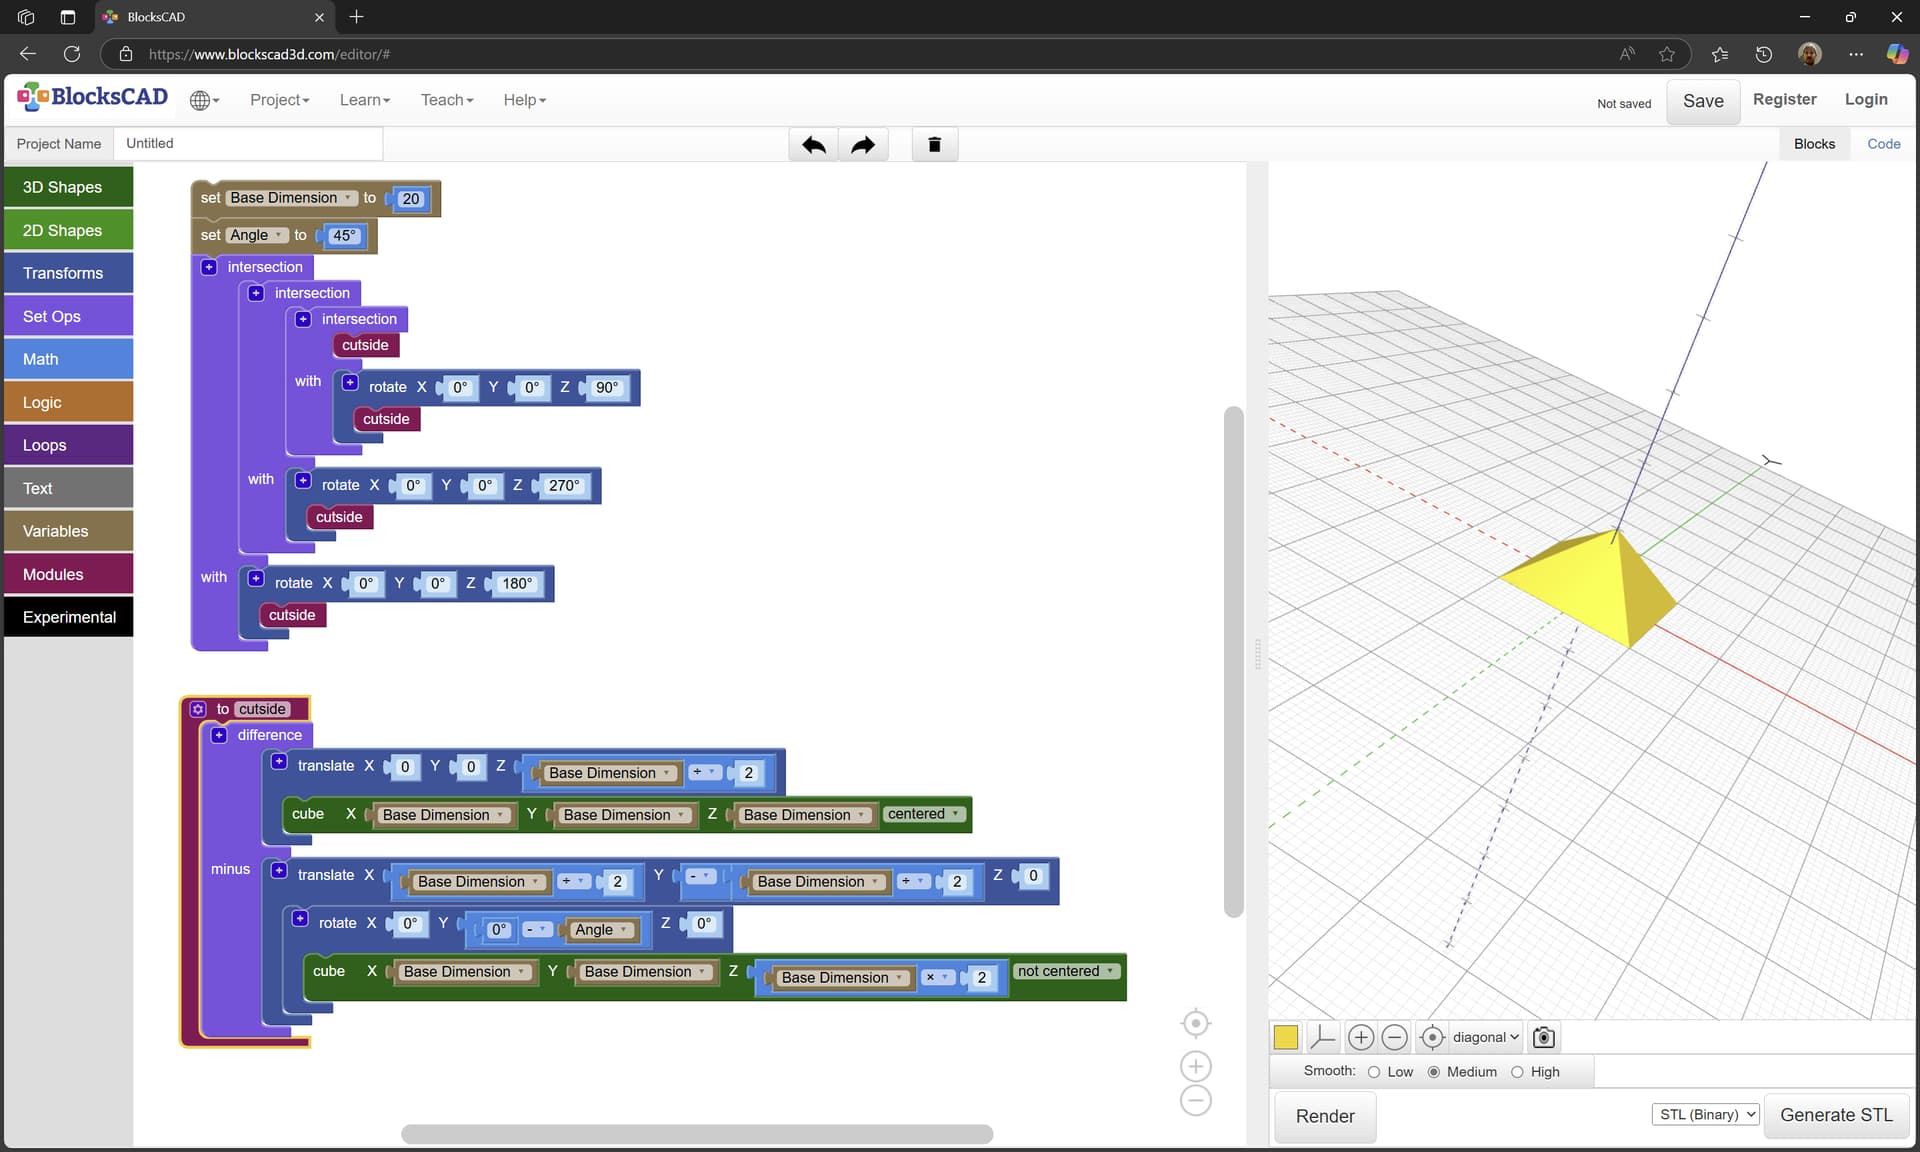
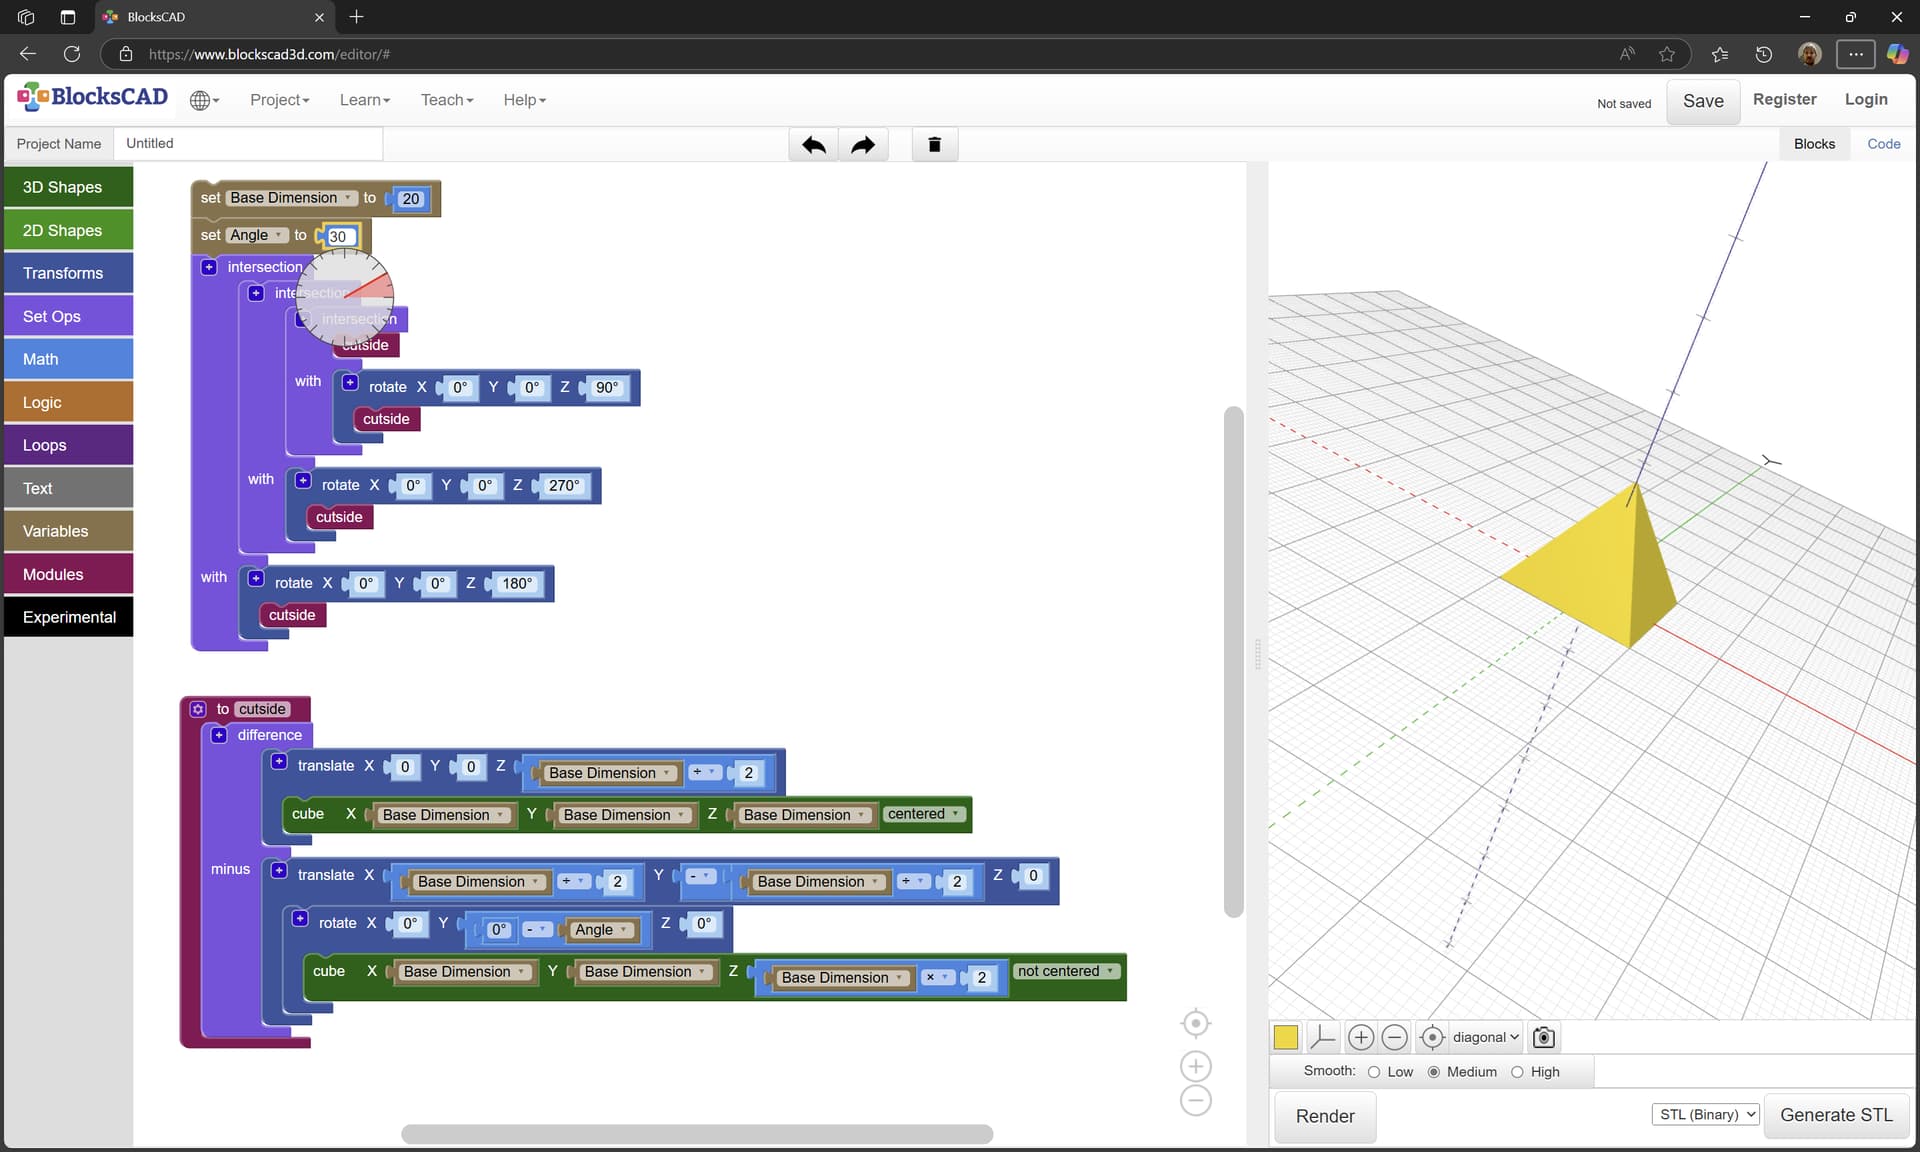
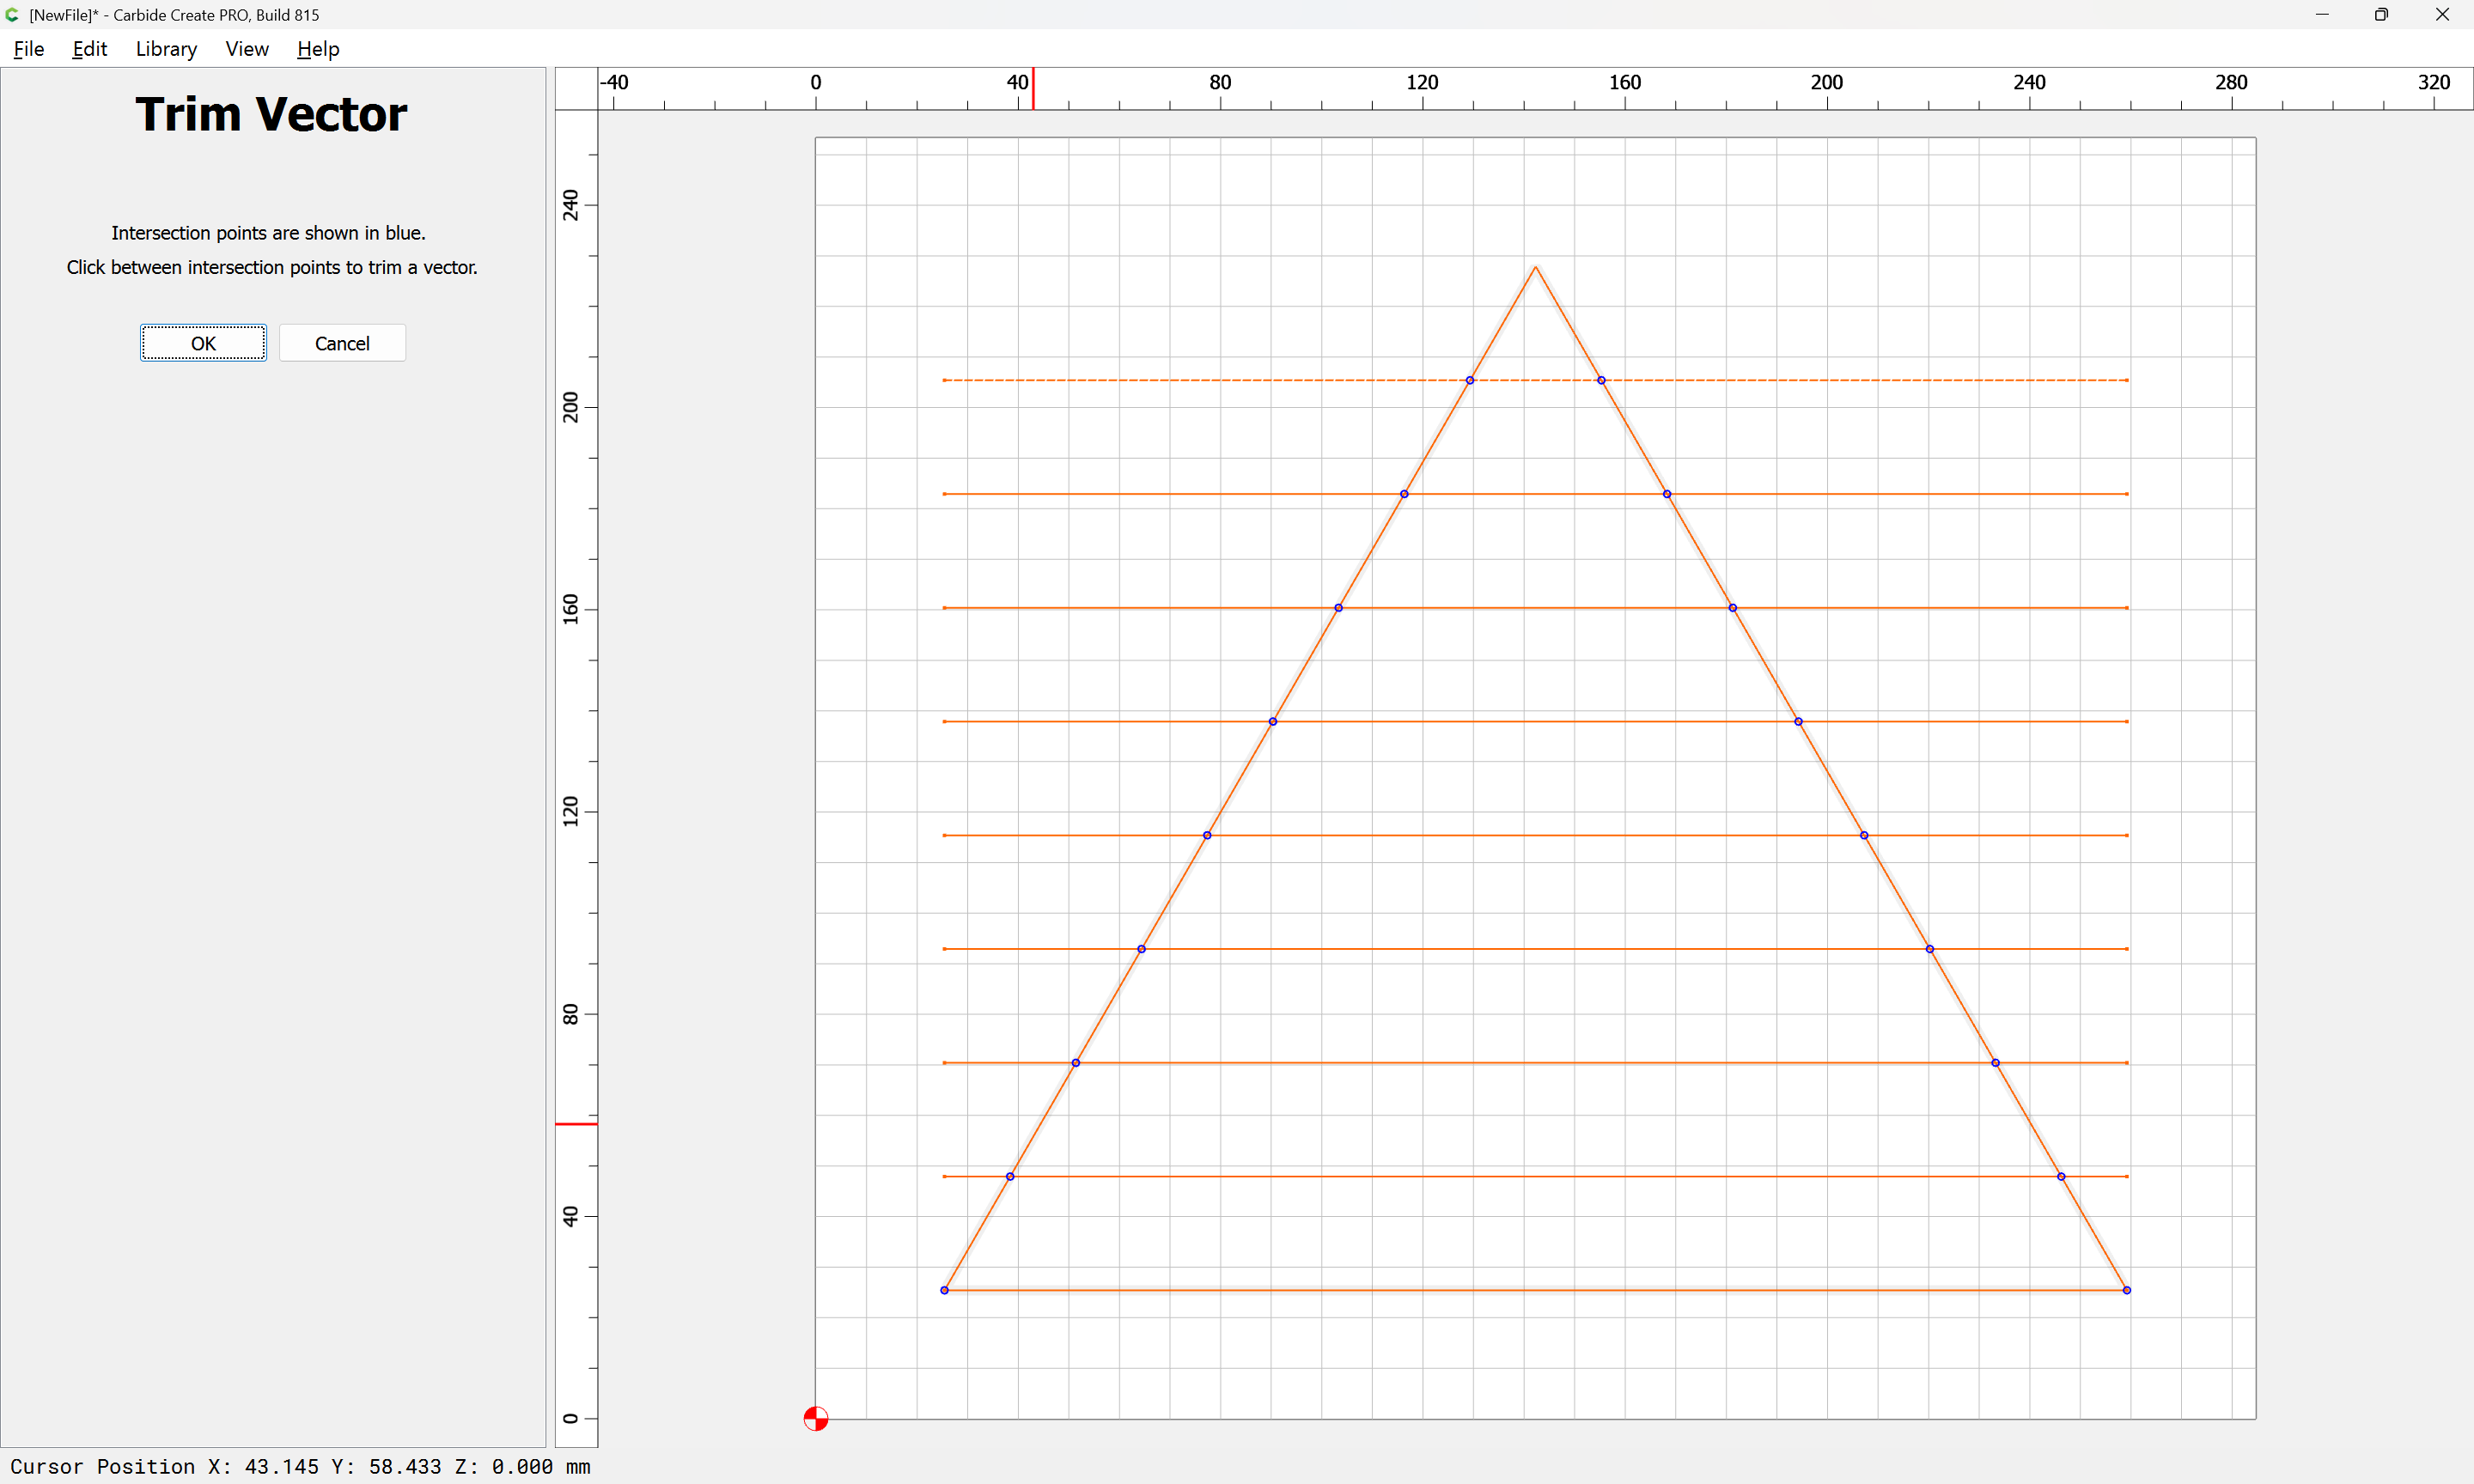
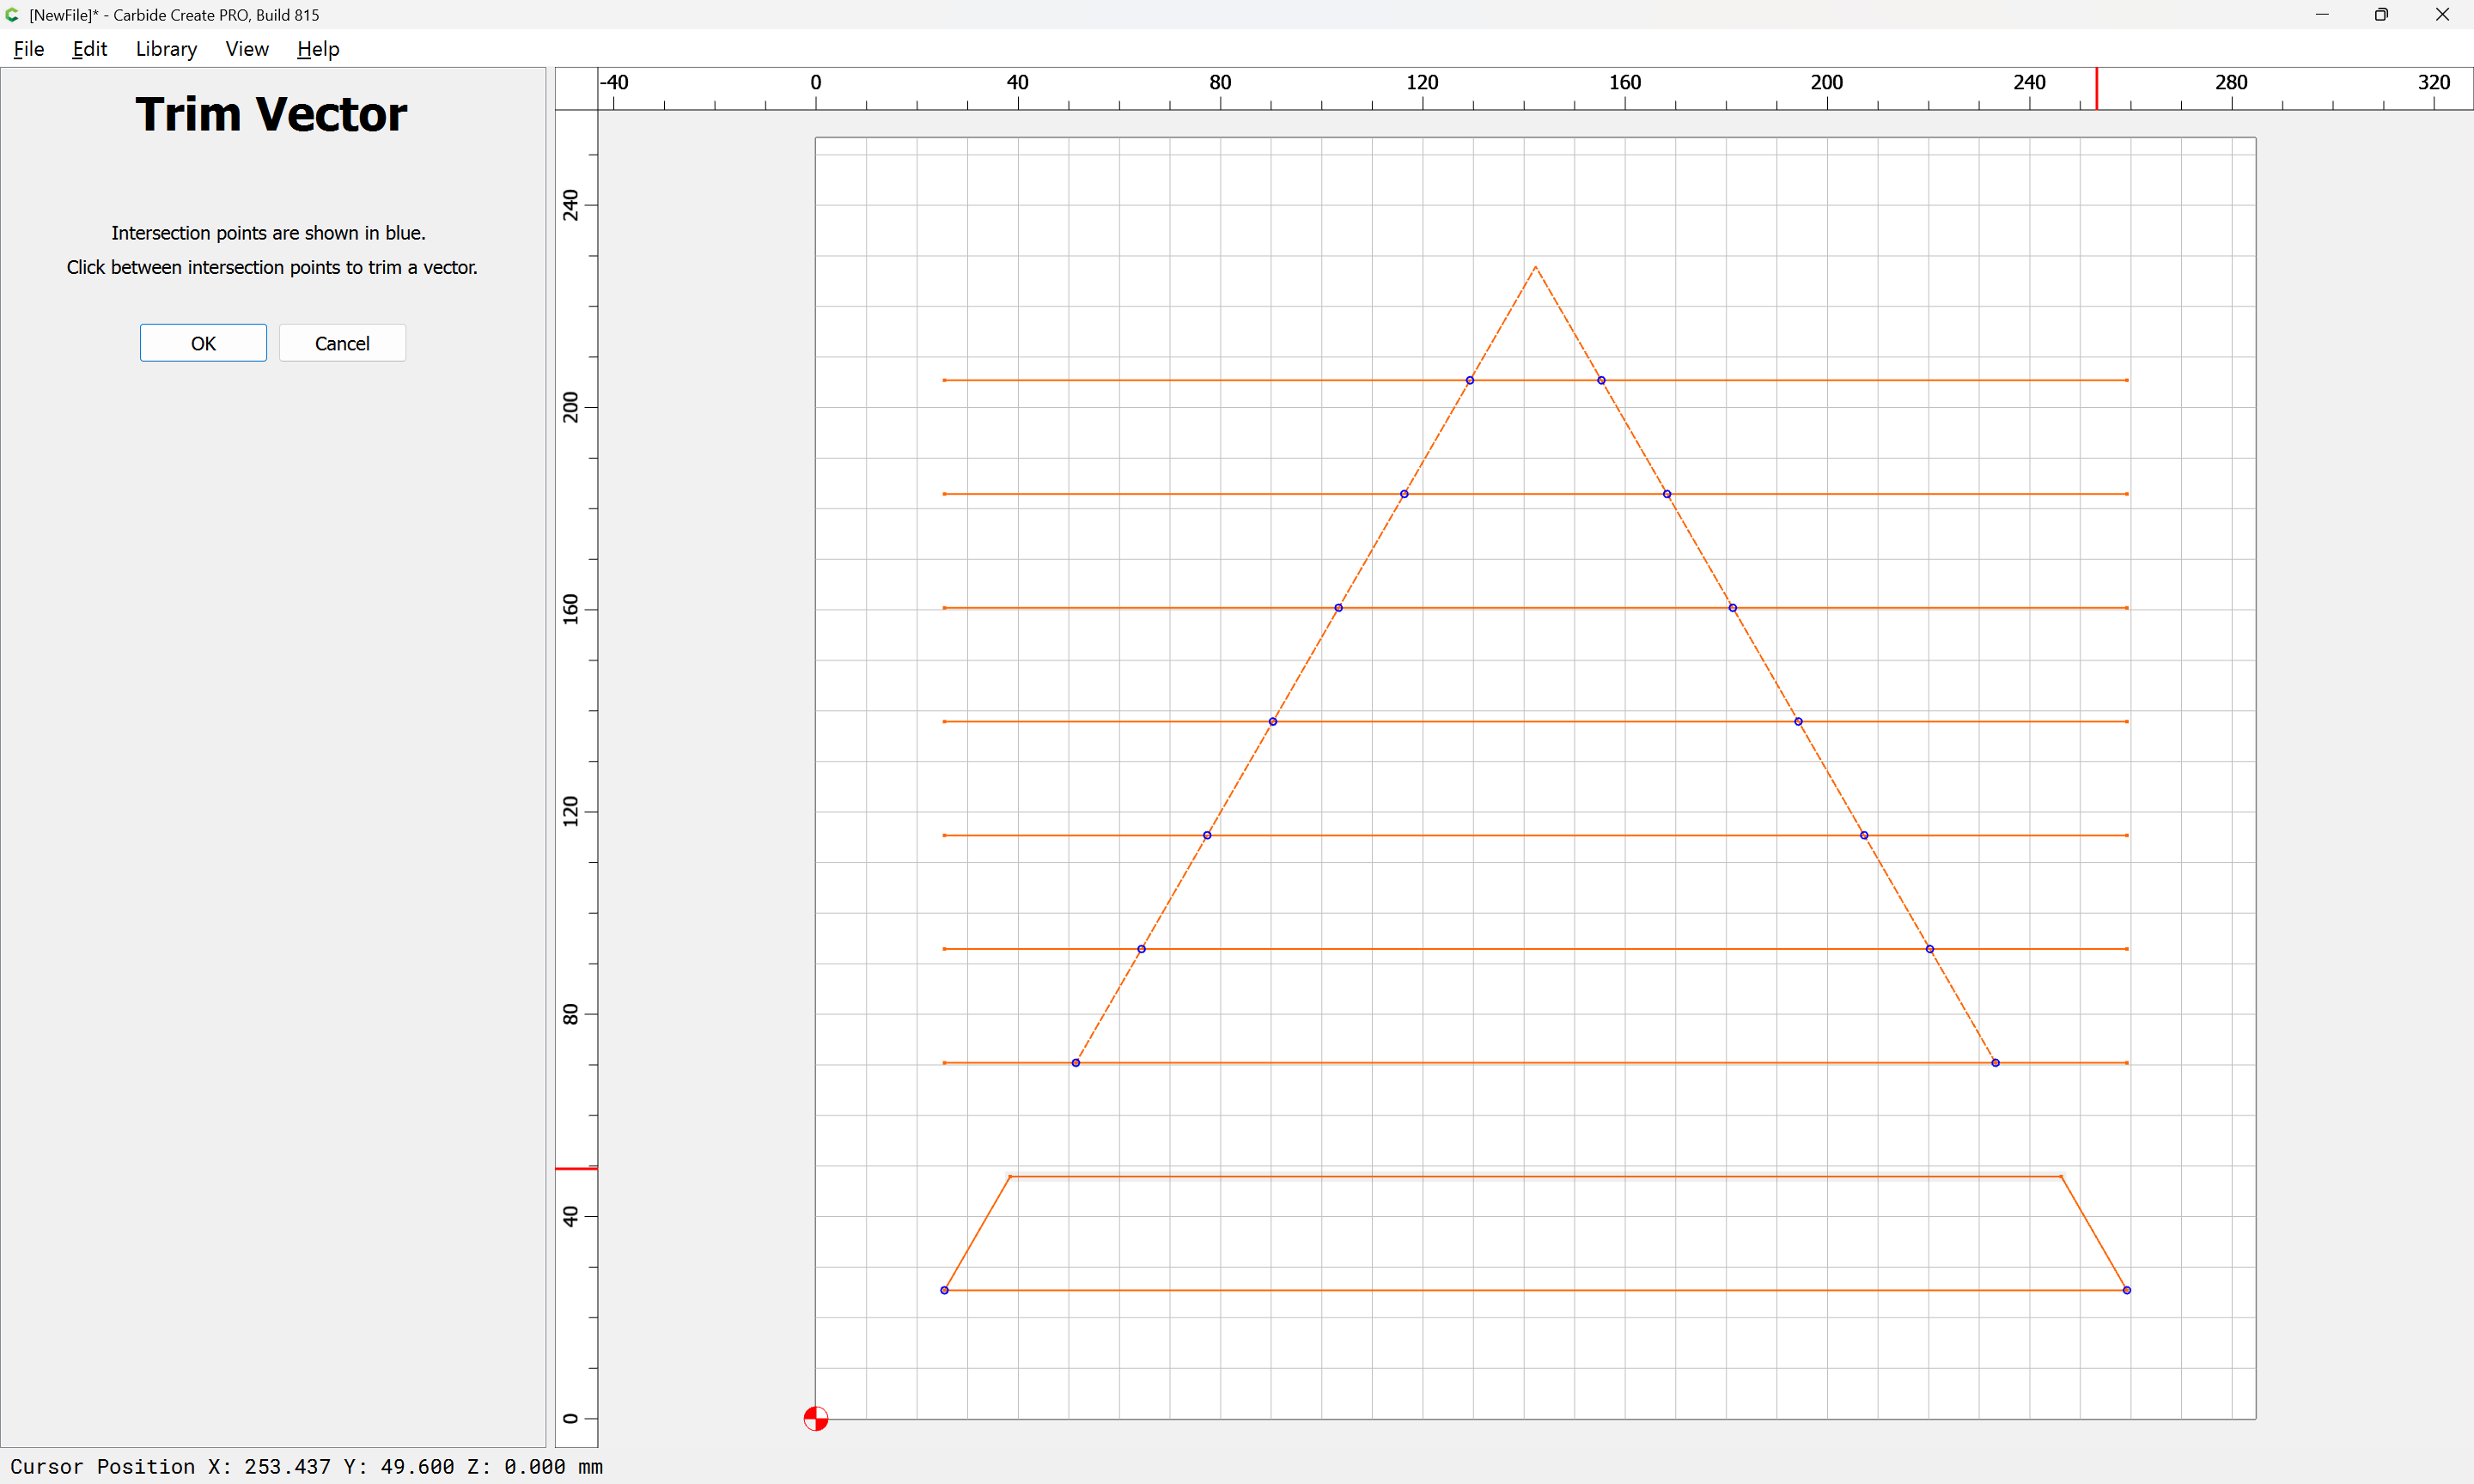
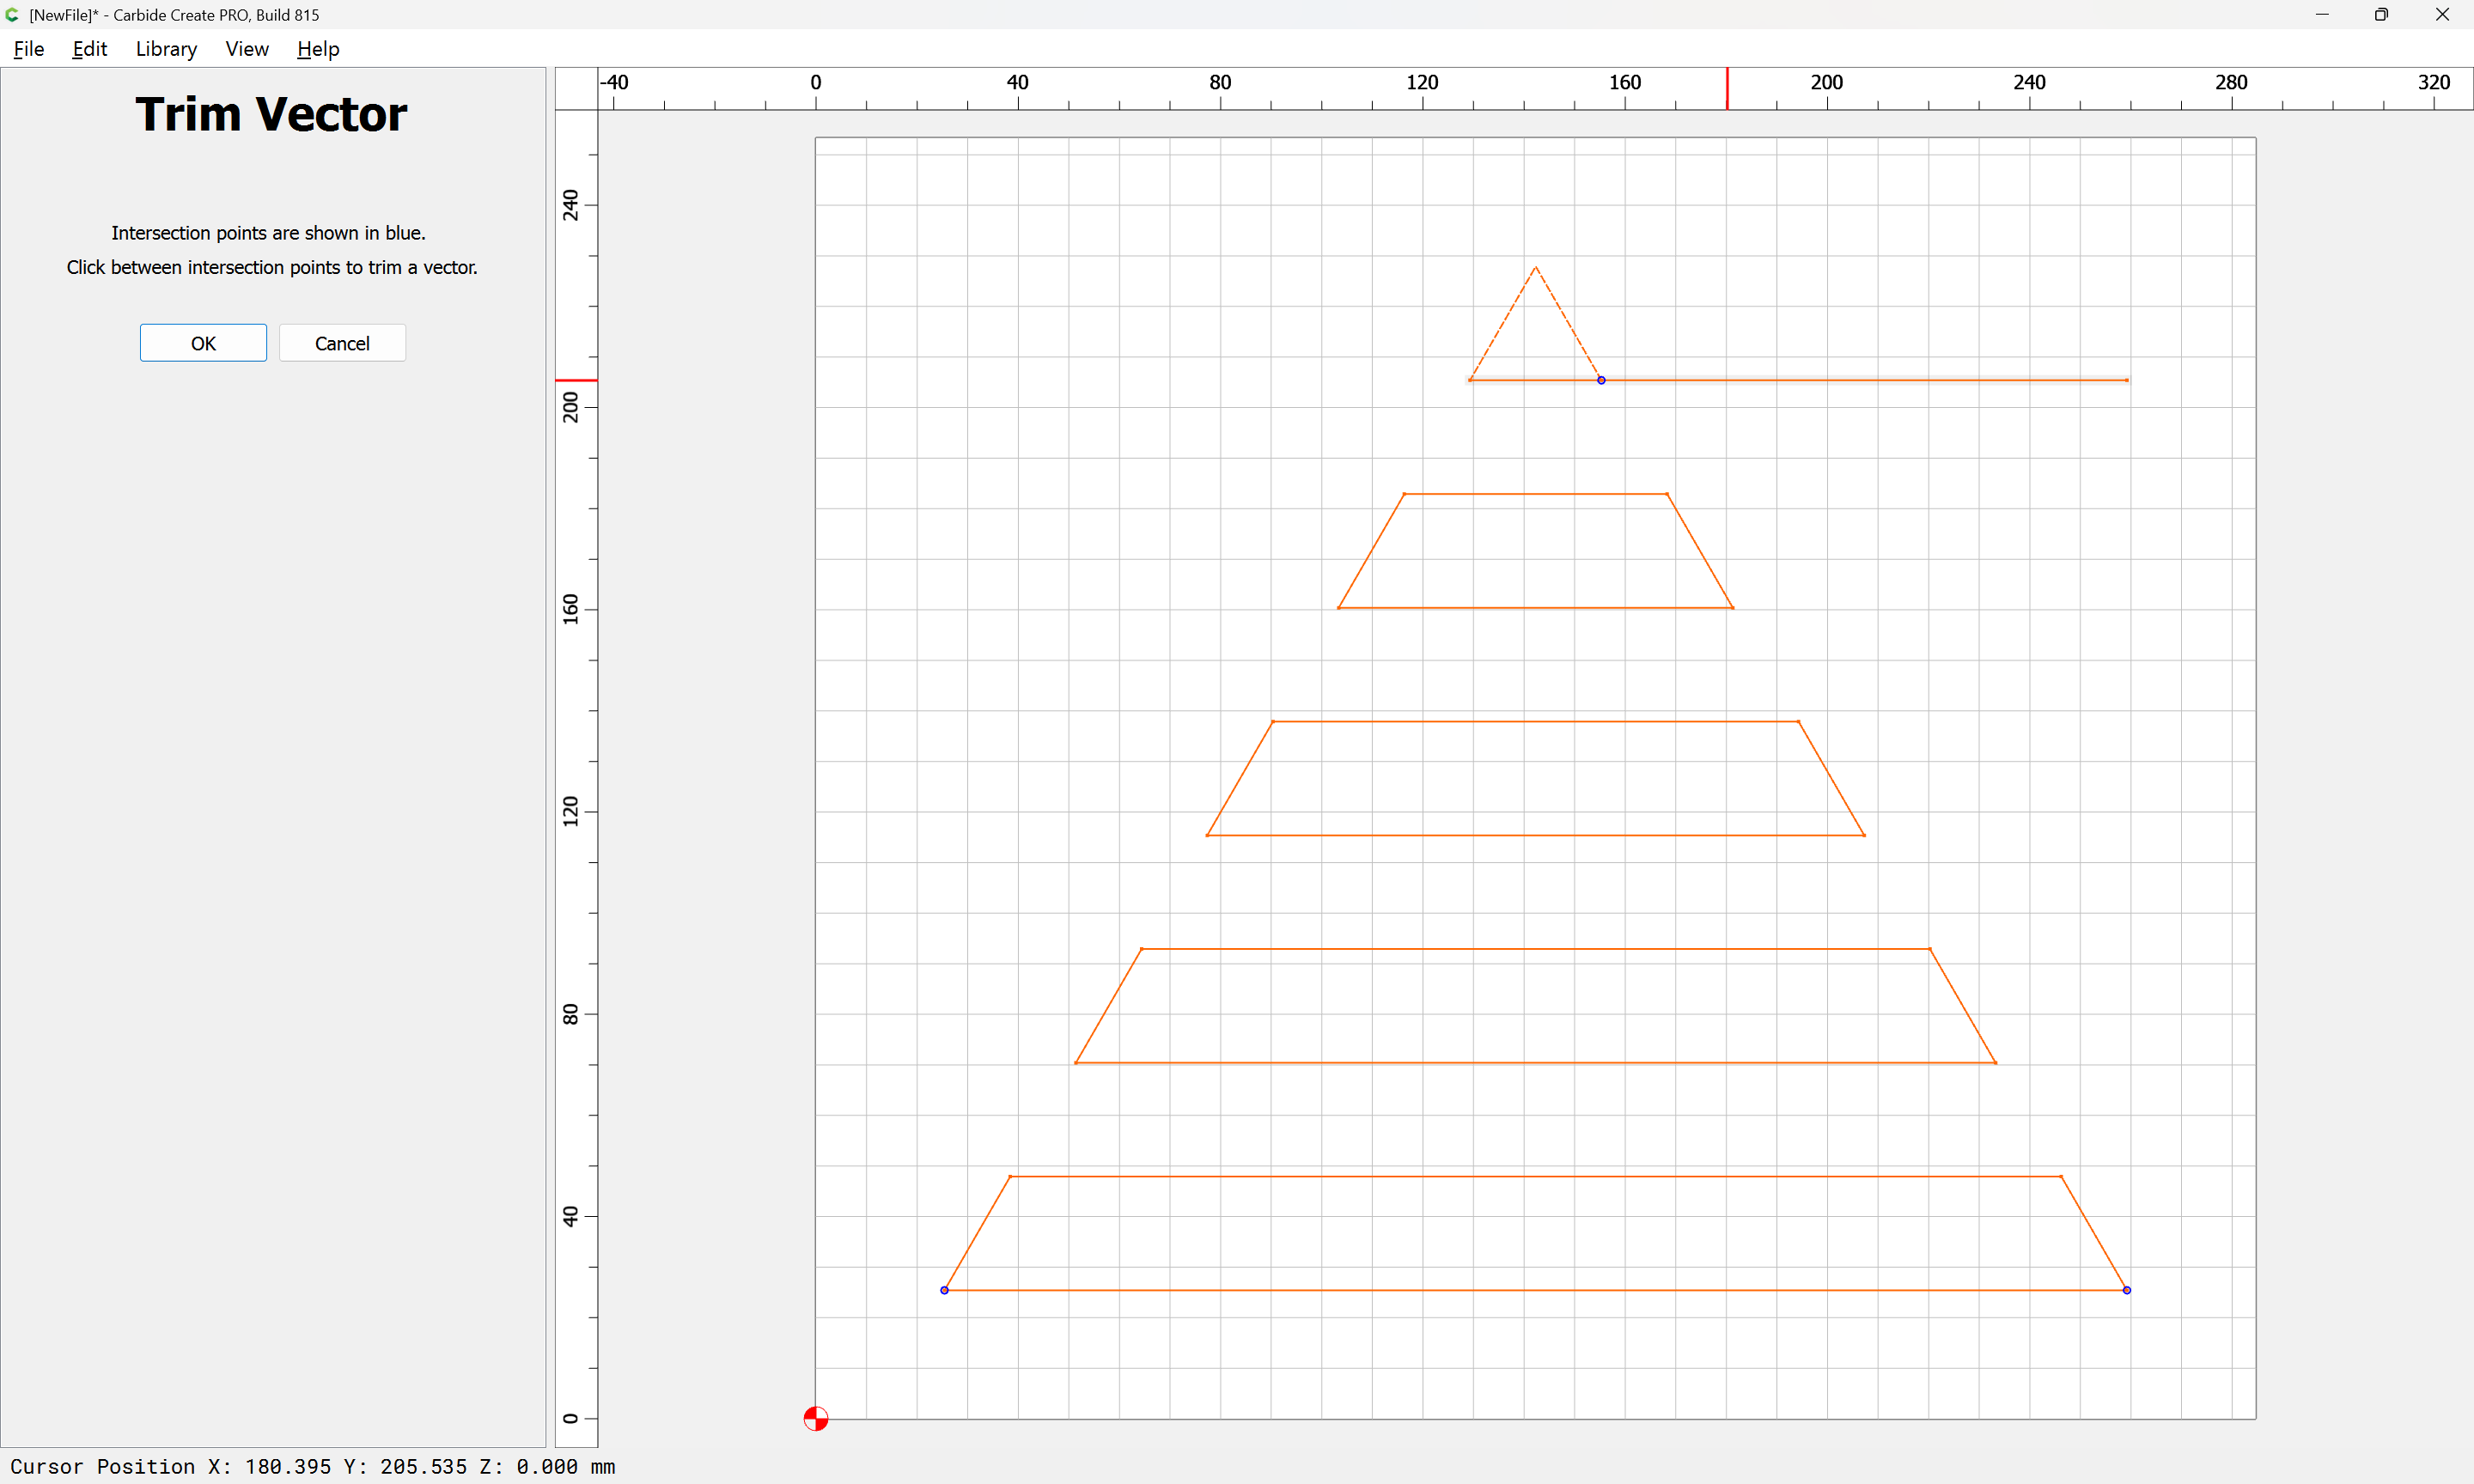
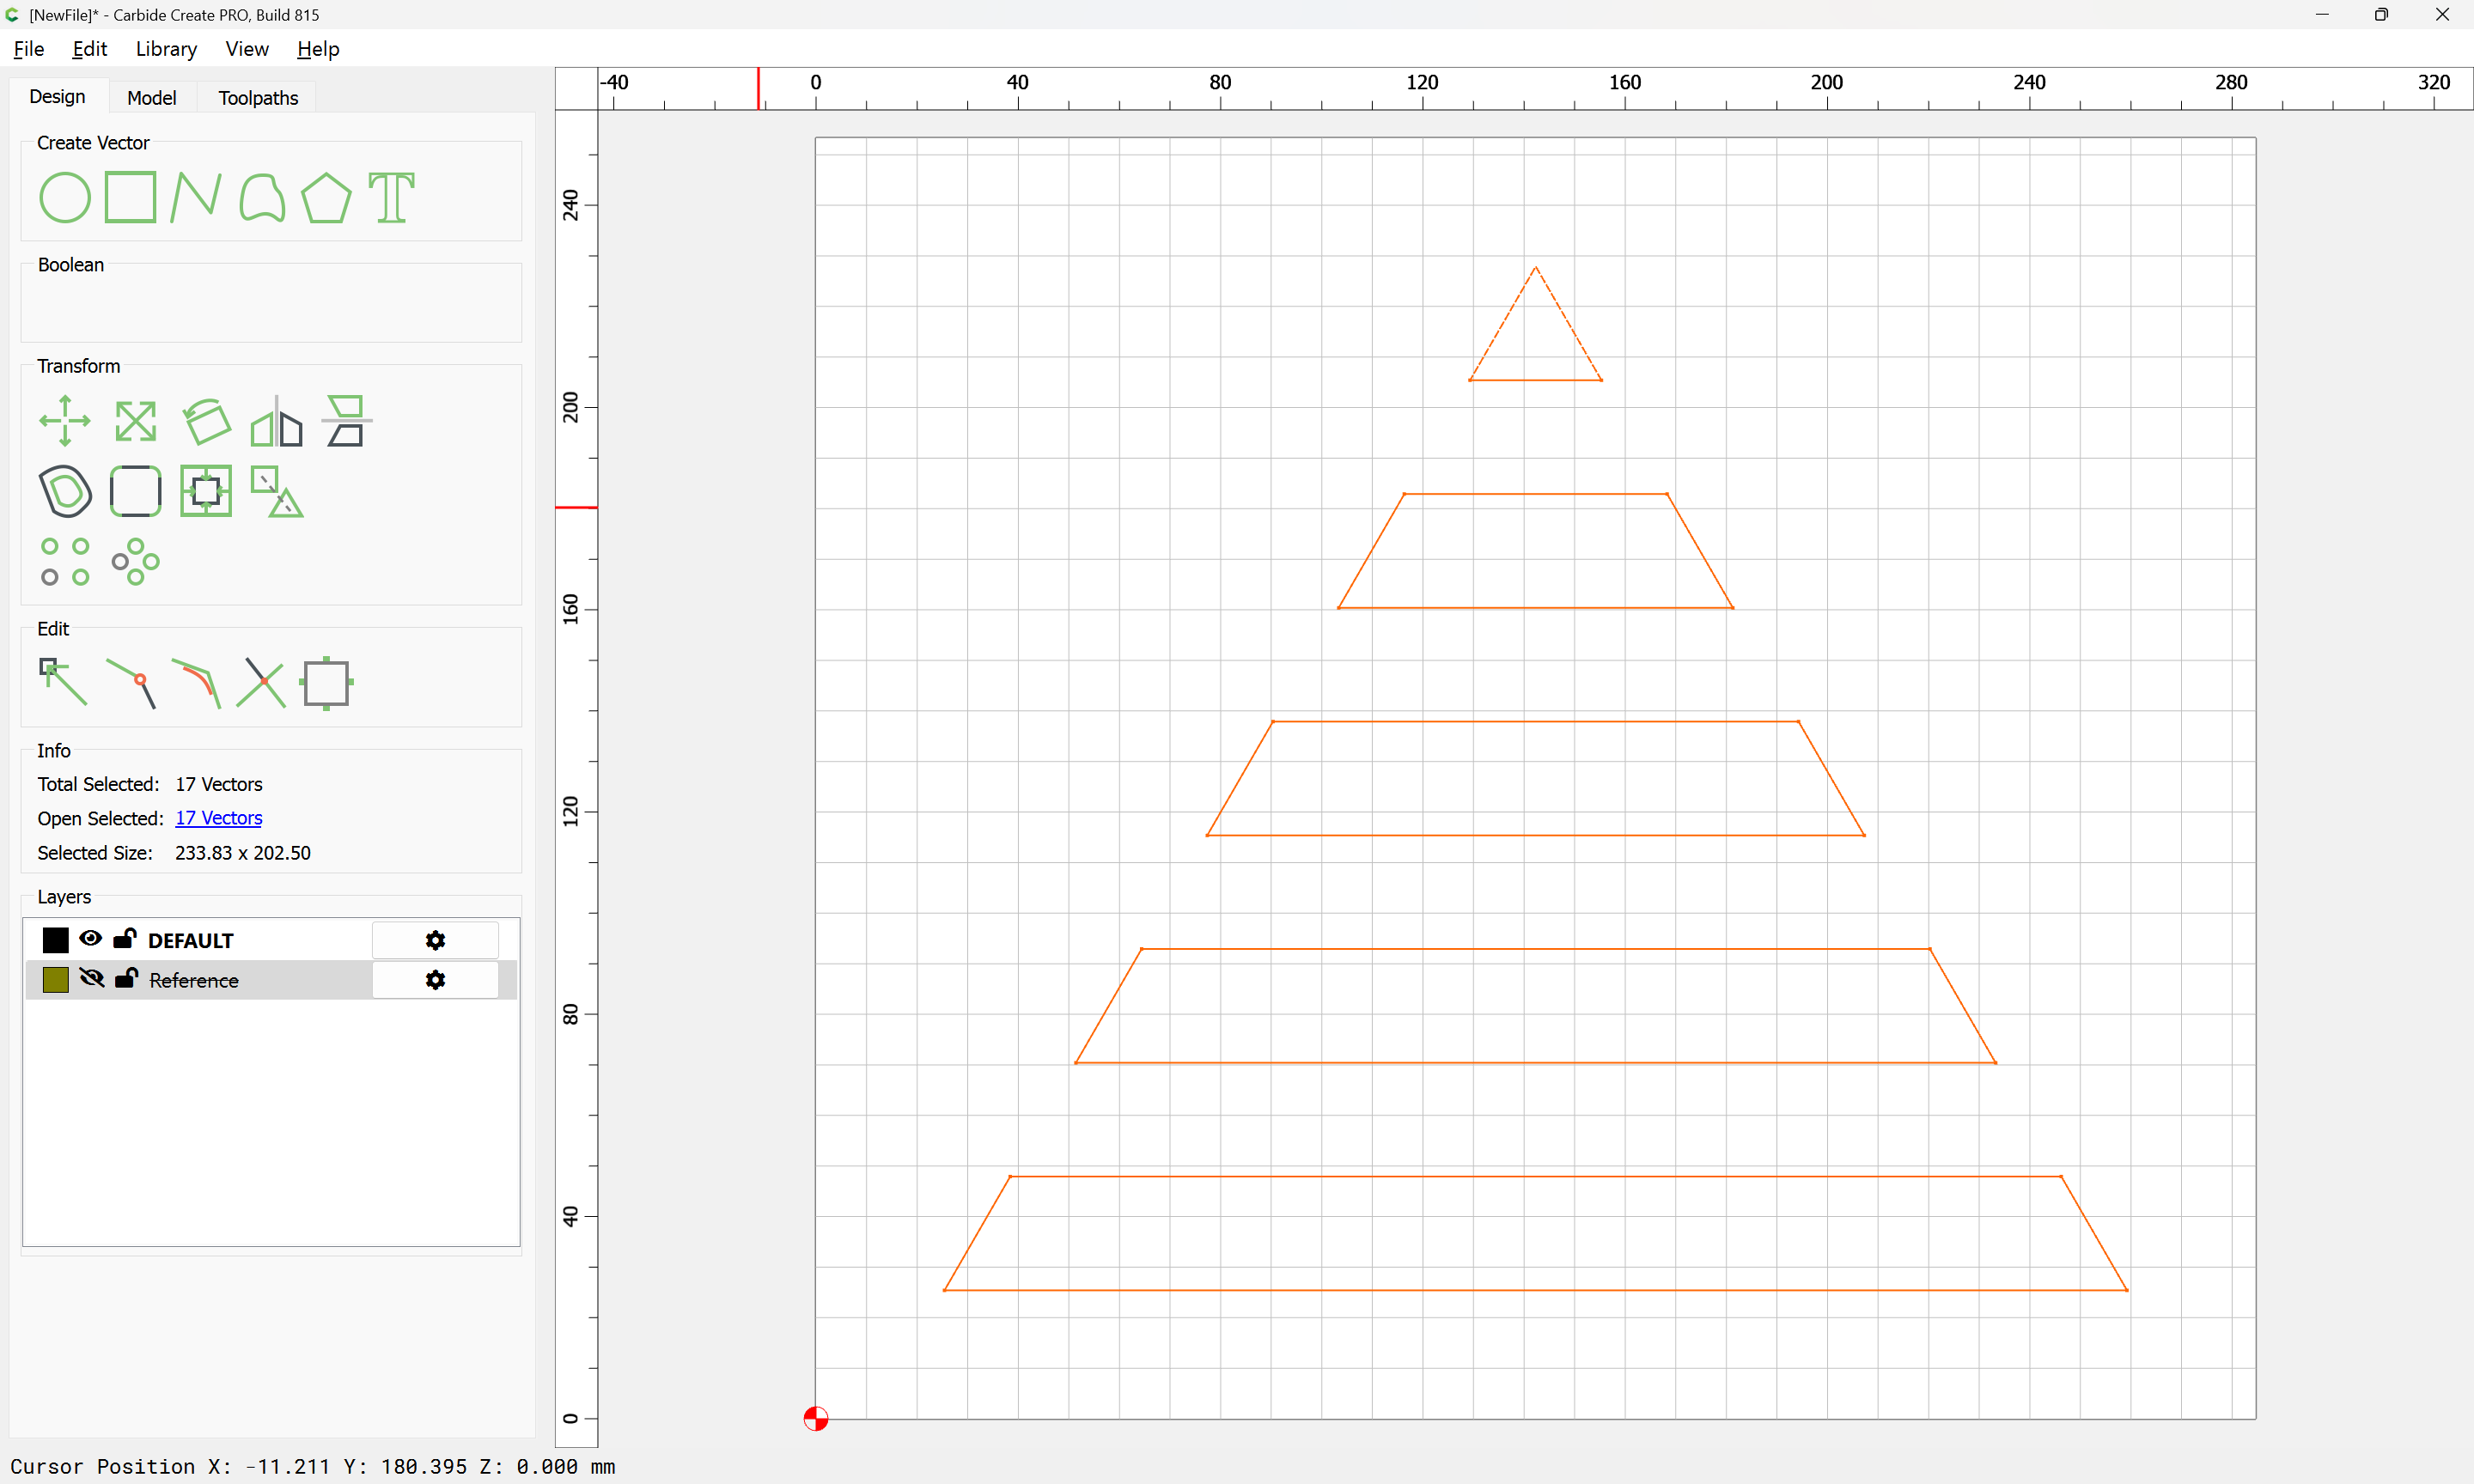
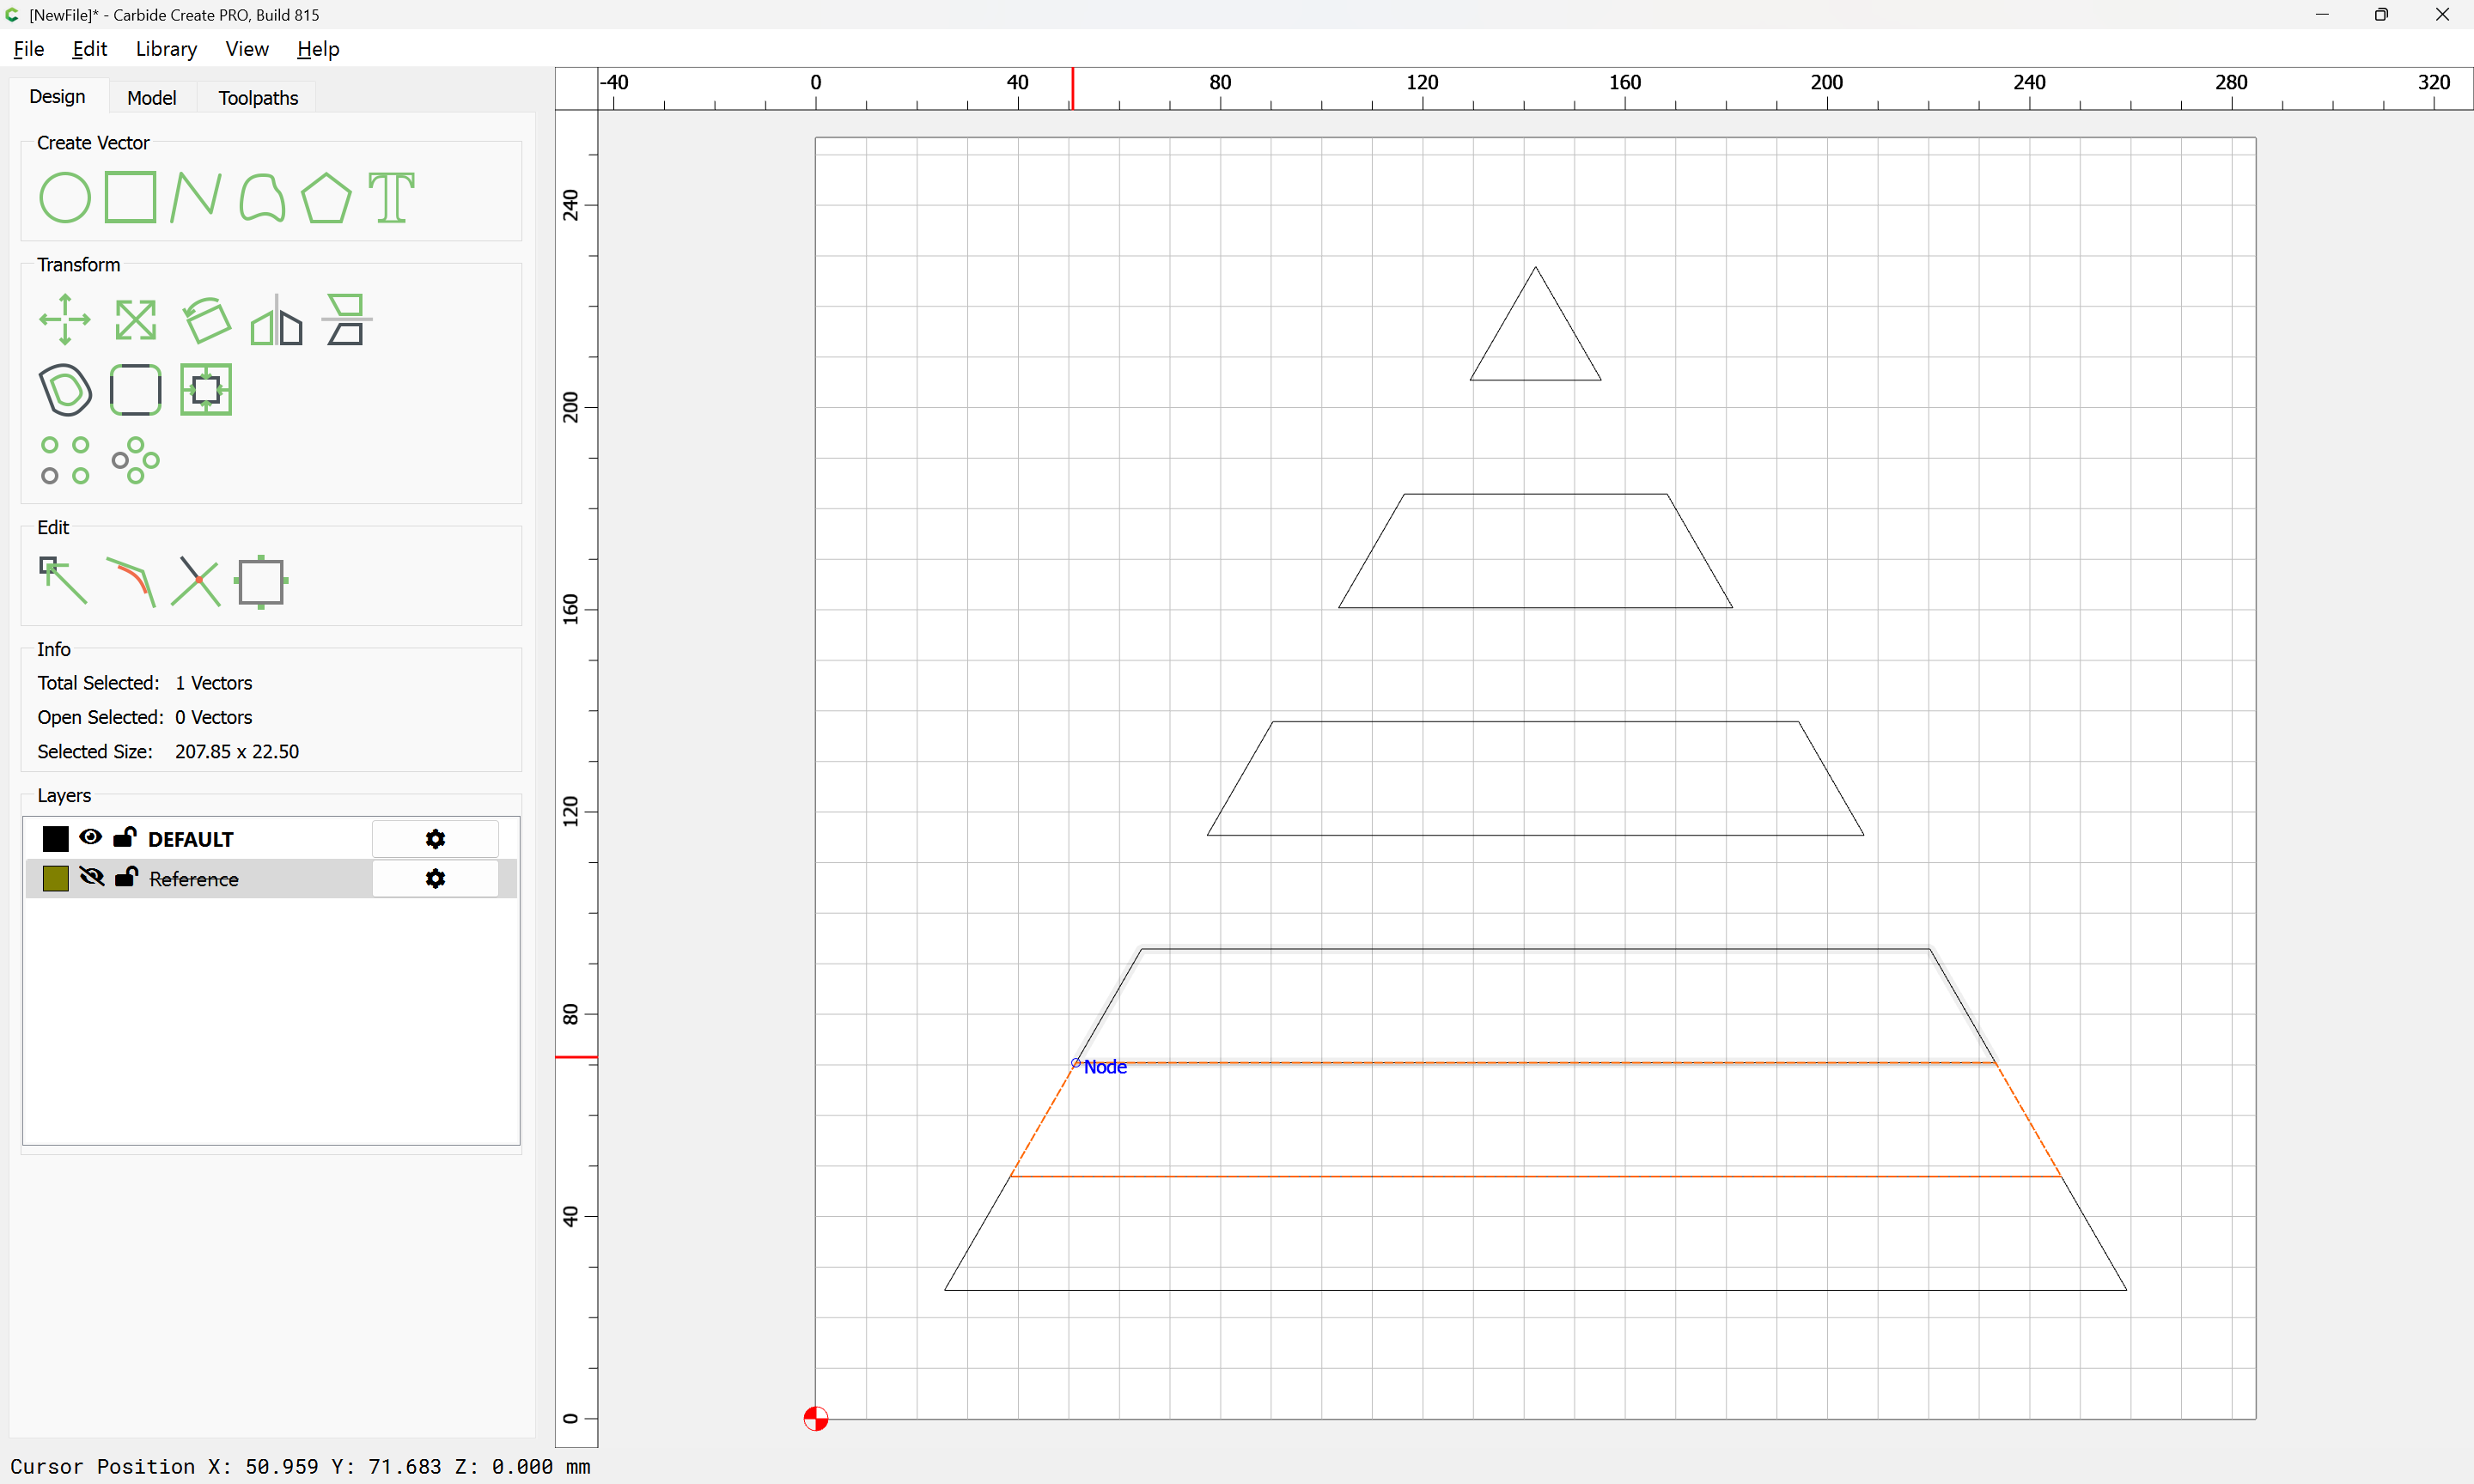
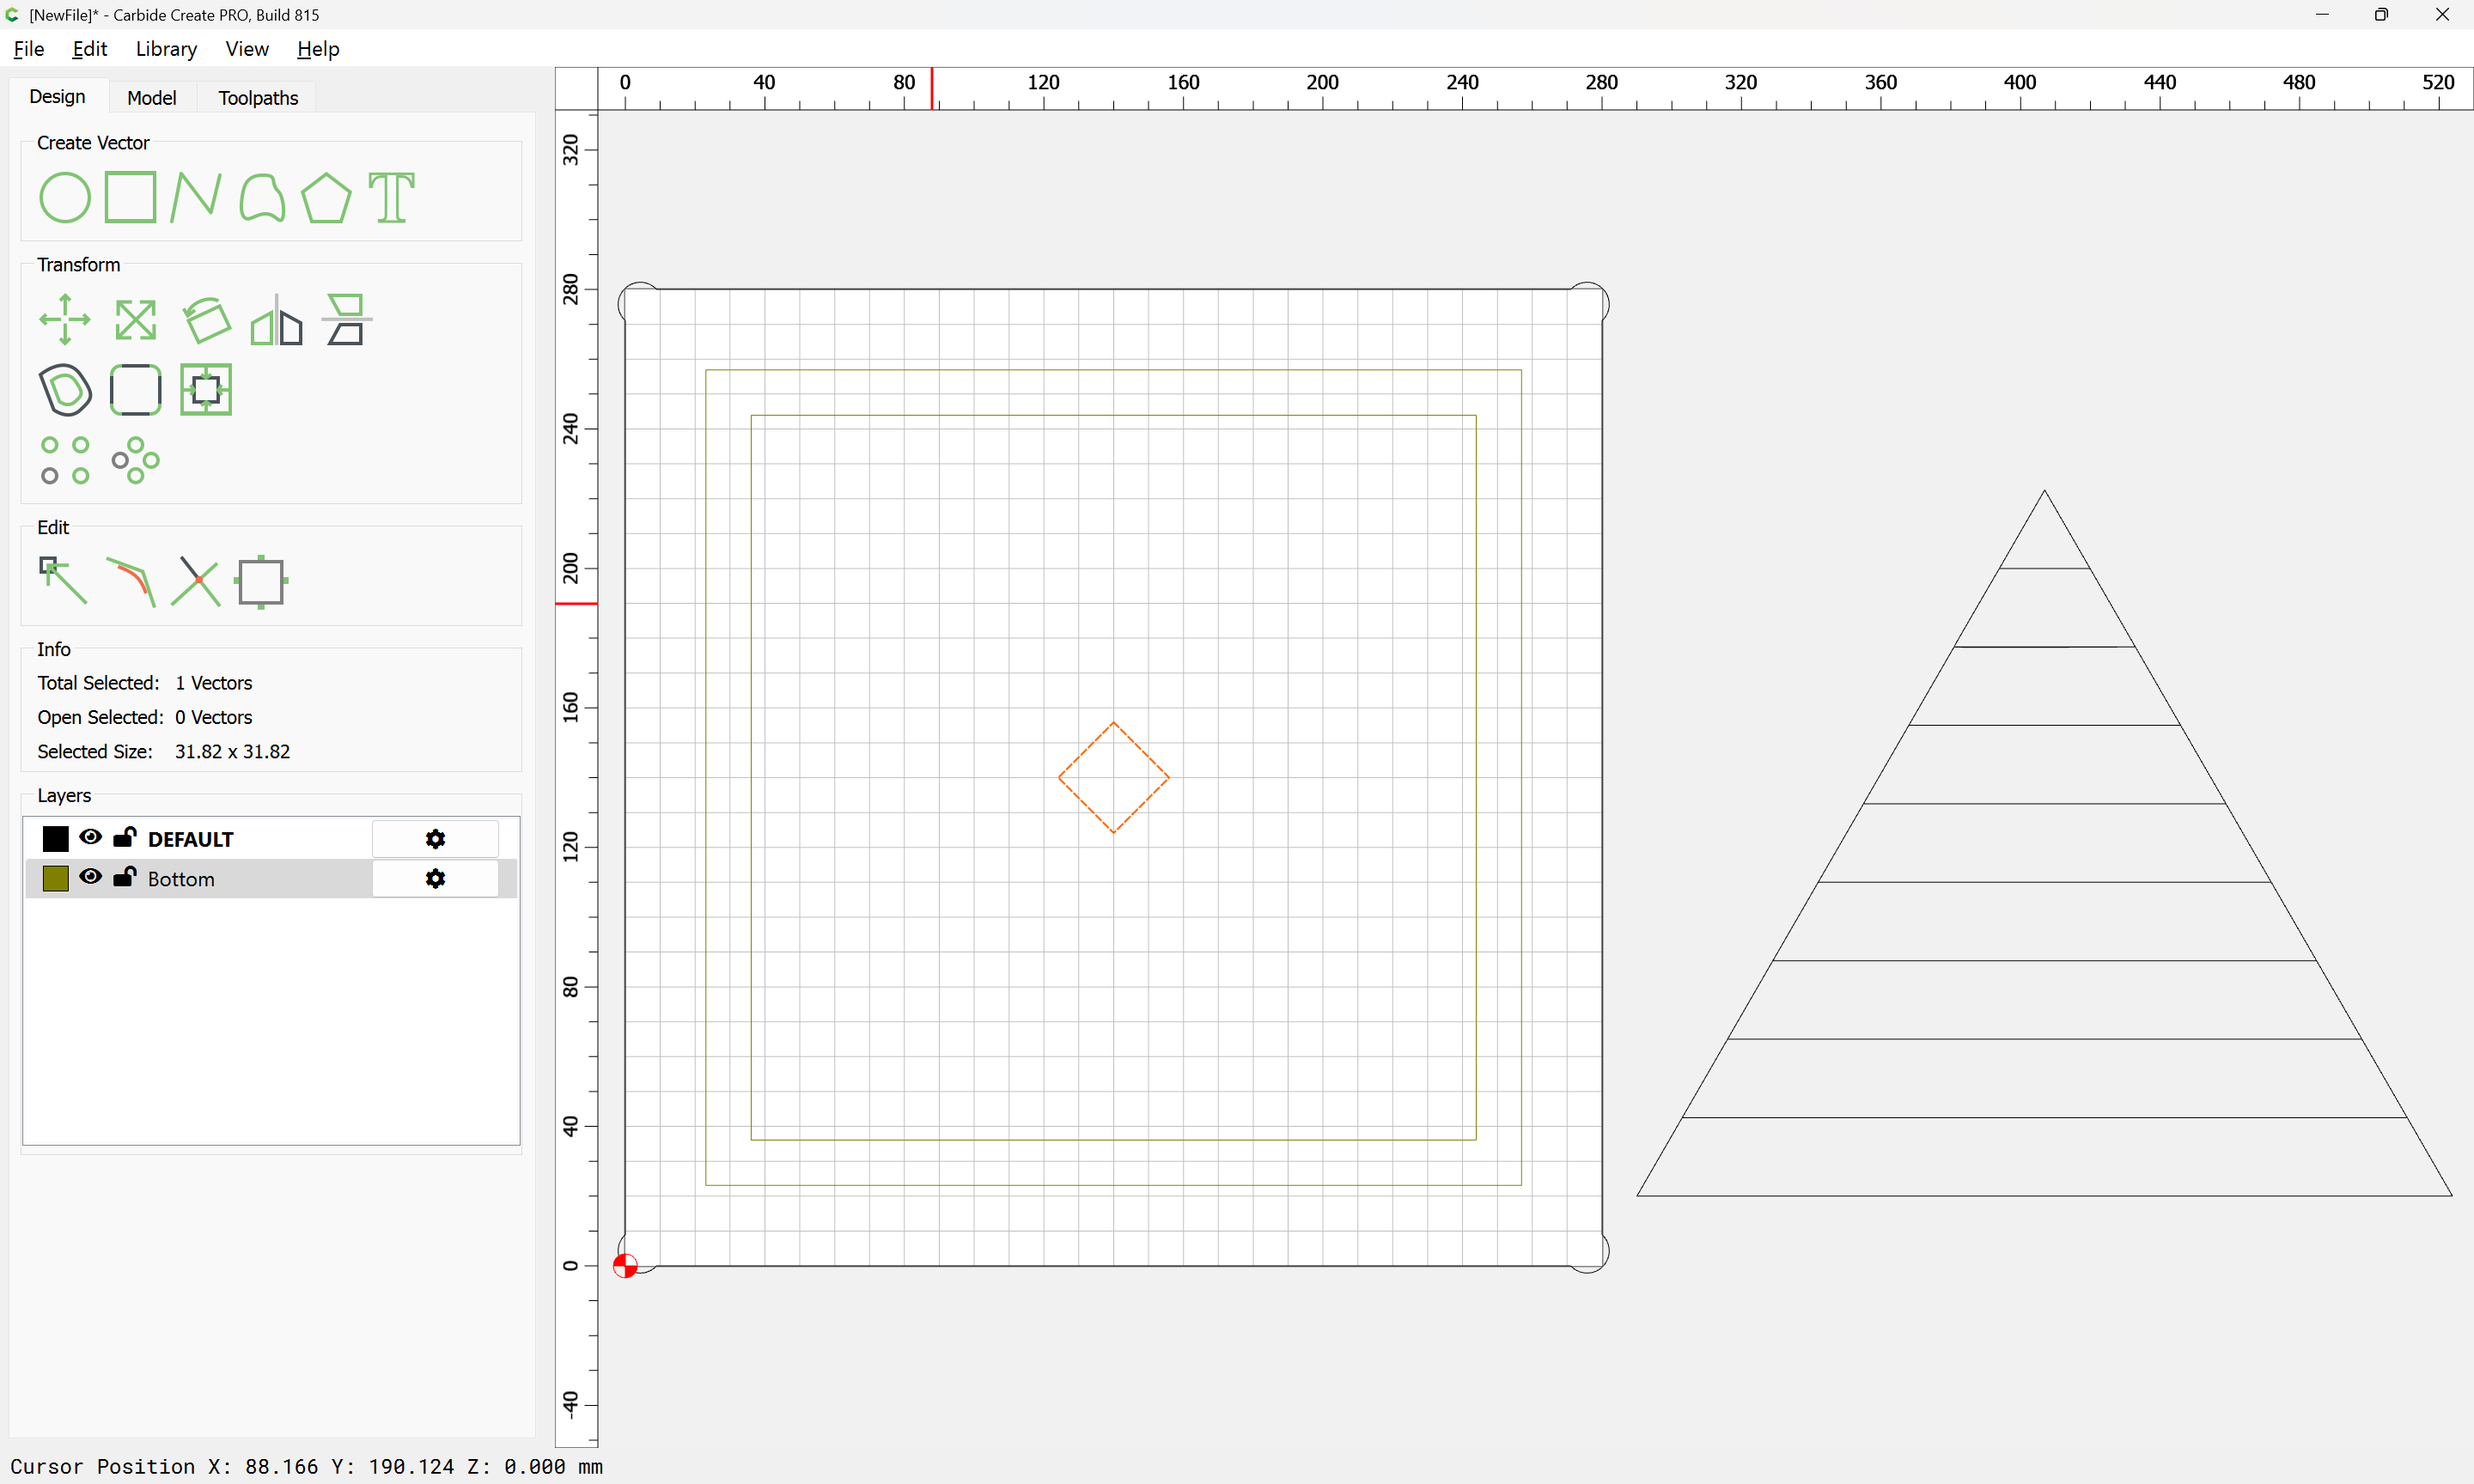
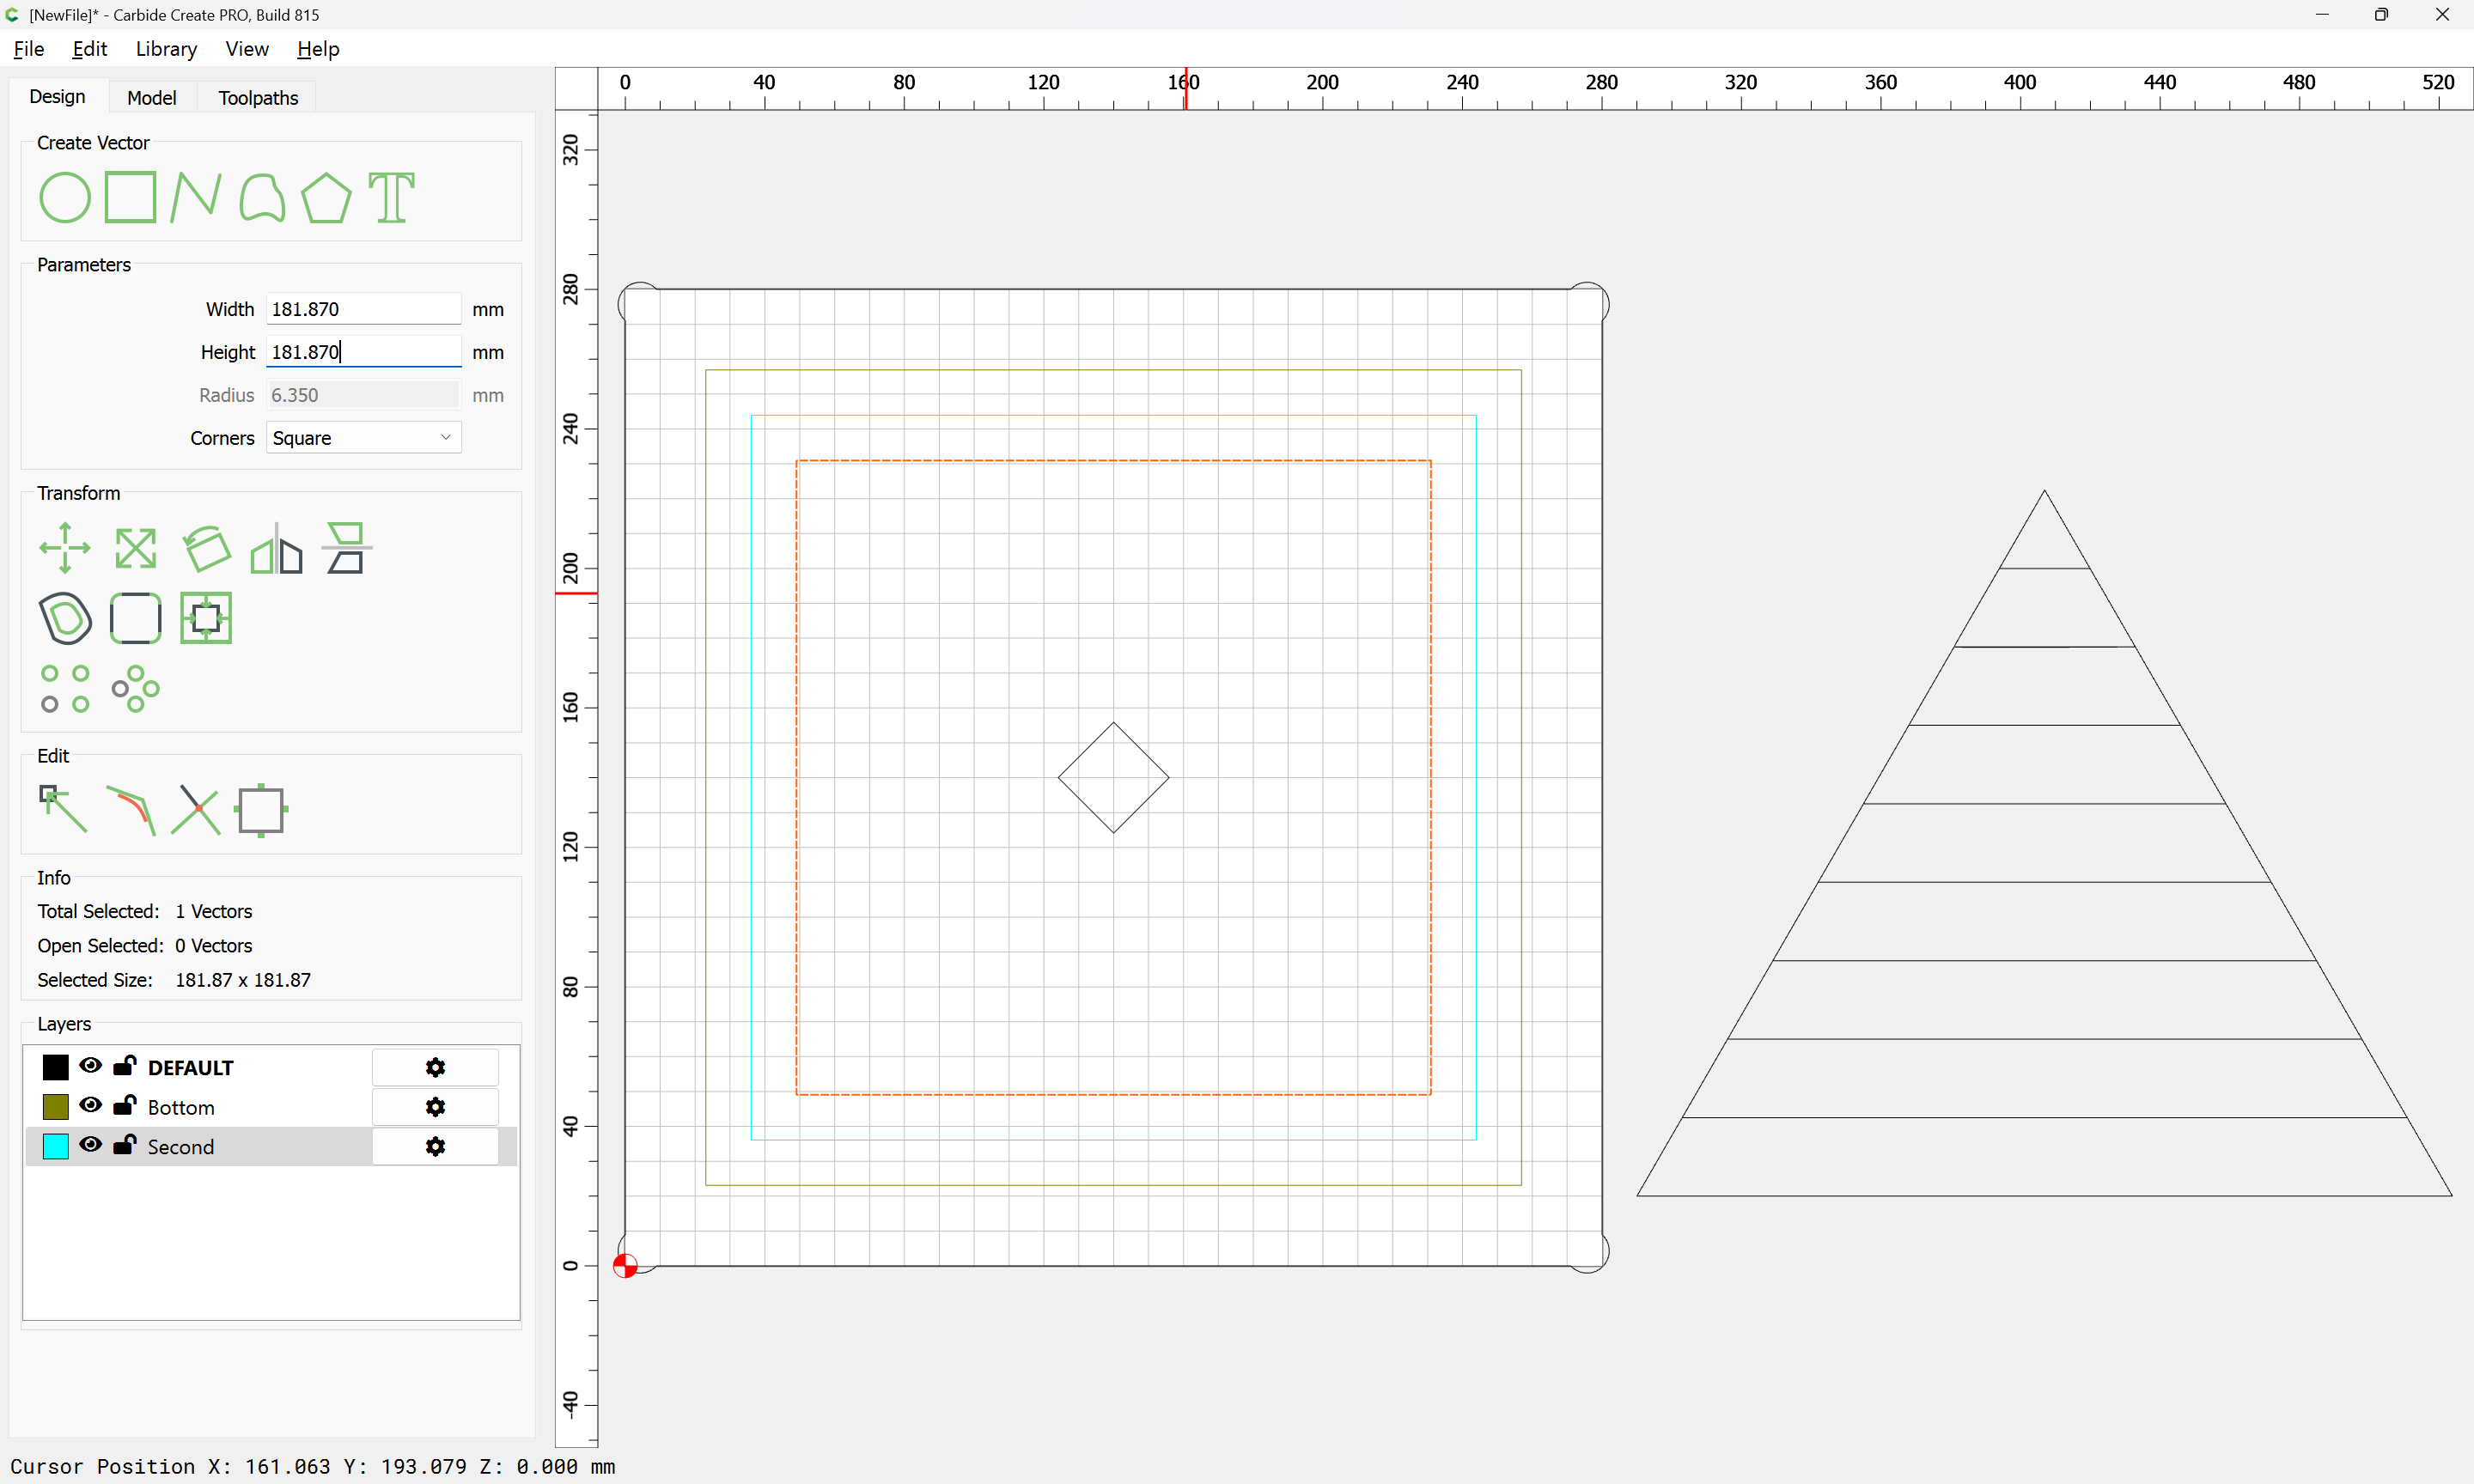
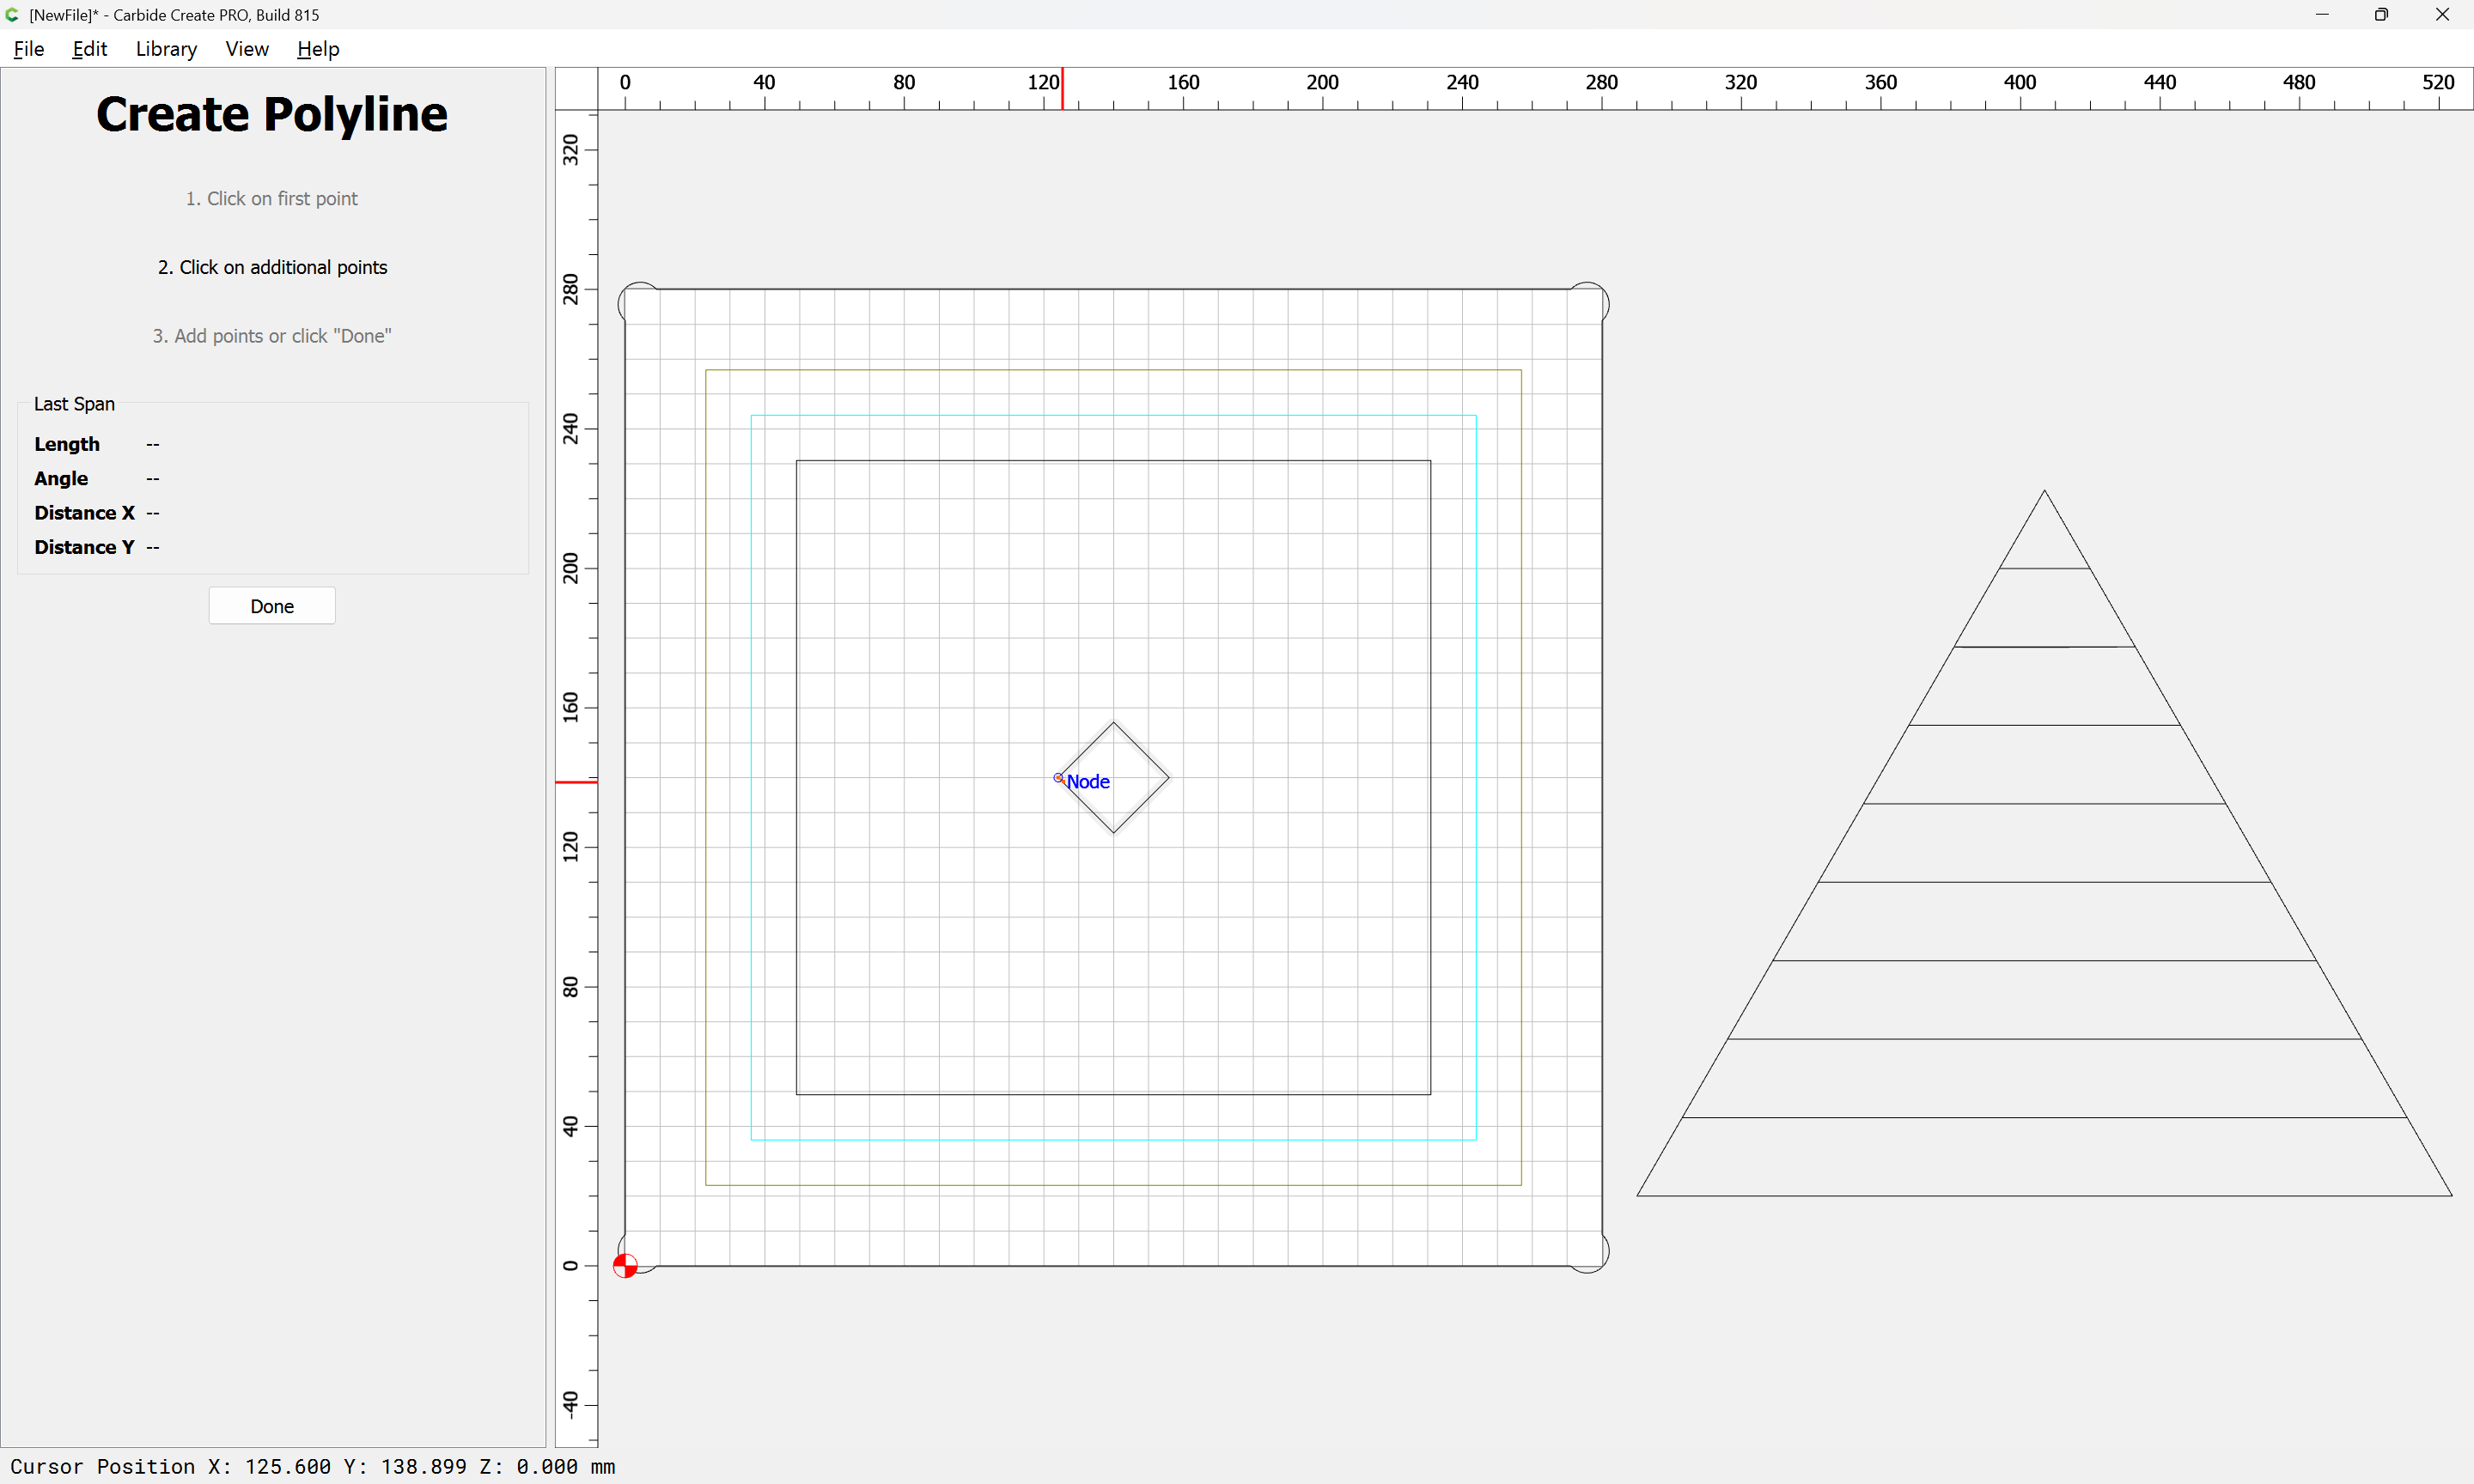
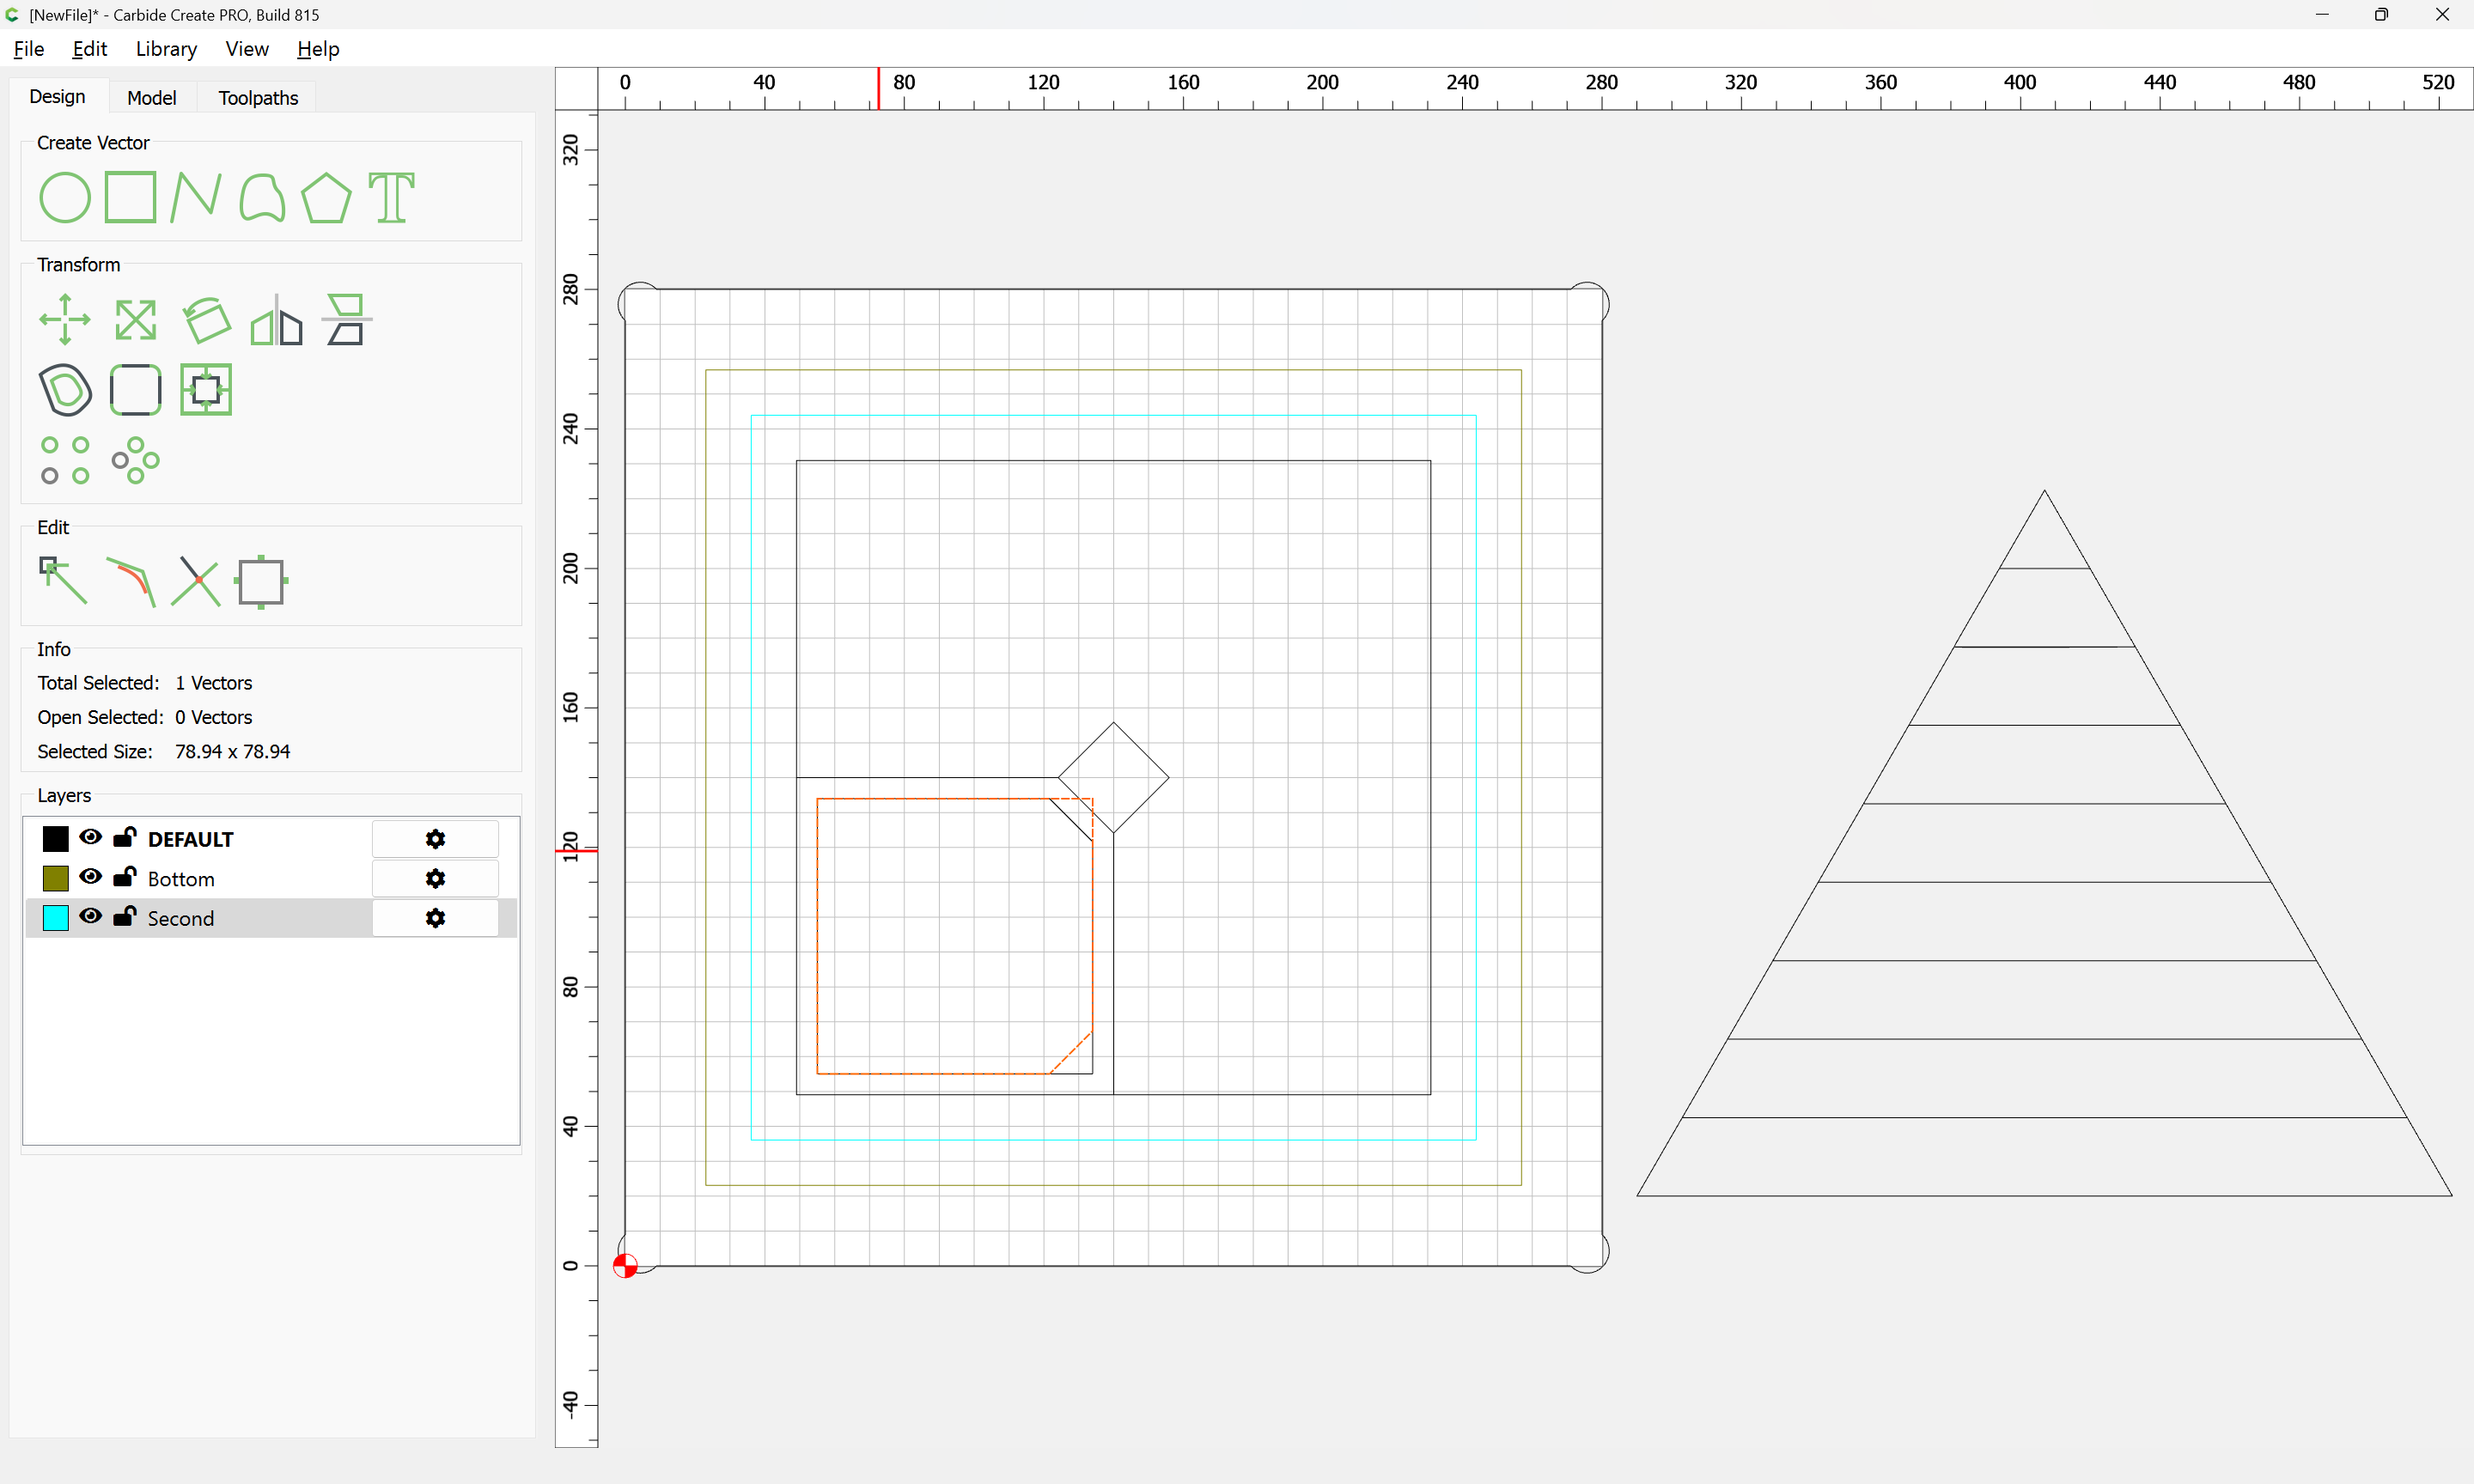
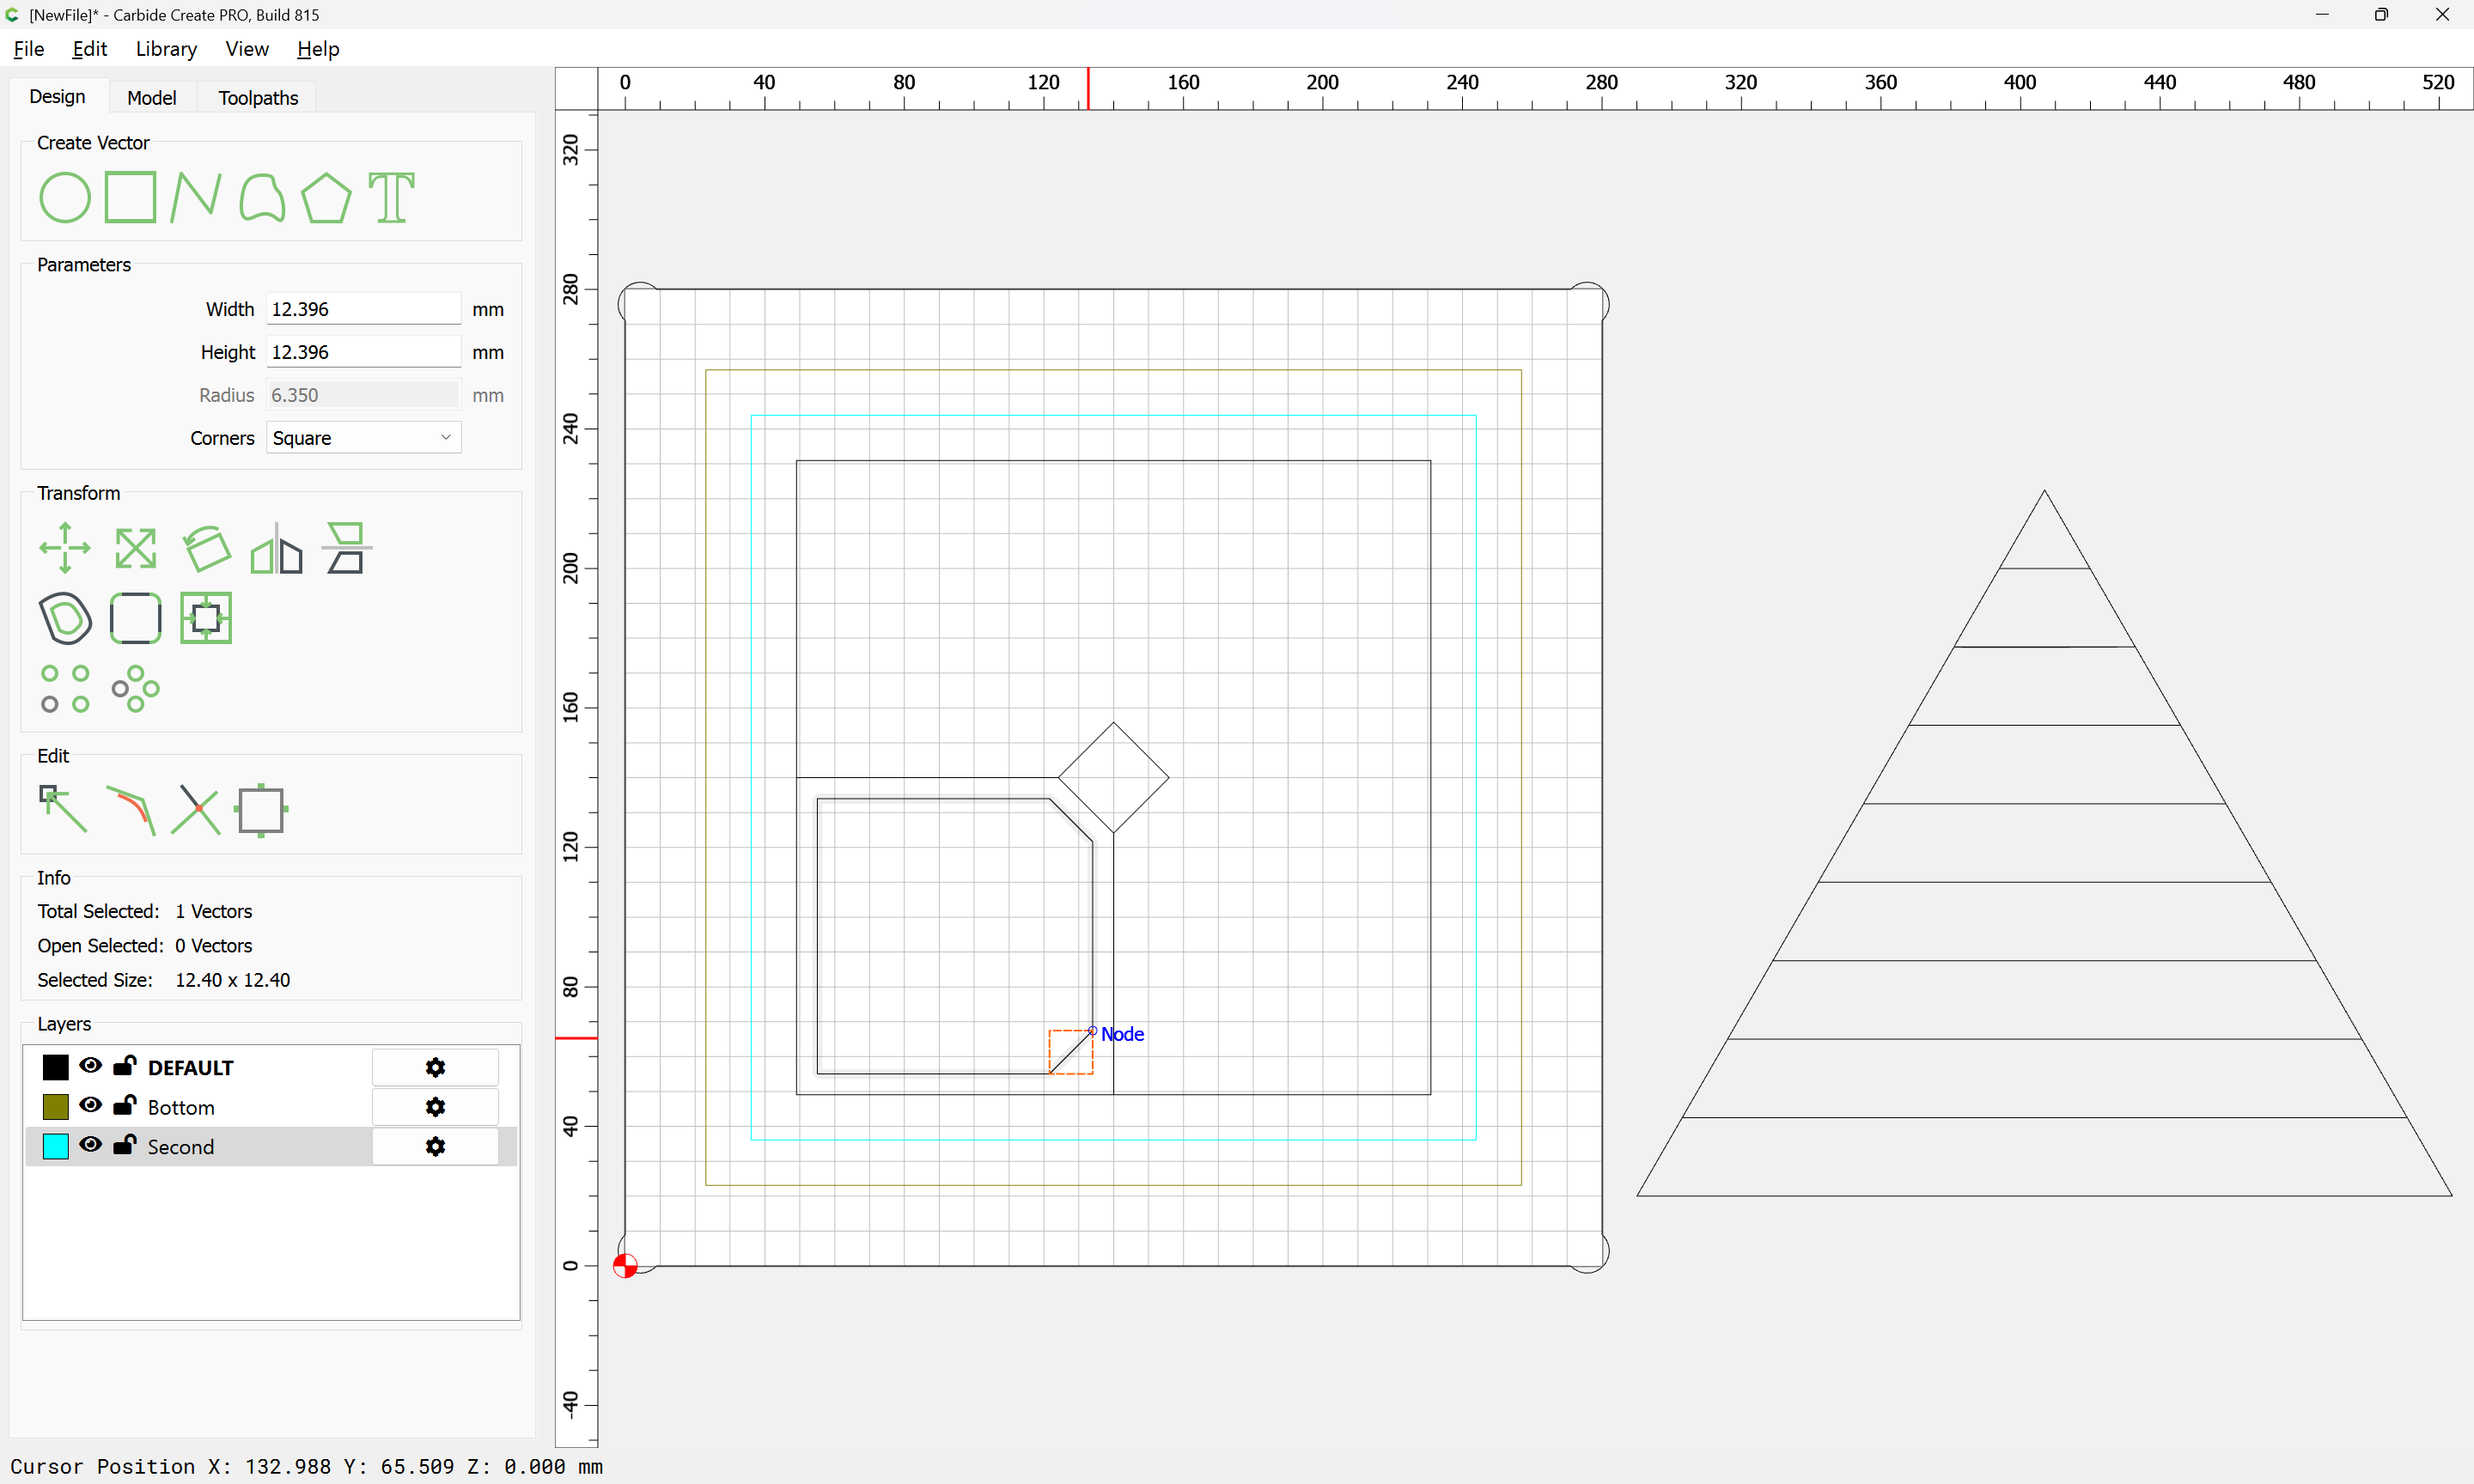
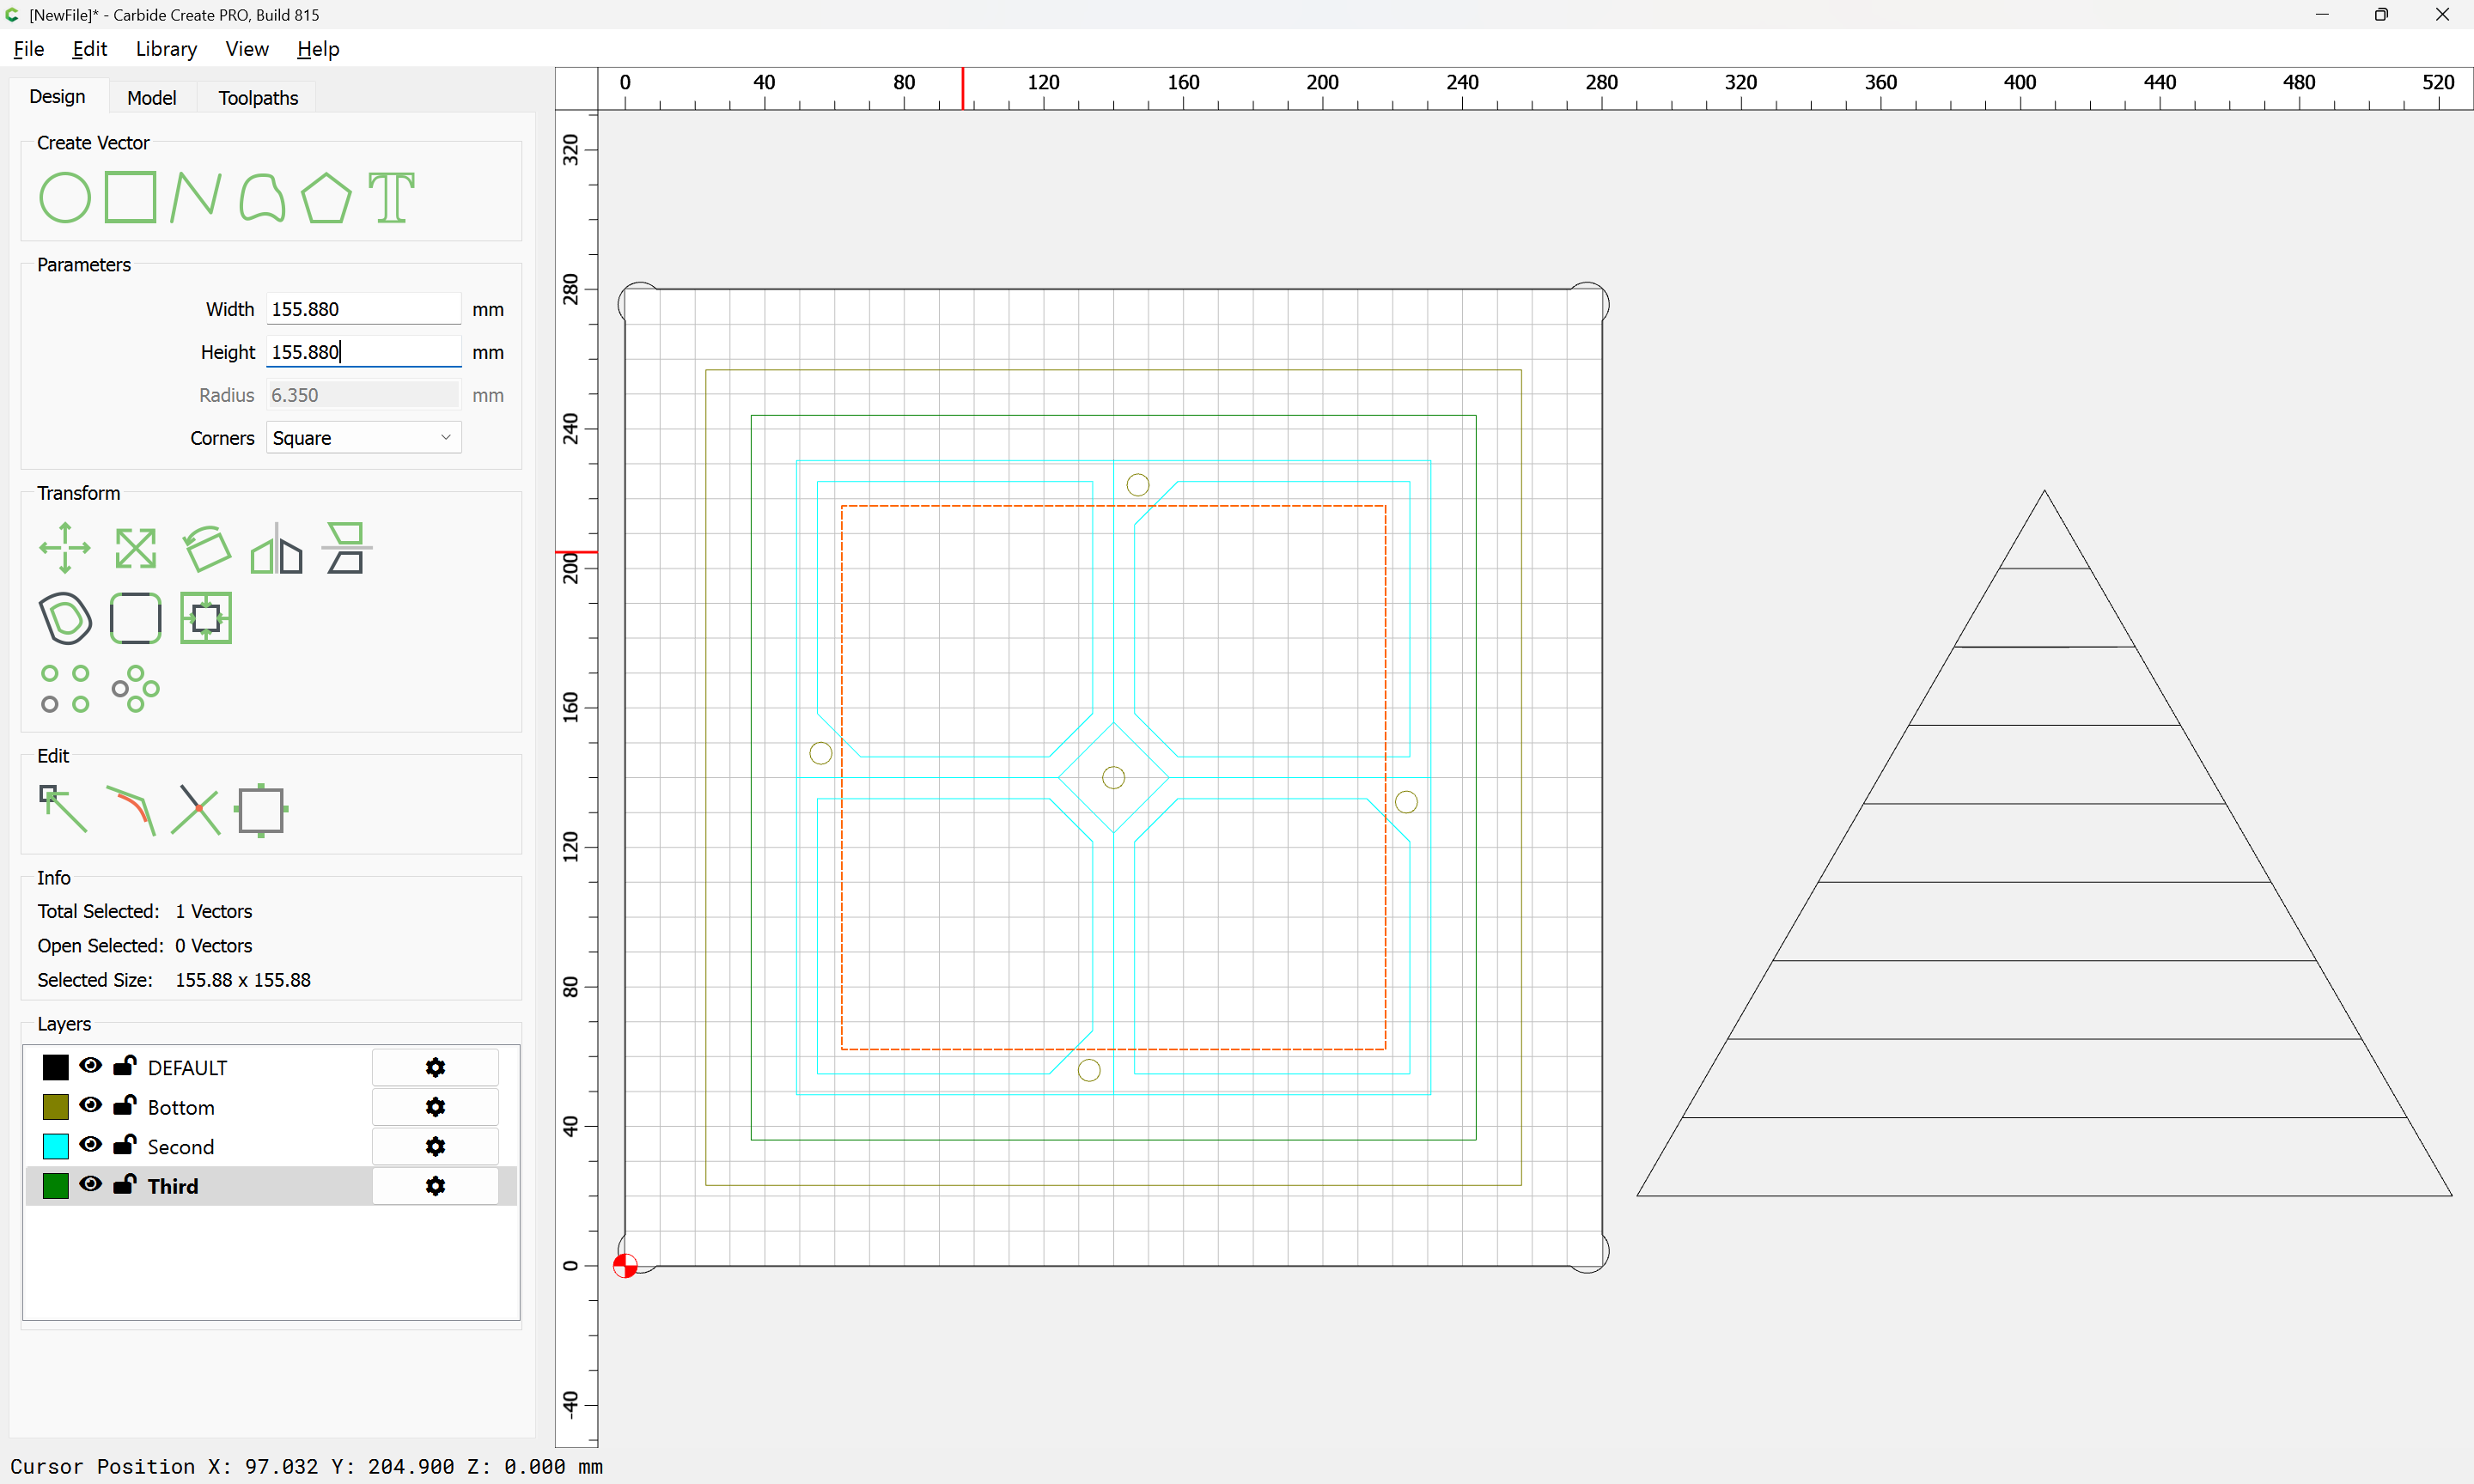
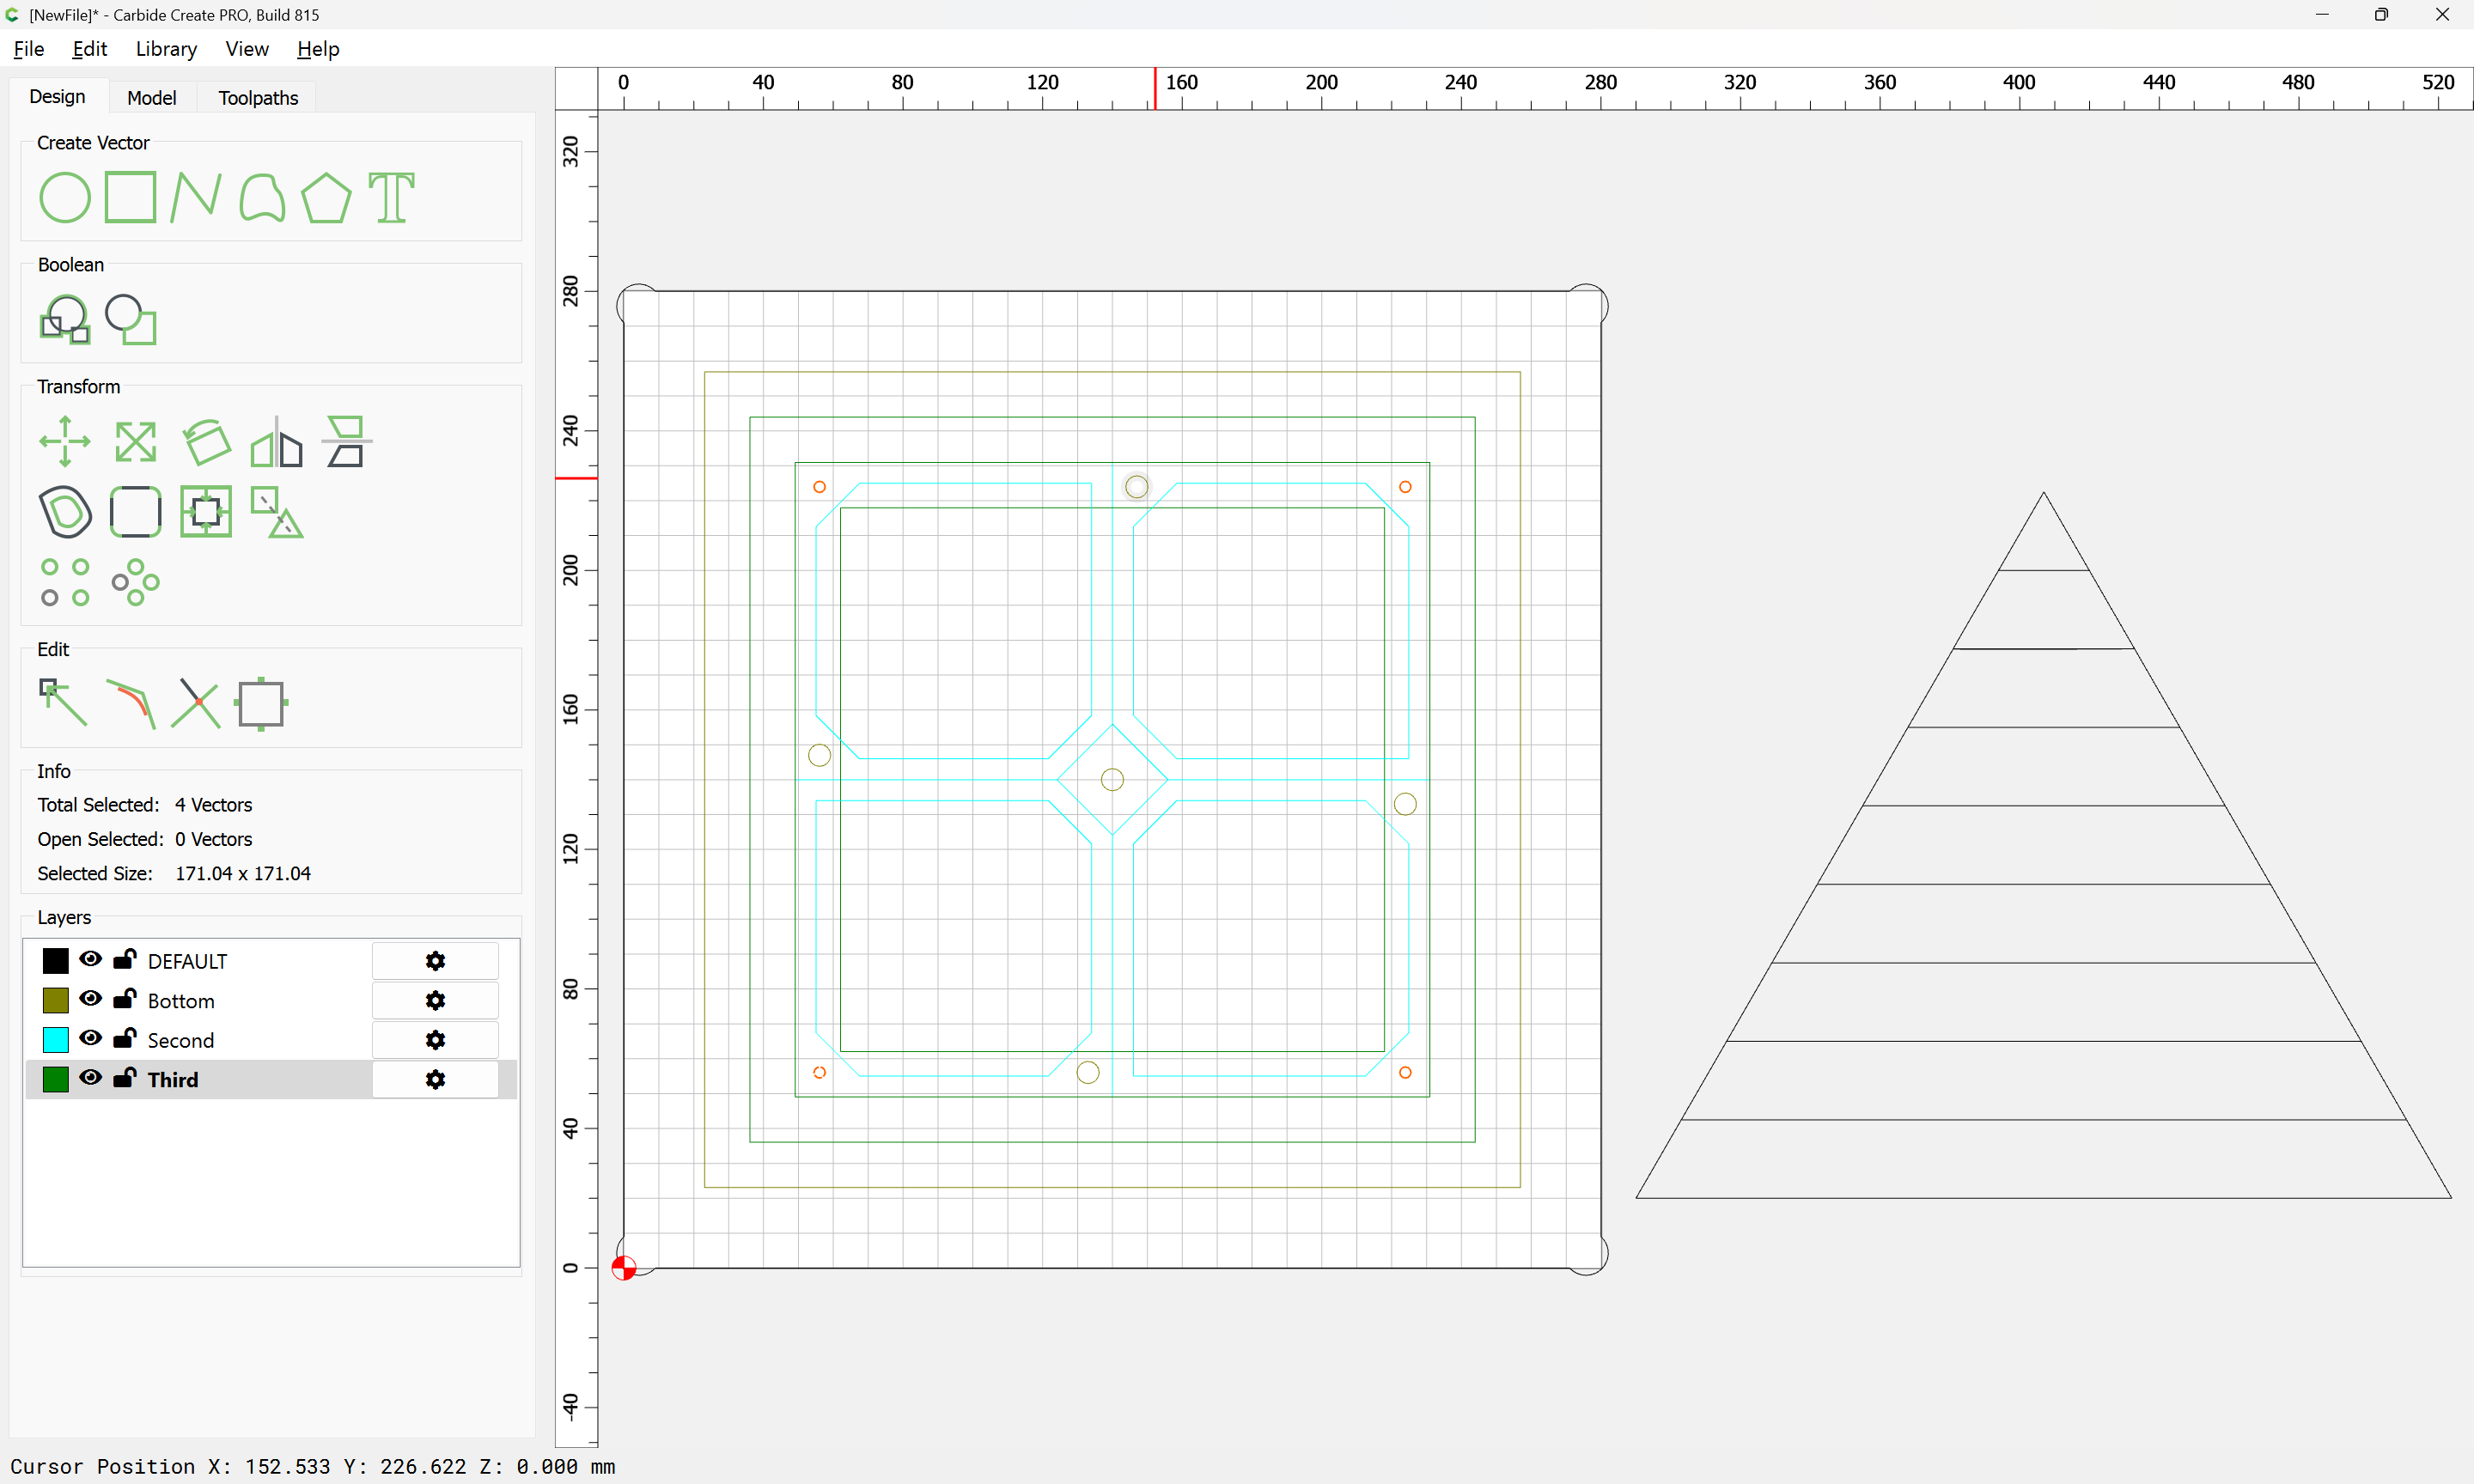
It’s pretty straight-forward when one considers that the base shape is “just” a cube sliced off at a given set of angles.
If not using 3D modeling, then the angle must conform to that of an available V tool, so 45 or 30 degrees (half 90 or 60 degrees) — doing a bit of modeling, we can get a quick 3D preview to see which would be best:
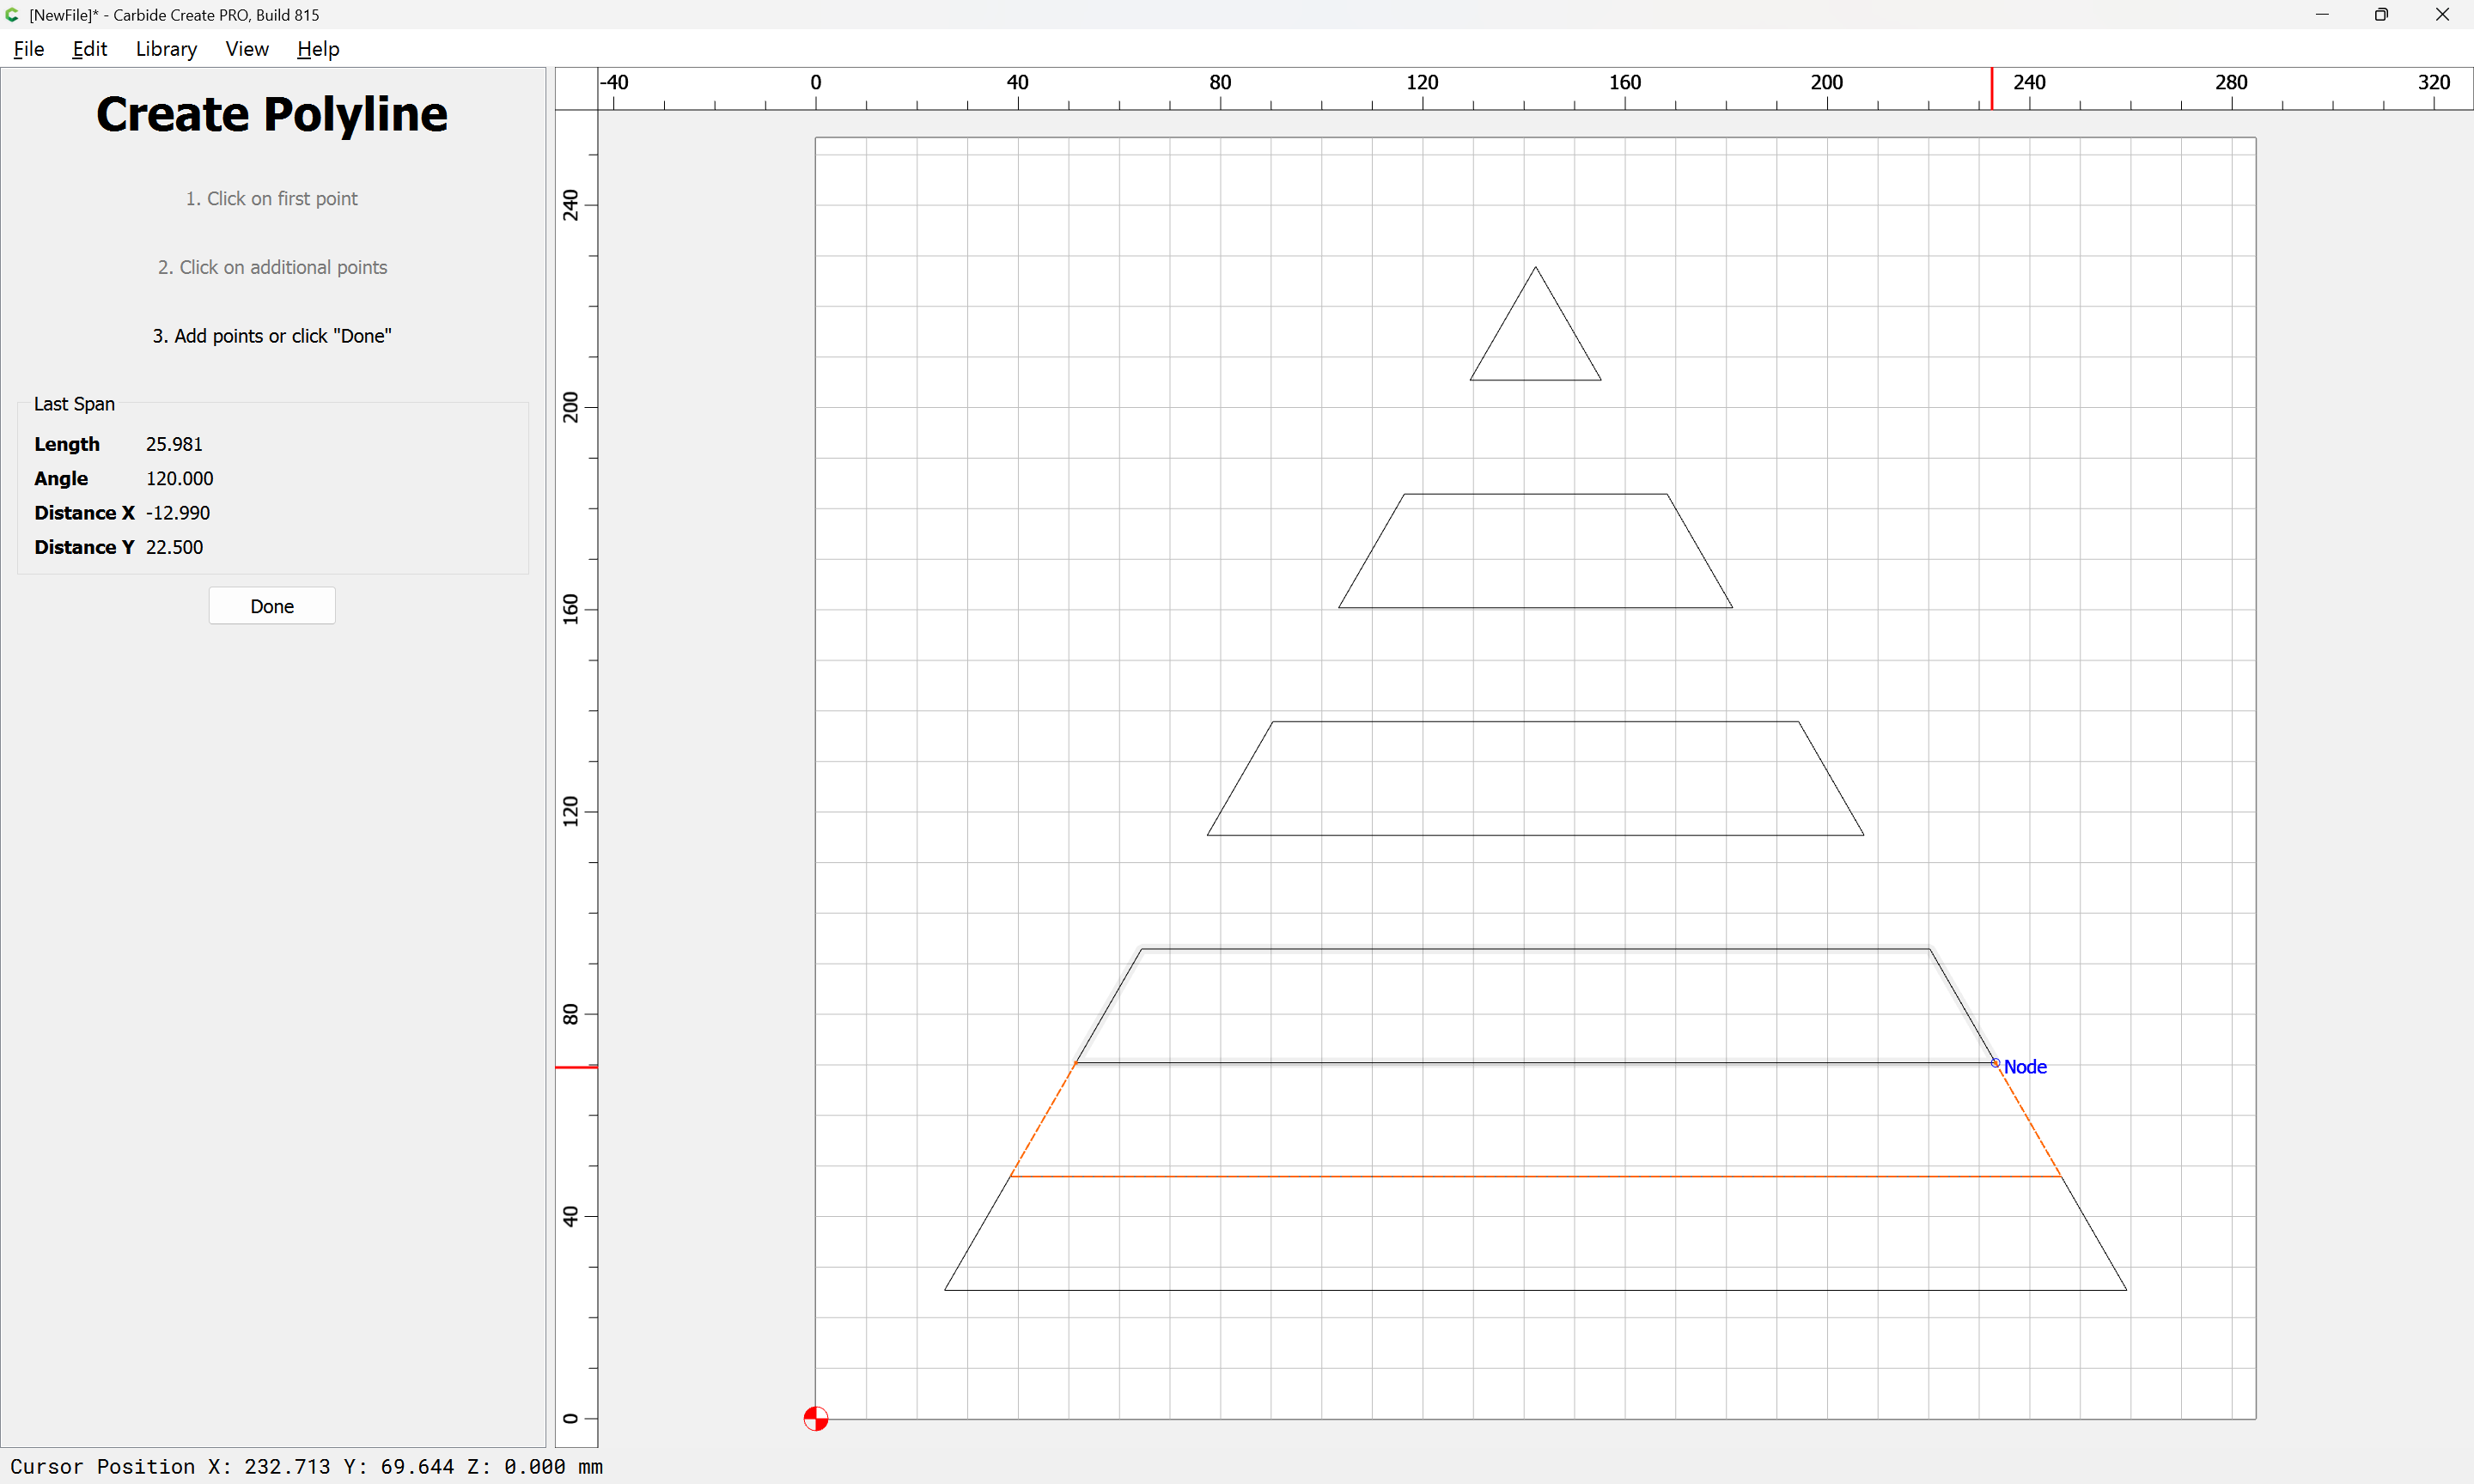
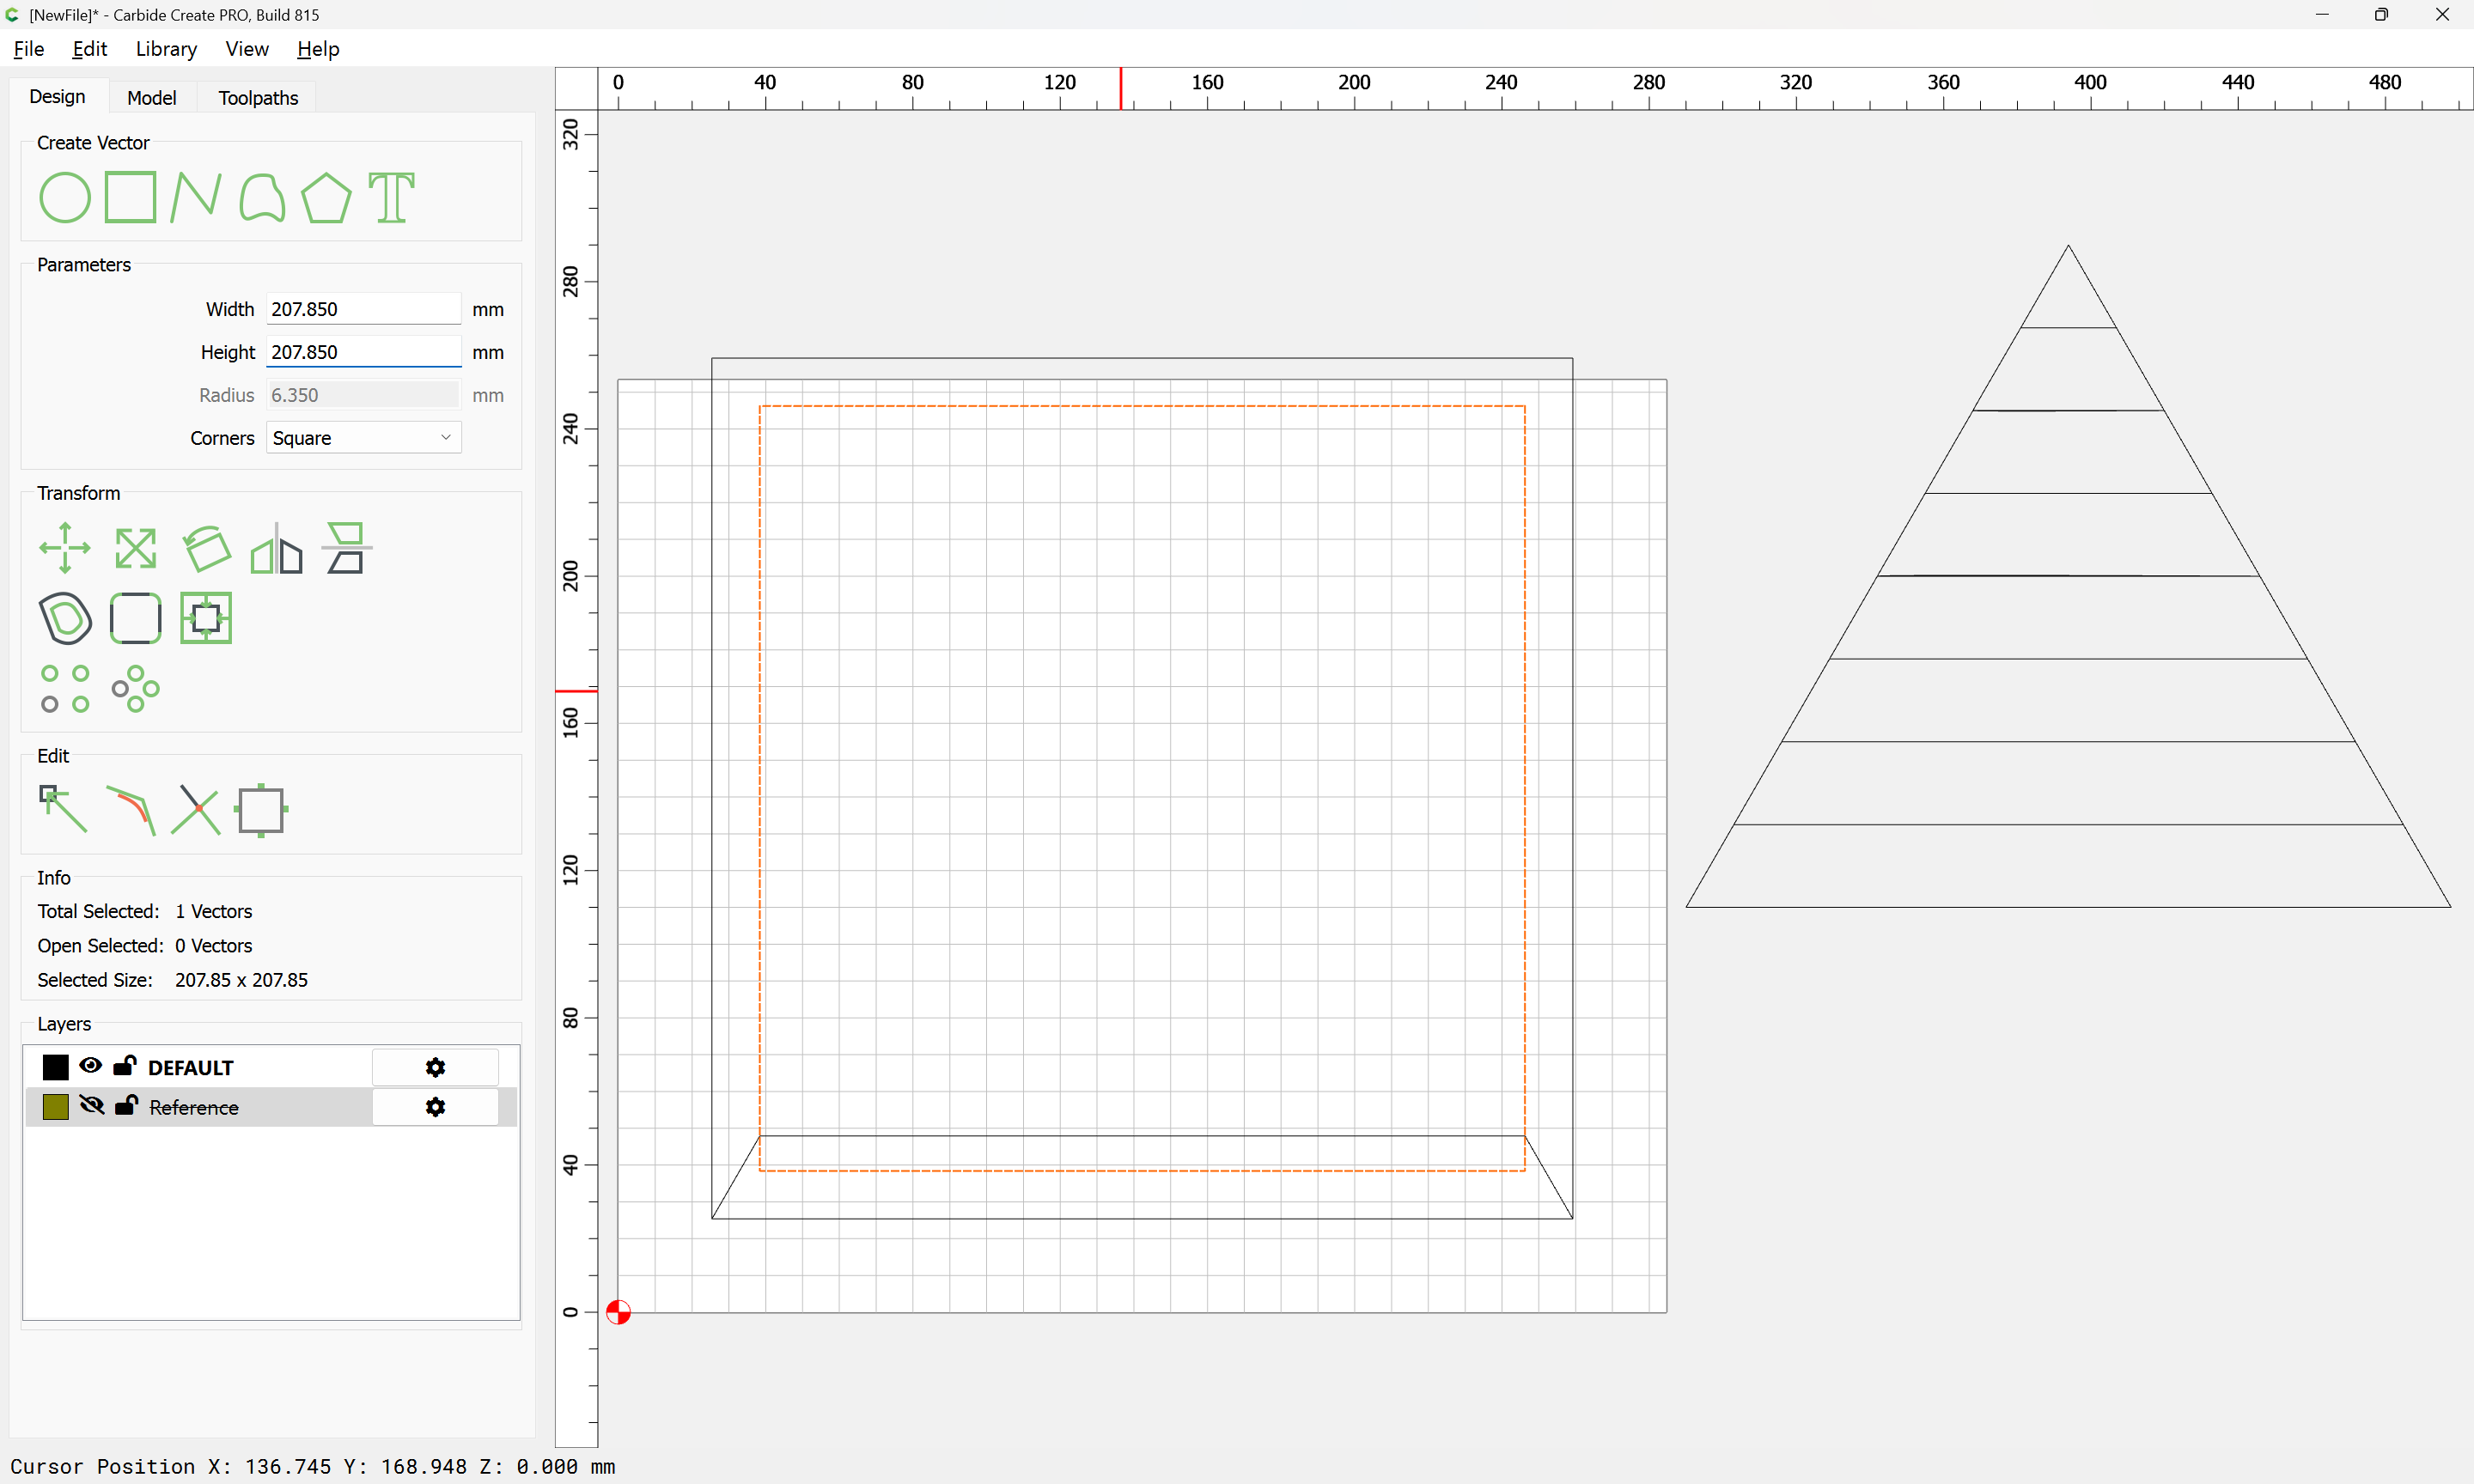
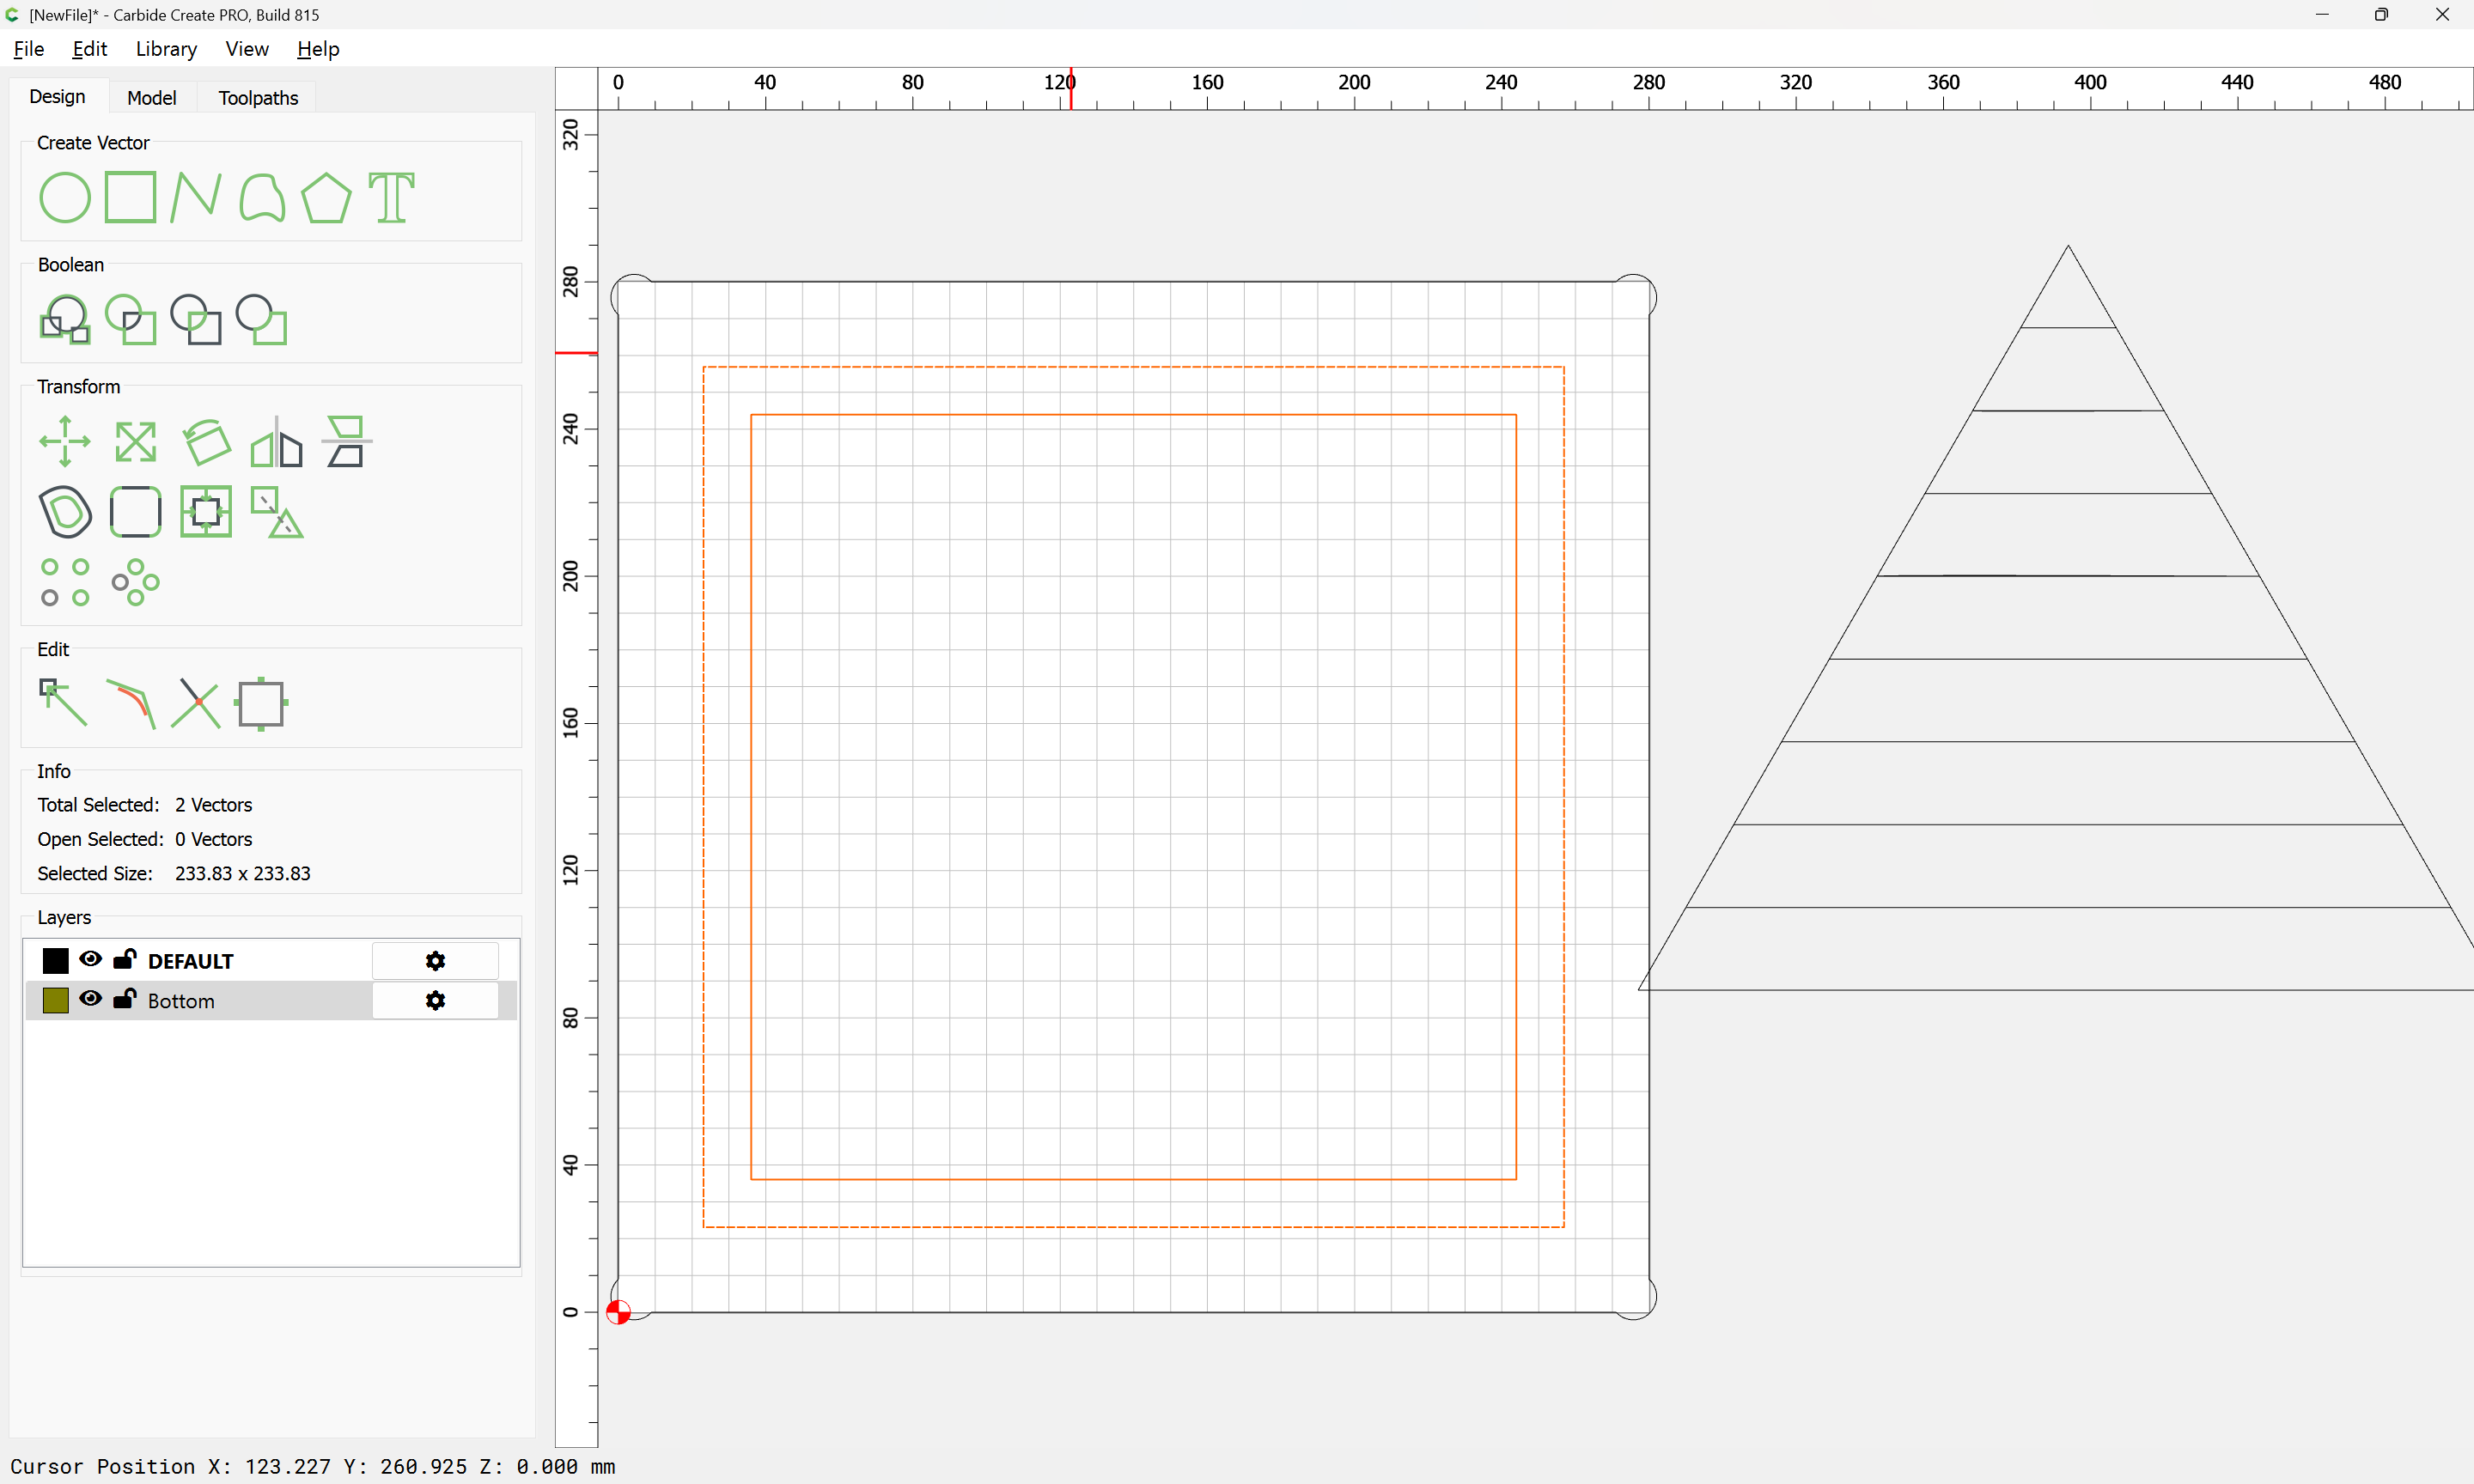
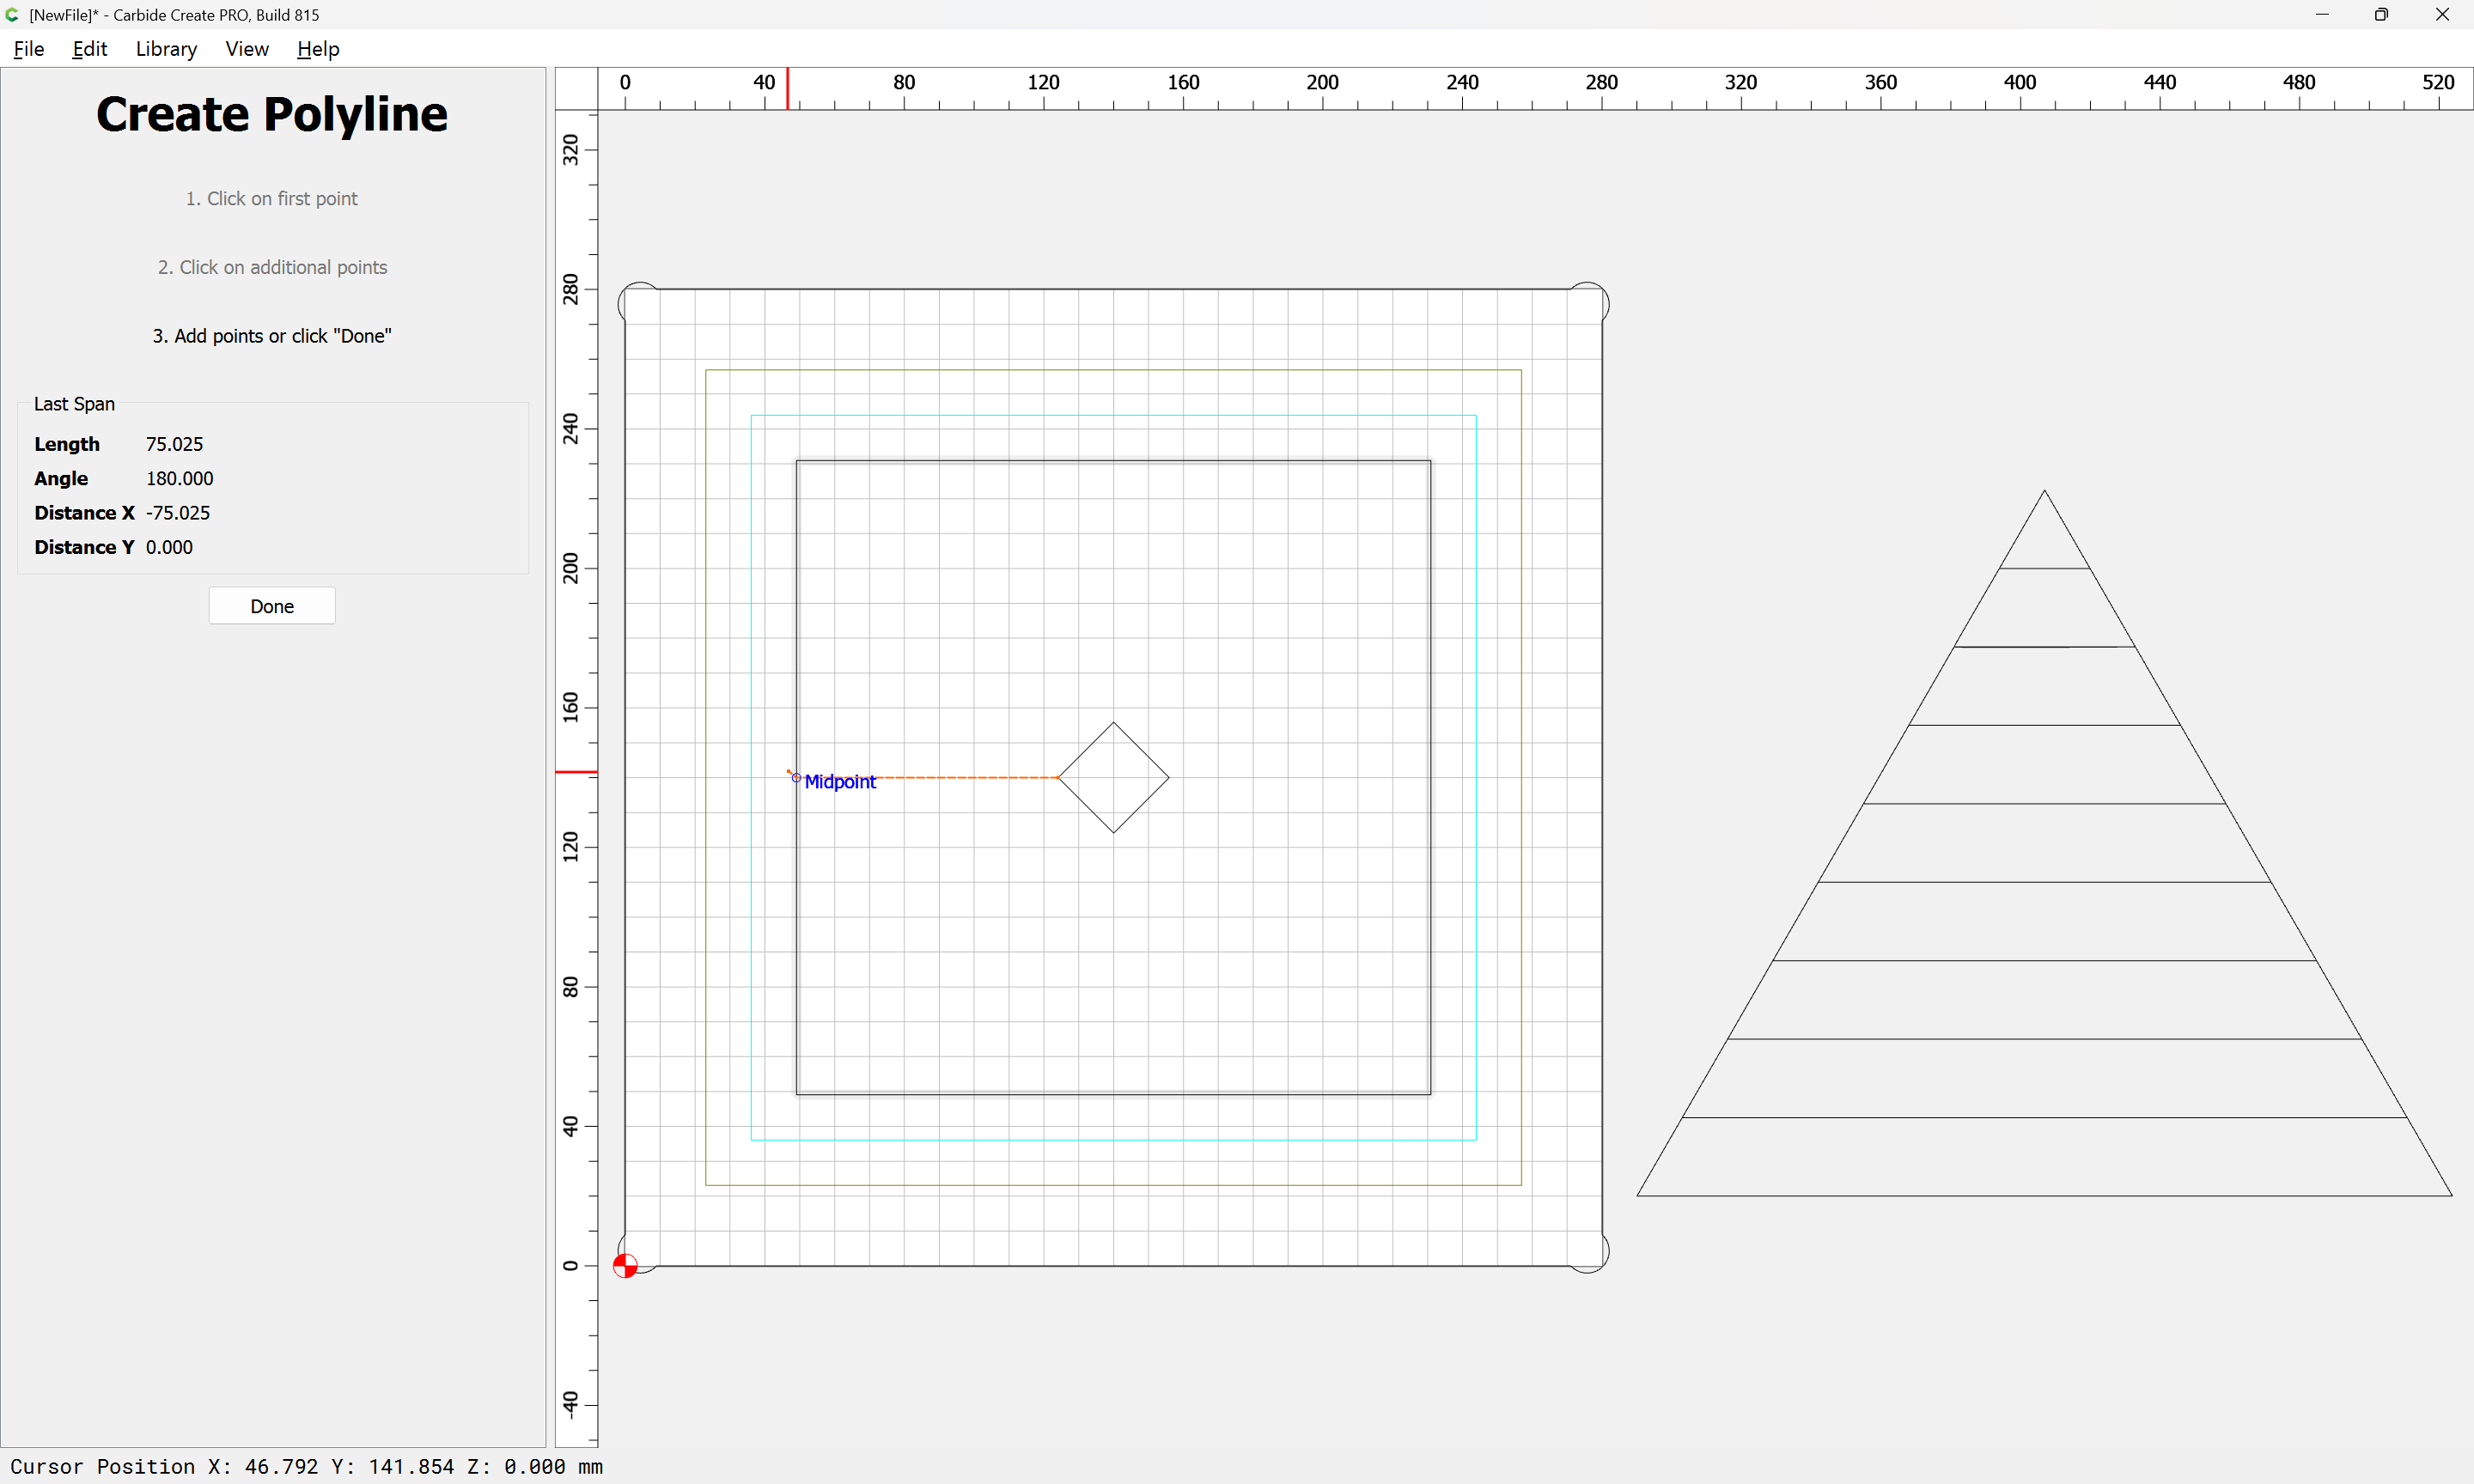
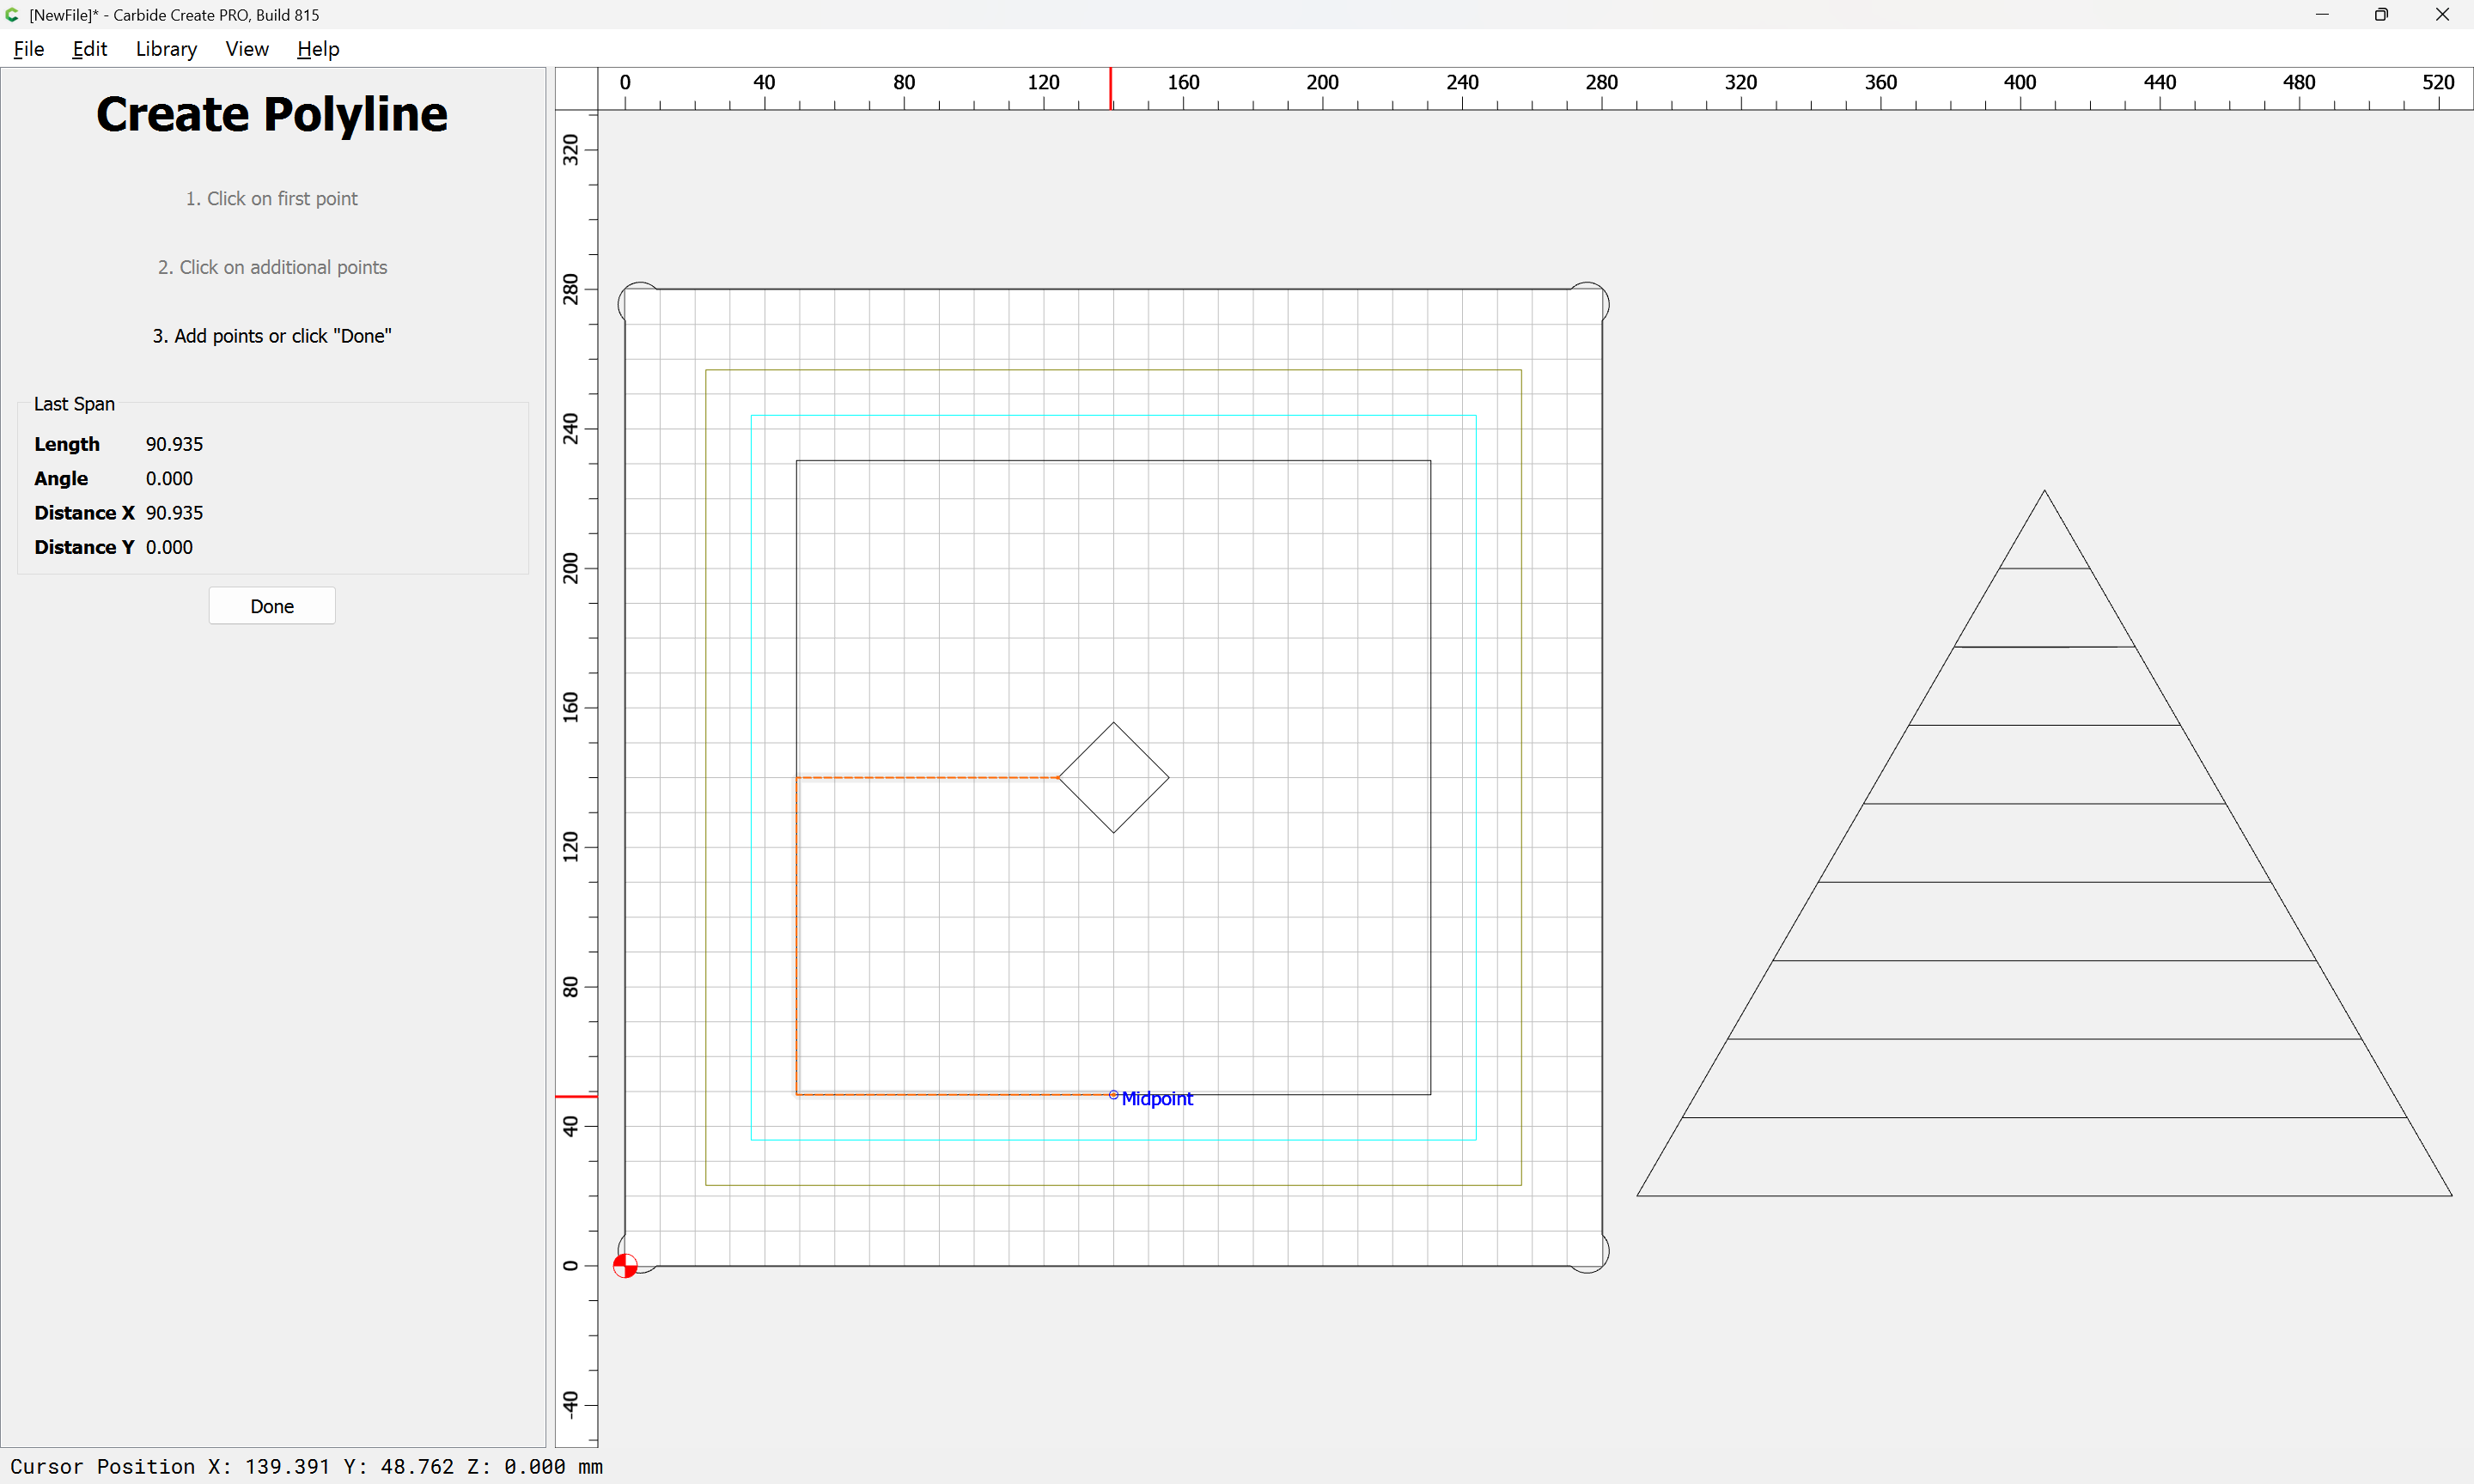
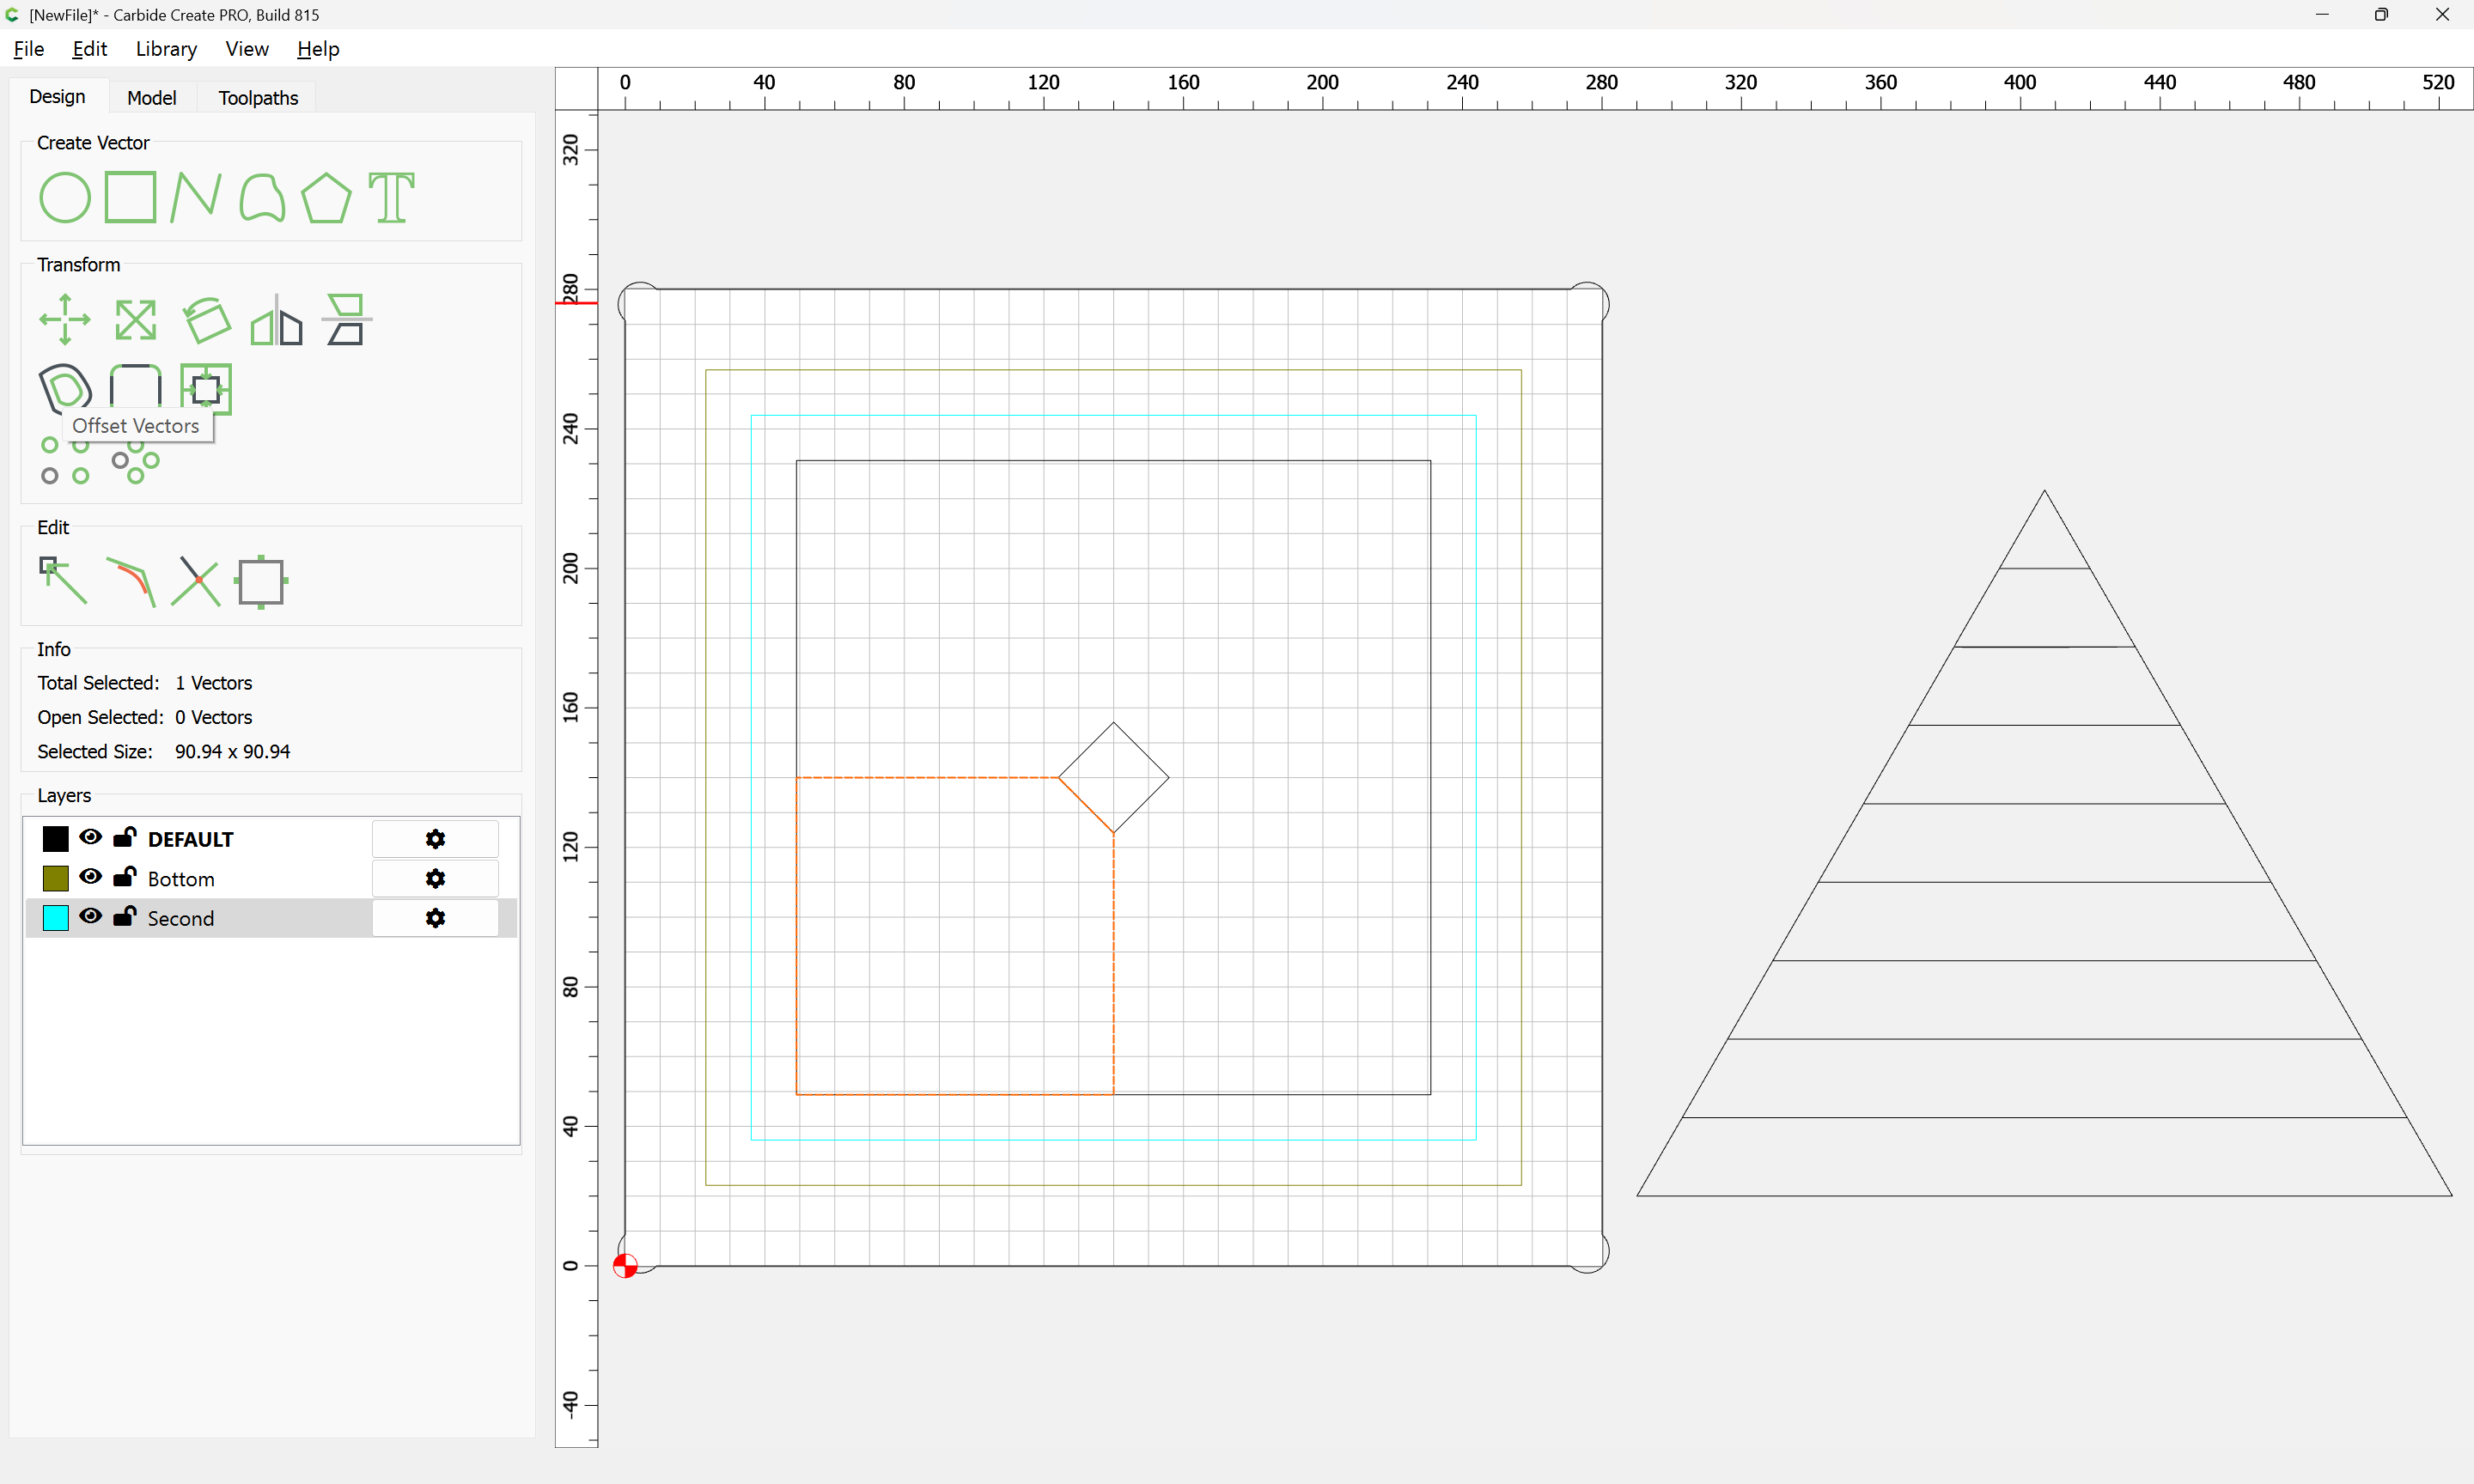
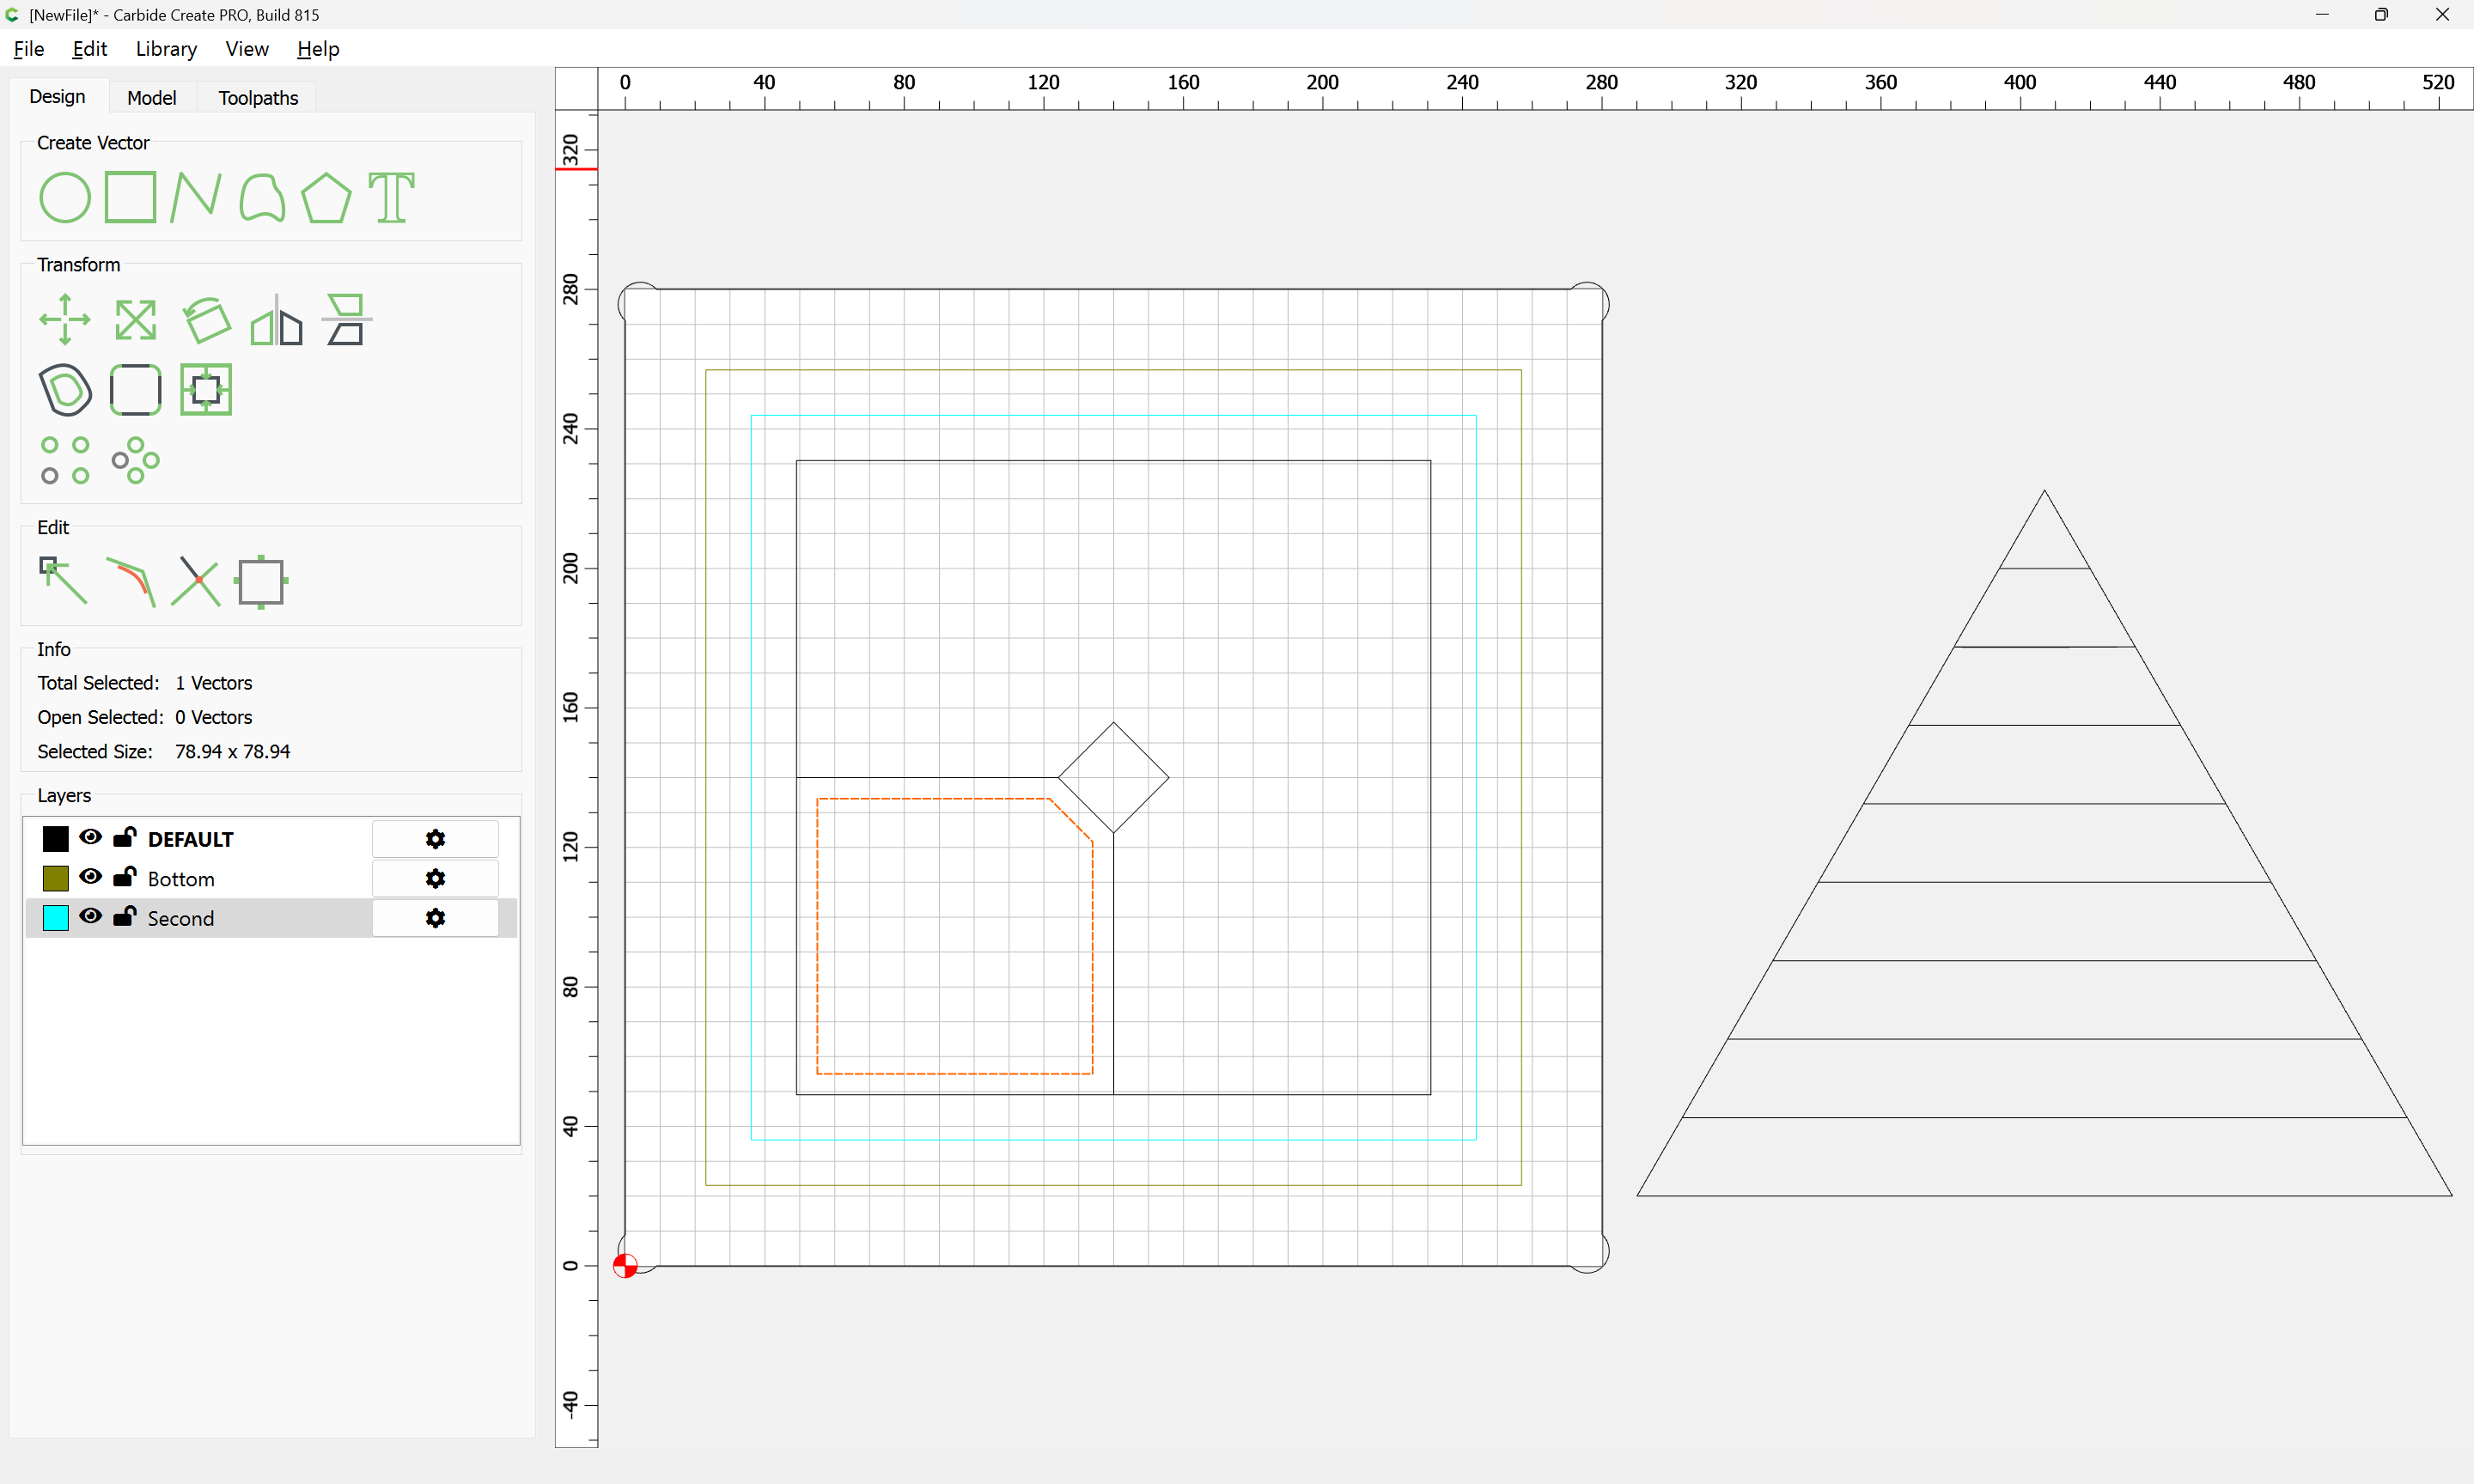
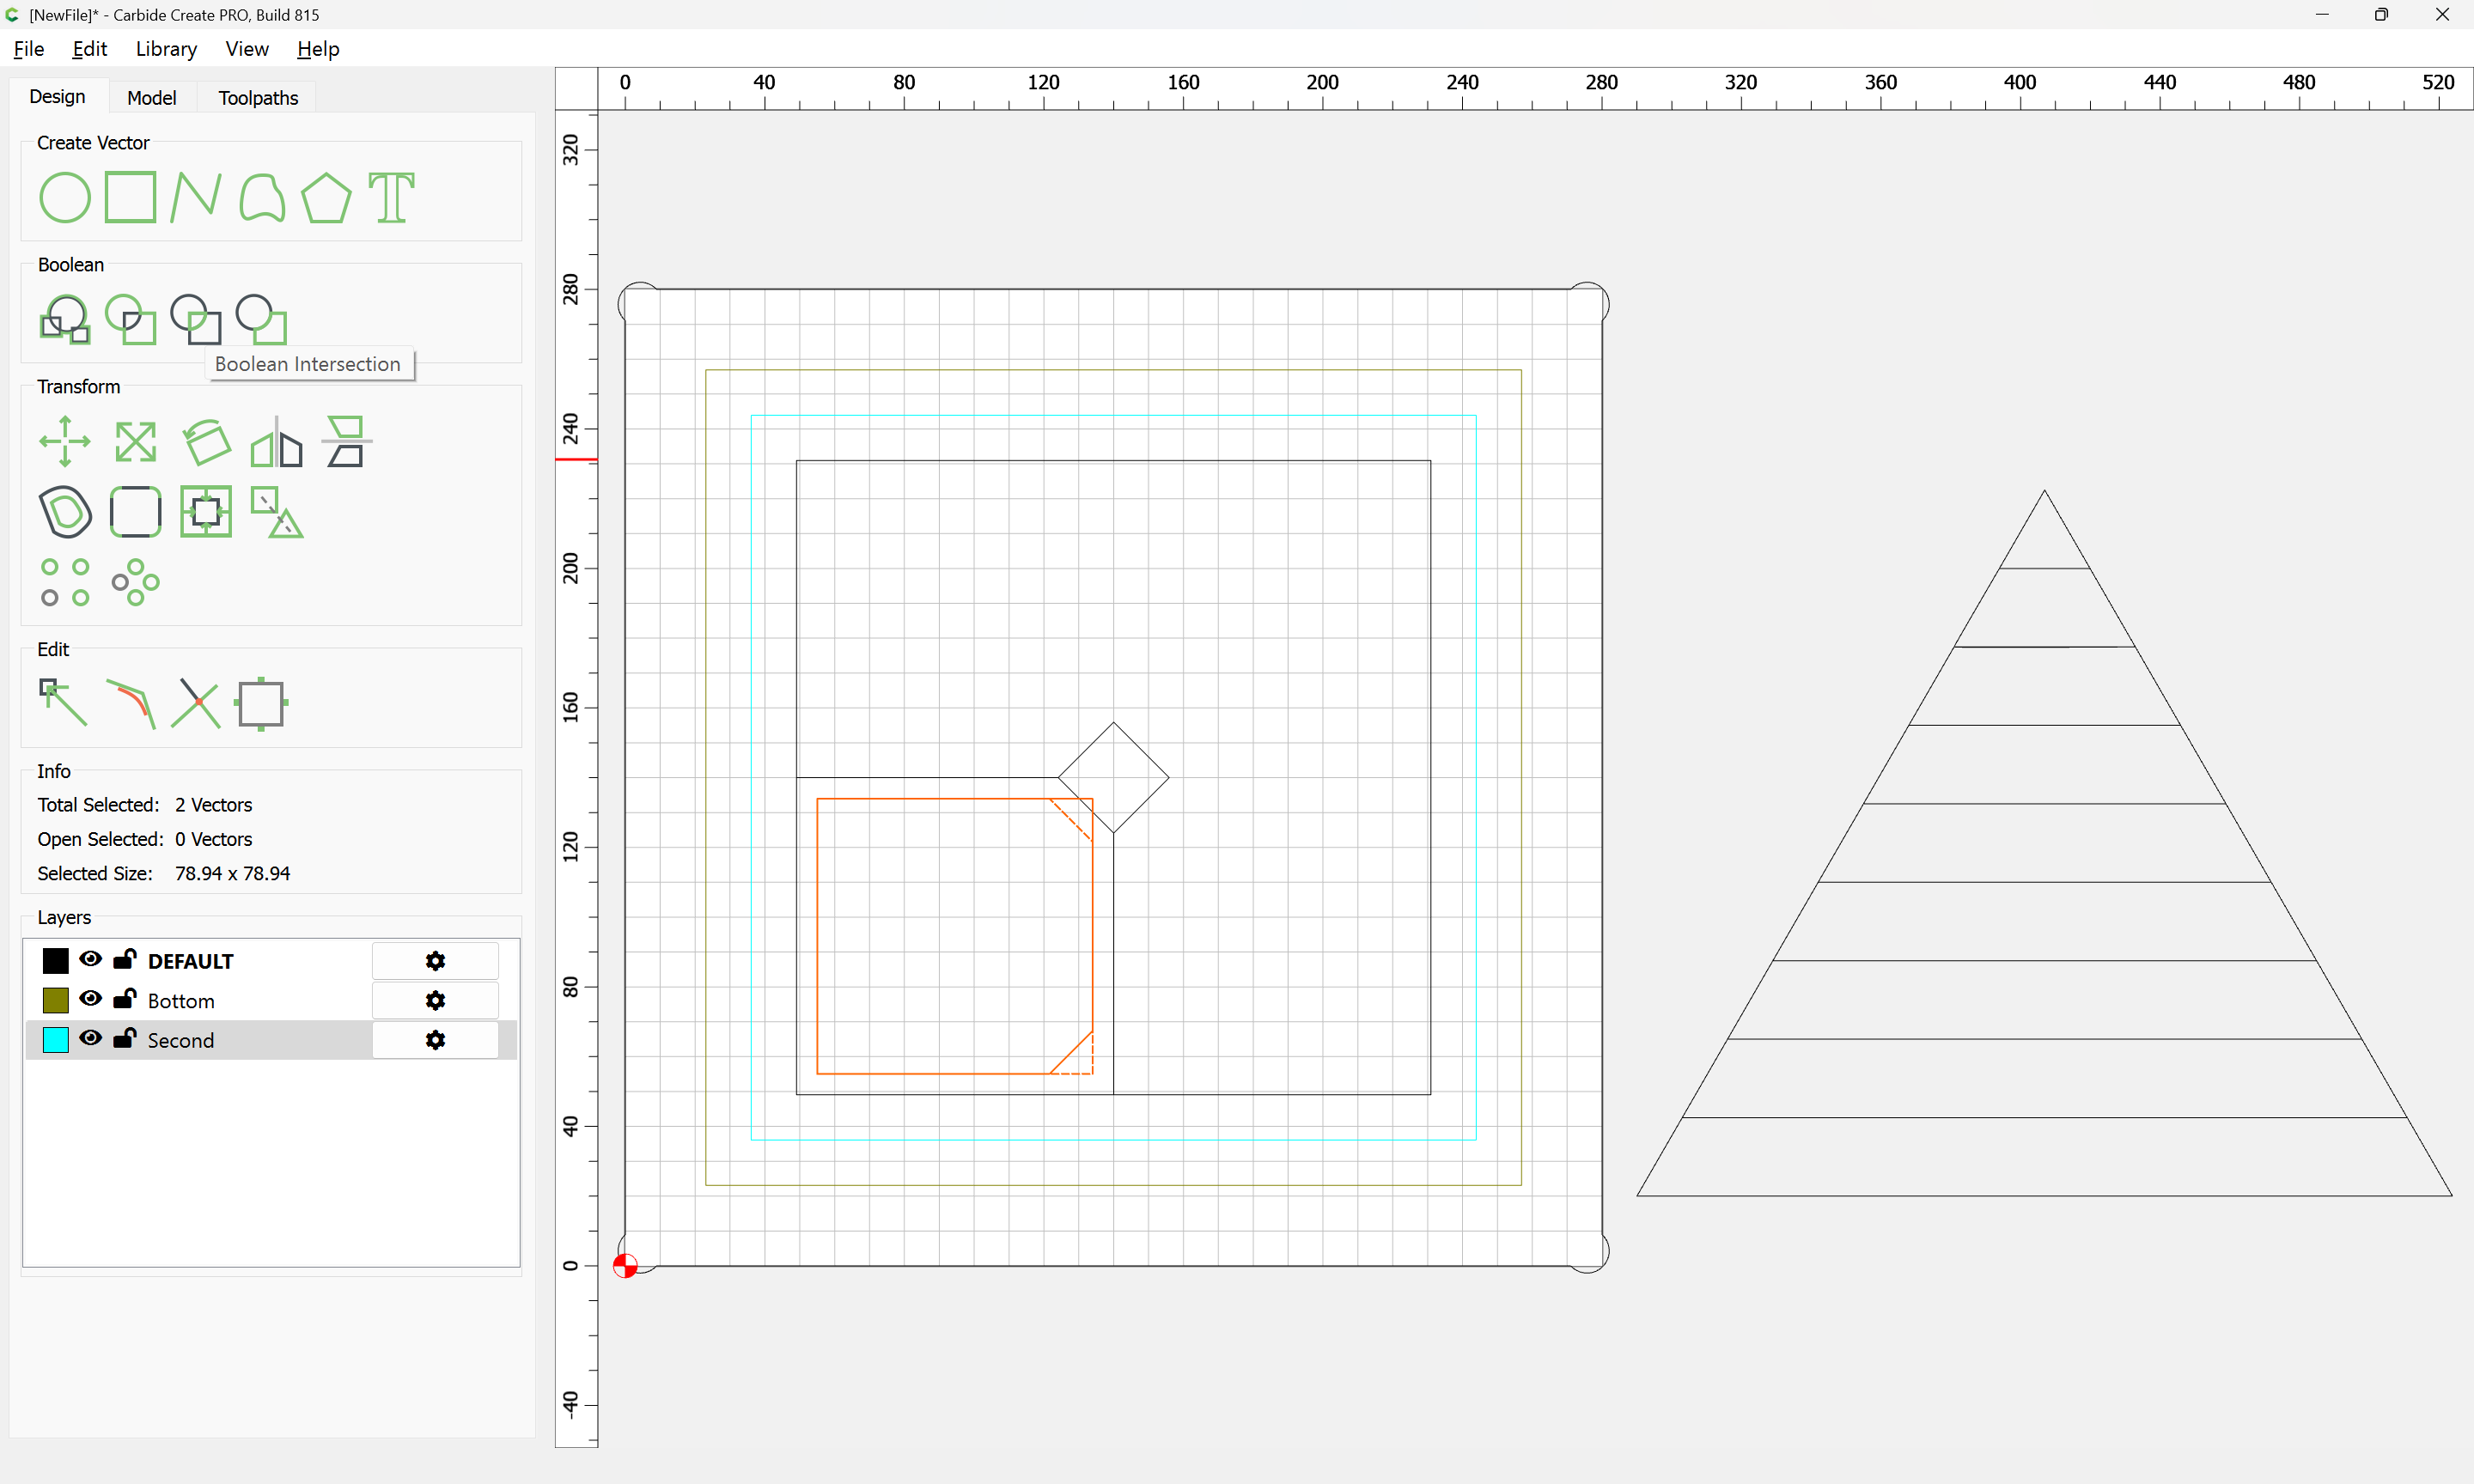
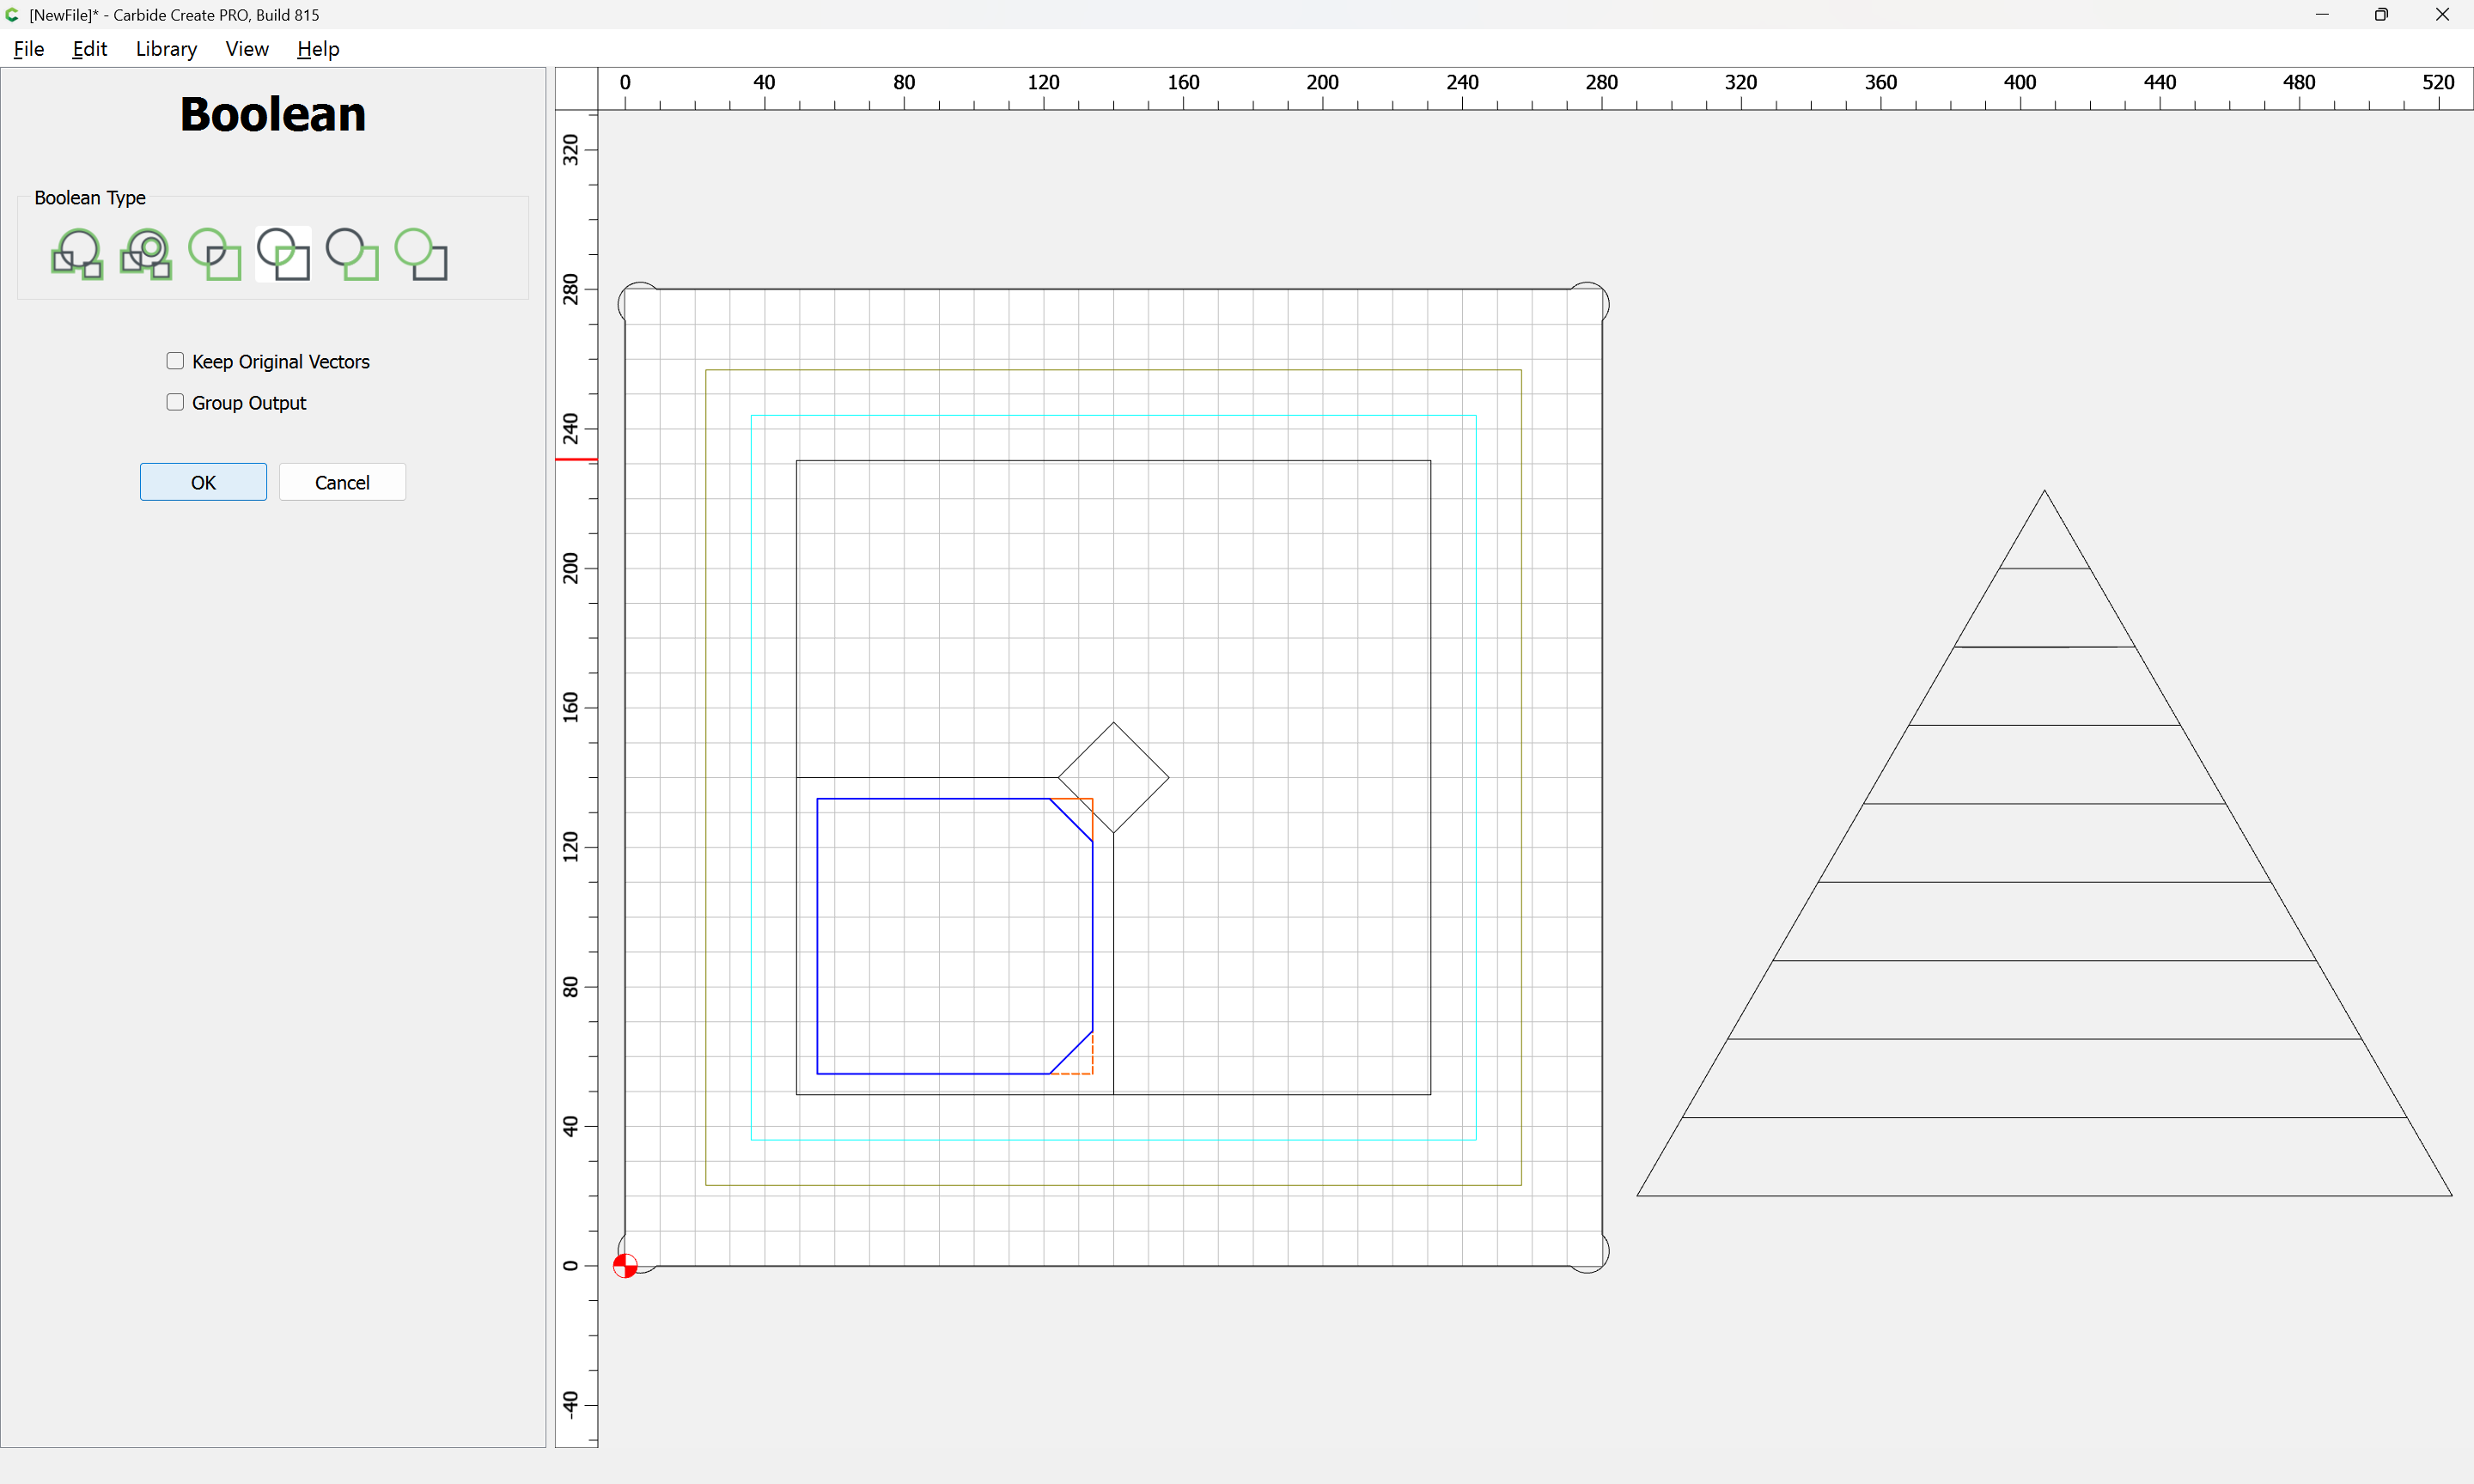
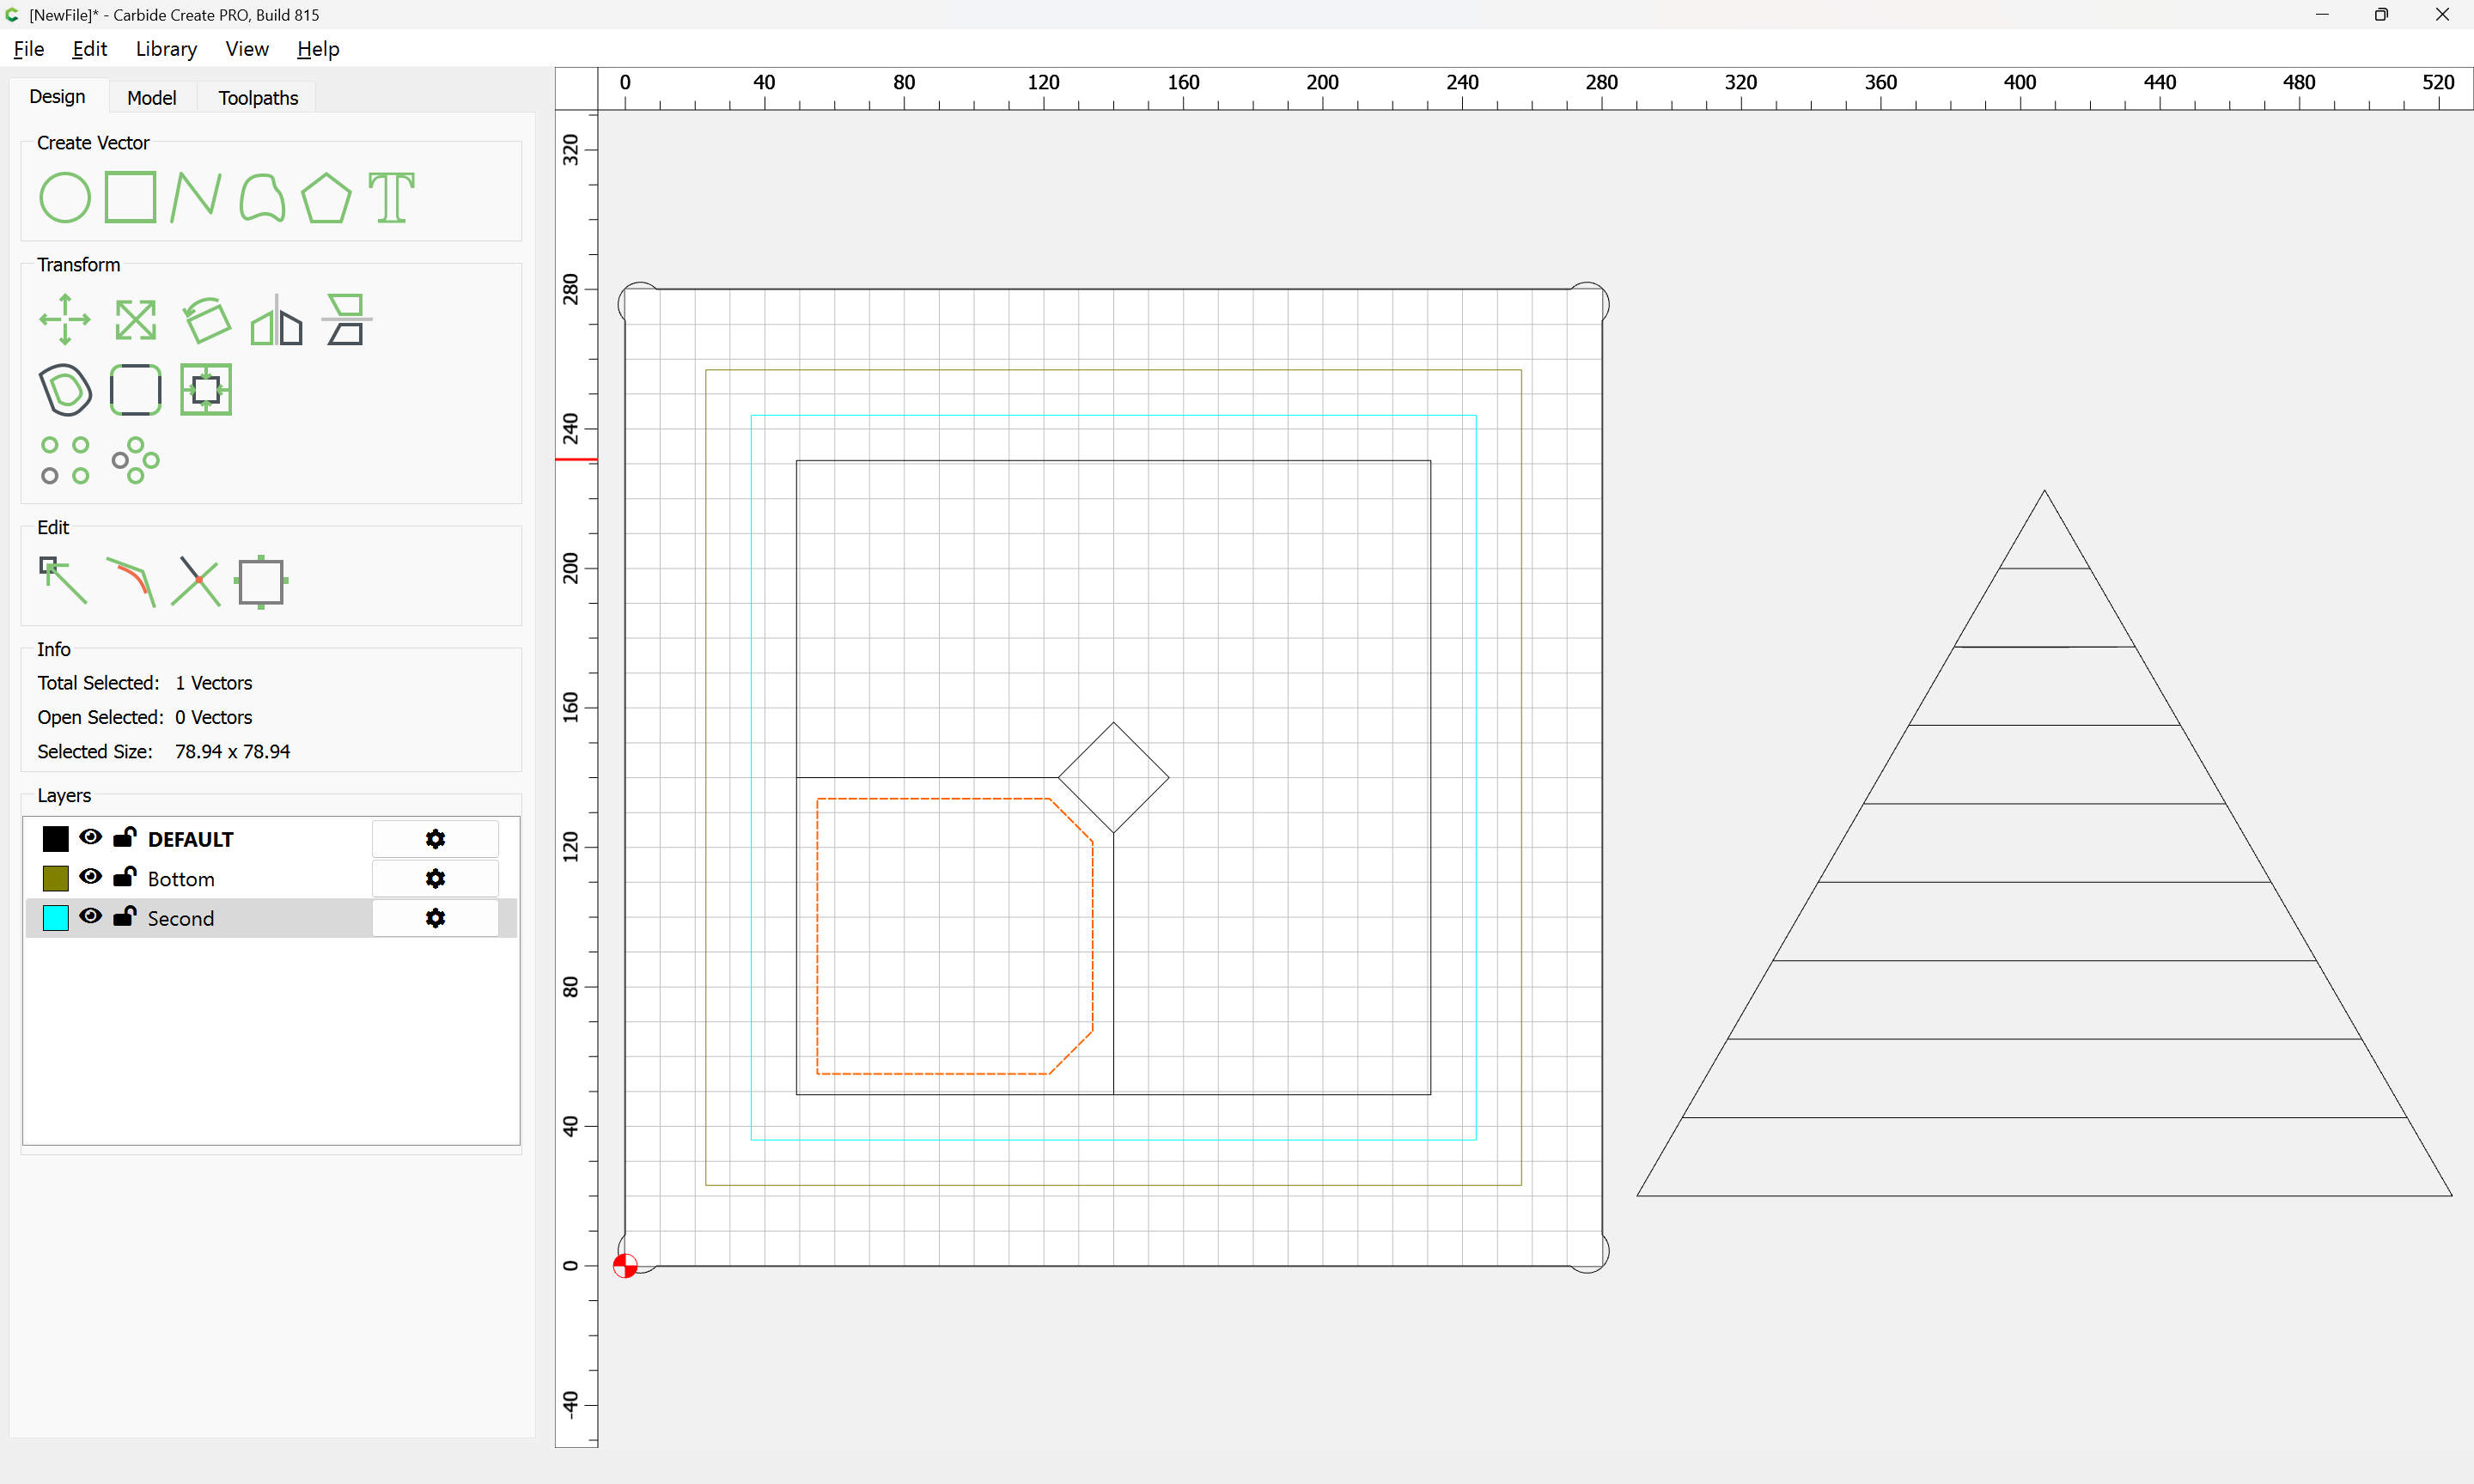
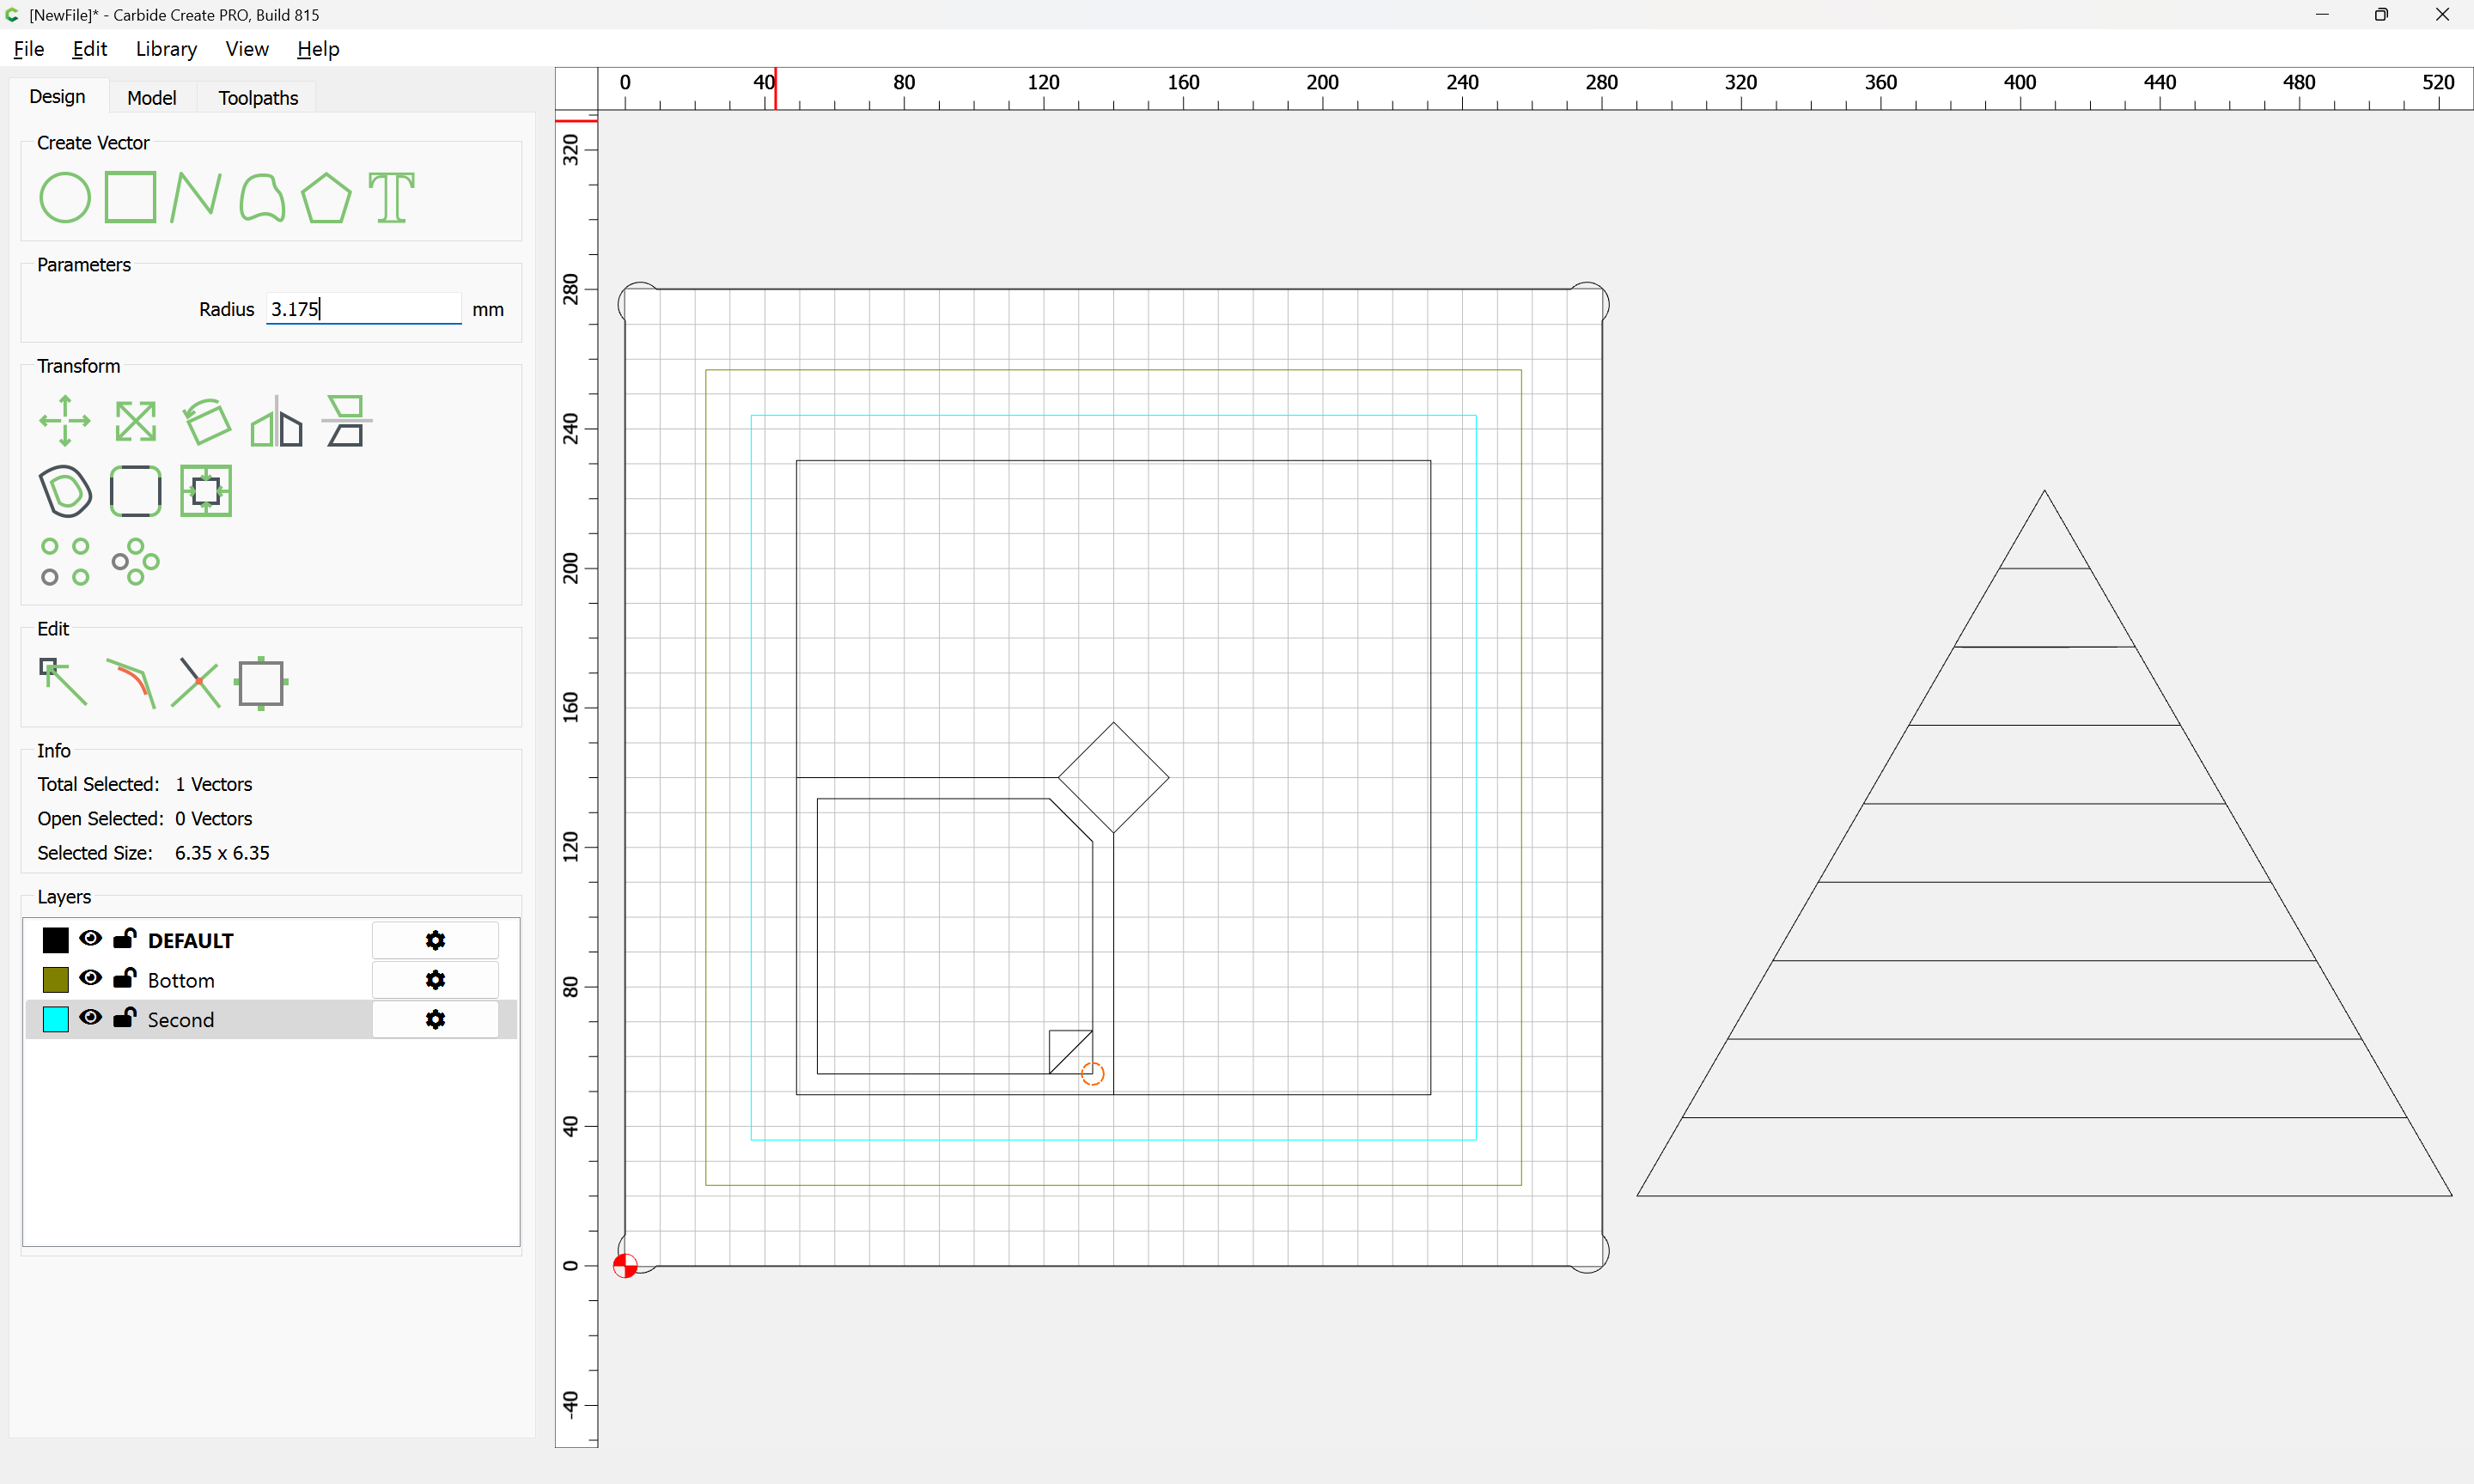
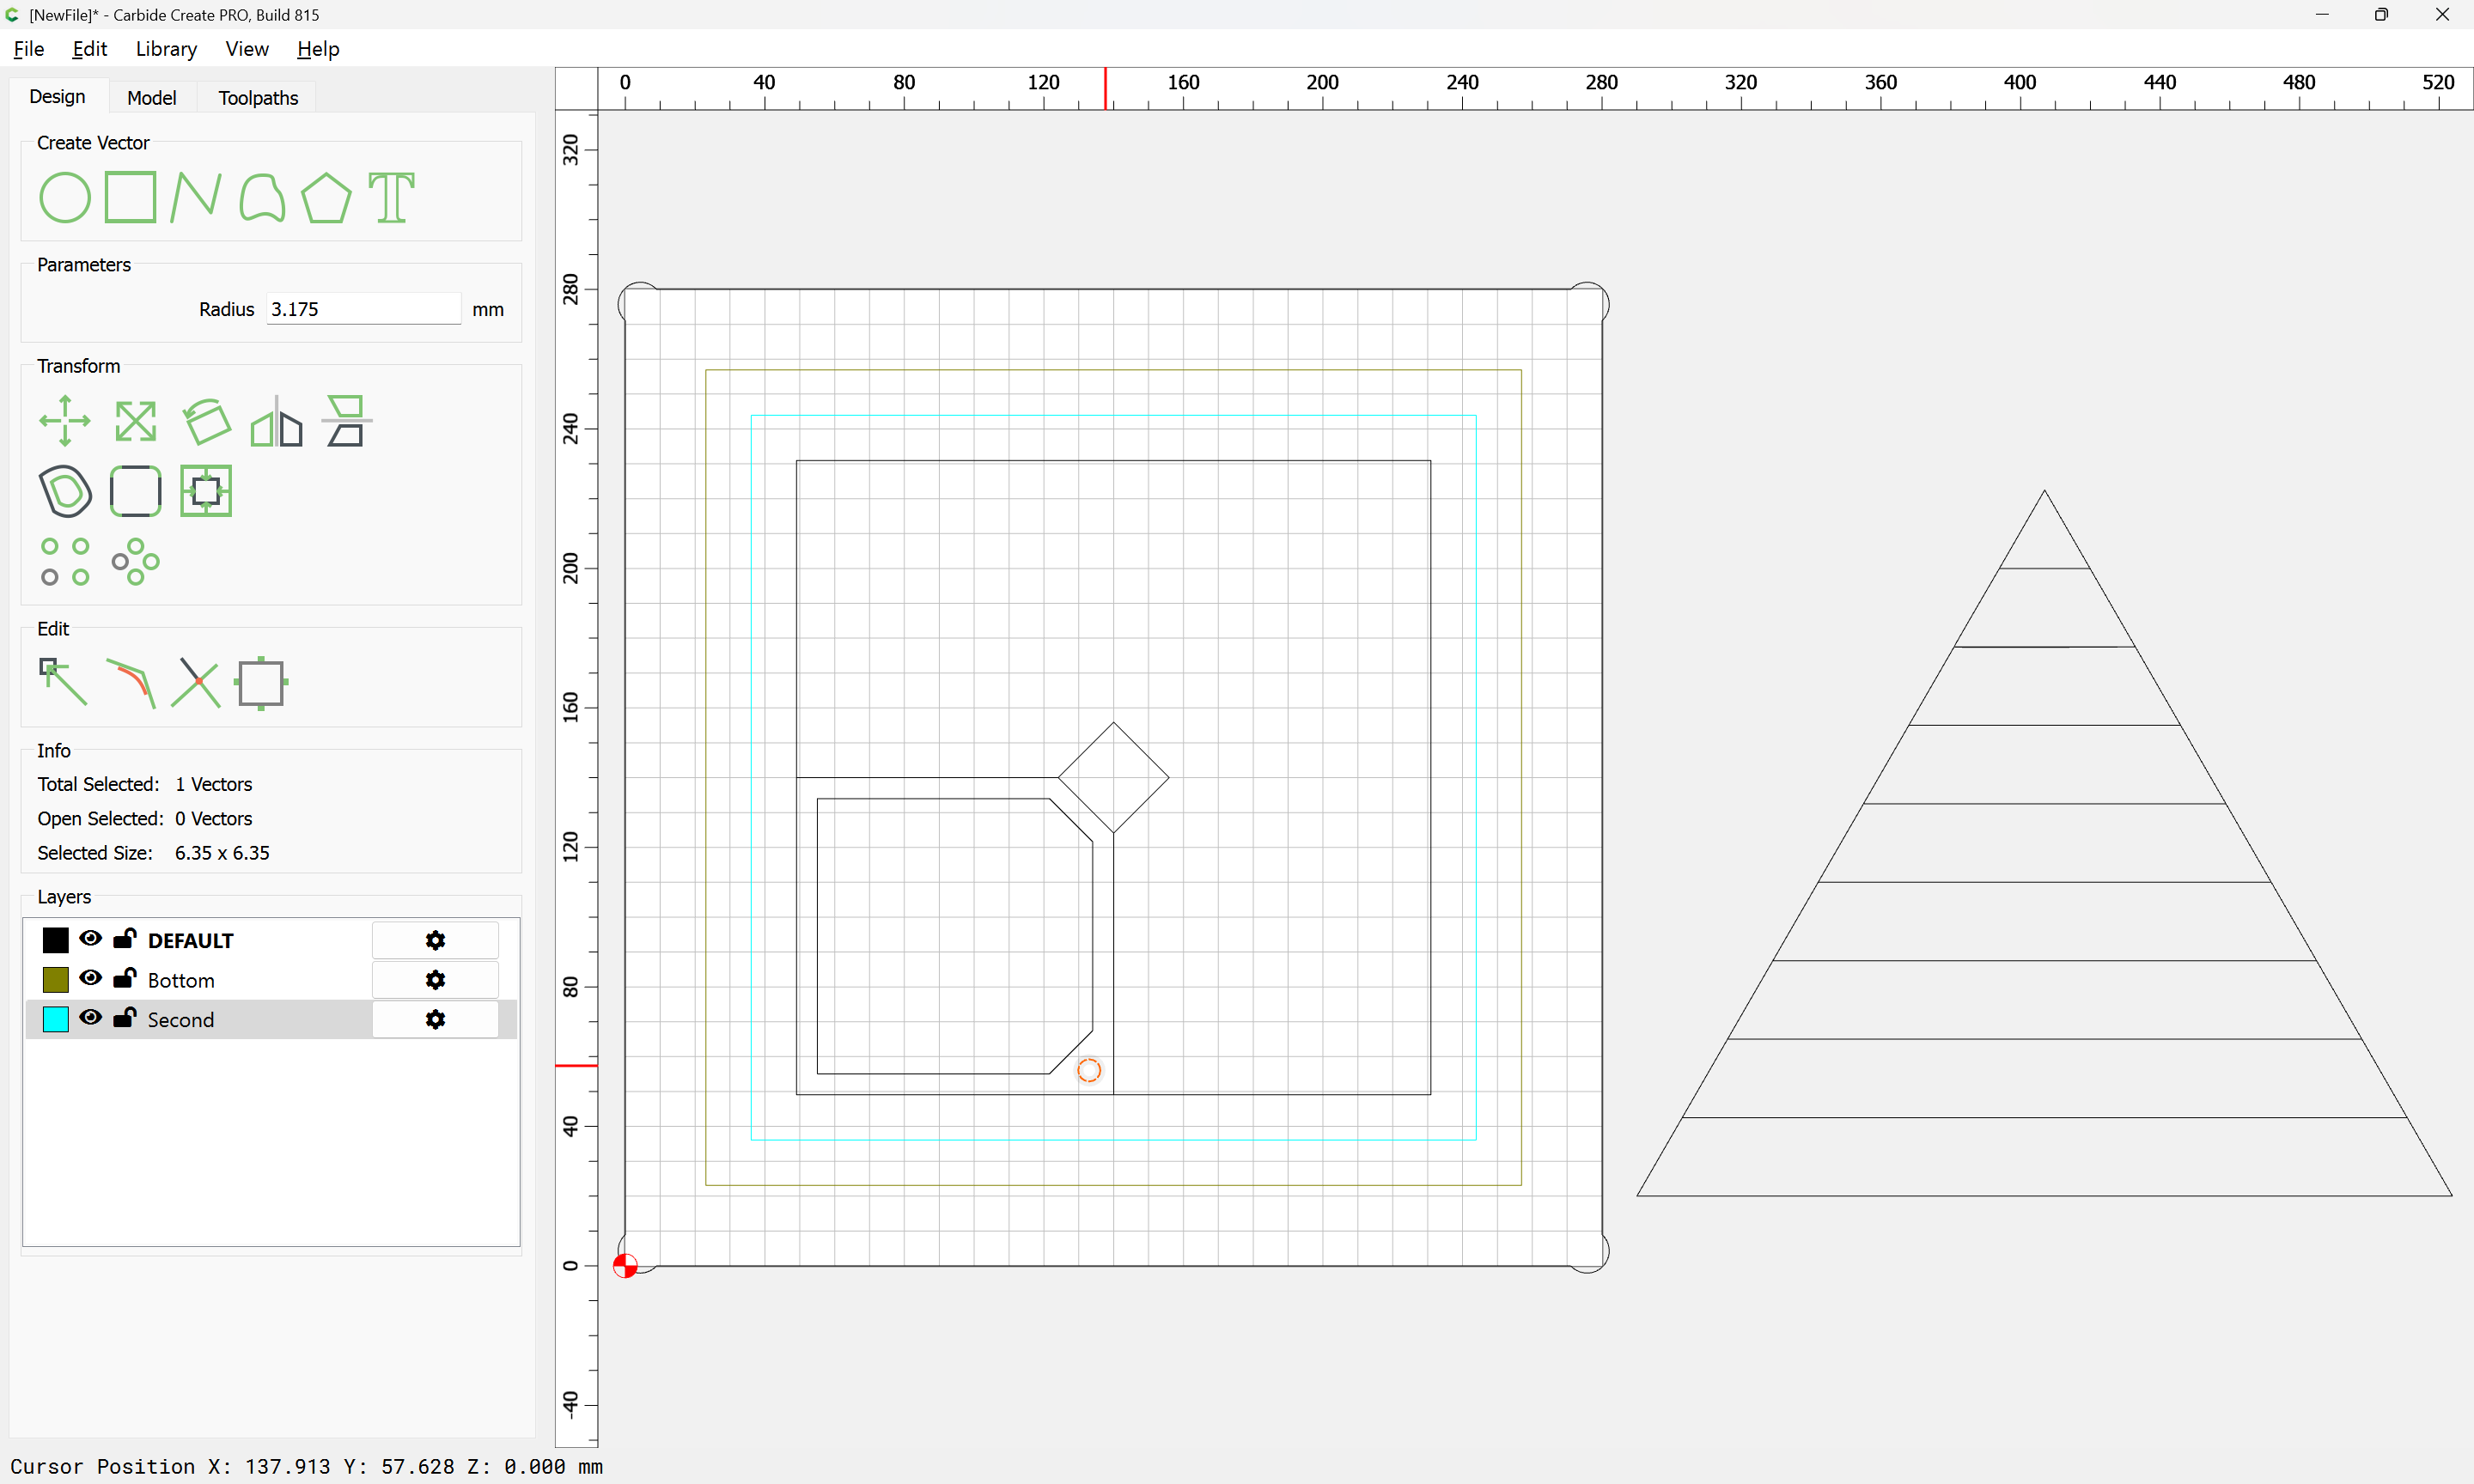
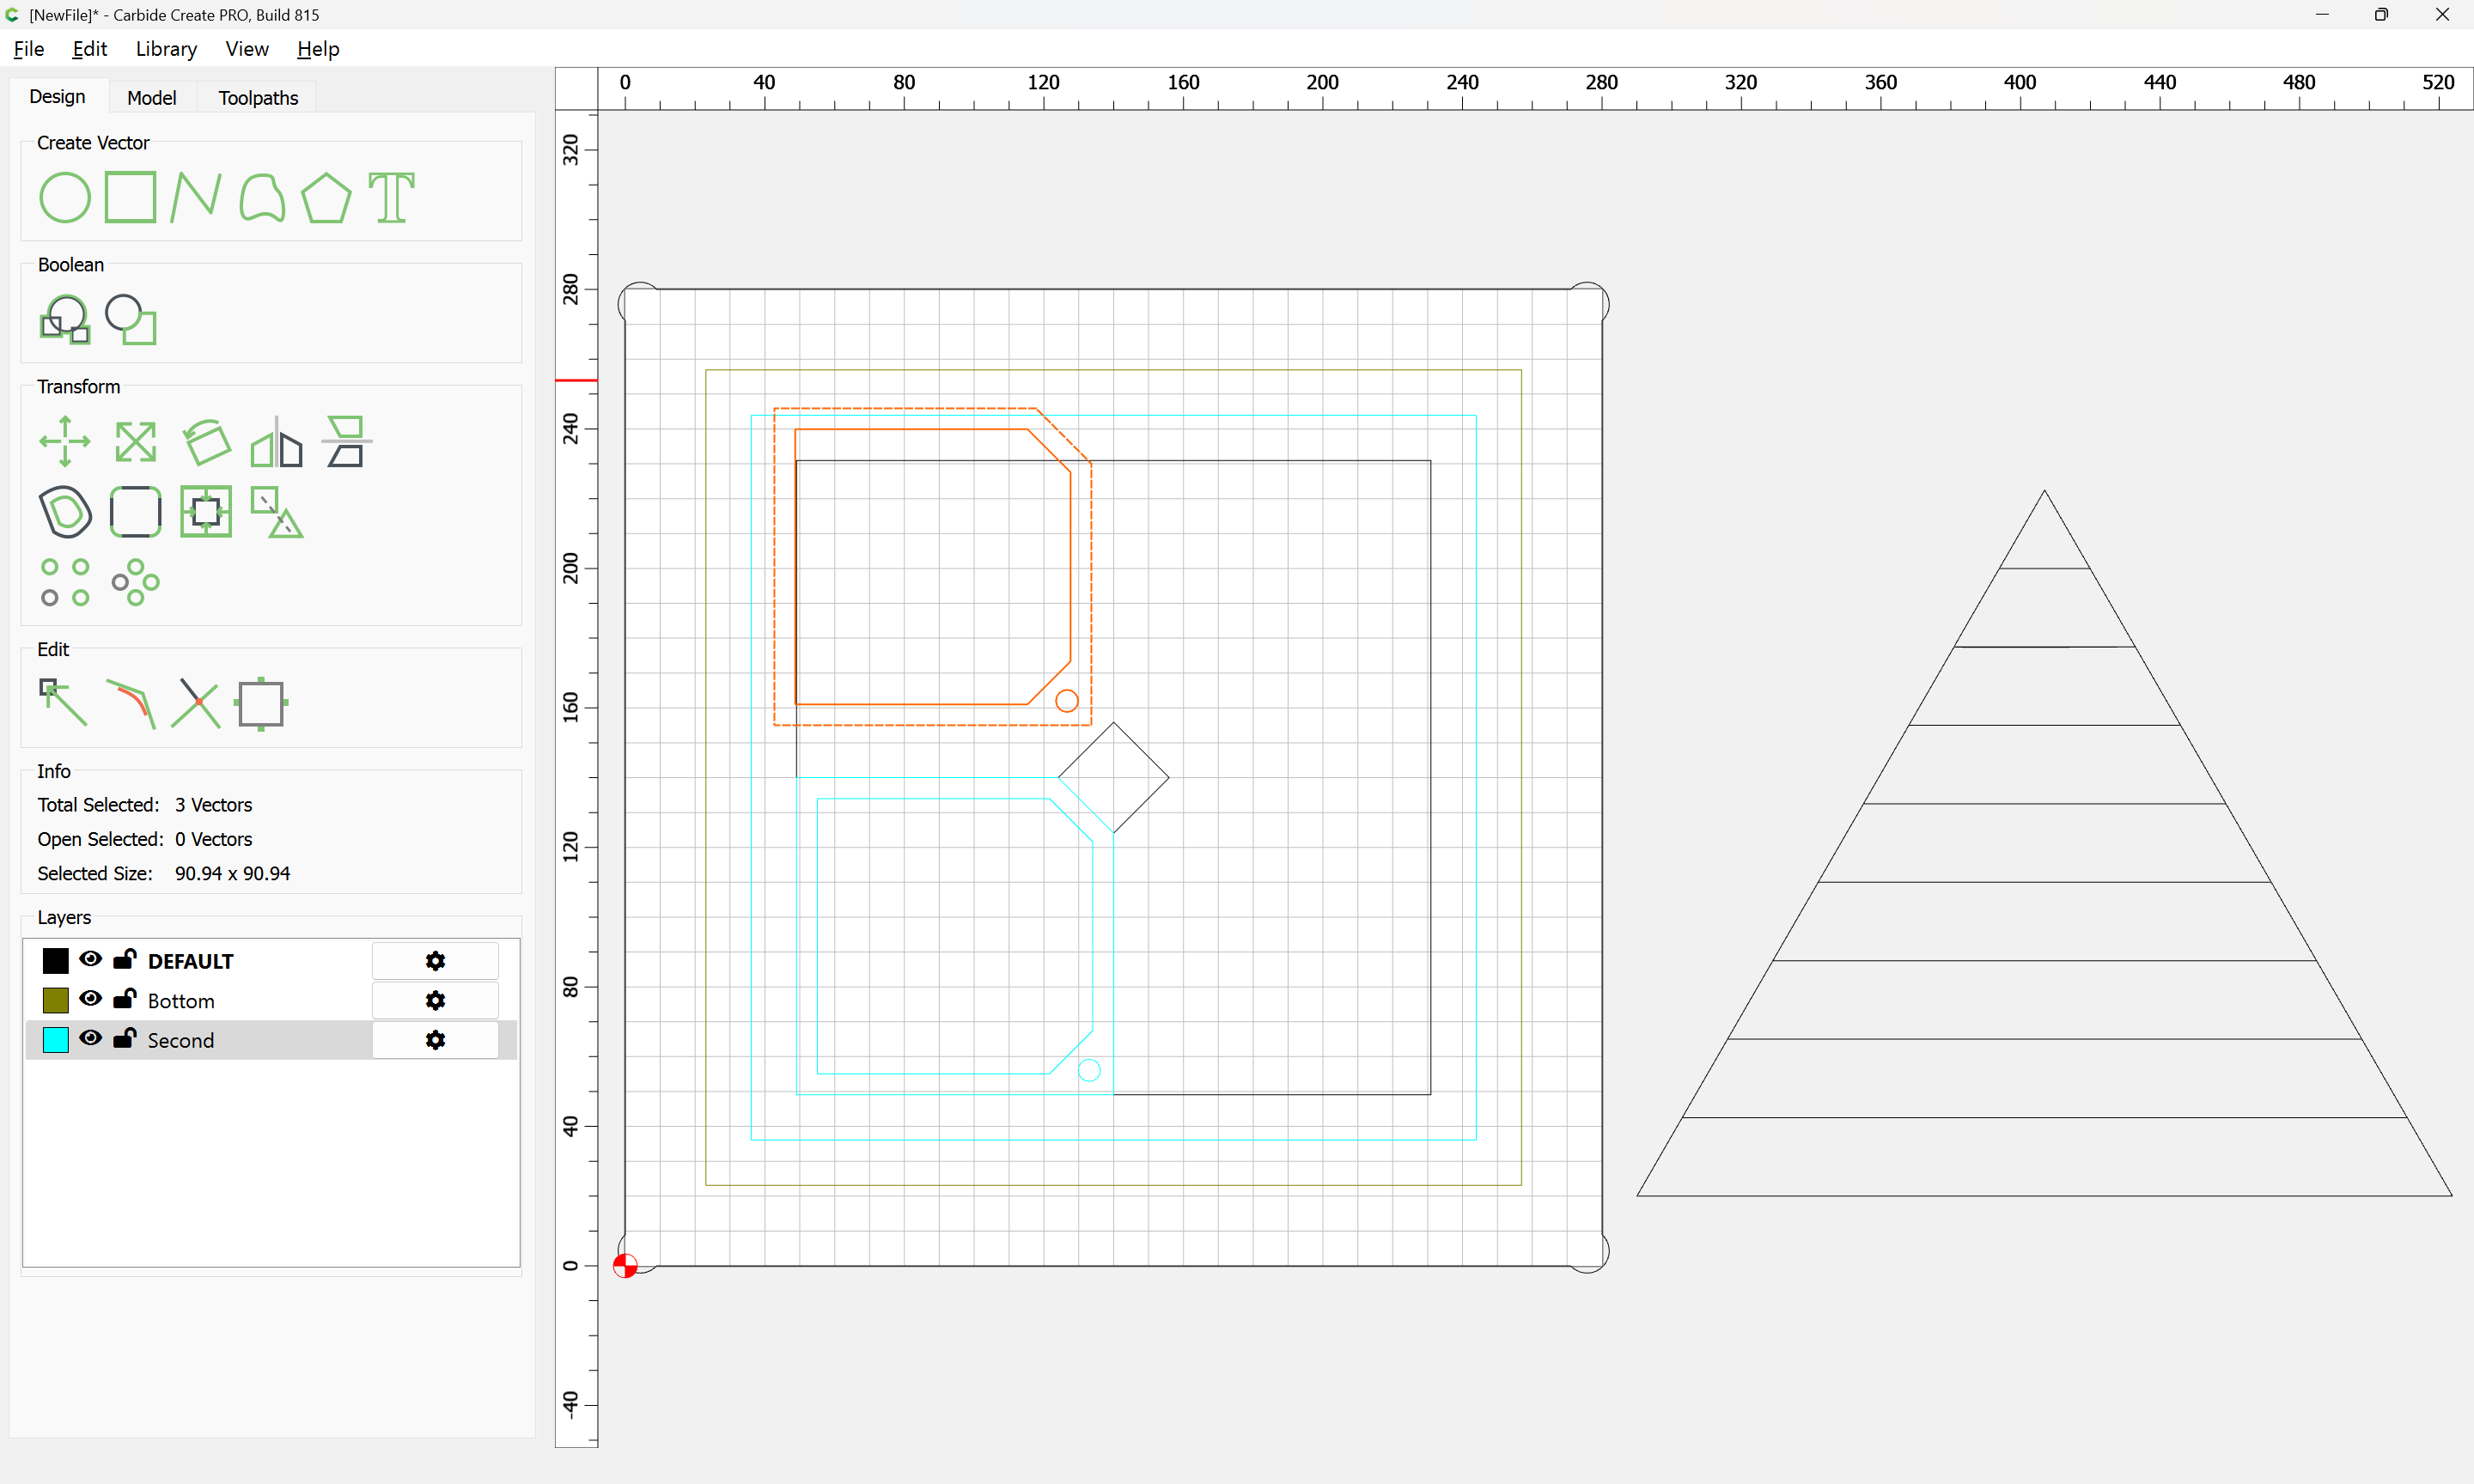
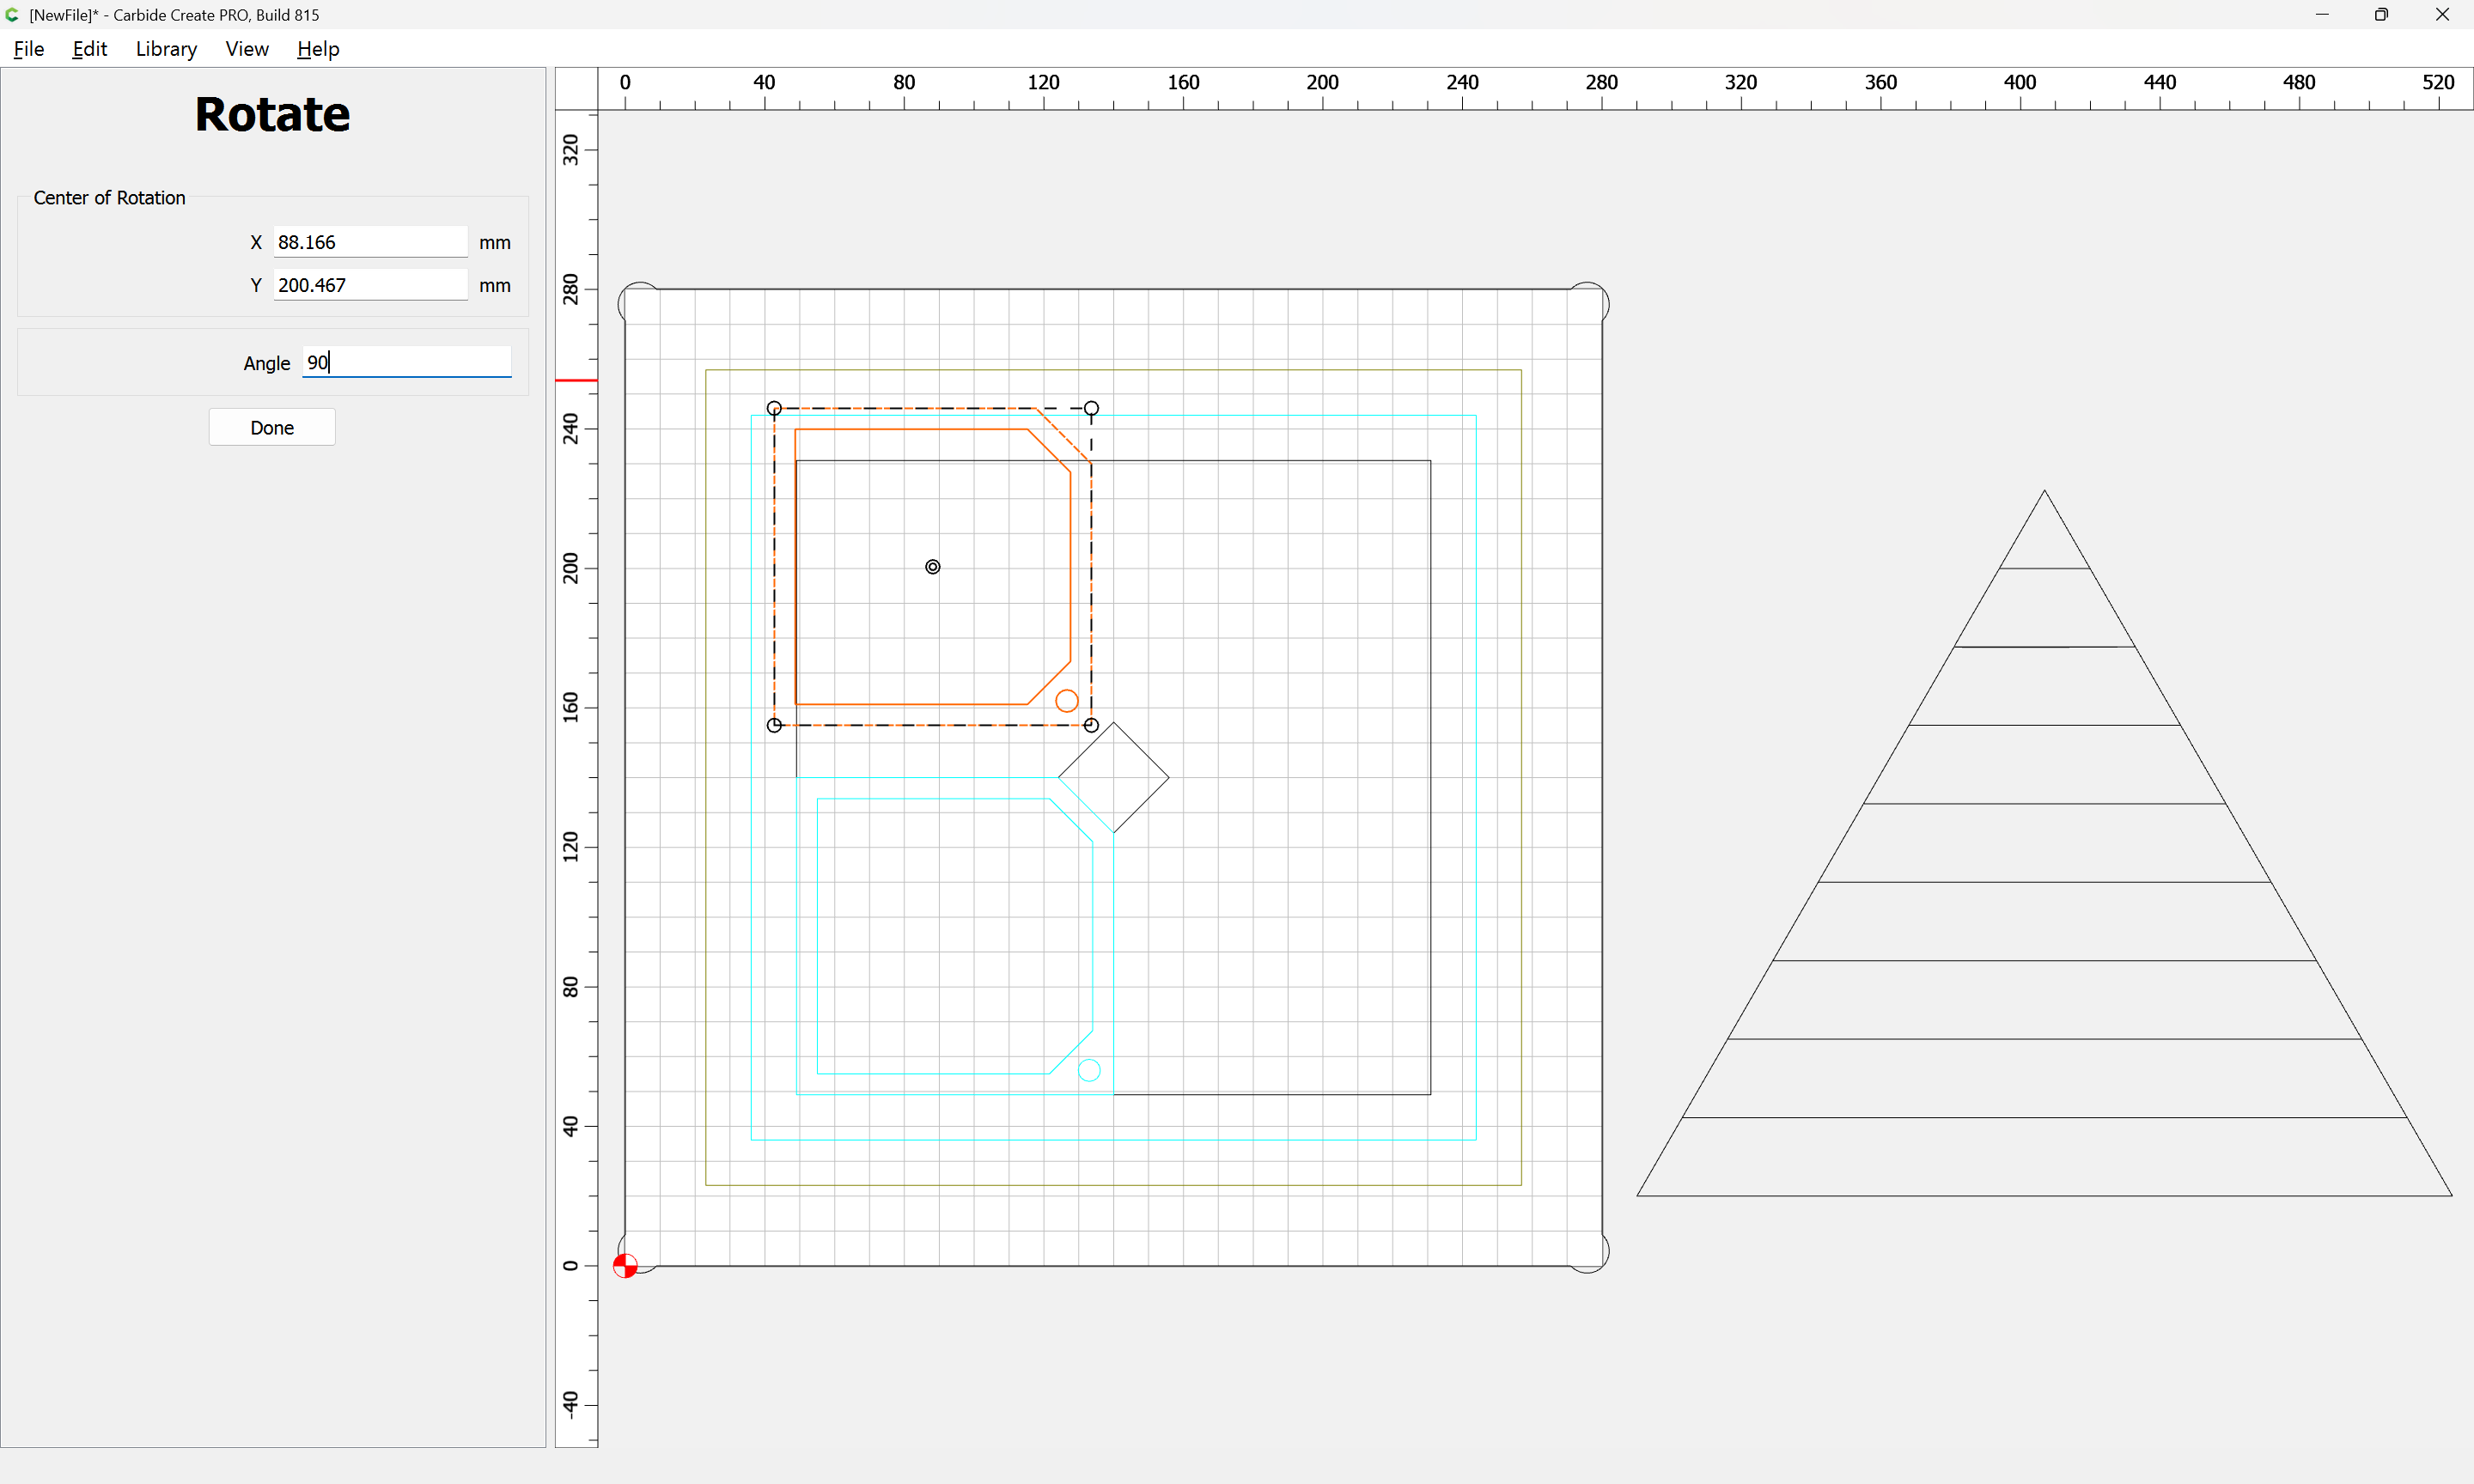
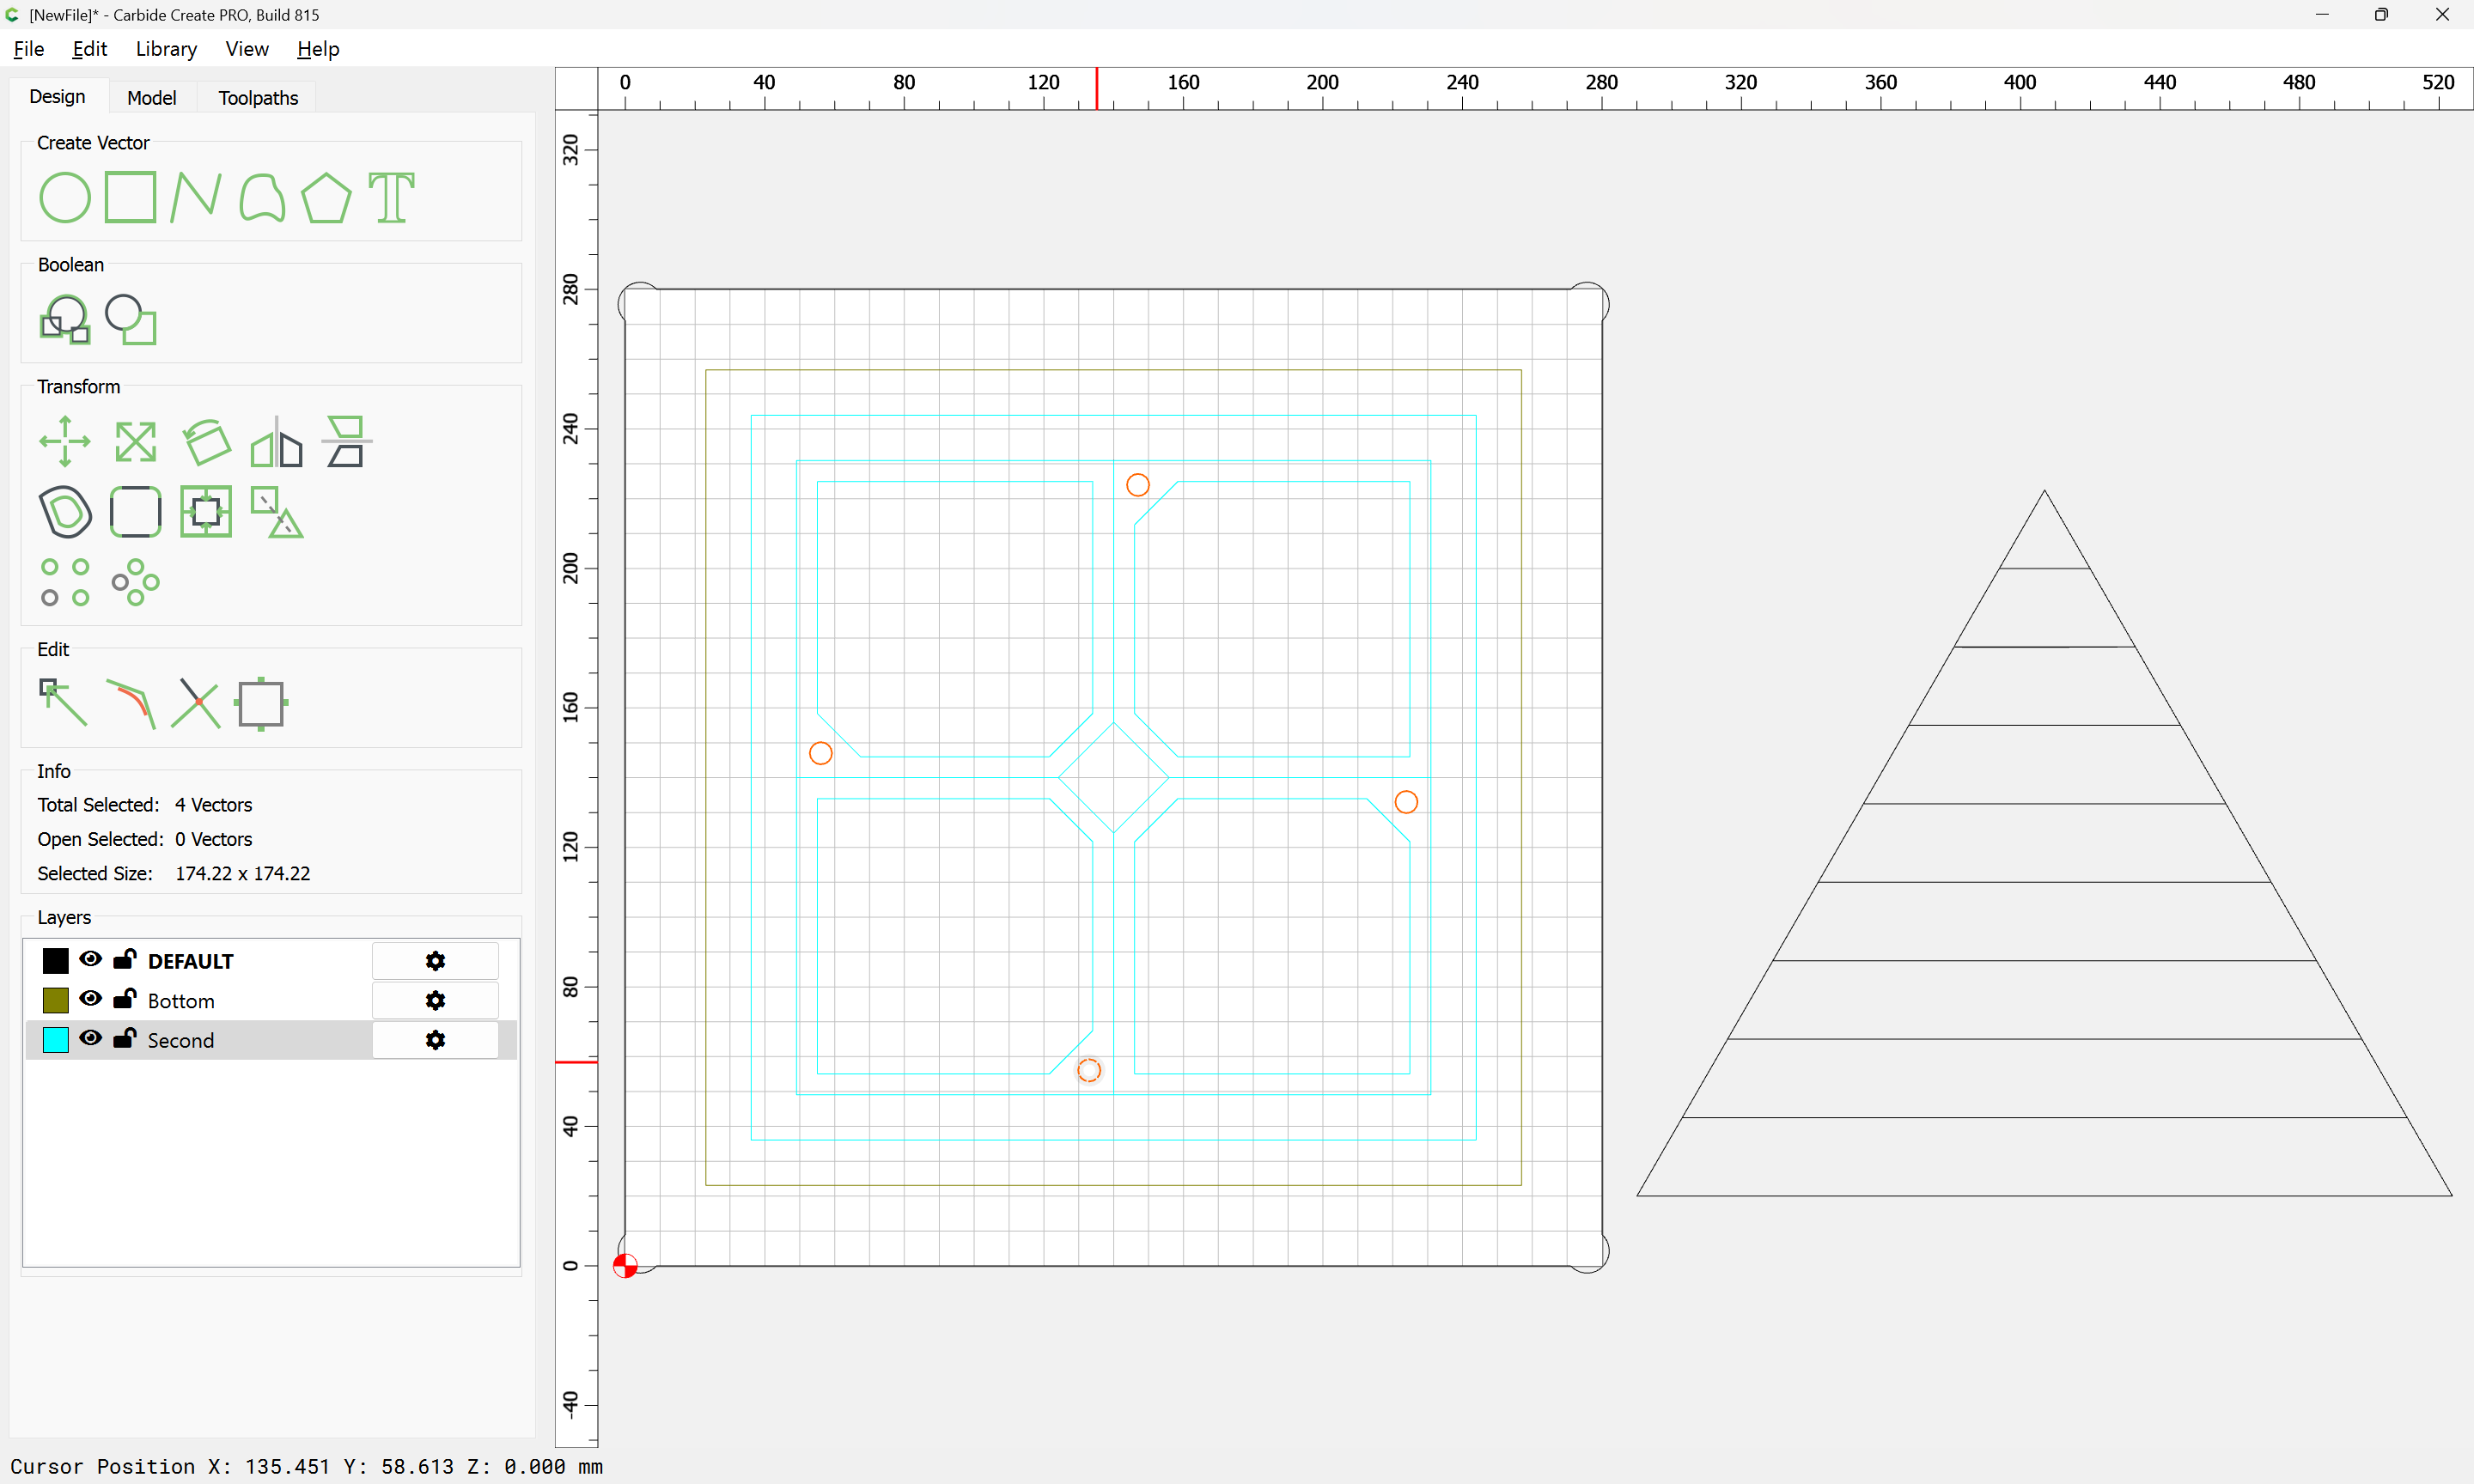
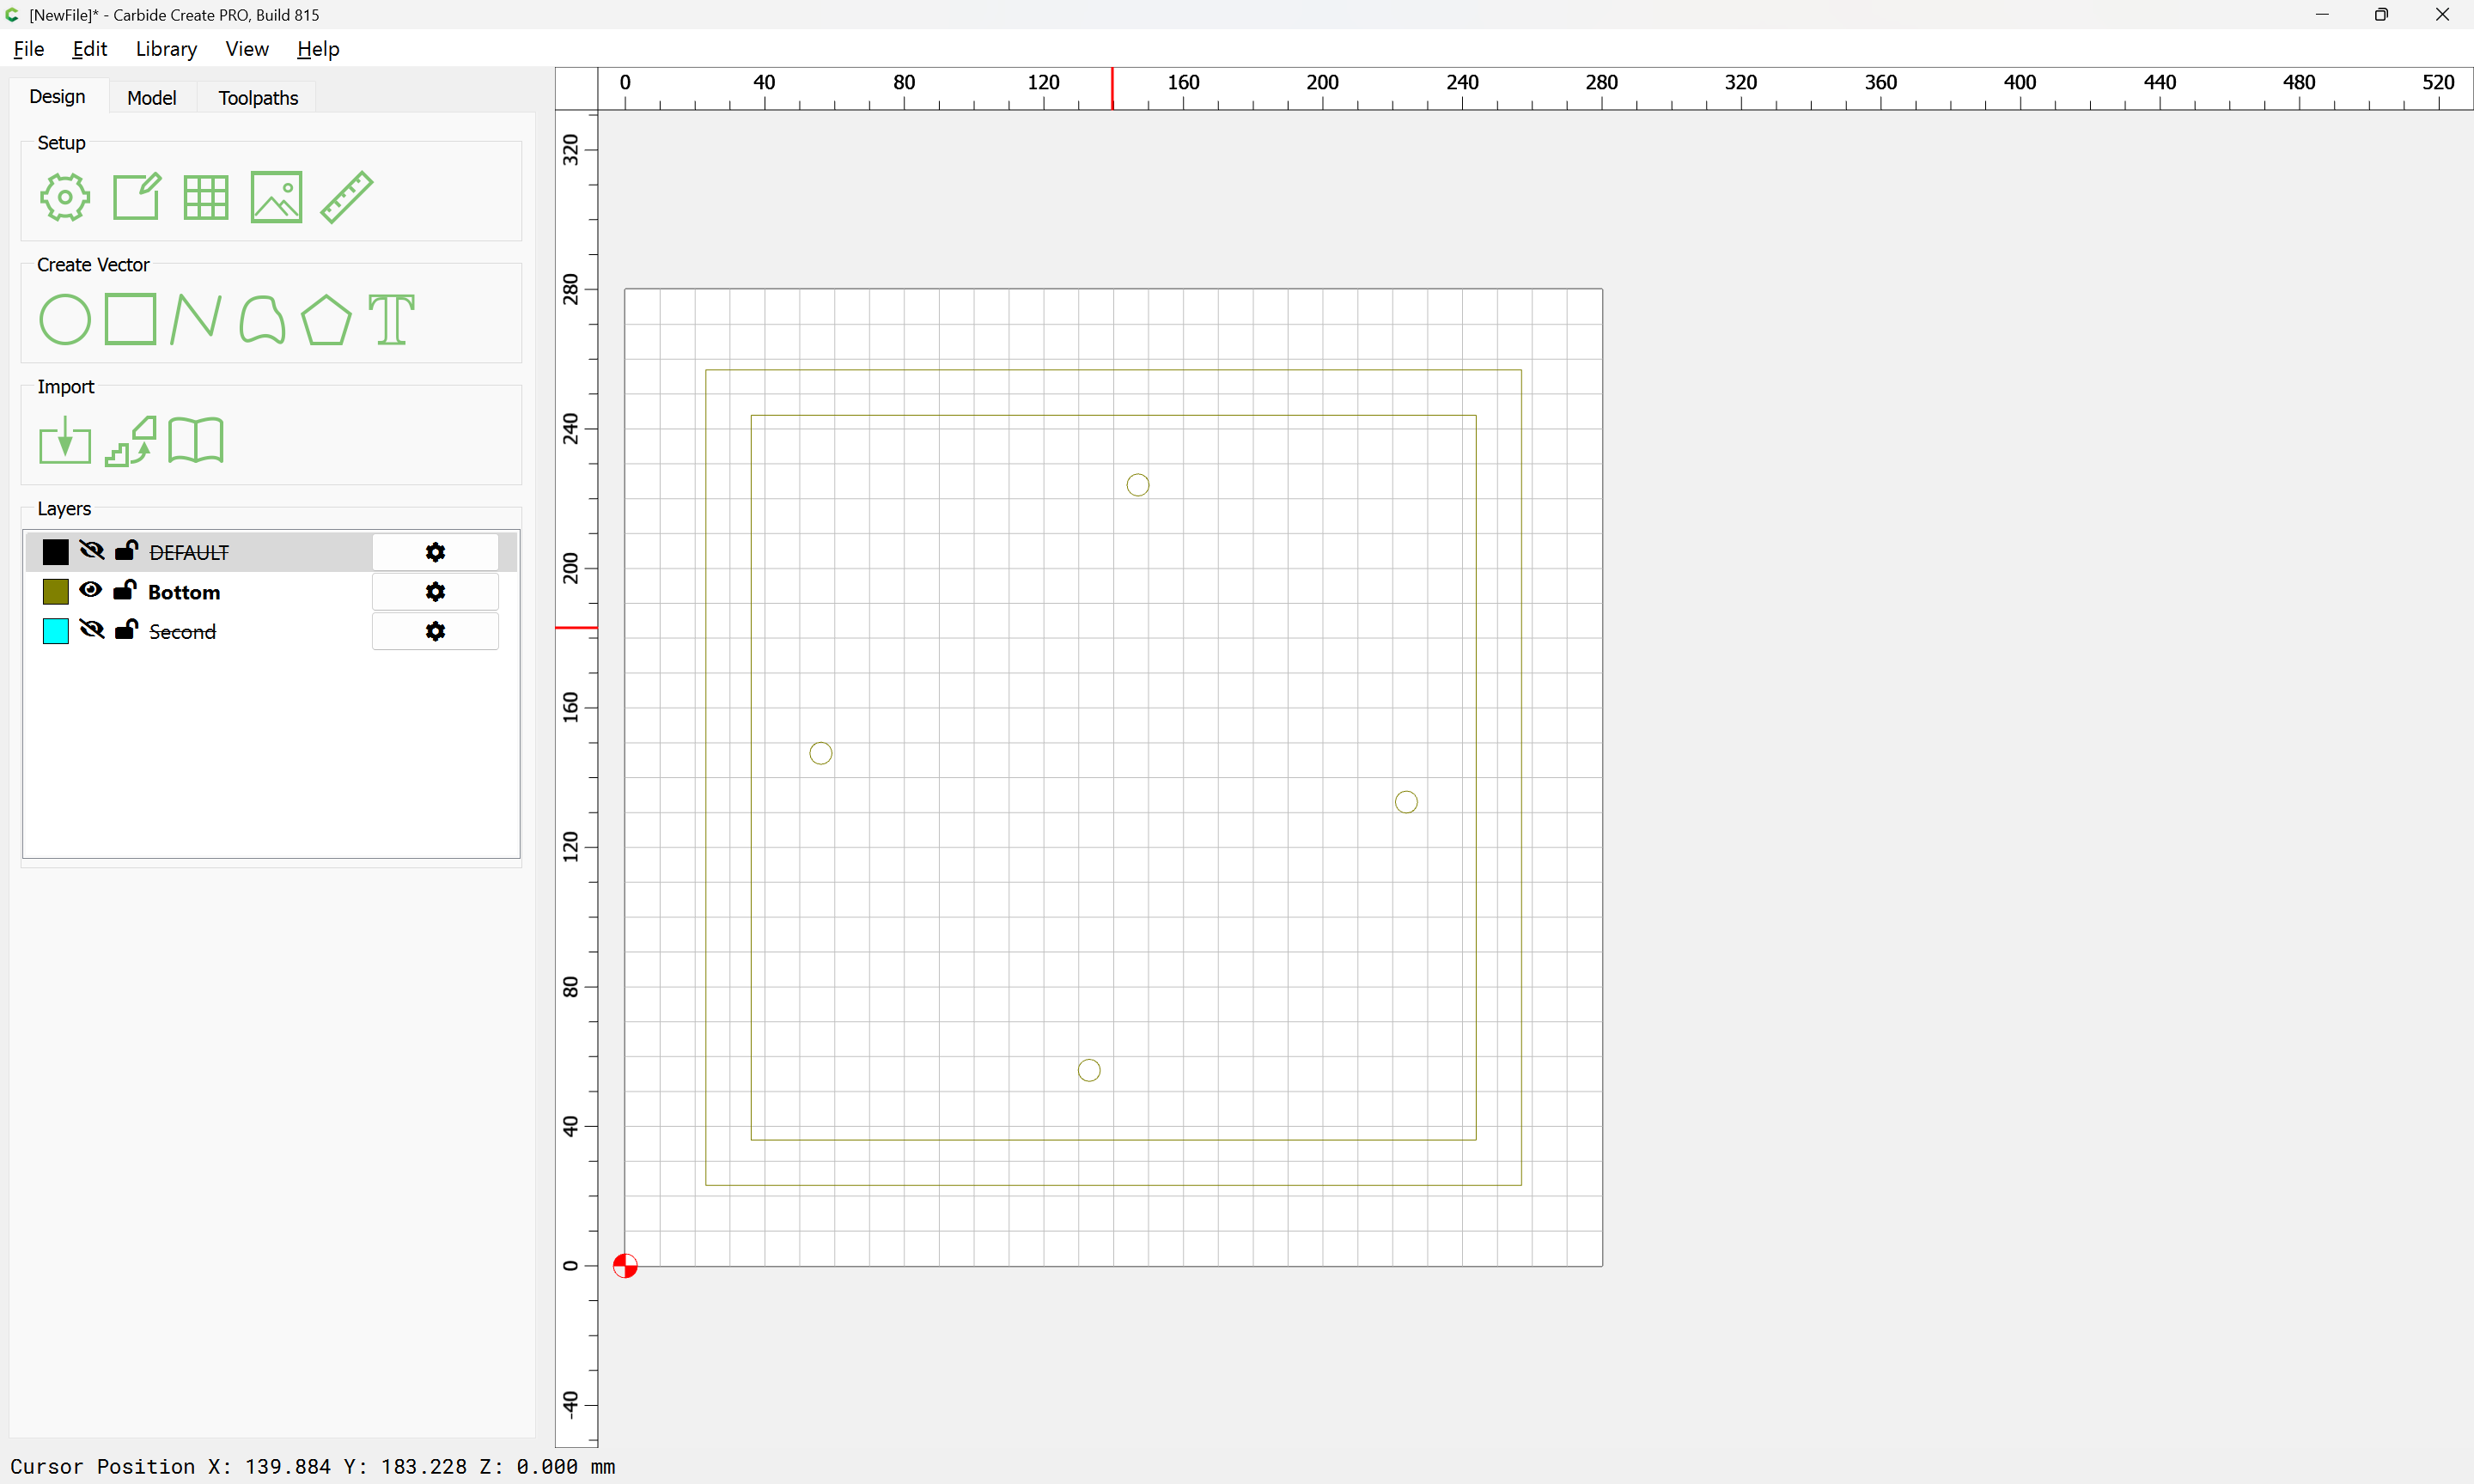
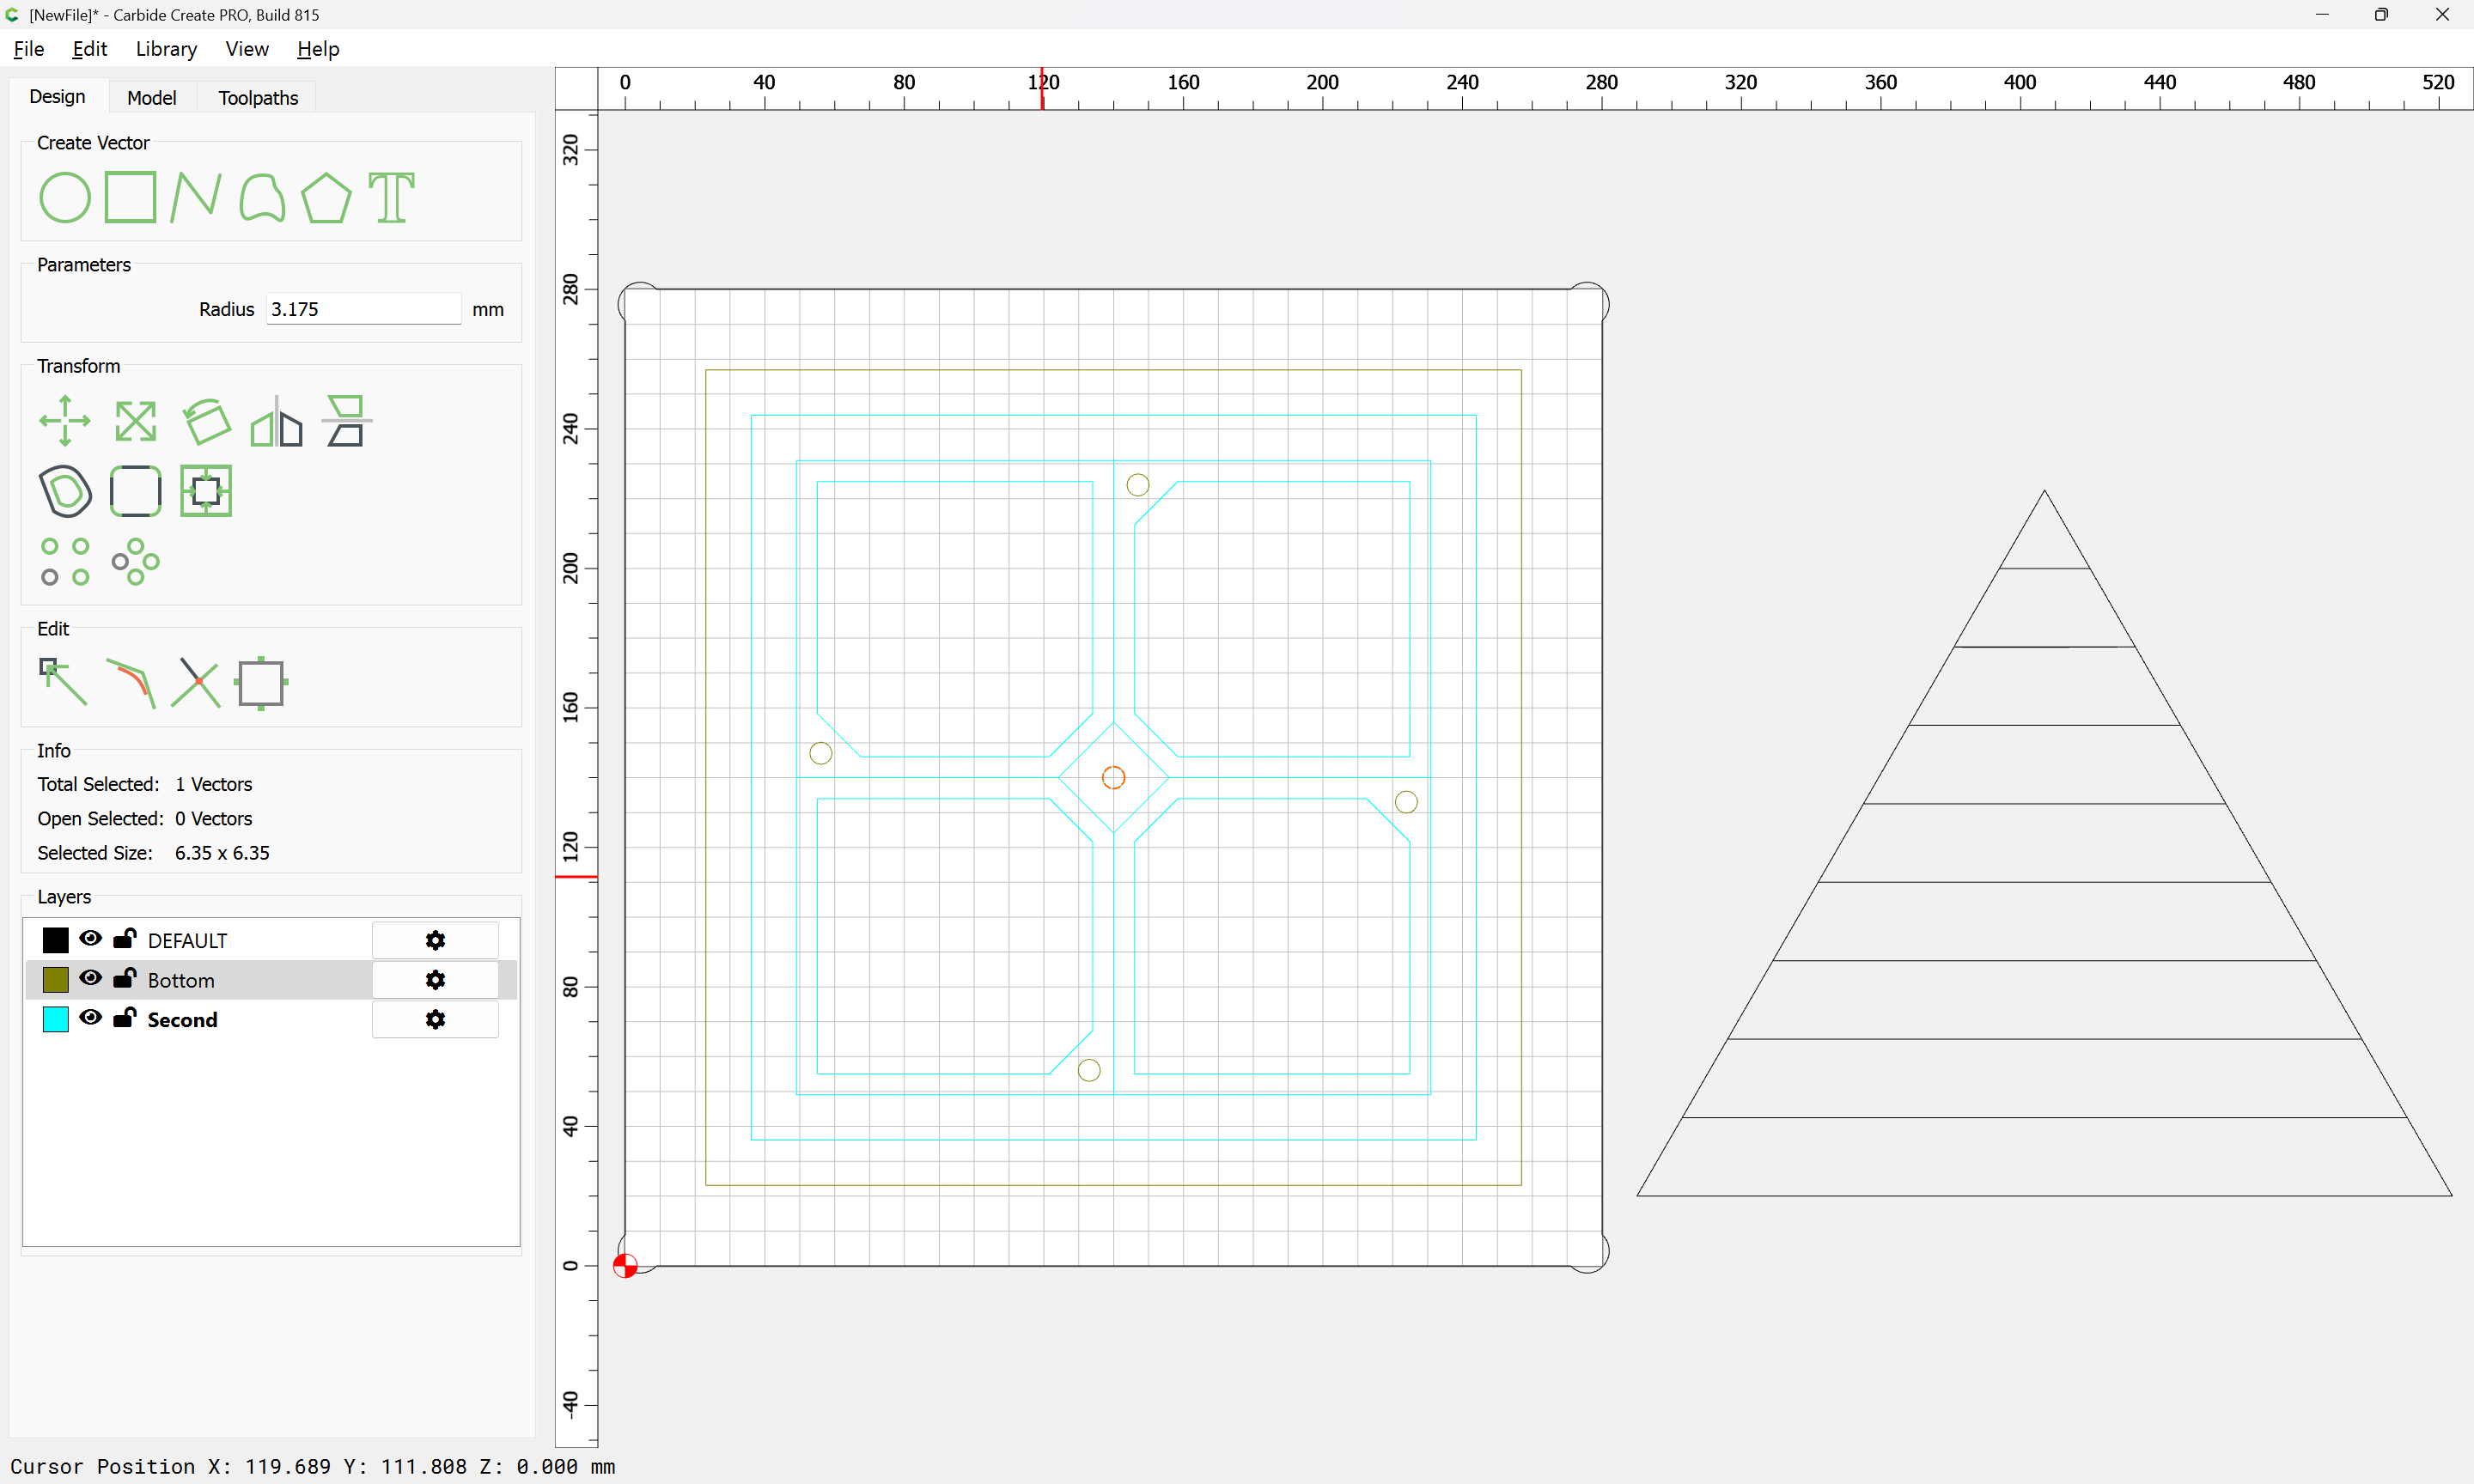
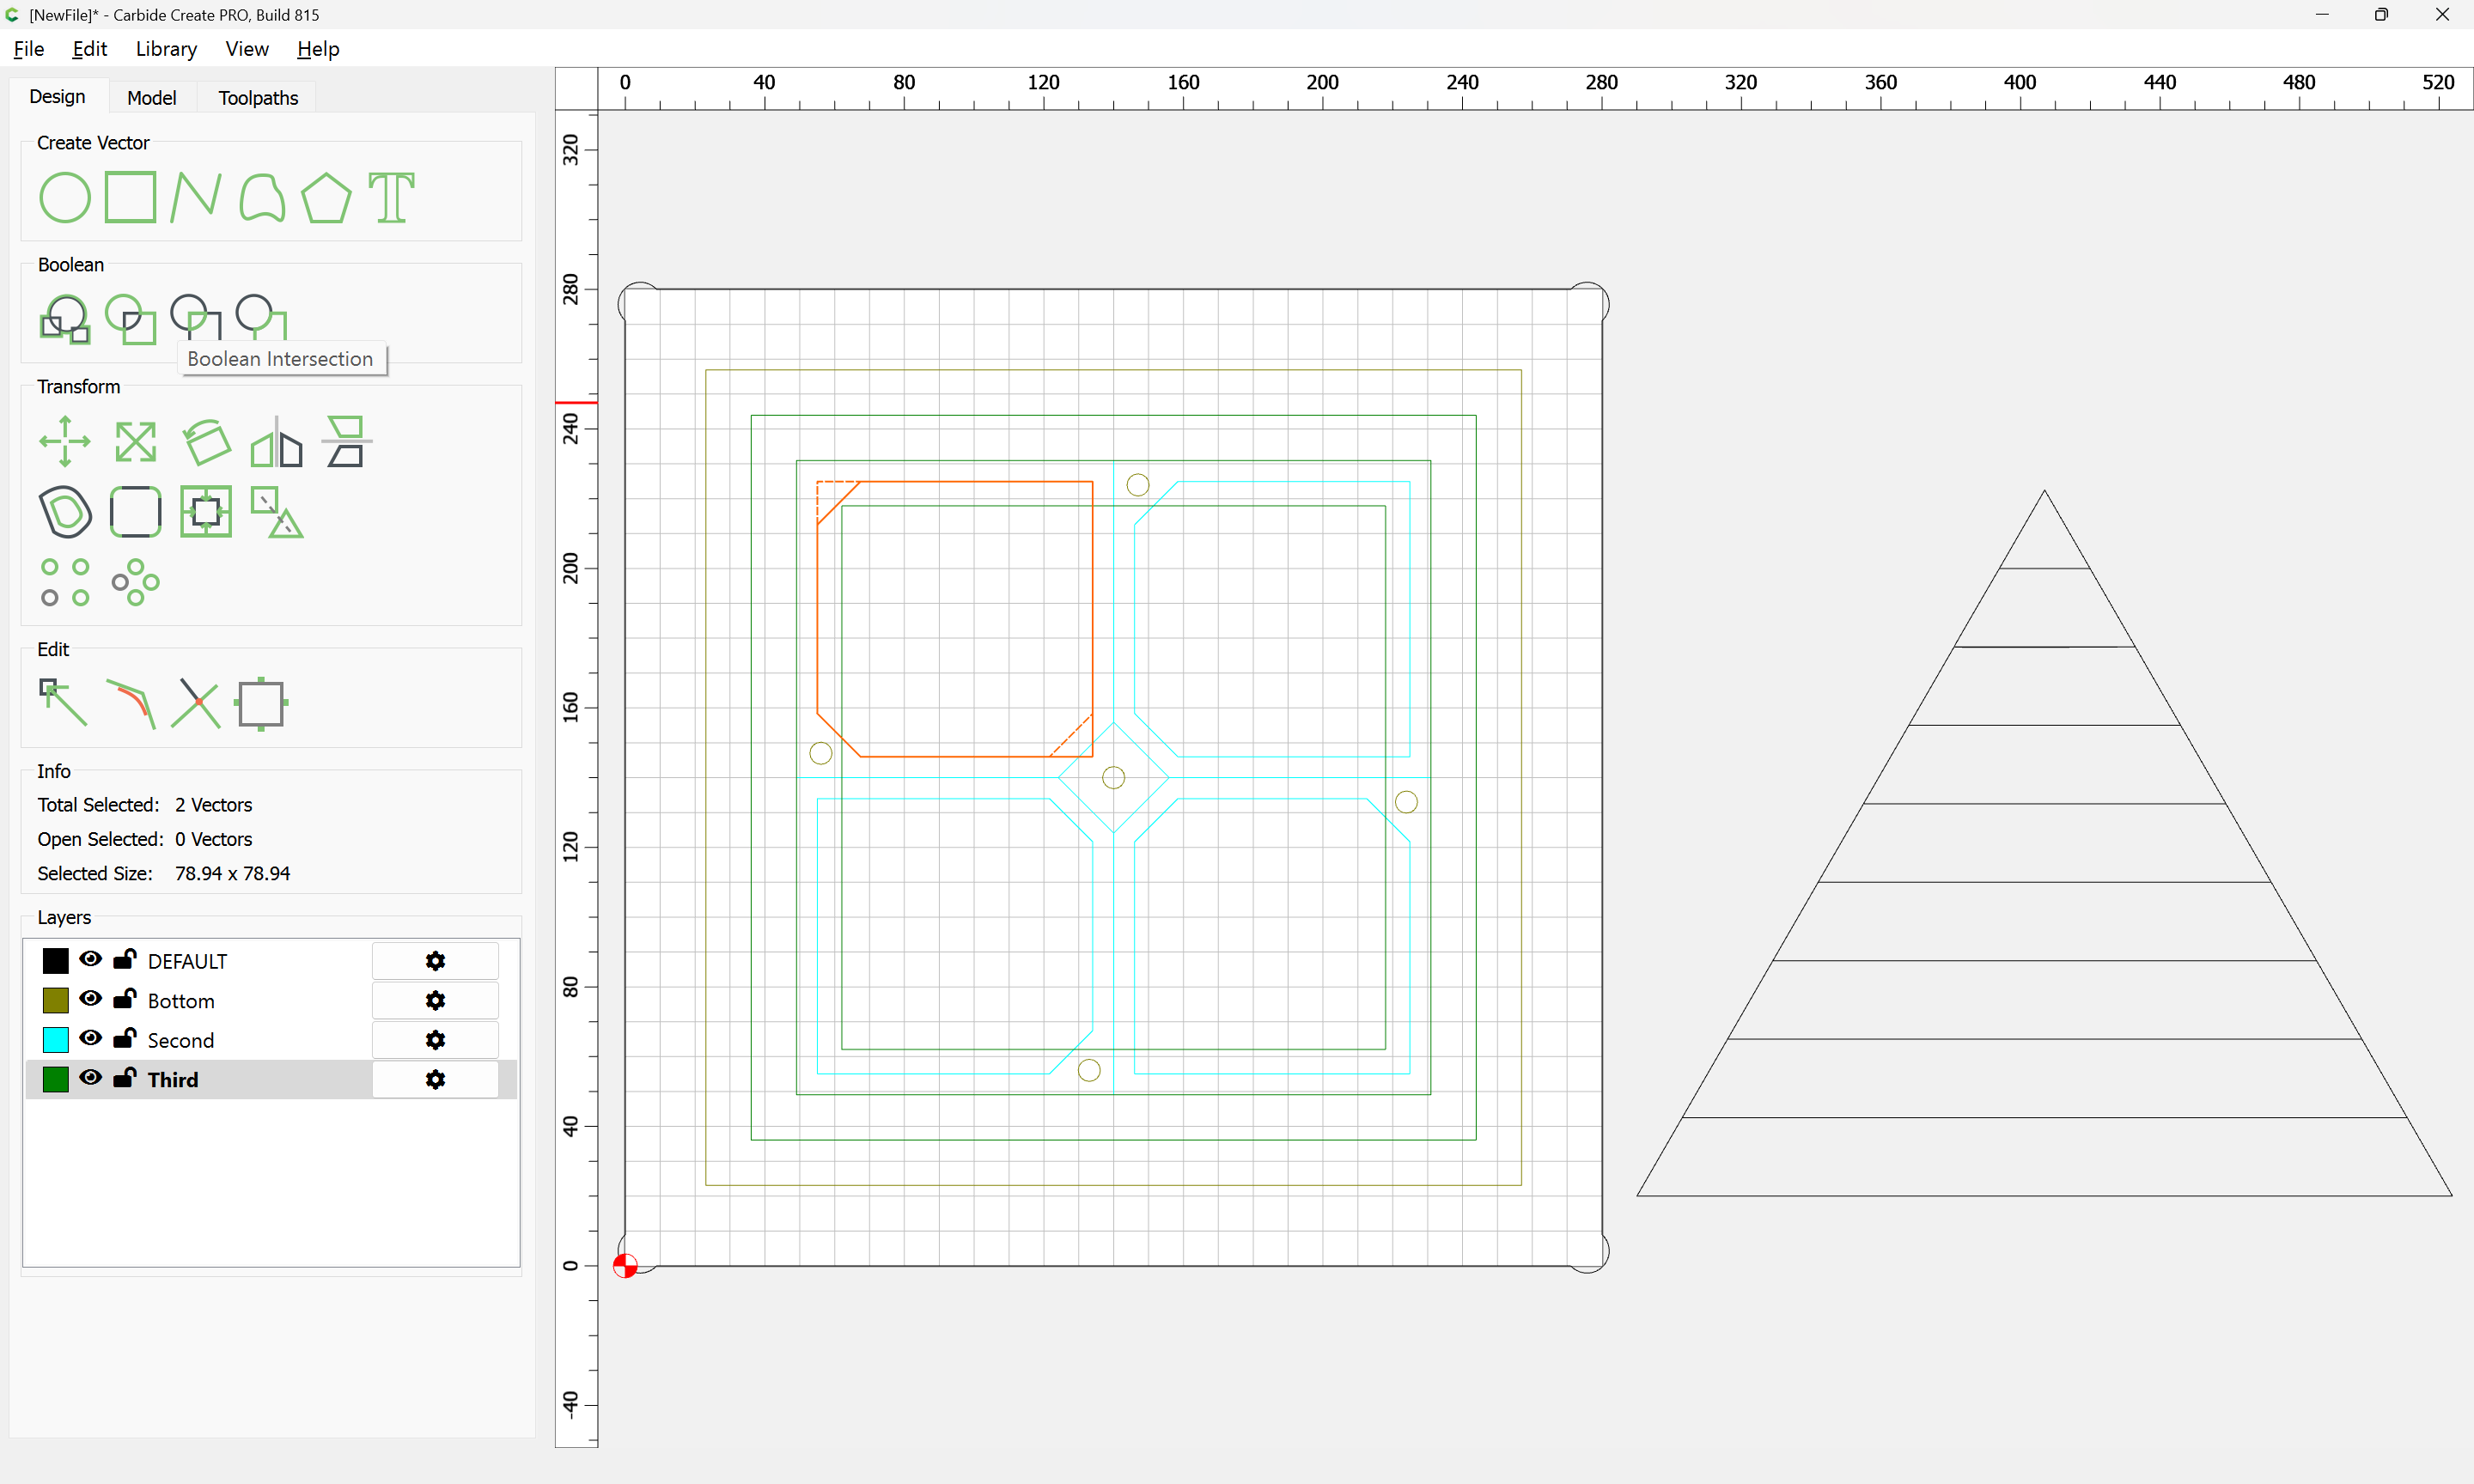
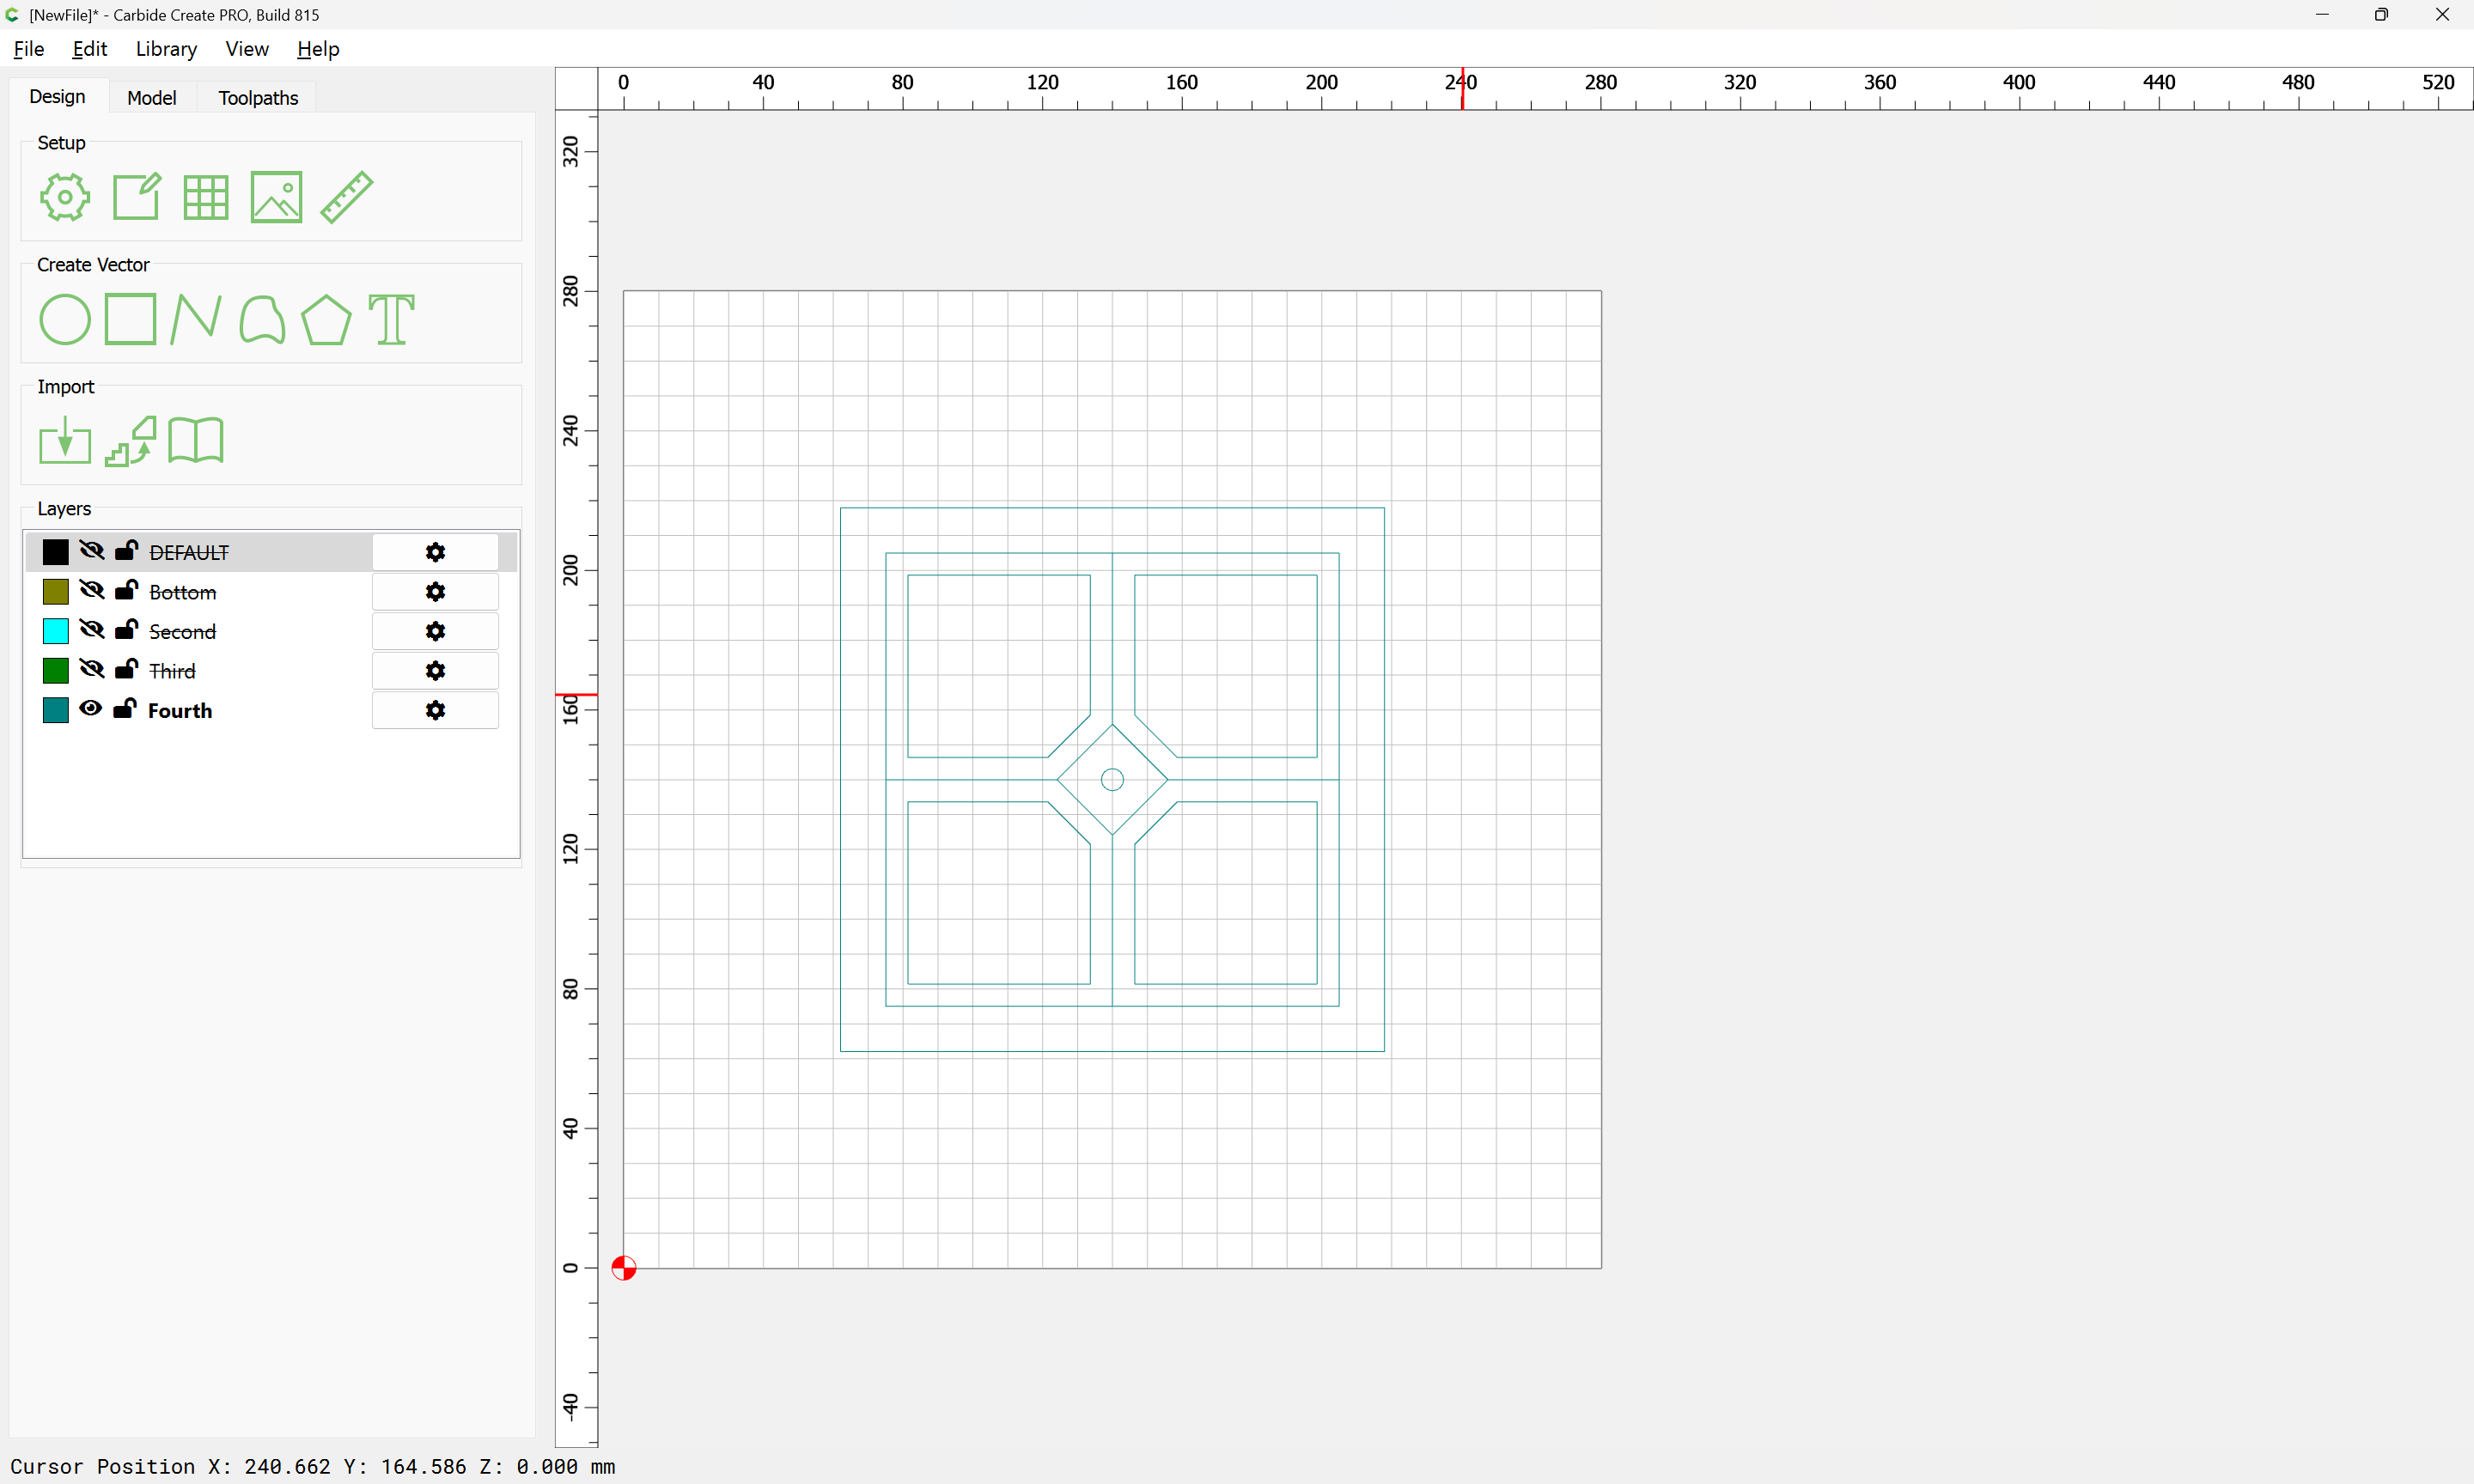
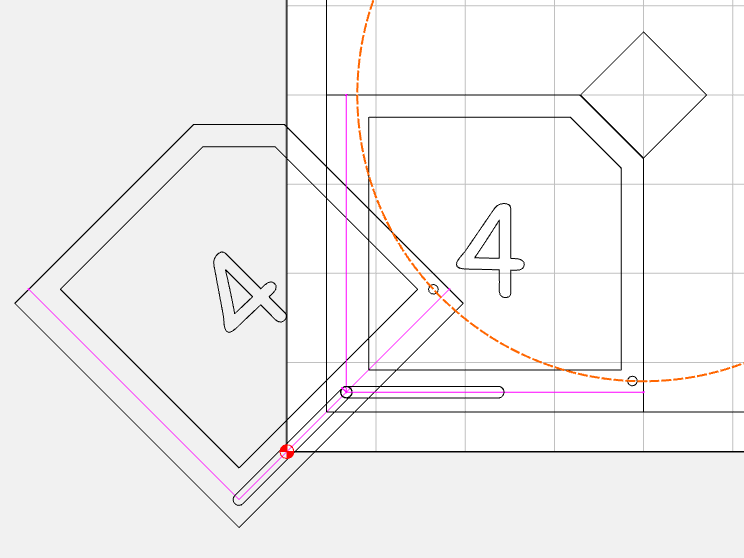
It is then necessary to create each layer and add insets to define the pockets and lay those out to create the structure necessary for the hinges and magnets.
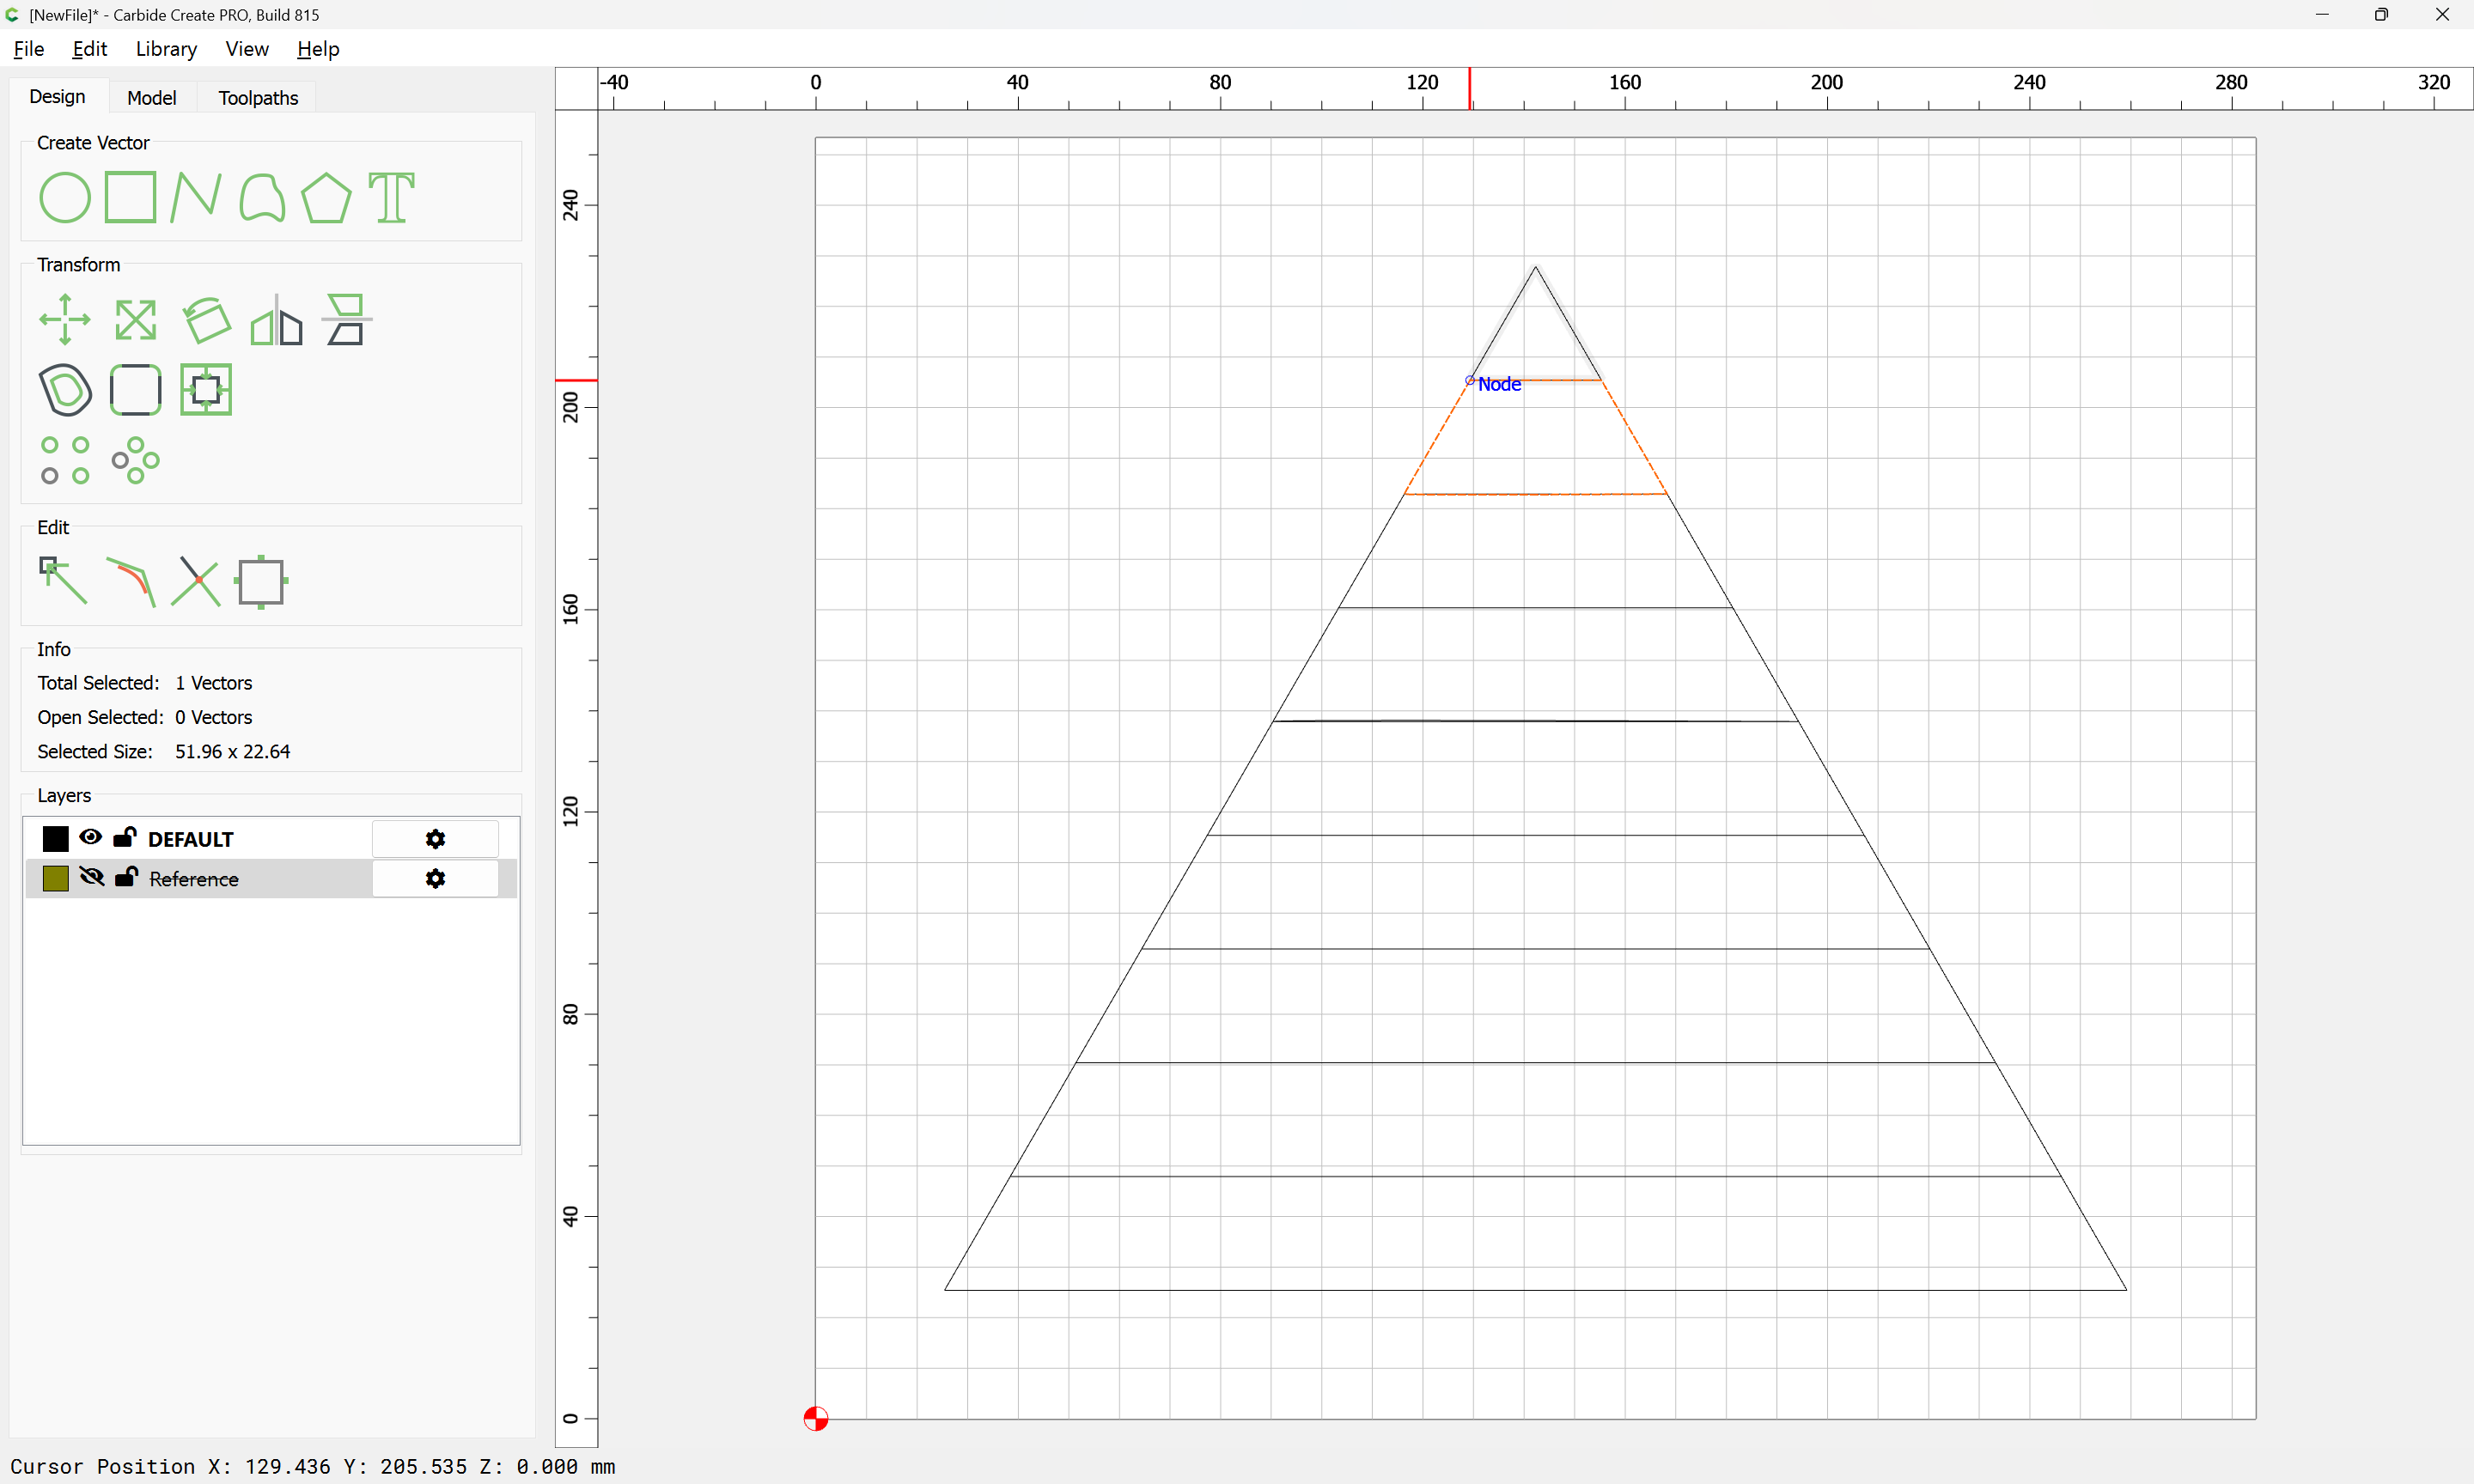
Note that at one corner additional structure will be needed to allow for a hinge post for rotation — rather than the thicker edge, notching this corner seems a better appearance, which is easily done by duplicating and flipping and getting the intersection:
I am pretty sure that for the rotation to work it will be necessary for the hinge and pin to be along the same axis w/in the region of the base, which the above additional notch facilitates.
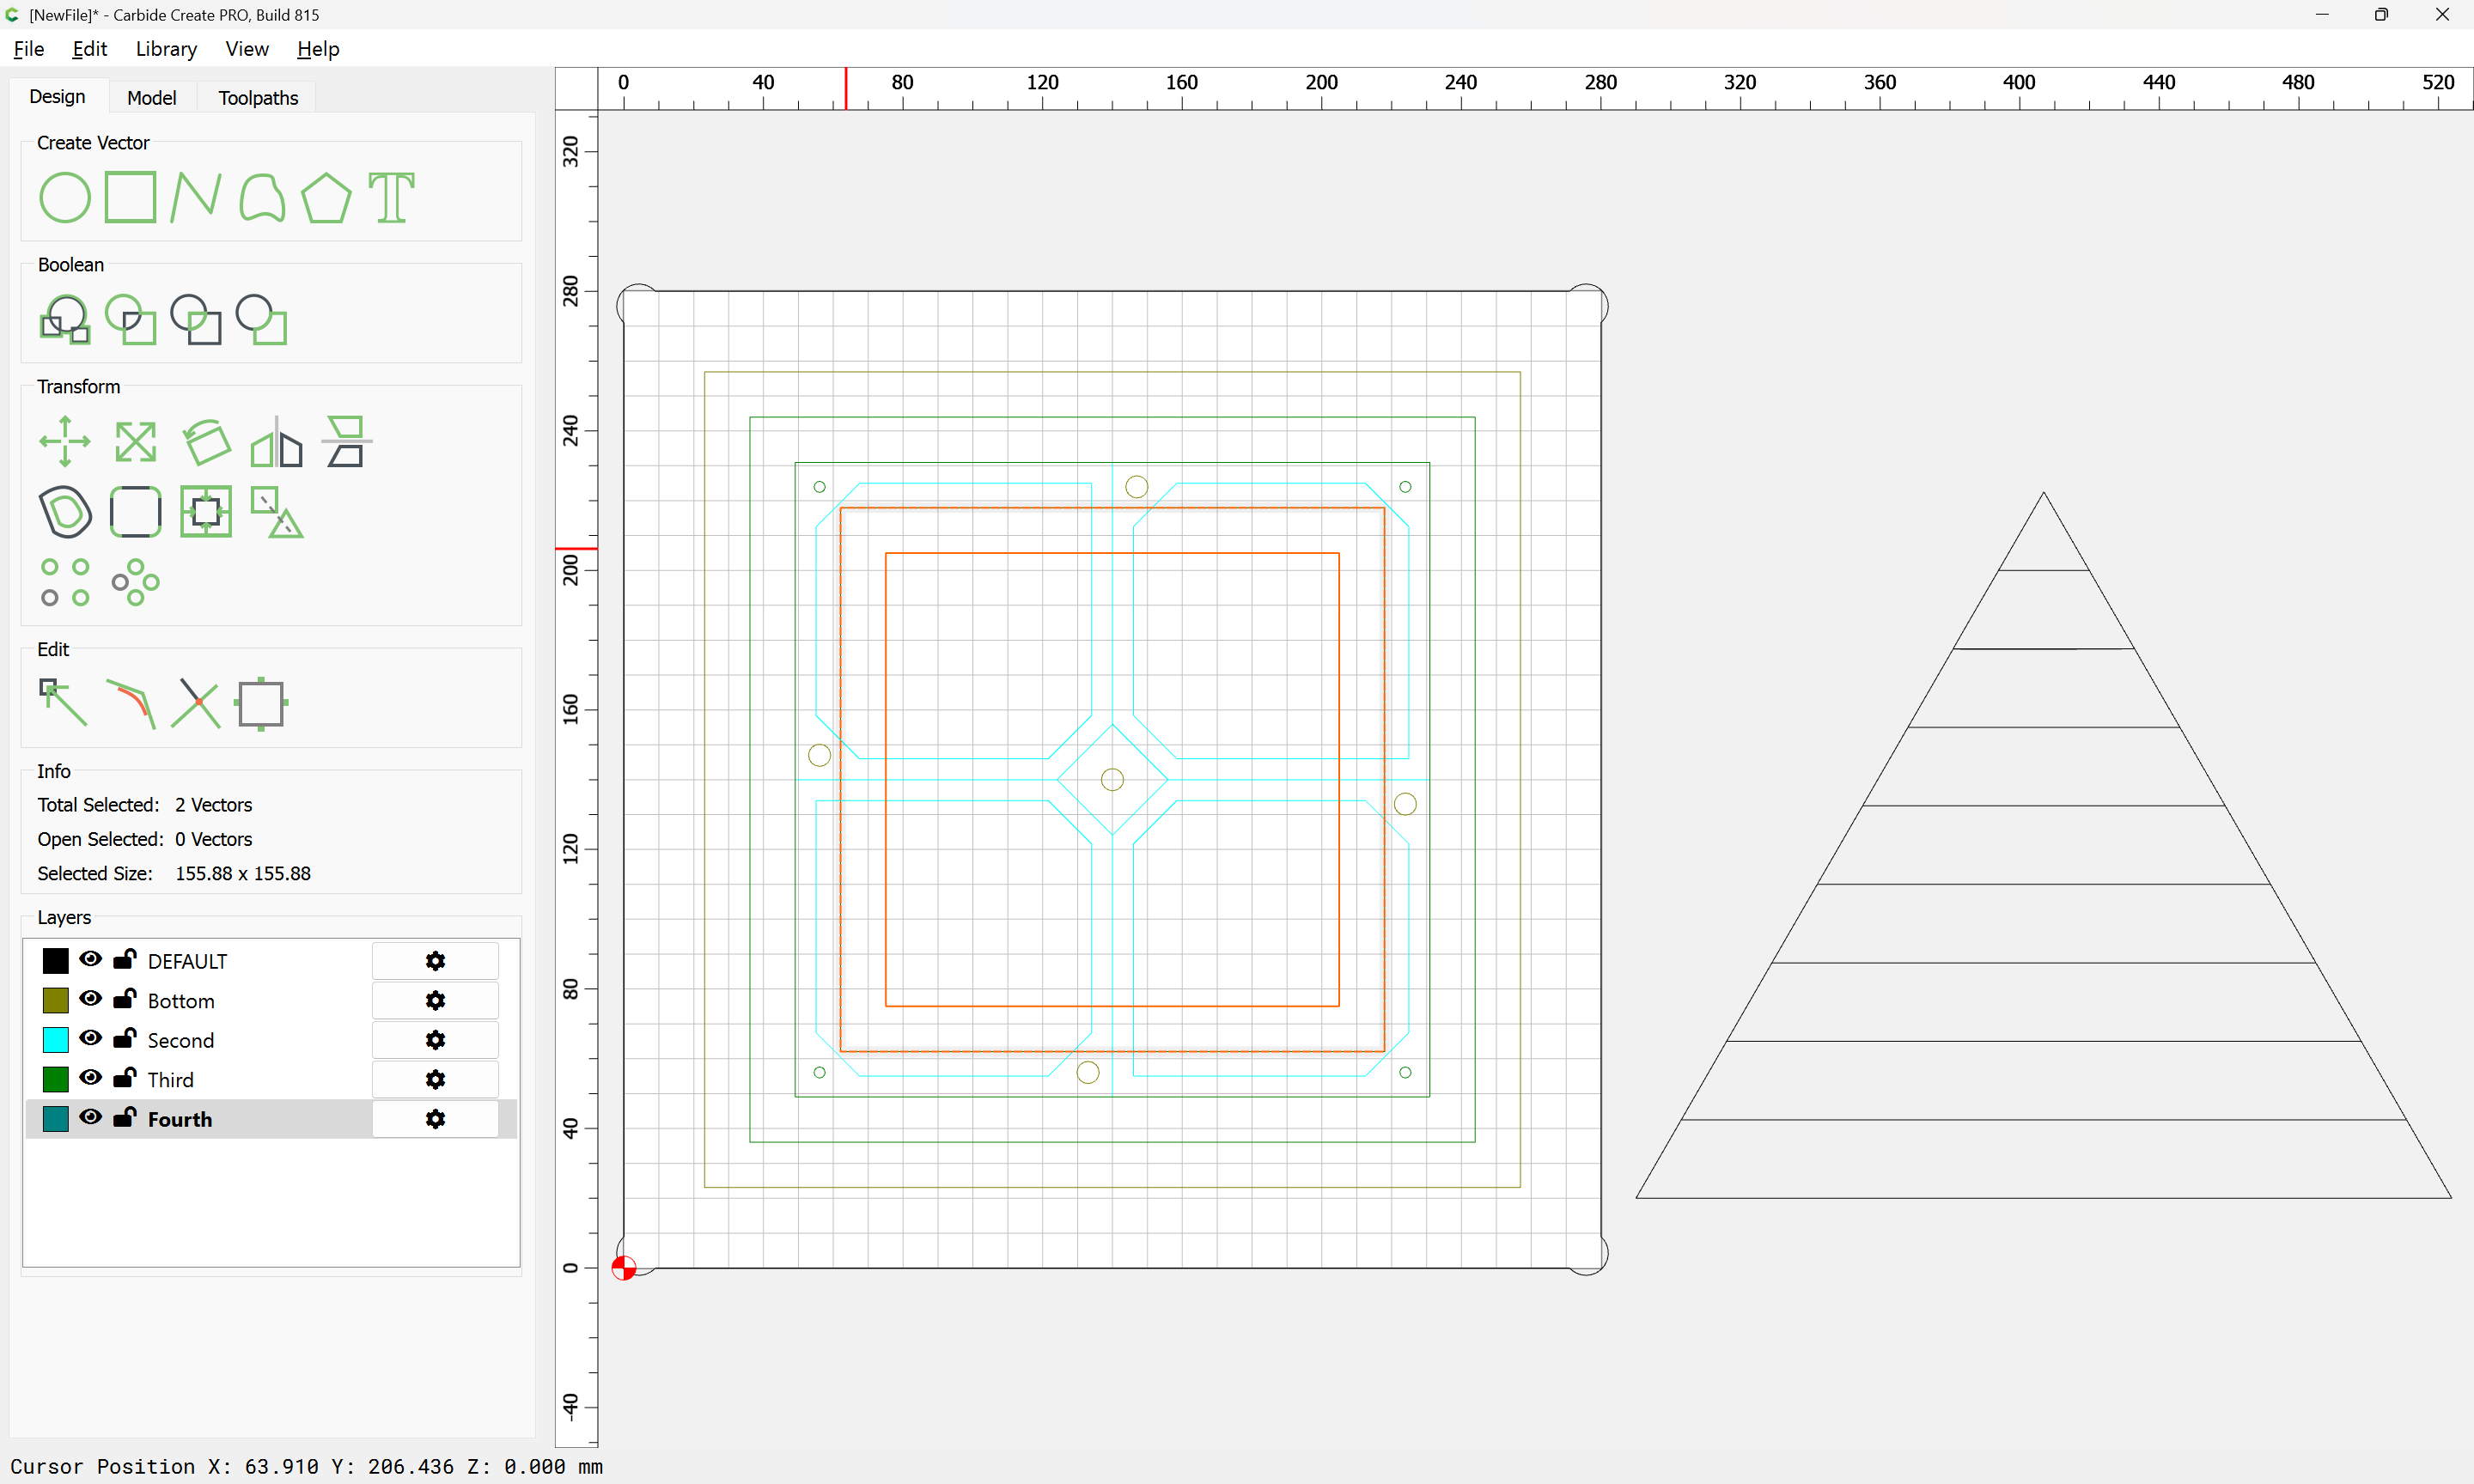
(which as noted will need to be located on the bottom)
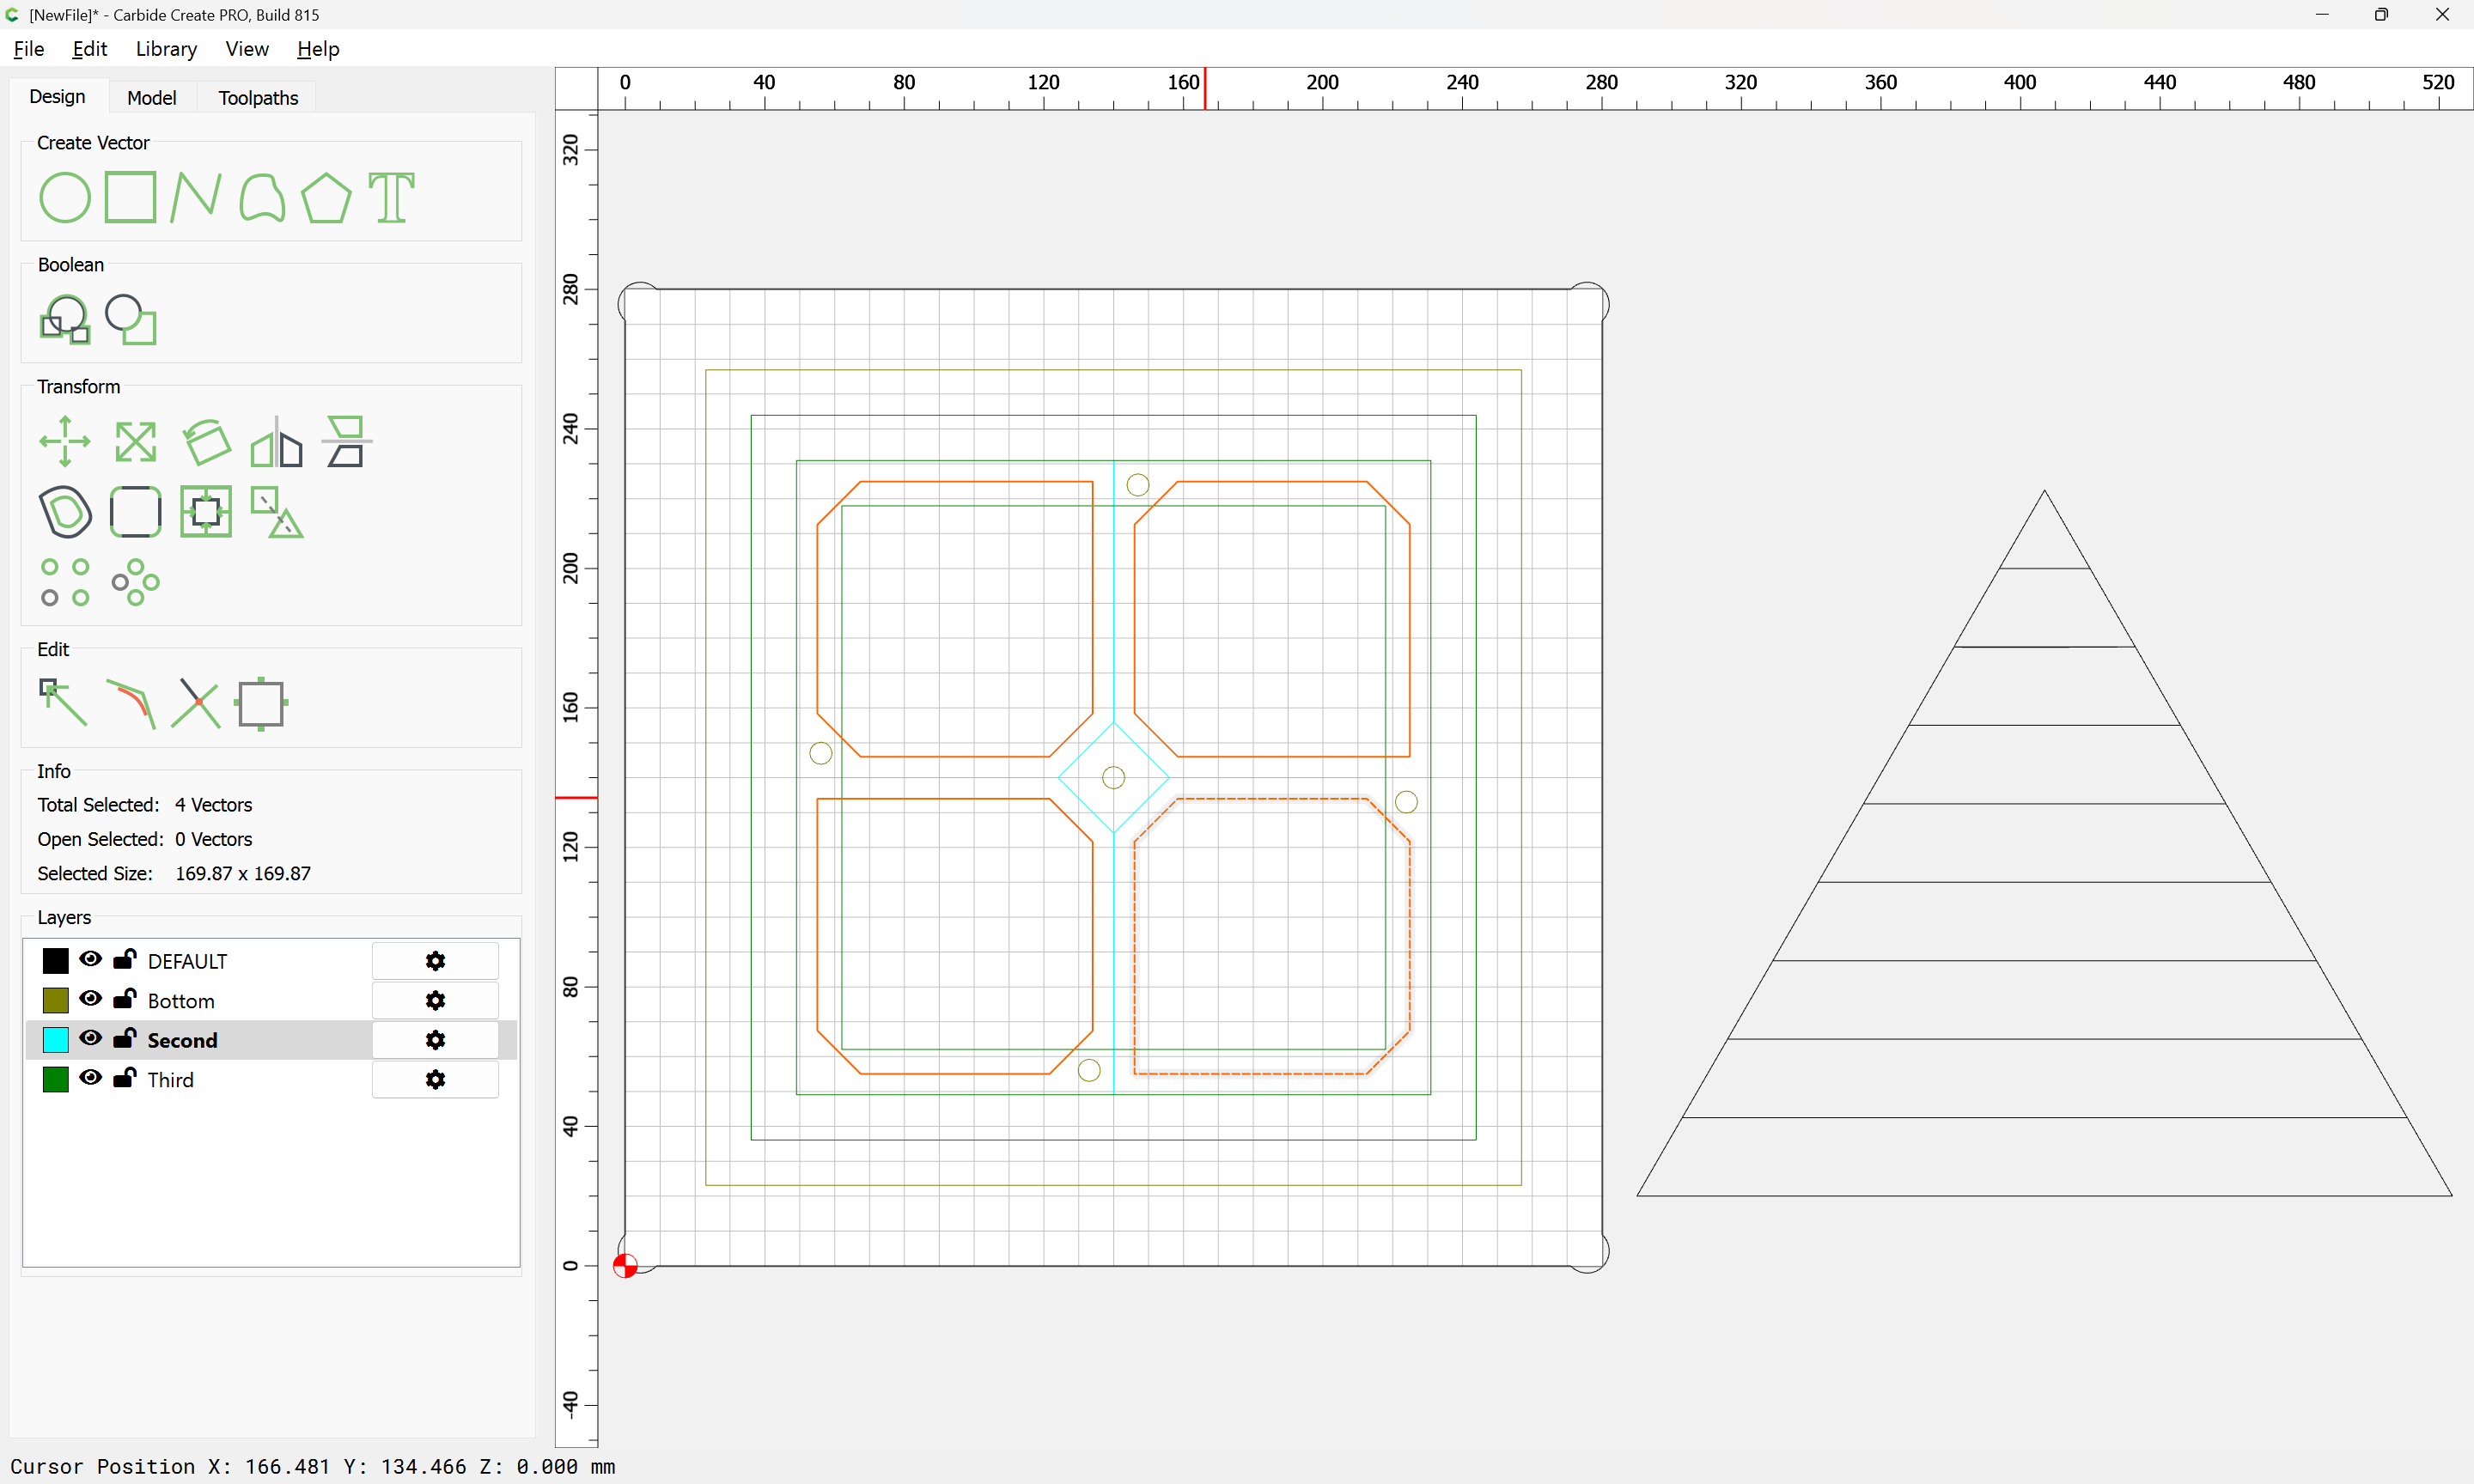
Looking at the mechanism again, it may be that these will need to be slots — which would explain the added thickness — may have to model this in full in 3D and add an animation component to verify that, or perhaps a cardboard prototype is in order…
and the same sort of notching (and possibly wider wall, although one wonders if the precision of CNC would allow the slots to be shallower, and perhaps that they could be closer to the pockets if they pockets were rounded along their edges…)
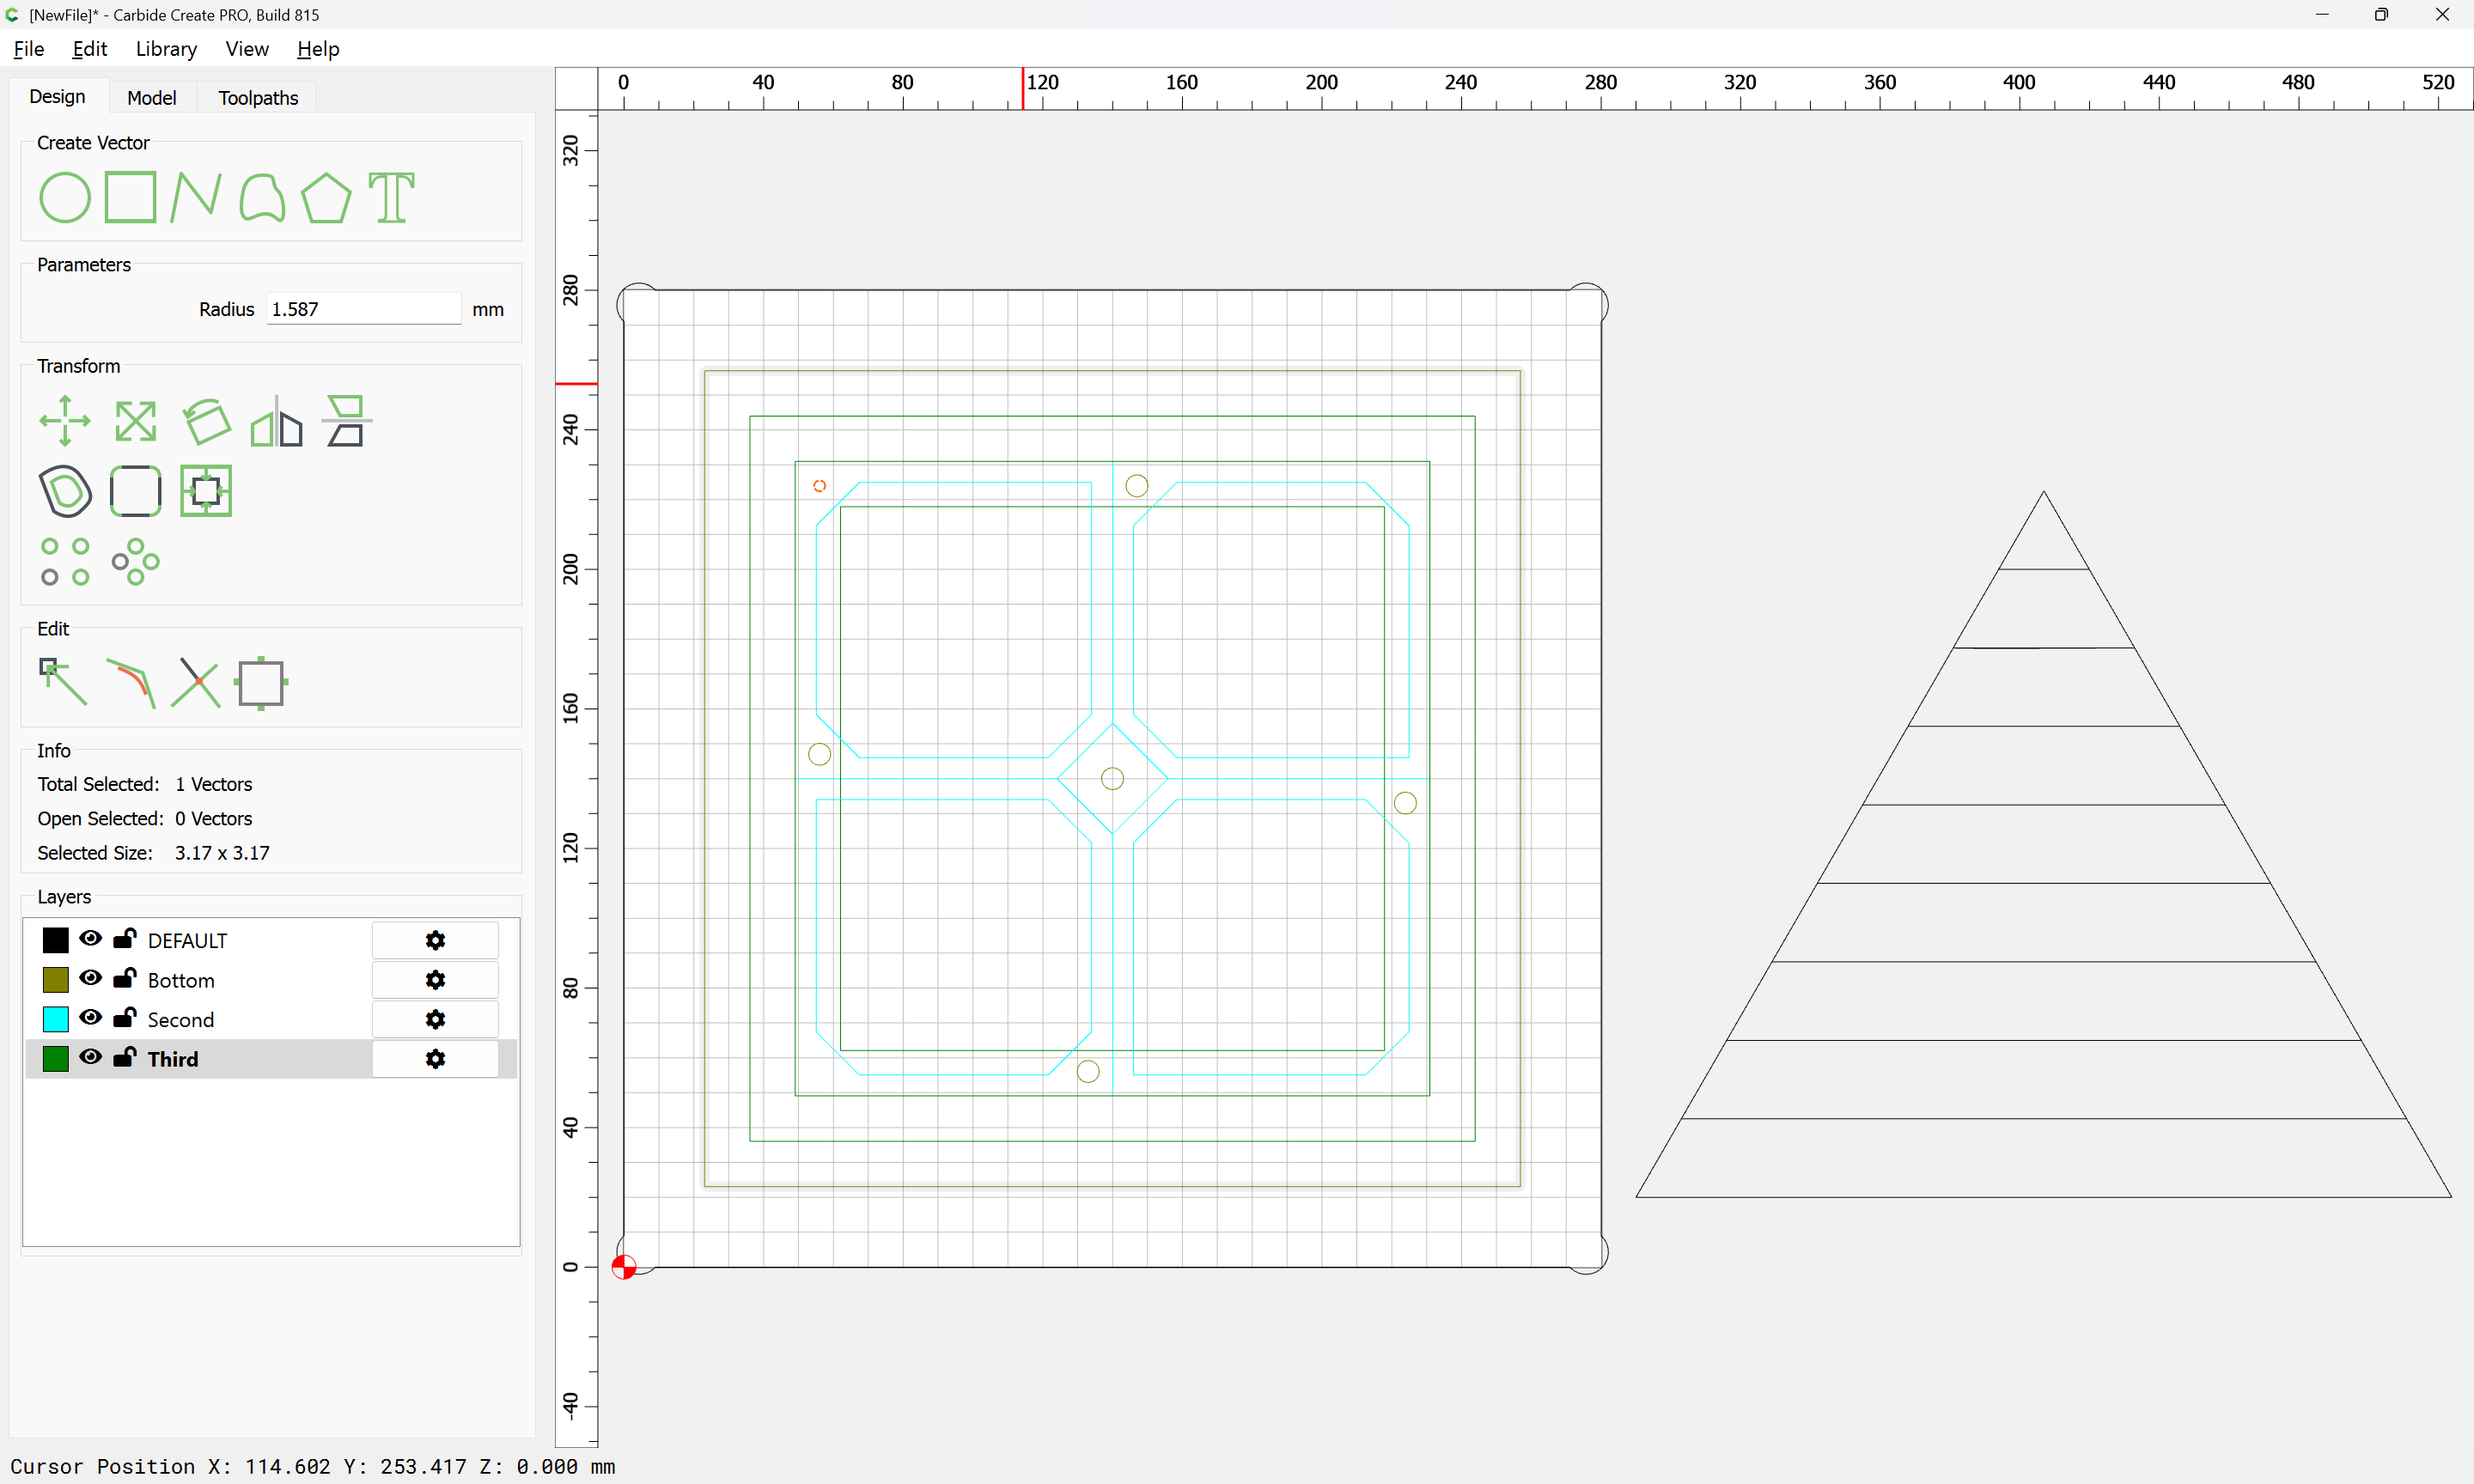
Anyway, the above should get folks started, and at least allow cutting some prototype parts to test fit and mechanism and work out whether the slot and so forth are needed.
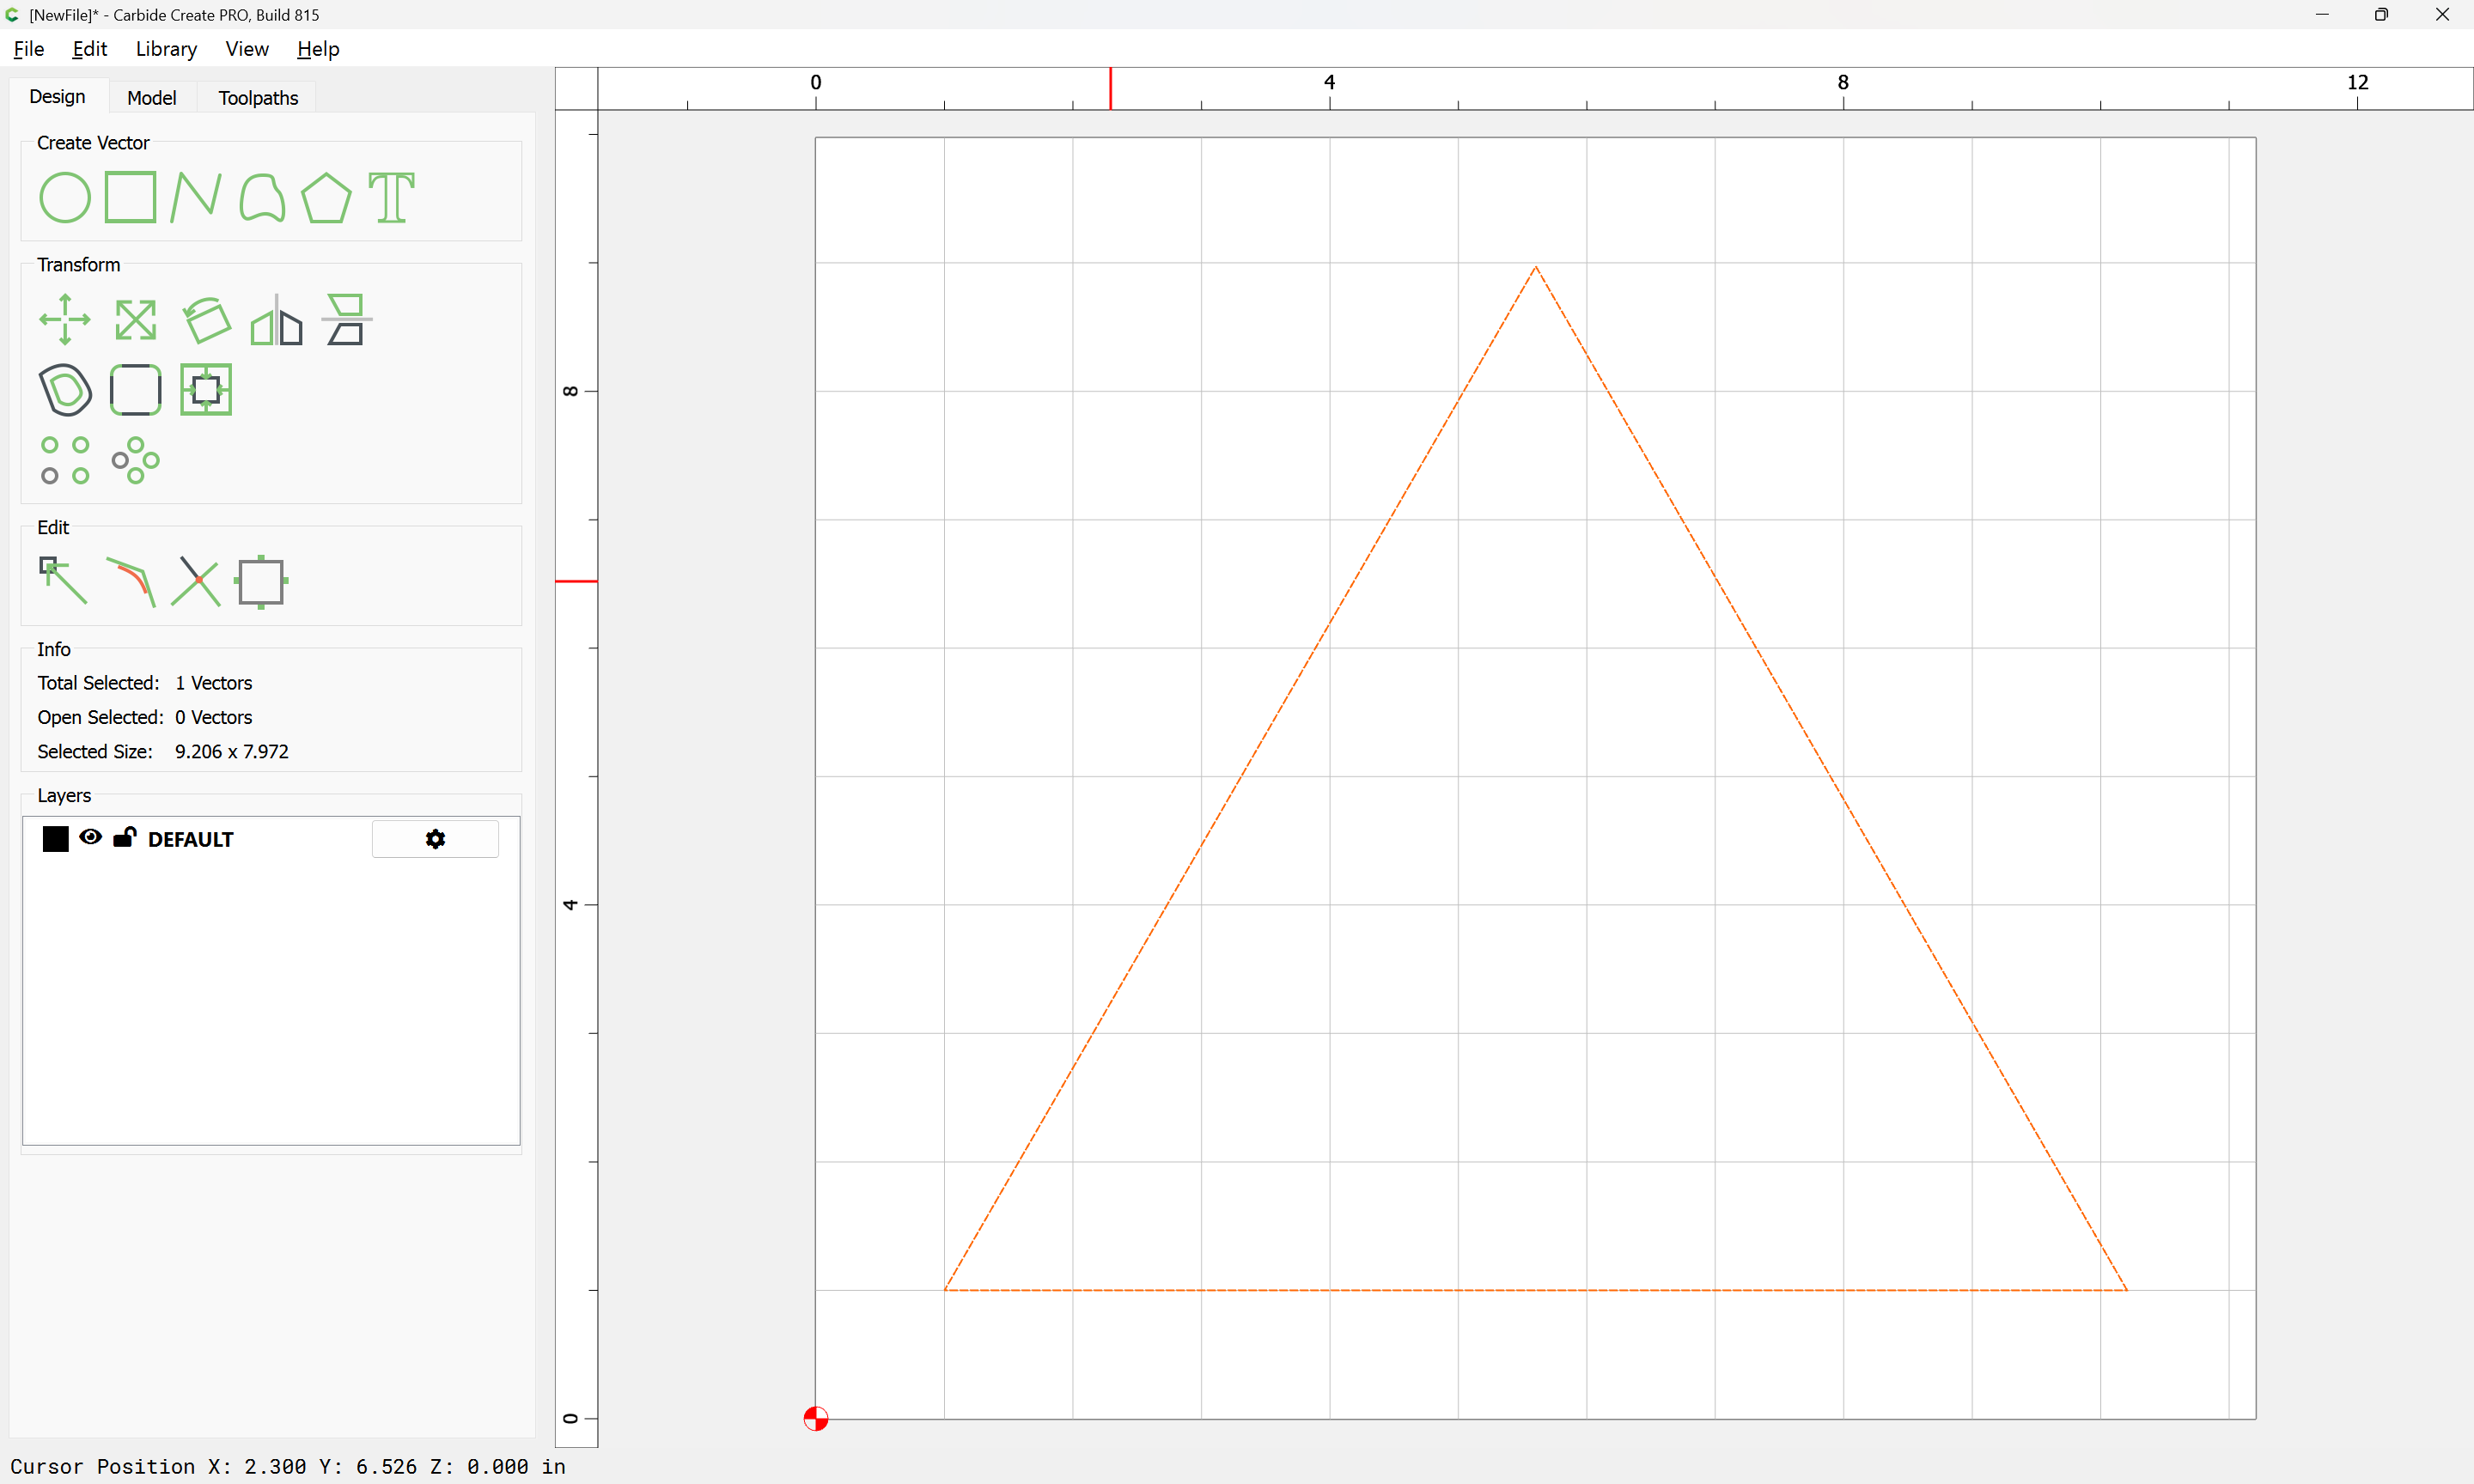
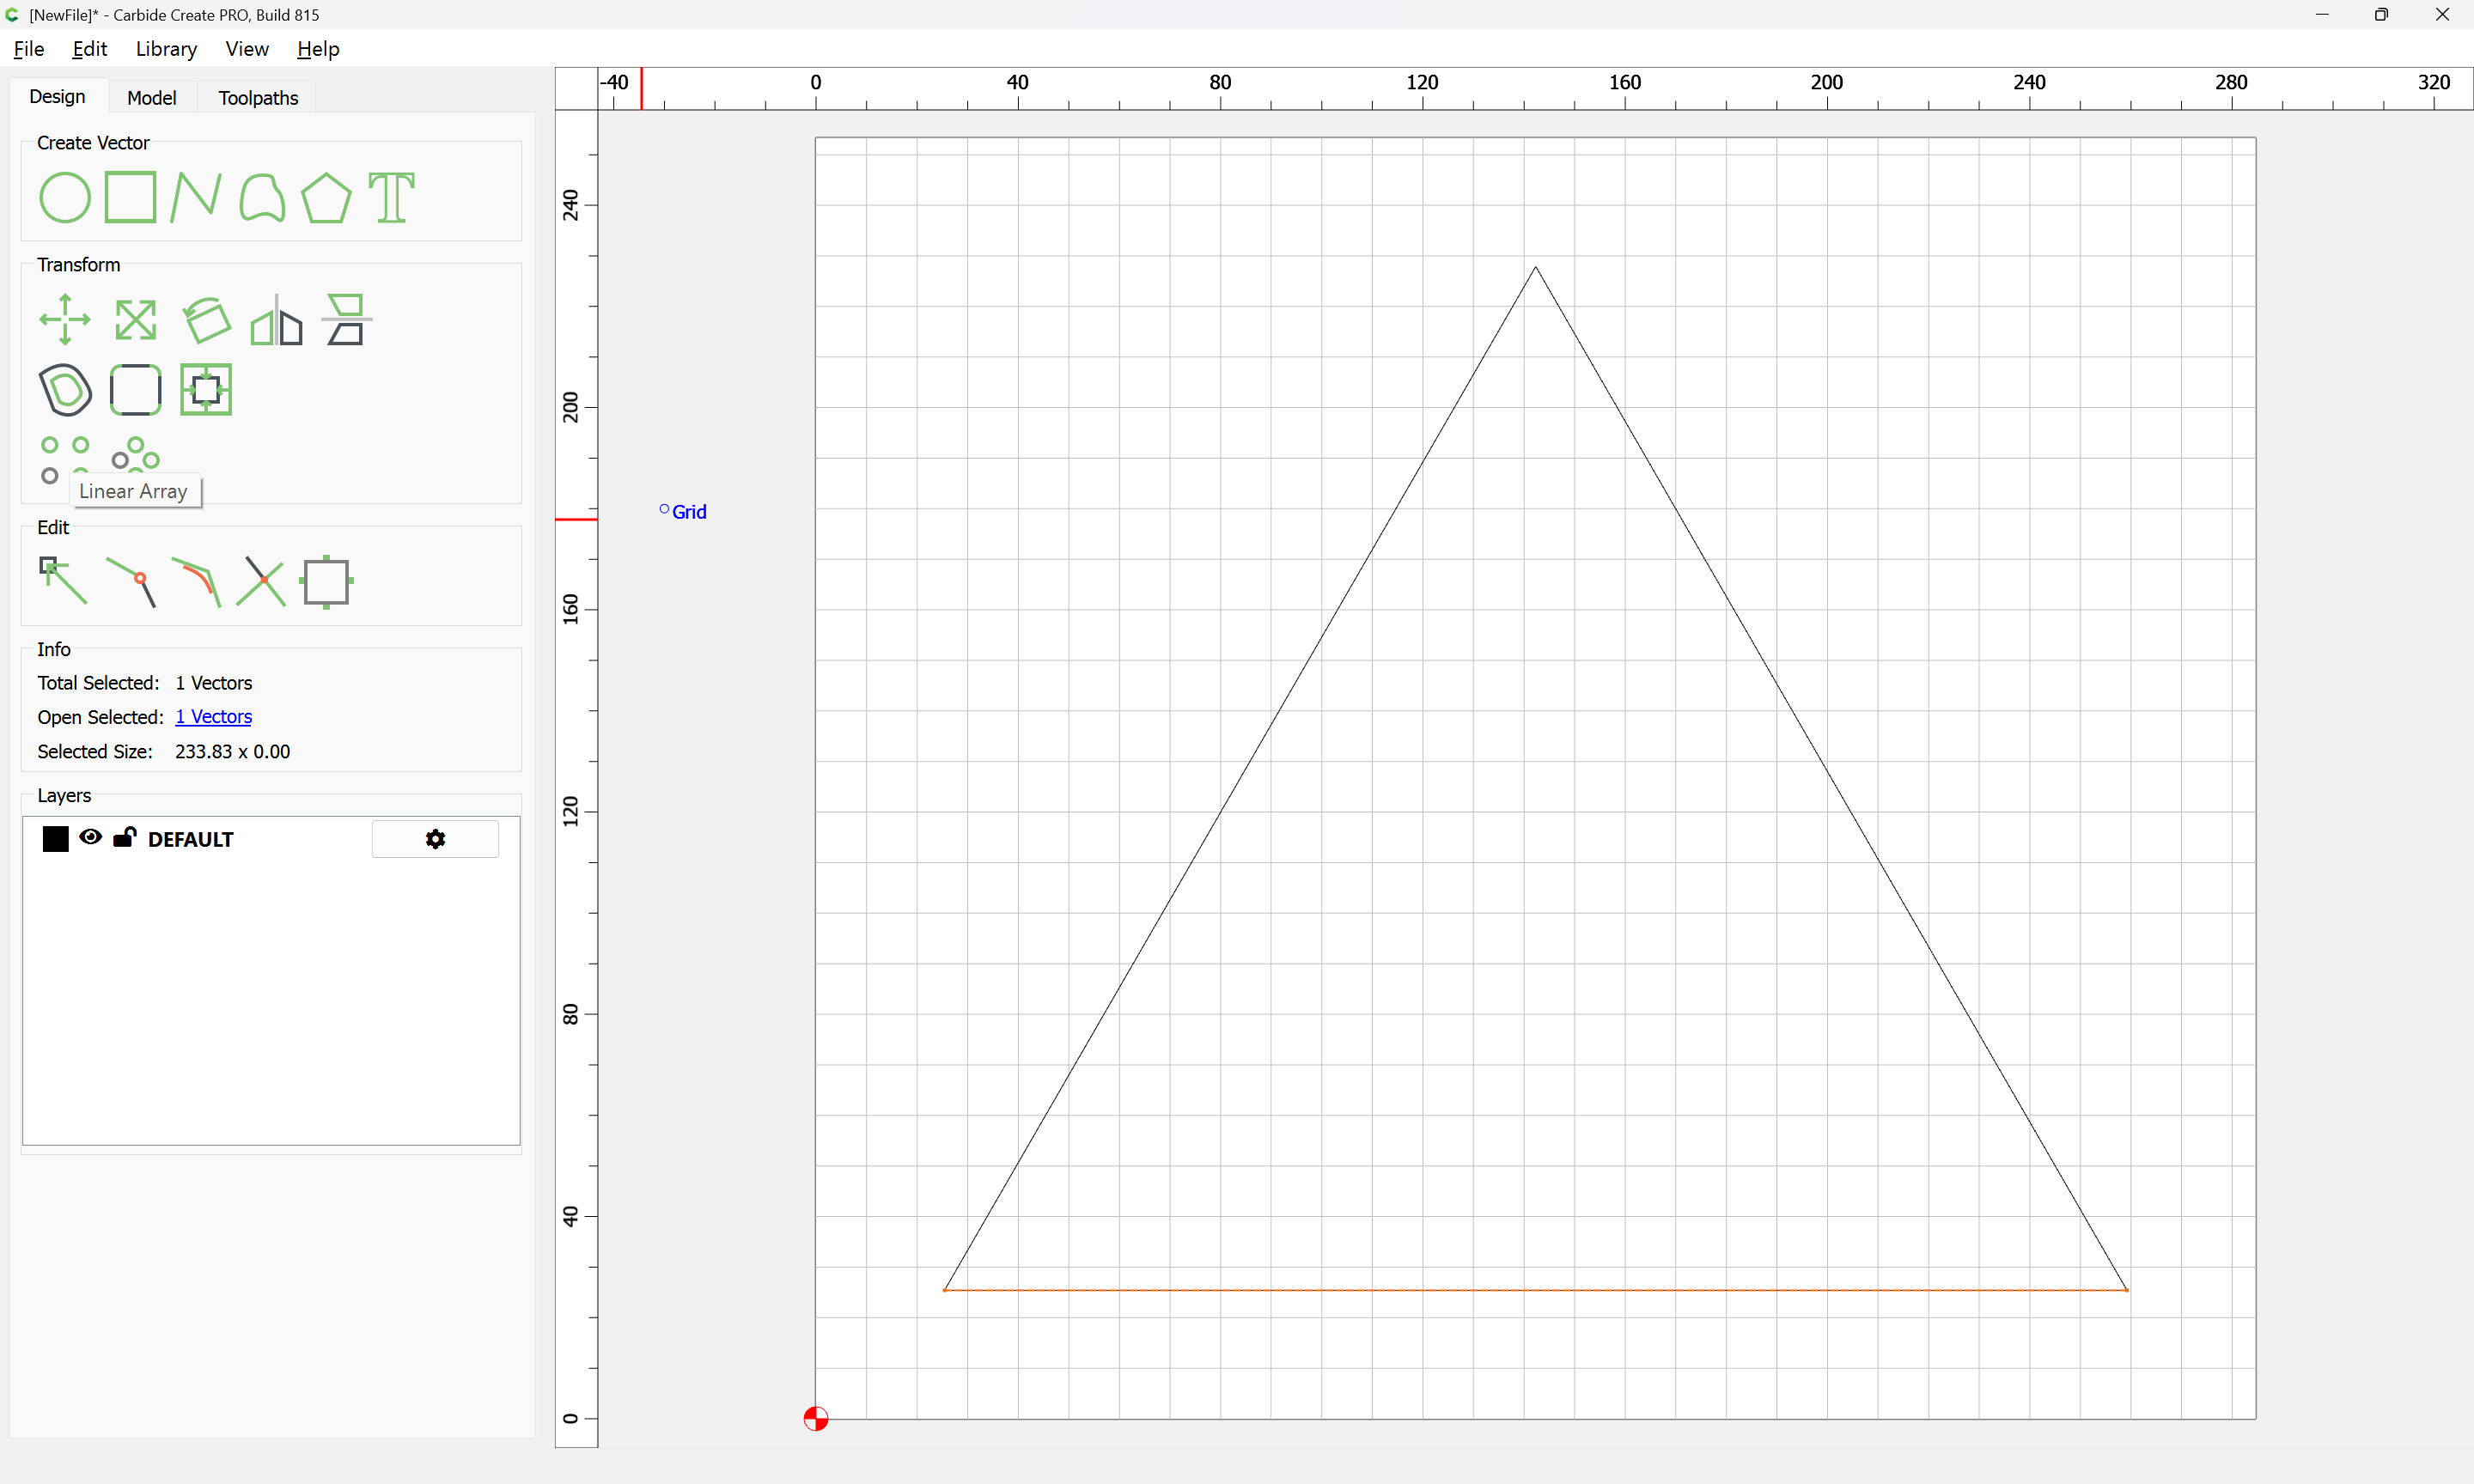
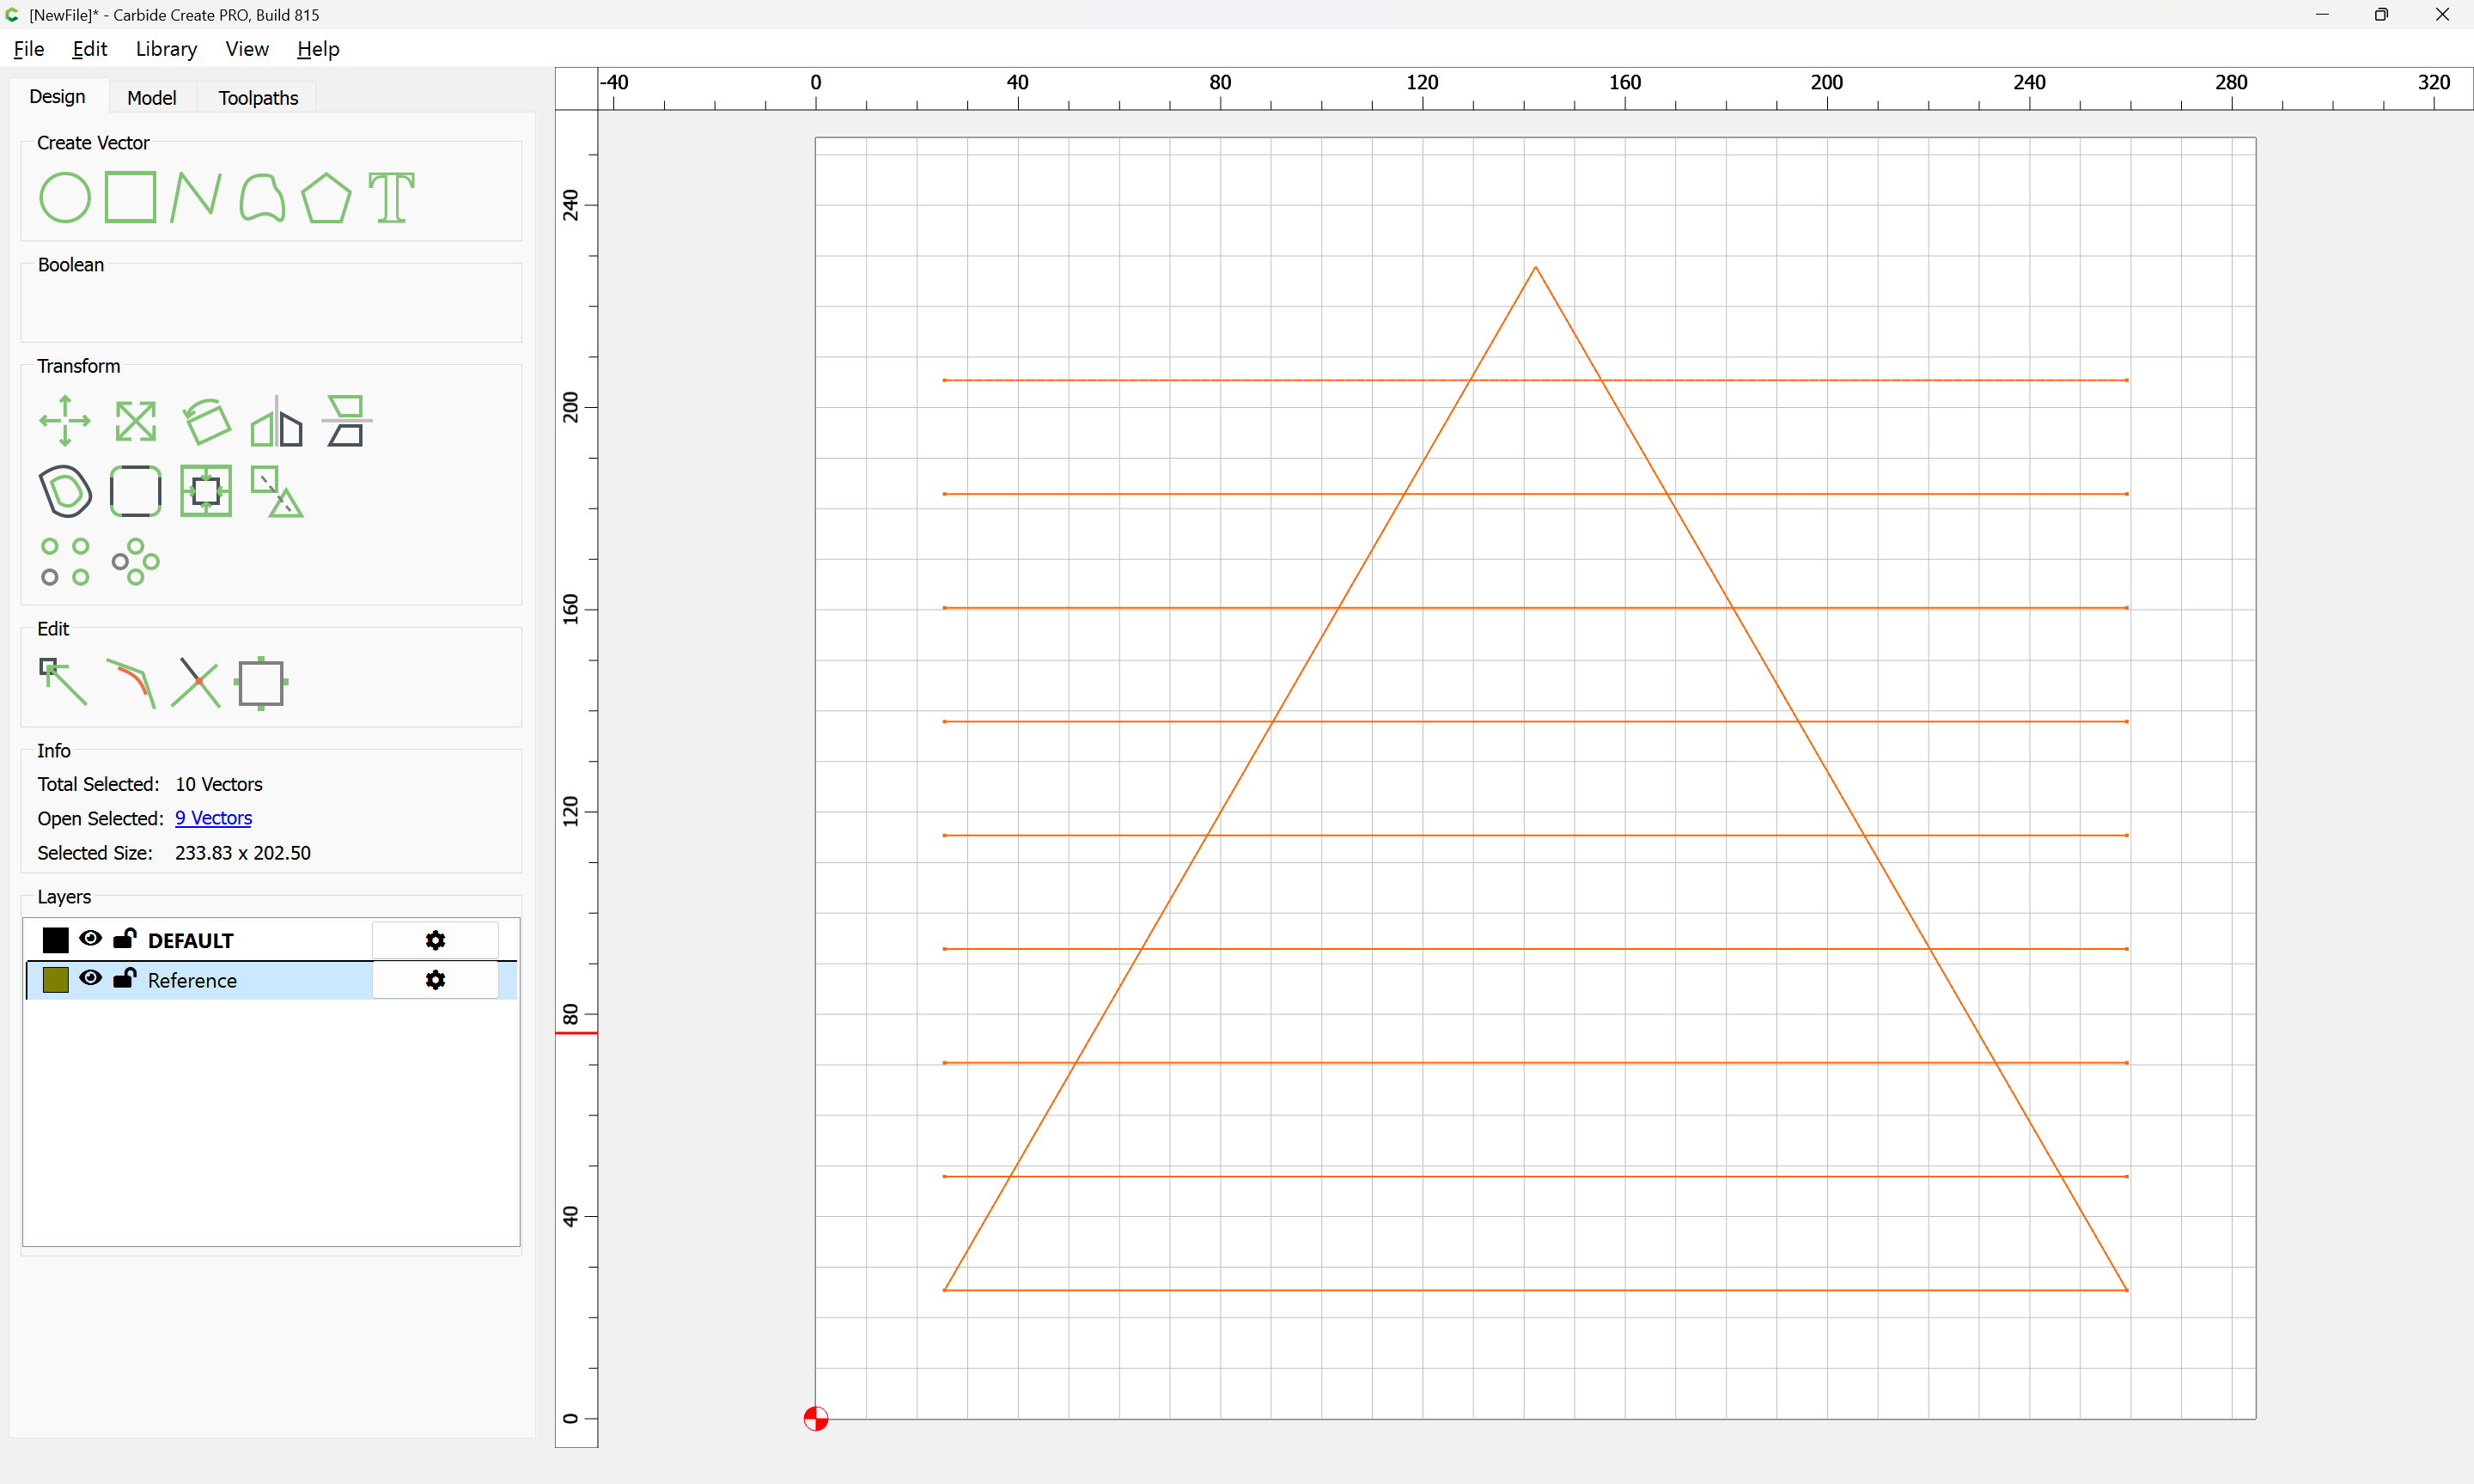
I assumed 3/4" stock, and 8 x 8". Worked out to 30.65°
At 6 3/4" tall, 30° would be 7.794 x 7.794". 8" allows for a little slip clearance between layers, and I think once you sand down the outside it will all even out. In other words, “close enough for all practical purposes.” **
I also added clearance (0.010") between the parts, 0.135" holes & slots for 1/8" dowels / pivots.
You also have to work out where the hinge & slot need to be
** …which was defined by my HS math teacher thusly: If you line up all the boys on one side of the room, and all the girls on the other side, and at even intervals half the distance between them, in theory they would never meet. They would however, become close enough for all practical purposes.
Awesome guidance thanks! Really appe-reciate the detailed break downs. This will be my first project so can’t wait to learn some stuff and see something materialise. Looking forward to showing the finished product one day. Might stop the wife giving off about it Will be happy to see someone beat me to it though!