Wondering about which is better…sanding the color resin or using a surfacing bit to level after drying? Thought or experiences out there?
I’ve used a normal bit (1/4 or 1/8") to “level” and then incremental-grit sanding to smooth out any marks.
I tend to level slightly above (think 0.02") of where I want to end up because milling marks are very visible in epoxy, much more so than in wood… and then use a random orbital sander for the last bit.
It’s really hard to get a mirror finish either way… but finishing with very thin layer of epoxy afterwards as finish for the whole work does wonders. (some folks used poly for the same)
5 Likes
Thanks so much for the help! Sounds like a good process to try!
Take care,
Brian
@fenrus already gave the answer, but I’ll add that doing the former, just once, is a sure way to then be convinced for life that the latter is preferable ![]()
Mostly what I like about using the machine to surface the epoxy is that I can be my usual sloppy self and pour like a 3-year old:
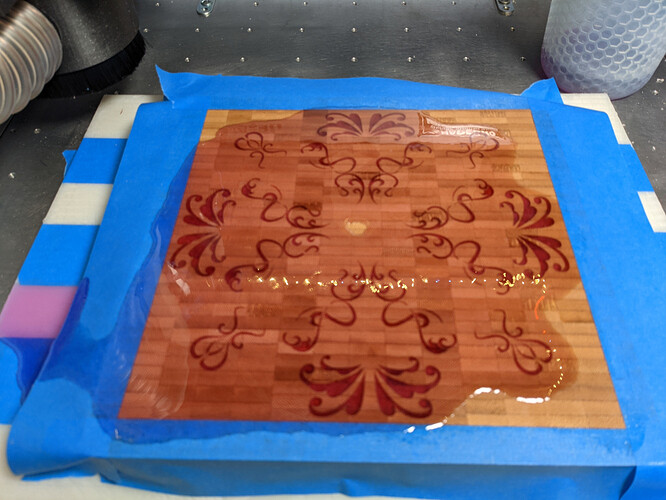
and then get the satisfaction to get epoxy chips rather than epoxy dust (baaaad for your lungs)
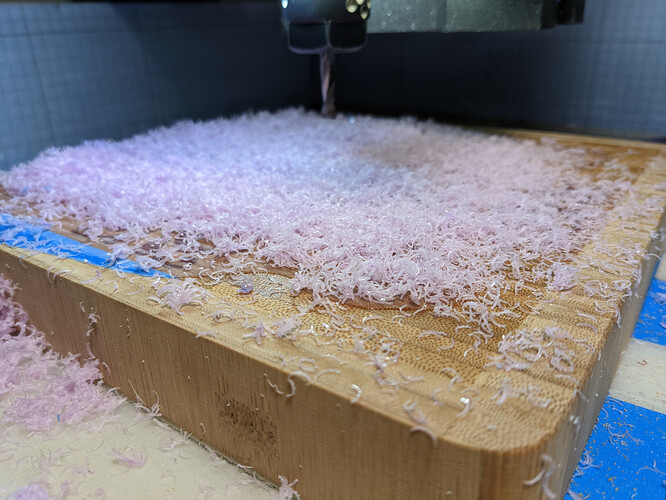
and the fun part can still be manual (revealing the final aspect by using wet sanding with high grit values)
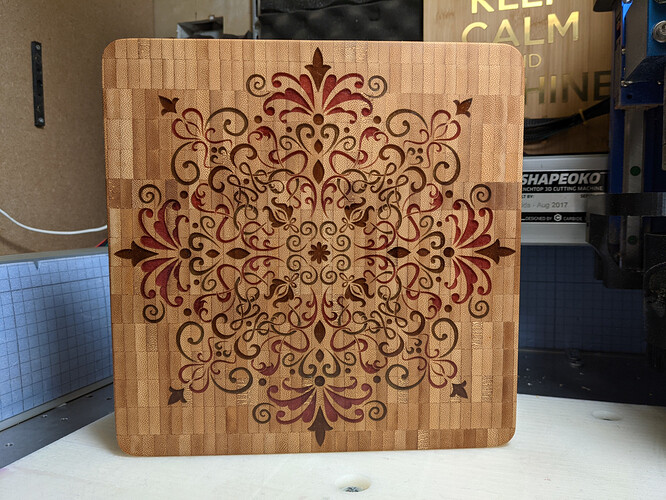
(not a particular good example, not a shiny finish, but a smooth one)
4 Likes
You need to overfill epoxy because it shrinks when drying. I usually level on xxl and sand 120 then 180 then 220.
Here is my latest example.
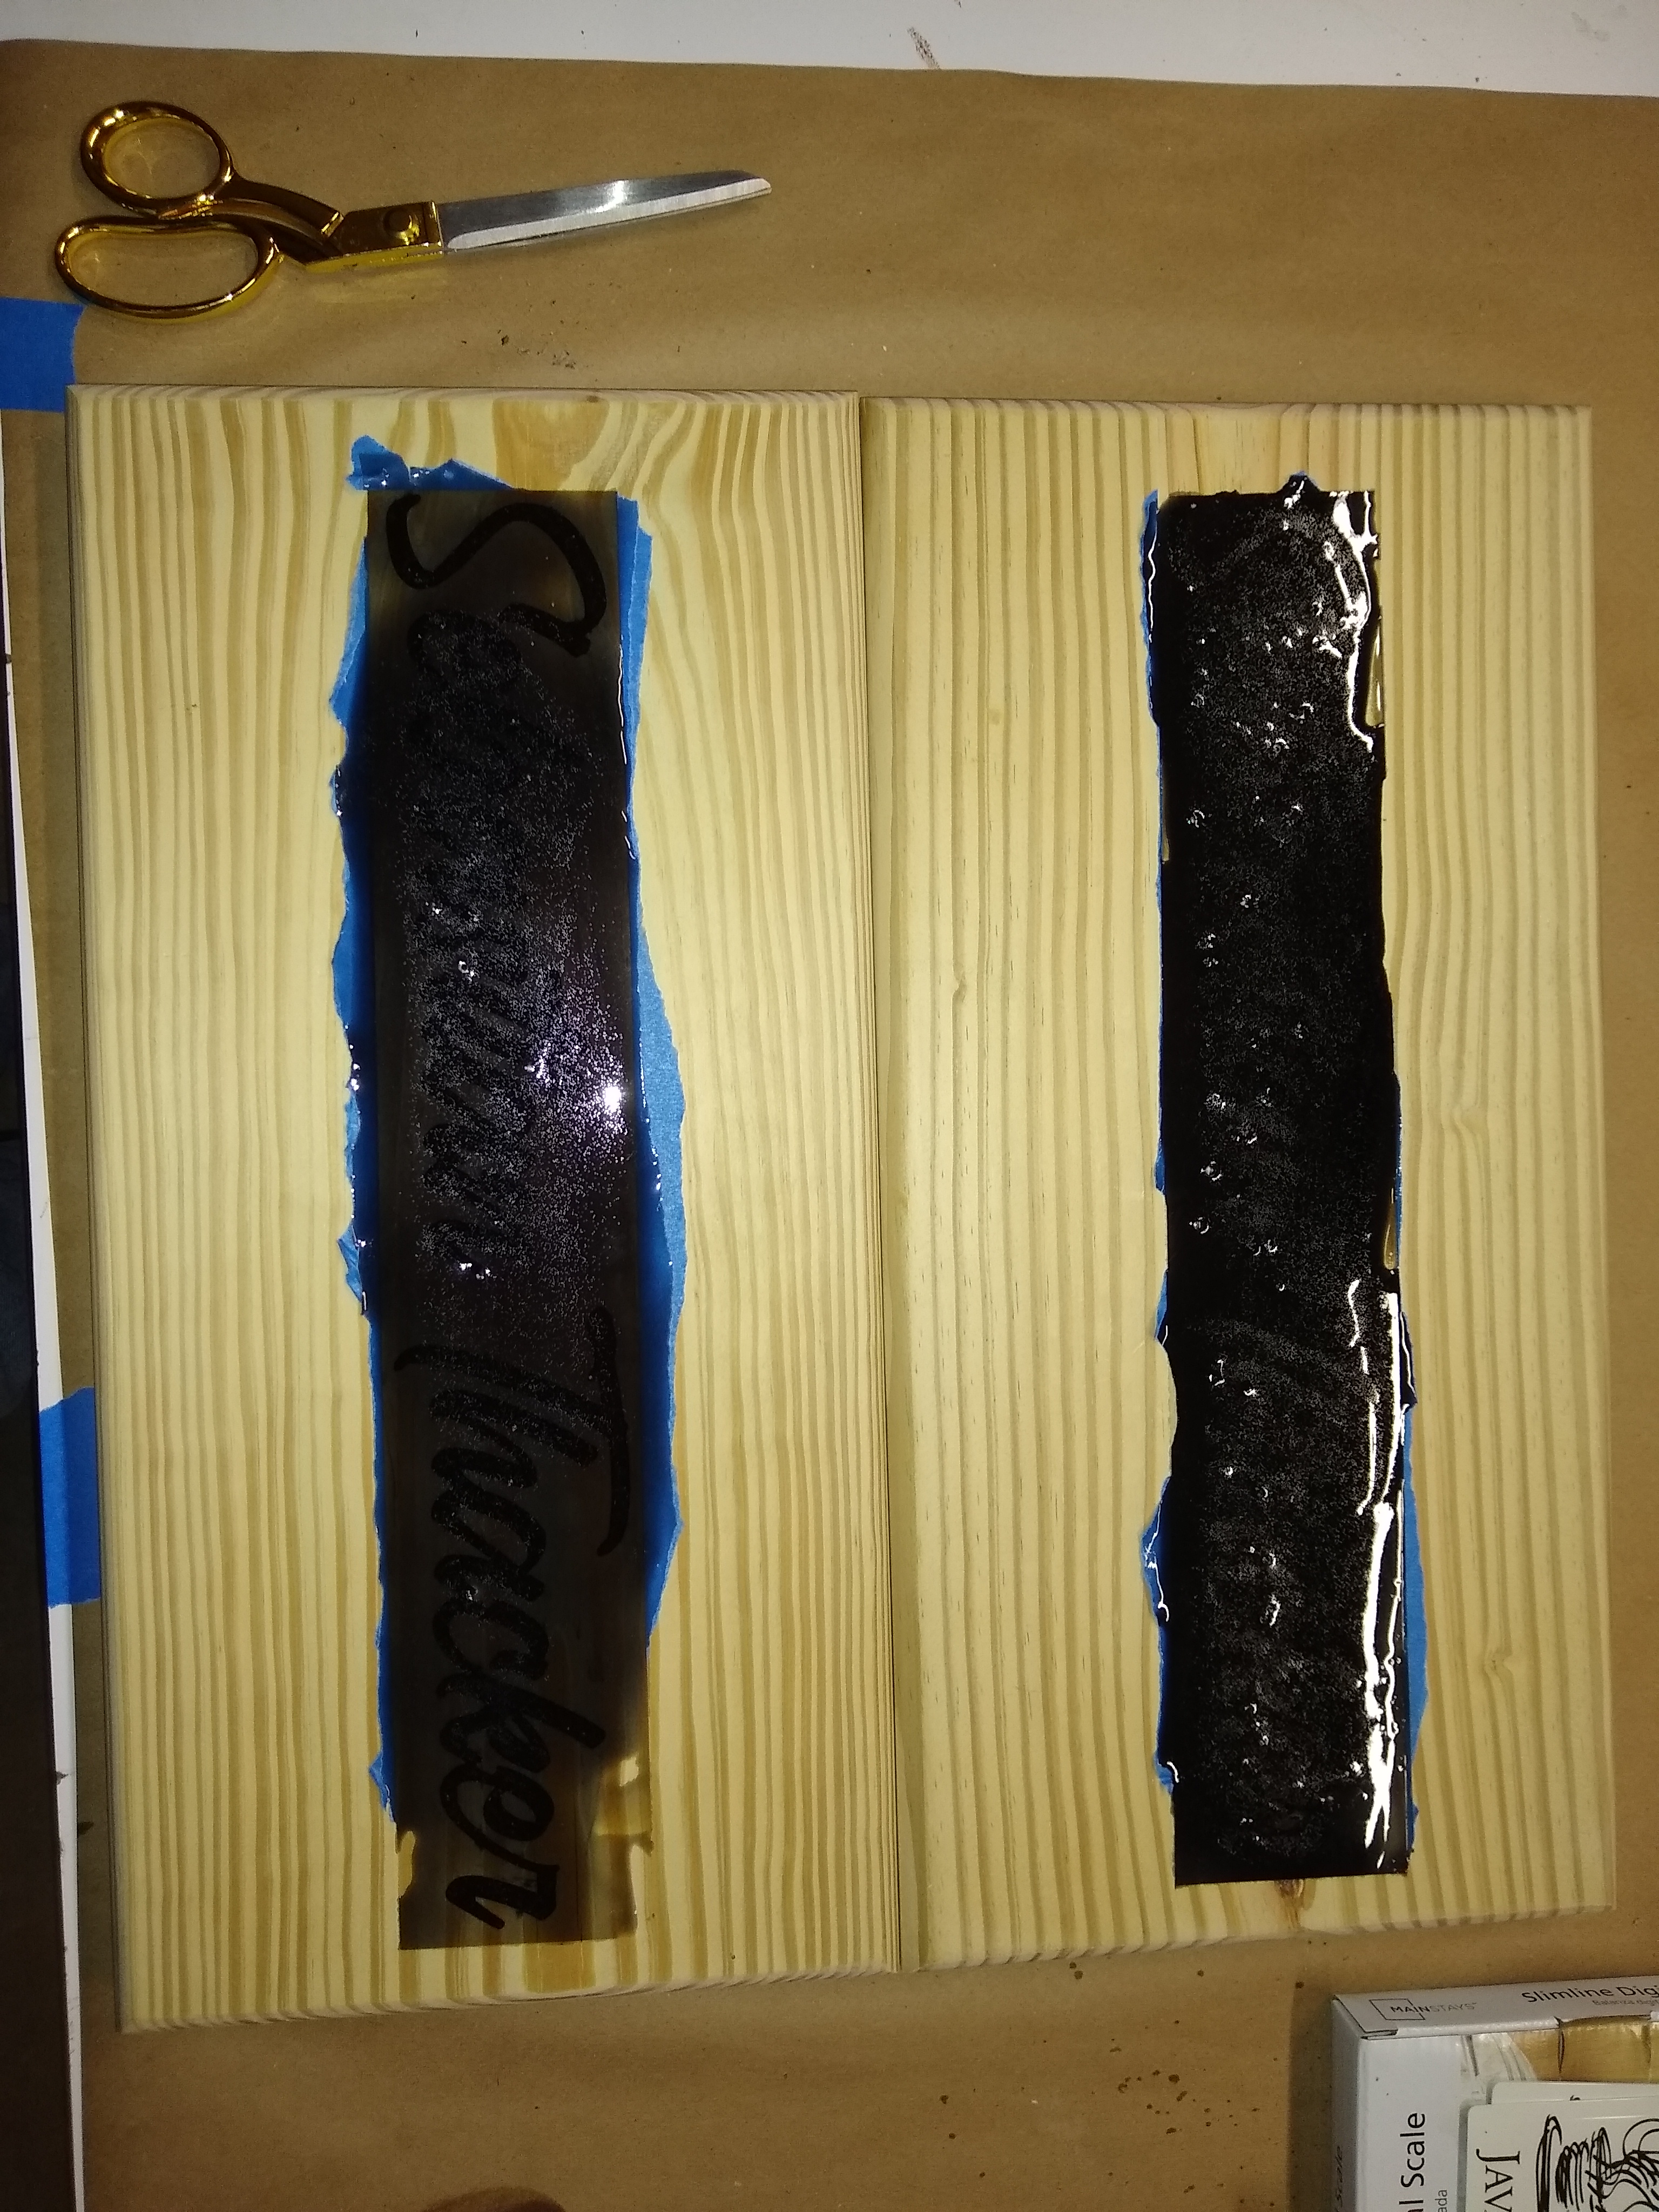
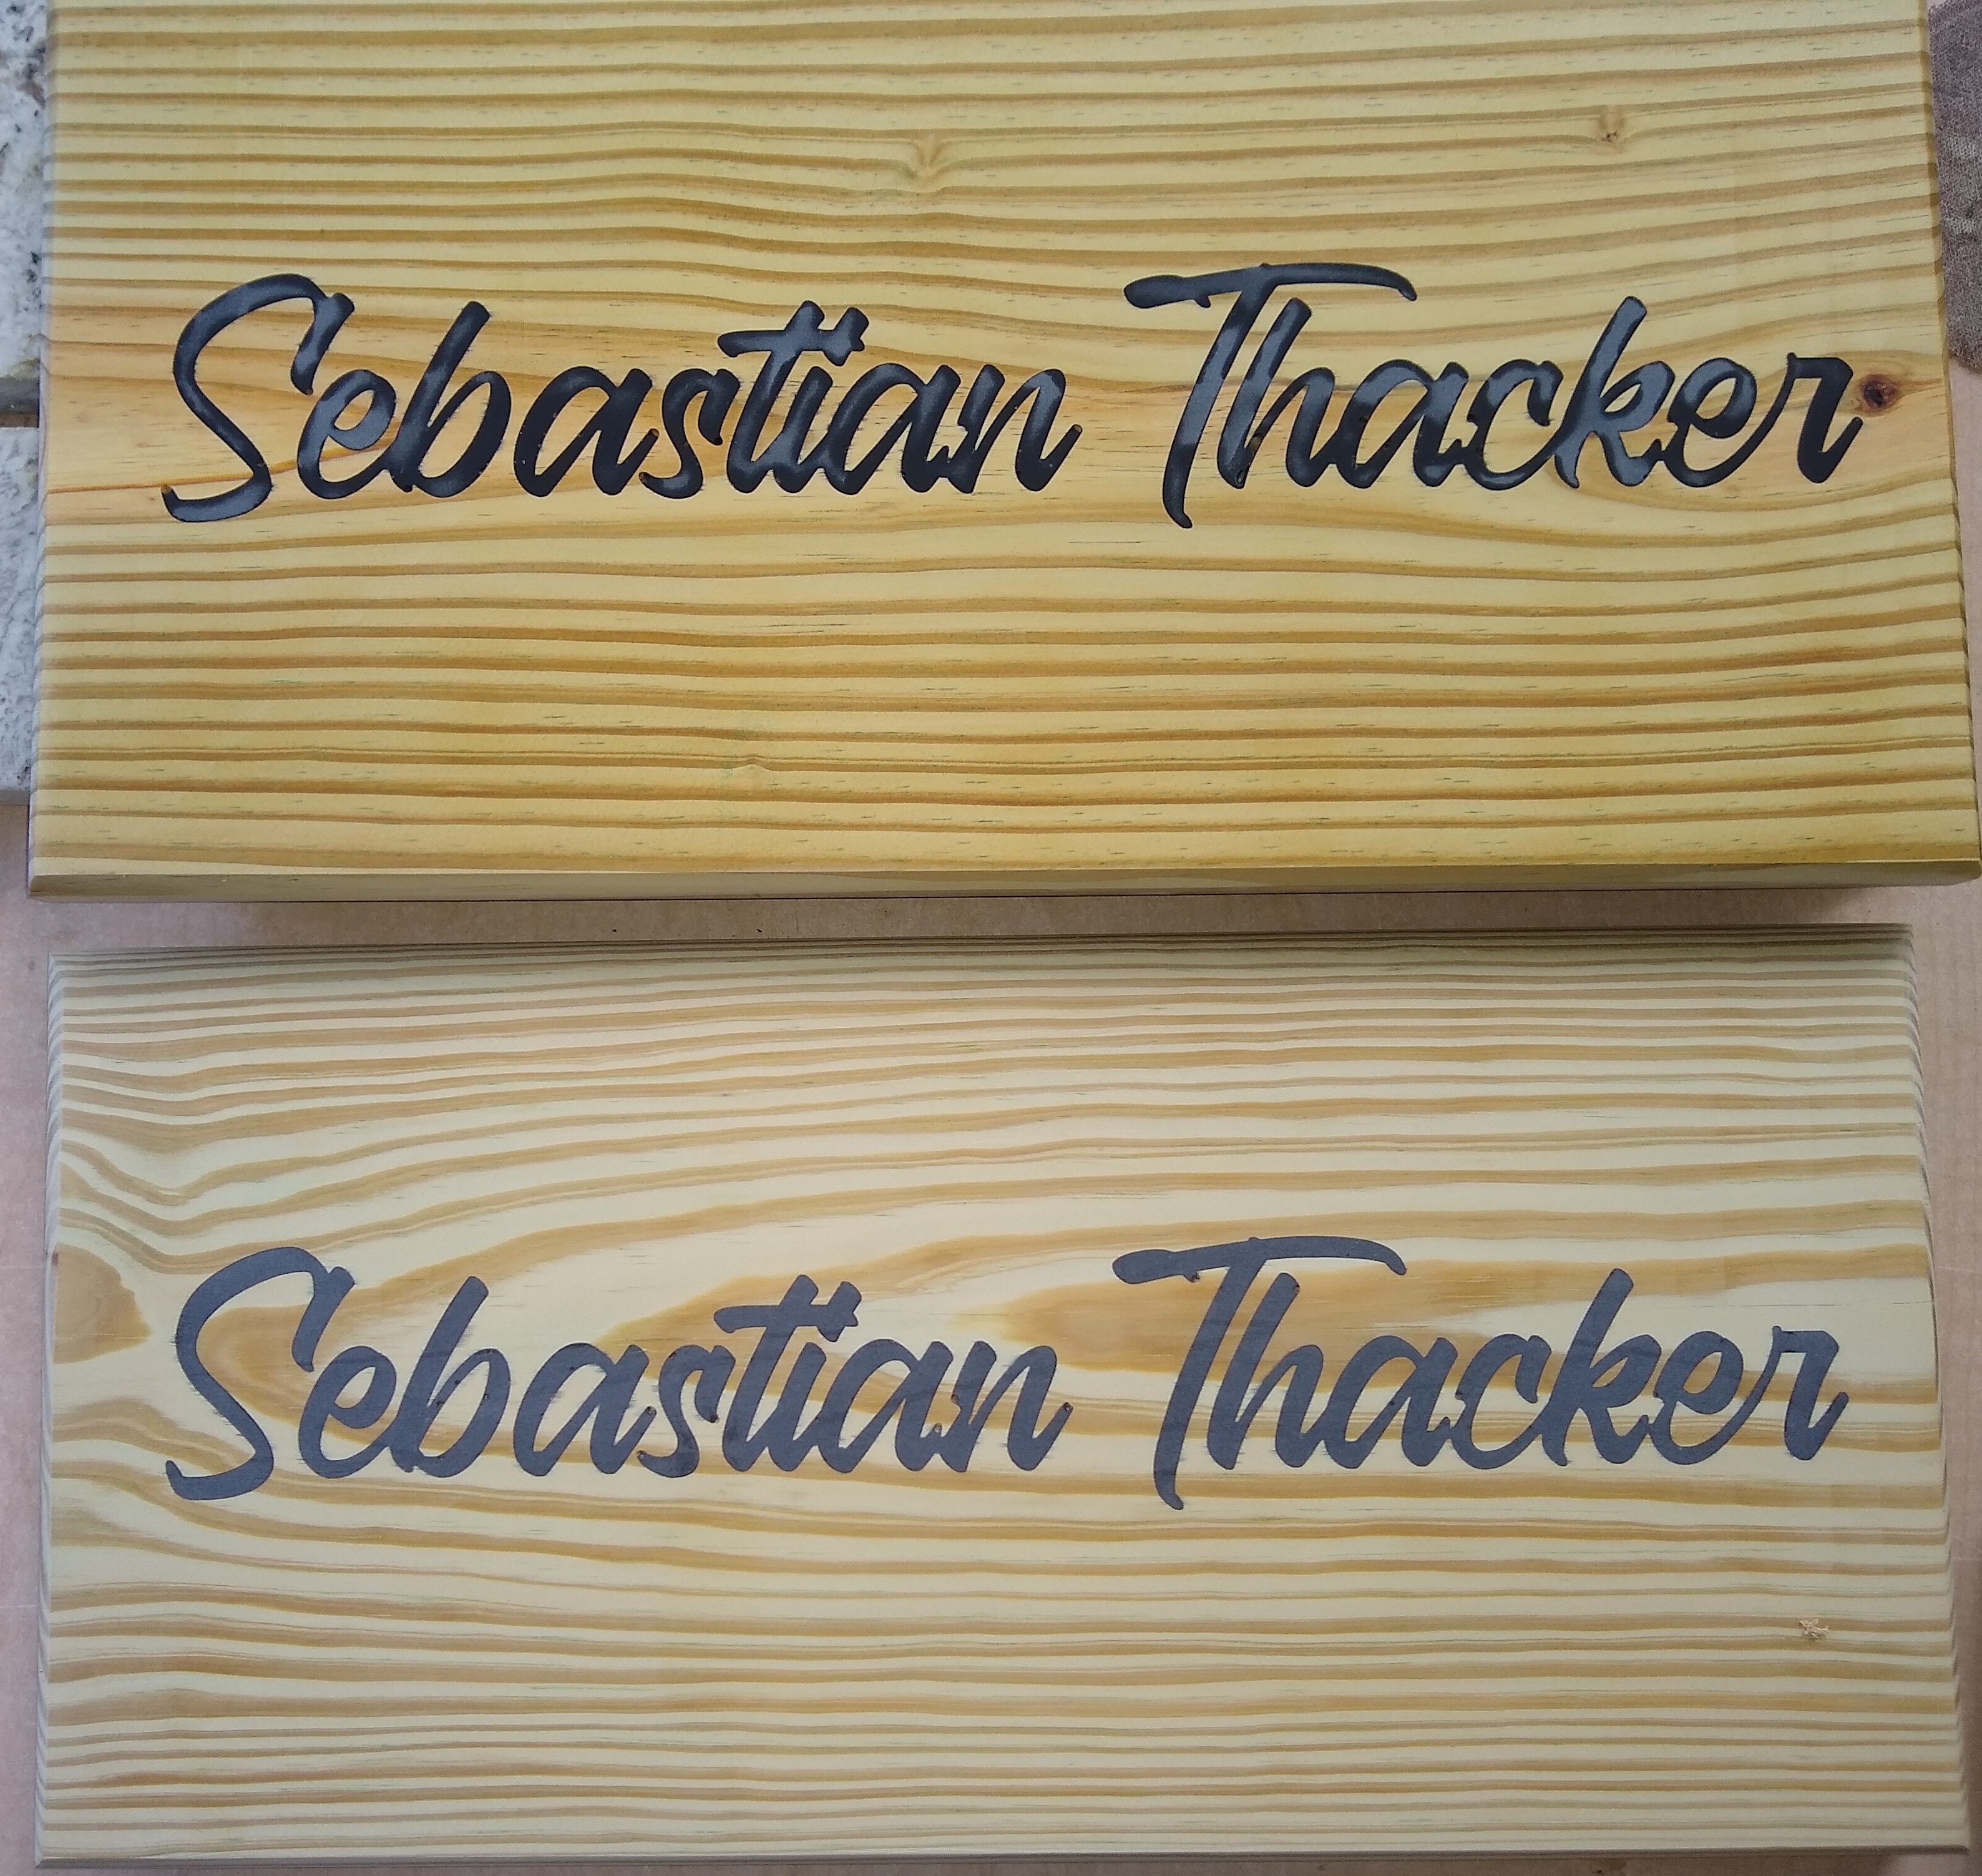
These are chair seats on treated pine. Black transtint dye and epoxy. 2 oz resin, 2 oz hardner and 10 drops dye.
Thanks Guy! Looks great…very clean edges.
Brian
Absolutely gorgeous piece of work Julien! Thanks for the insights…especially epoxy chips vs. epoxy dust!
Brian
Over pour a little and then use a belt sander to level it then use an orbital sander in progressively finer grits
2 Likes
This topic was automatically closed after 30 days. New replies are no longer allowed.