Retirement Shadowbox

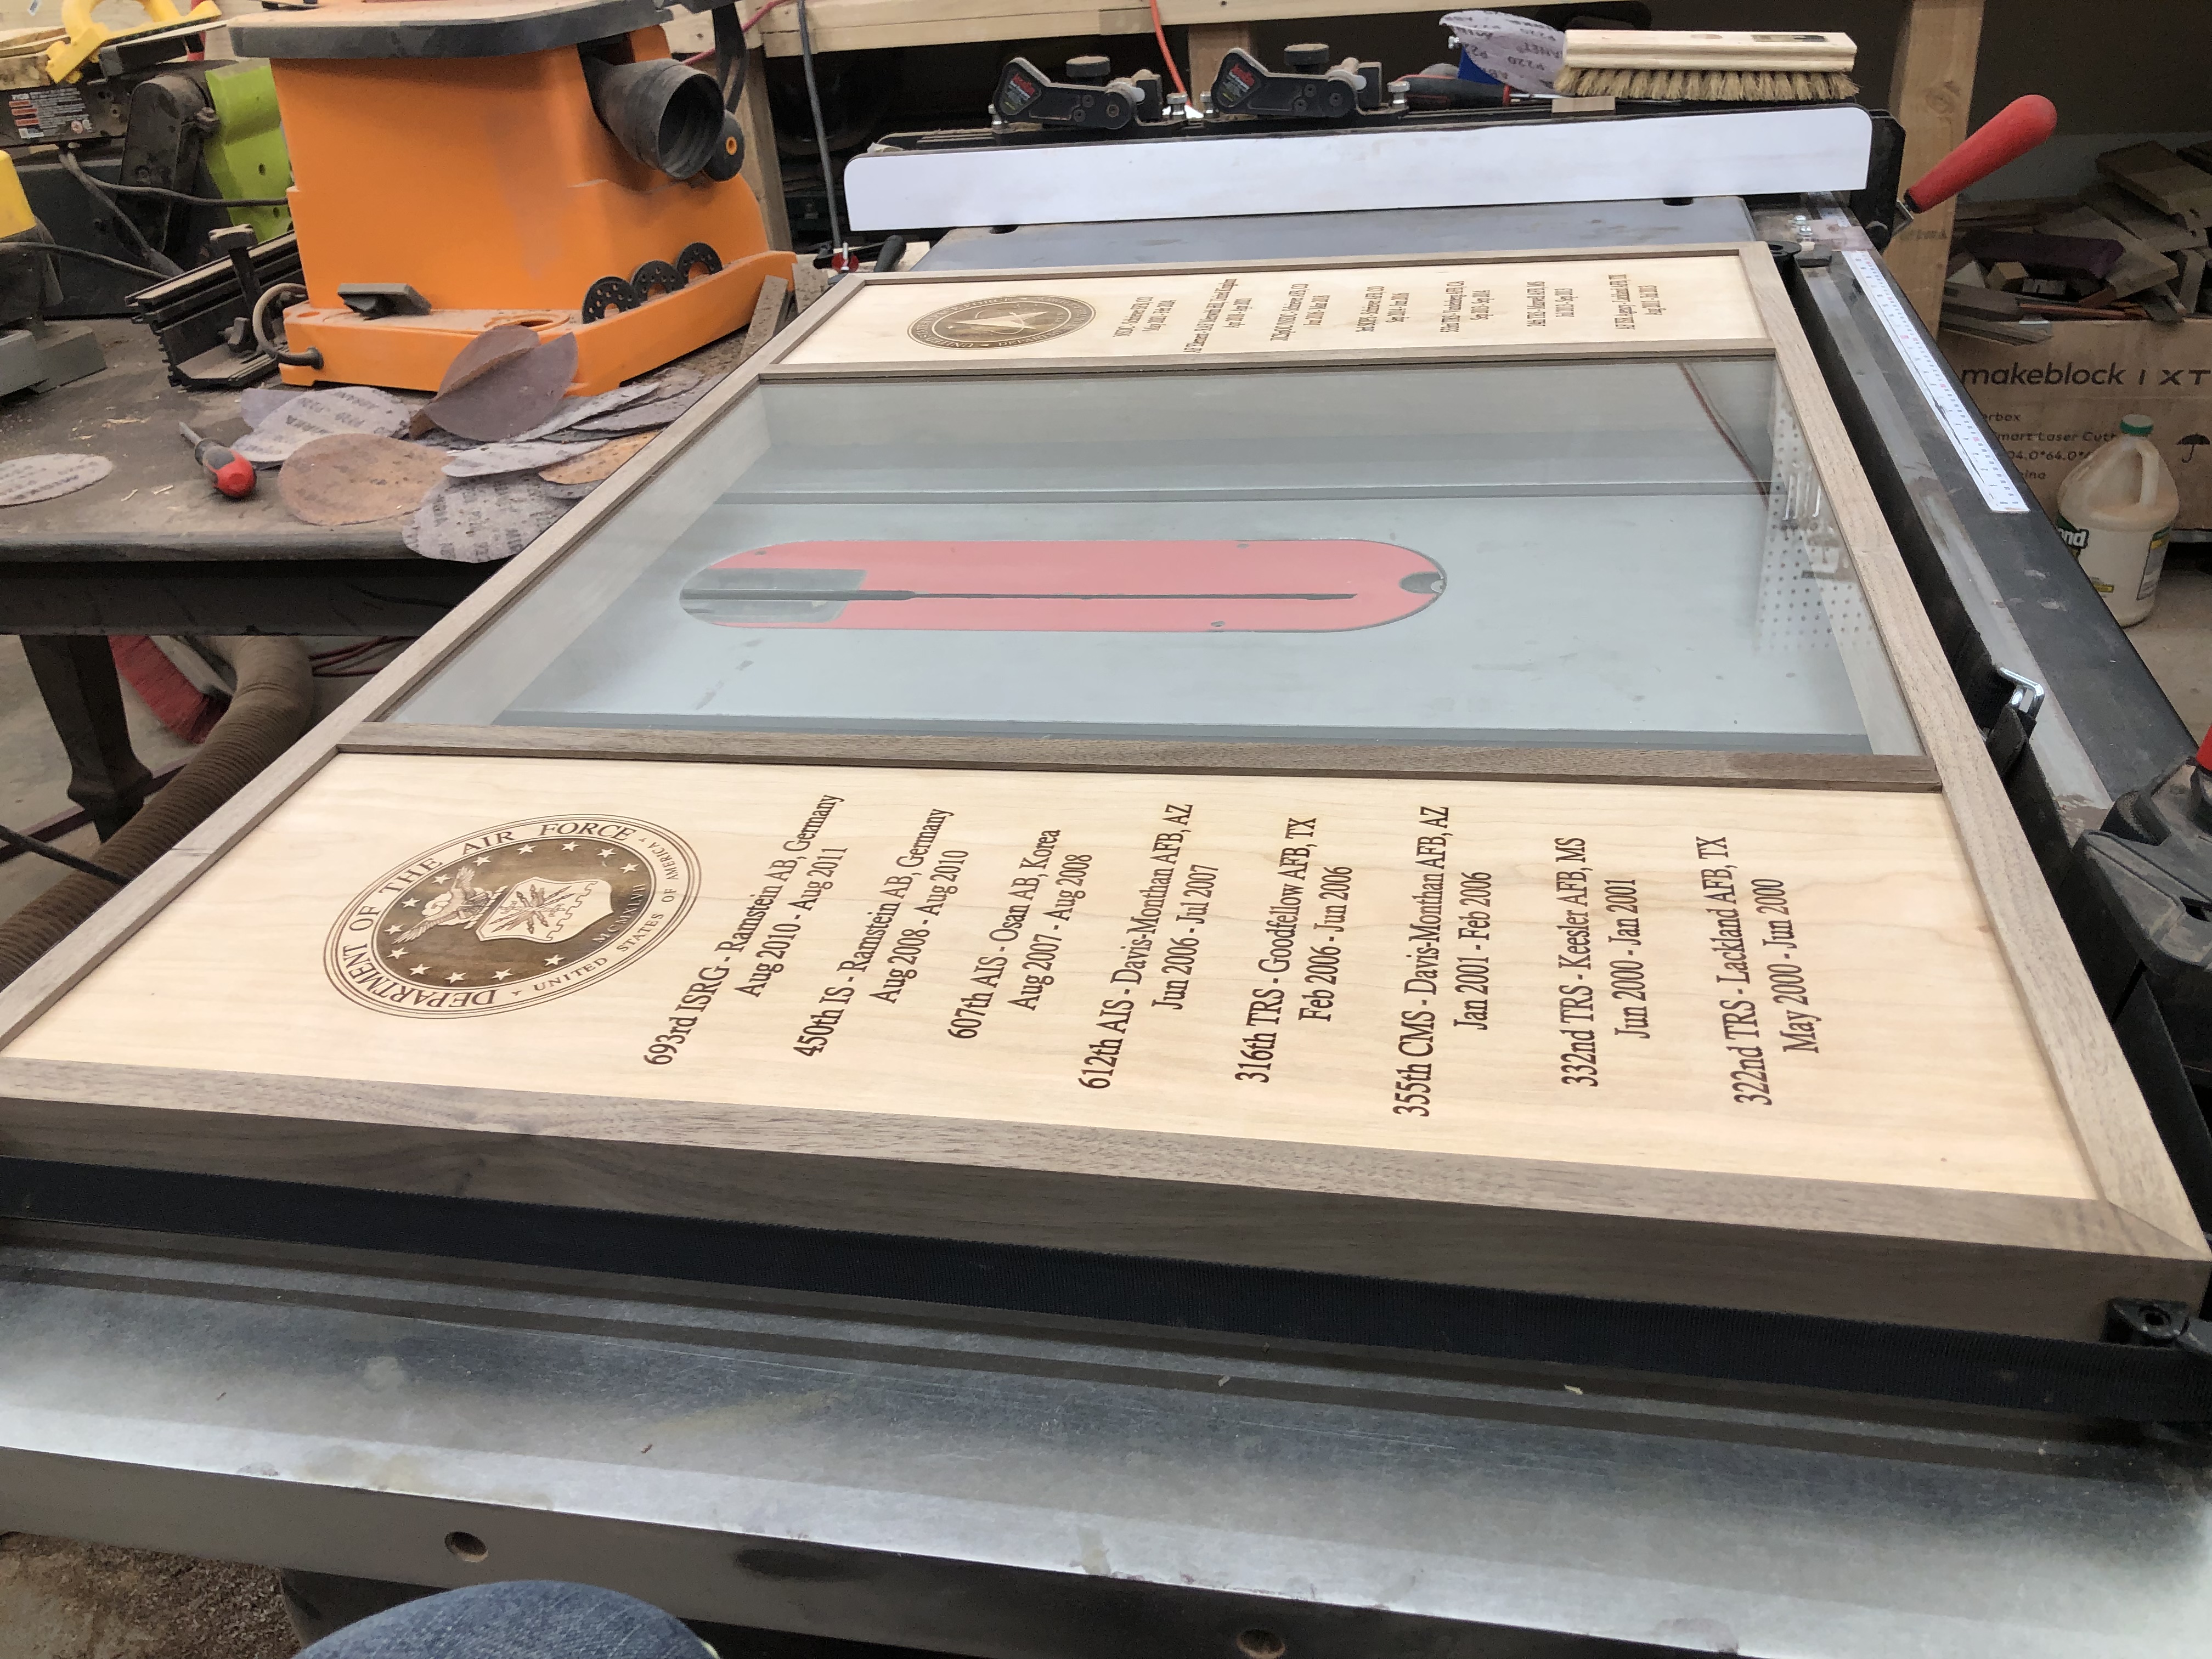
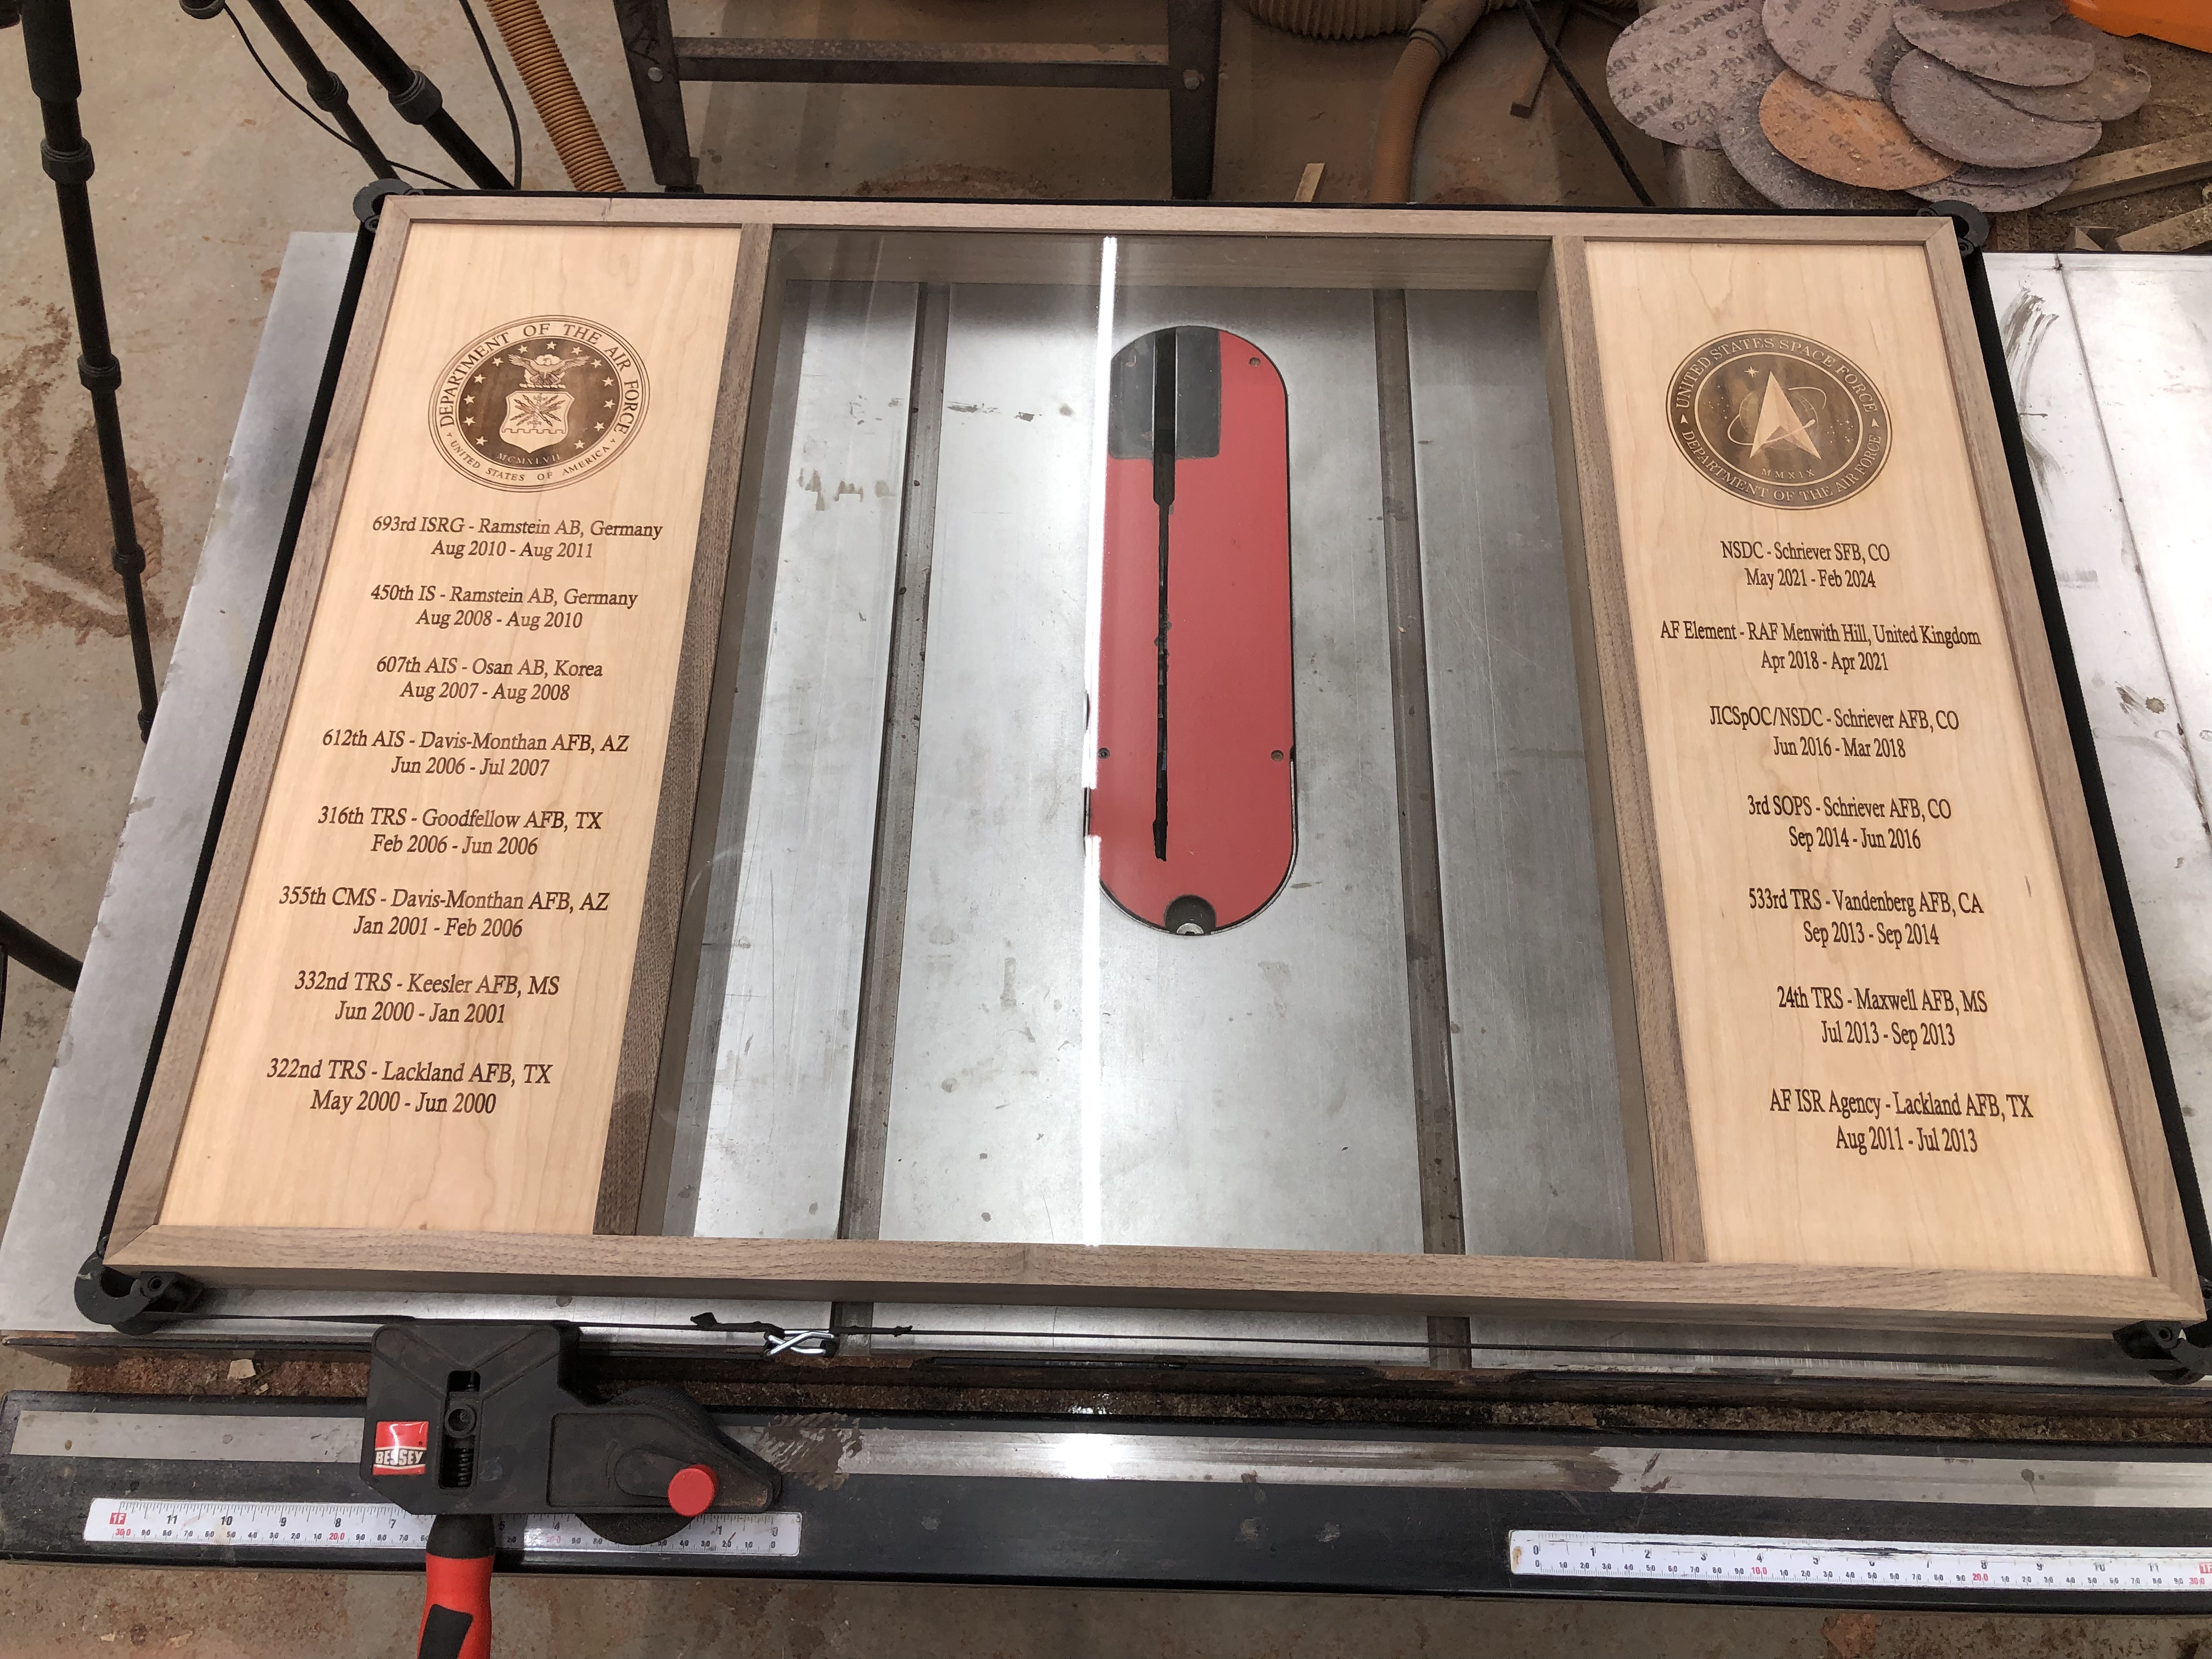
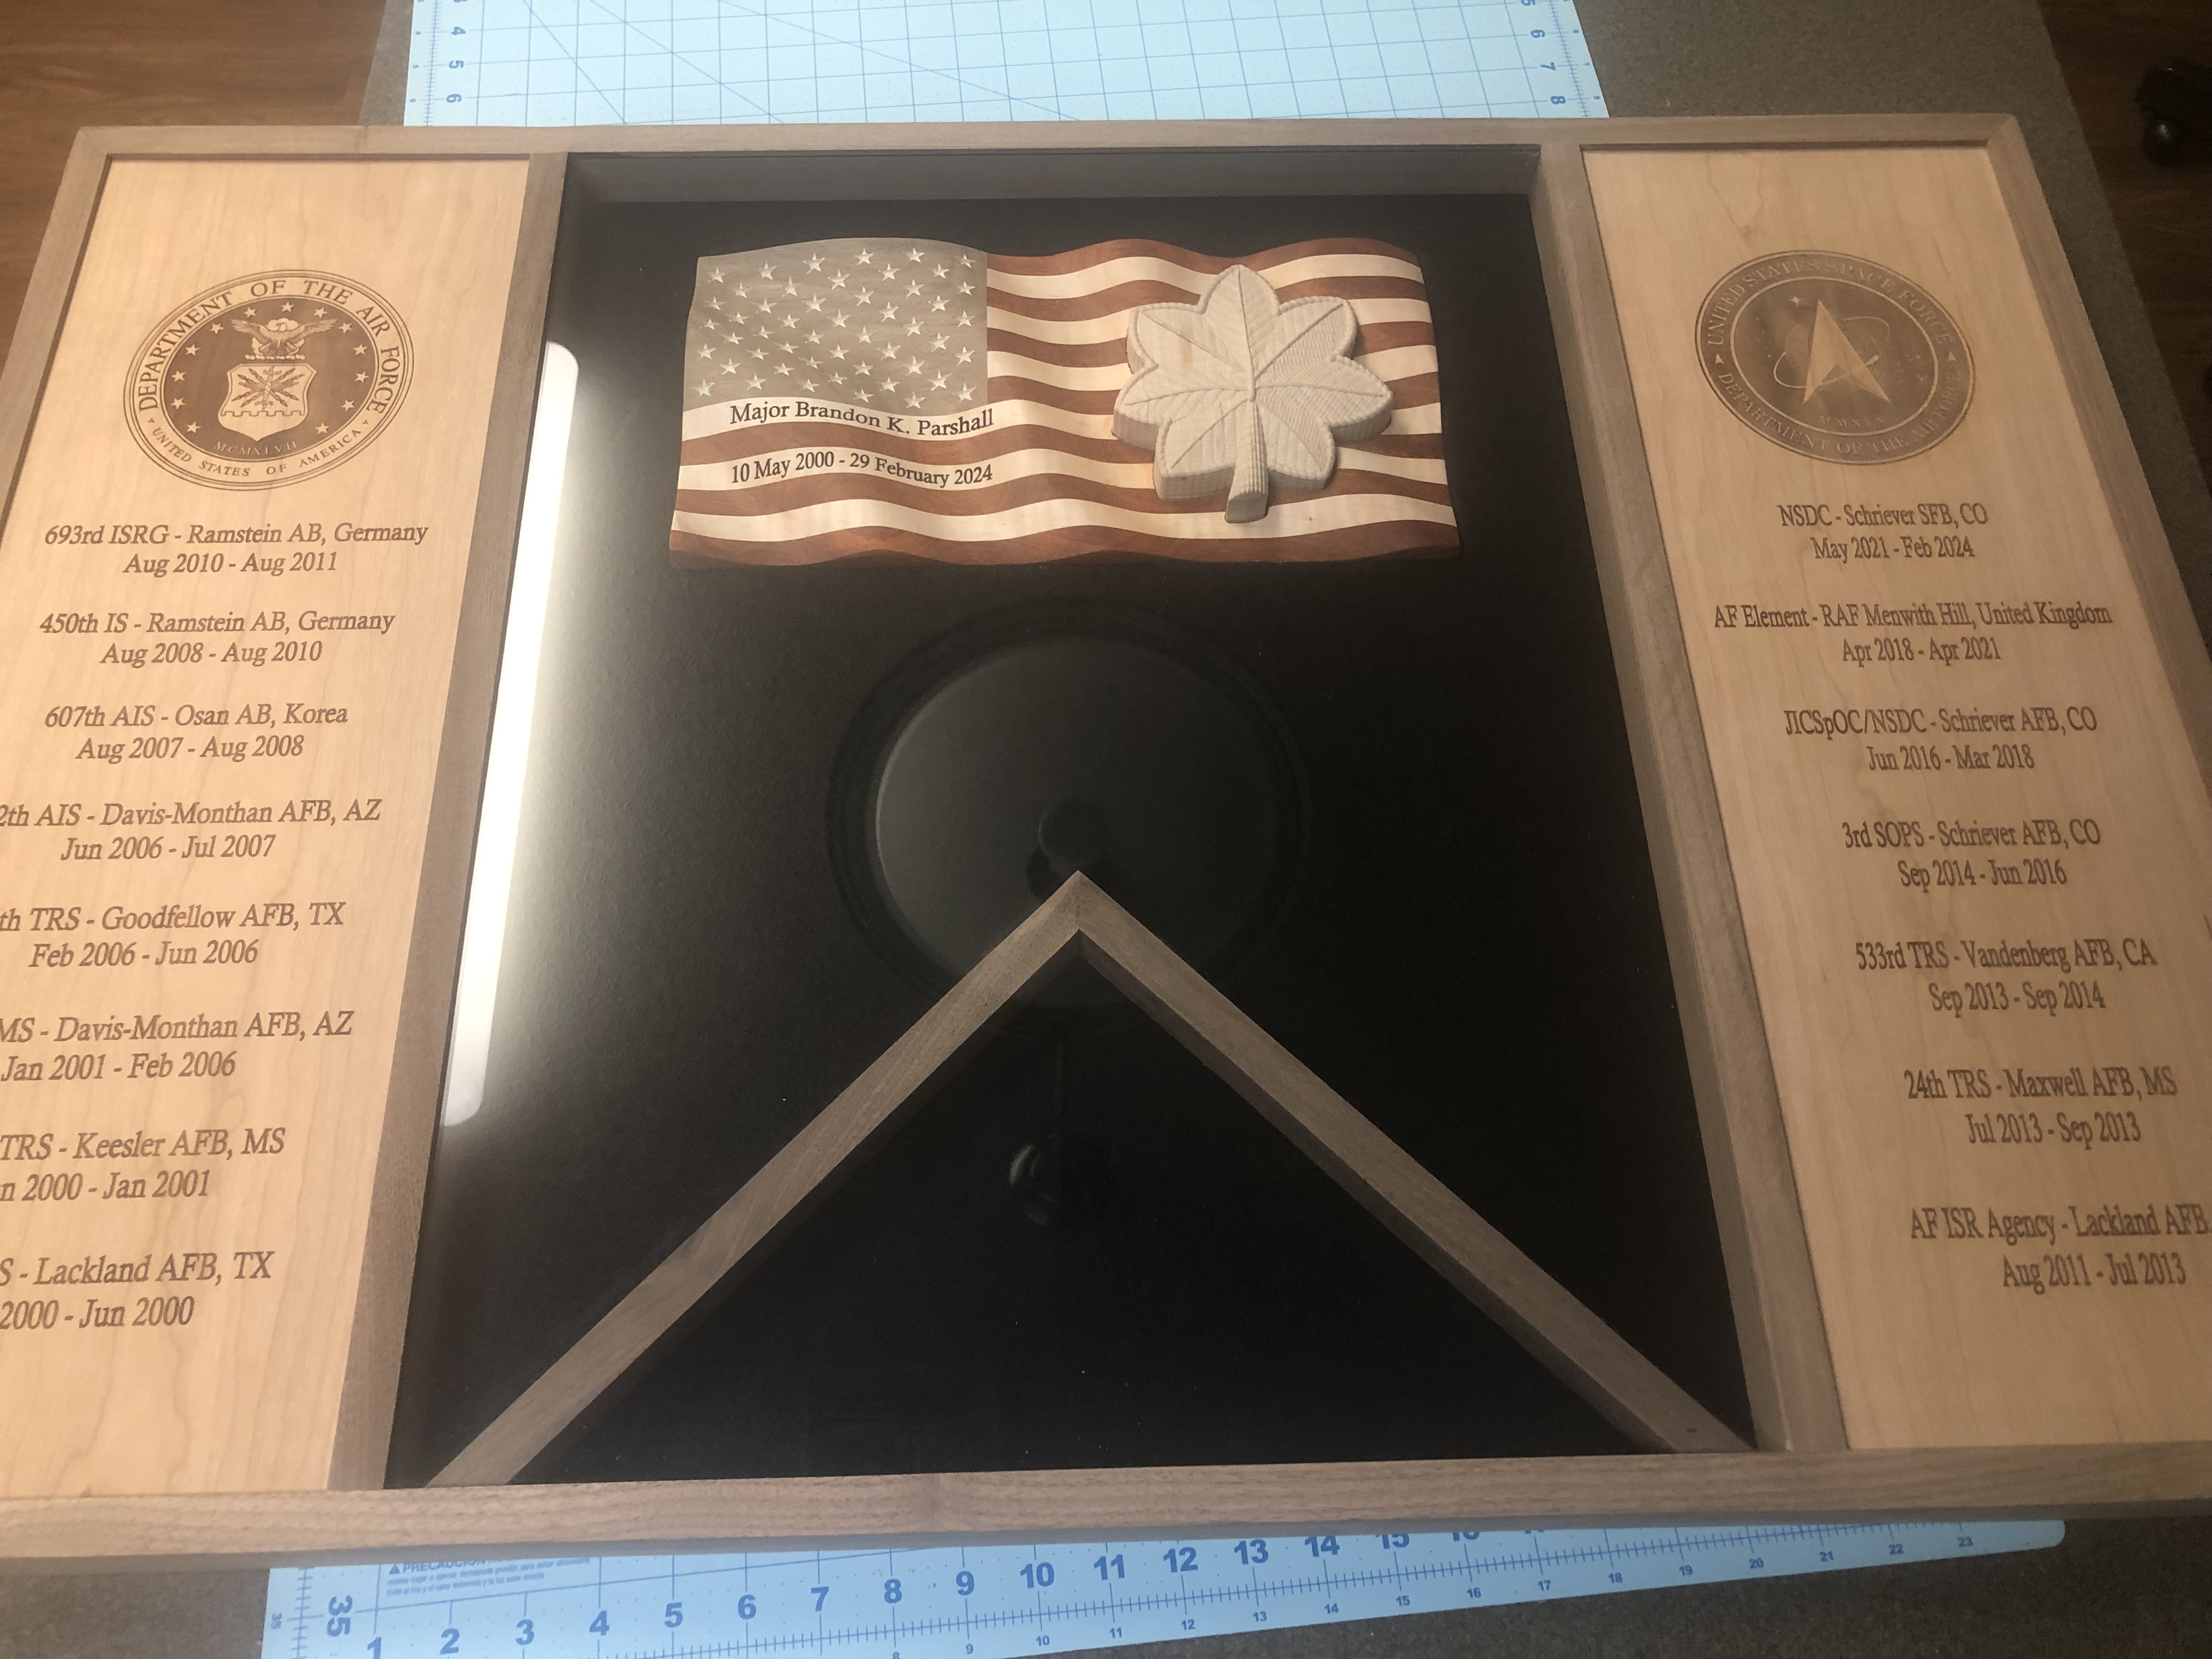
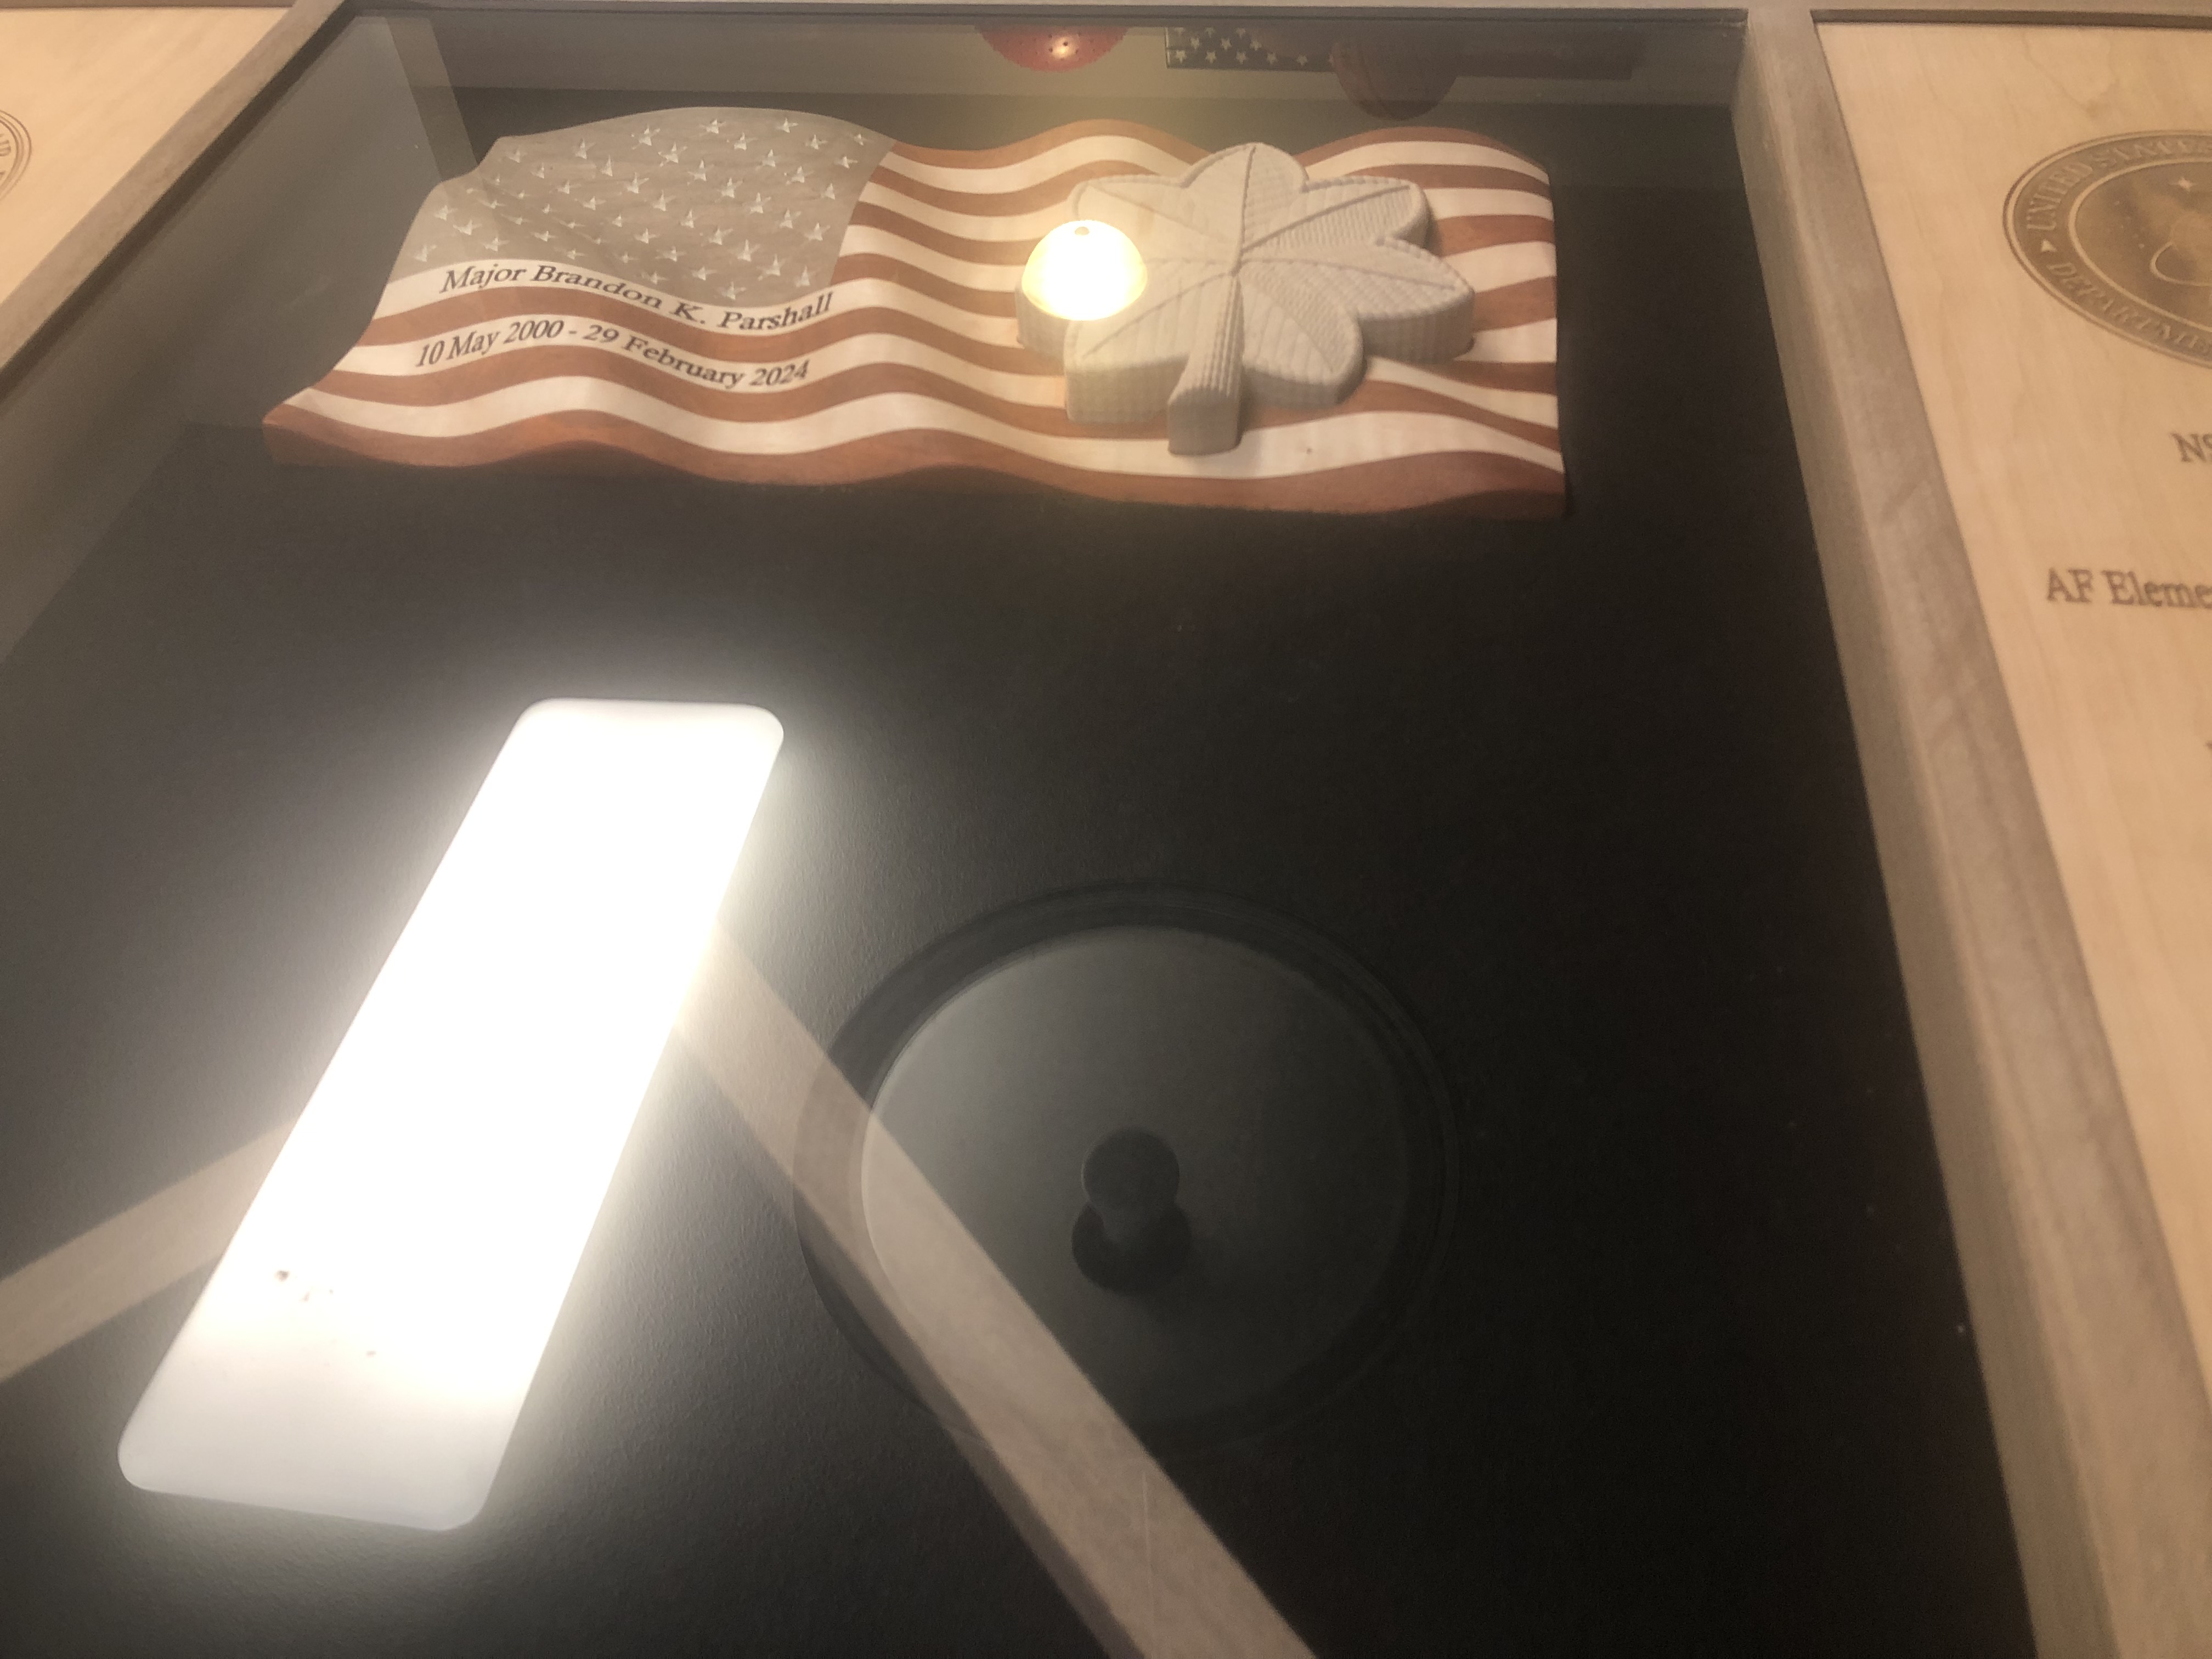
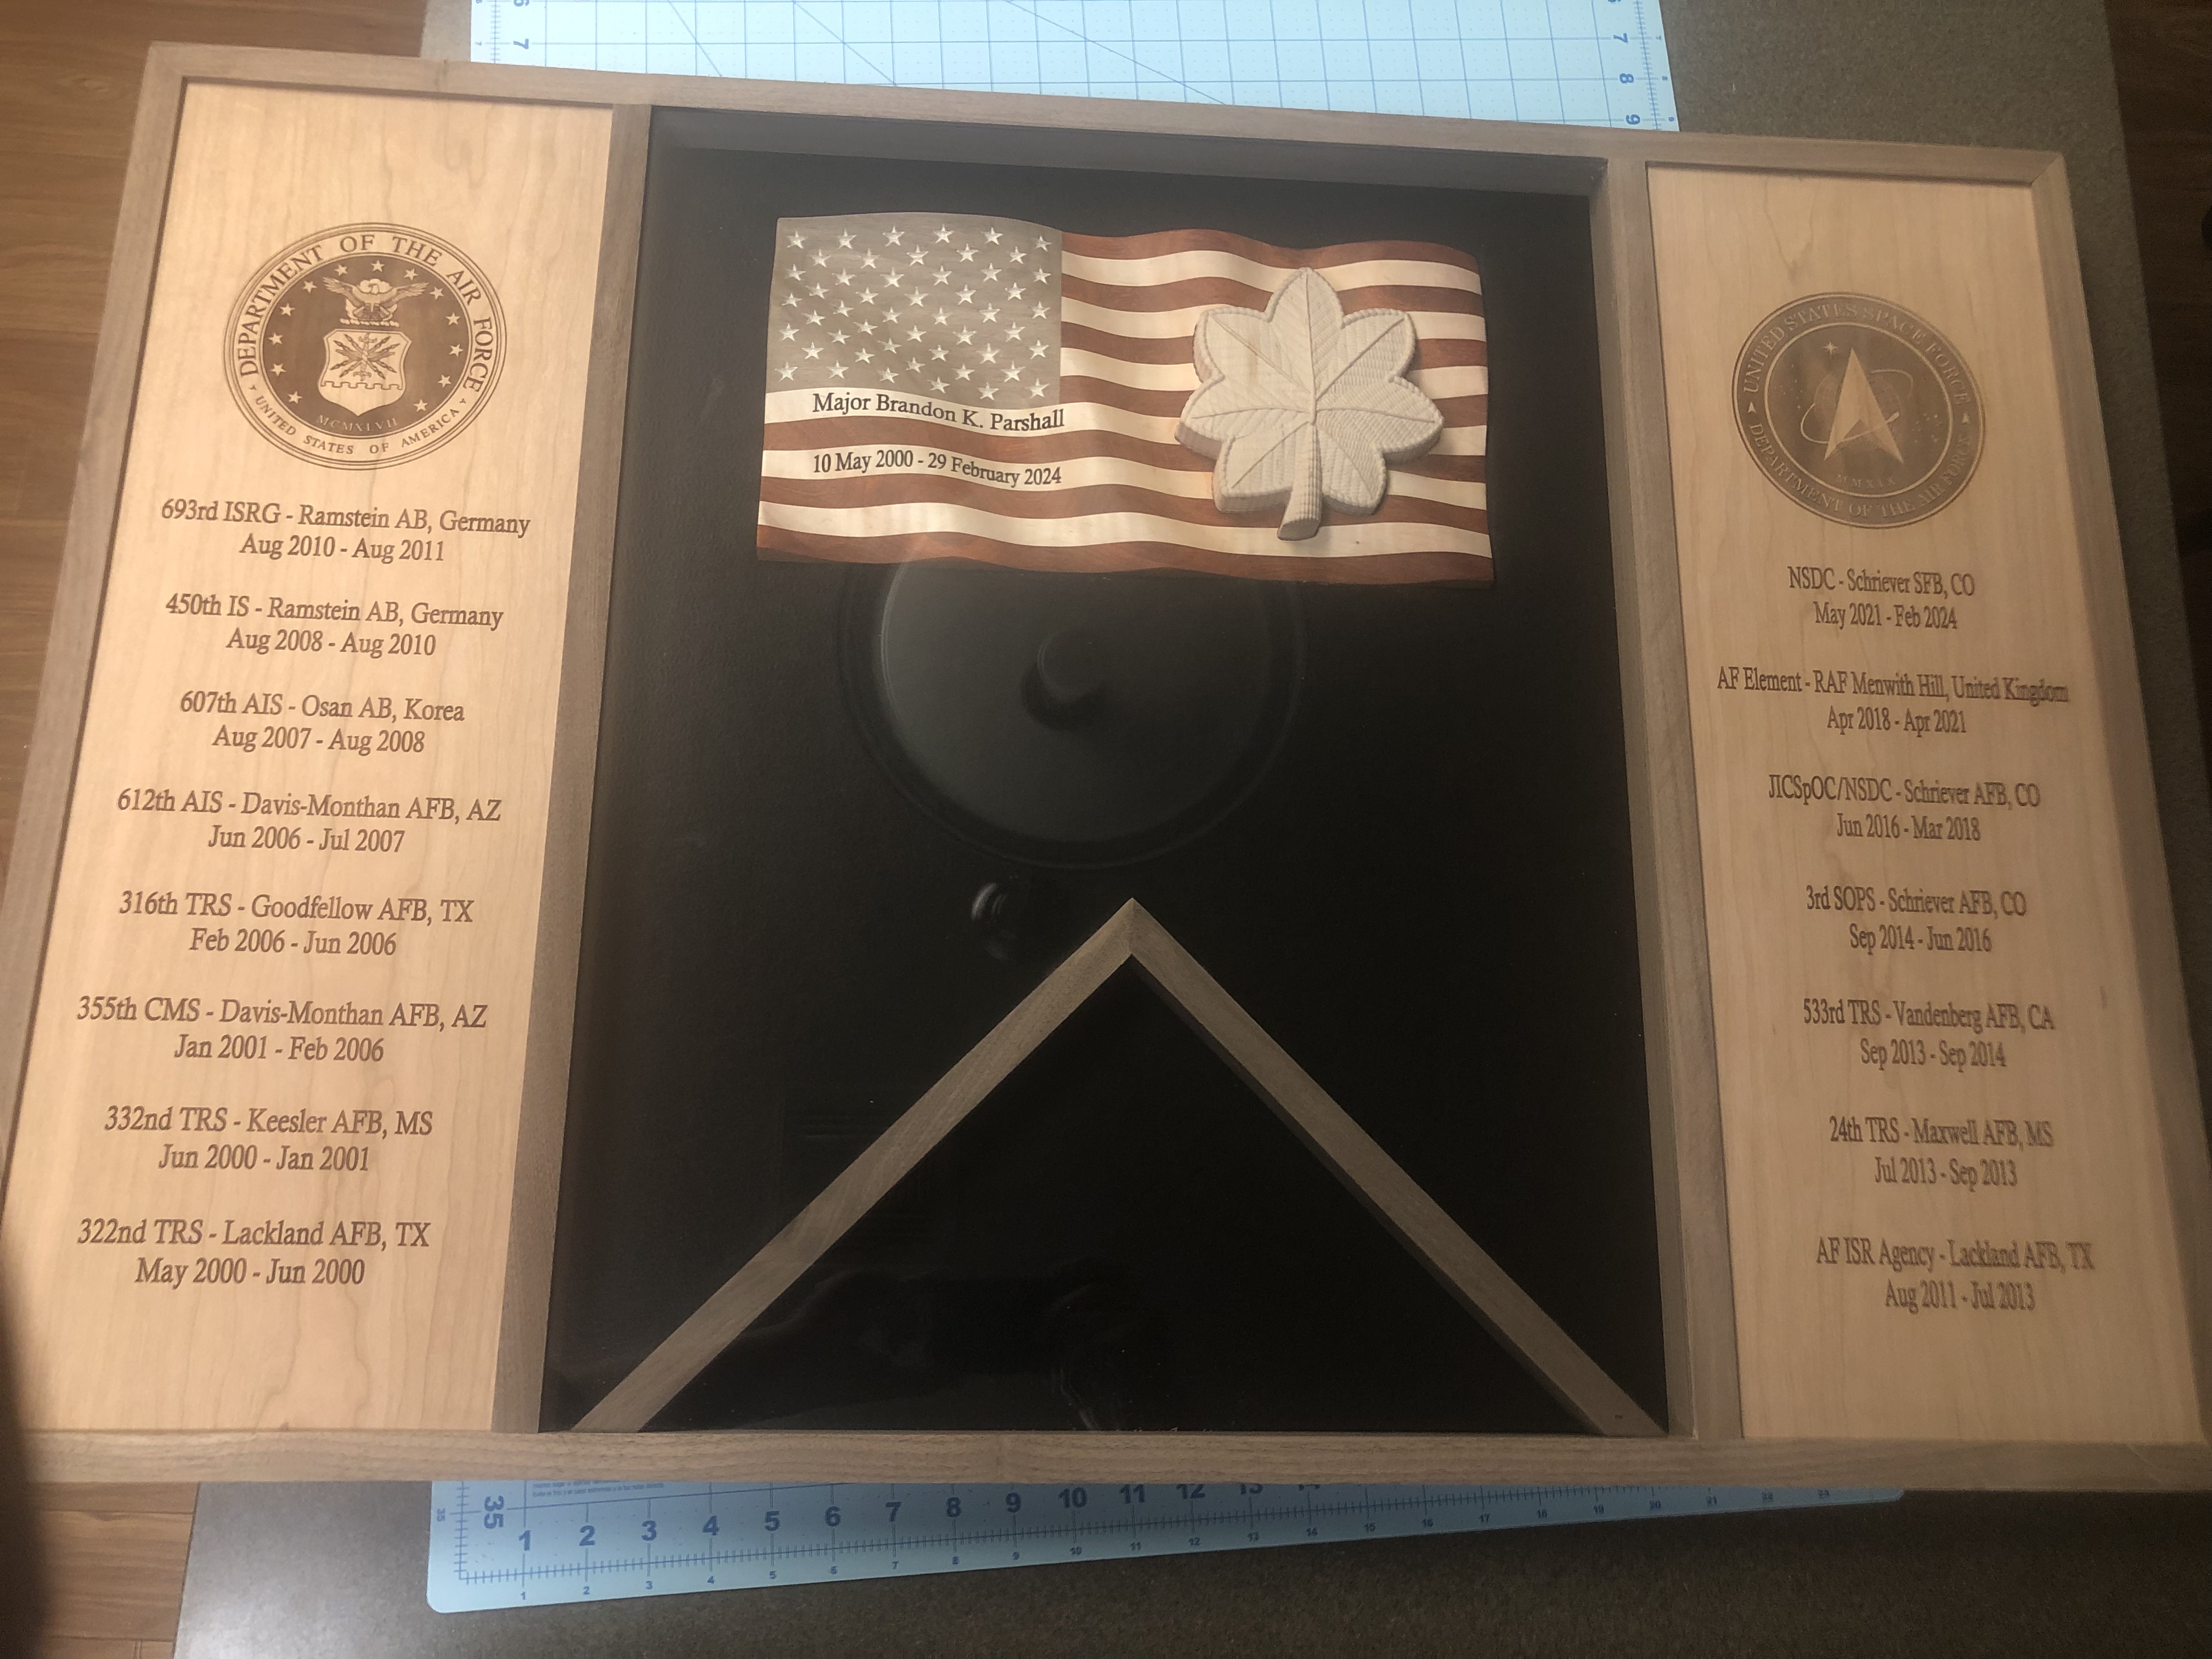
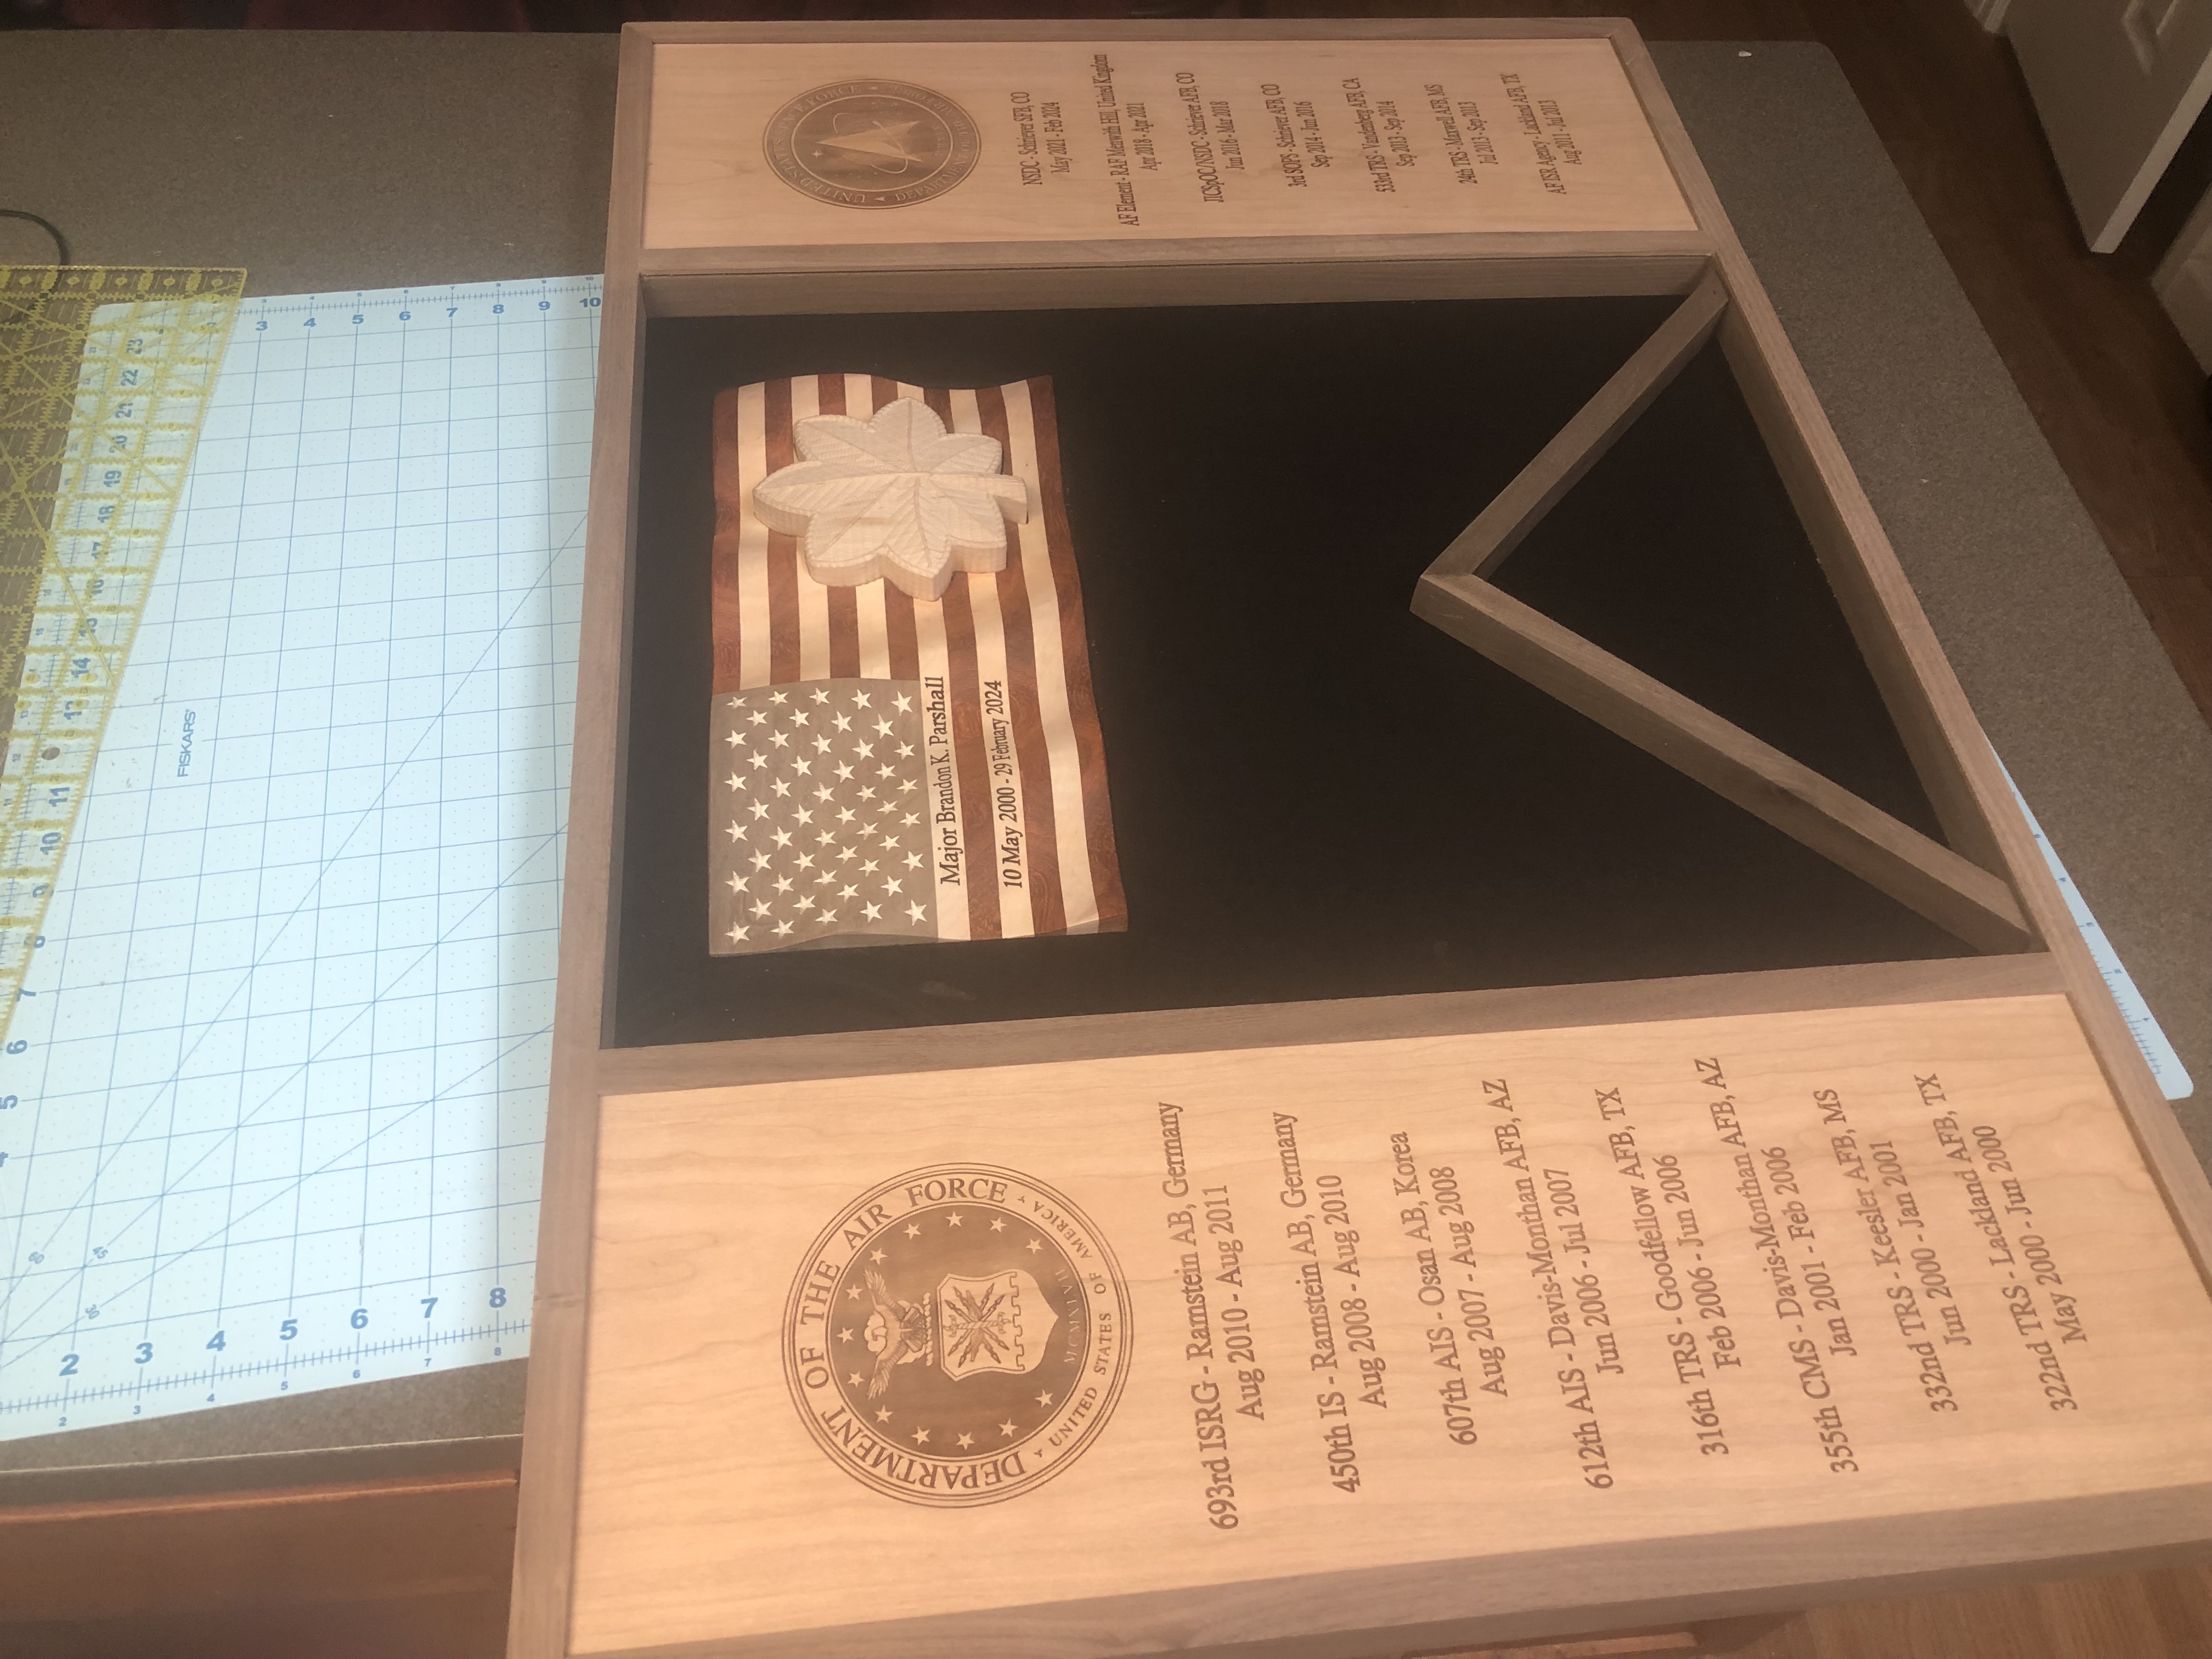
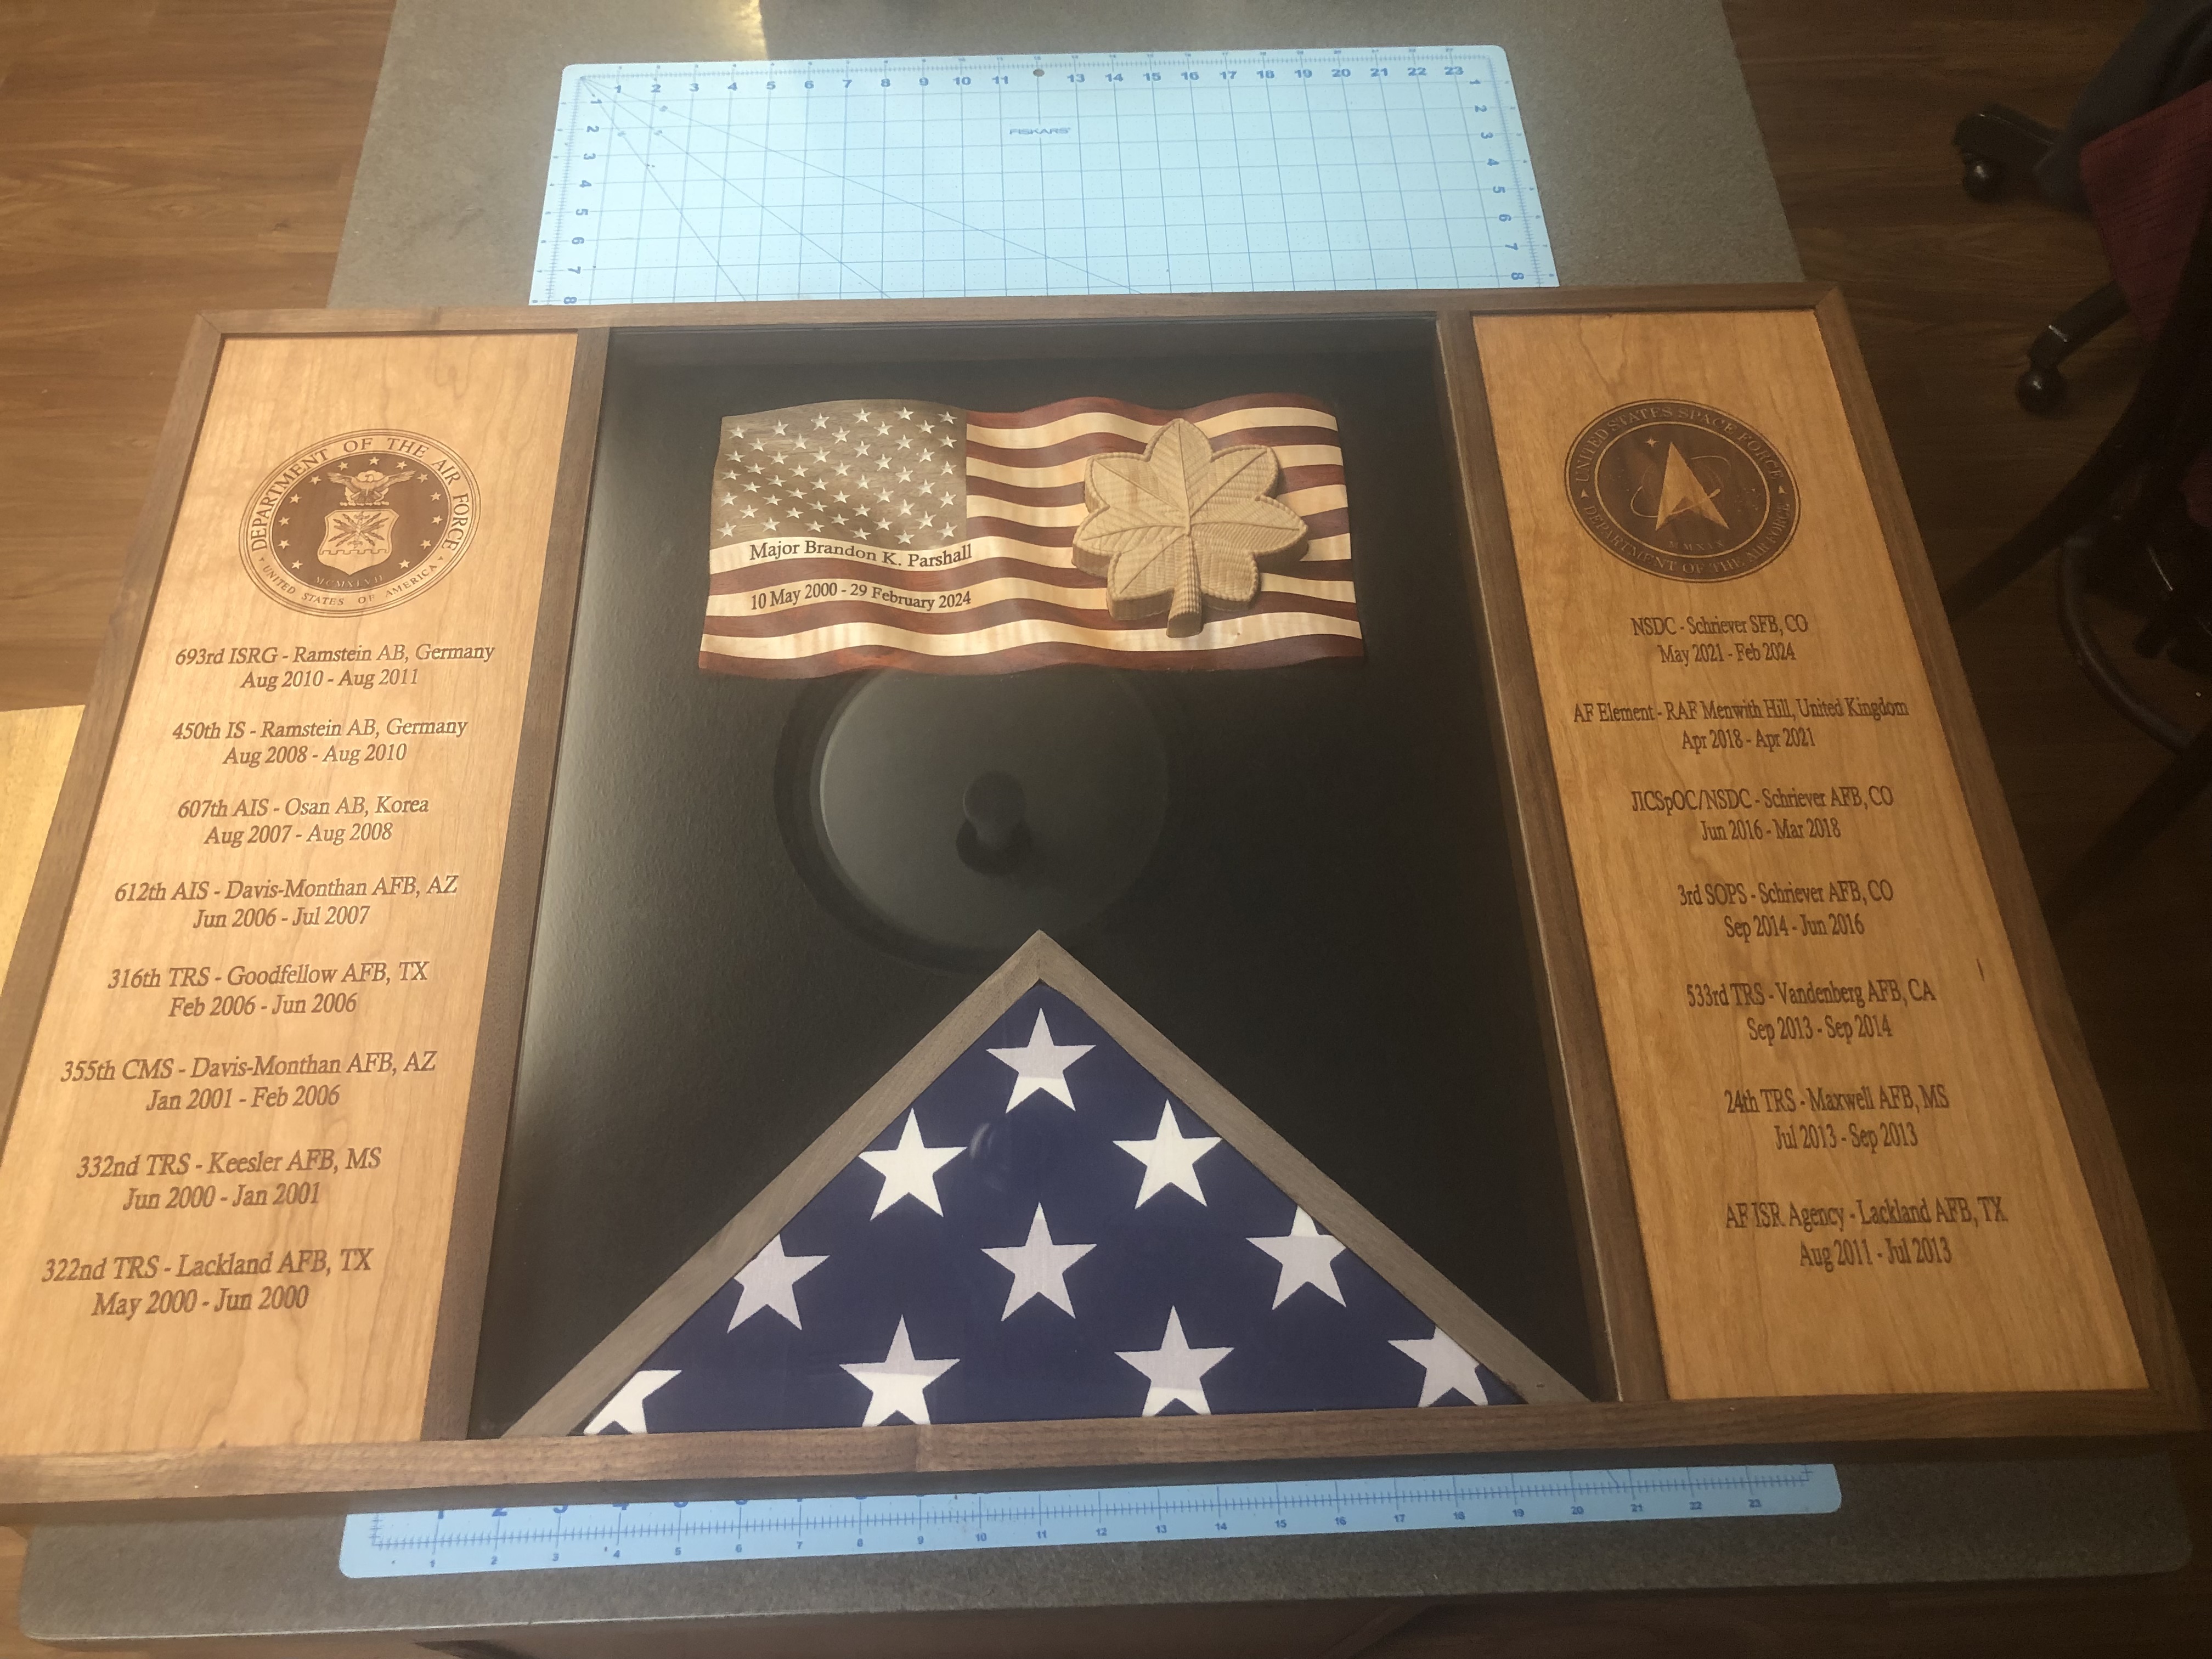
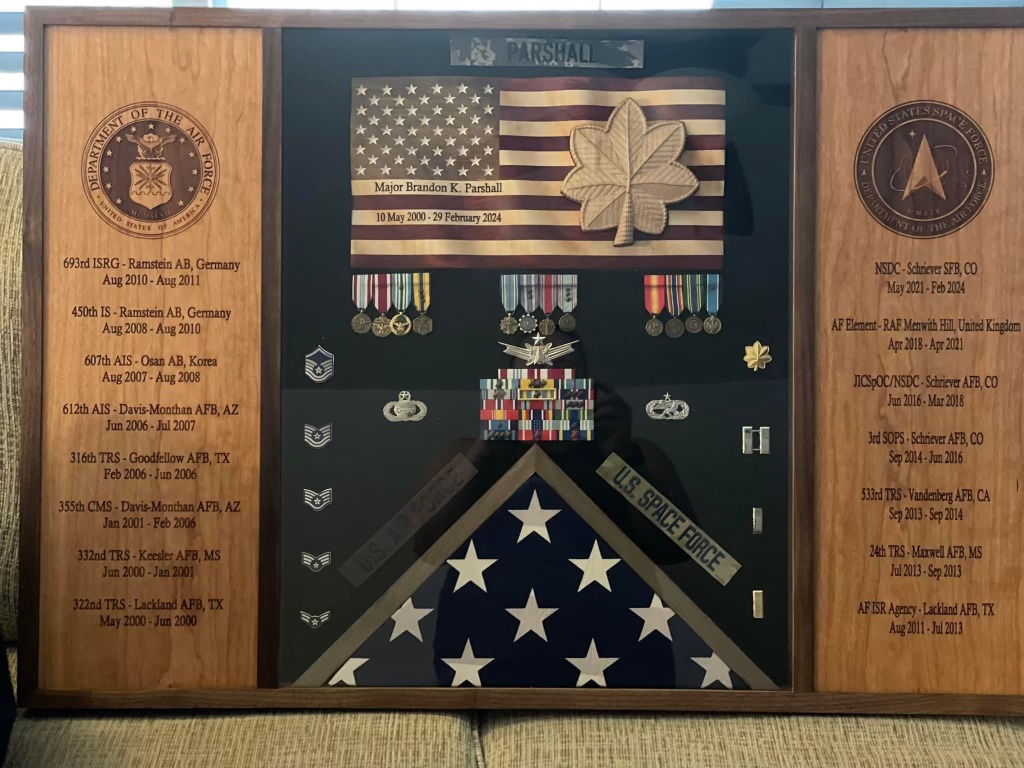
I usually do not venture to make shadowboxes, but my buddy talked me into it. I told him the only way I would do it was it had to have a wavy flag inside the box :slight_smile: , which he replied it has to have my rank on it though. He was originally pushing for just the normal 2D flags that you see everyone selling.

I think it should turn out pretty good! The rank is a file I downloaded because of the short turn around.
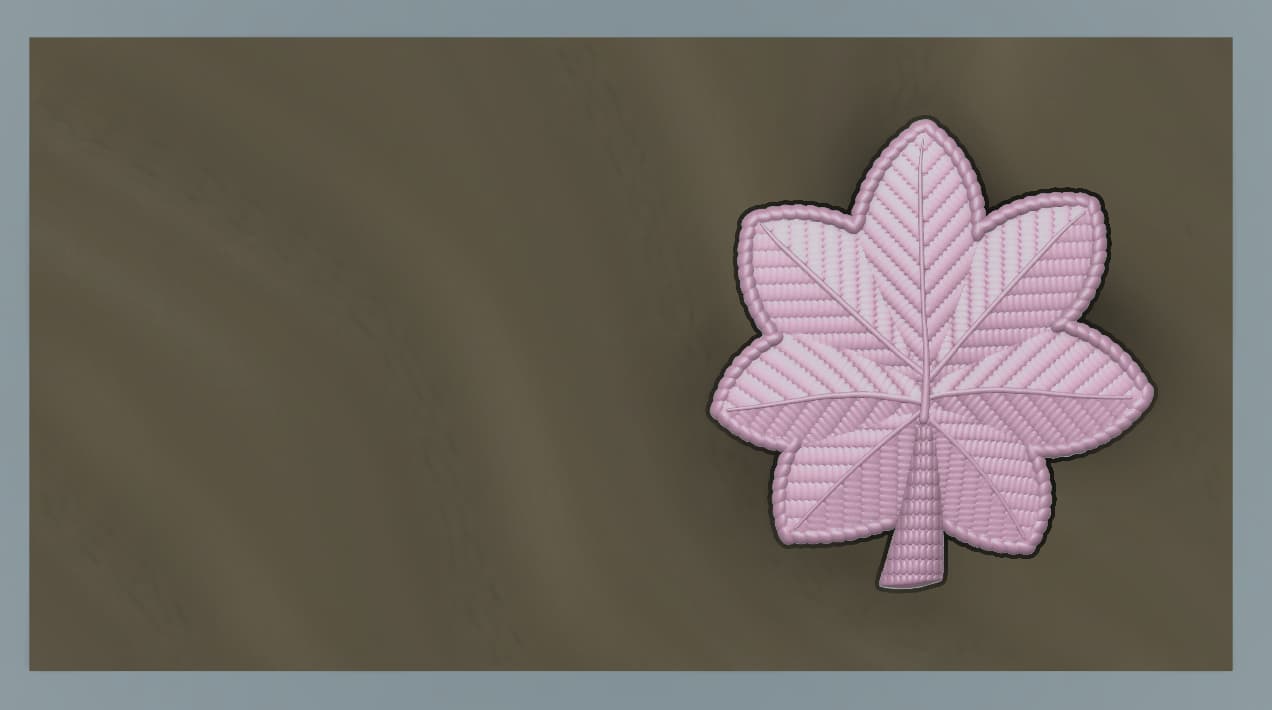
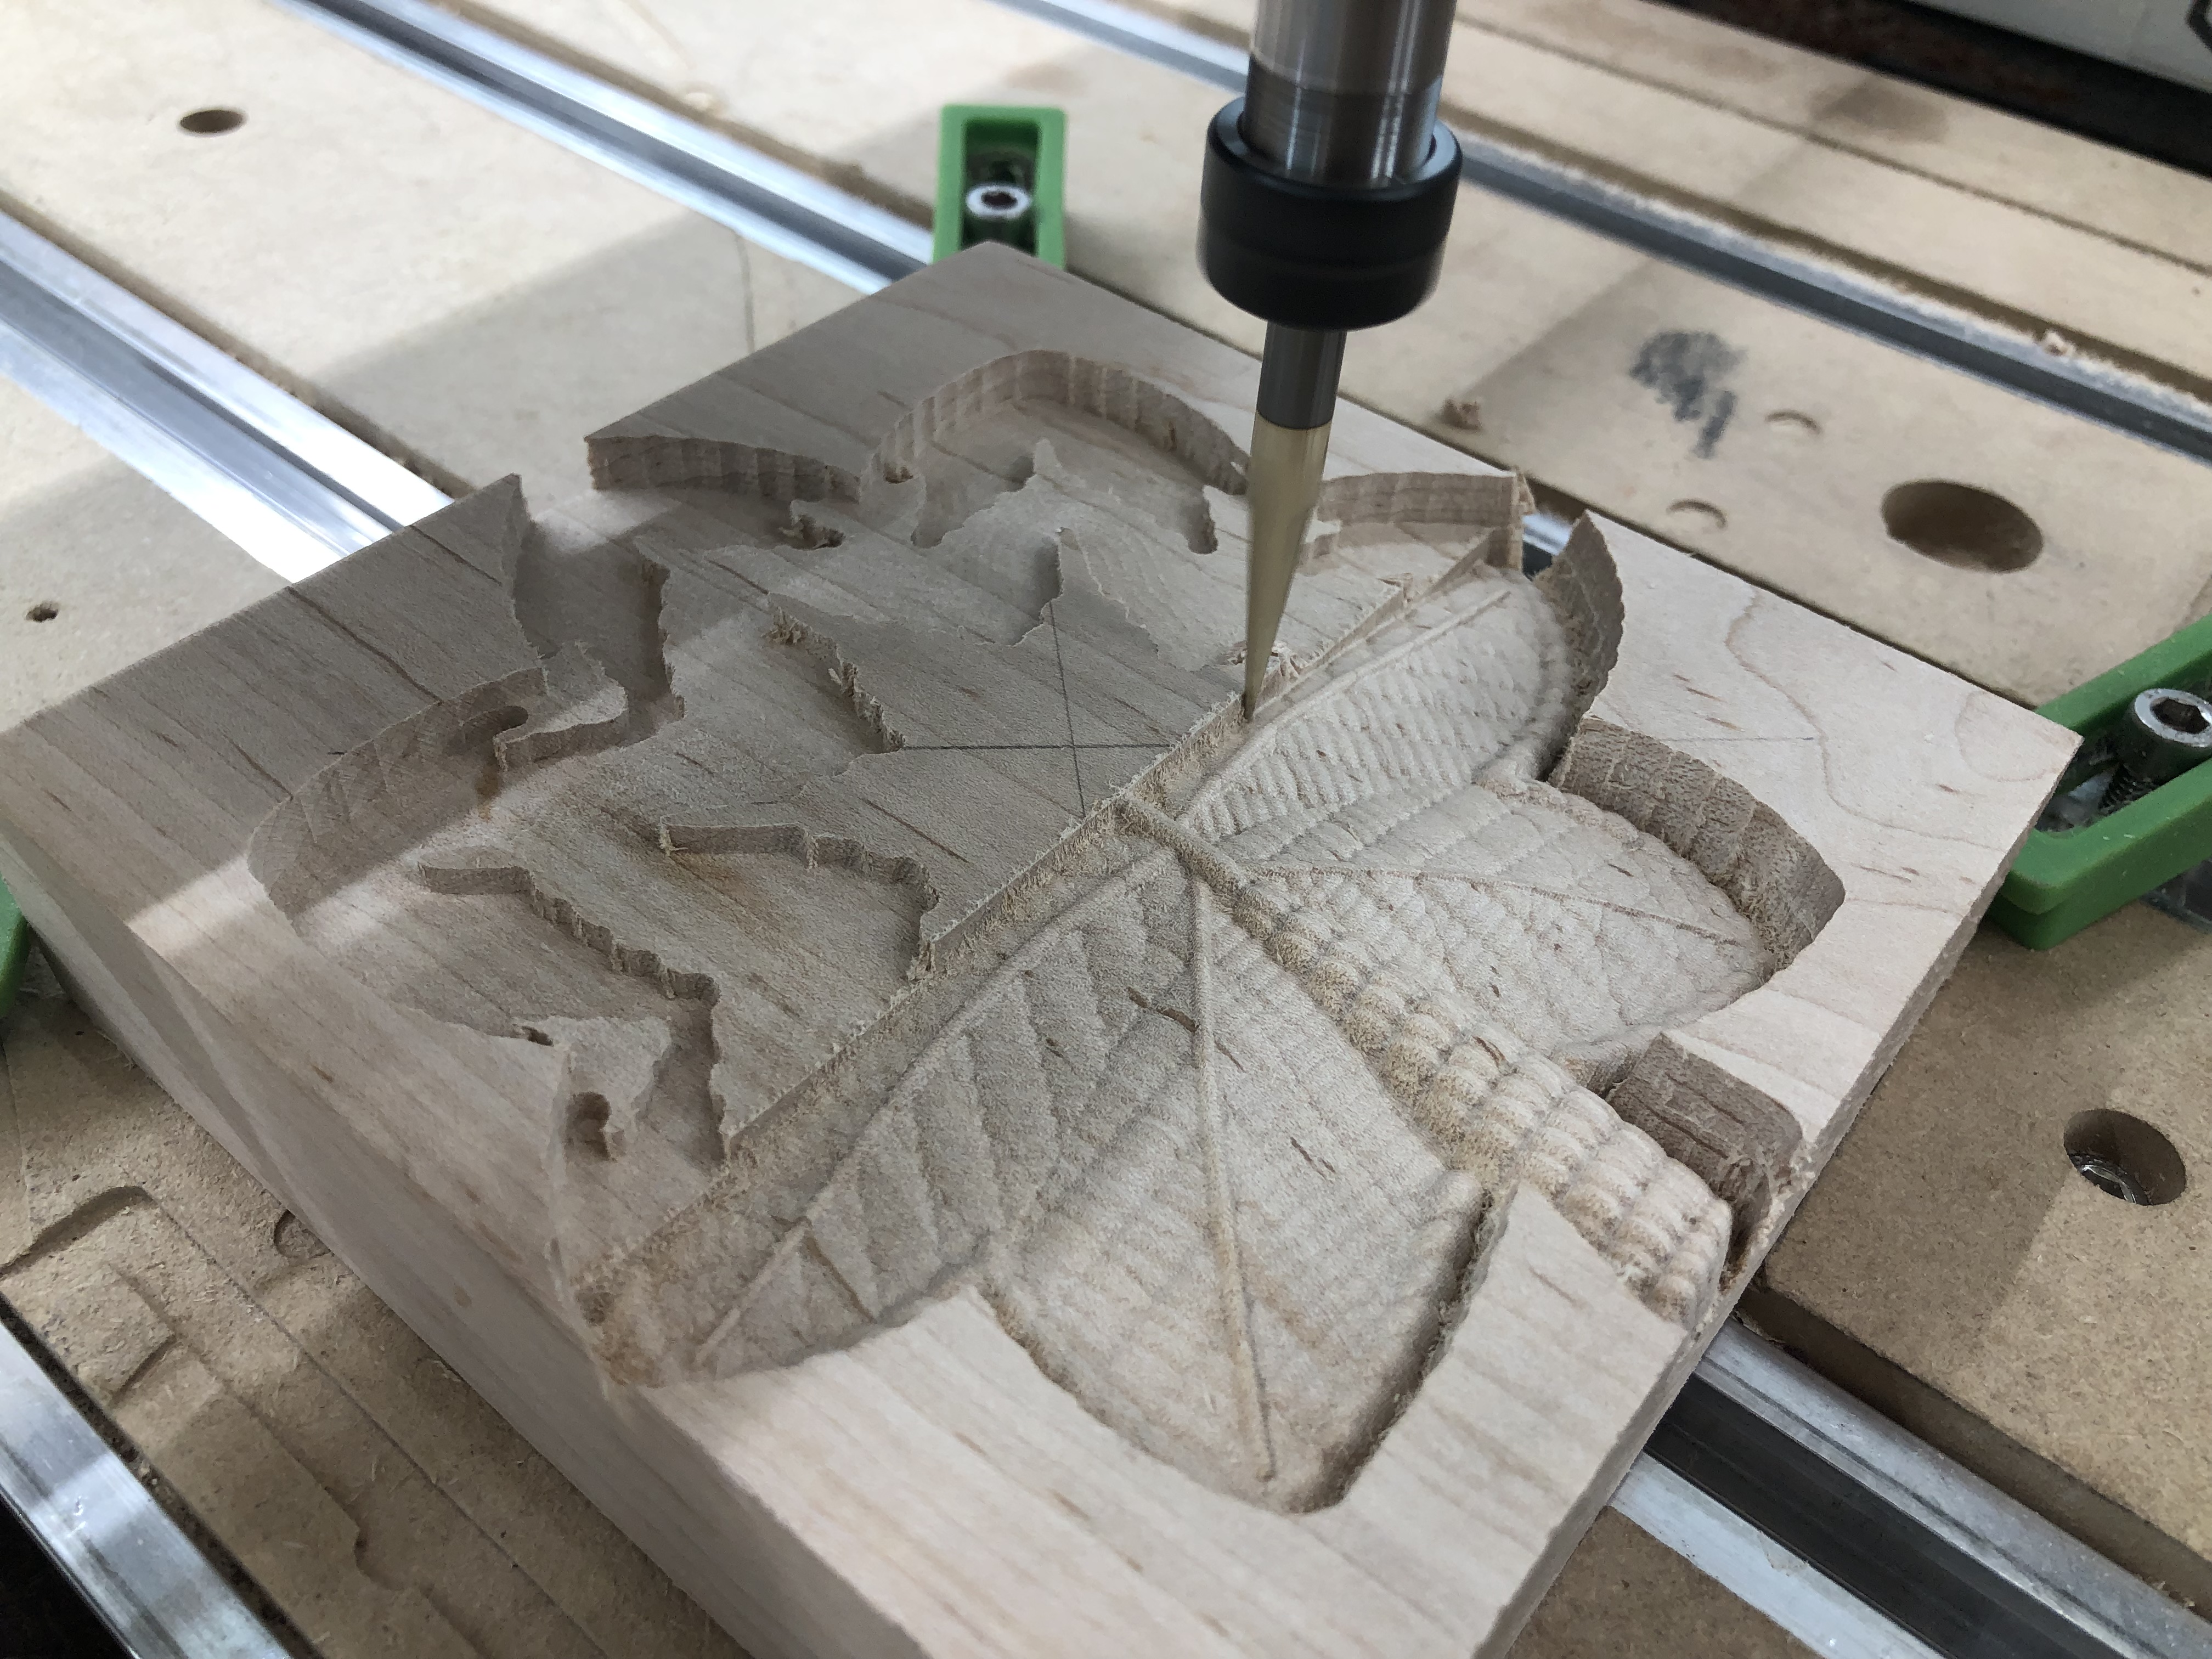
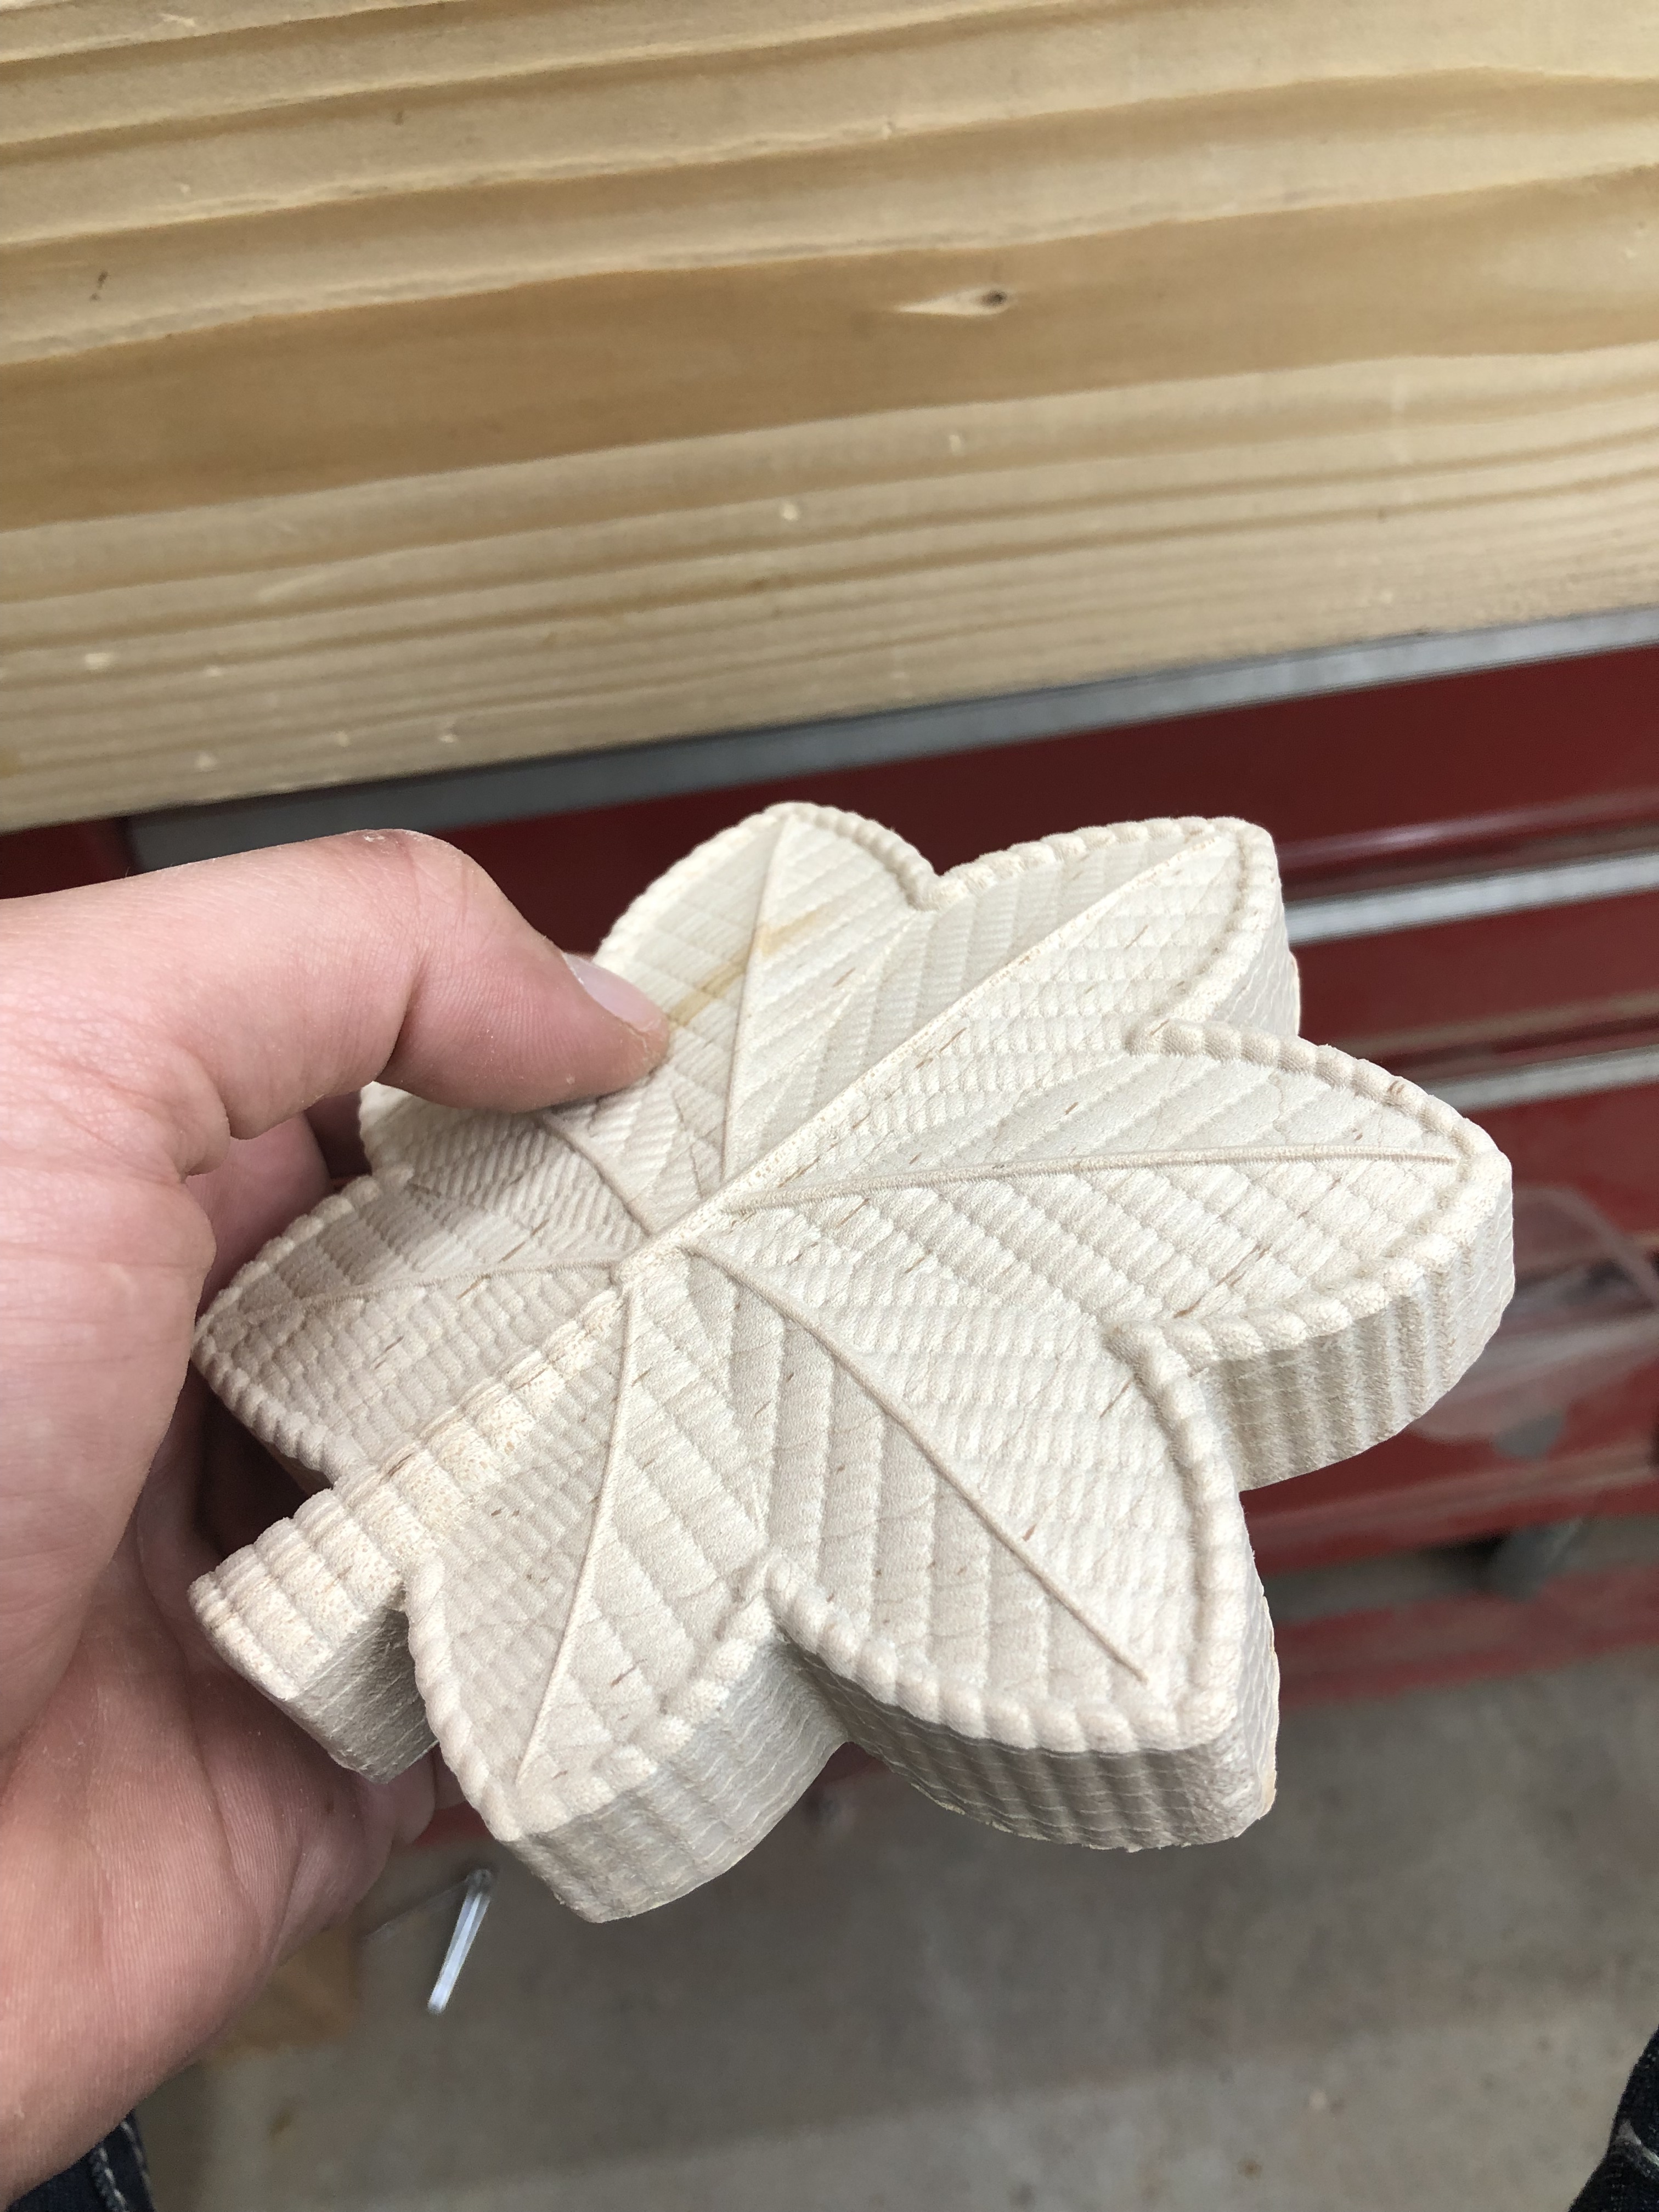
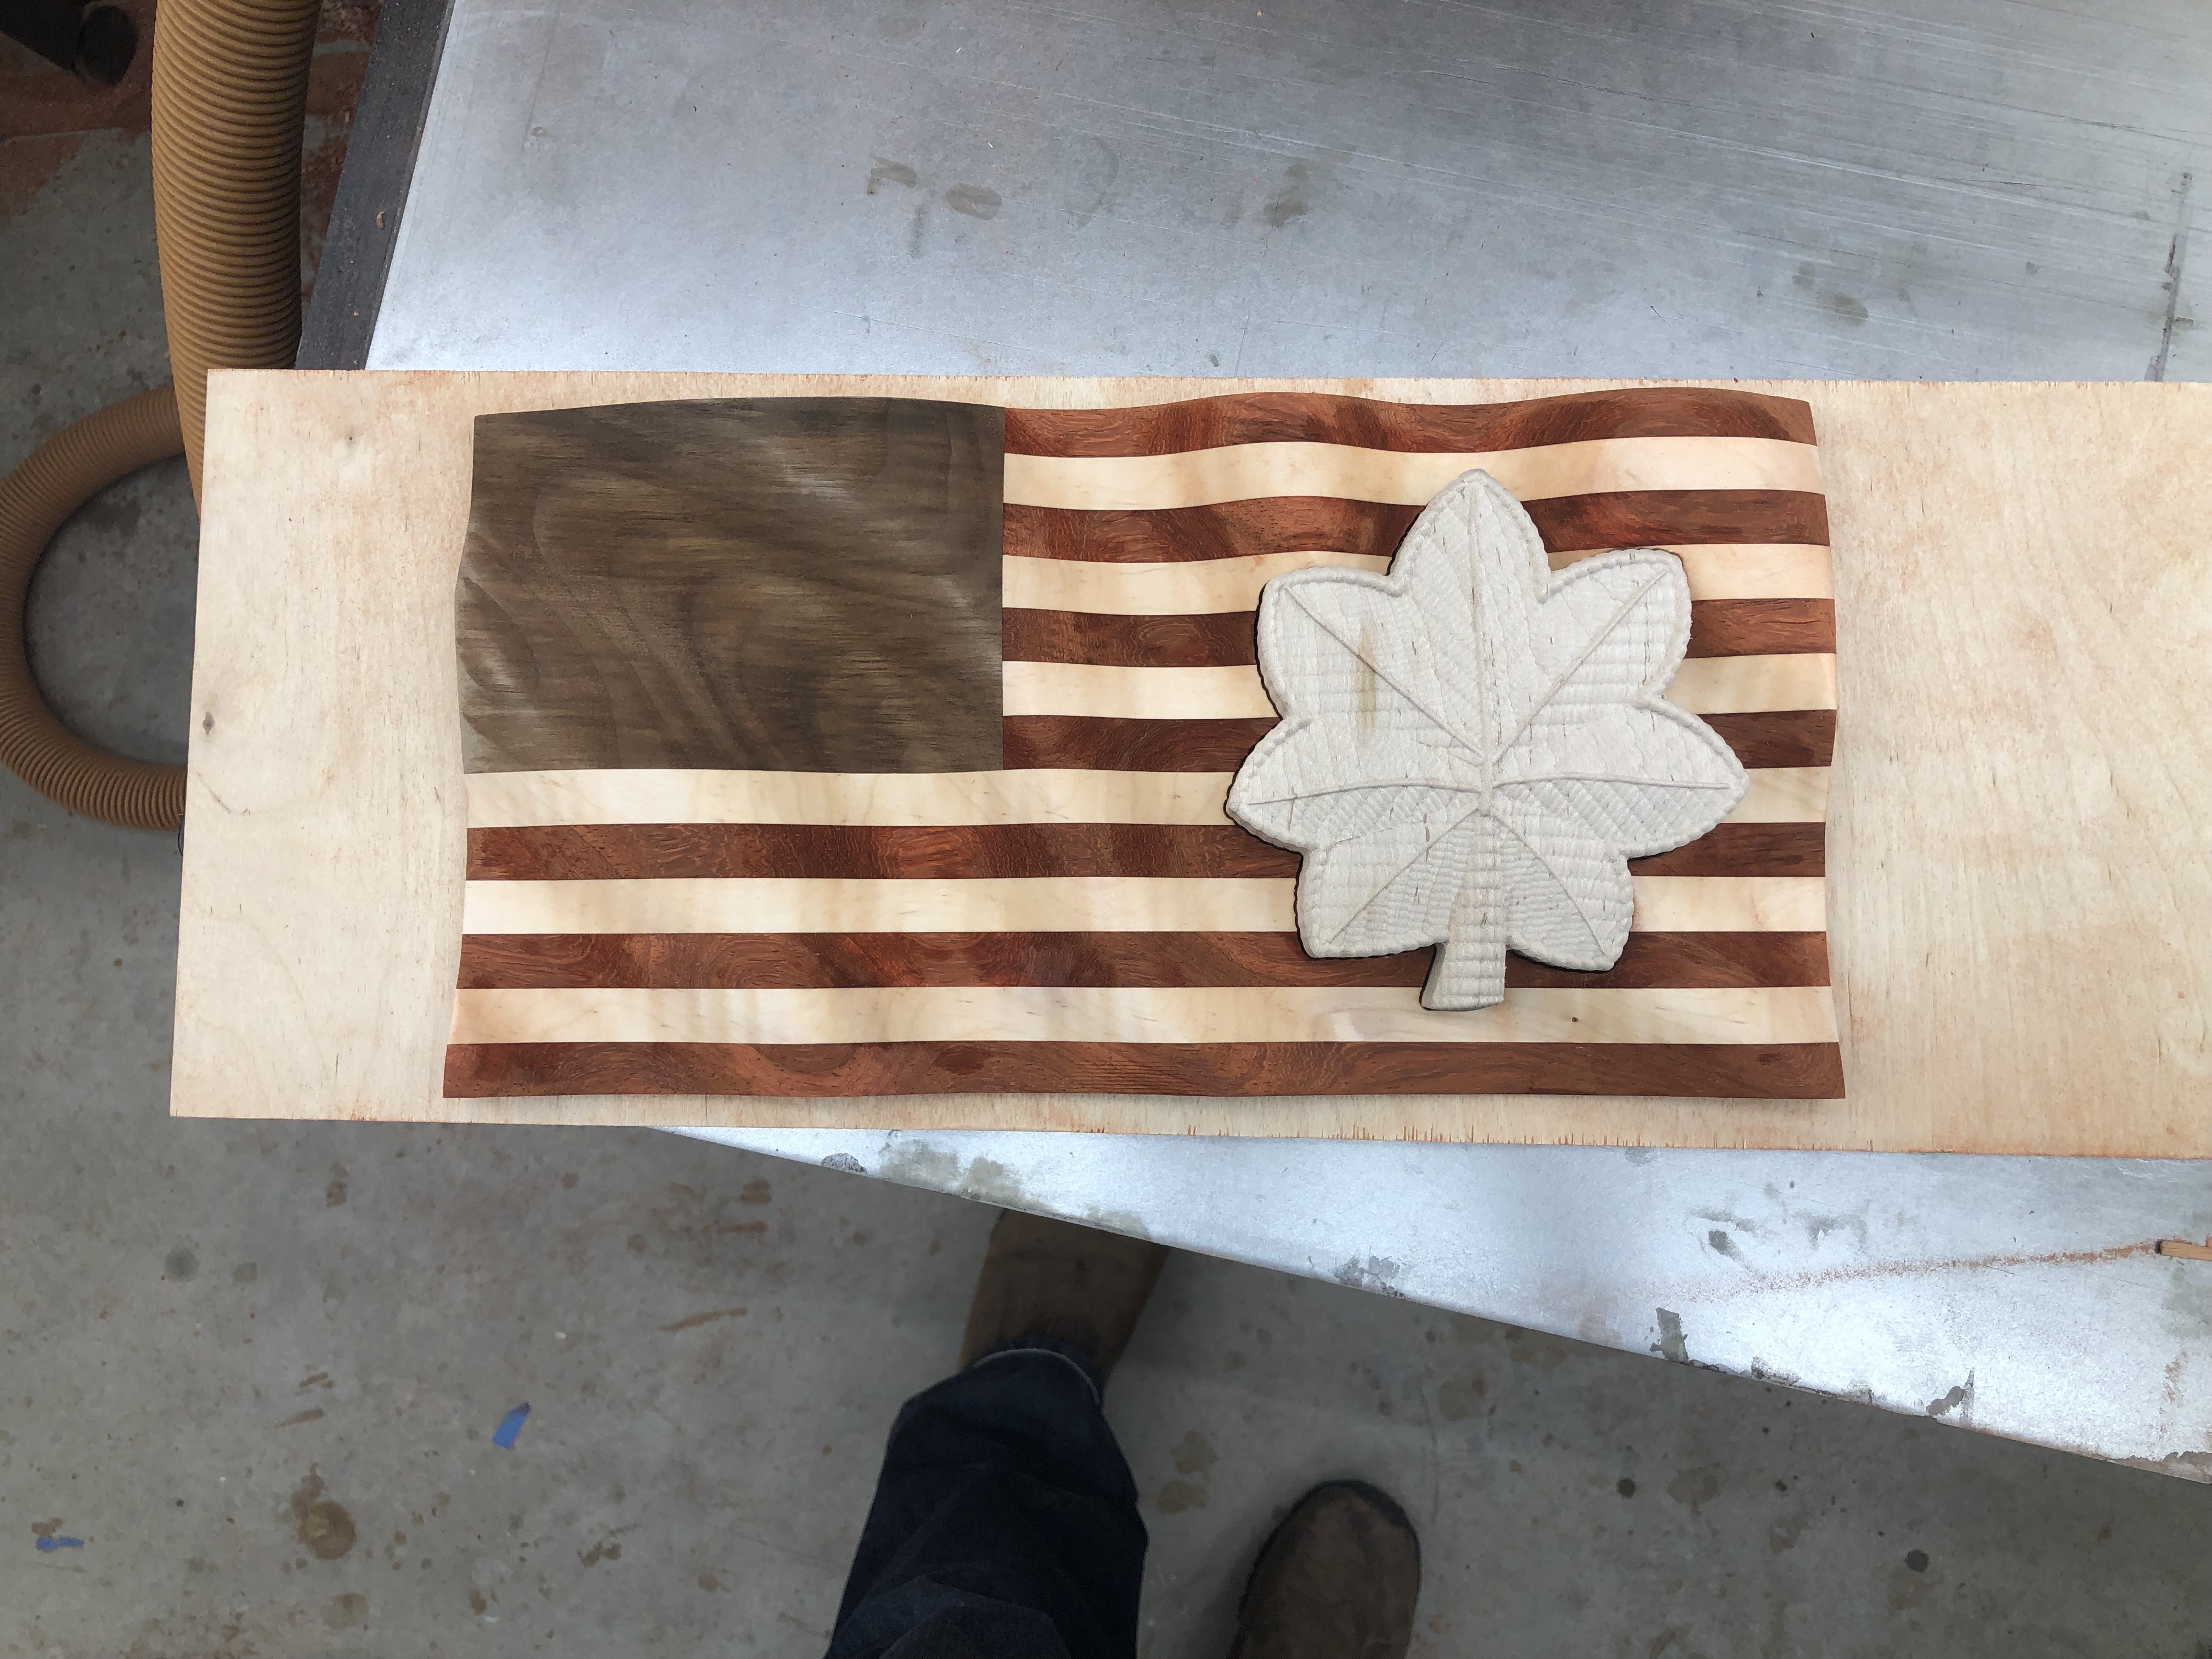
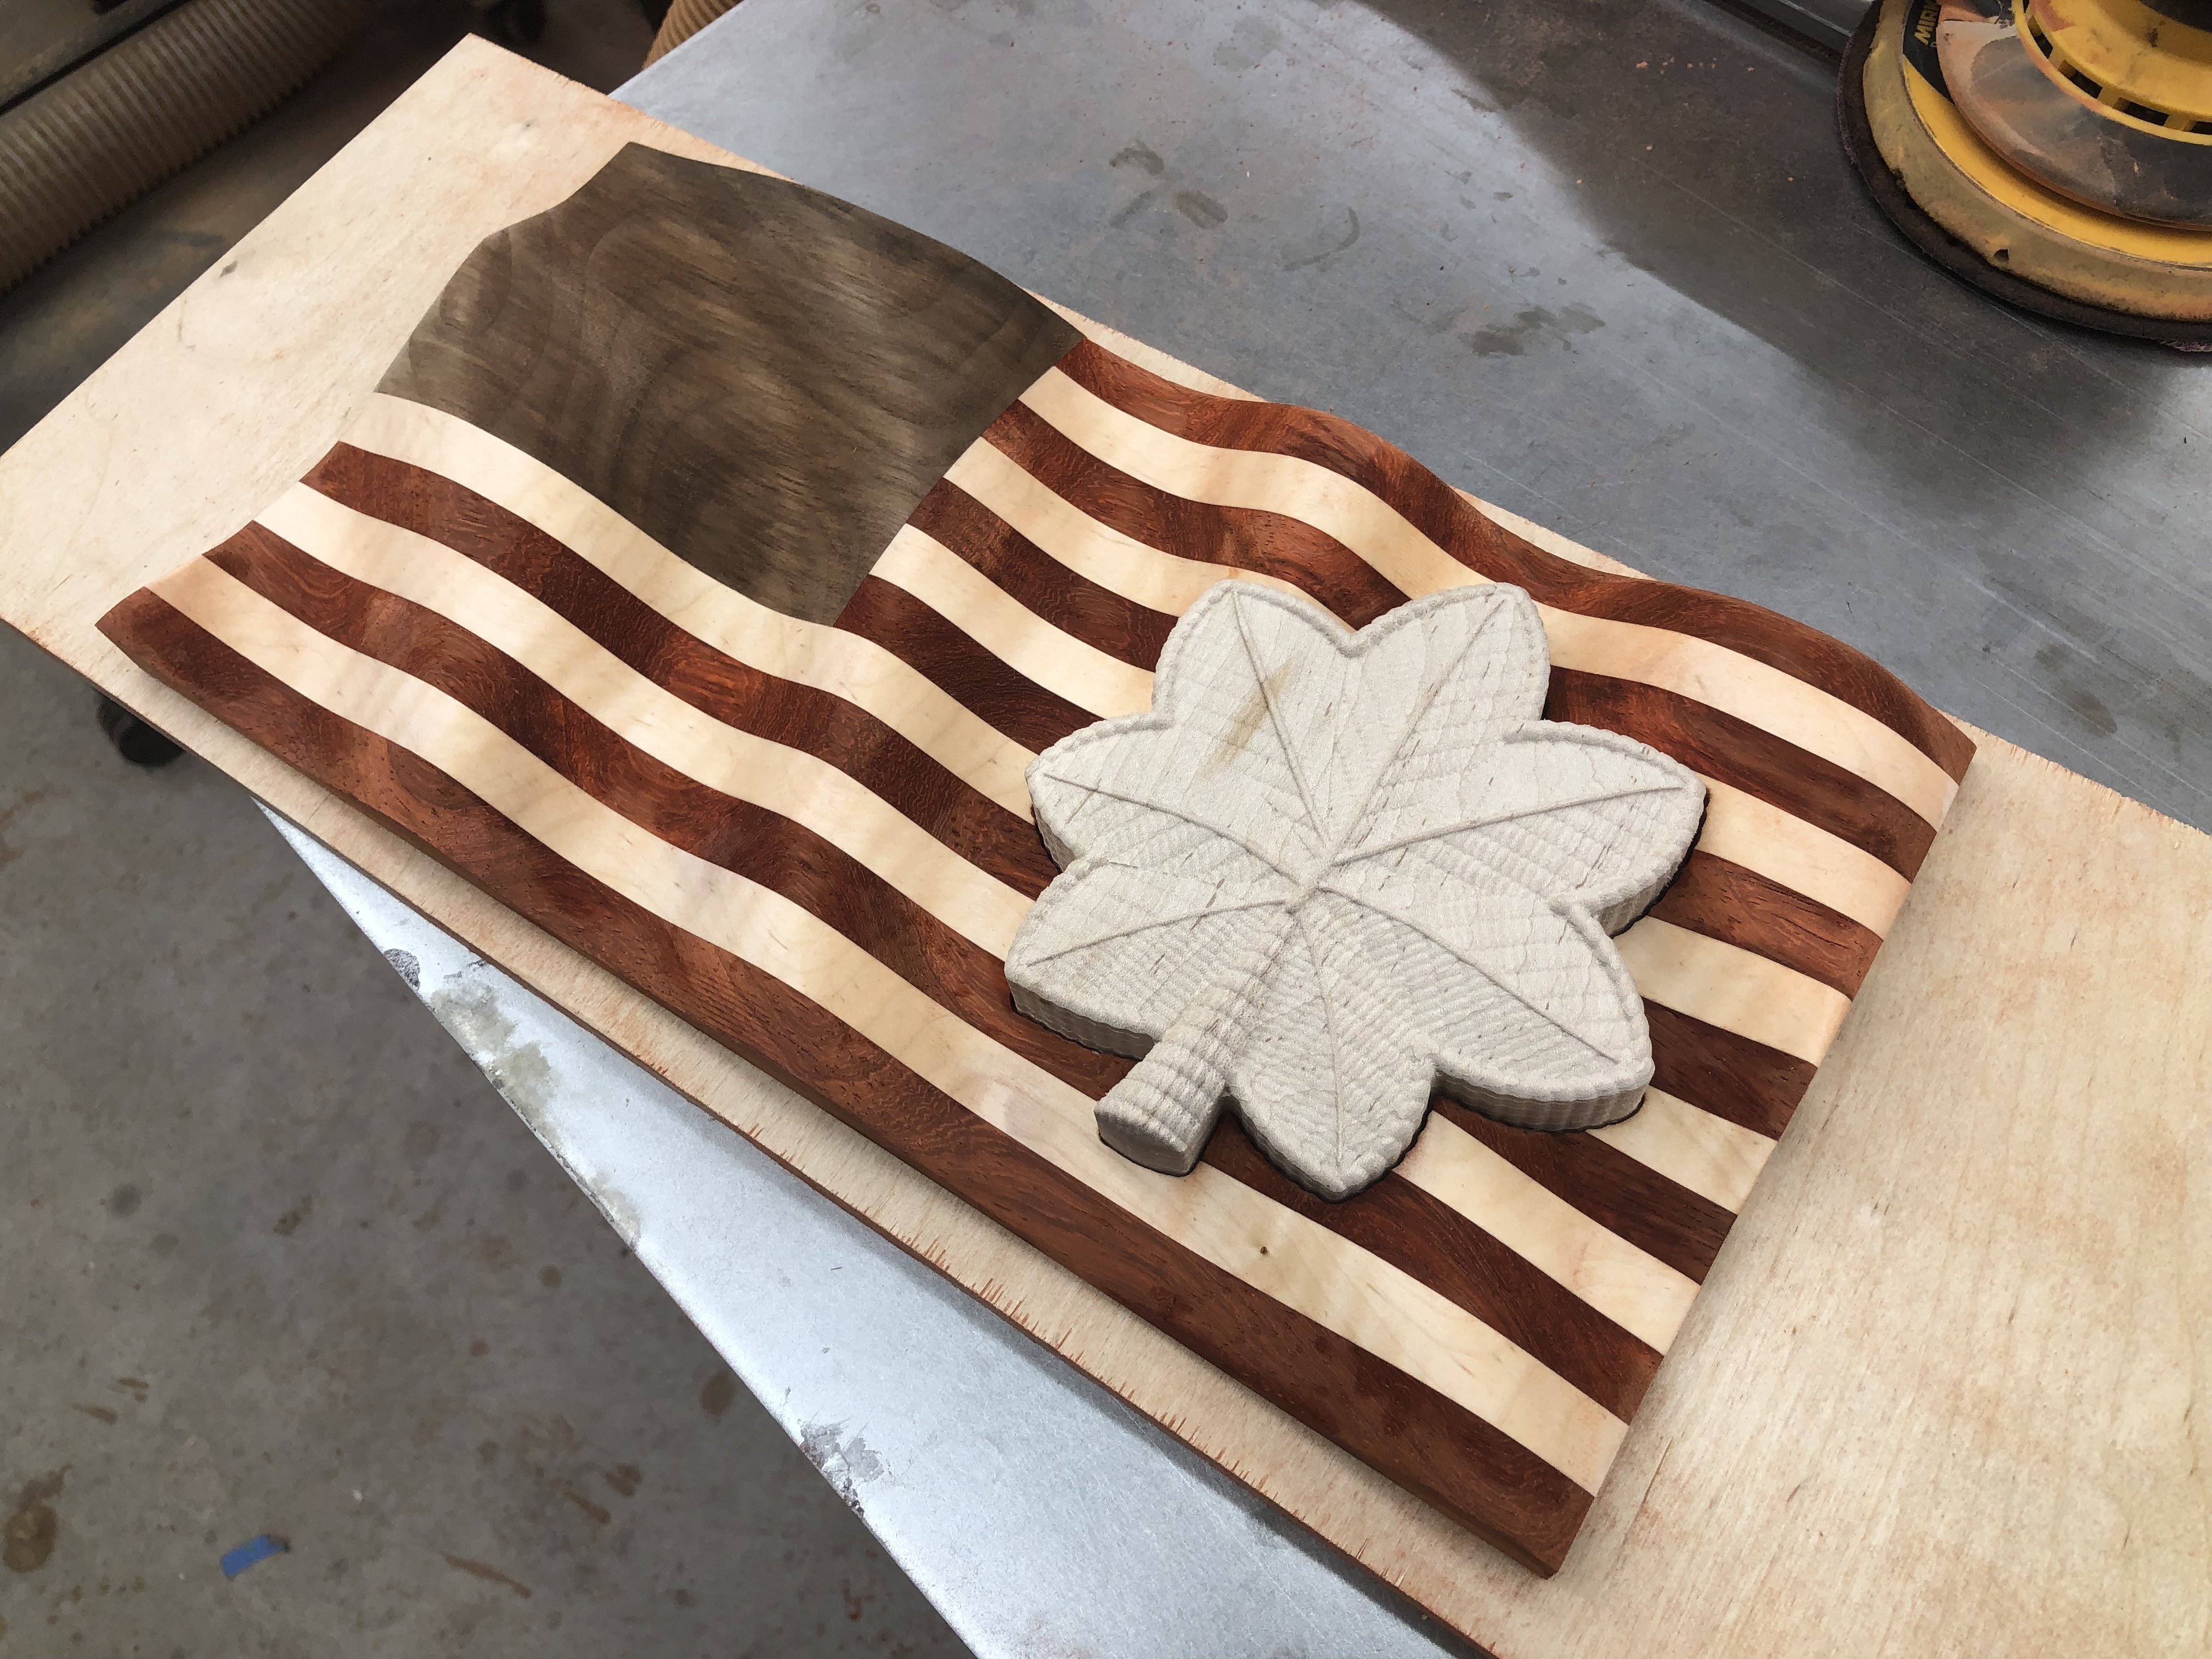
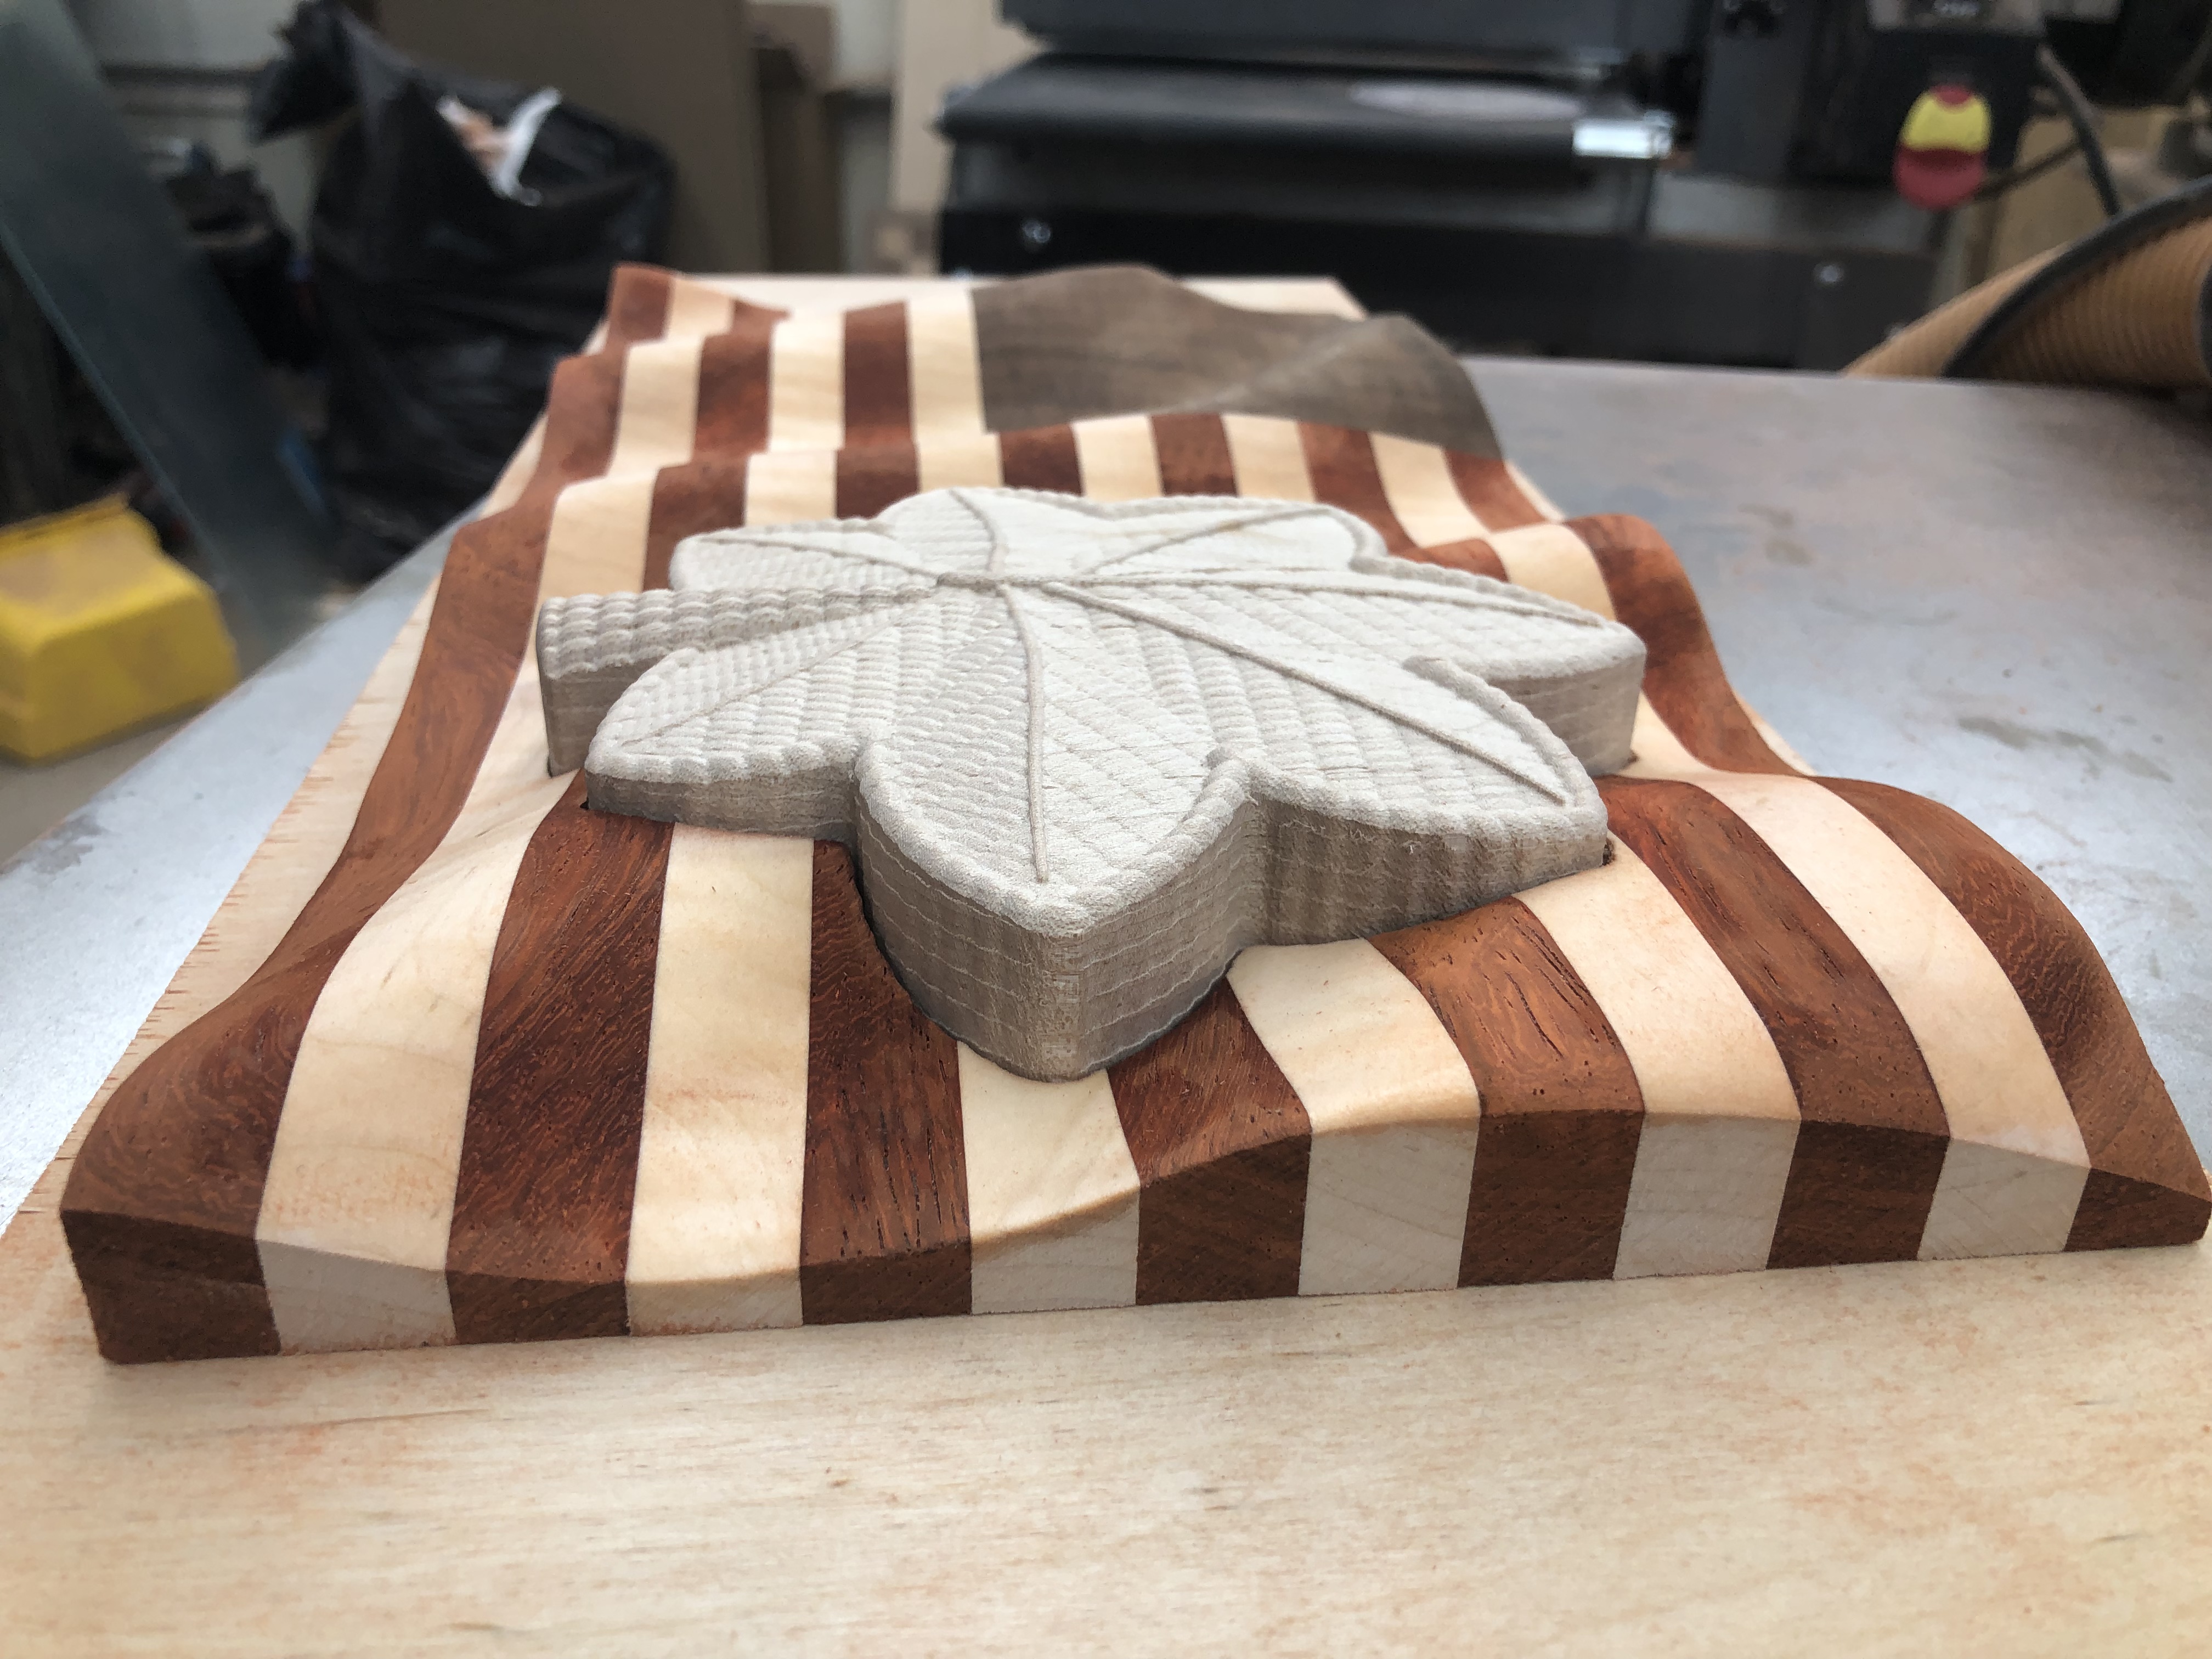
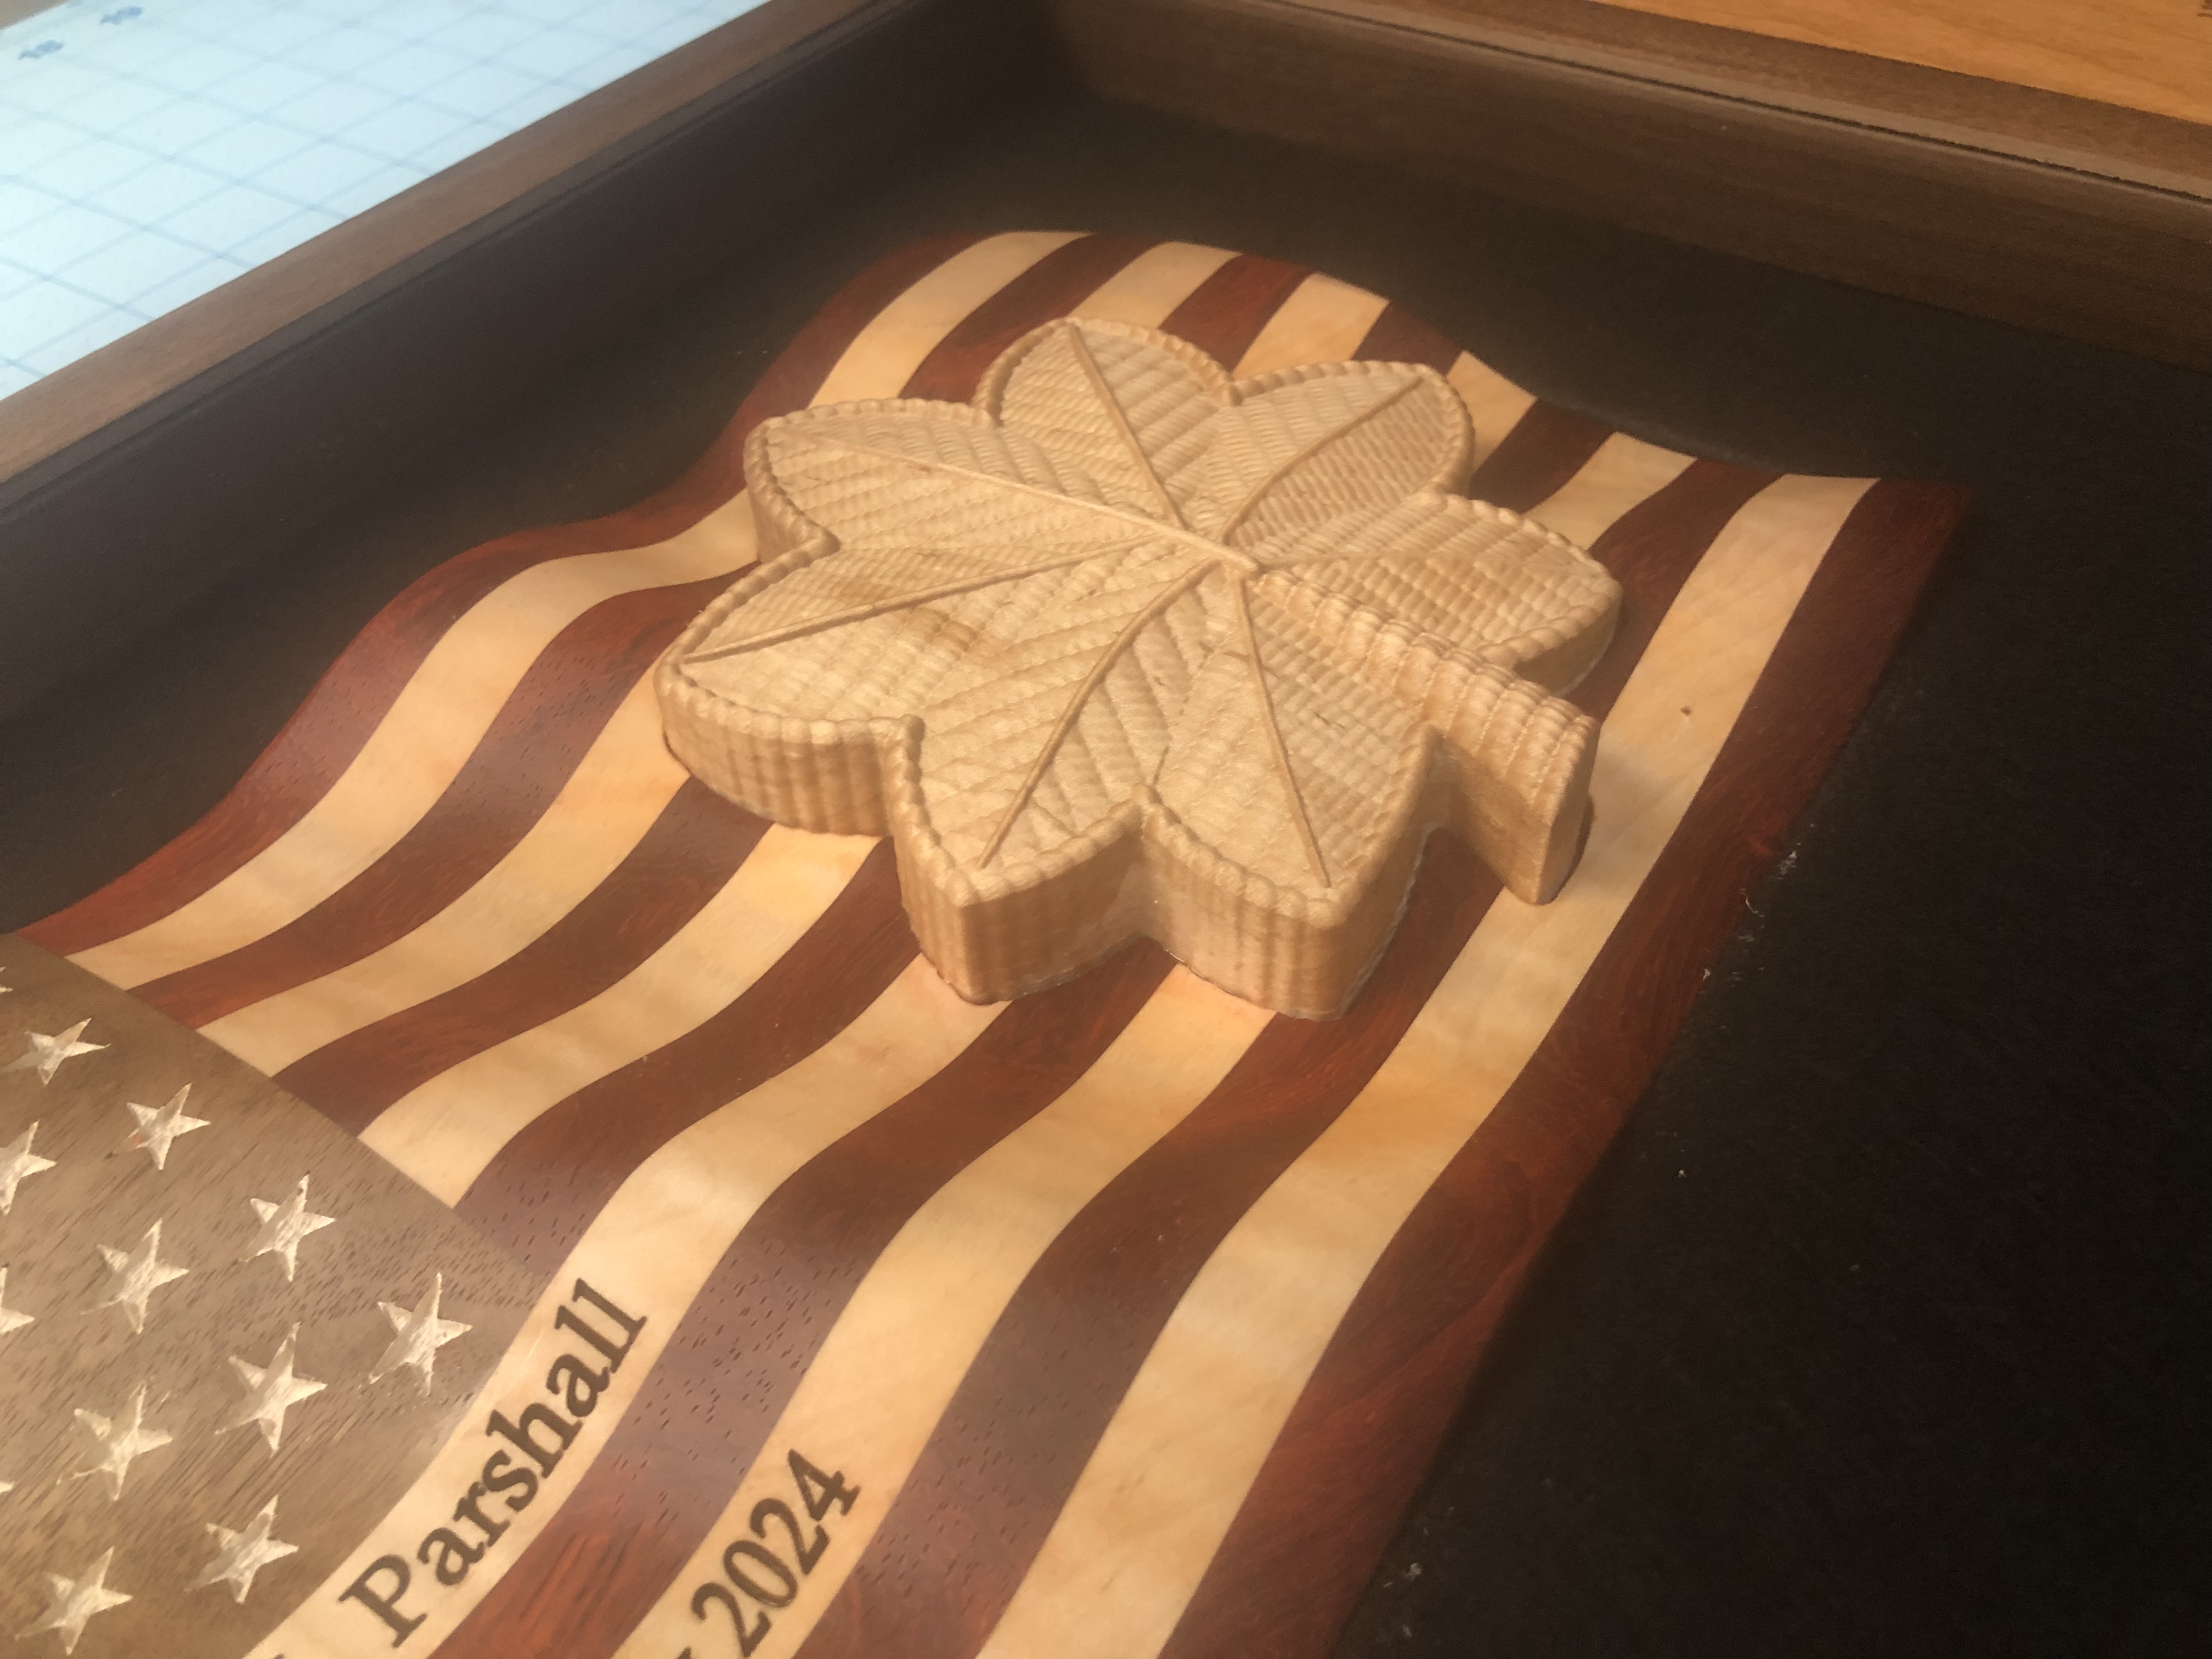
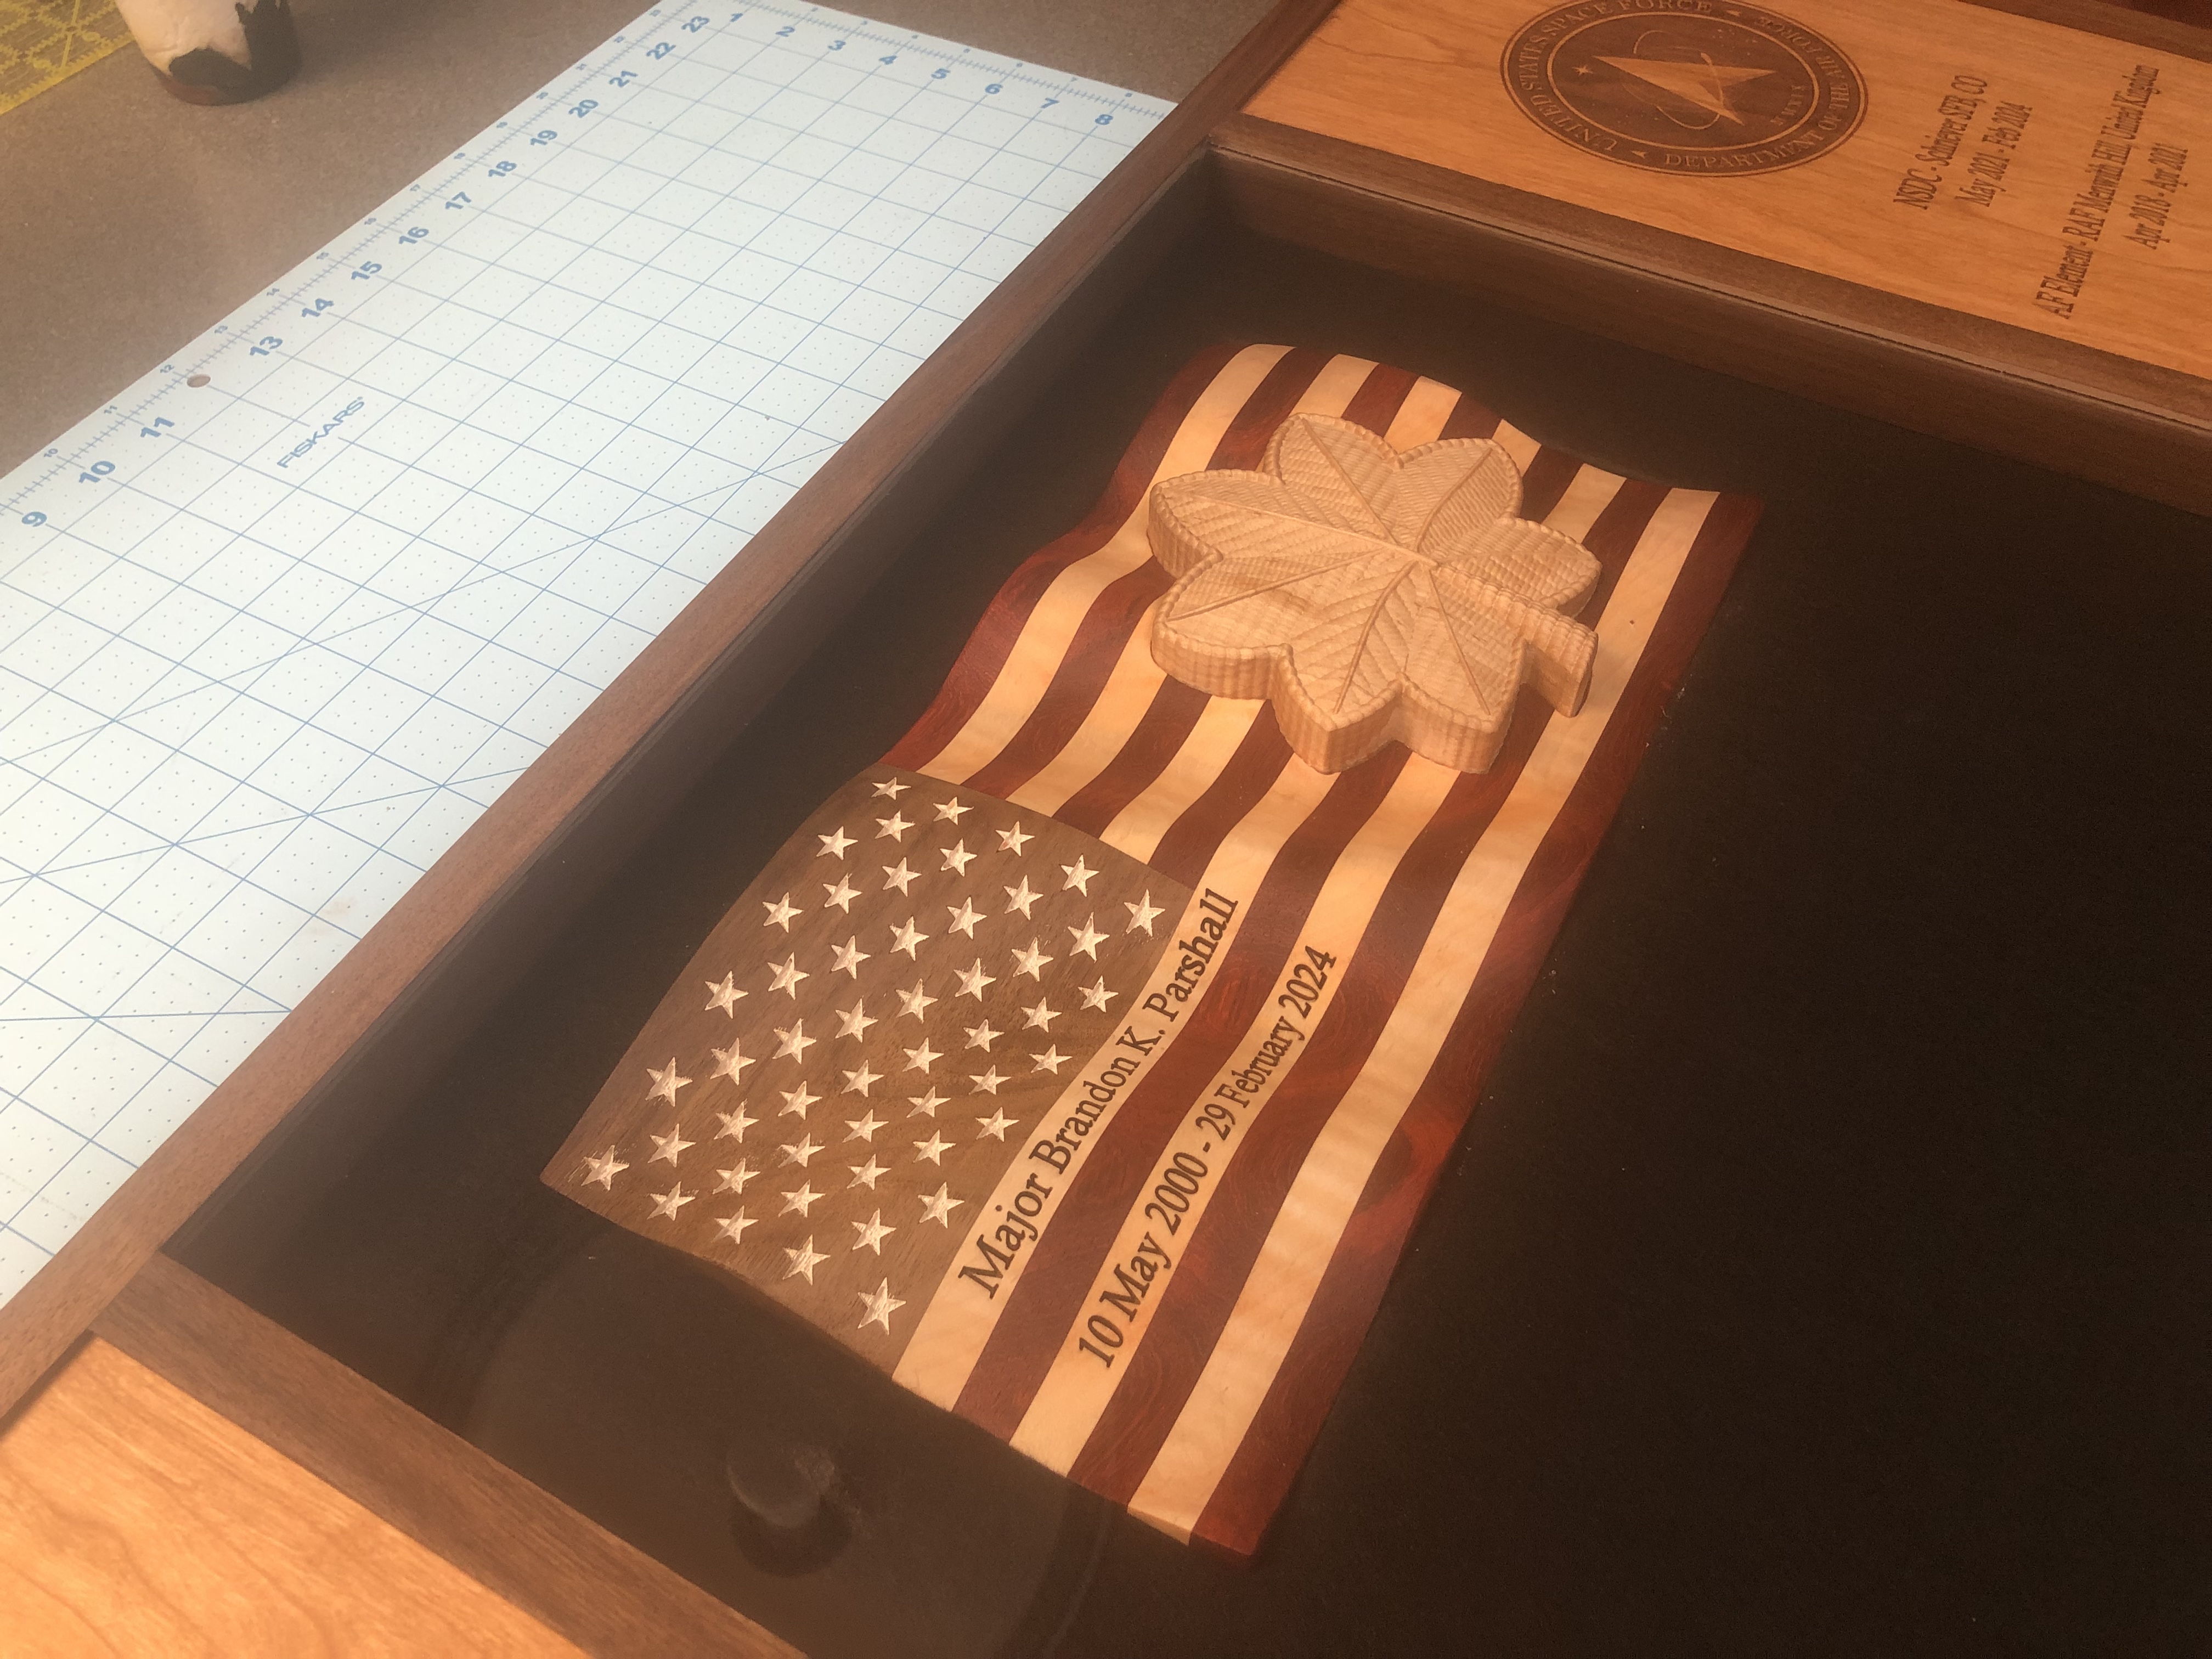
Rank is Cherry
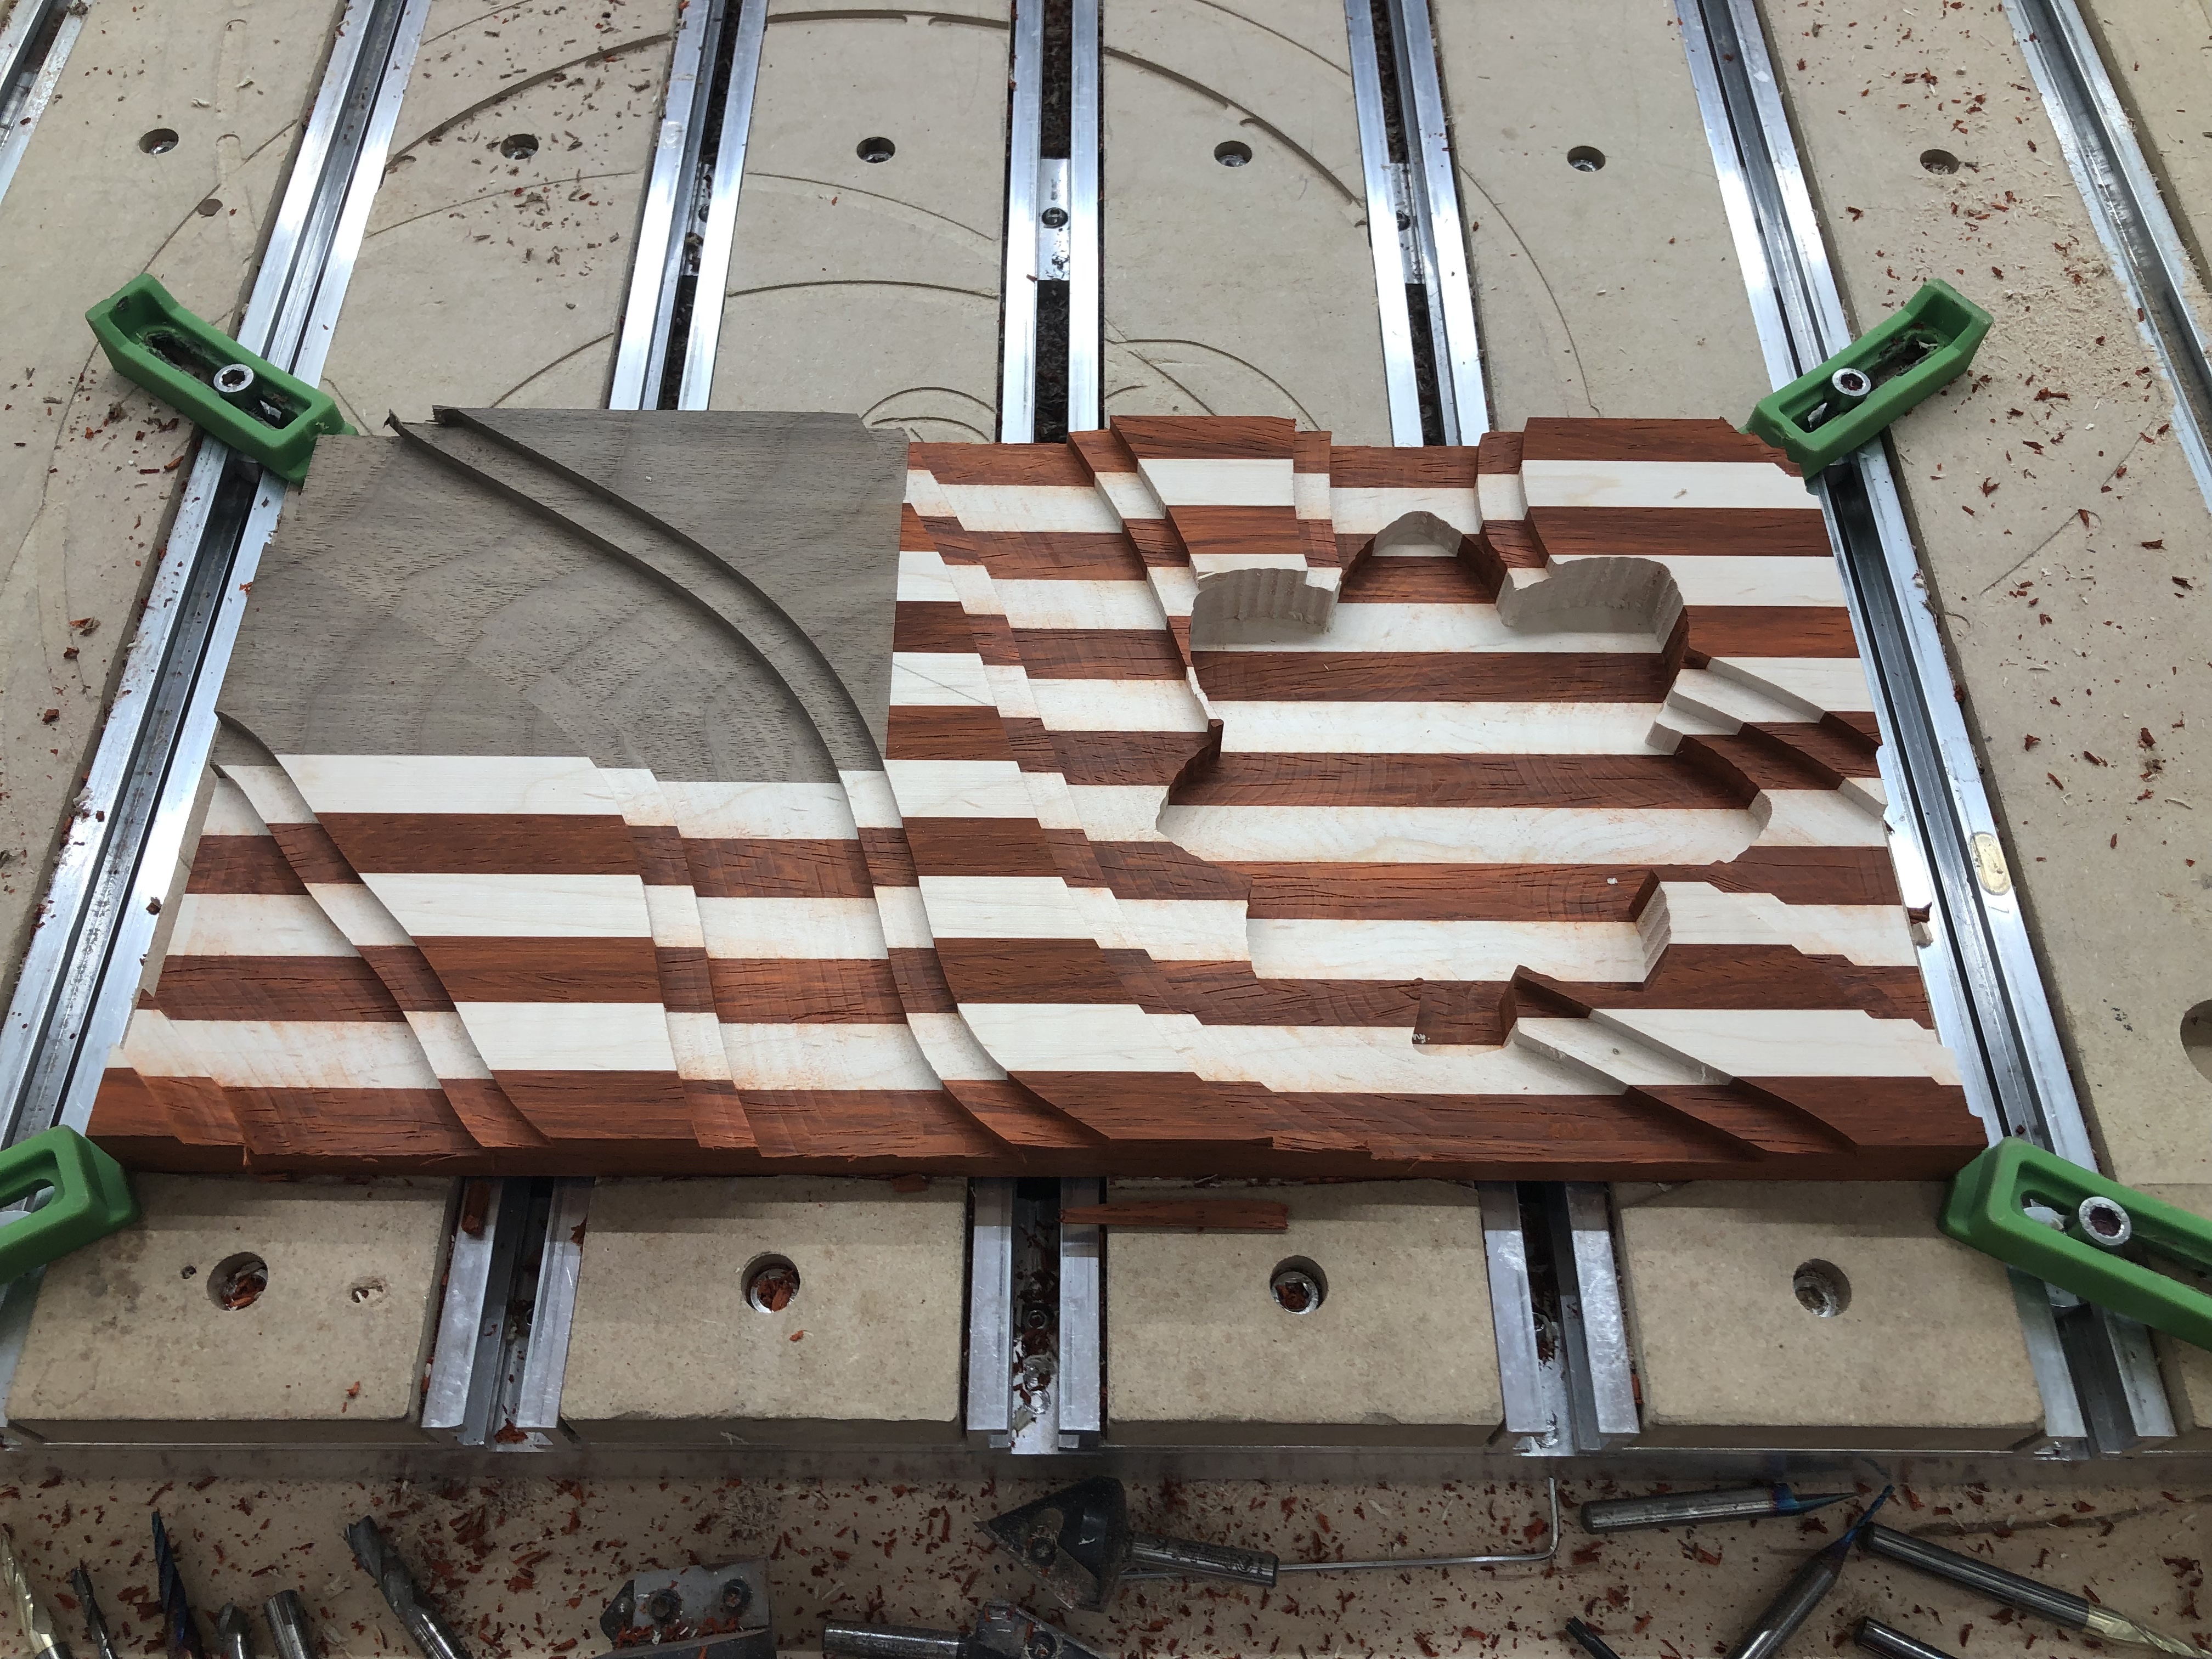
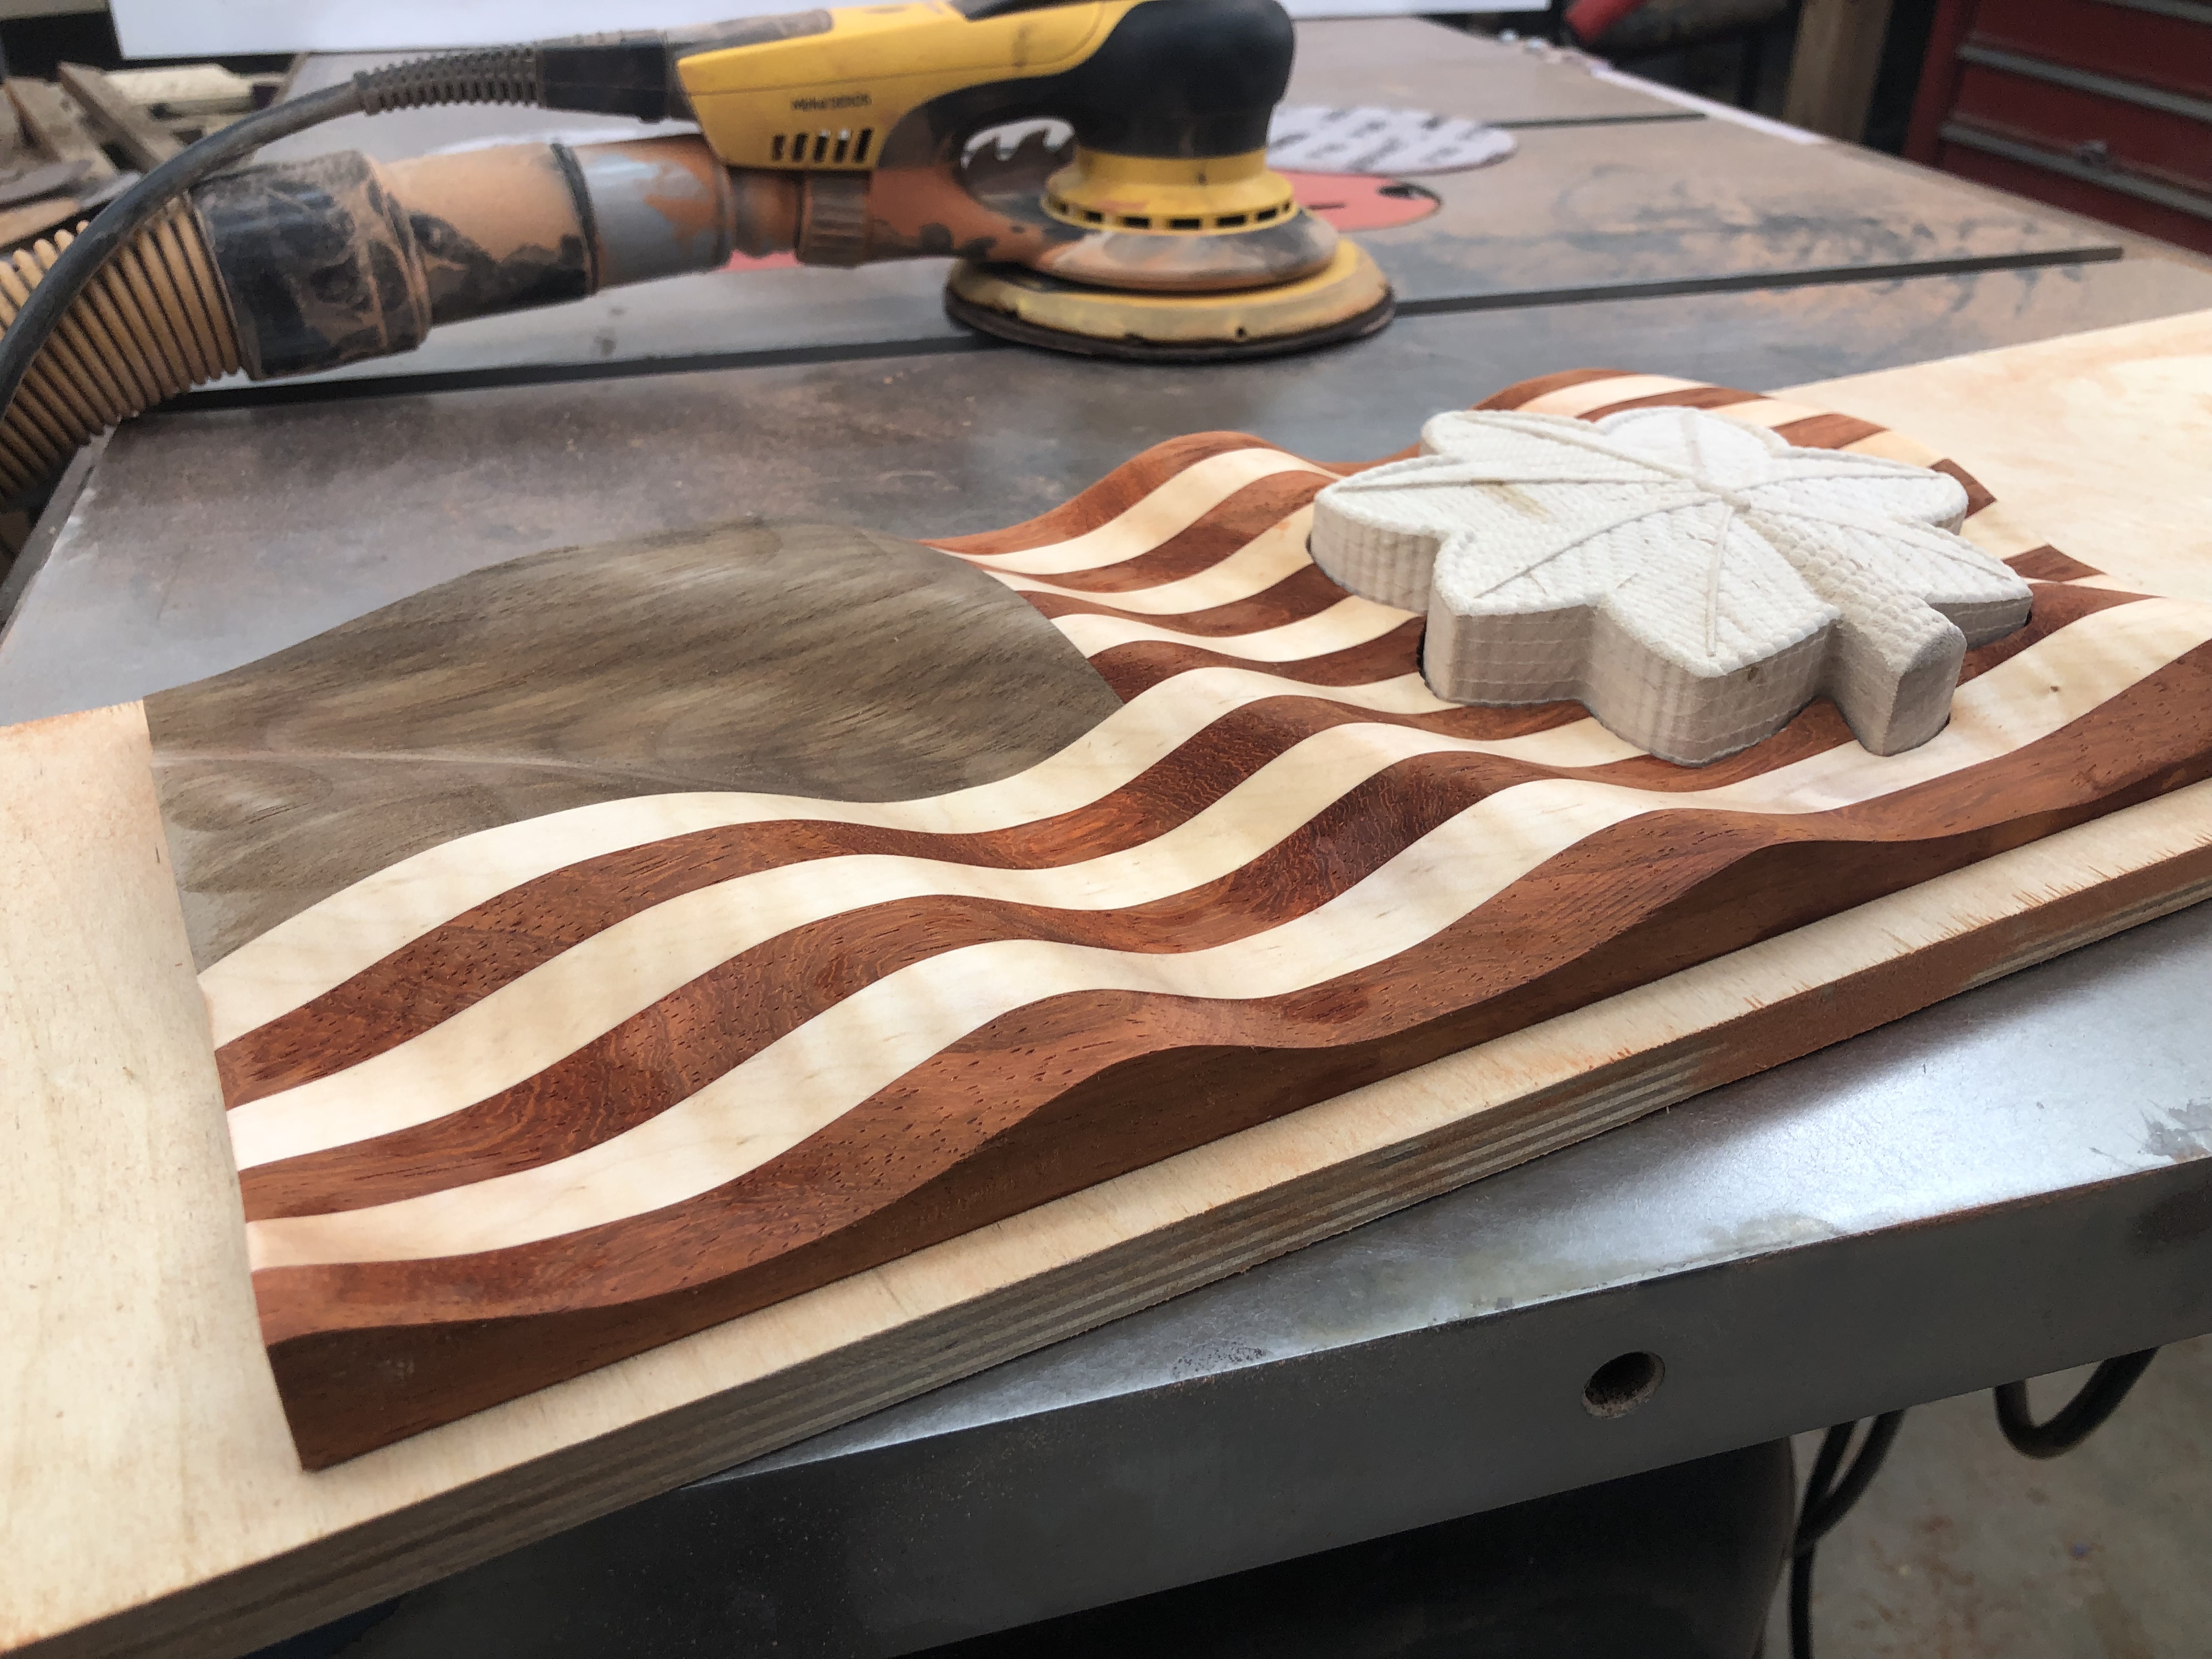
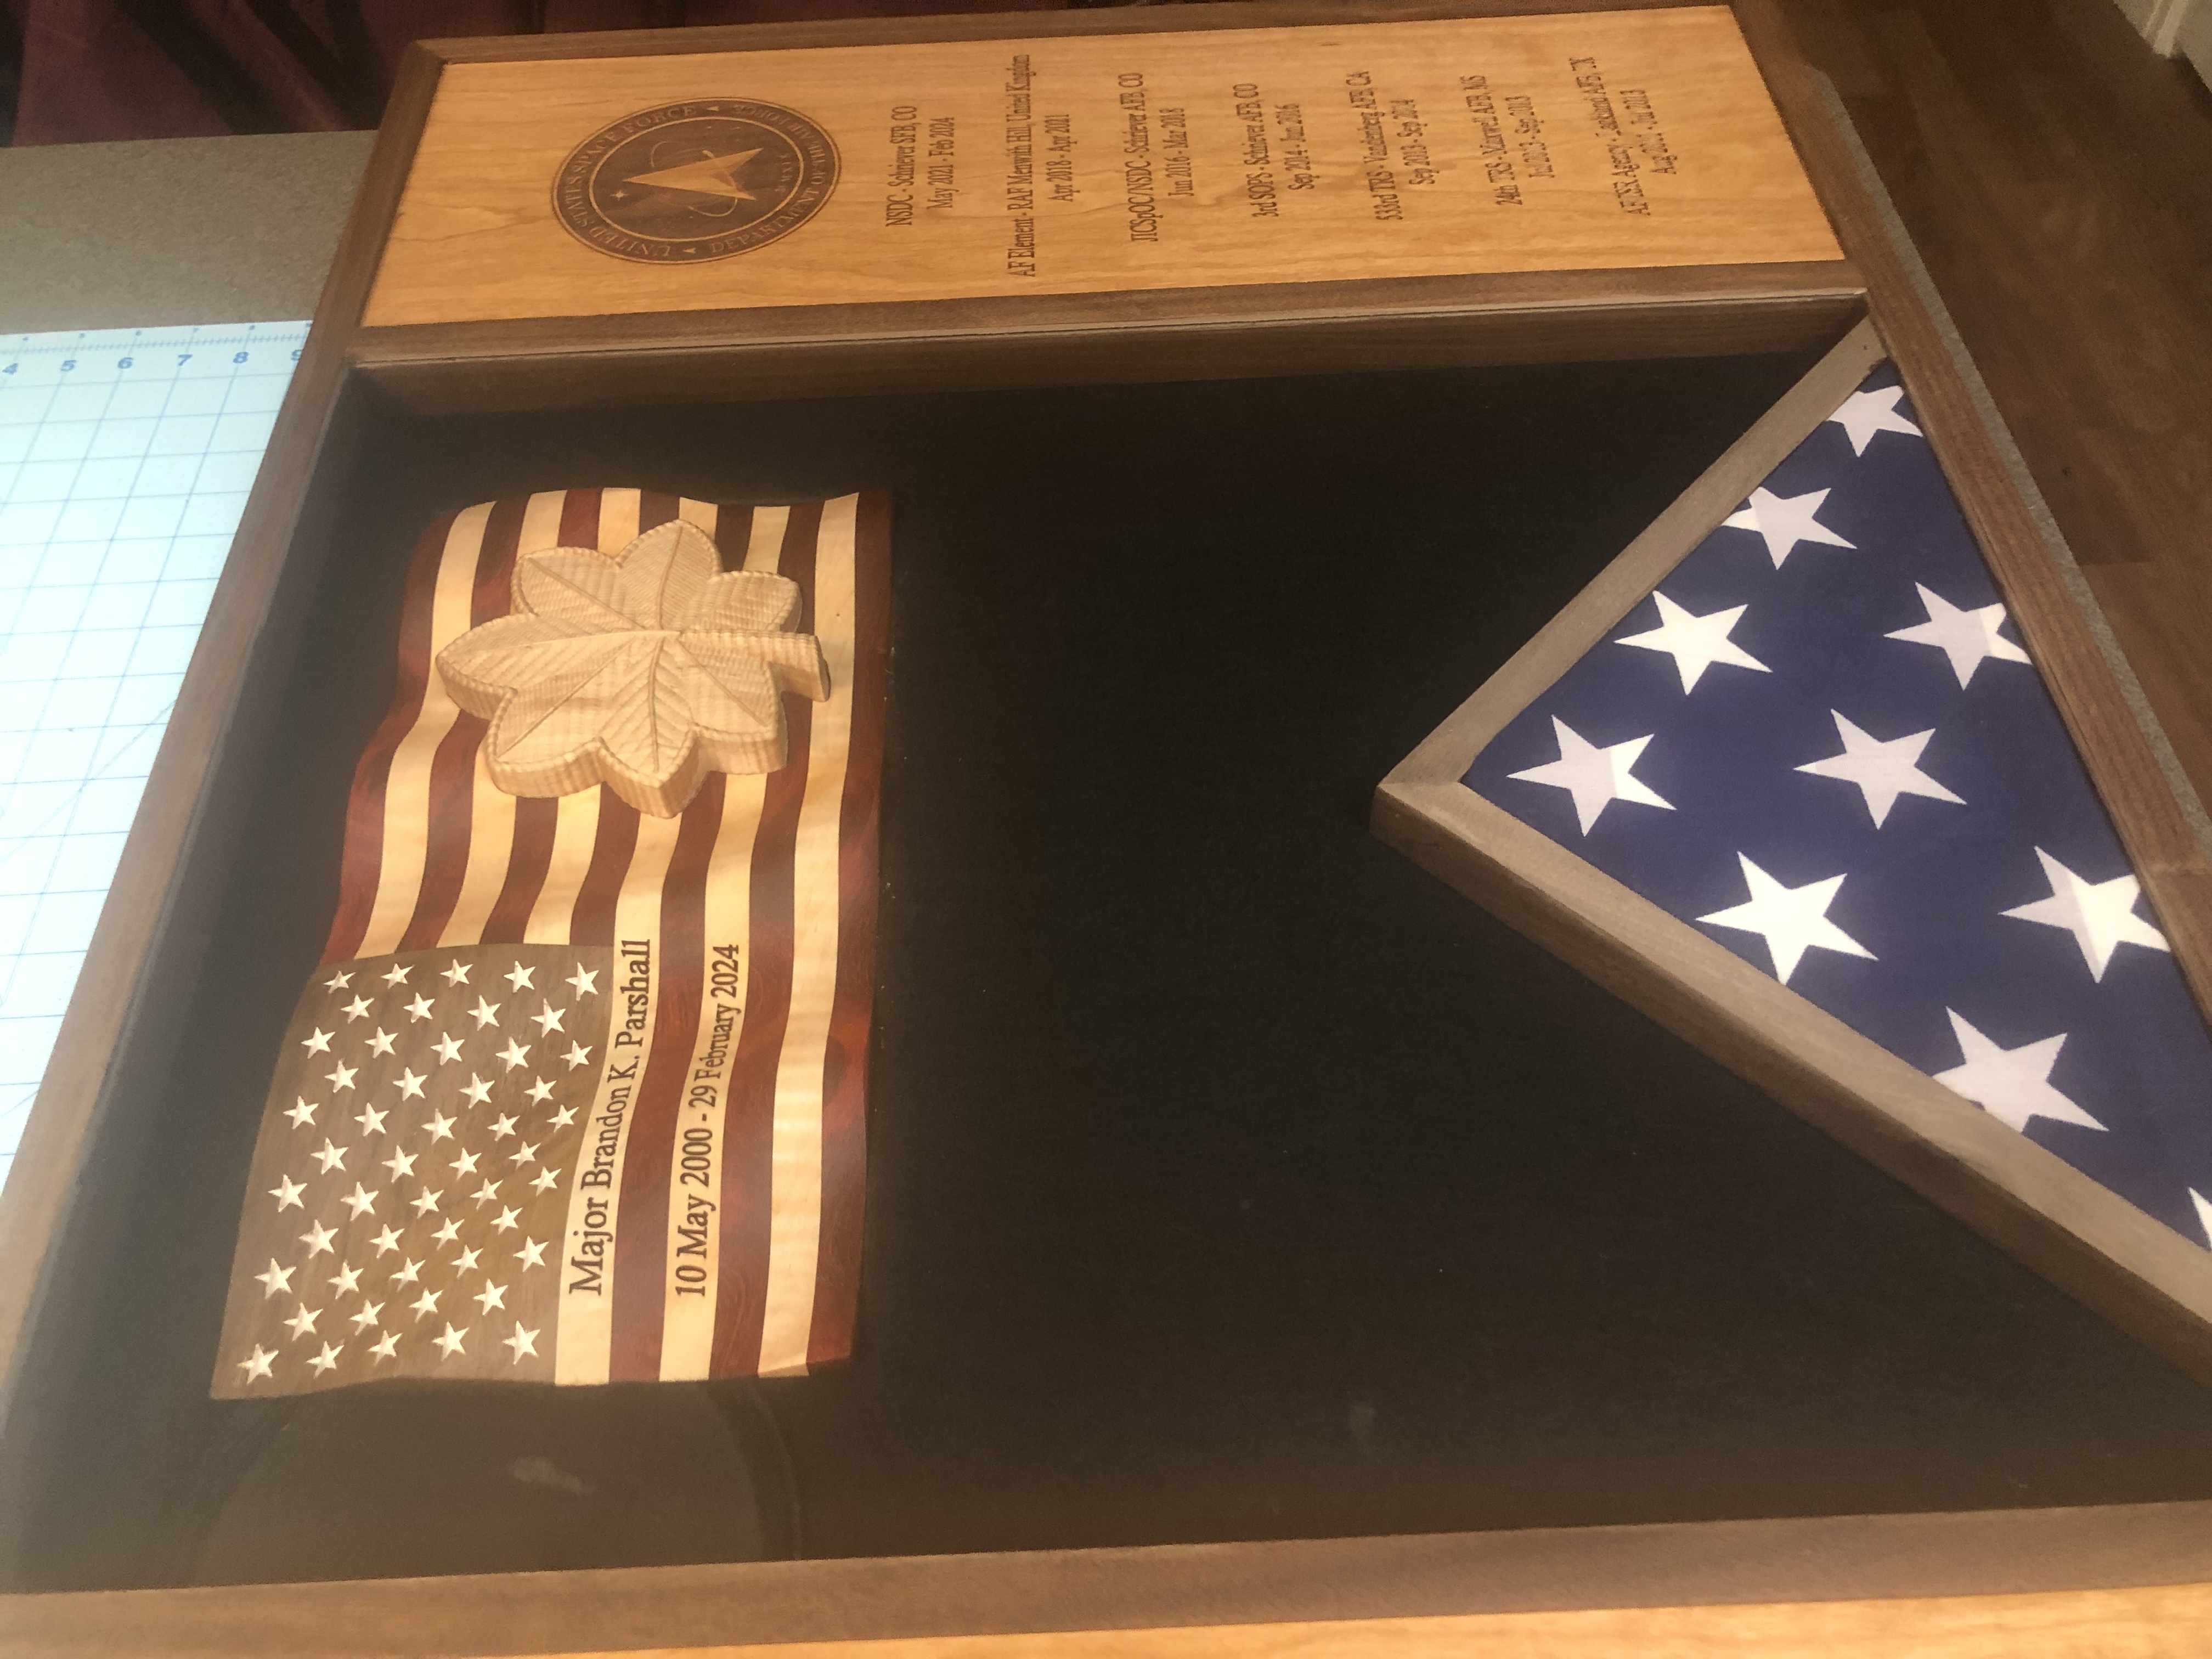
Flag is Paduak, Curly Maple, and Walnut.

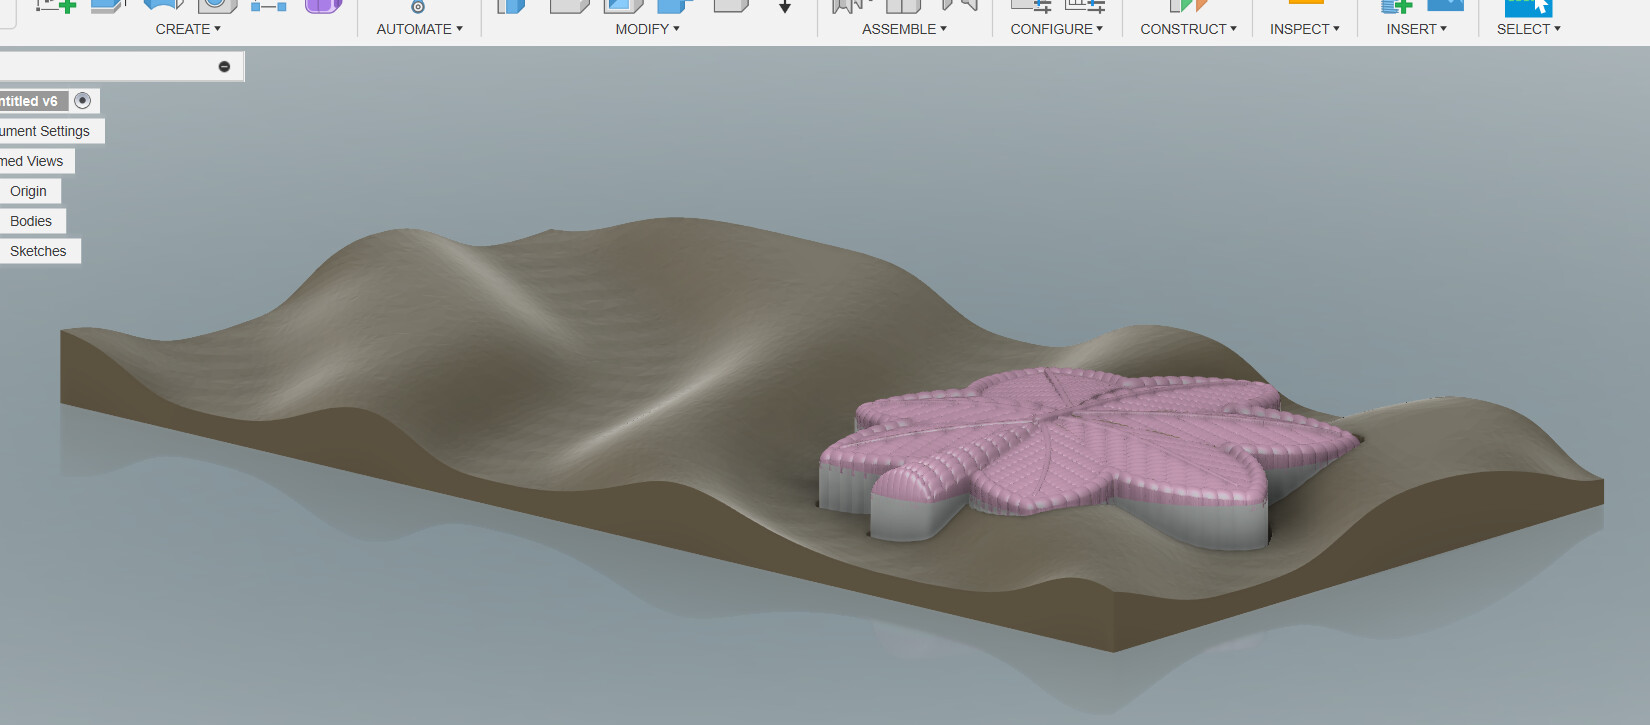
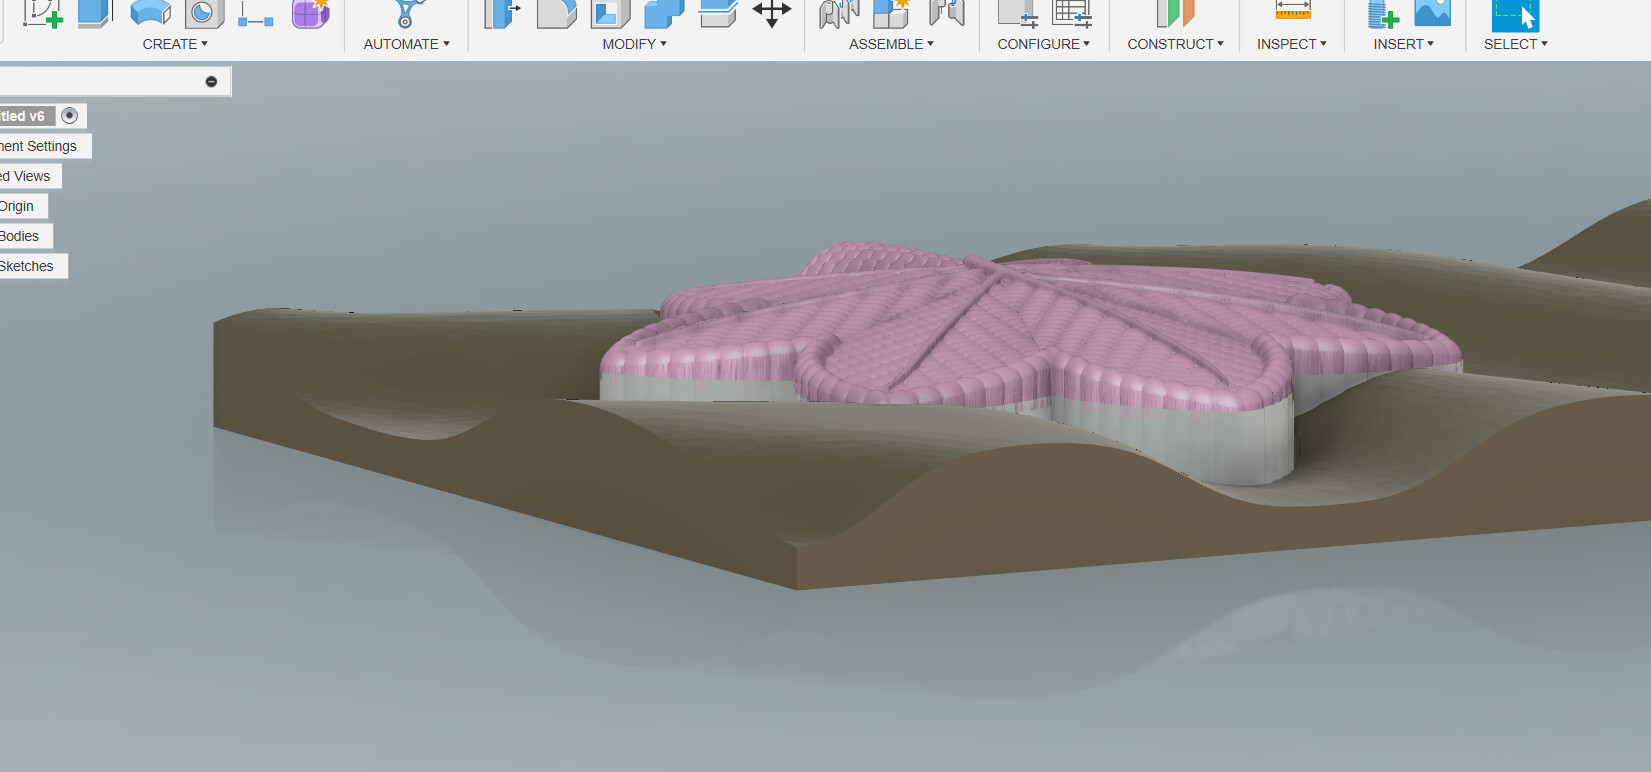
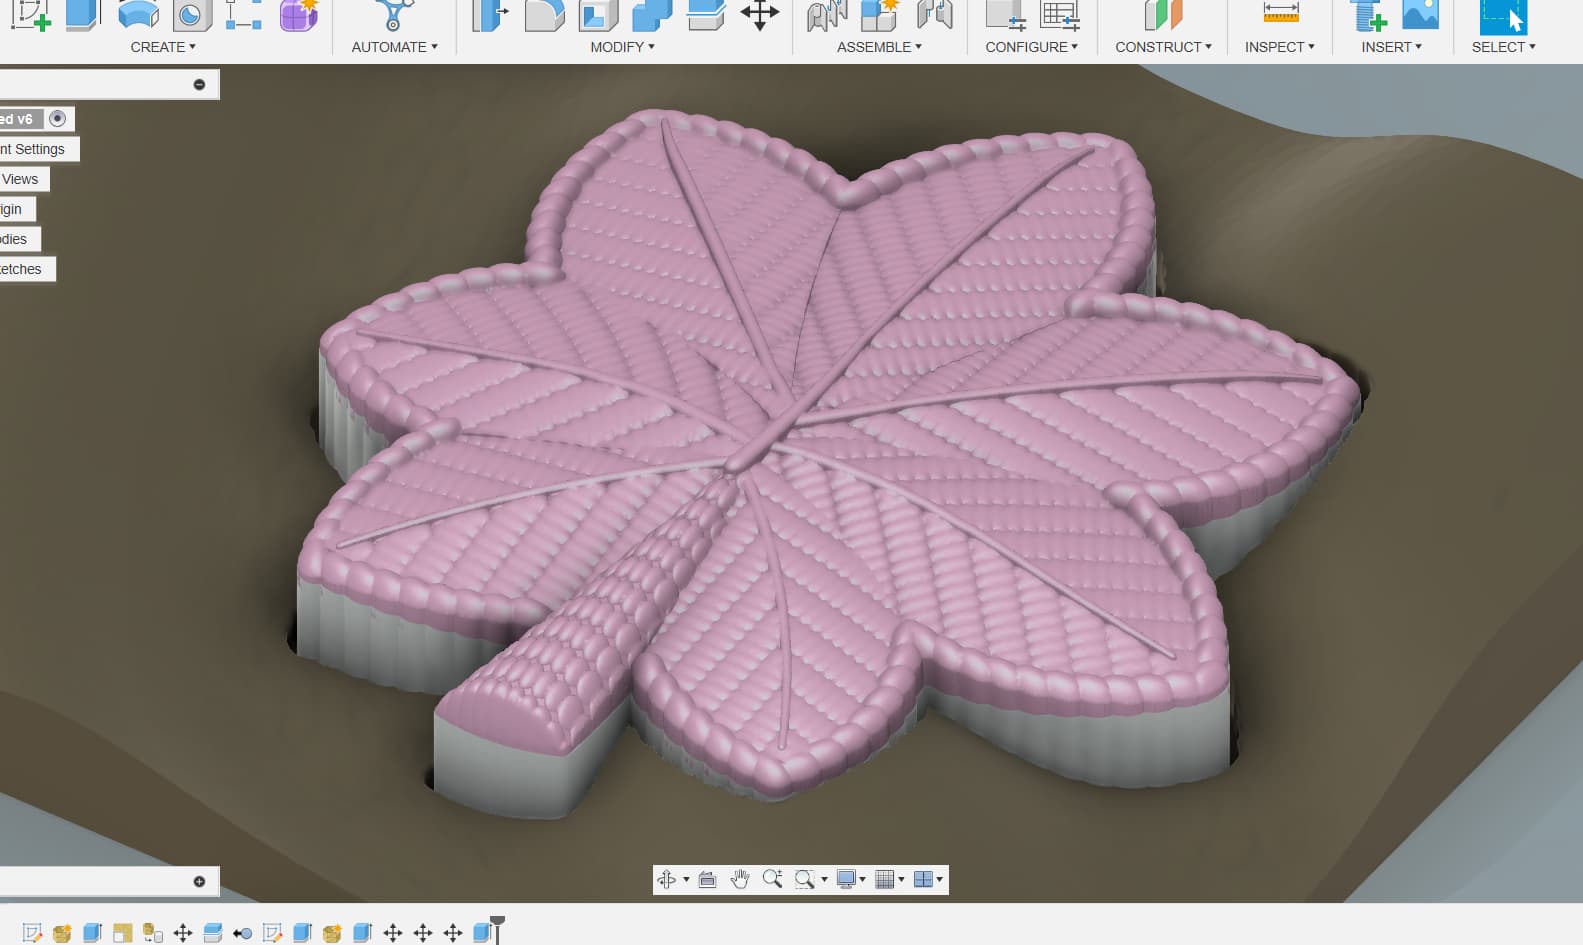
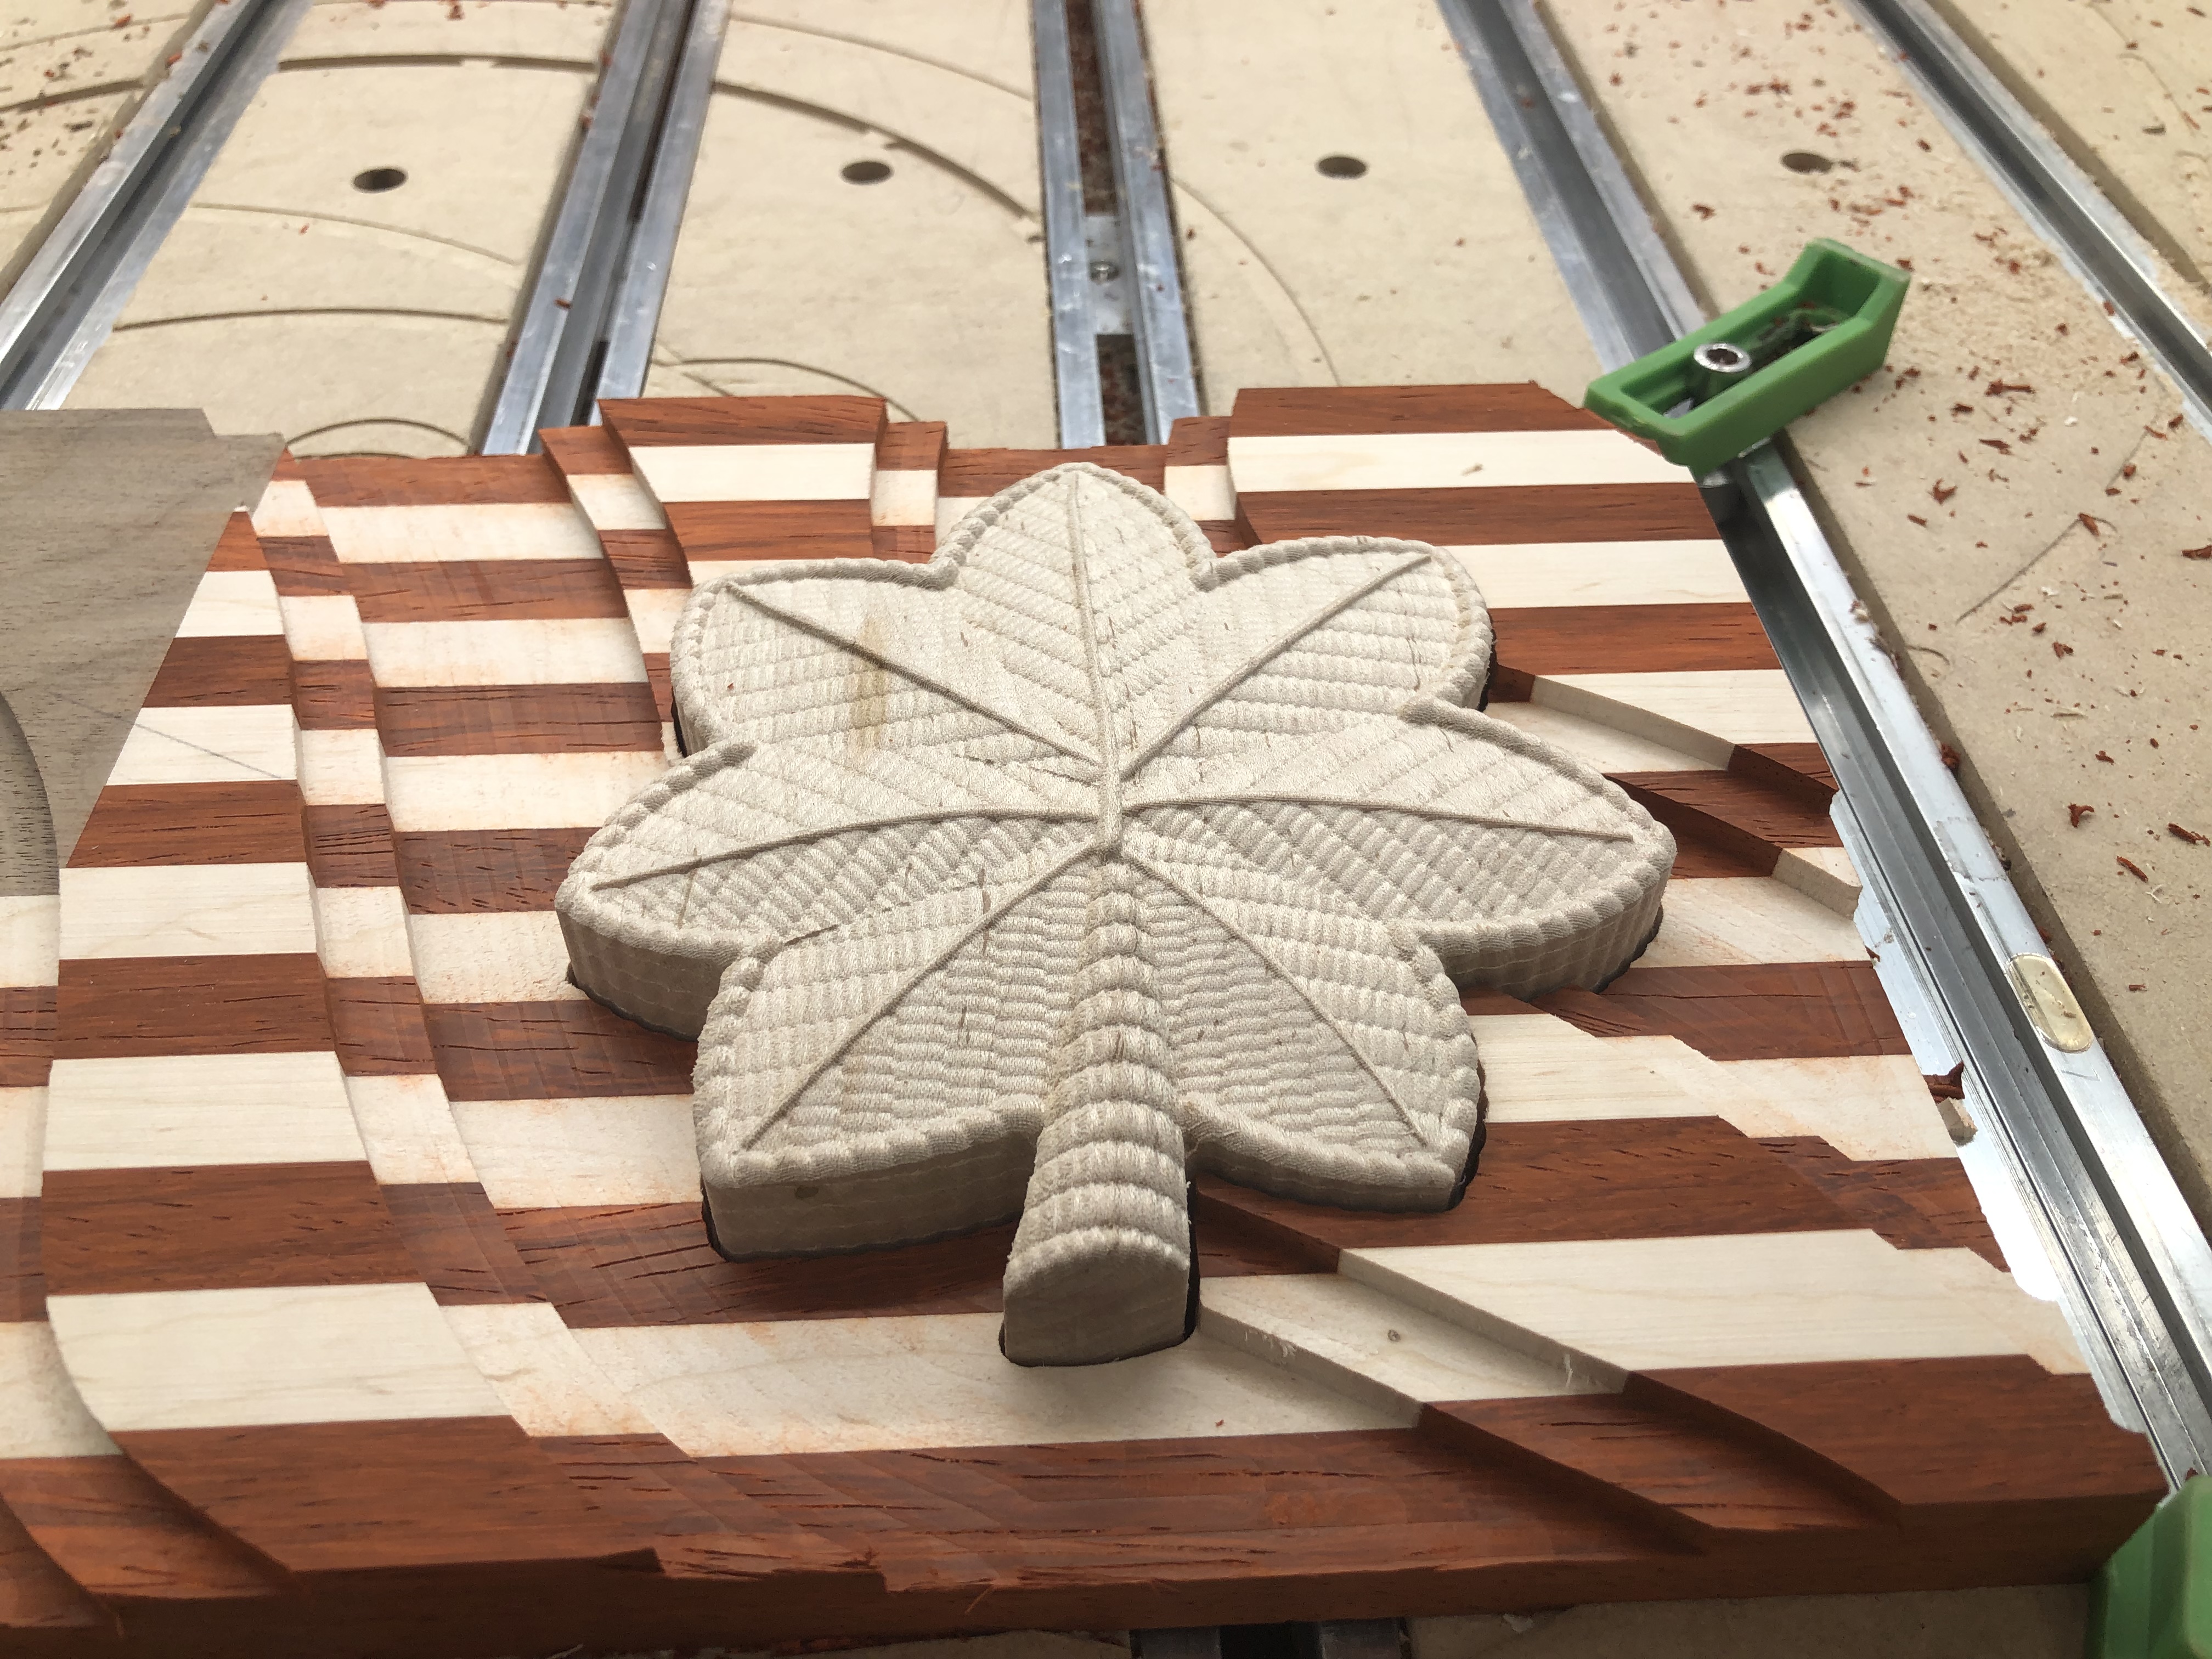
I cut the profile for the flag tomorrow after work. Total time for the Rank insignia was 1.5hours with a 1/32 tapered ball nose.

The stars will get cut by my laser machine and painted white.

Cheers!

14 Likes

Really looking forward to how it comes out. I’ve been really impressed with all your work. Your flags are amazing. I’m getting ready to do a wavy flag for a fellow Firefighter who is retiring in March. I’ve been studying your work and hope I can have it come out 1/2 as nice as yours !

Scott

2 Likes

Got to love how friends and family can convince you to to make something that you normally would not. Been there, done that!

1 Like

Uhm, wow. That looks very venturesome. The carve looks marvelous. Can’t wait too see the final!

Props to your veteran friend. Thanks for his service , brother serviceman.

Cool to have a friend like you with skills and thoughtfulness.

Seriously, good on ya’

Best M

1 Like

Starting to look like something!

Should be able to finish this up tonight.

Cheers!

9 Likes

You are a machine.

As I recall you do all the design in F360. Does that include the toolpath generation as well?

Do you have a favorite recipe for your inlays? Bits, depths, speeds? Is it referenced maybe in one of your videos?

I am still looking for a wavy flag STL that I can use in CC. I haven’t found one I really like yet. When I do I may try it on a piece of PVC or MDF before destroying all the work in the glueup.

EDIT: or did you do all that text work on your fancy new laser?

You work fast. Looks awesome!

Amazing work as always! Are the side plaques cut square or do they inset into the frame?

Time for some finish…

This weekend I’ll try to update with all the steps and questions. Also posting a video :nerd_face:

Cheers :beers:

4 Likes

Really great stuff, but I’m confused a bit, because the focus of the project is for “Major Brandon K. Parshall”.

Is that you? So they talked you into making your own retirement plaque? That’s even more special. :smiley:

Ha, nope, I’m an enlisted man all the way. I think I messed the story telling up a bit :face_with_monocle:

2 Likes

All done!

15 Likes

I like the smaller flag as compared to your larger work. It provides a good opportunity for experimenting without burning so much wood.

1 Like

Well done! I see a potential win in the gift contest coming your way. Incredible workmanship and use of various woodworking skills!

1 Like

Awesome workmanship as usual.

1 Like

All finished up.

Here is the final picture of all put together.

Here is the build video: I only put in the wavy flag build and not the frame.

Cutting 3D Wood Flags on CNC || Woodworking ASMR

All designing and toolpath generations were done in Fusion360. Total cut time was just under 3hrs.

The cherry panels were done on the laser machine, and inserted into the frame before glueing, including the plexiglass.

Fun build, I grossly under charged him on this, as comparable shadowboxes (without the flag) start at $650ish. All is good and was fun to make.

Cheers!

10 Likes

Amazing, he will love it!

Scott

1 Like

Beautiful final product. I would be proud to display that at home. I am sure your friend will be lost for words.

1 Like

I love the way you incorporated texture, 3d, different wood species and mixed media into what is truly an amazing piece and wonderful homage to a serviceman’s career and life story.

The video you shared is an inspiration to us hobbyists and admirers of your work.

Cheers,

M

1 Like

Simply amazing :heart: great work