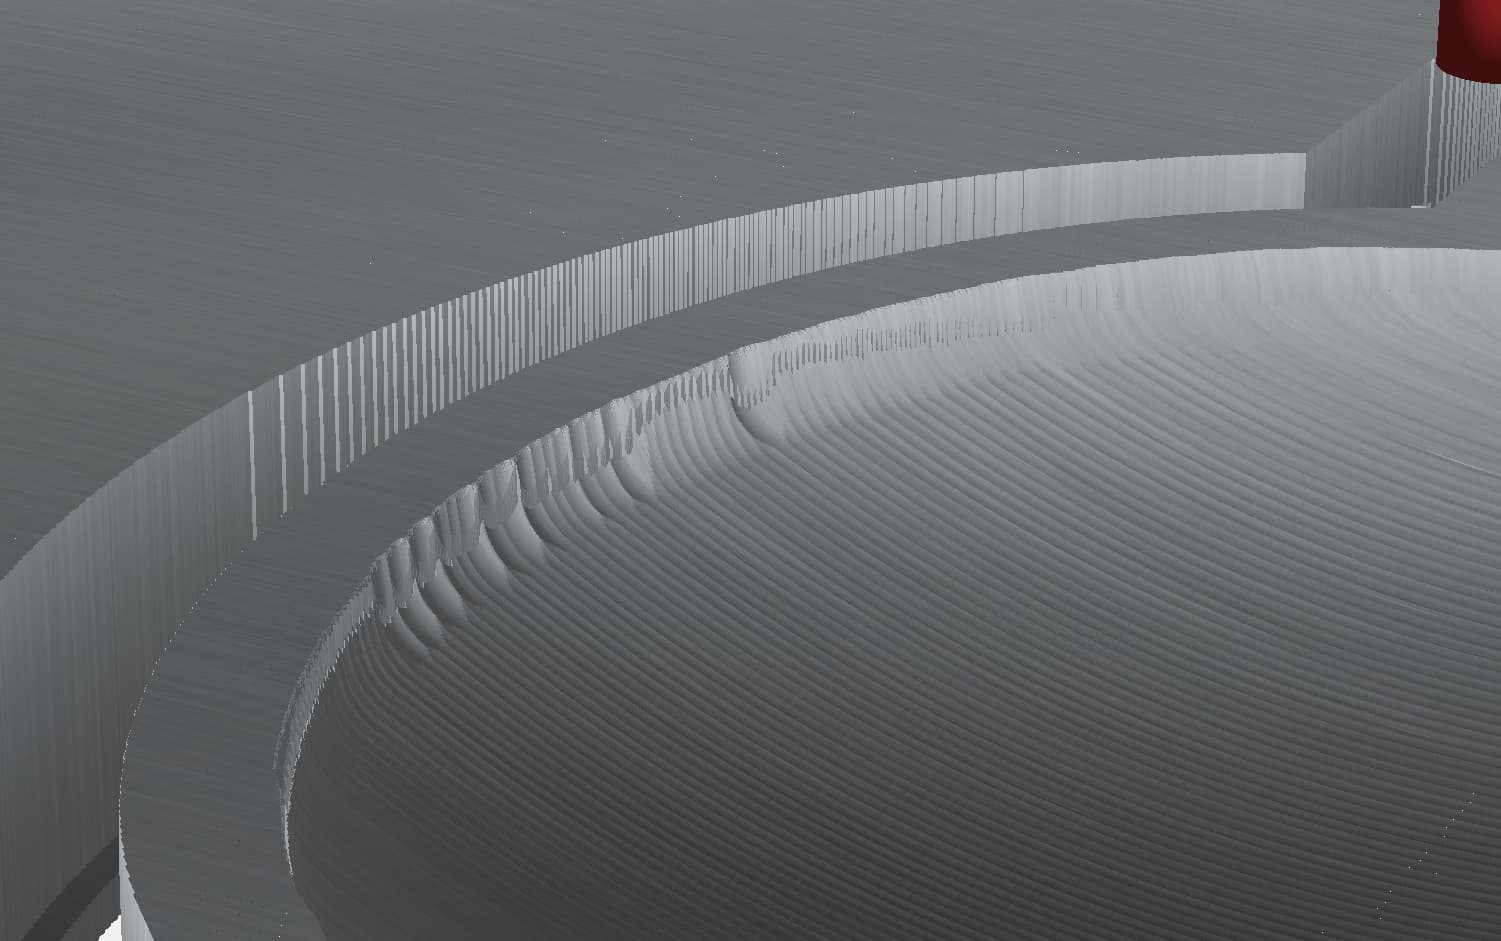
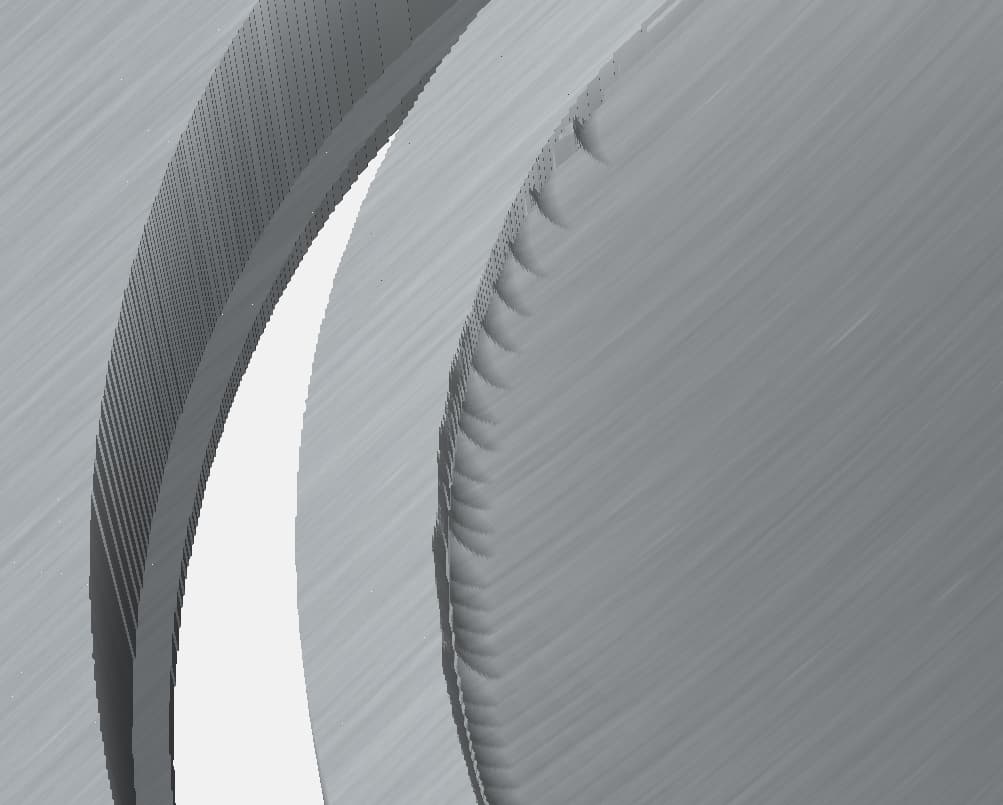
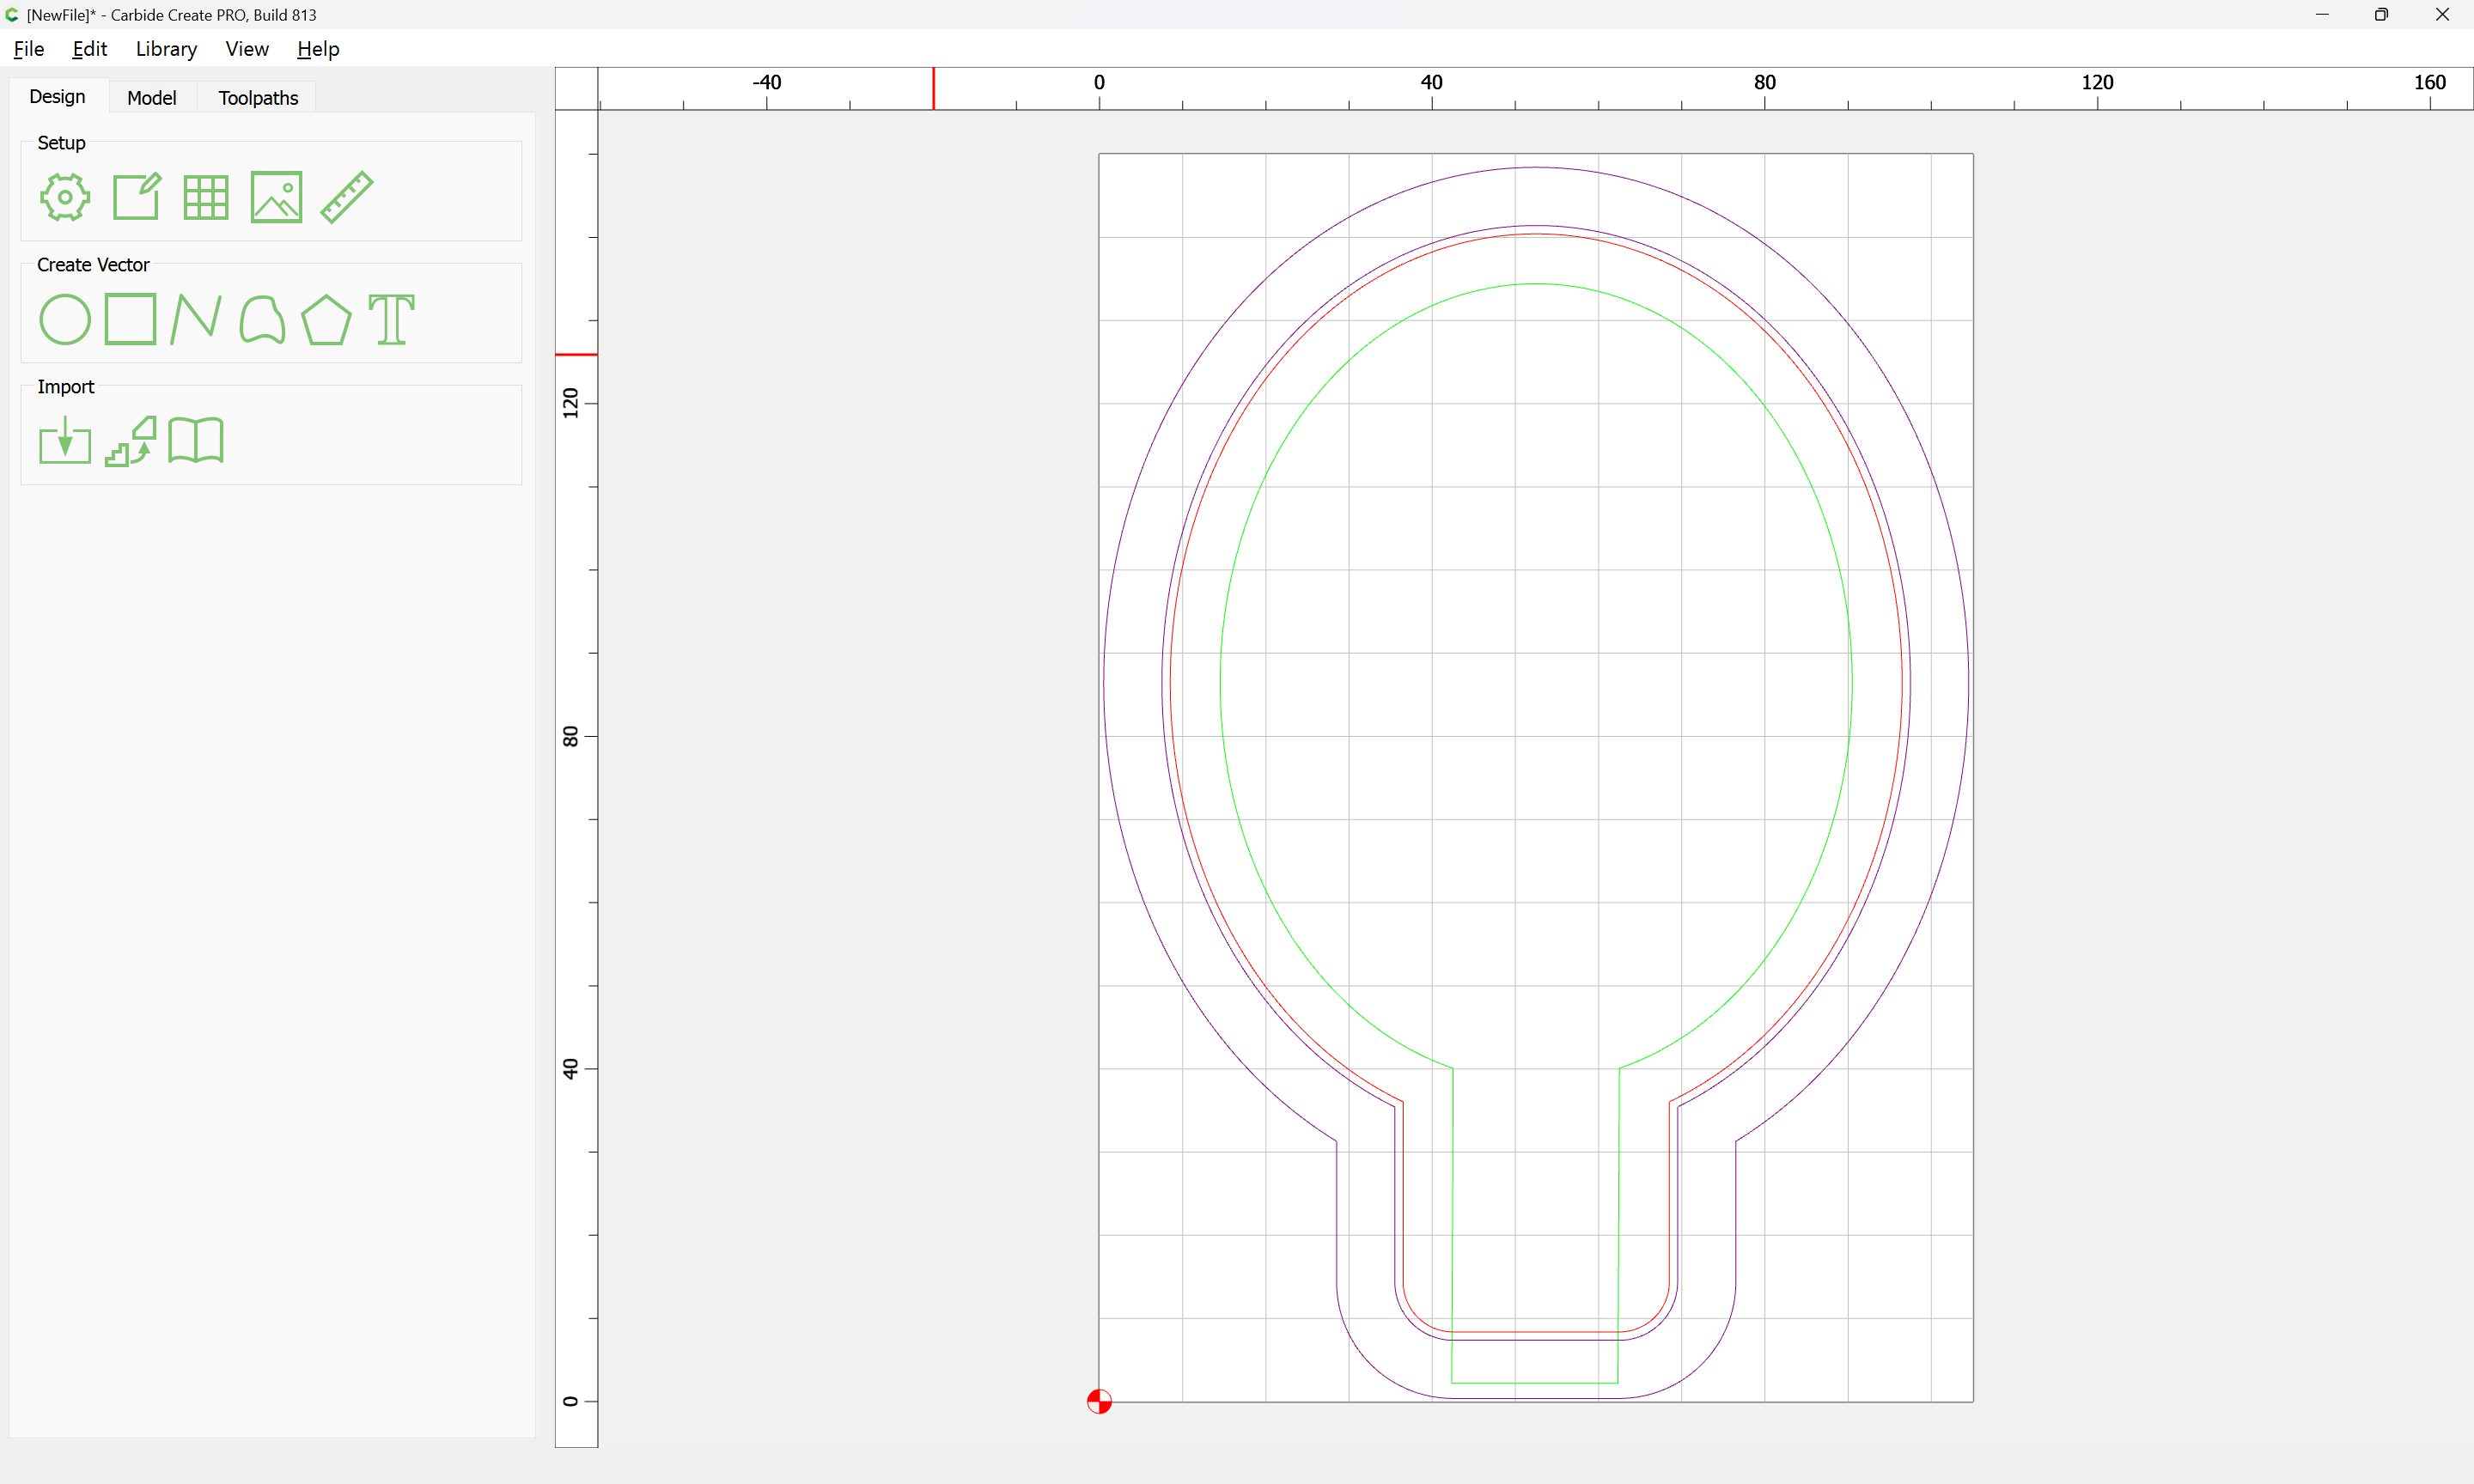
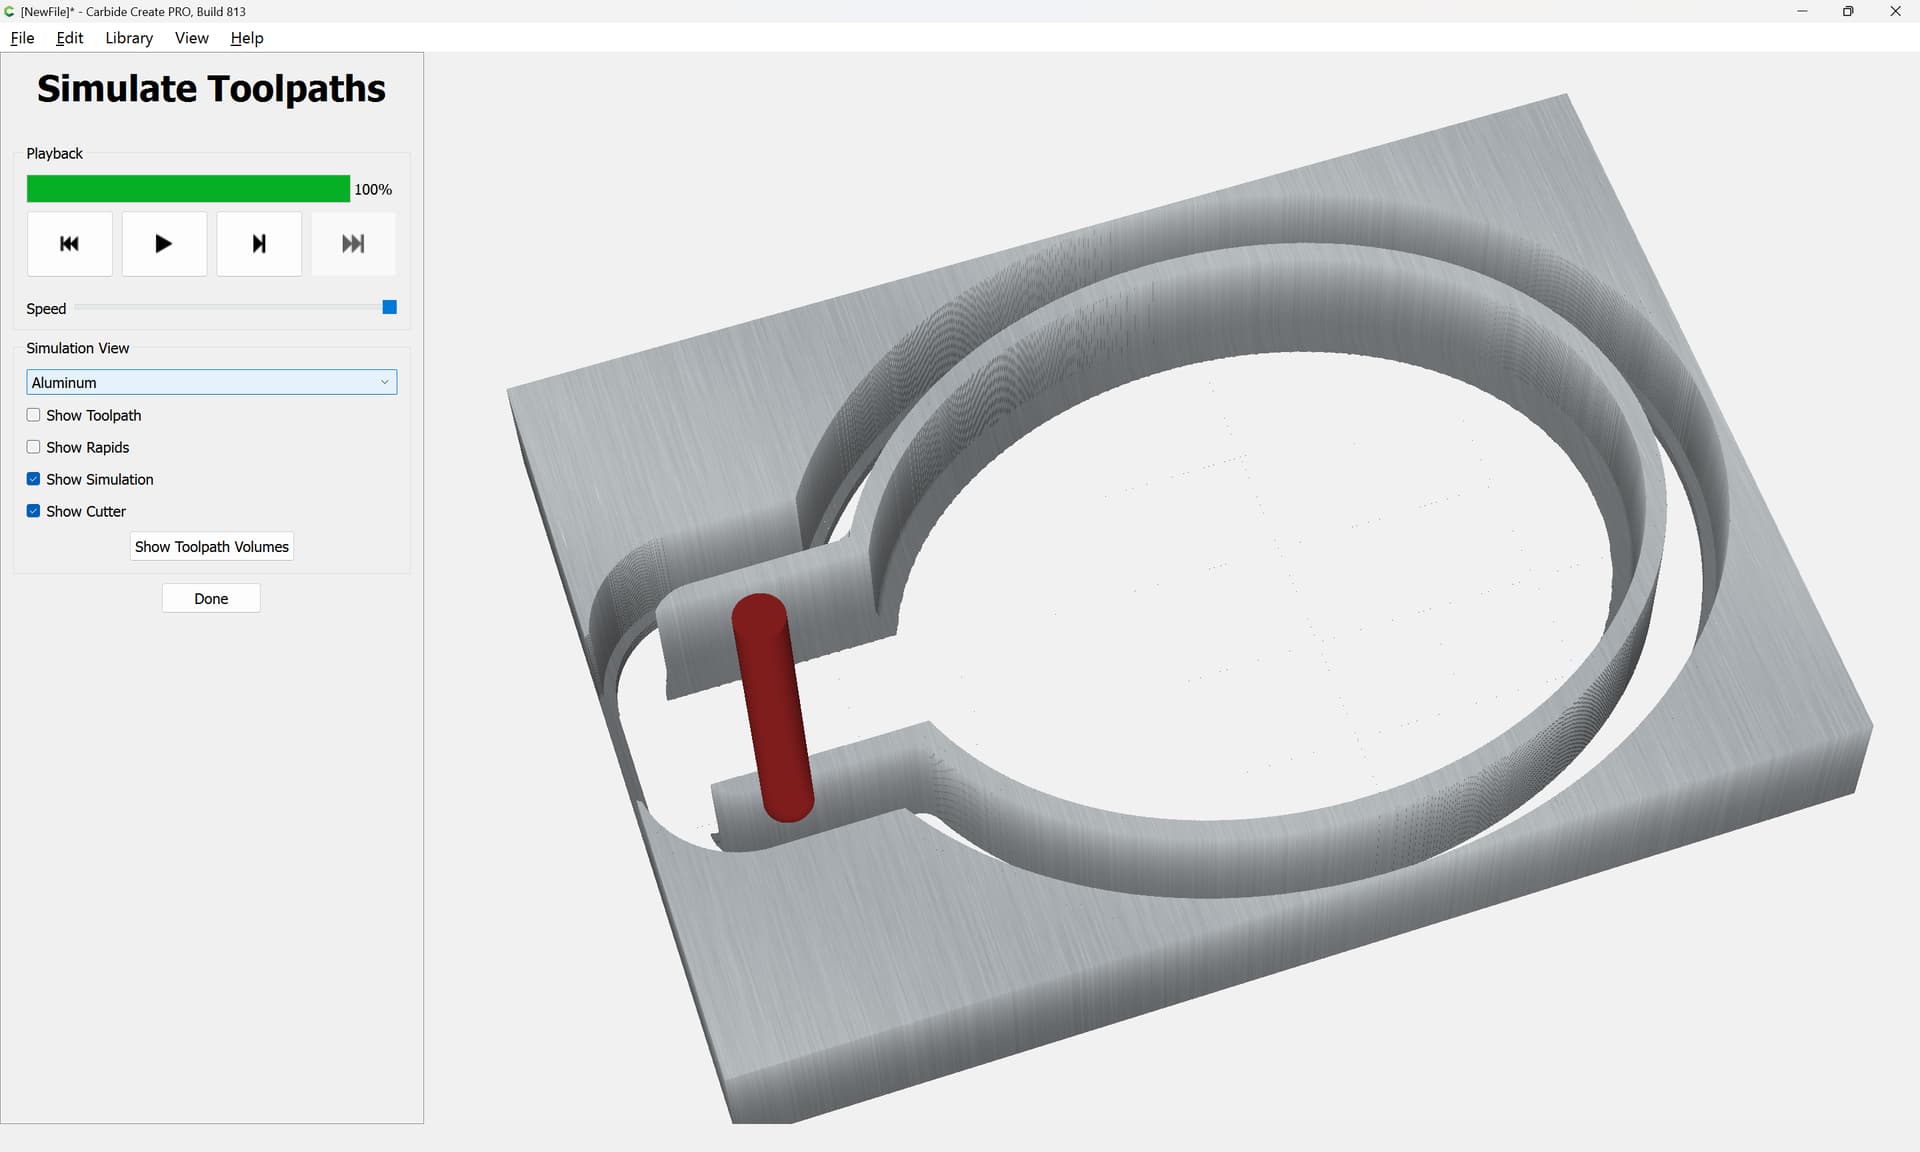
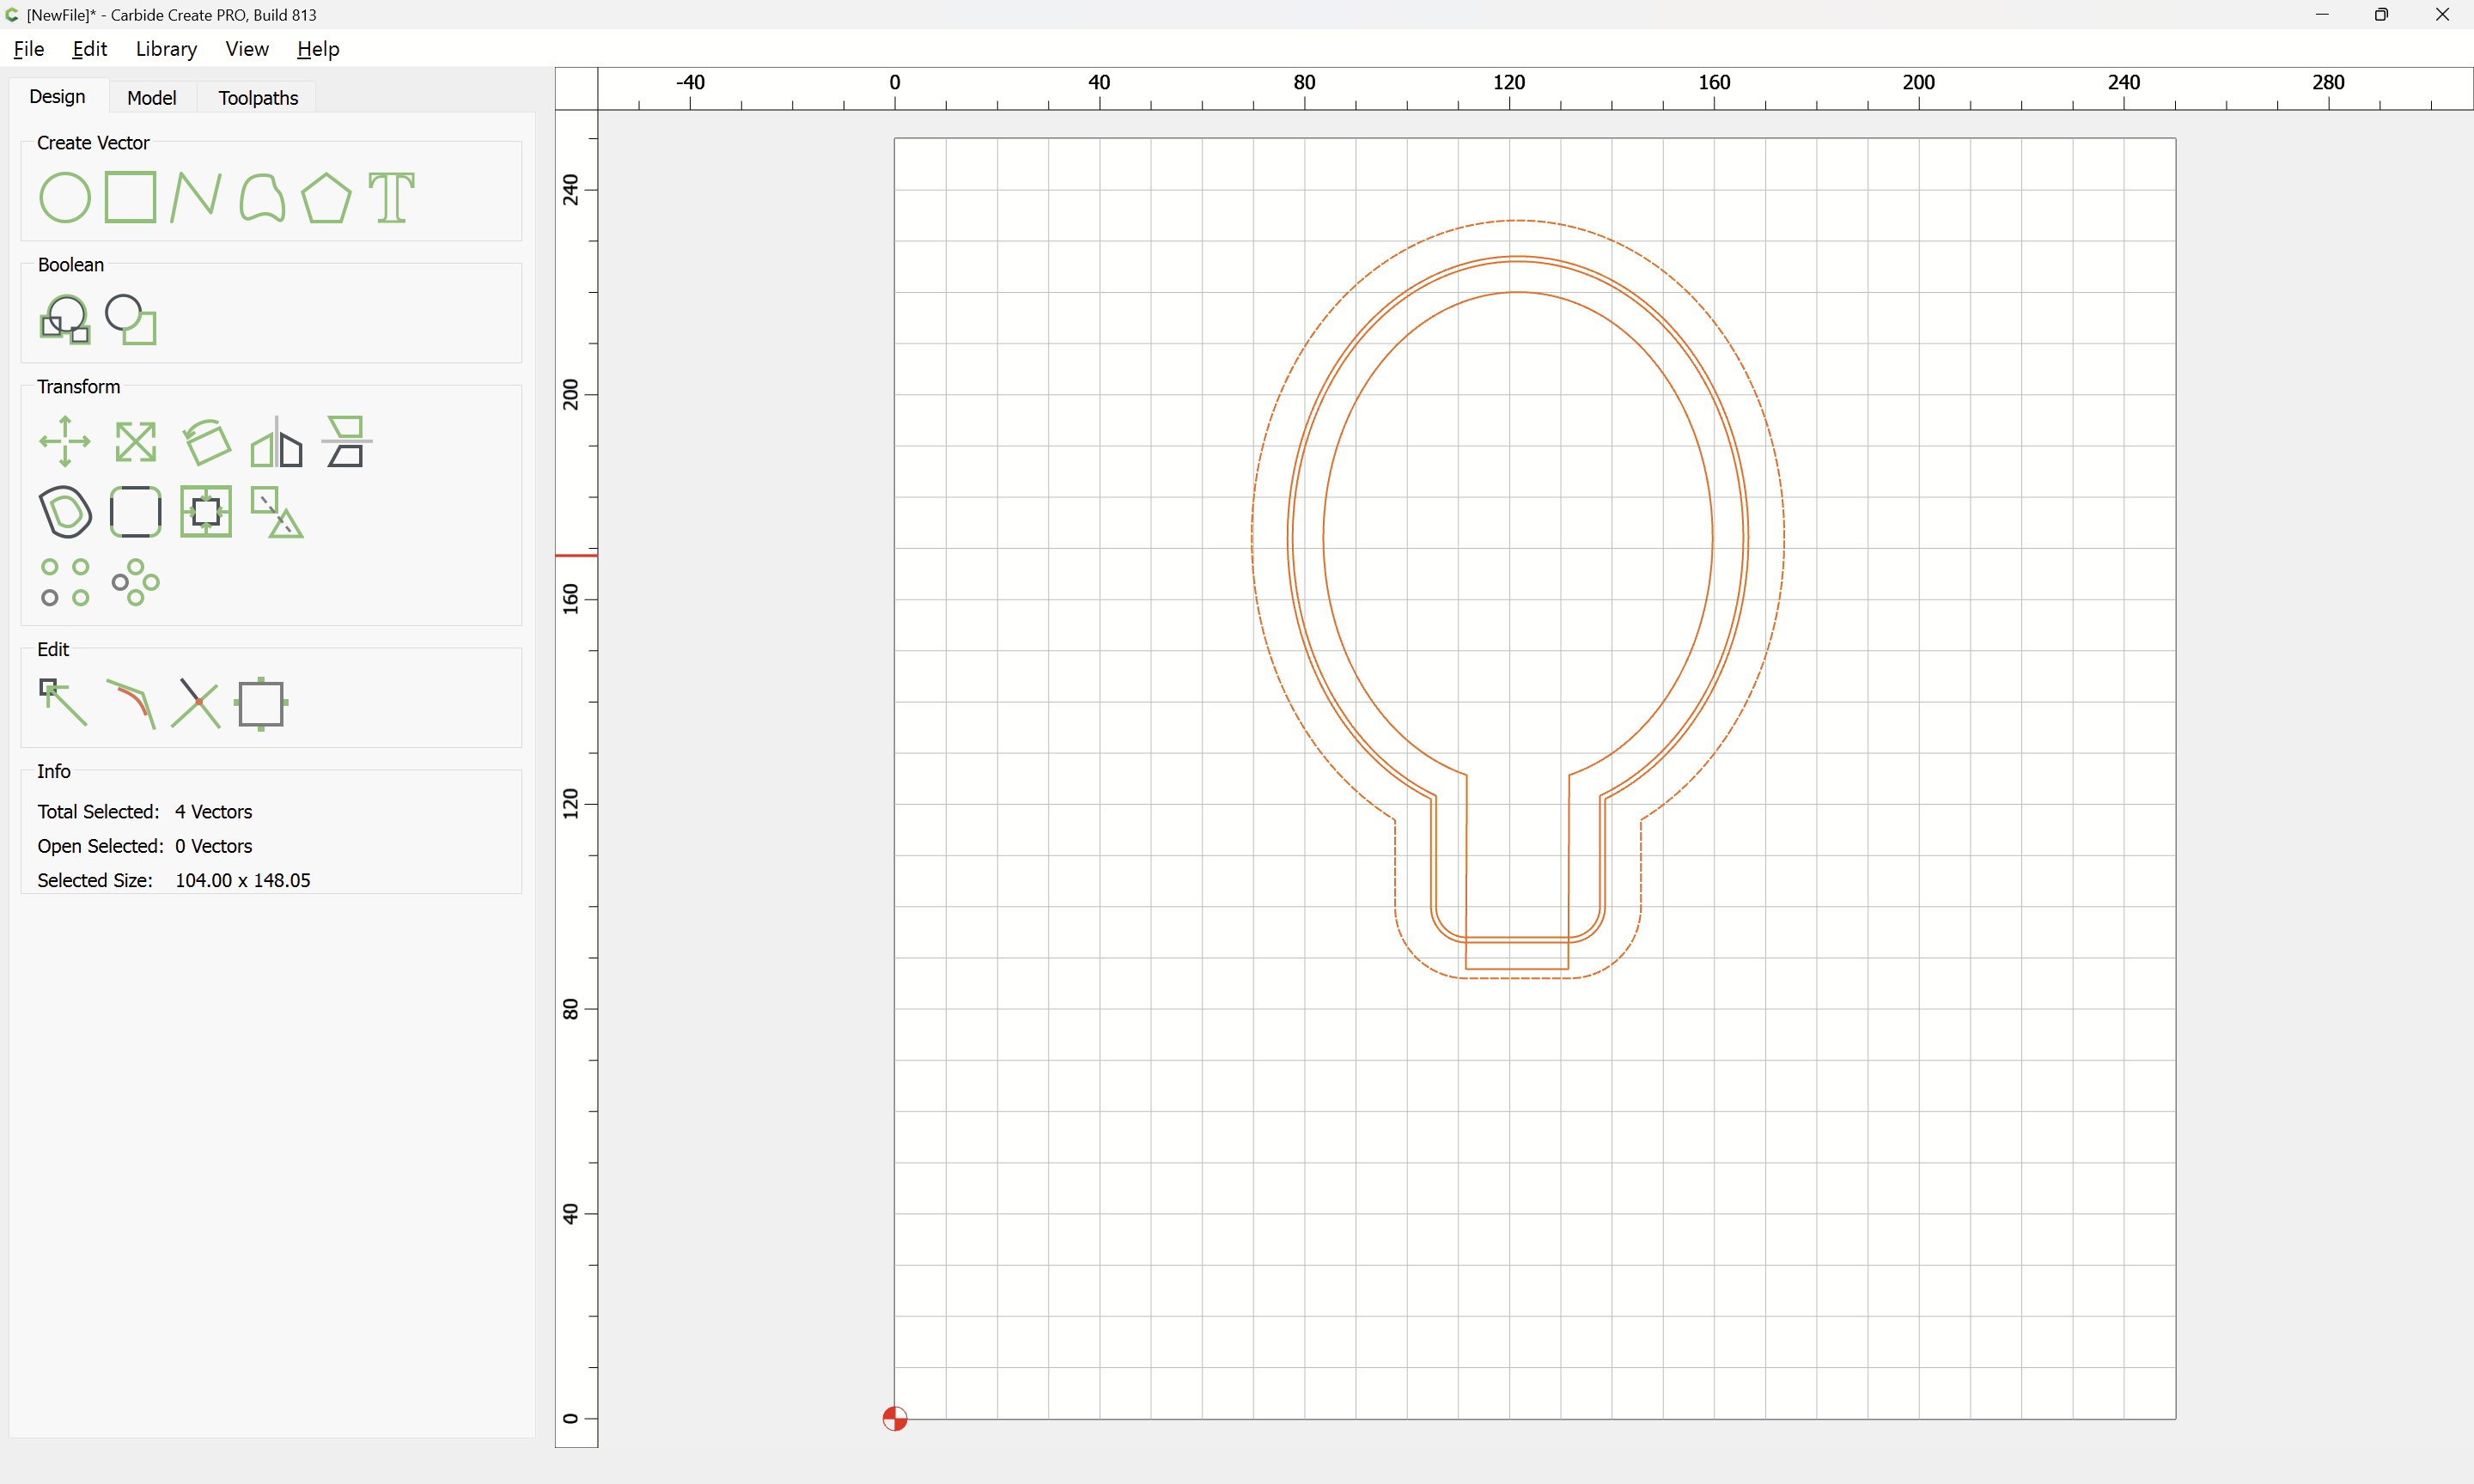
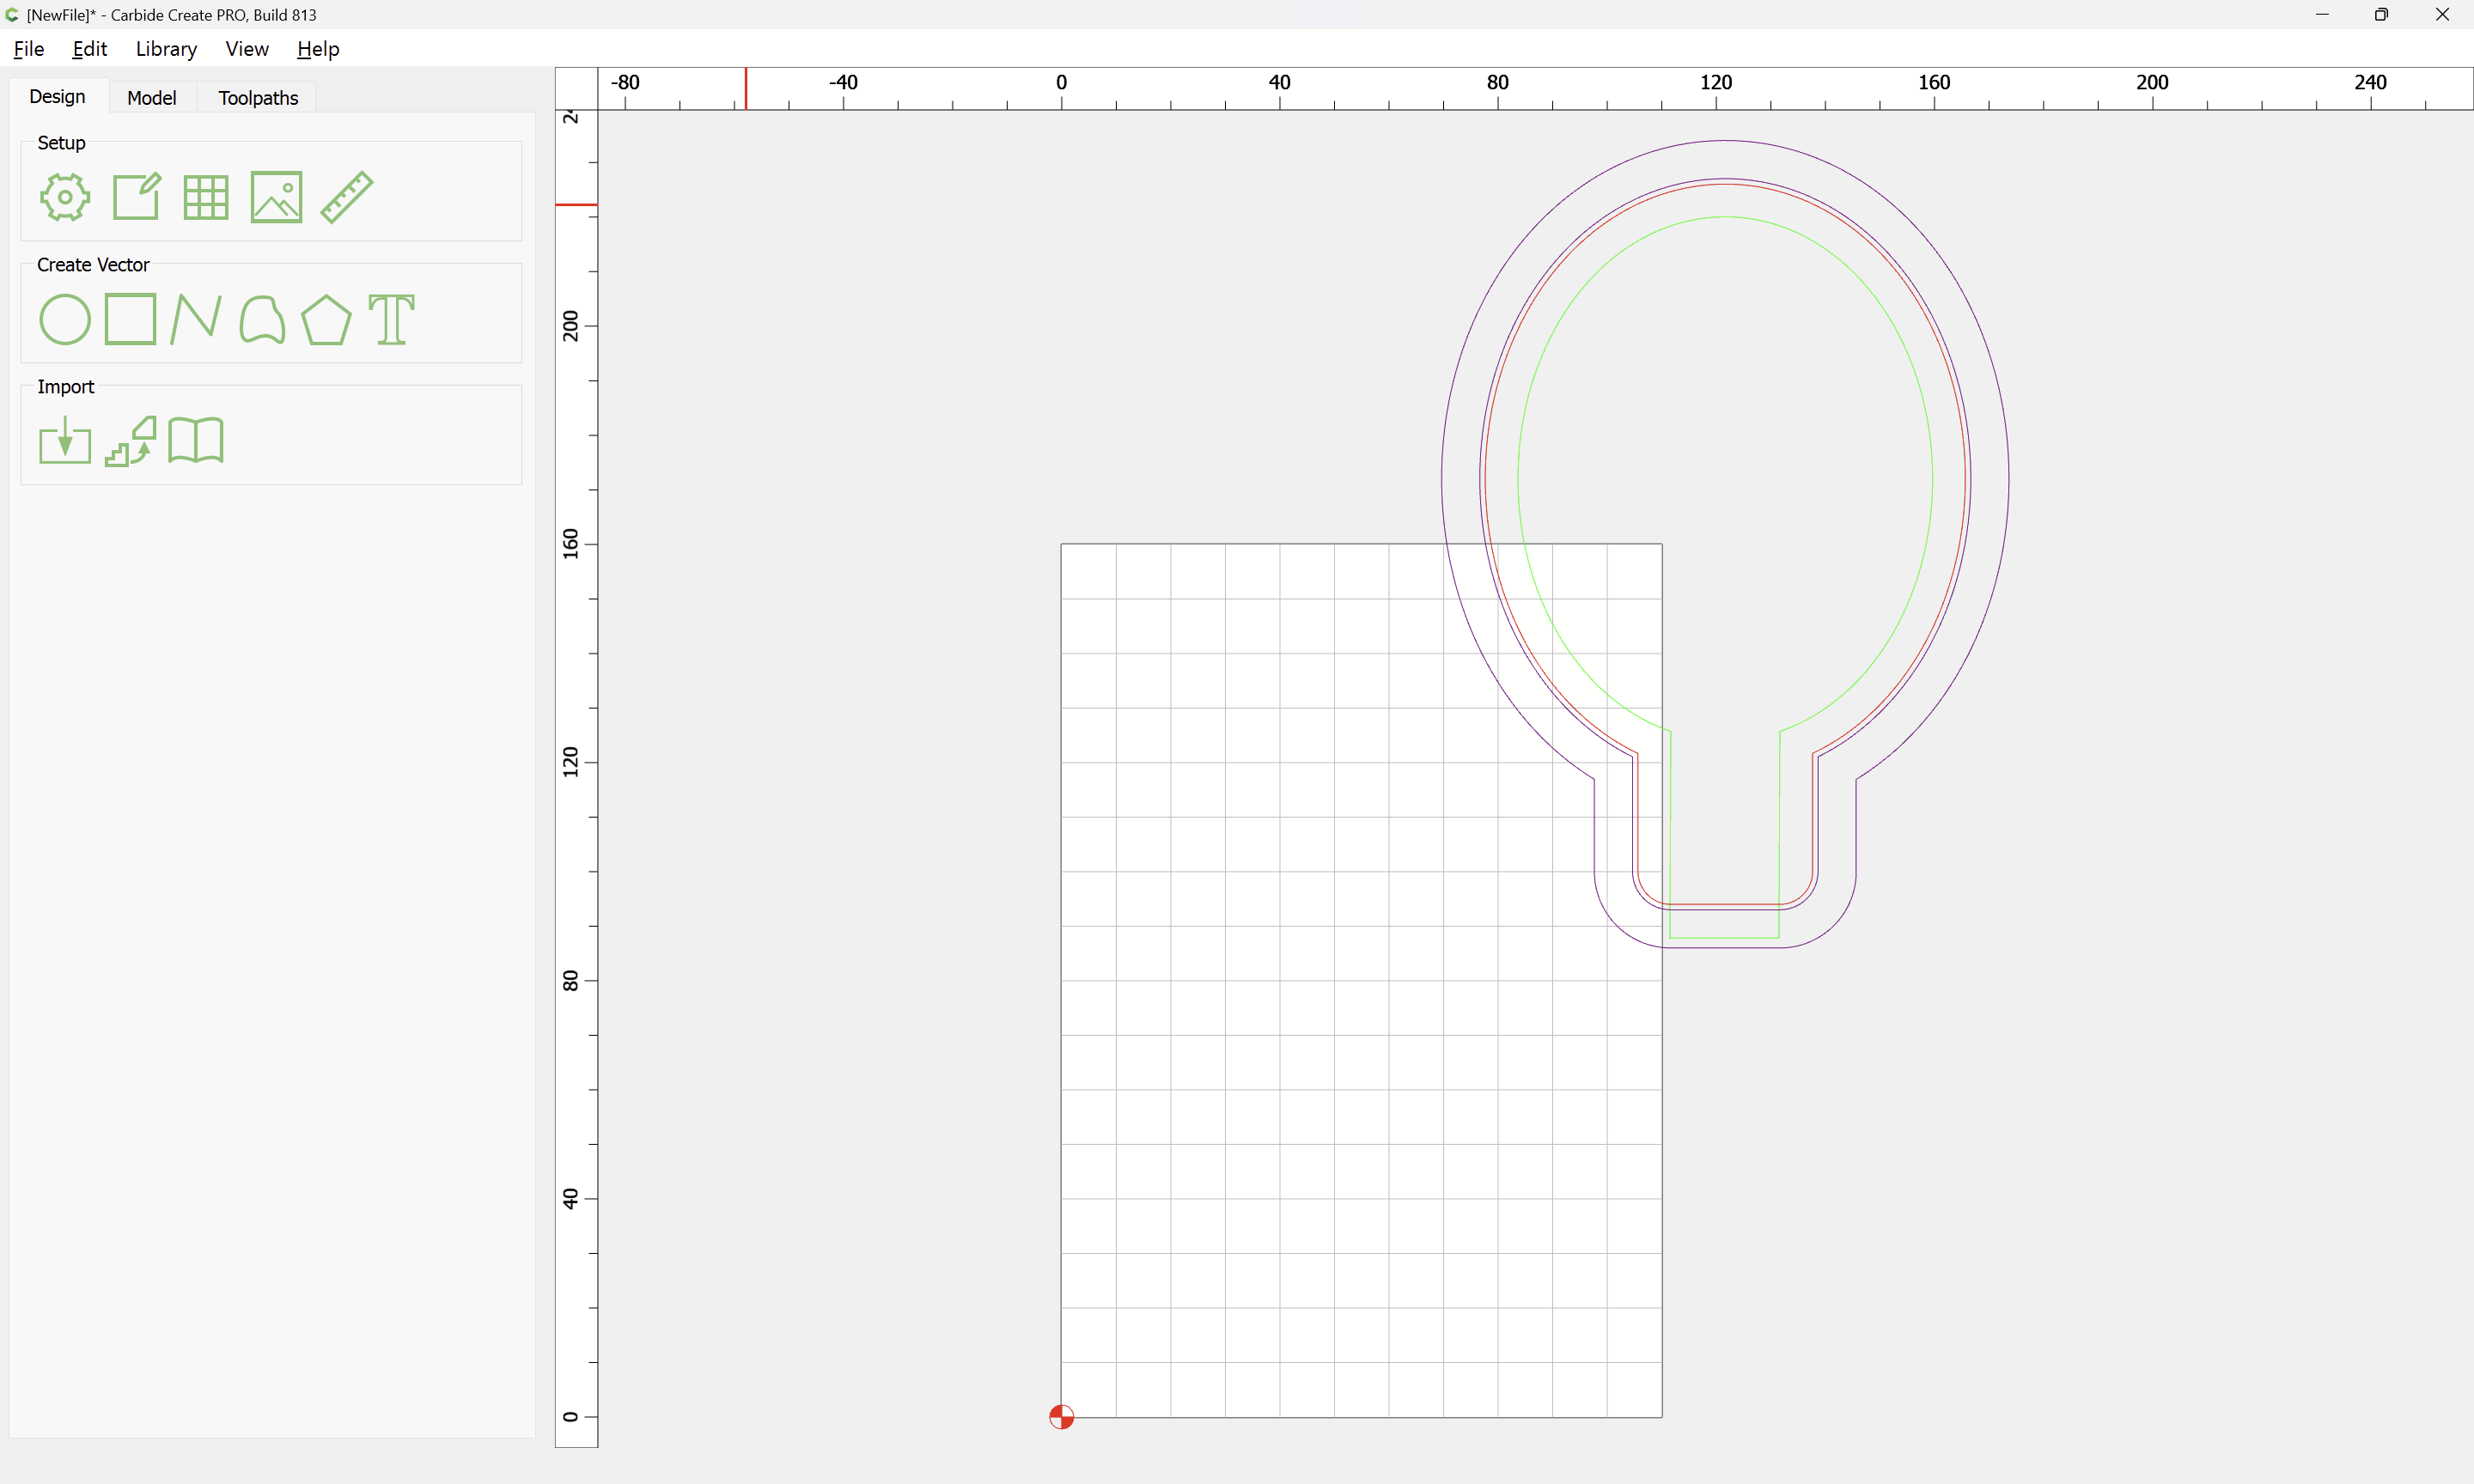
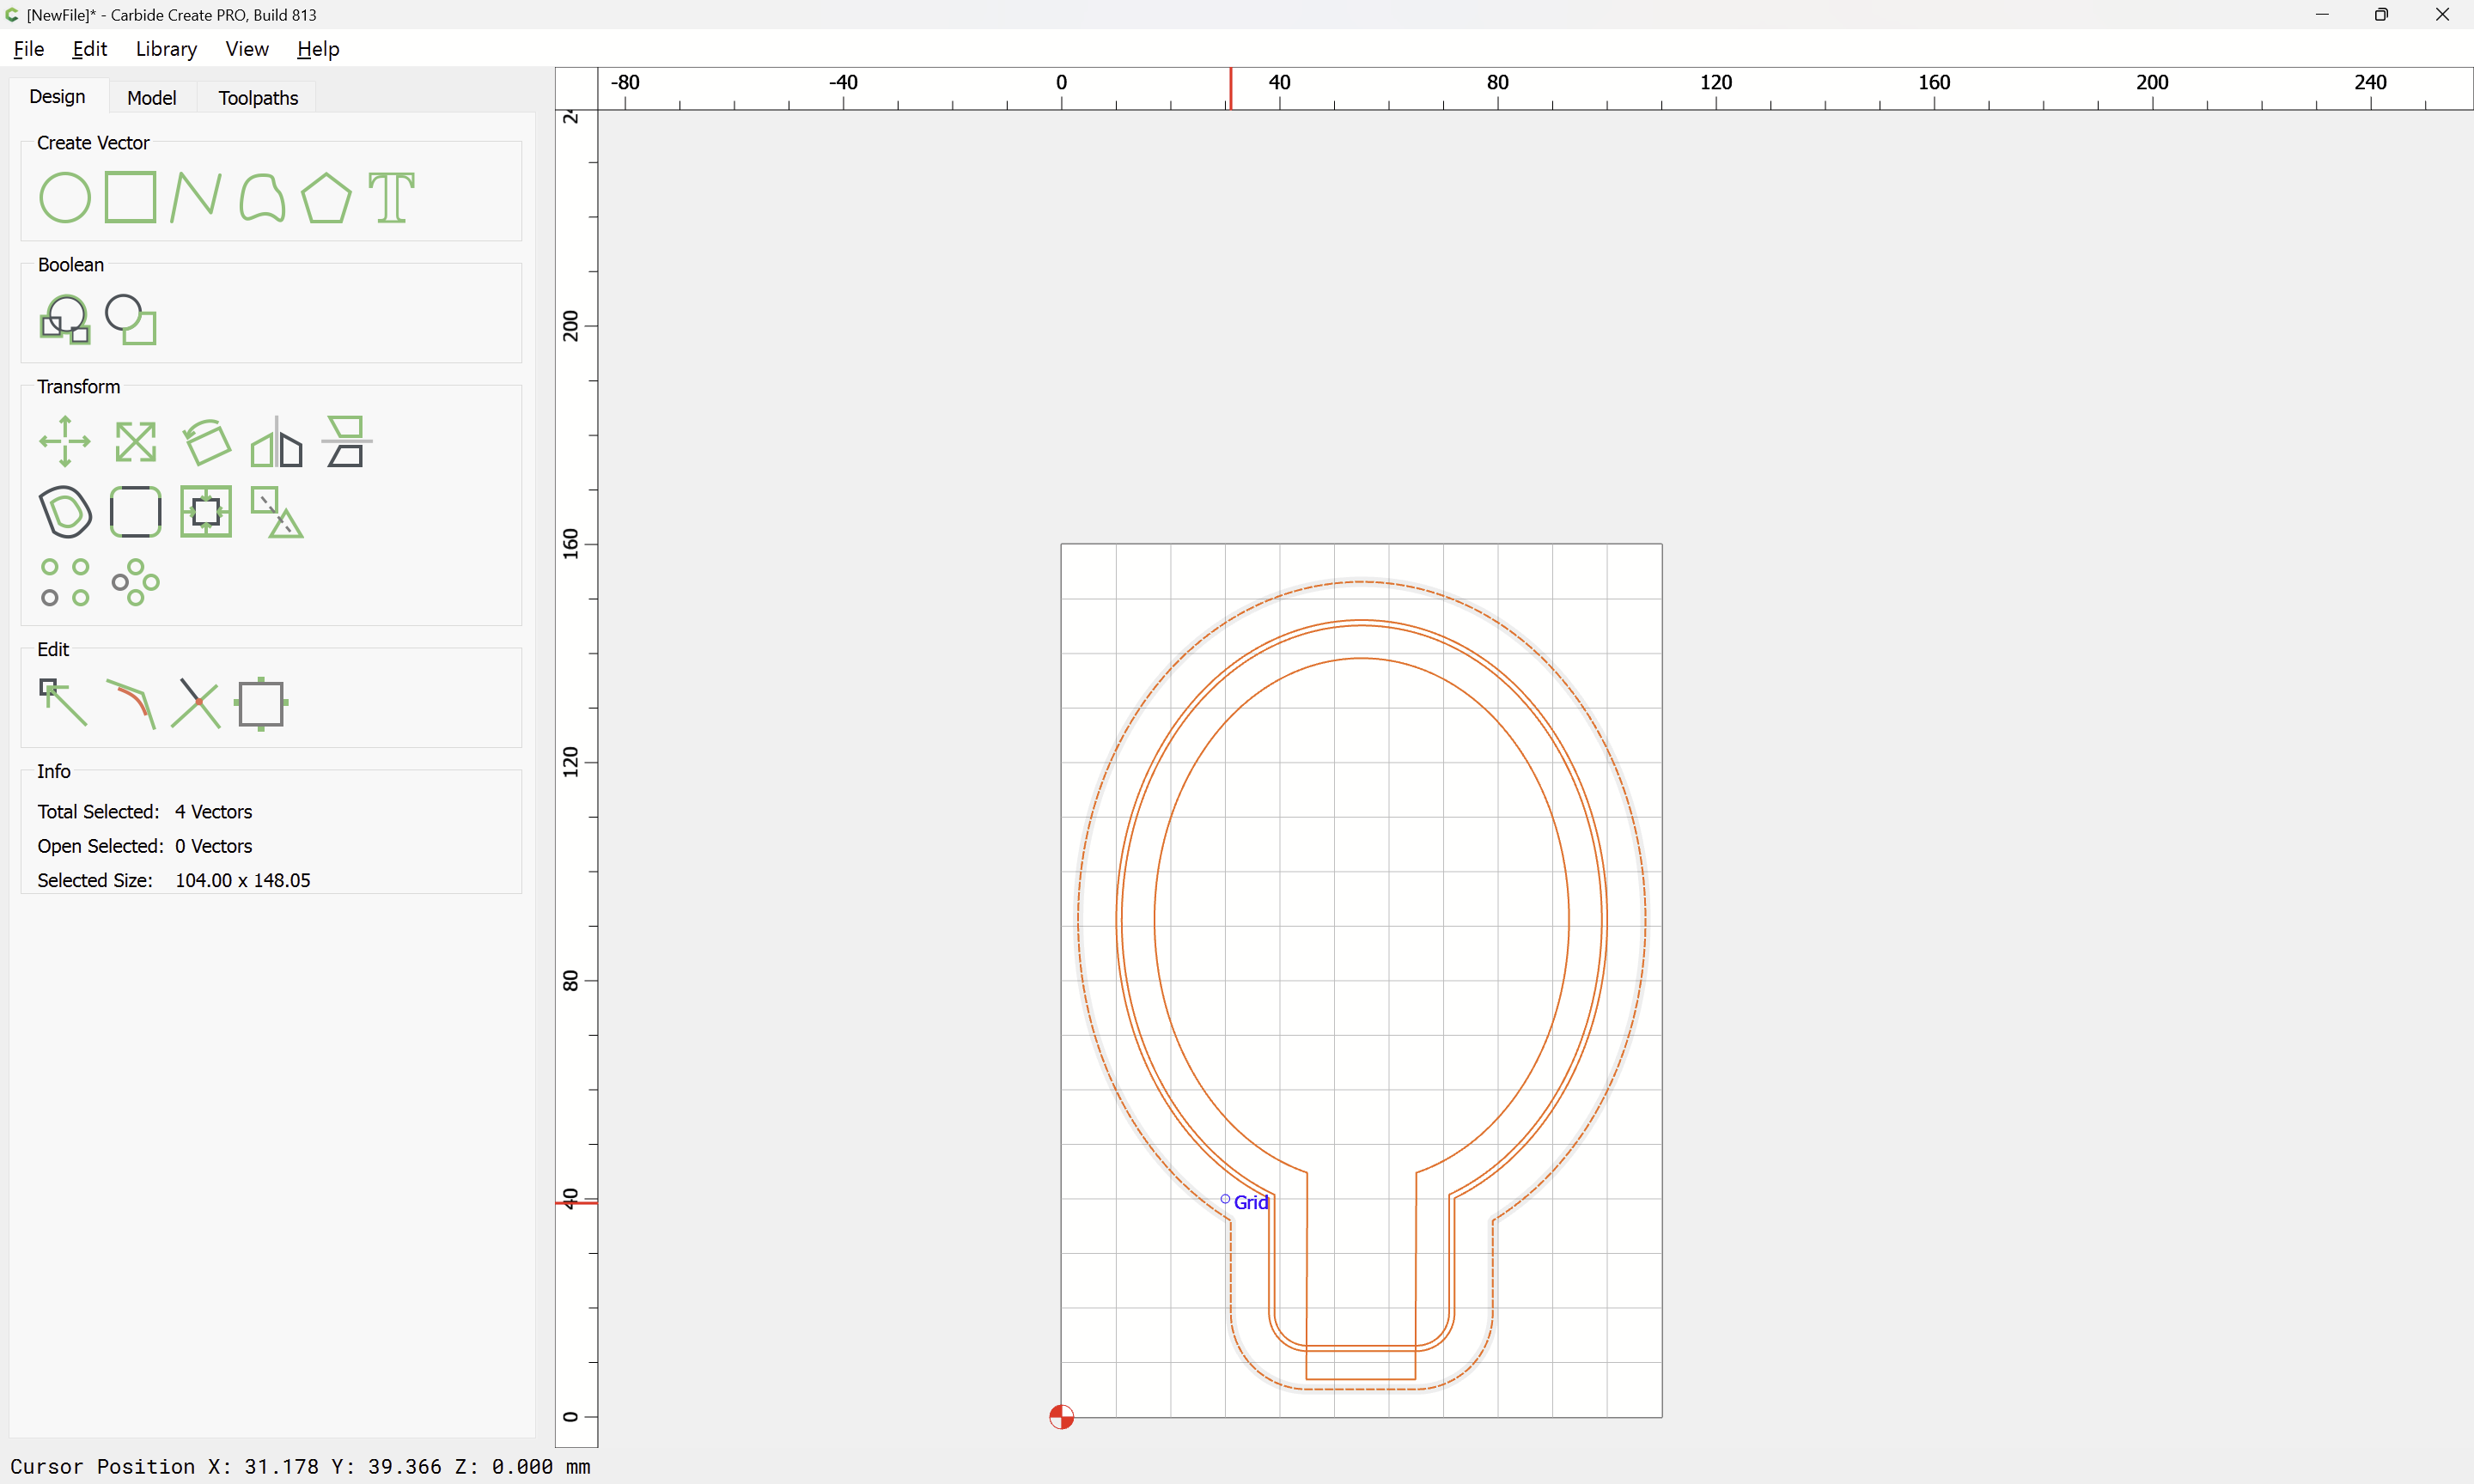
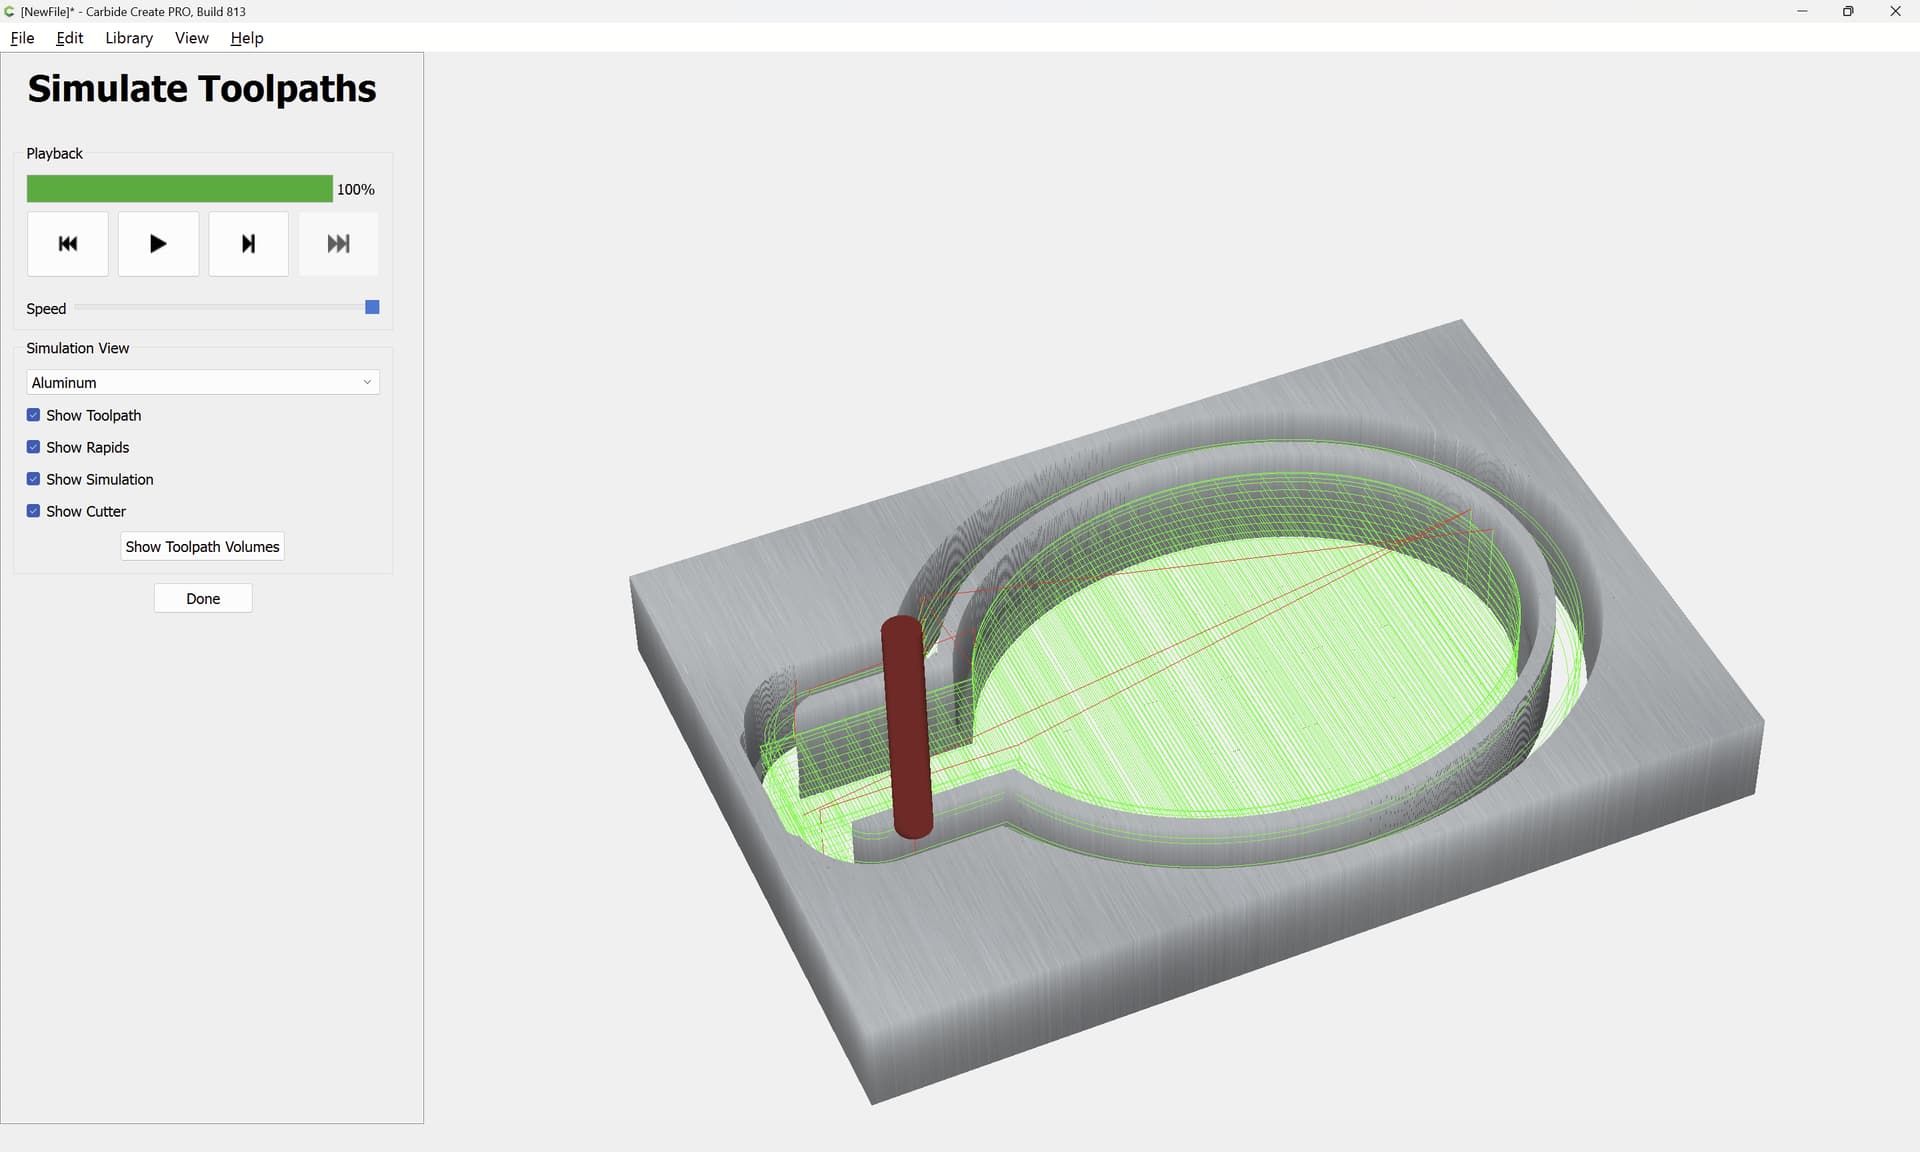
I’m working on a 3D file for a spoon rest and for some reason the simulation show that I will get some rough spots on the transition between the 3D carve and a “wall” I have surrounding the spoon rest. Is this because the ball nose bit is hitting parts of where the wall is? I would think since the wall is made as part of the 3D shape, there should not be any interference.
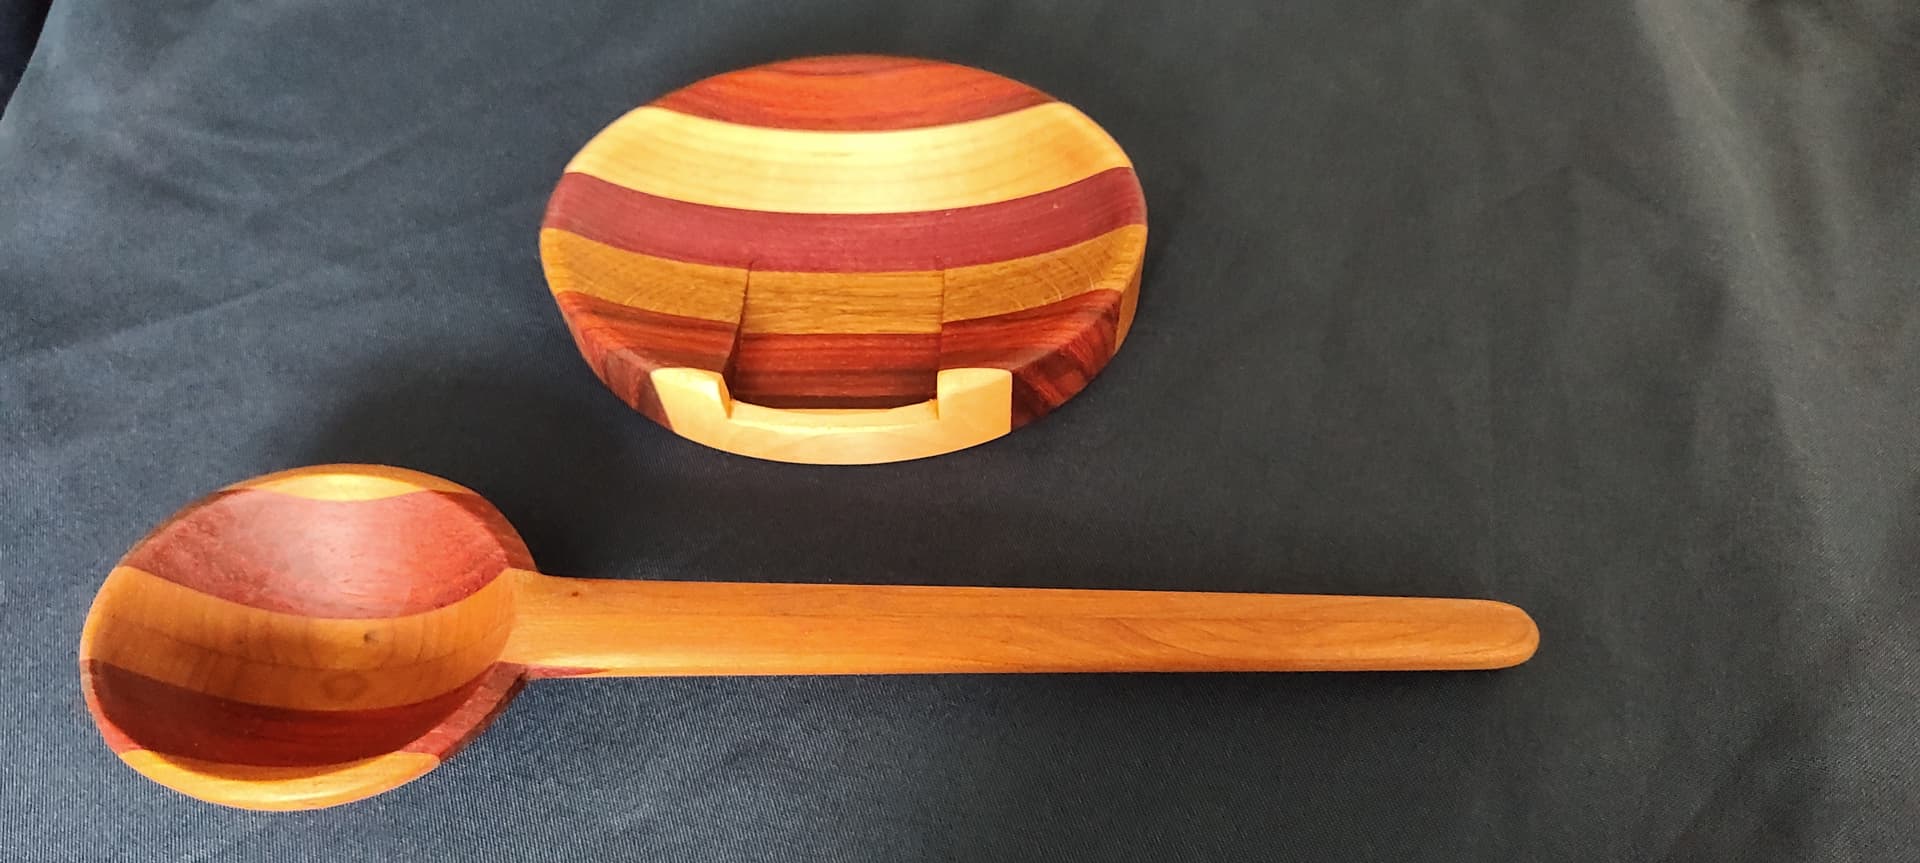
I have been making and selling spoons and rests for a while now and my go to setting in finishing tool path with the 1/4" ballnose bit with step over at .025 in with very little sanding
Hey Keith you had emailed me and I can’t respond to that email address so I will try to remember what your questions are . I try to price the spoons and rests as a set unfortunately 90% of my sells are at craft shows and you just don’t get what you think they are worth and I’m doing it as more of fun and to pay for material and a little bit of pocket change . As for CNC time I really don’t put a whole lot of concern while it’s running because I’m either glueing up blanks or sanding the previous stuff I ran while waiting on next step on the CNC. Also when I glue up for my spoon rests I glue up a blank and run 4 at a time to be more efficient and as for the spoons the same I will have a few done to swap out once the face is done I will run the second and third faces before I proceed to doing the back side . I even do my glue ups on my spoons where I have very little waste of wood. If you would like I would be very glad to take photos and post my process and as for the price I sell them for $15 each and $30 a set . I work a full time job so this is more for the enjoyment than anything. Thanks Danny
Sorry @Winebrenner .I was using my phone and I thought I simply sent you a direct message, but I guess not. I’m pretty much in the same boat as you. I’ve got a day job and I’m just doing this because I enjoy it and to make a little side money that I can spend on whatever I want.
I try to always be working on something else while the CNC is running as well, but I still try to price things according to how much machine time they take. I’ve yet to do a craft show, so I don’t really know how pricing for those work out. So far I’ve been able to sell everything I make to either co-workers or via my wife’s online business.
Depend on the size of your spoon rests, $15 each might be a decent price.
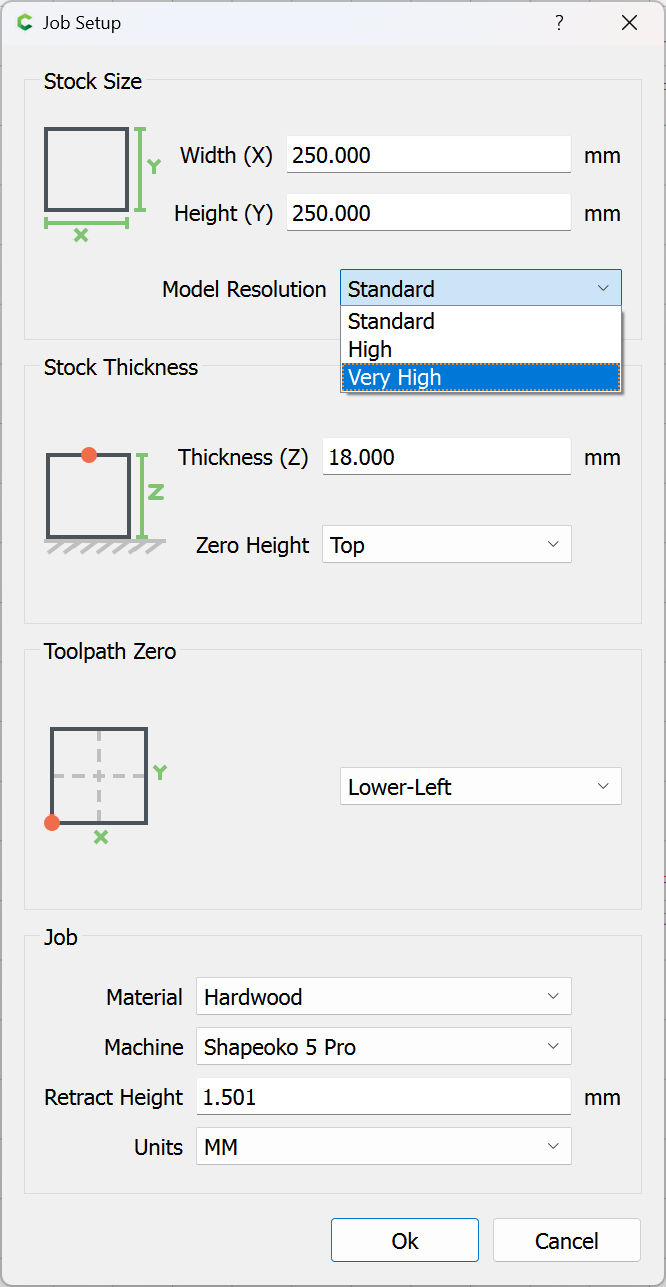
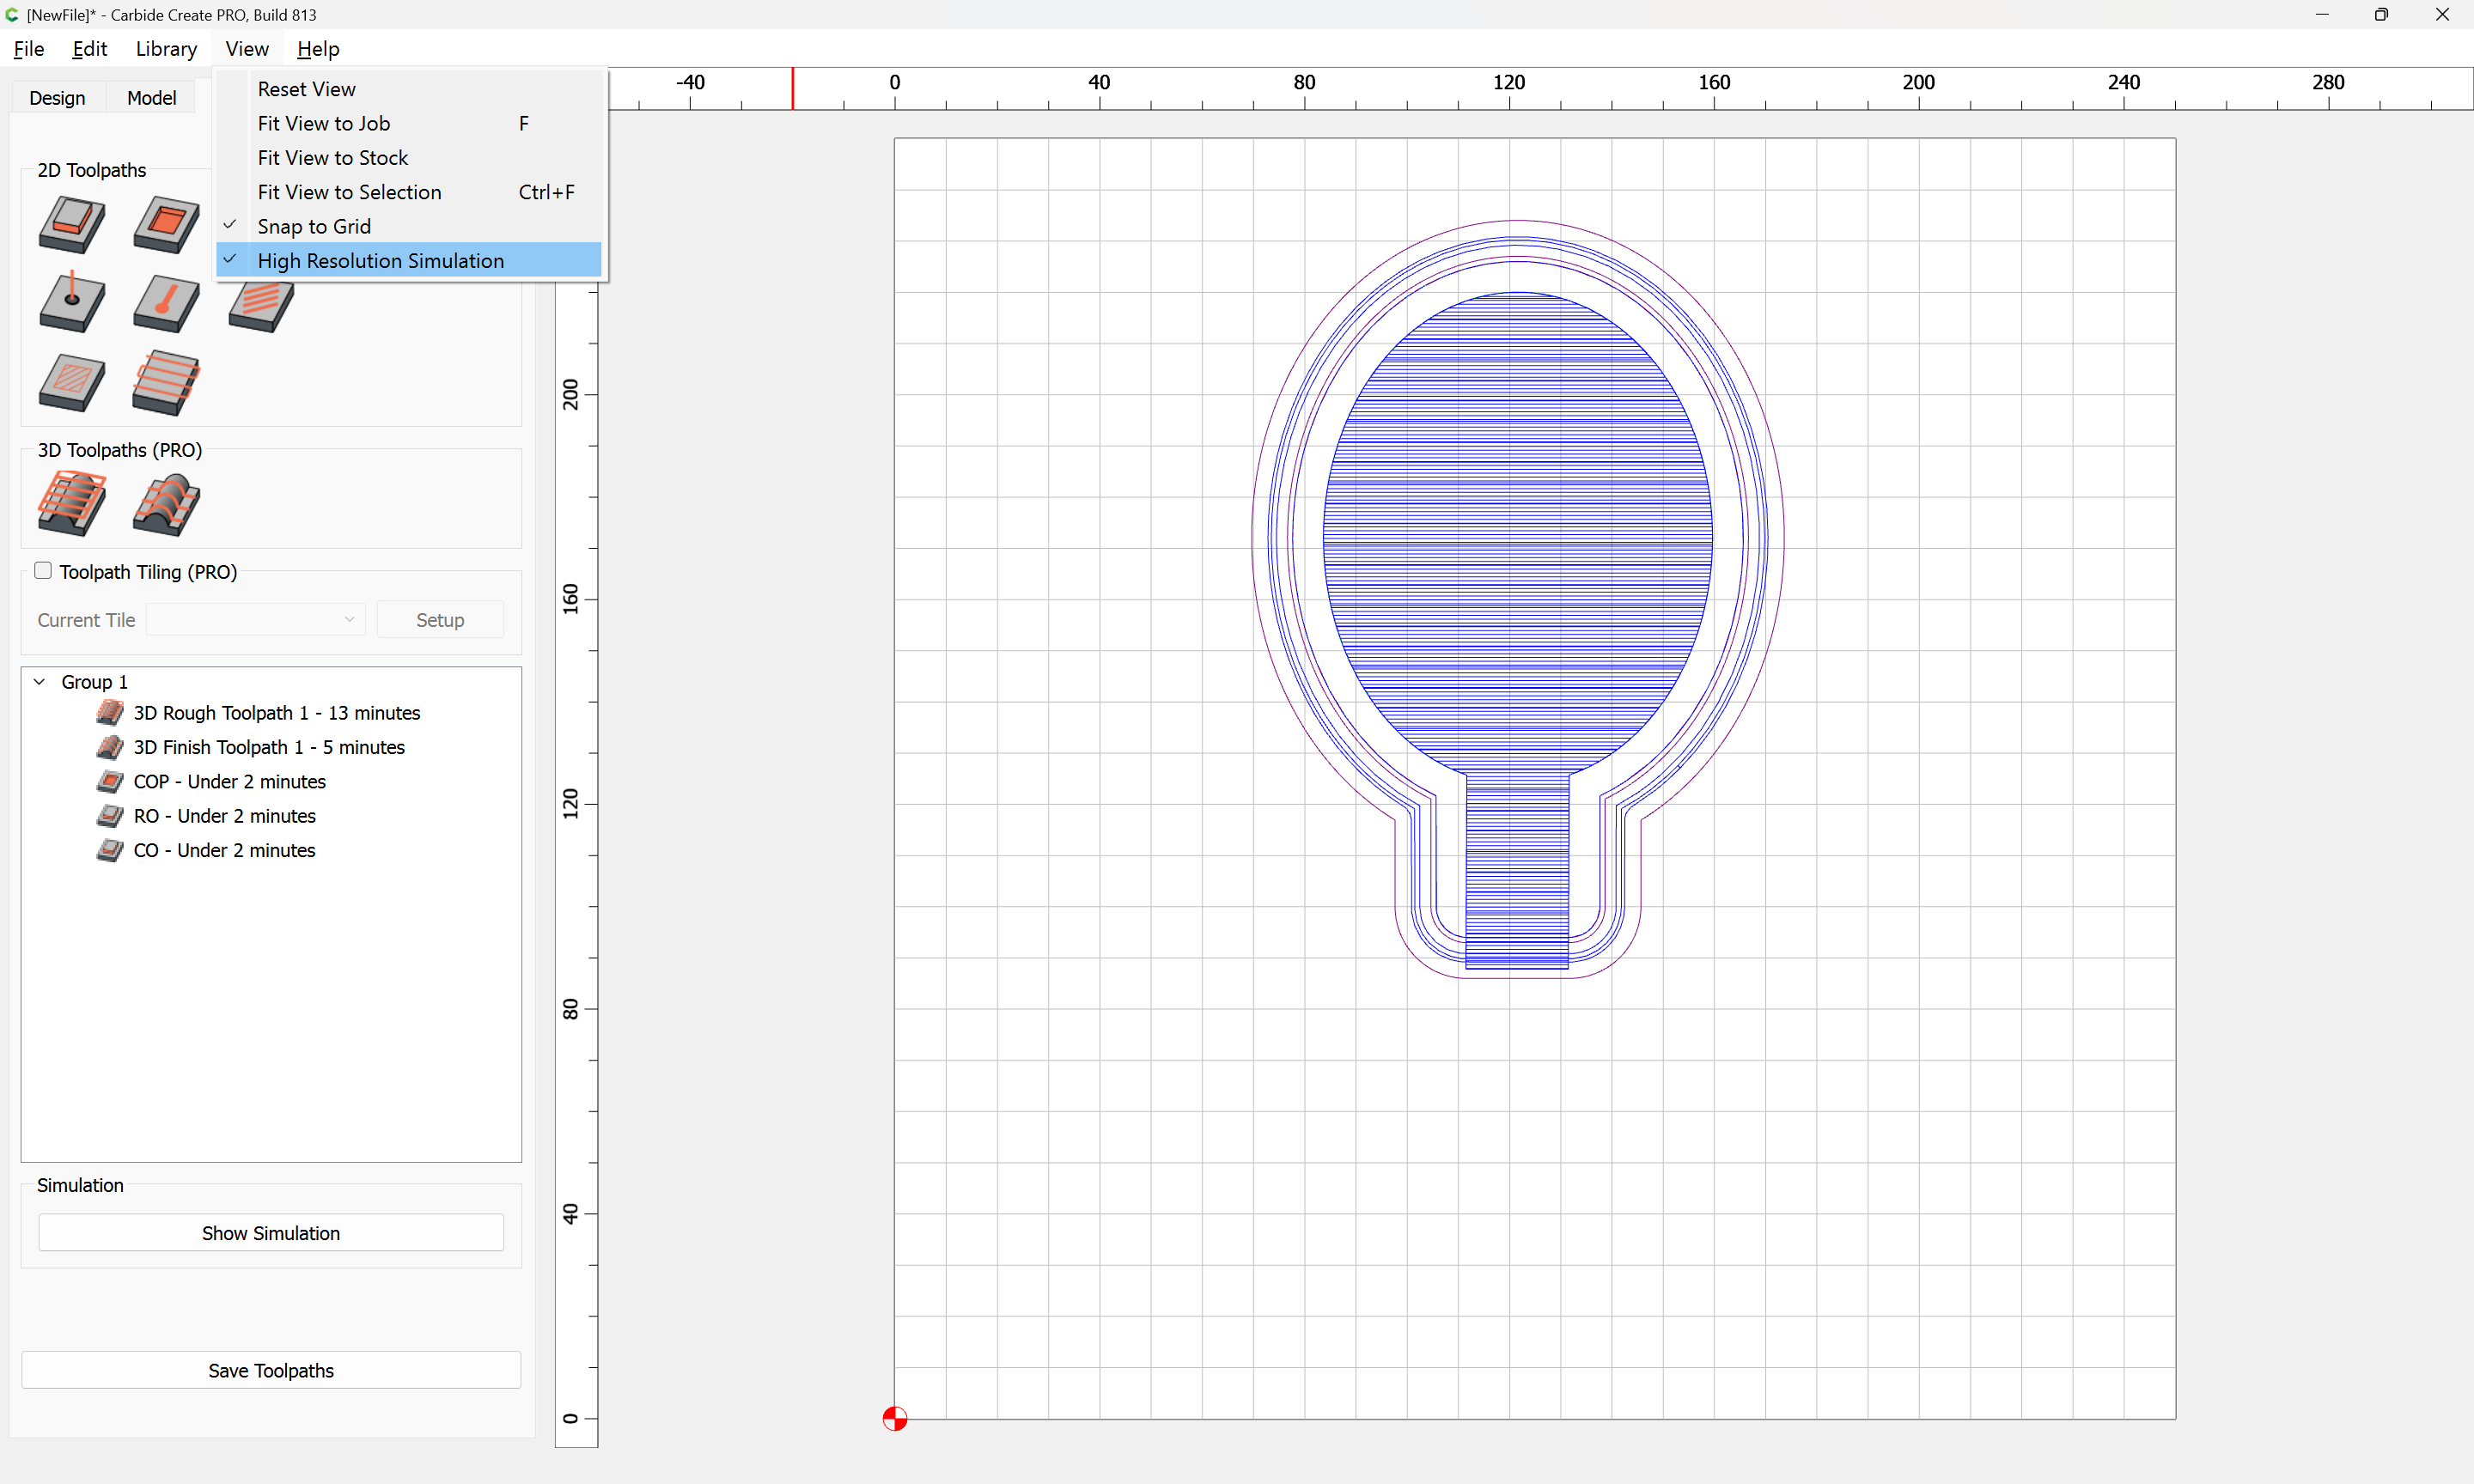
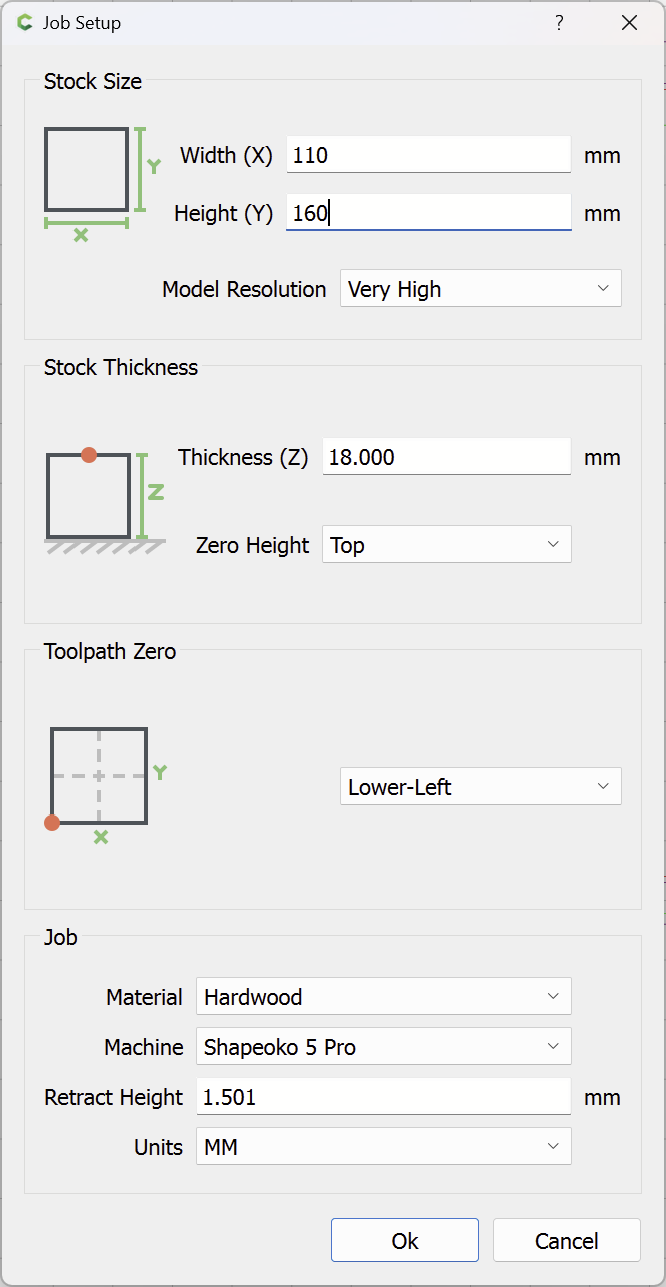
Humm, even after turning on both high res settings, saving the file and restarting CC and opening the save file, I still get those rough edges in my simulations. Did you change any other settings? Since your screenshots show the bottom being completely removed, it appears as if other changes to the geometry or toolpaths were made?
I can’t quite tell from your screenshot, but it looks like the rough spots are still there. Is there any way to tell of that is a simulation issue or a tool/tool path issue before I actually try and cut one of these?
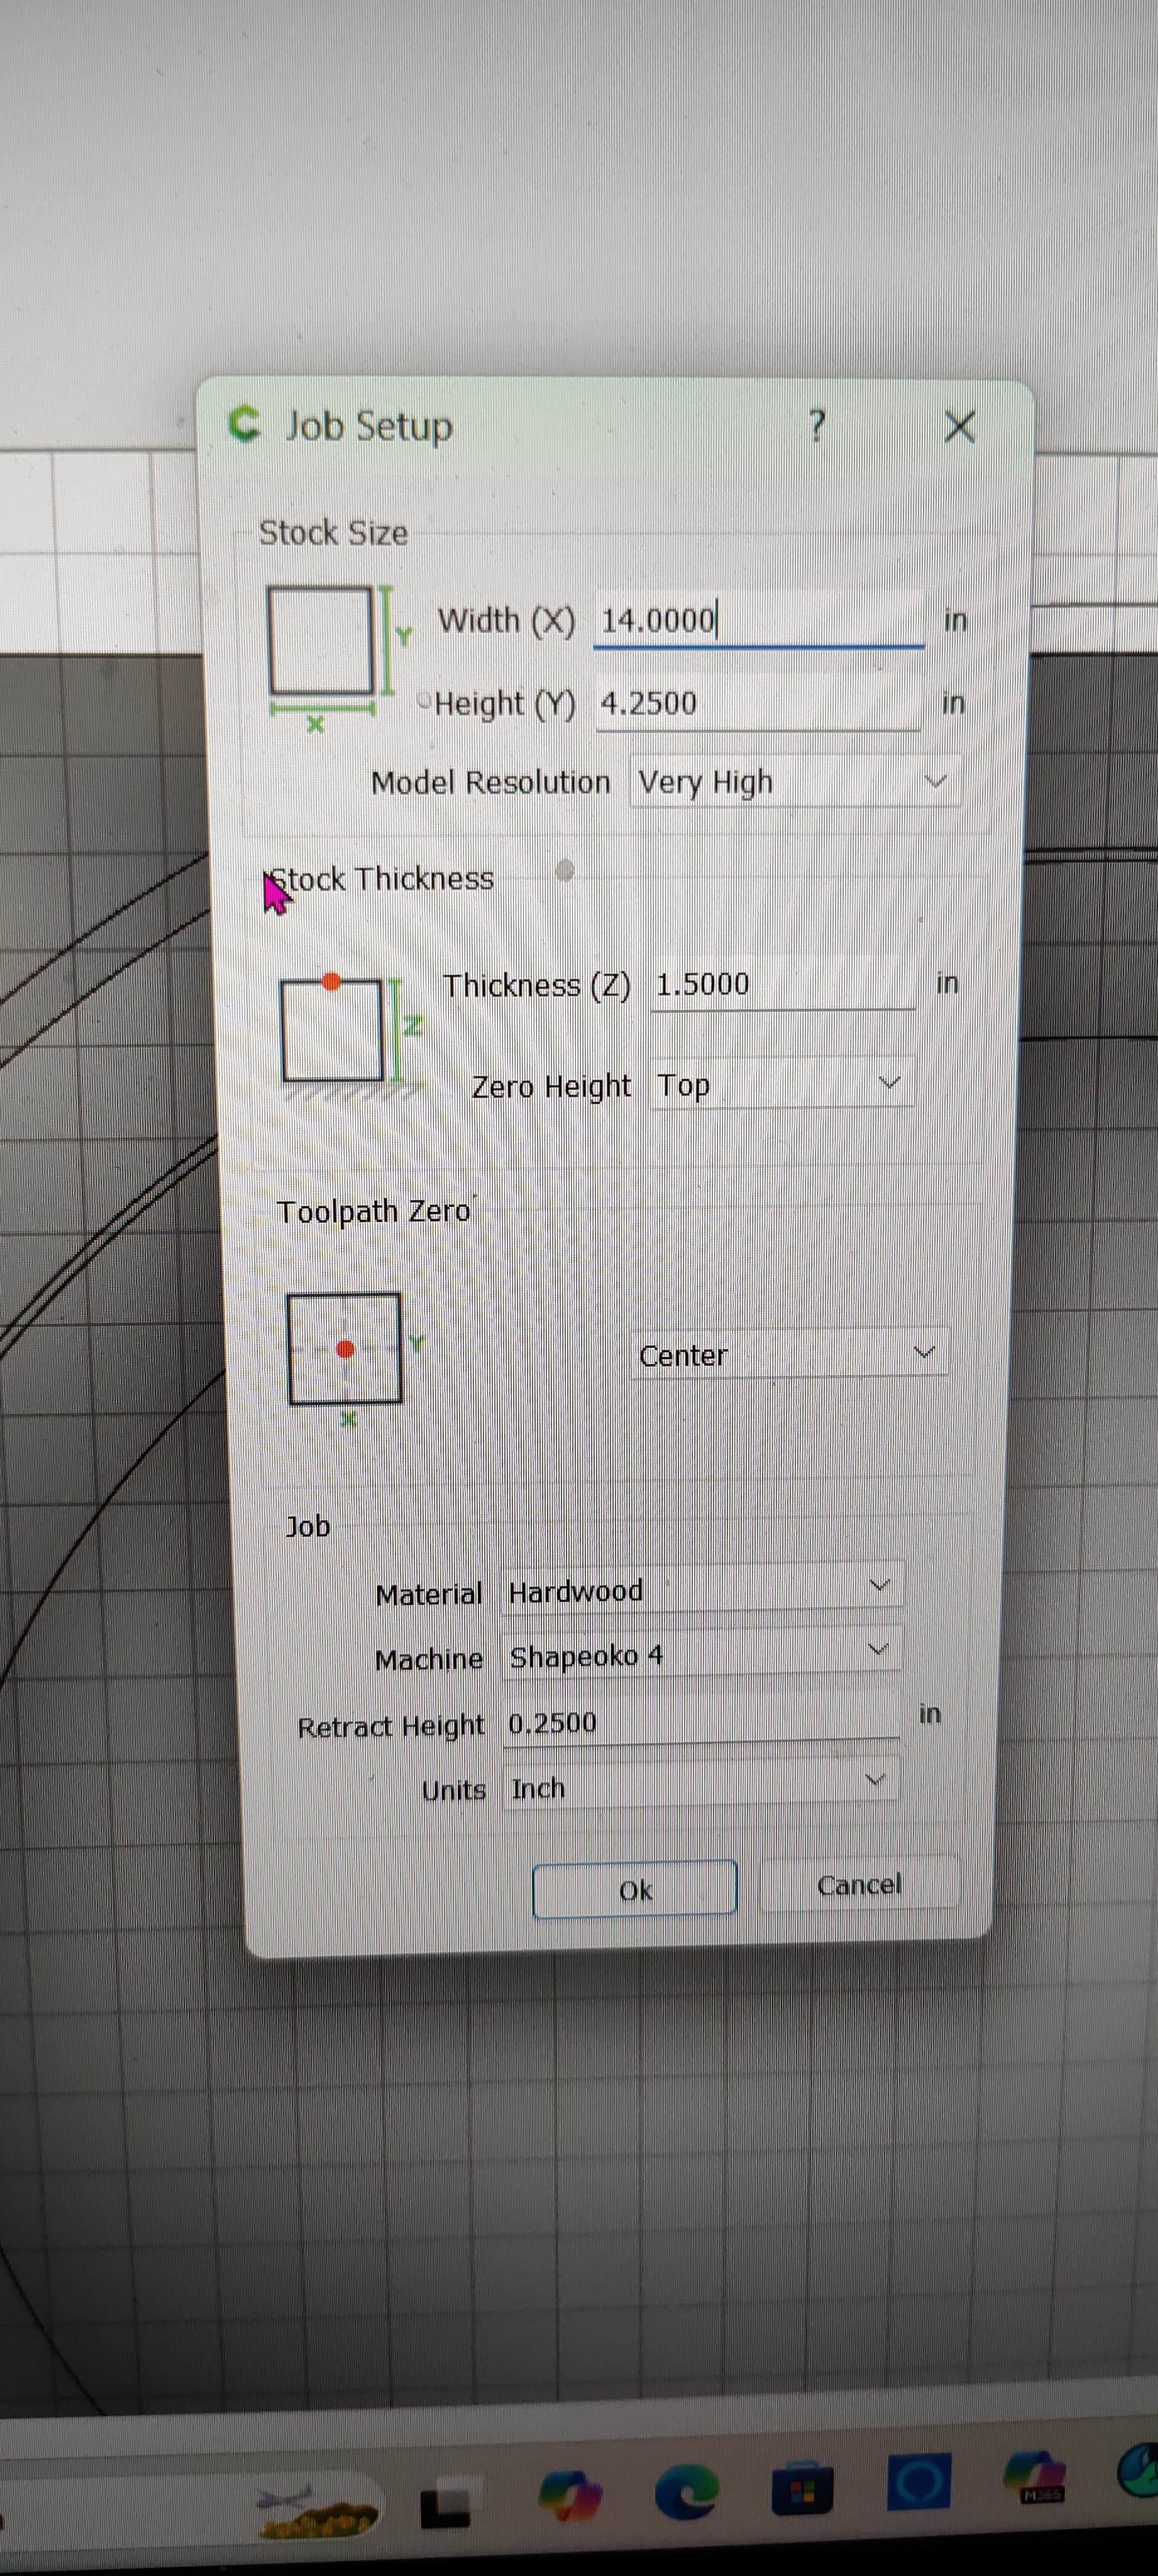
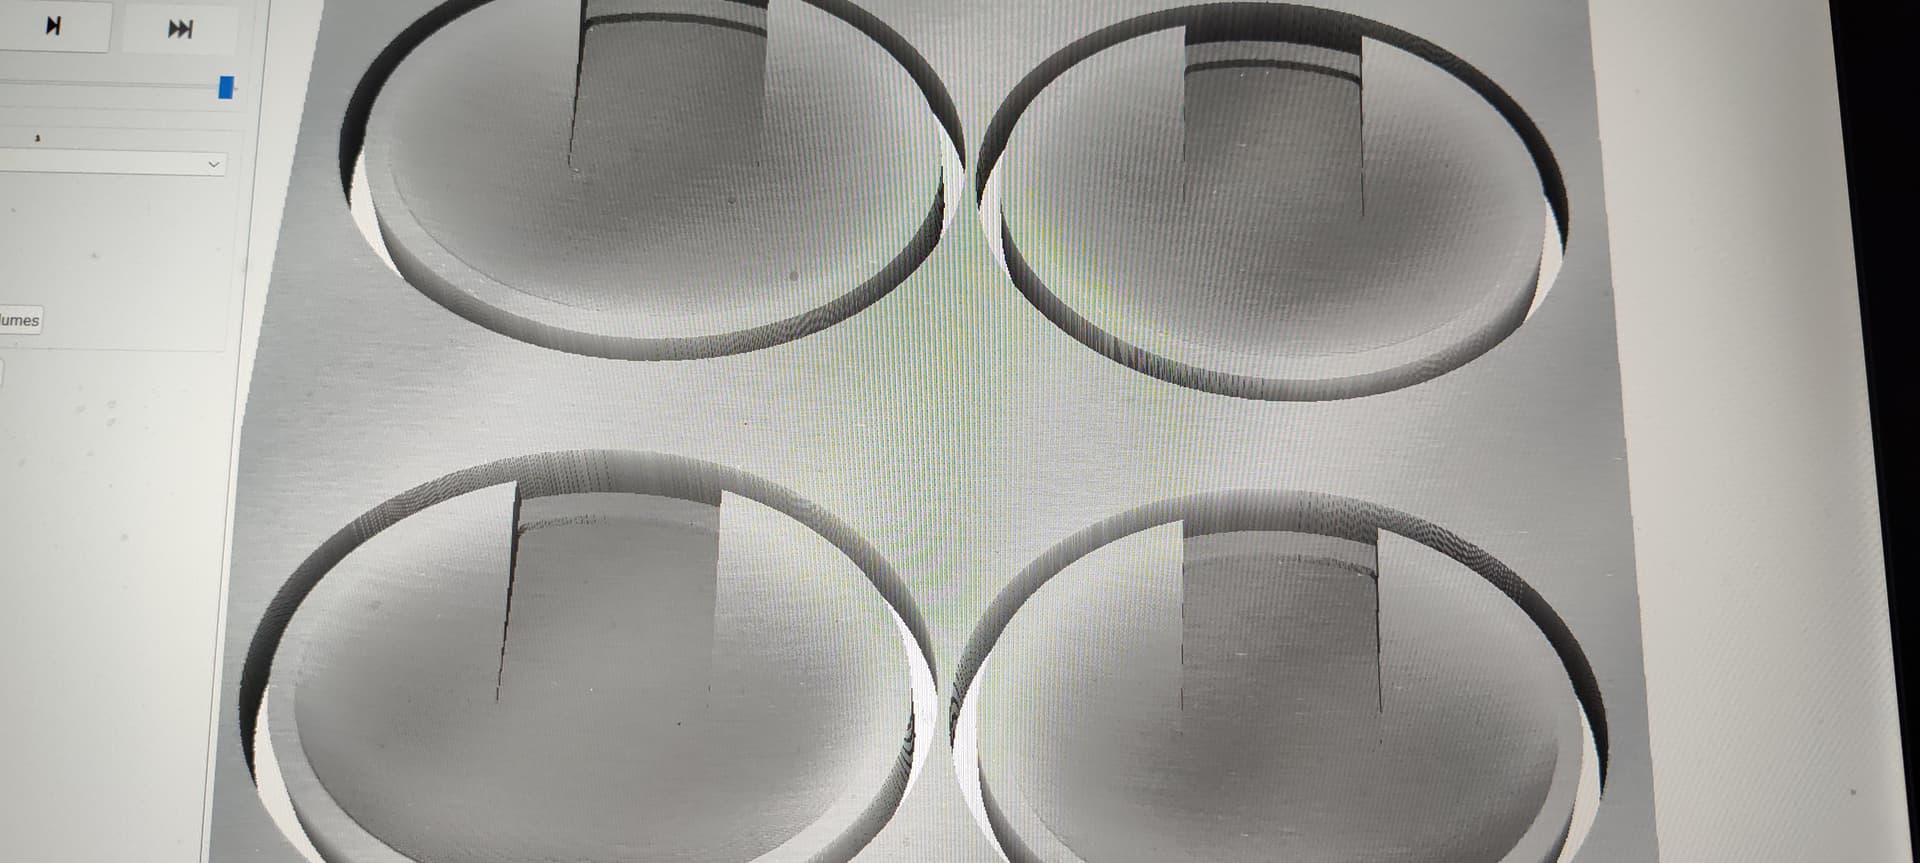
Hey jeff here is my process for my deeper spoons my stock is 1 1/2" thick average spoons are about 12"" long but thats up to you they do vary.
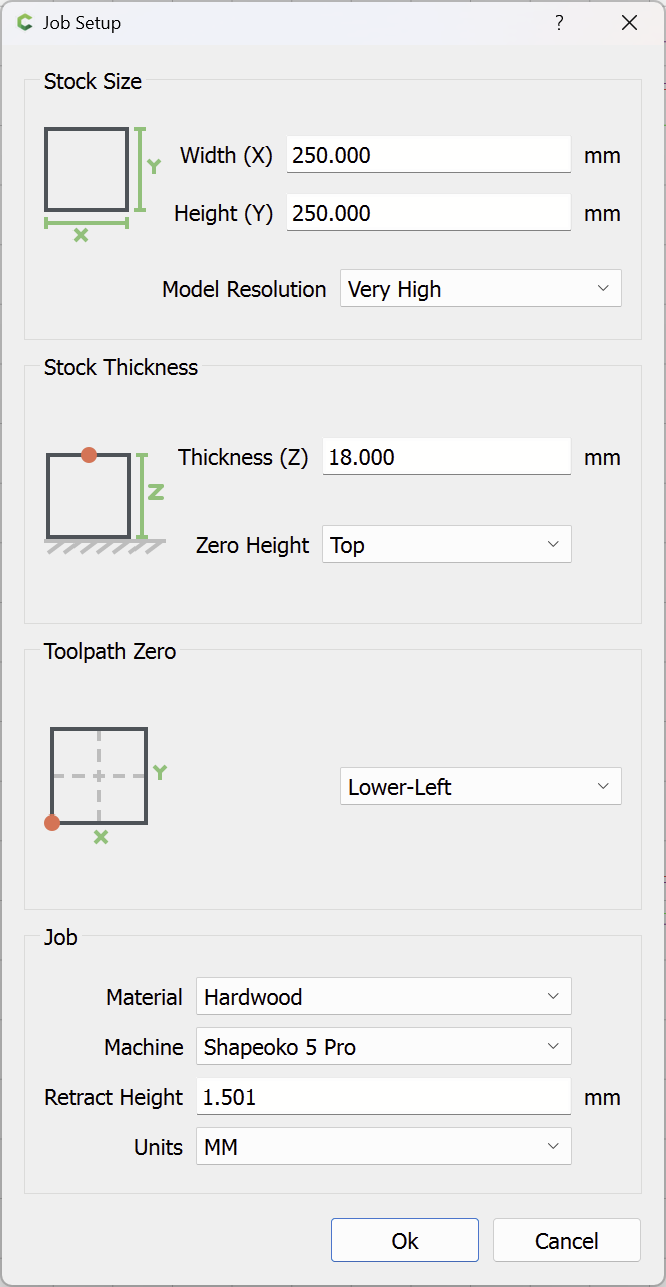
In model after you set up and draw out your spoon size and yes it’s important to set model resolution to very high like Will recommends from cc.
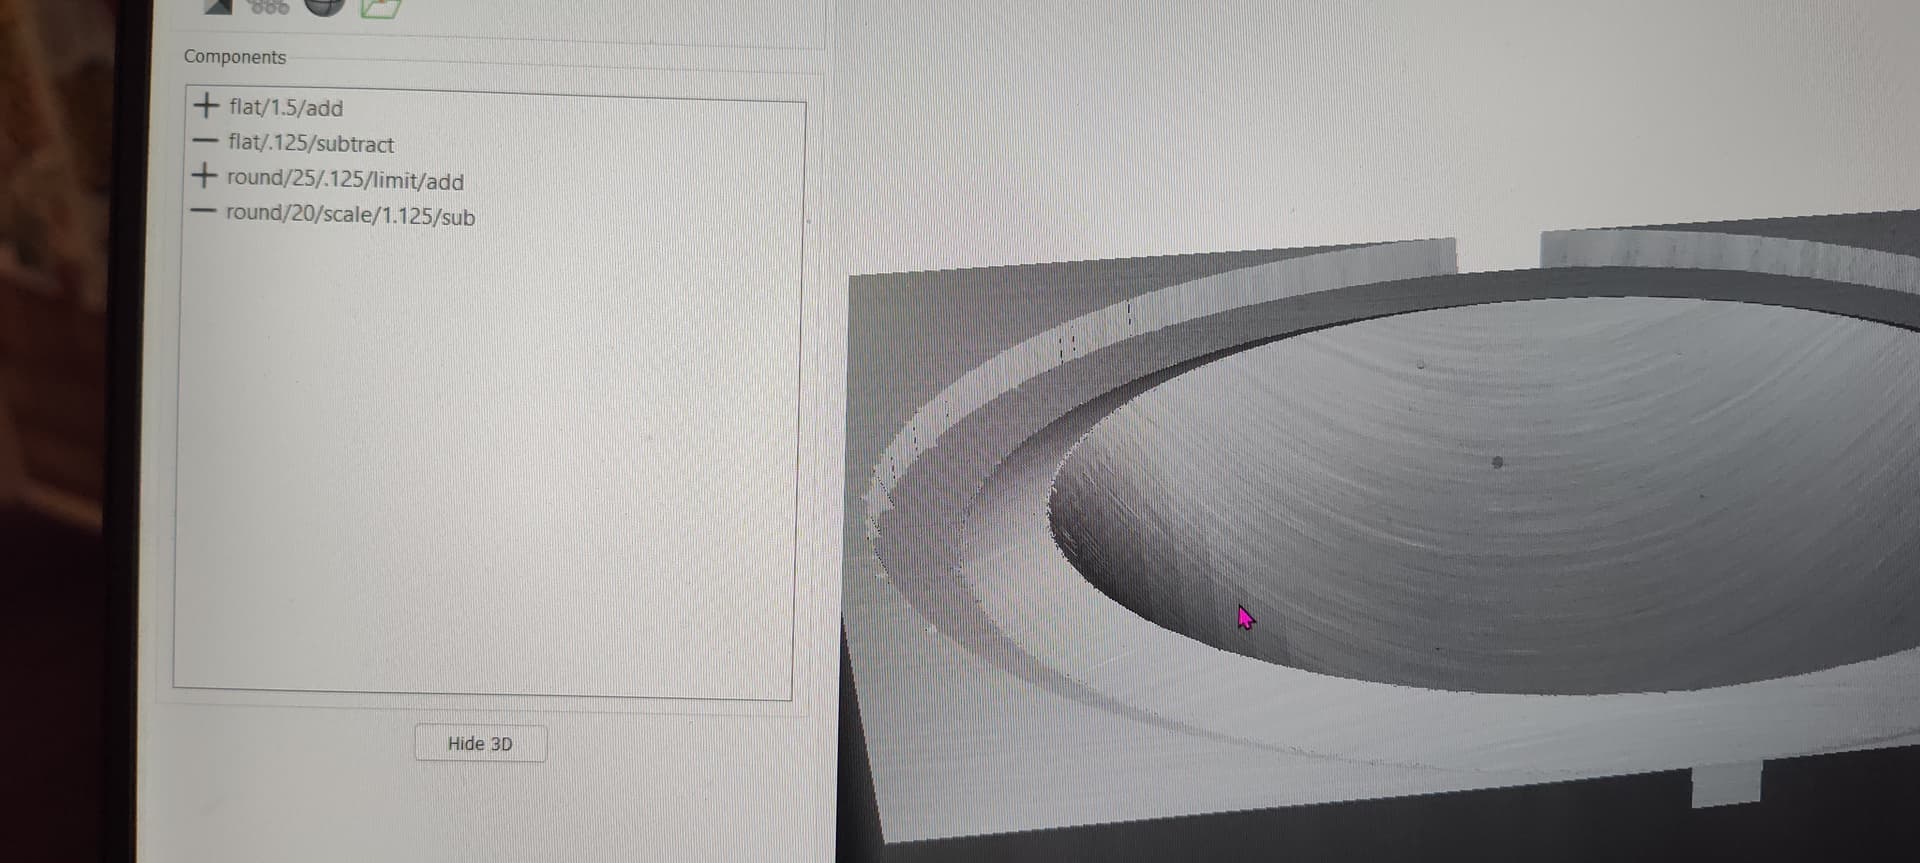
Model settings
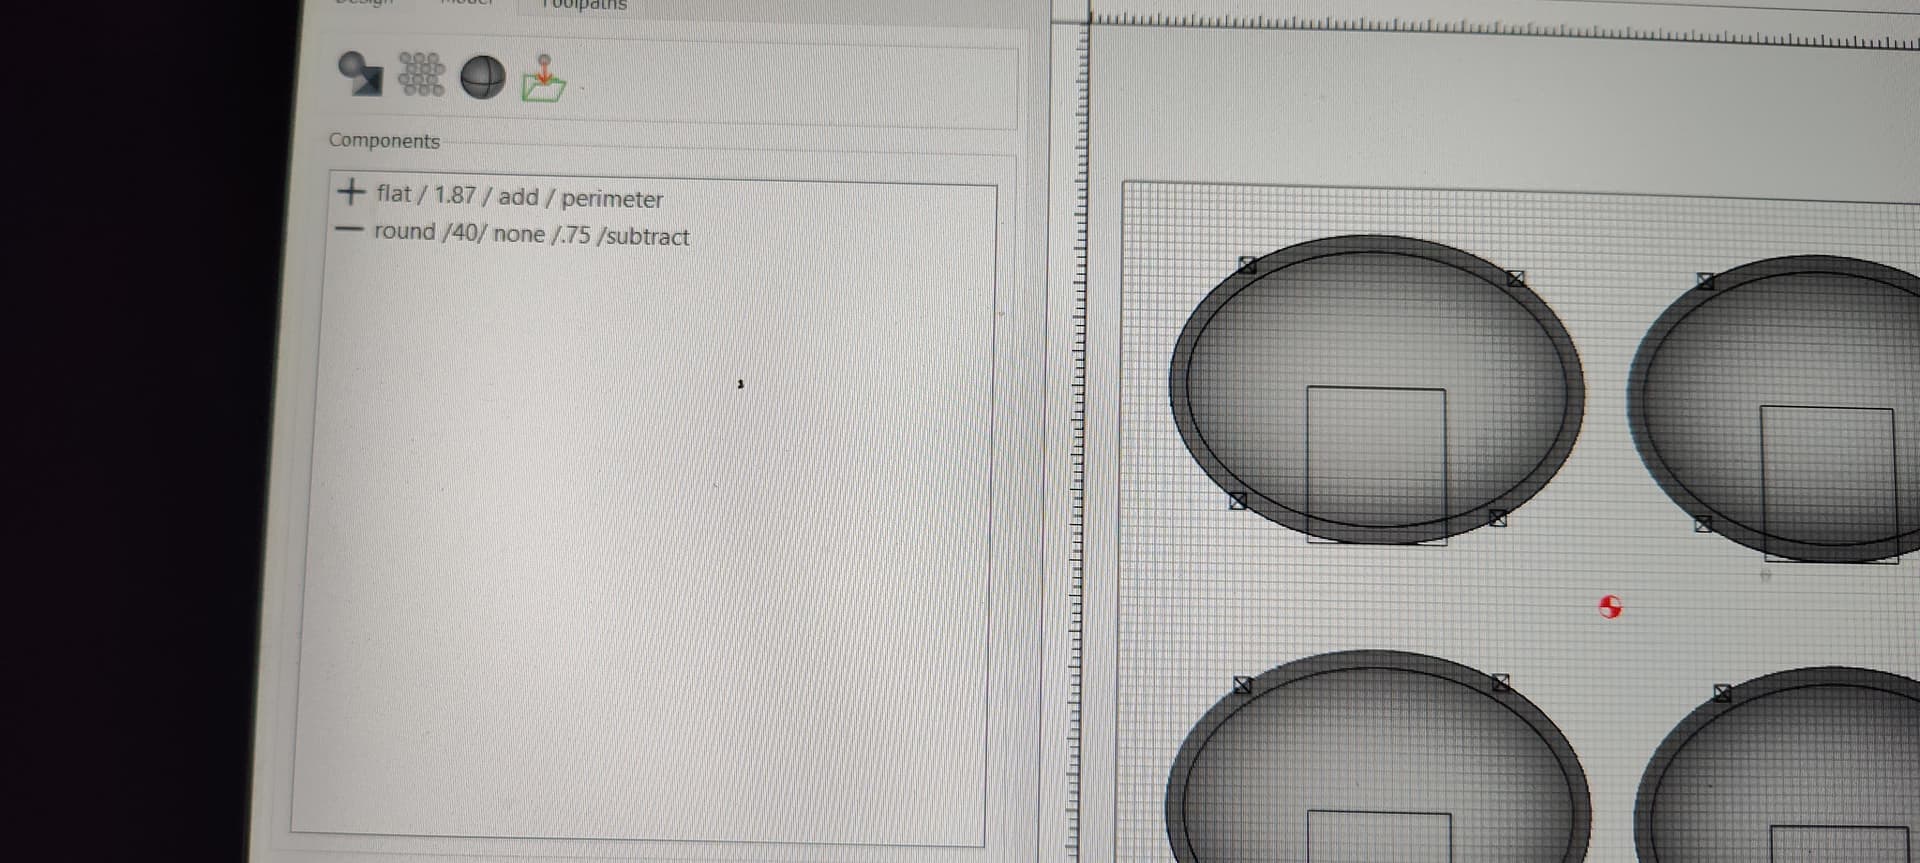
Plus / Flat/1 1/2"/add this is stock thickness
Minus /flat/.125/ subtract this is the outside line of spoon which becomes the angle of spoon
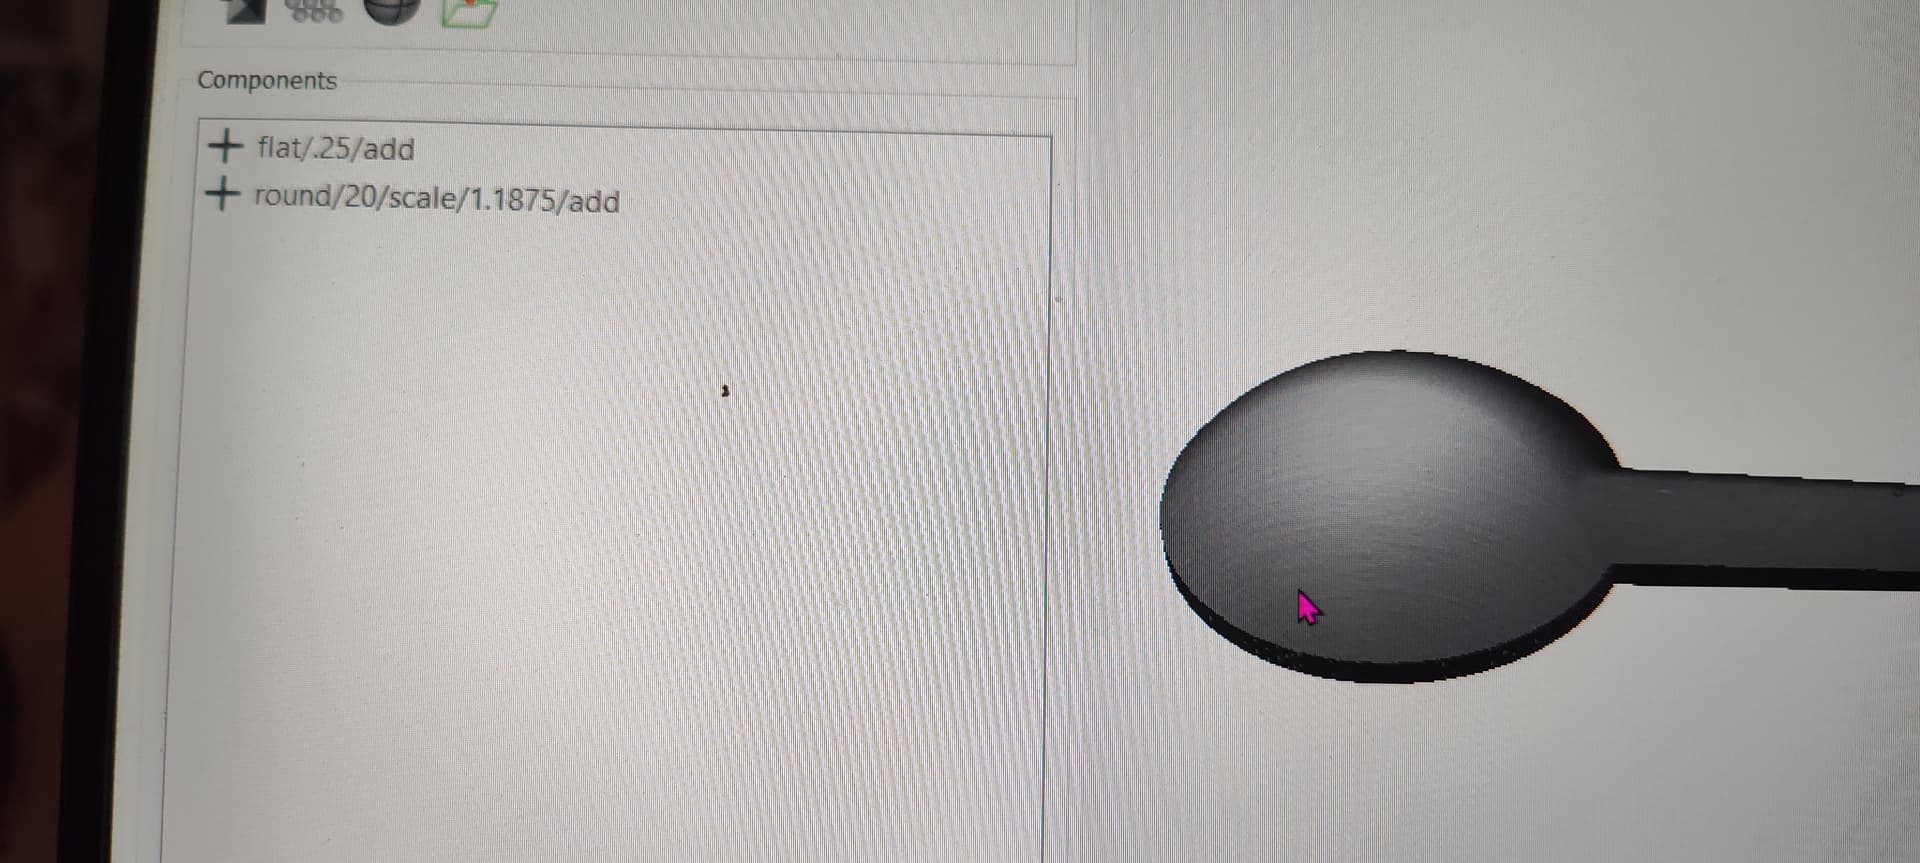
Plus/round/25 / ht .125/ limit/ add this is the radius of spoon face and handle
Minus/ round/ 20/ scale/1.125"/ subtract this is the spoon scoop
I do an offset flat area pocket 1/8" deep with an end mill bit for the finish ballnose bit so it doesnt hit the outside stock though this side is not as important but the bottom side you have to do a pre perimeter pocket or it will be painful to hear the machine bark while hitting the outside area and it’s not good for the router
Both my pocket tool path and 3 d rough cut I use 1/4" end mill as for 3 d finish tool path i use 2/4" ballnose with step over set at .025 with speed at factory recommendation you can play with speed a little bit RpM 18000
Back side of spoon
You have to start with a flat piece first mine is 1/4" thick
Also copy and paste face side drawing then down load in a new created back side file
Plus/ 1/4"/ add
Plus/ round/ 20/ scale/1 3/16" / add
This completes the laddle and handle
Remember do an offset contour outside line of 1/16" and route 1.125" deep this keeps from bit from hitting while finish routing with ball bit
Also both my 3 d rough tool path and final contour is 1/4 end mill
When setting the final outside cut I set the start depth at 1 1/8" deep and max depth at 1 7/16" reason for this is you already went 1/8" deep on face side
Also make your tabs at .4724 wide and very important height at .4375
Location 2 on each side of the curved area and 1 at the very end of handle .hope this works for you and if anyone wants to chime in and critic my process please do I’m still learning myself even after in woodworking for 38 years. Thx Danny
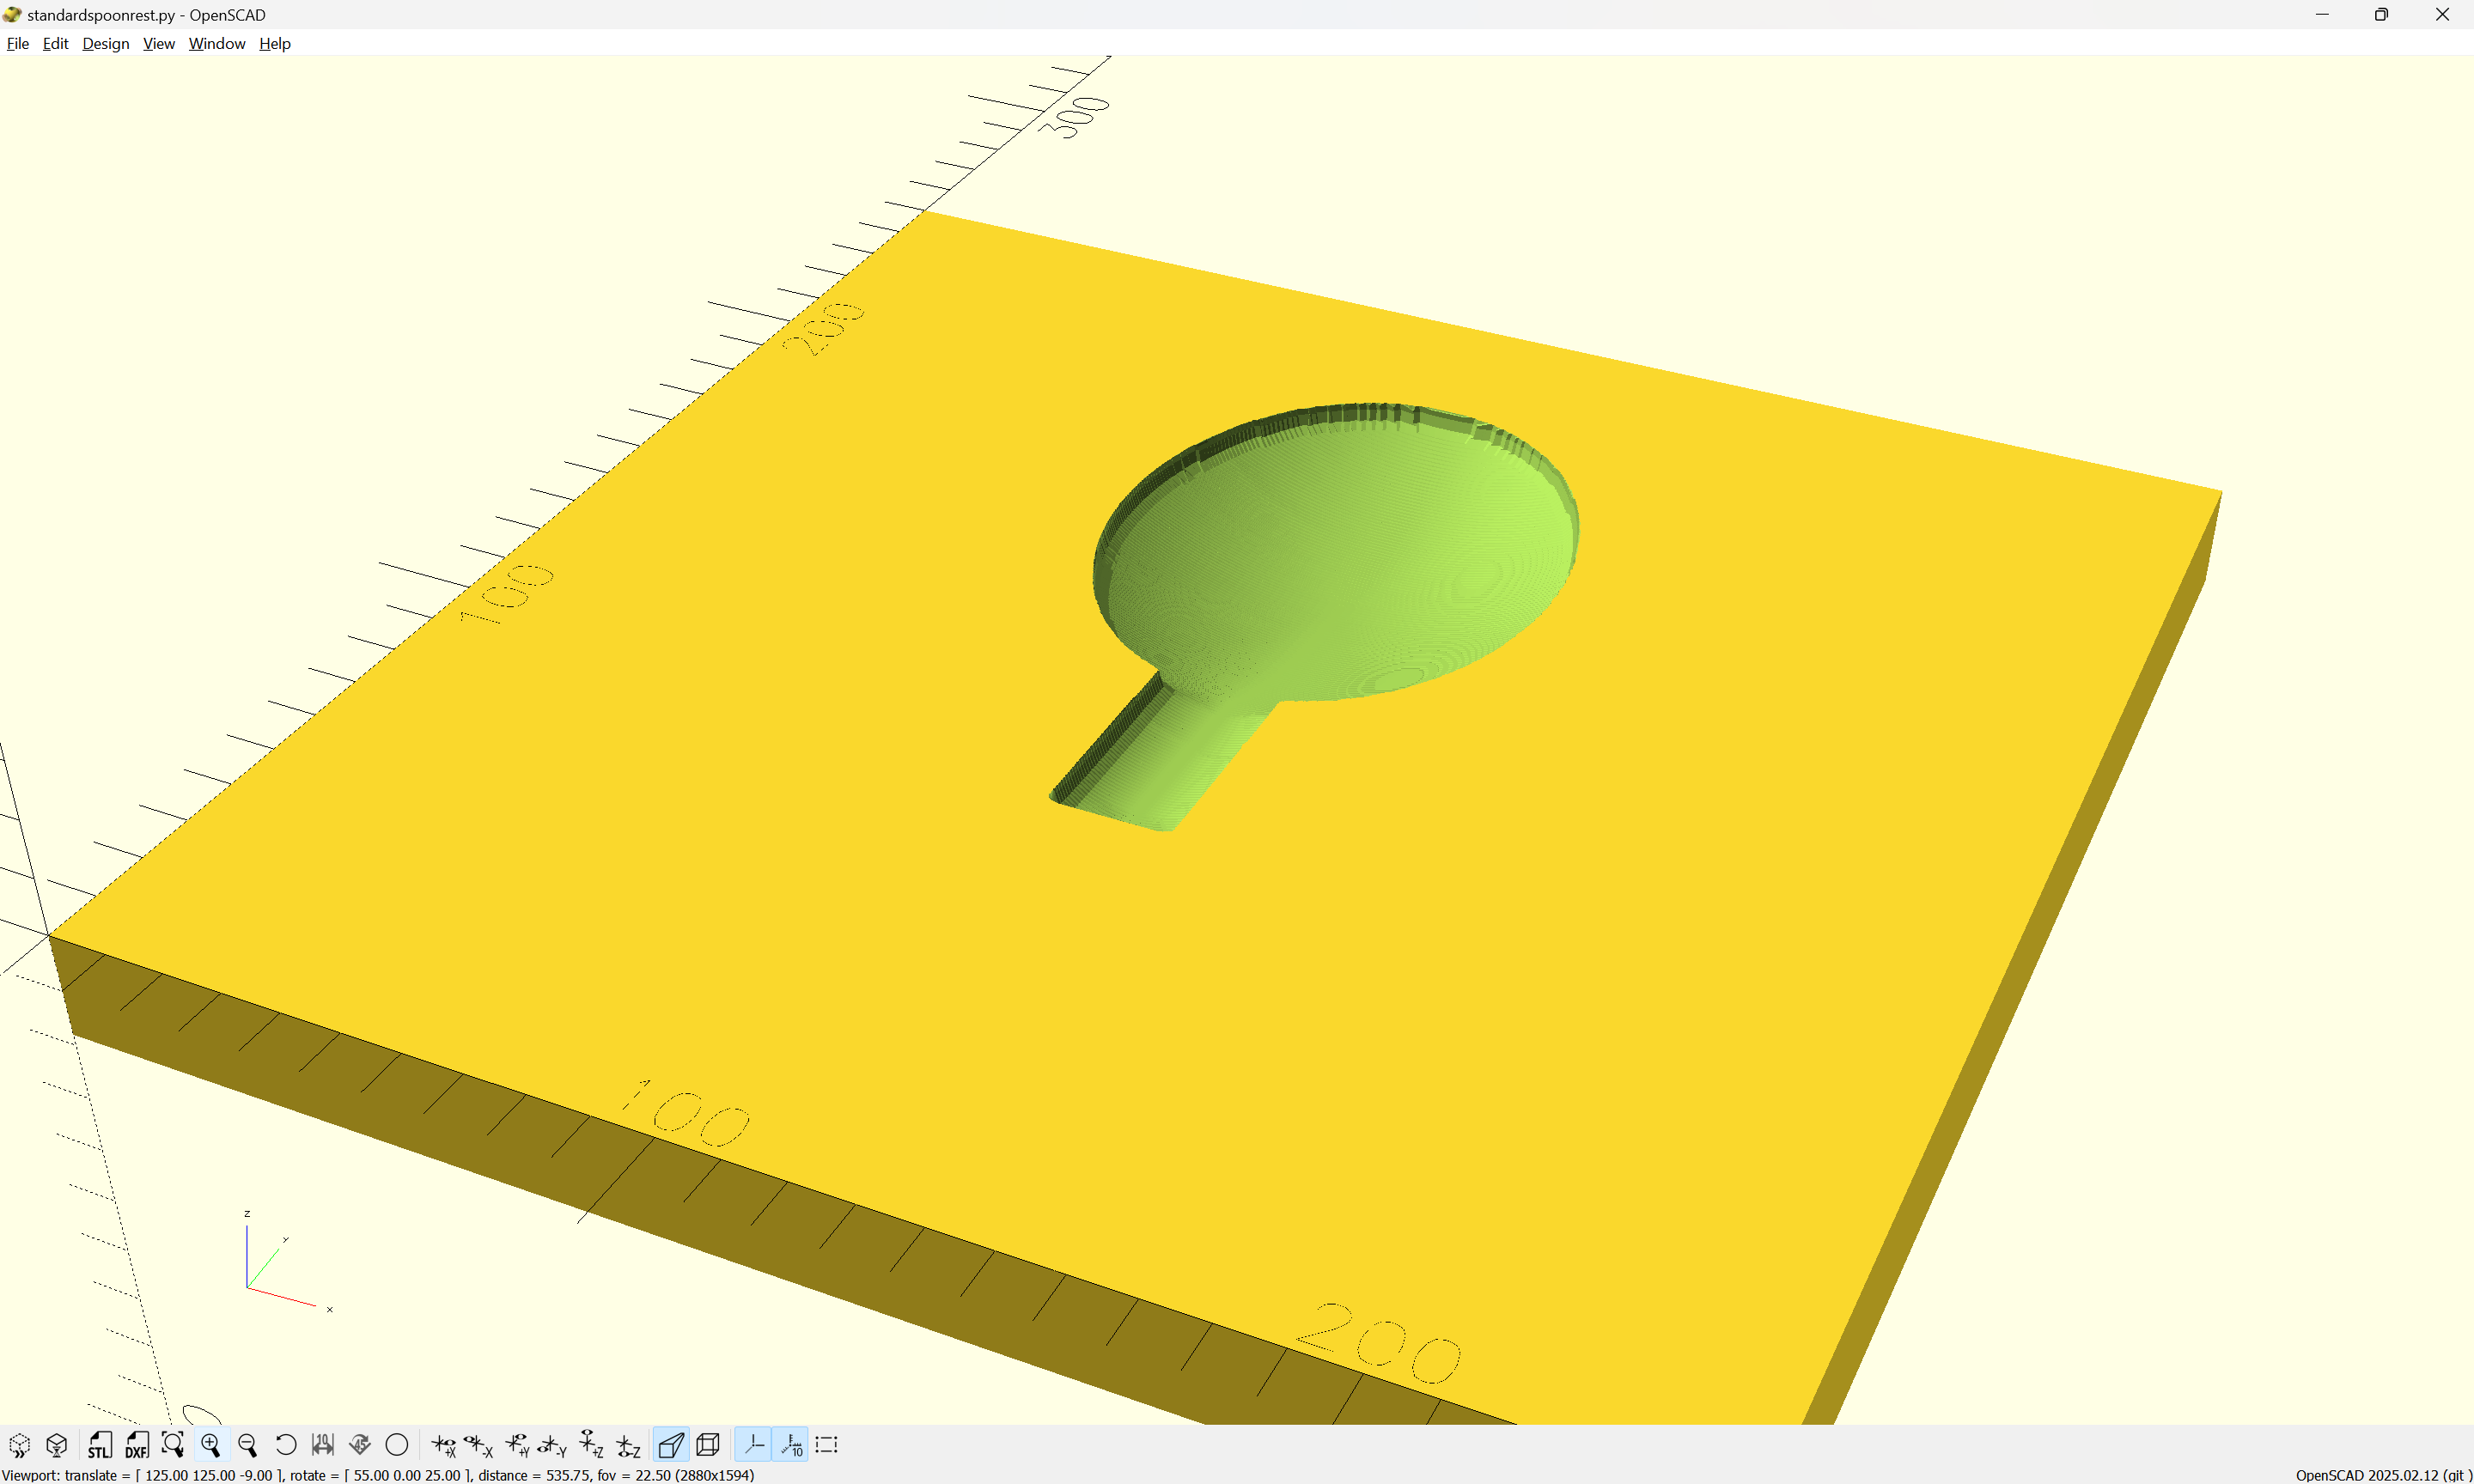
Thanks for illustrating your process, it is very helpful. I have thought about milling reliefs as shown above for ease of clamping both sides, it seems this will also ensure a consistent and “mirrored” stock retention for consistent clamping forces across the stock while machining takes place.
@Winebrenner that was indeed helpful and I also like the relief slots to help with clamping. Any chance you would be willing to share the 3D models and geometries you used on the spoon rest? I quite like how it ramps down across the dished portion of the rest.
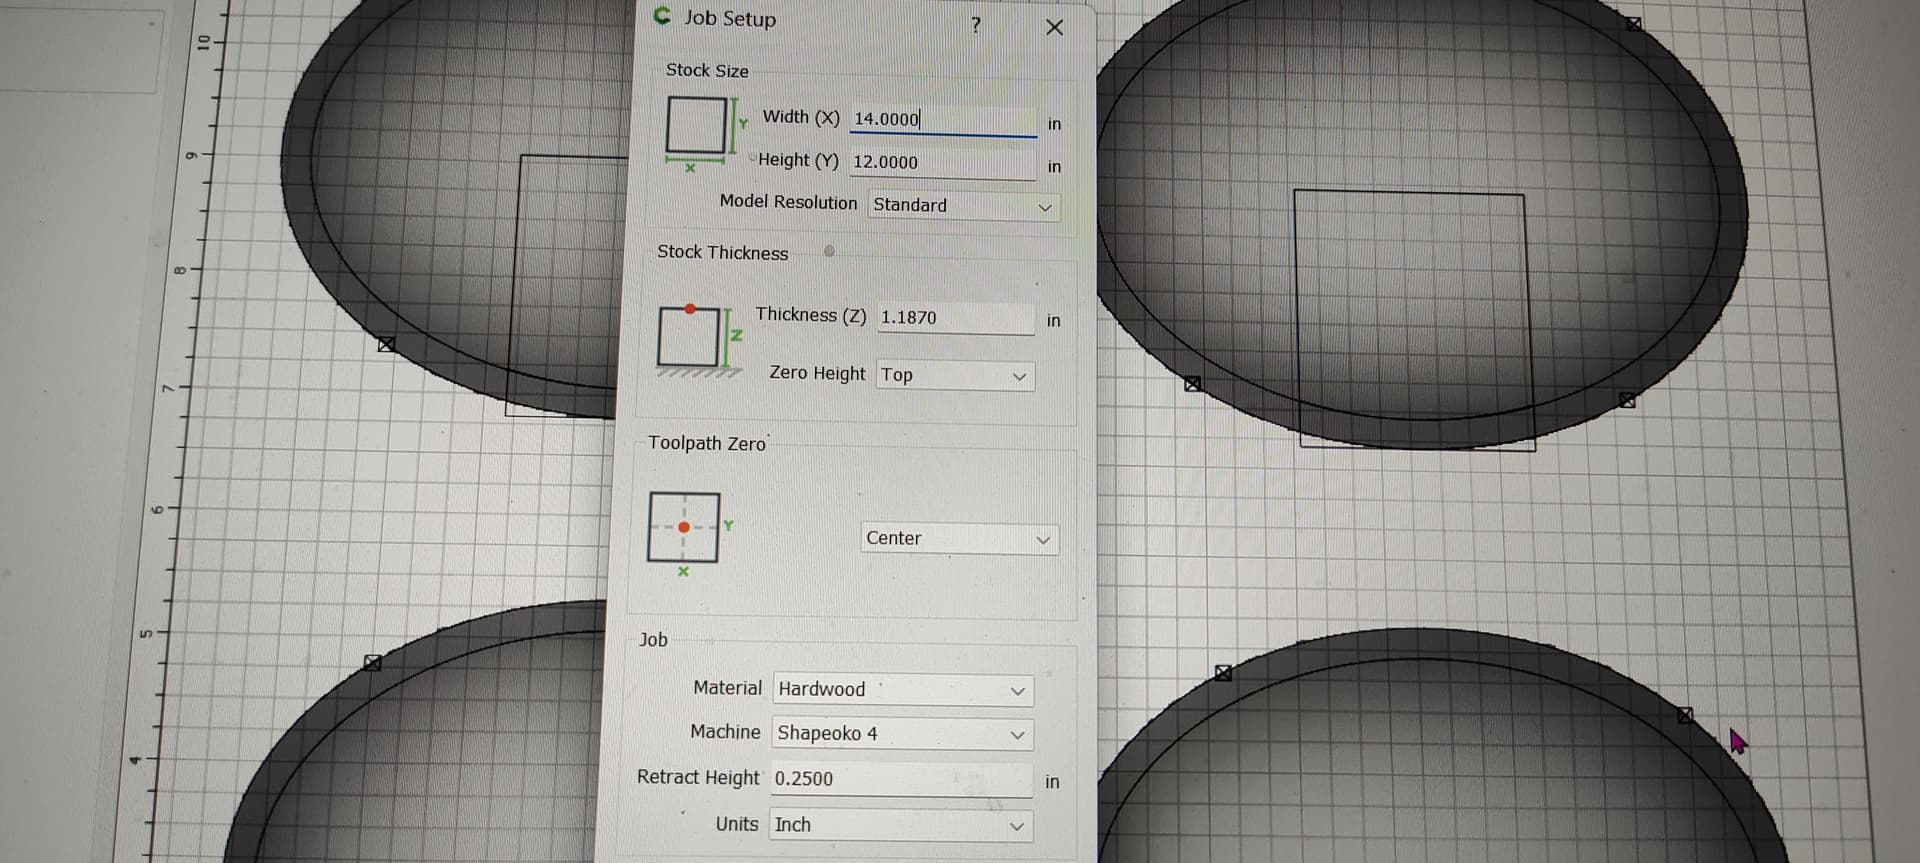
My stock is 1.187 thick on the pocket area using an end mill bit for the spoon you will see a rectangle going 1/2" deep then the inside flat area has a radius that lines up with the inside radius to finish the flat area start depth is .5 inch to max depth .687 after that I did the finish rest area with the 1/4" ballnose. I have a 90 degree disk sander that I use 2" disks to sand out the fine lines that bought from harbor freight and it’s been a major time save on all my radius work . And my offset for the 1/4" ballnose setting is always .025 offset it does leave a minor amount lines but comes out easily . Any smaller offset it seems to take way to long . Hope this helps