I got my shapeoko (standard size) a few weeks back, I’m quite happy with the machine so far, now I want to mill a basic supplementary MDF wasteboard but I have two very basic questions:
In the tutorials/videos/posts I have checked, there does not seem to be any details about how the supplementary wasteboard itself is secured onto the original wasteboard/bed. Do people usually use the same solution e.g. threaded insert or T-nuts, but installed into the shapeoko bed… ?
I read (and would agree) it is better to mount the threaded inserts from the bottom, so that their flange supports most of the pulling effort. For mounting inserts from the bottom on my shapeoko bed I would need to disassemble it though, and since properly squaring the machine gave me a hard time I would like to avoid re-doing it, so I was wondering if it was really worth it and if I could instead just use a few threaded inserts with no flange inserted from the top of the bed, to secure the supplementary wasteboard?. I am thinking, there is less pulling effort between the wasteboard and the bed, than between the milled object and the wasteboard?
note: I will be milling wood & plastic for a while, no Aluminum milling anywhere in sight.
I think there might be more, but the forces ought not be that stressful, and I believe if properly installed / tensioned the threaded inserts from the top would work okay (if memory serves, I did four, not six T-nuts, since two of the holes I drilled would have required dis-assembly — I was able to drill the holes from the top, slip in the T-nuts from the bottom, then pull them into position by just tightening the fastener w/ a ratchet and a large washer under the top bolt, then I removed the bolt and washer and reinserted the bolt w/ an appropriately sized washer)
You could put your t-nuts into the supplementary wasteboard instead of the stock one. Then just bolt or screw the supplementary to the stock one. I raised my X/Y rails up 5/8 of an inch for a specific product, but that meant when I was doing normal work, the spindle was at the lowest part of it’s travel. So I built a supplemental so I could get that height back. I put the t-nuts in the supplemental, which is bolted to the stock wasteboard with quarter 20 bolts and nuts.
I used flange less threaded inserts from the top to secure mine.
Drilled from the top about 14mm down IIRC using my XXL to drill/pocket the holes. Then put the supplementary waste board on top and used the same centers to drill holes for 1/4-20 bolts, counter bored those holes to make the heads of the bolts sit below the surface. Worked great!
Dan,
I have seen various versions of these E-Z Lok inserts being used by the community, I agree this would definitely be a great option but for some reason it’s hard to find these locally in France, and ebay/amazon shipping costs effectively quadruples the price and would have me wait for 10+ days to get them, while I need to satisfy my CNC craving right now
I should be able to find a european equivalent of these inserts though.
The trick is finding one made for soft materials. They should still look roughly like the above with the widely spaced threads and relief areas. It’ll prevent the material from distorting as much.
Yes, there are different types for different materials, these are for softwood, MDF, etc… I hate to admit it, but I have quite a selection of inserts at this point, and these made little/no distortion on the top when installed unlike many others. Having said that I wouldn’t use them for a threaded table installation because they don’t hold in place well enough that I would want to use/re-use often. Out of the 50 or so I’ve used on my wasteboard I had to remove/replace 4-5 during assembly because they would slightly cross thread and move(I installed with a hex driver and a Dewalt drill, so they are pretty straight). The ones with the flange installed from the bottom would be better, or these:
I’ve installed these from the bottom of the waste board, with a smaller access hole on top for your bolts, and the seem to be pretty stout when installed with the specific tool for these (not a screwdriver, they are too hard to keep straight and many times will cause damage). I haven’t tried it, but I’d bet if you installed these from the bottom, with the correct tool, then used a little CA glue around the hole where you’ve inserted them (to harden the material and lock them in) they would last a long time. You’ll probably have some additional finishing as these will distort your material slightly around the hole in MDF (I just lightly ran a sanding block over them for a few seconds).
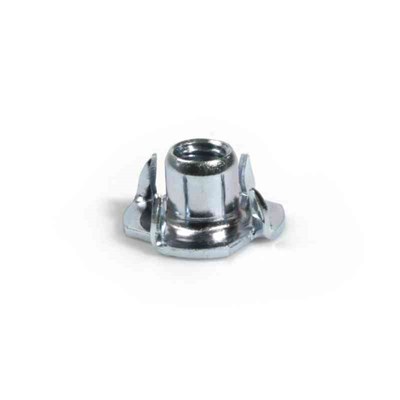
I’ve used the barbed T-nuts too, but I’d be worried that I’d push them through while aligning my hold down bolts, maybe a smear of epoxy over the edges?
I believe elsewhere on this forum I mentioned I used them, but unlike you I had LOTS of issues with it lifting the material. I switched to the soft material ones and didn’t have nearly the same issue.
Issues with the EZ-lock brass knife thread? Yes, they do lift, mitigated somewhat by using their special tool, but still not great I agree. However they seem to stay put better than some of the others. If installed from the bottom, with the special tool, there’s still some sanding to get everything flat again. From the top install with minimal removal and installation I’d still go with the flange less ones in my earlier post. None of them are perfect though unfortunately, unless you can afford a solid aluminum/steel threaded table.
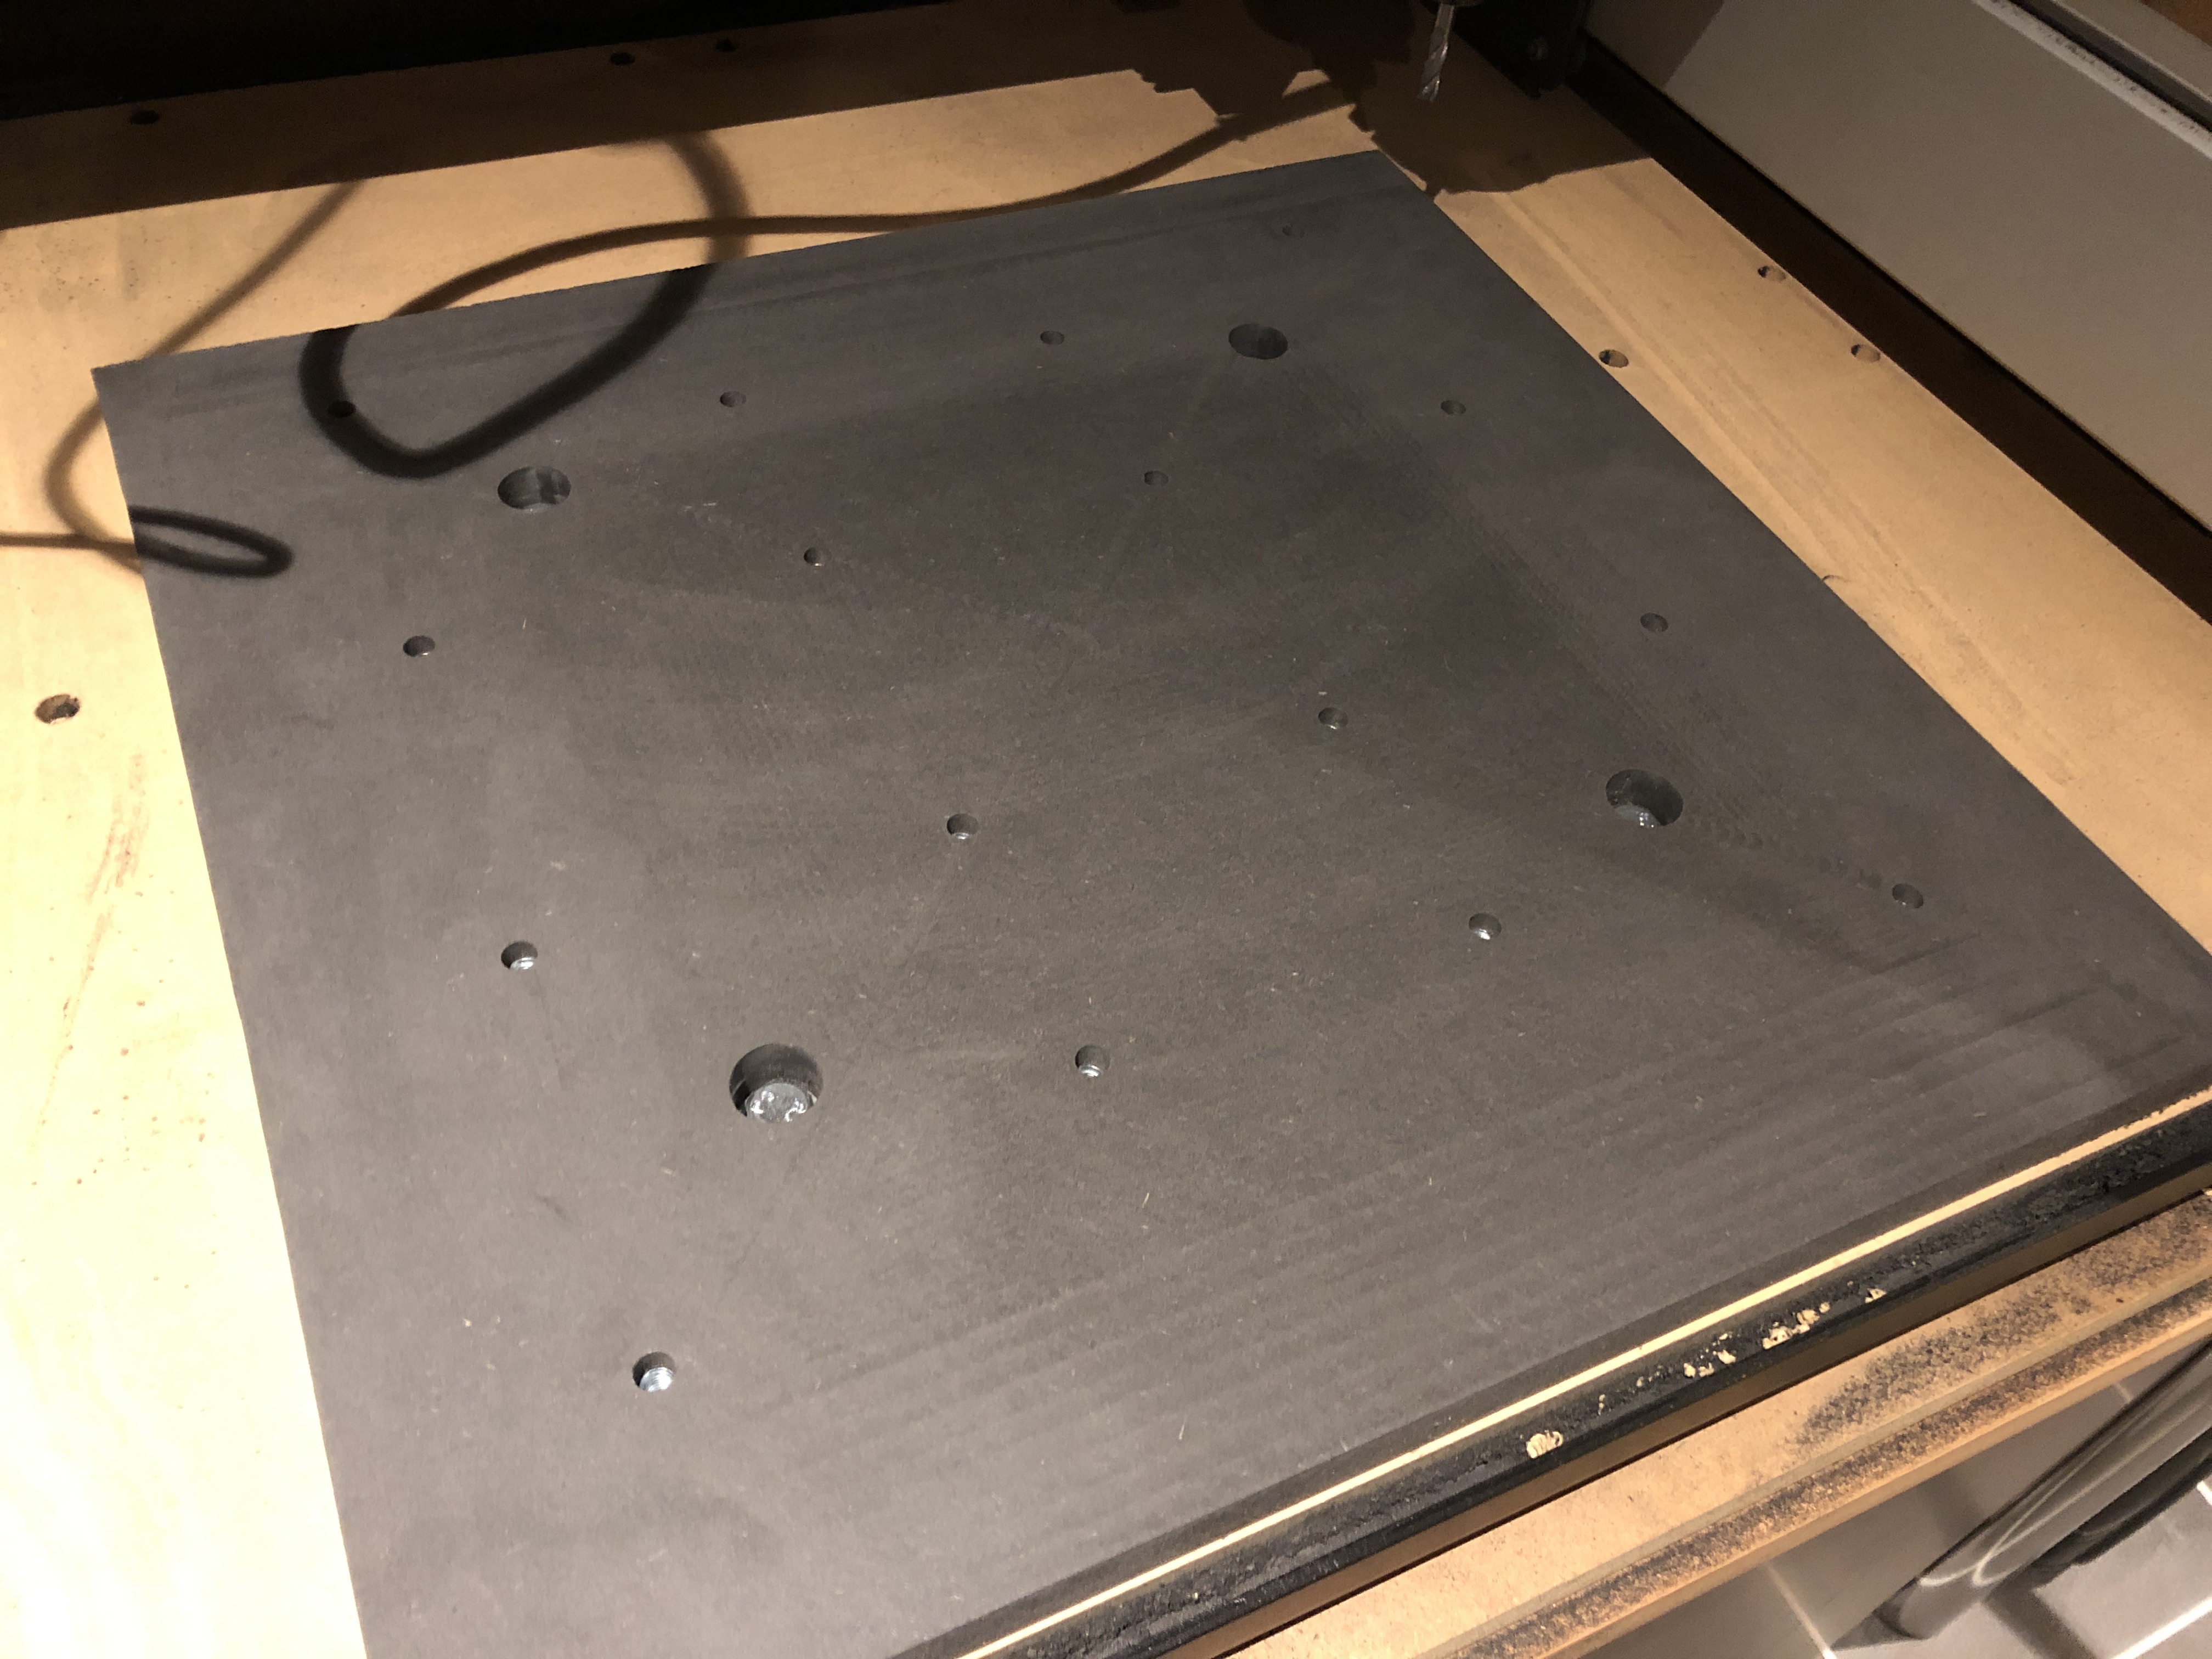
Hi! Im just done with my wasteboard, I used a special kind of nut fastened from behind in a second MDF-board that I then fastened with M8 bolts to the standard board.
When I was finished I ran a round with a flat head bit to level my new board. Now I need to cut me some pads to hold my work