Assembly in process
Turns out probably won’t need the belt tensioners.
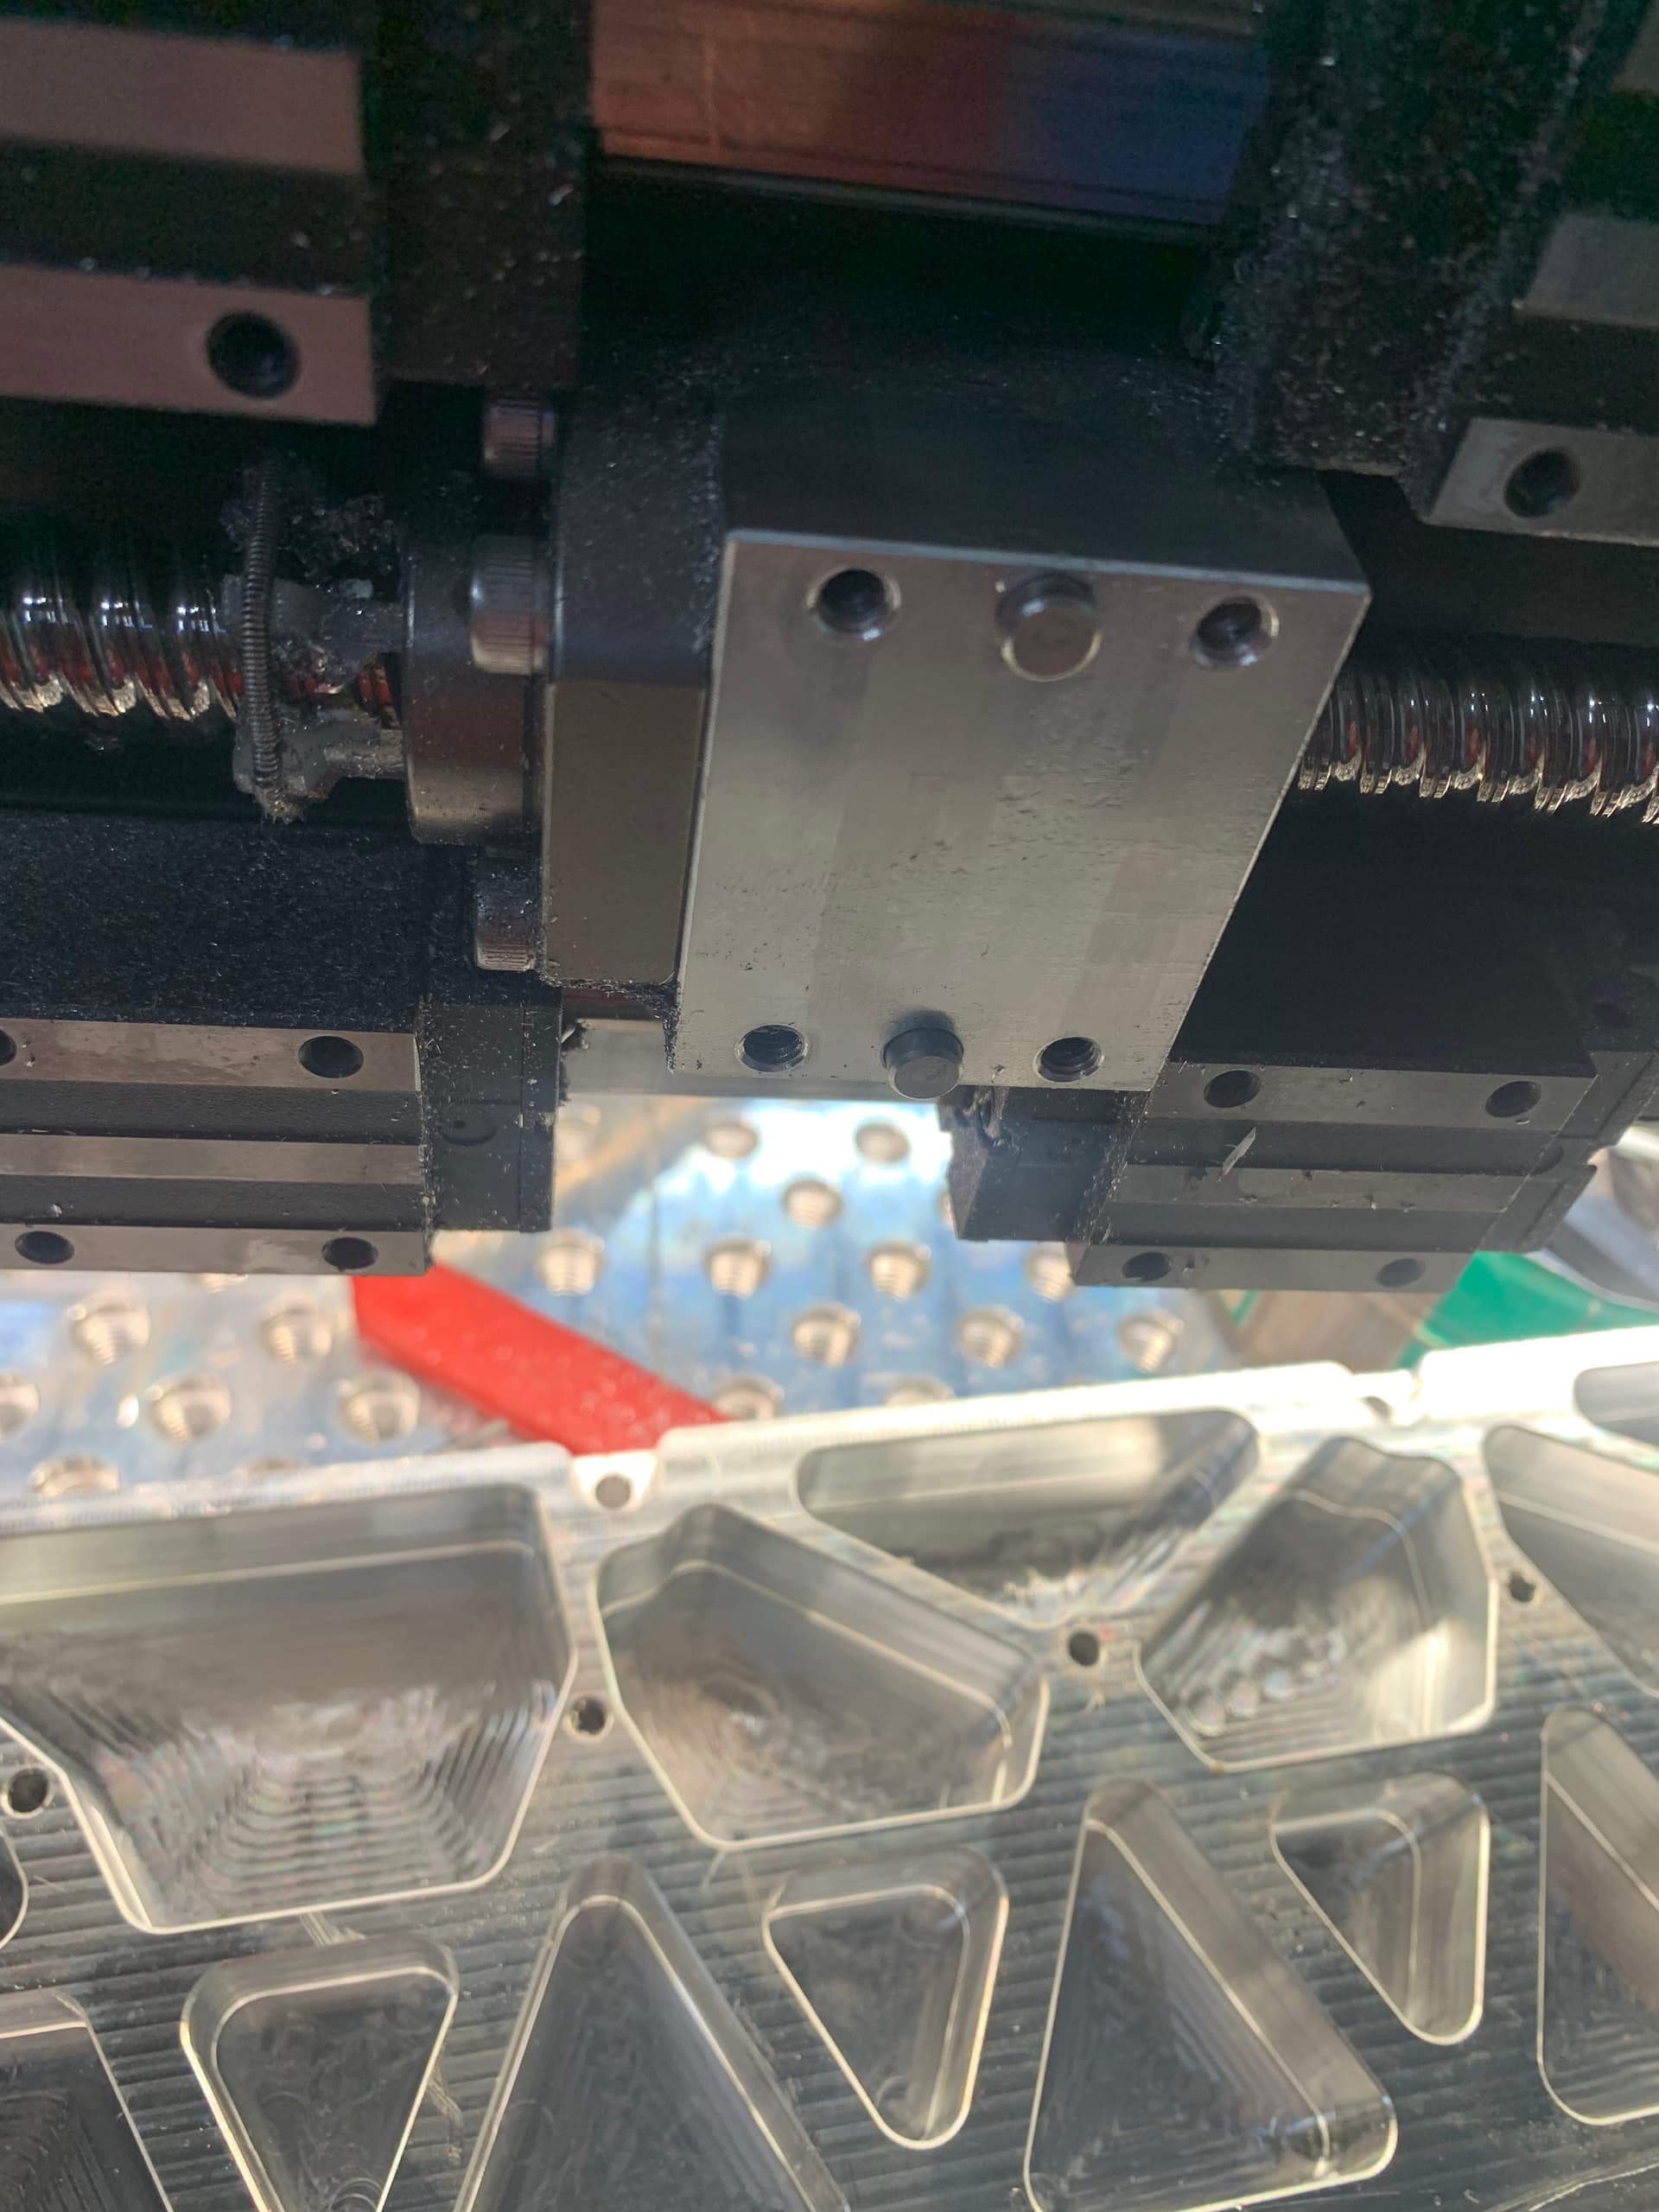
Well see when running but pretty decent as is
Redid the back plate to use larger shoulder bolts and cut out some weight.
Came out much better the second time.
Assembly in process
Turns out probably won’t need the belt tensioners.
Well see when running but pretty decent as is
Redid the back plate to use larger shoulder bolts and cut out some weight.
Came out much better the second time.
Once I figure out how to get this spindle running with centroid and A6 servo drive then I’ll mount it and the servos on the HDM and the fun will begin.
Well it runs now, just need to figure out the tune.
It’s drifting with no voltage and then erroring out.
Got it running, still drifts but this is an easy fix with the servo disable on when not running.
Missed the pins for the screw mounting block. Going to take measurements for them and machine them this weekend probably. Everything else on my side of the spindle is test fit up and works. So if HDM is as I suspect. It should all come together nicely.
Also interesting how carbide put this together, I really think they did a stellar job. Love the locating pins for ensuring everything is square out of the box.
And the wipers on the ball screw is very clever.
Also this servo is trash, wouldn’t recommend lichuan, doesn’t seem to have advertise torque from what I can tell and isn’t hitting rated speed either.
Probably will end up changing it out for a quality brand if I like how this whole set up runs.
Good for a proof of concept
So update for y’all.
The servo is driving me nuts, works some days and doesn’t other. (I haven’t actually cut anything, just running it with centroid)
So changing it out for a DMM servo that’s plug and play with the centroid and will be tunable and the whole Jazz.
I previously machined my gears to use a SDS style coupler, which despite my best efforts has really not worked well. Doesn’t want to pull down evenly and pretty much always gives me run out. It’s meant for use with stainless gears and without it, it pulls out threads in my aluminum gear trying to reach full torque/clamp.
Also very heavy. So I changed the design on them and going with an all aluminum gear that uses a key and a set screw(to hold the height) for the front two.
The servo mounted one will slide on and have a hole at the bottom to allow a fastener to hold it to the threaded servo key.
Because of the DMM I had to redo the top plate, I’m going to machine a new one along with some new gears.
DMM servo is quite a big larger so i had to move it up and slightly under the air cylinder for the tool release. not a problem, just means different belt. oh well.
i made the key ways so they are machinable on the hdm and once the key is in, i can place a piece of round stock in there to get rid of the radius.
oh also, machining that pocket out worked like a charm and z plate fits nice
servo i went with
This is beginning to look really good. I’m trying to understand how is the air cylinder supposed to work in this configuration but can’t wrap my head around it. Shouldn’t it be mounted above the spindle and pressing on the shaft to release the tool holders, or am I mistaking it for some other type of product? Maybe it’s because I don’t see the air cylinder hooked up yet?
I didn’t fully understand the benefits of using AC servo as a spindle until I saw this video. The difference between the servo motor and a high frequency spindle is huge.

Nvm I found the answer to my own question.
Yeah it’s a monster difference.
Plus I can rigid tap, use a slitting saw, drill and machine steel with some reasonable speeds and feeds.
Might be slower on feed rate for aluminum but I think I can crank up doc/woc and do some serious damage
Dyn4 wired in, took 5 minutes to do. Servo running perfectly. Wayyy better documentation.
Time to machine components.
I feel like I’m your biggest cheerleader now ![]()
![]()
![]() super excited to see it in action. Can you share some info on how the process of tuning the dmm servo look like? I read they’re very easy to set up.
super excited to see it in action. Can you share some info on how the process of tuning the dmm servo look like? I read they’re very easy to set up.
Ha thanks Bart. Having cheerleaders is the most hype.
The dmm servo tuning was super easy. Basically plug in to computer, open program. Connect to com4 then tuning page. Select belt or rigid connection, high inertia or low(also standard if you don’t know which). Then pick mode it will operate in(speed mode in this situation)and click tune.
Then it runs for 10 minutes and updates itself.
I’ll video it when I assemble all the parts
Beautiful ![]() . do you think you could show/explain the components of the pneumatic system and how it’s all connected to the controller? You’re going to use the masso board, correct?
. do you think you could show/explain the components of the pneumatic system and how it’s all connected to the controller? You’re going to use the masso board, correct?
Any progress on the 4th axis?
Once it’s together I’ll do a video run down of it all working and explaining it.
Nope, centroid. My other machine is masso
Still working on 4th axis design, not sure how I wanna do it.
I am curious what would be the better / simpler controller option for when I do jump to an ATC? I’m leaning Masso but have zero XP with either.
I’m hoping to do a FM30c with closed loop steppers on X , Y, and Z but it’s a ways out like a year or possibly 2.
Masso is for sure more simple.
Centroid more feature rich
I only changed to centroid for in cycle probing, that was a huge deal for me but as I work through it.
I like it a lot more, definitely way complicated but I’m stoked on the features.