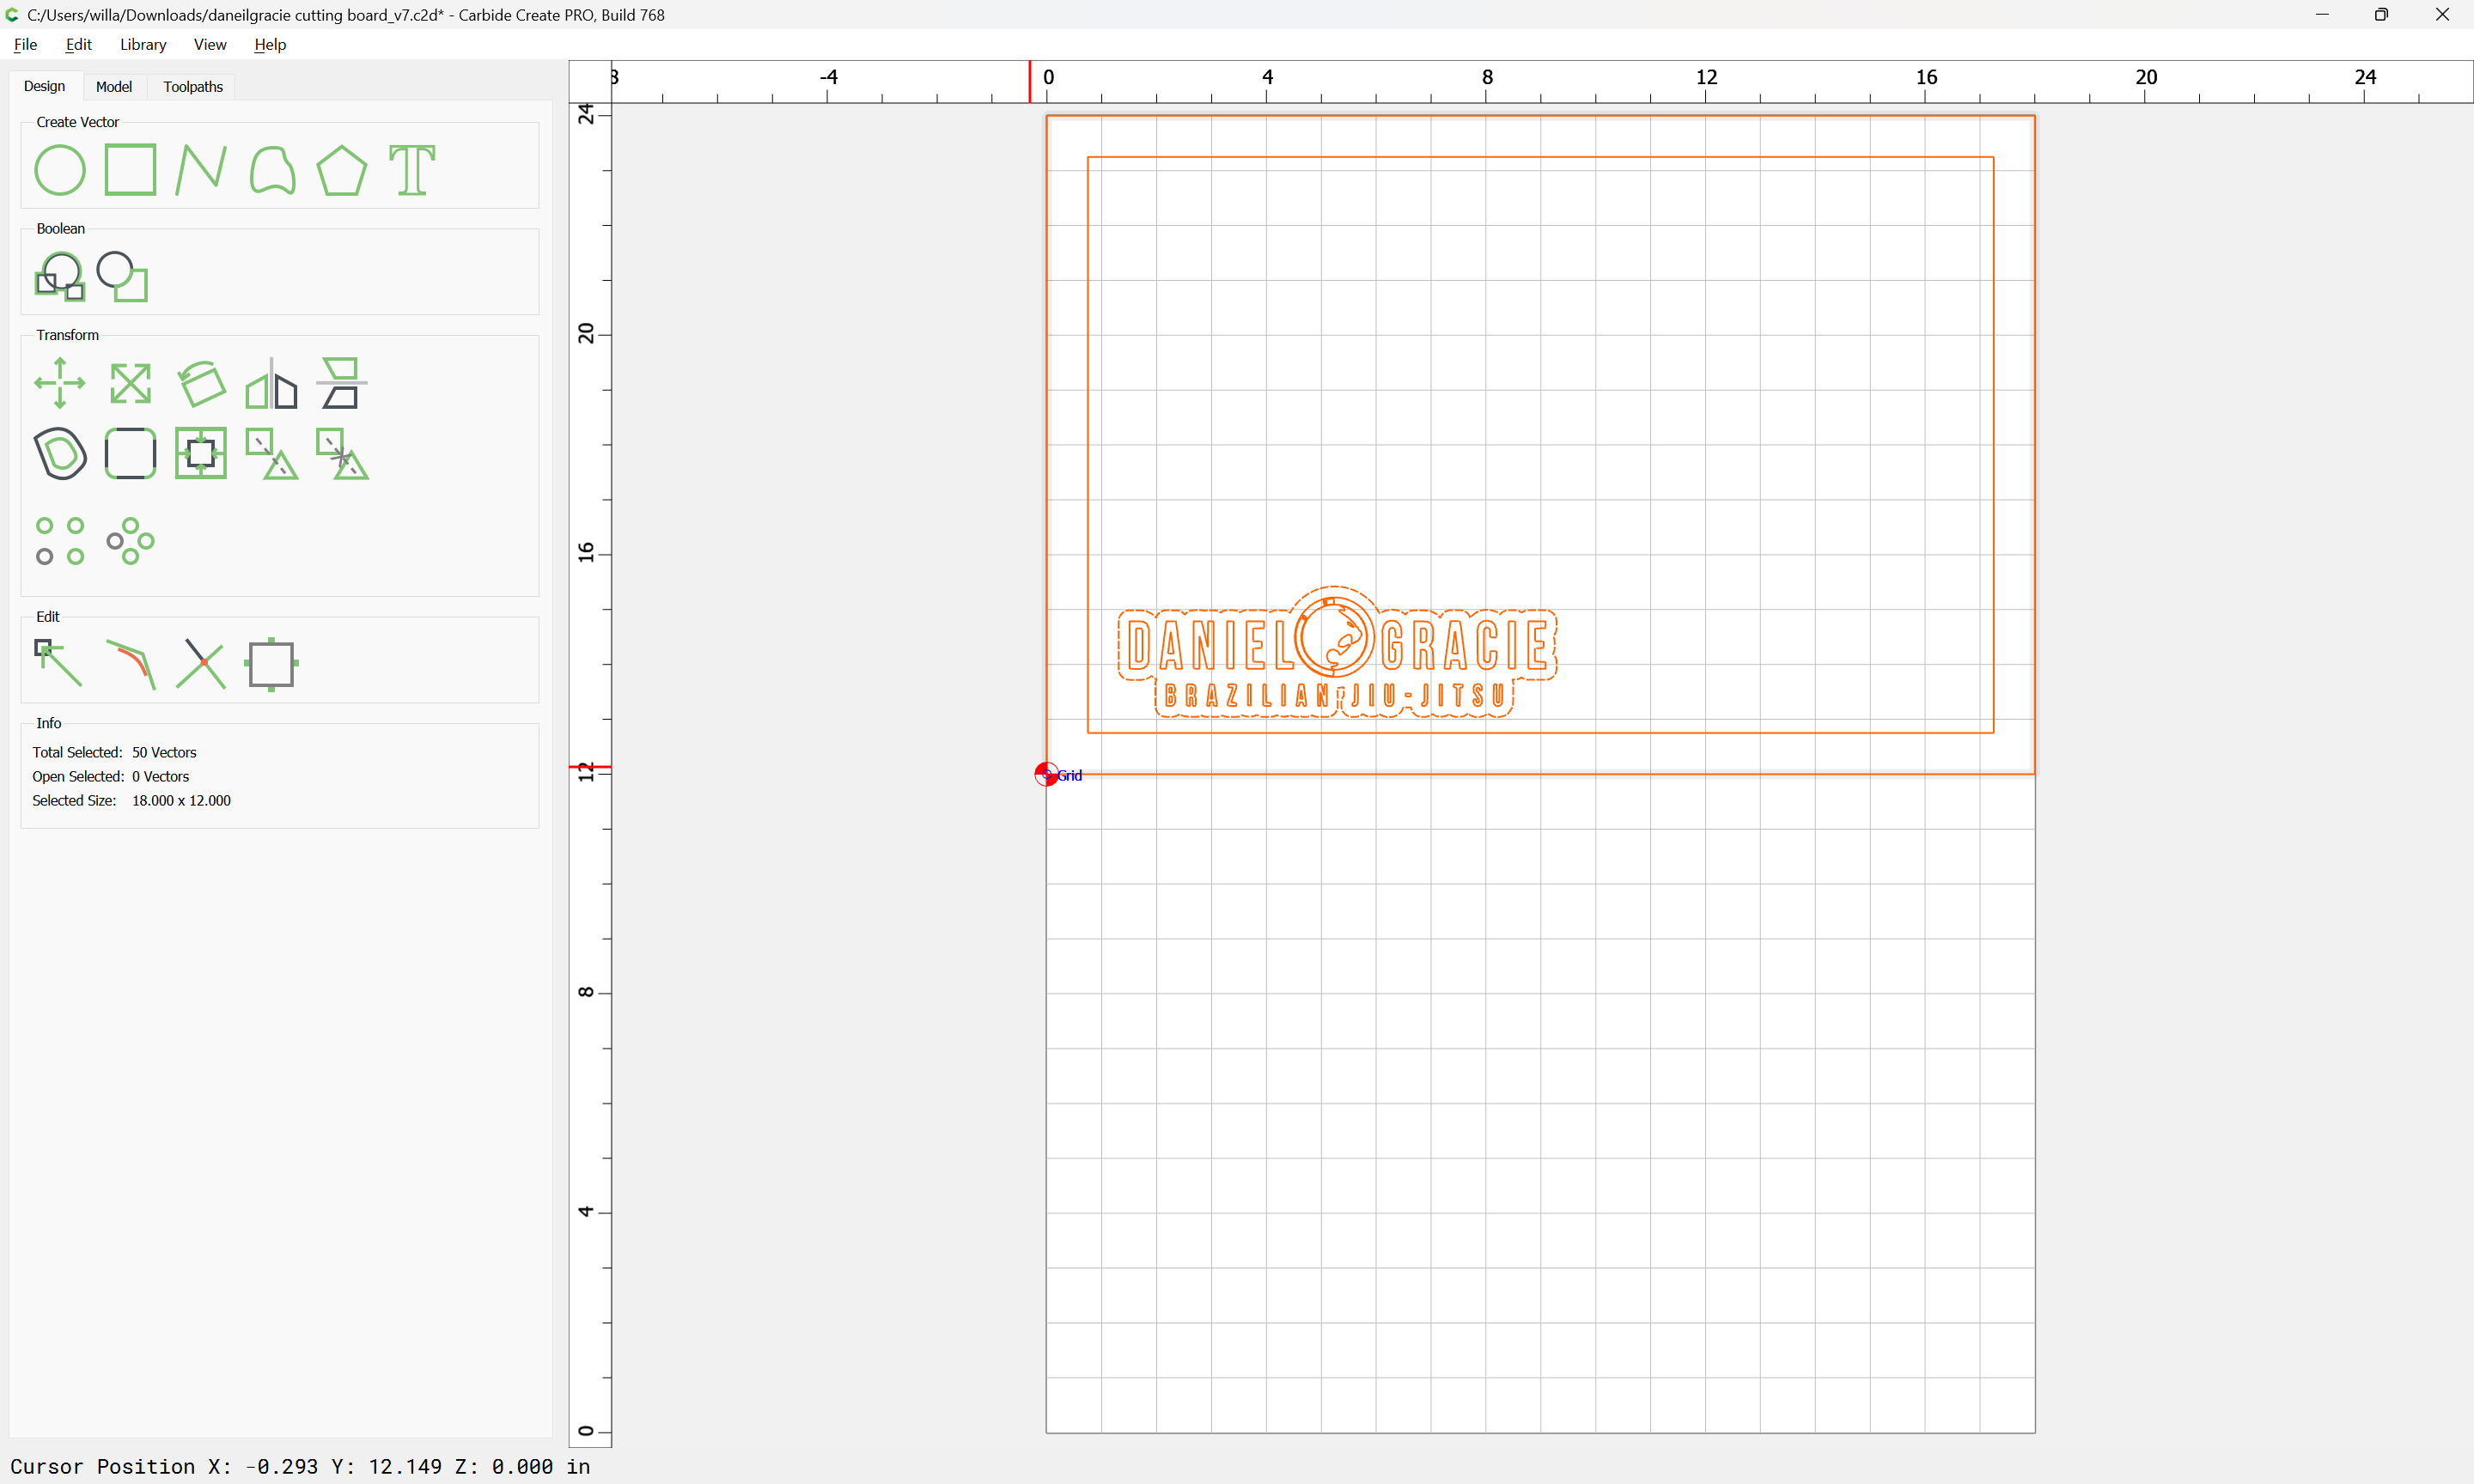
Given a design:
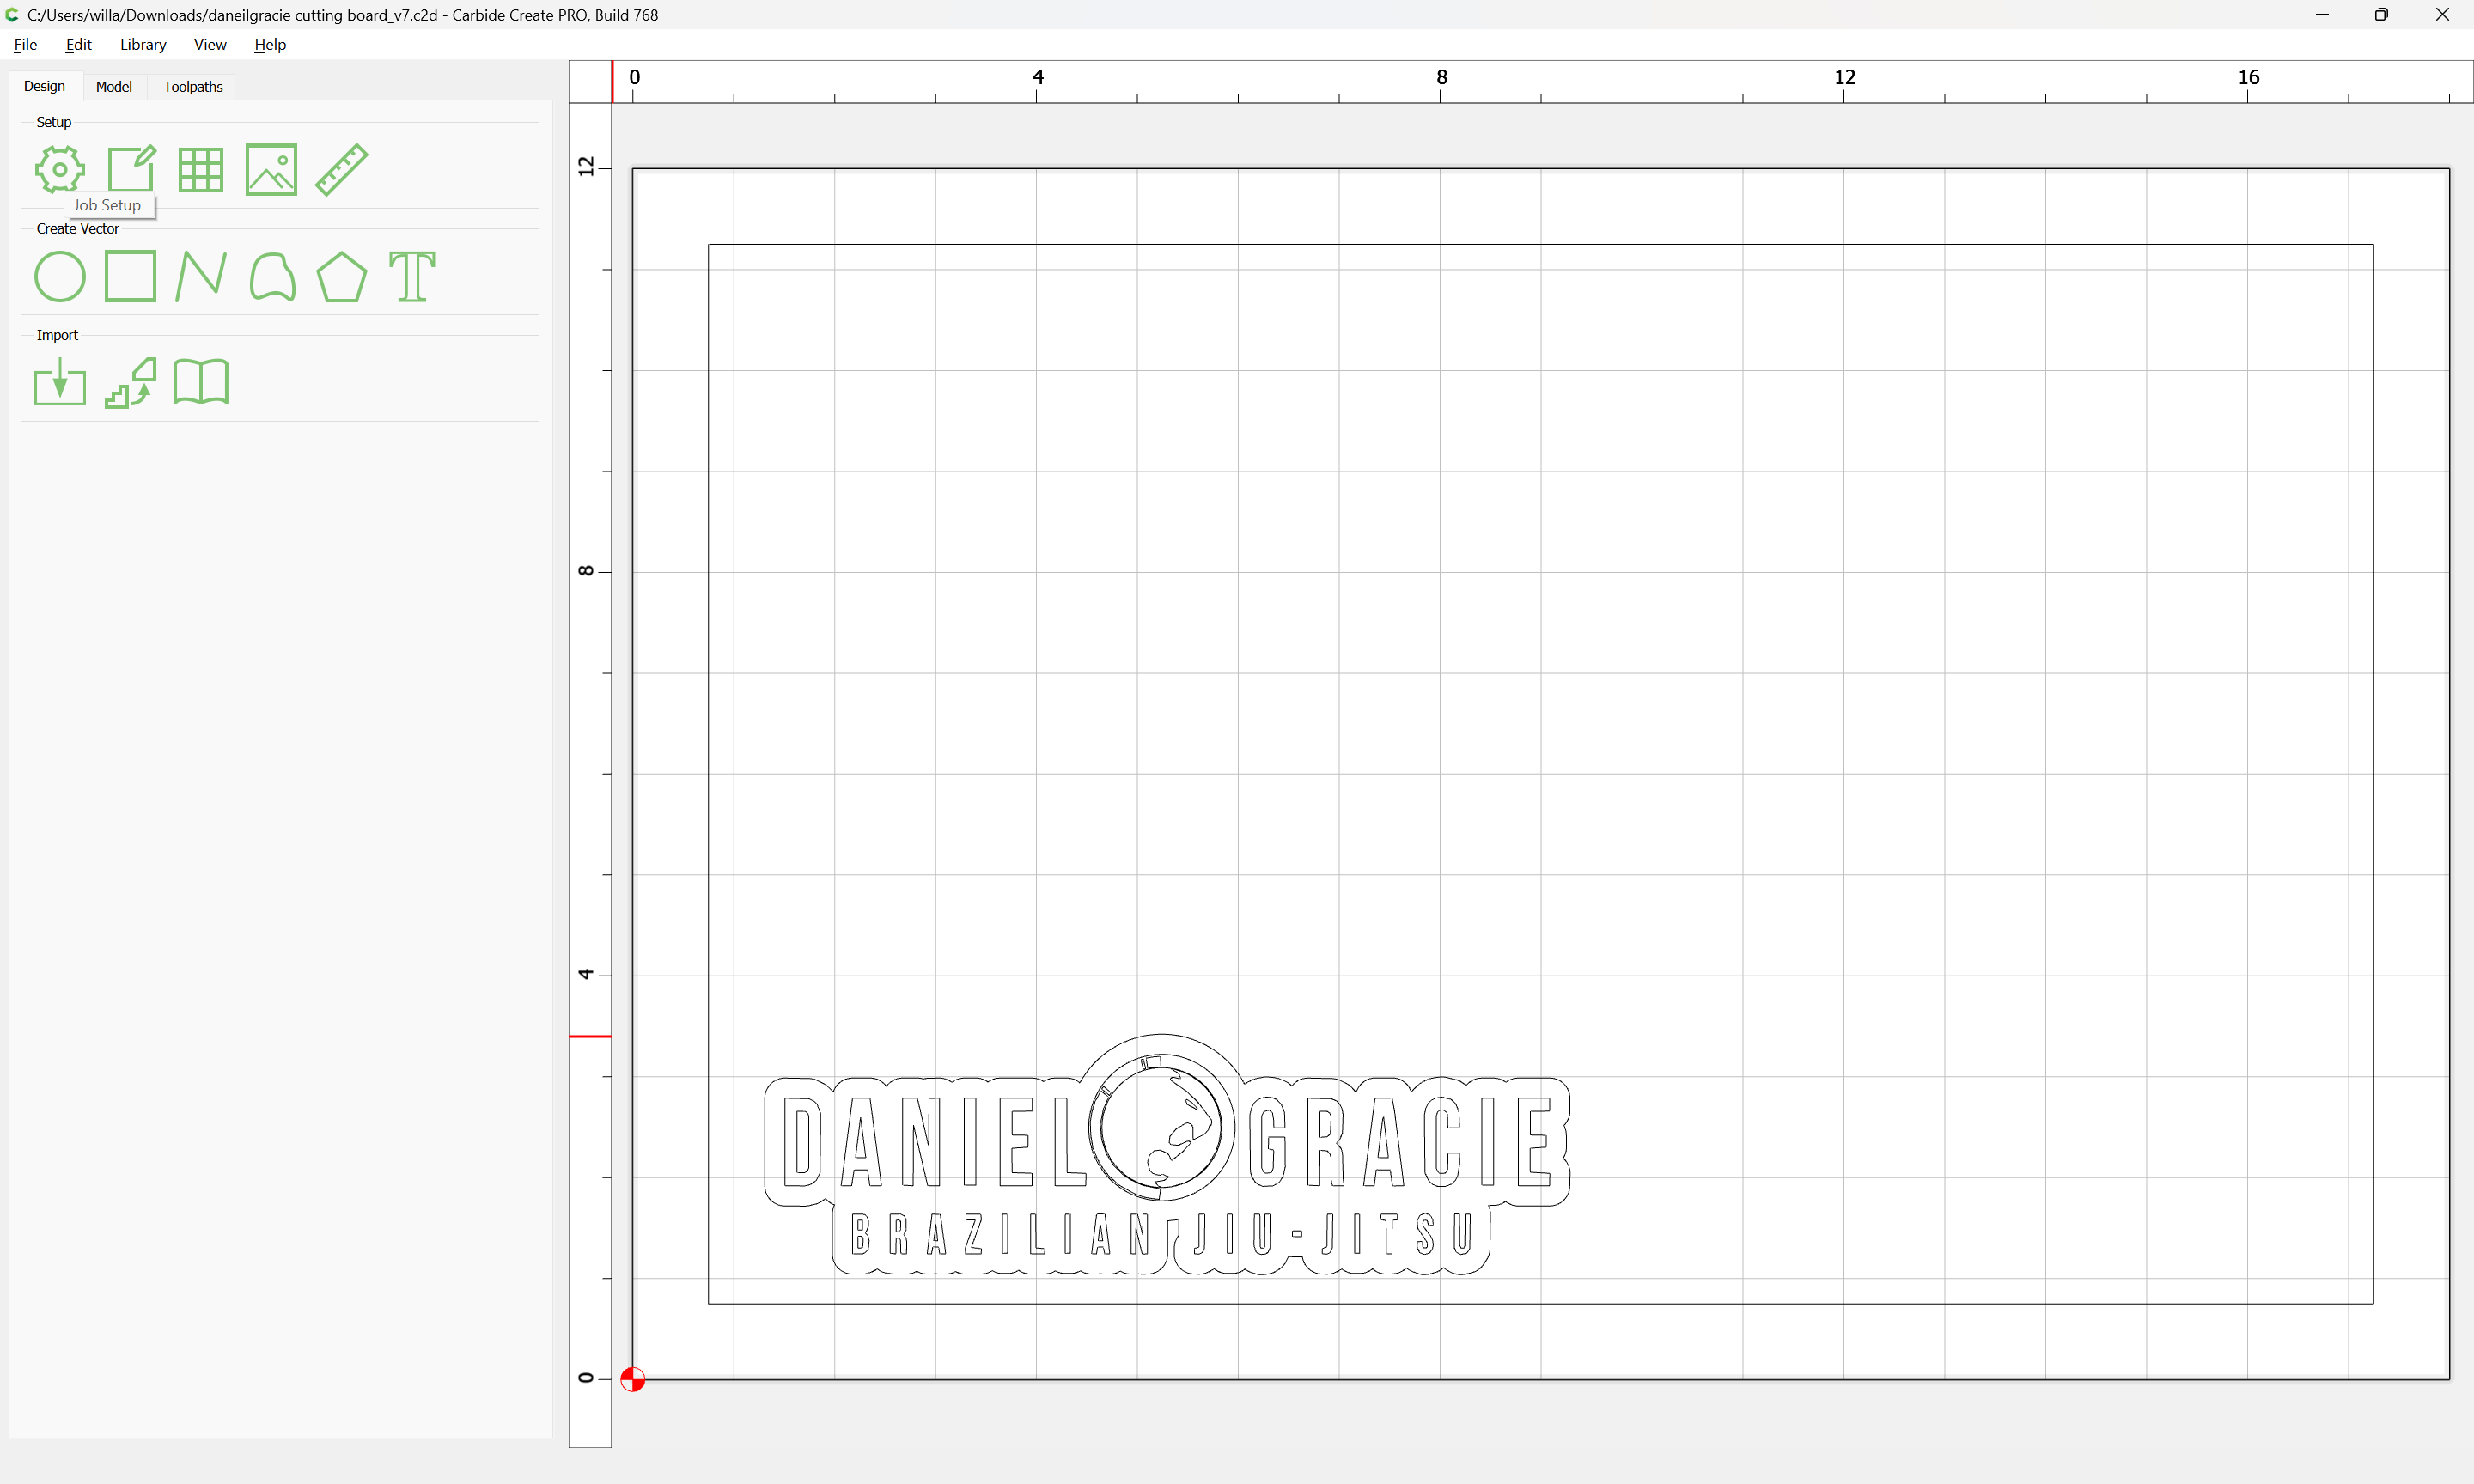
Which one wants to cut as an inlay, the first concern is using 1 or two files — for simplicity’s sake we will use one, so we adjust the Job Setup:
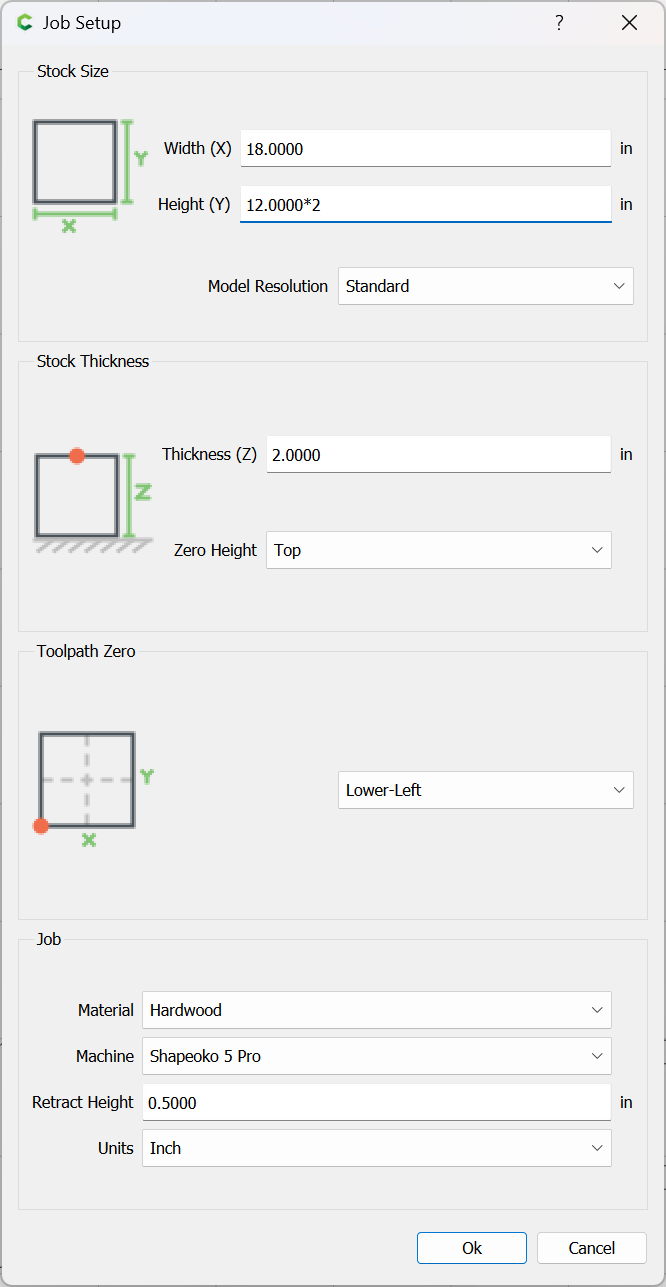
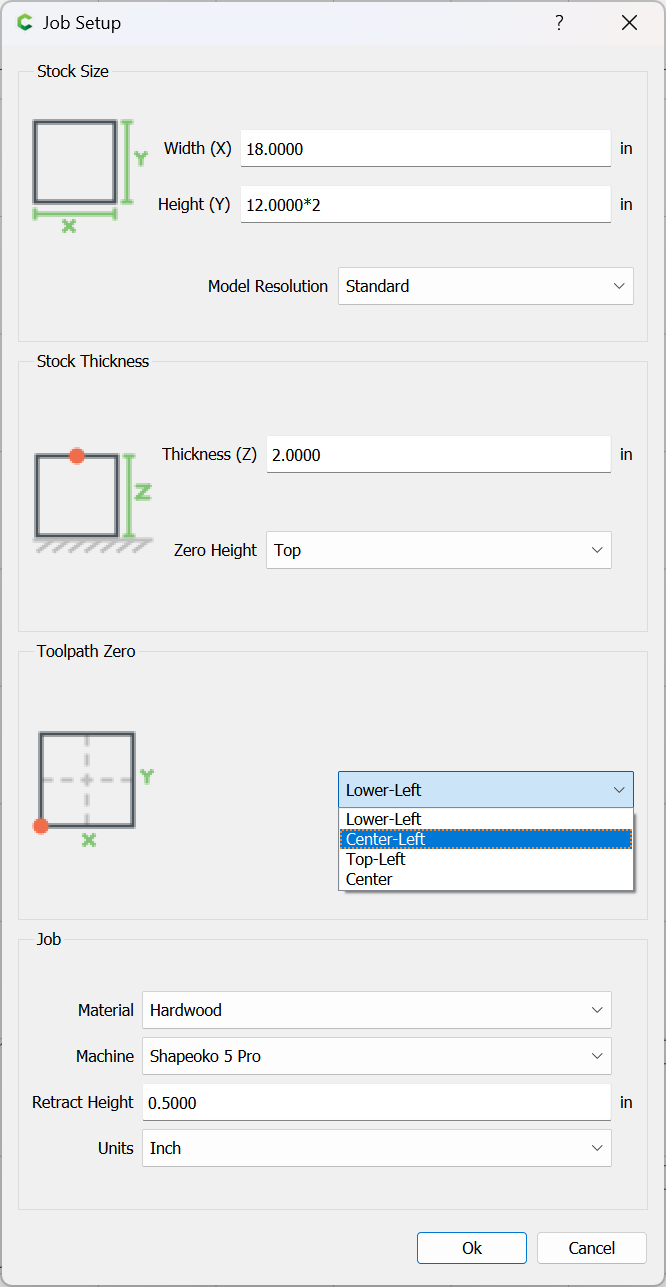
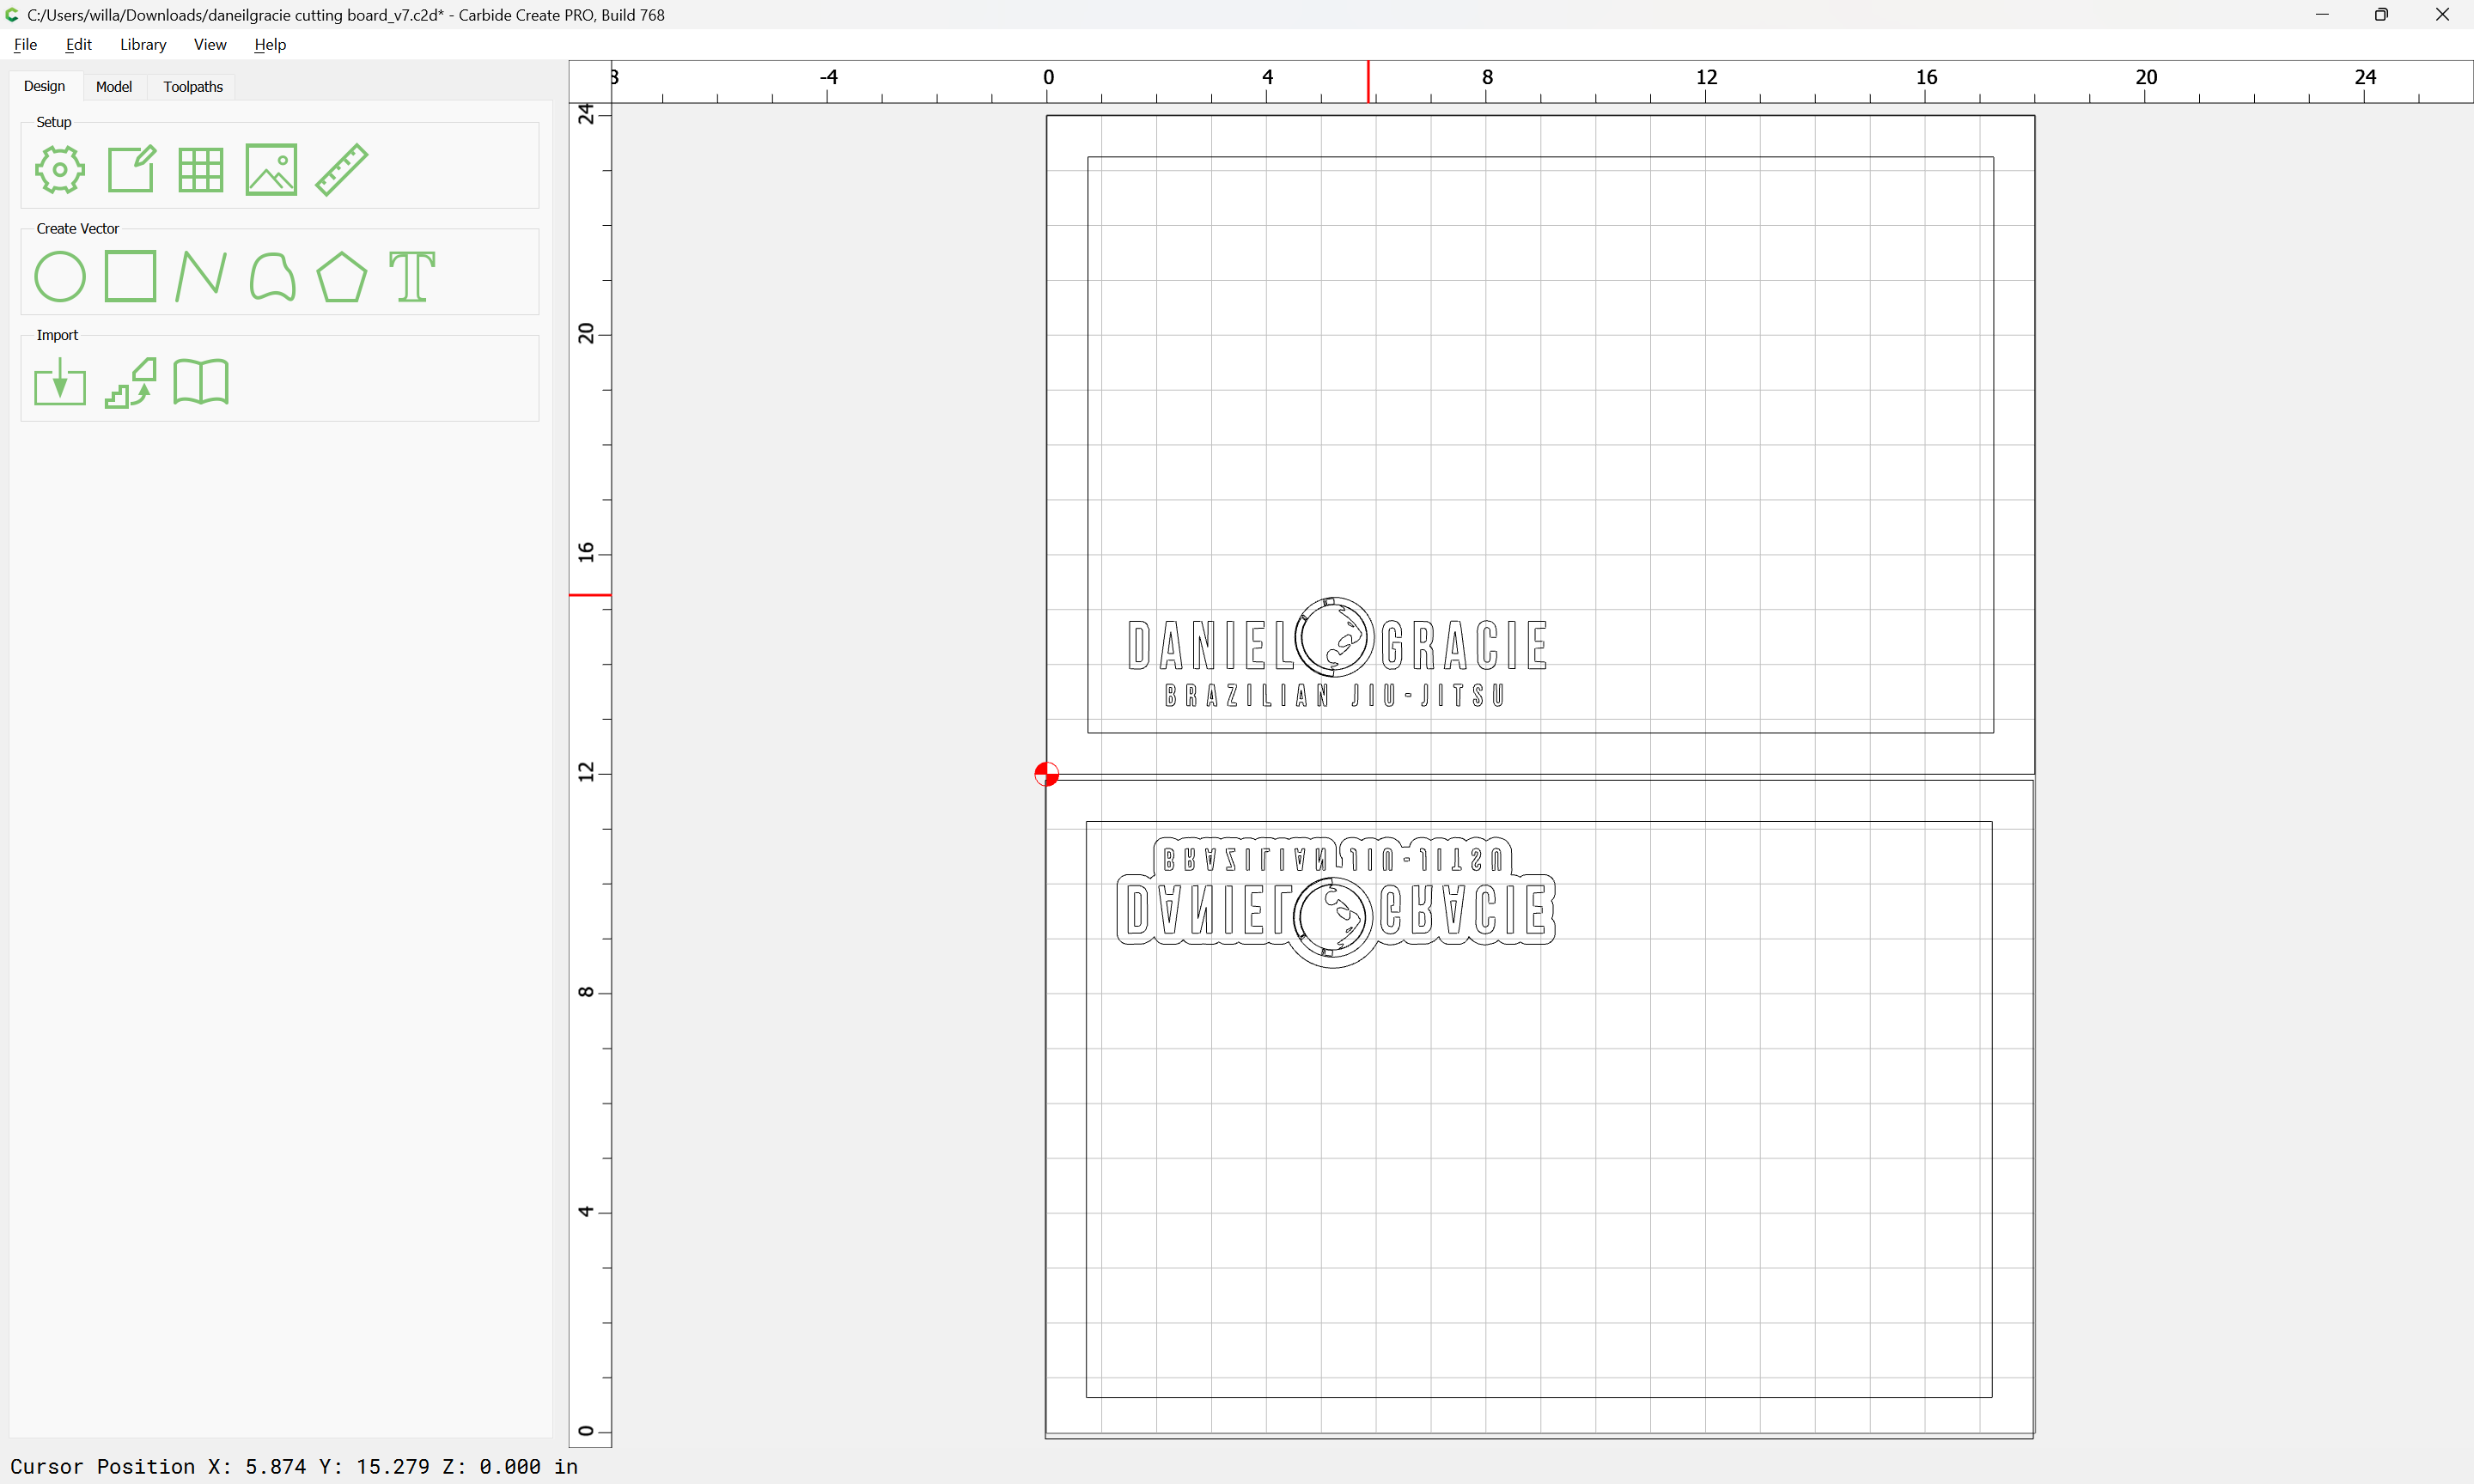
doubling the height and changing the origin to Center Left:
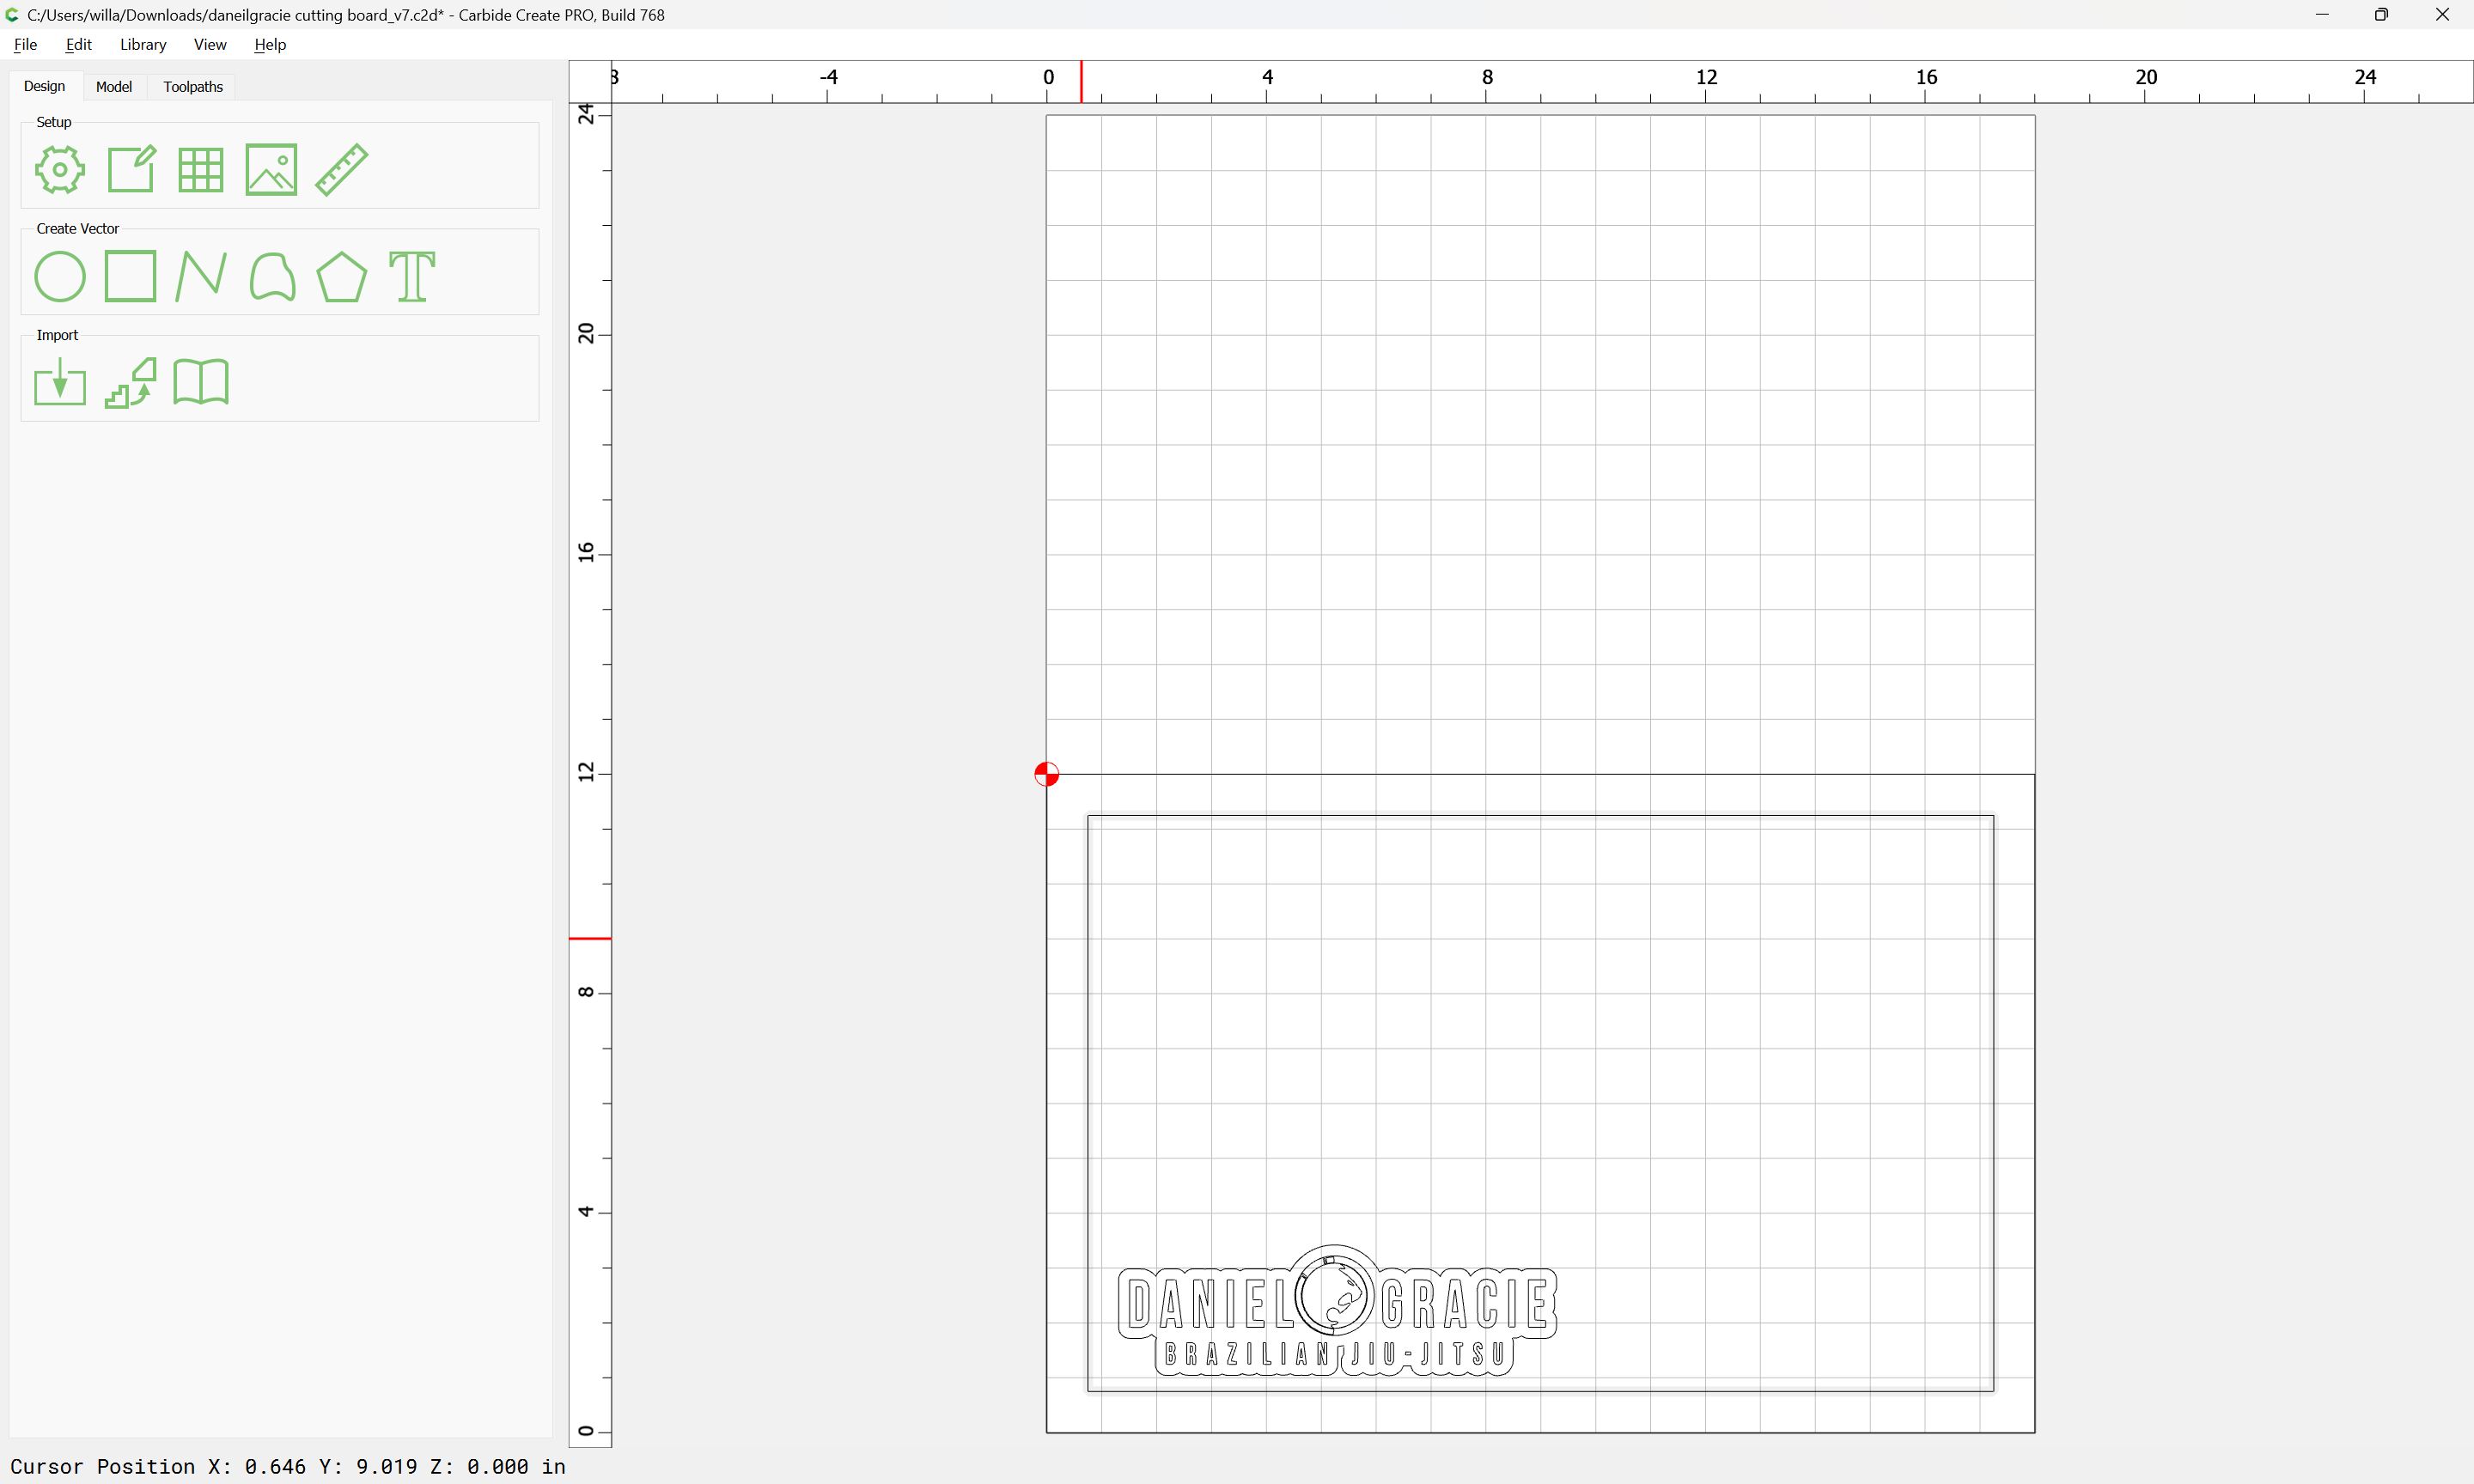
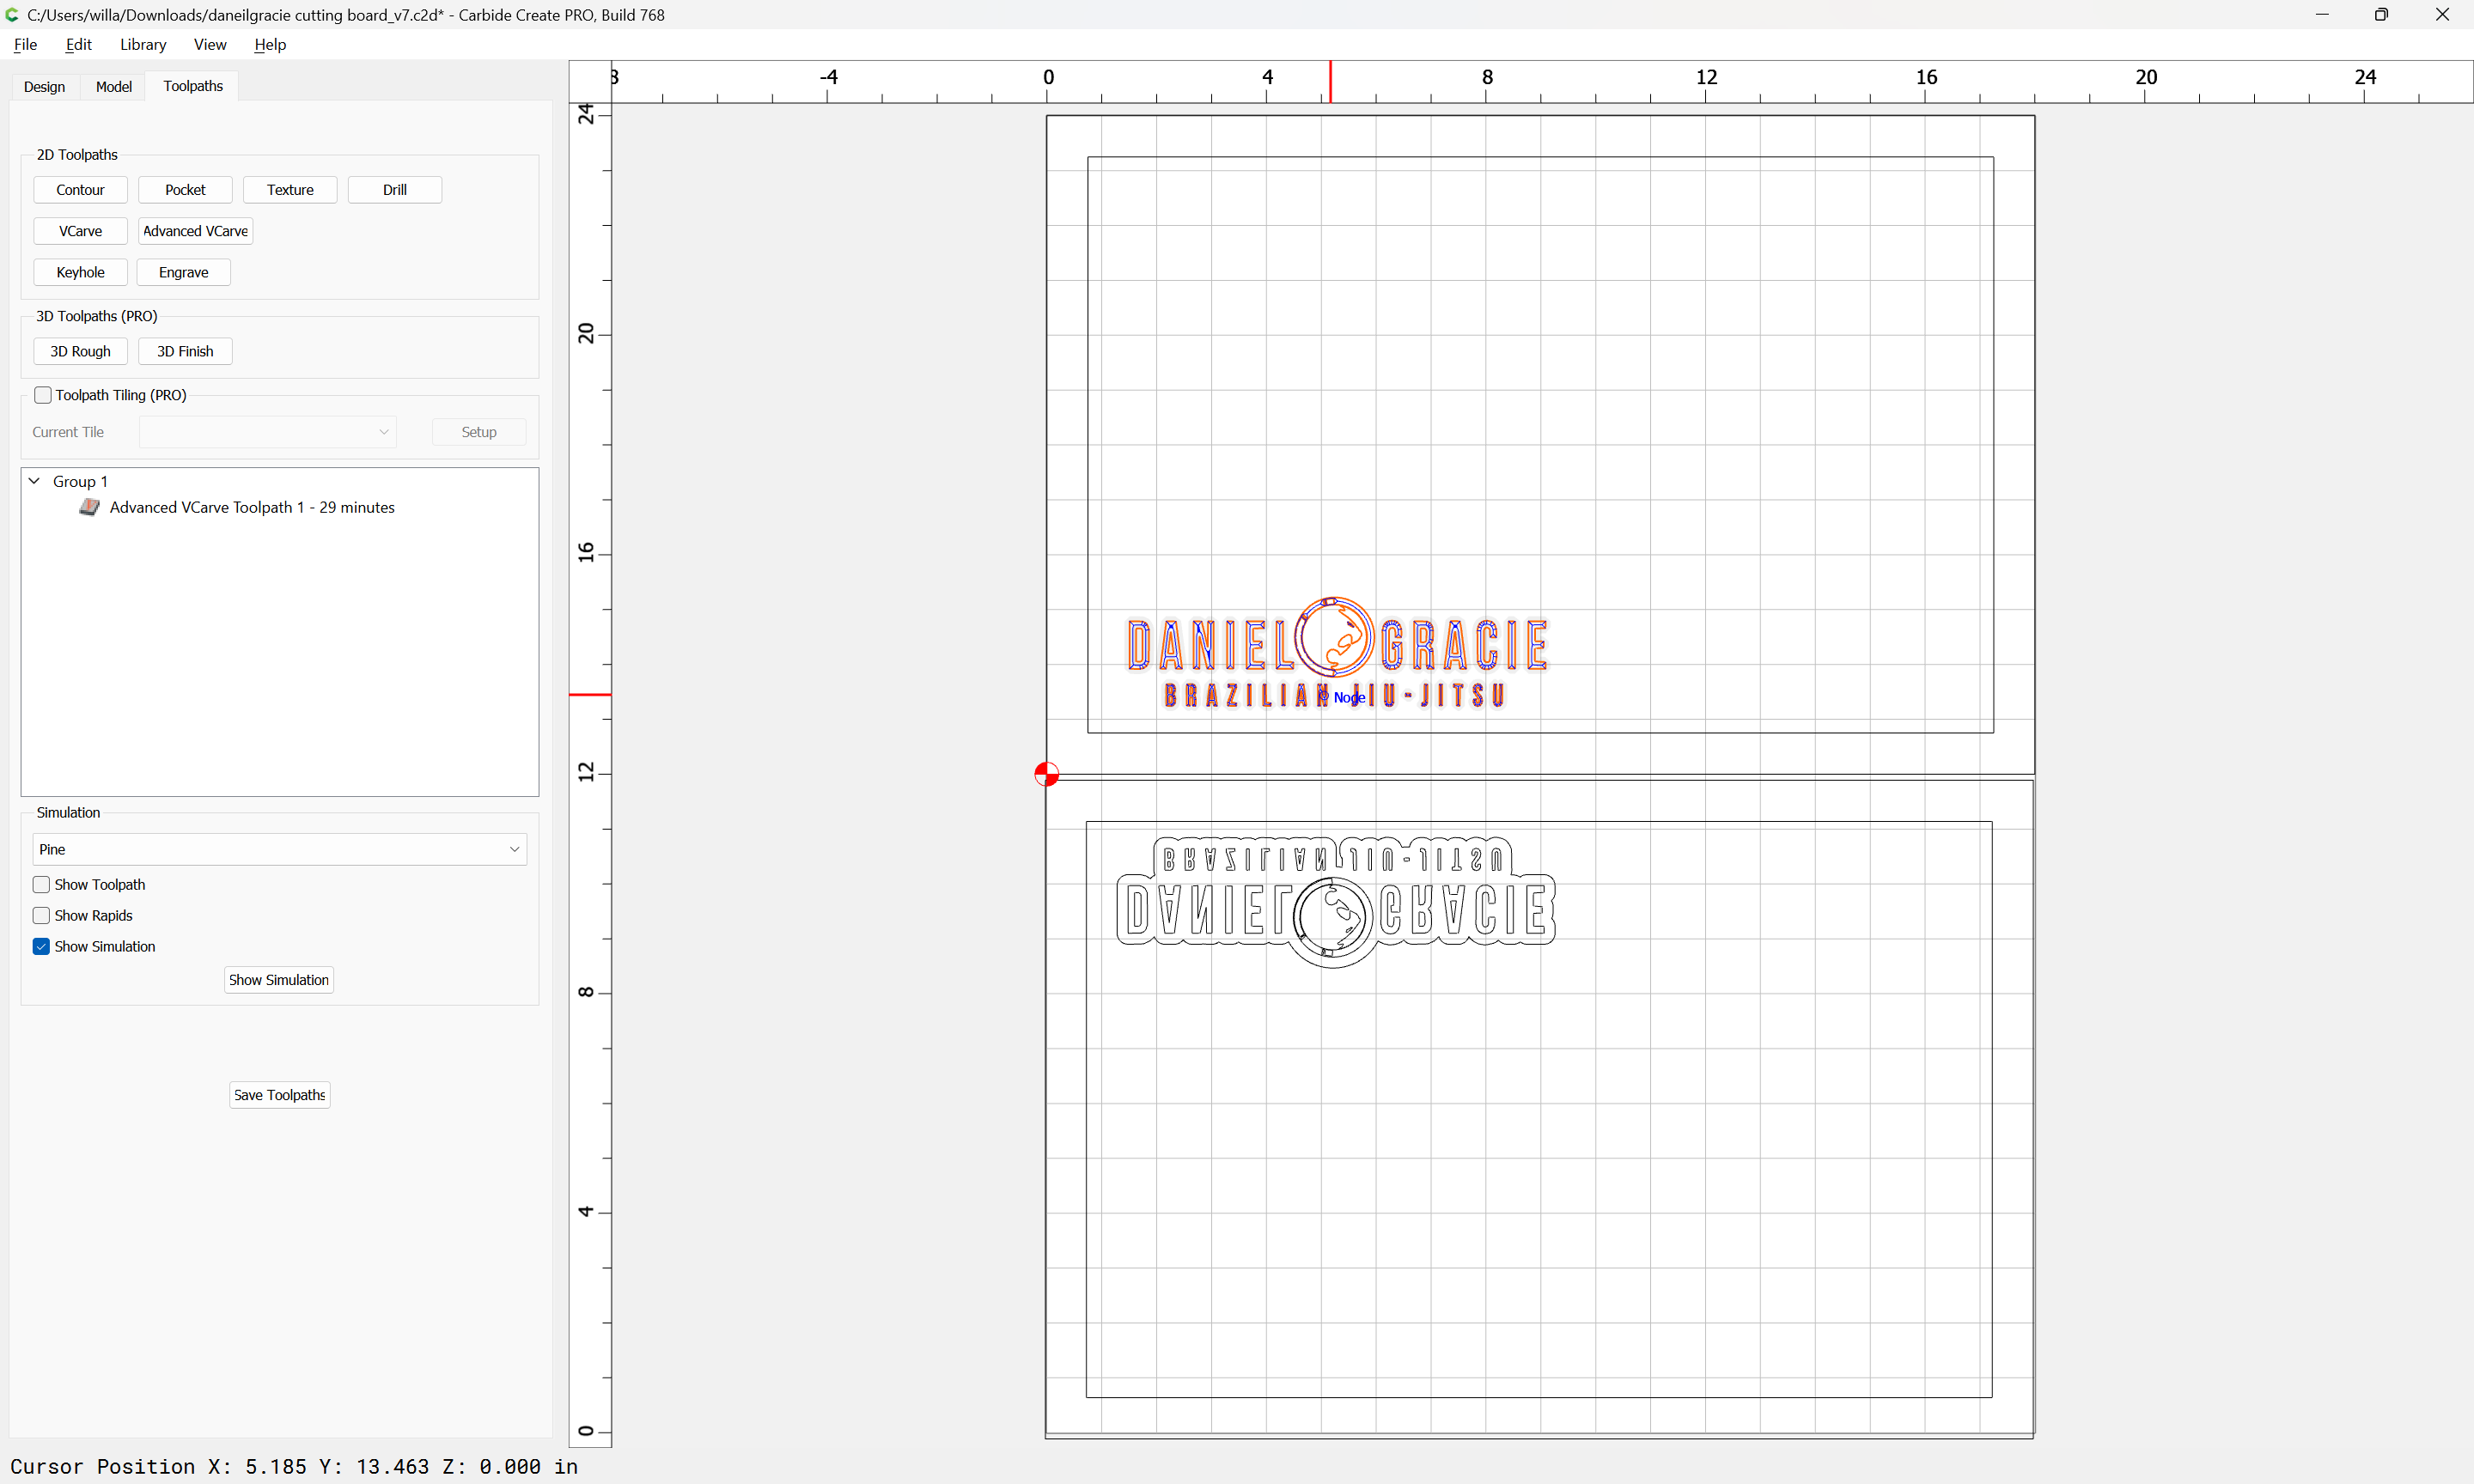
Then we move the design up to the top — the board itself will be cut using Lower Left for the origin:
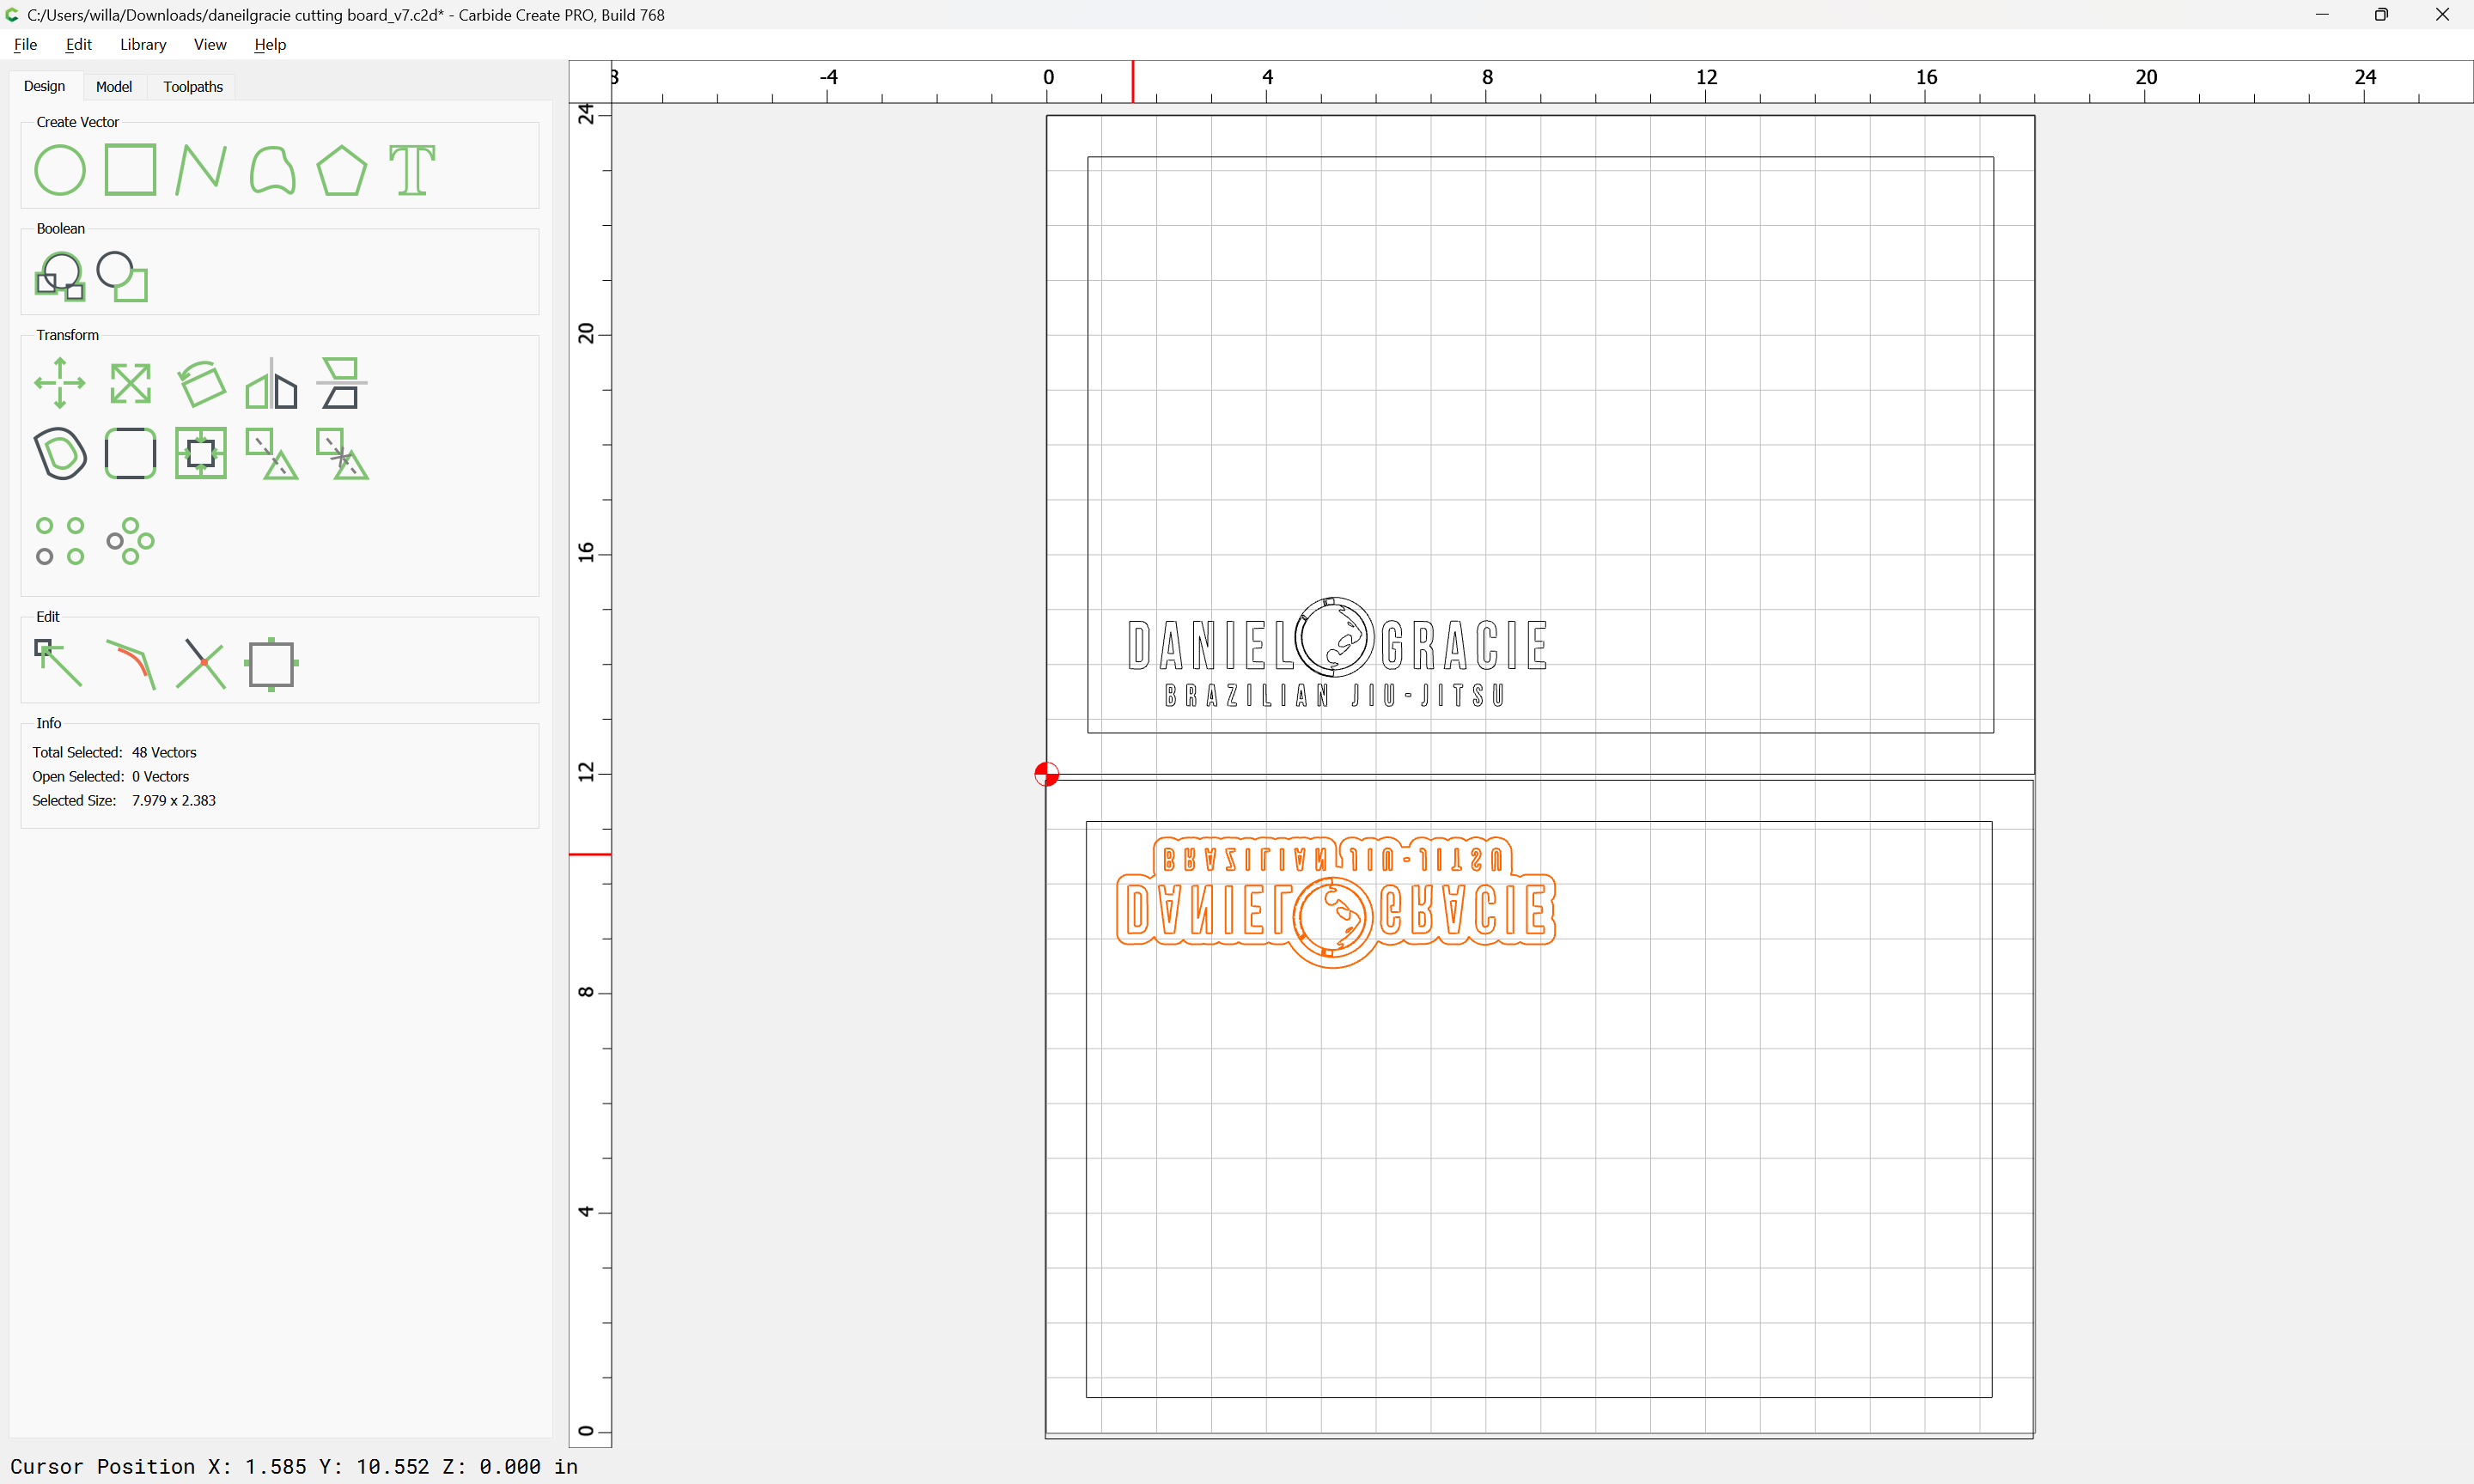
Then we duplicate the design:
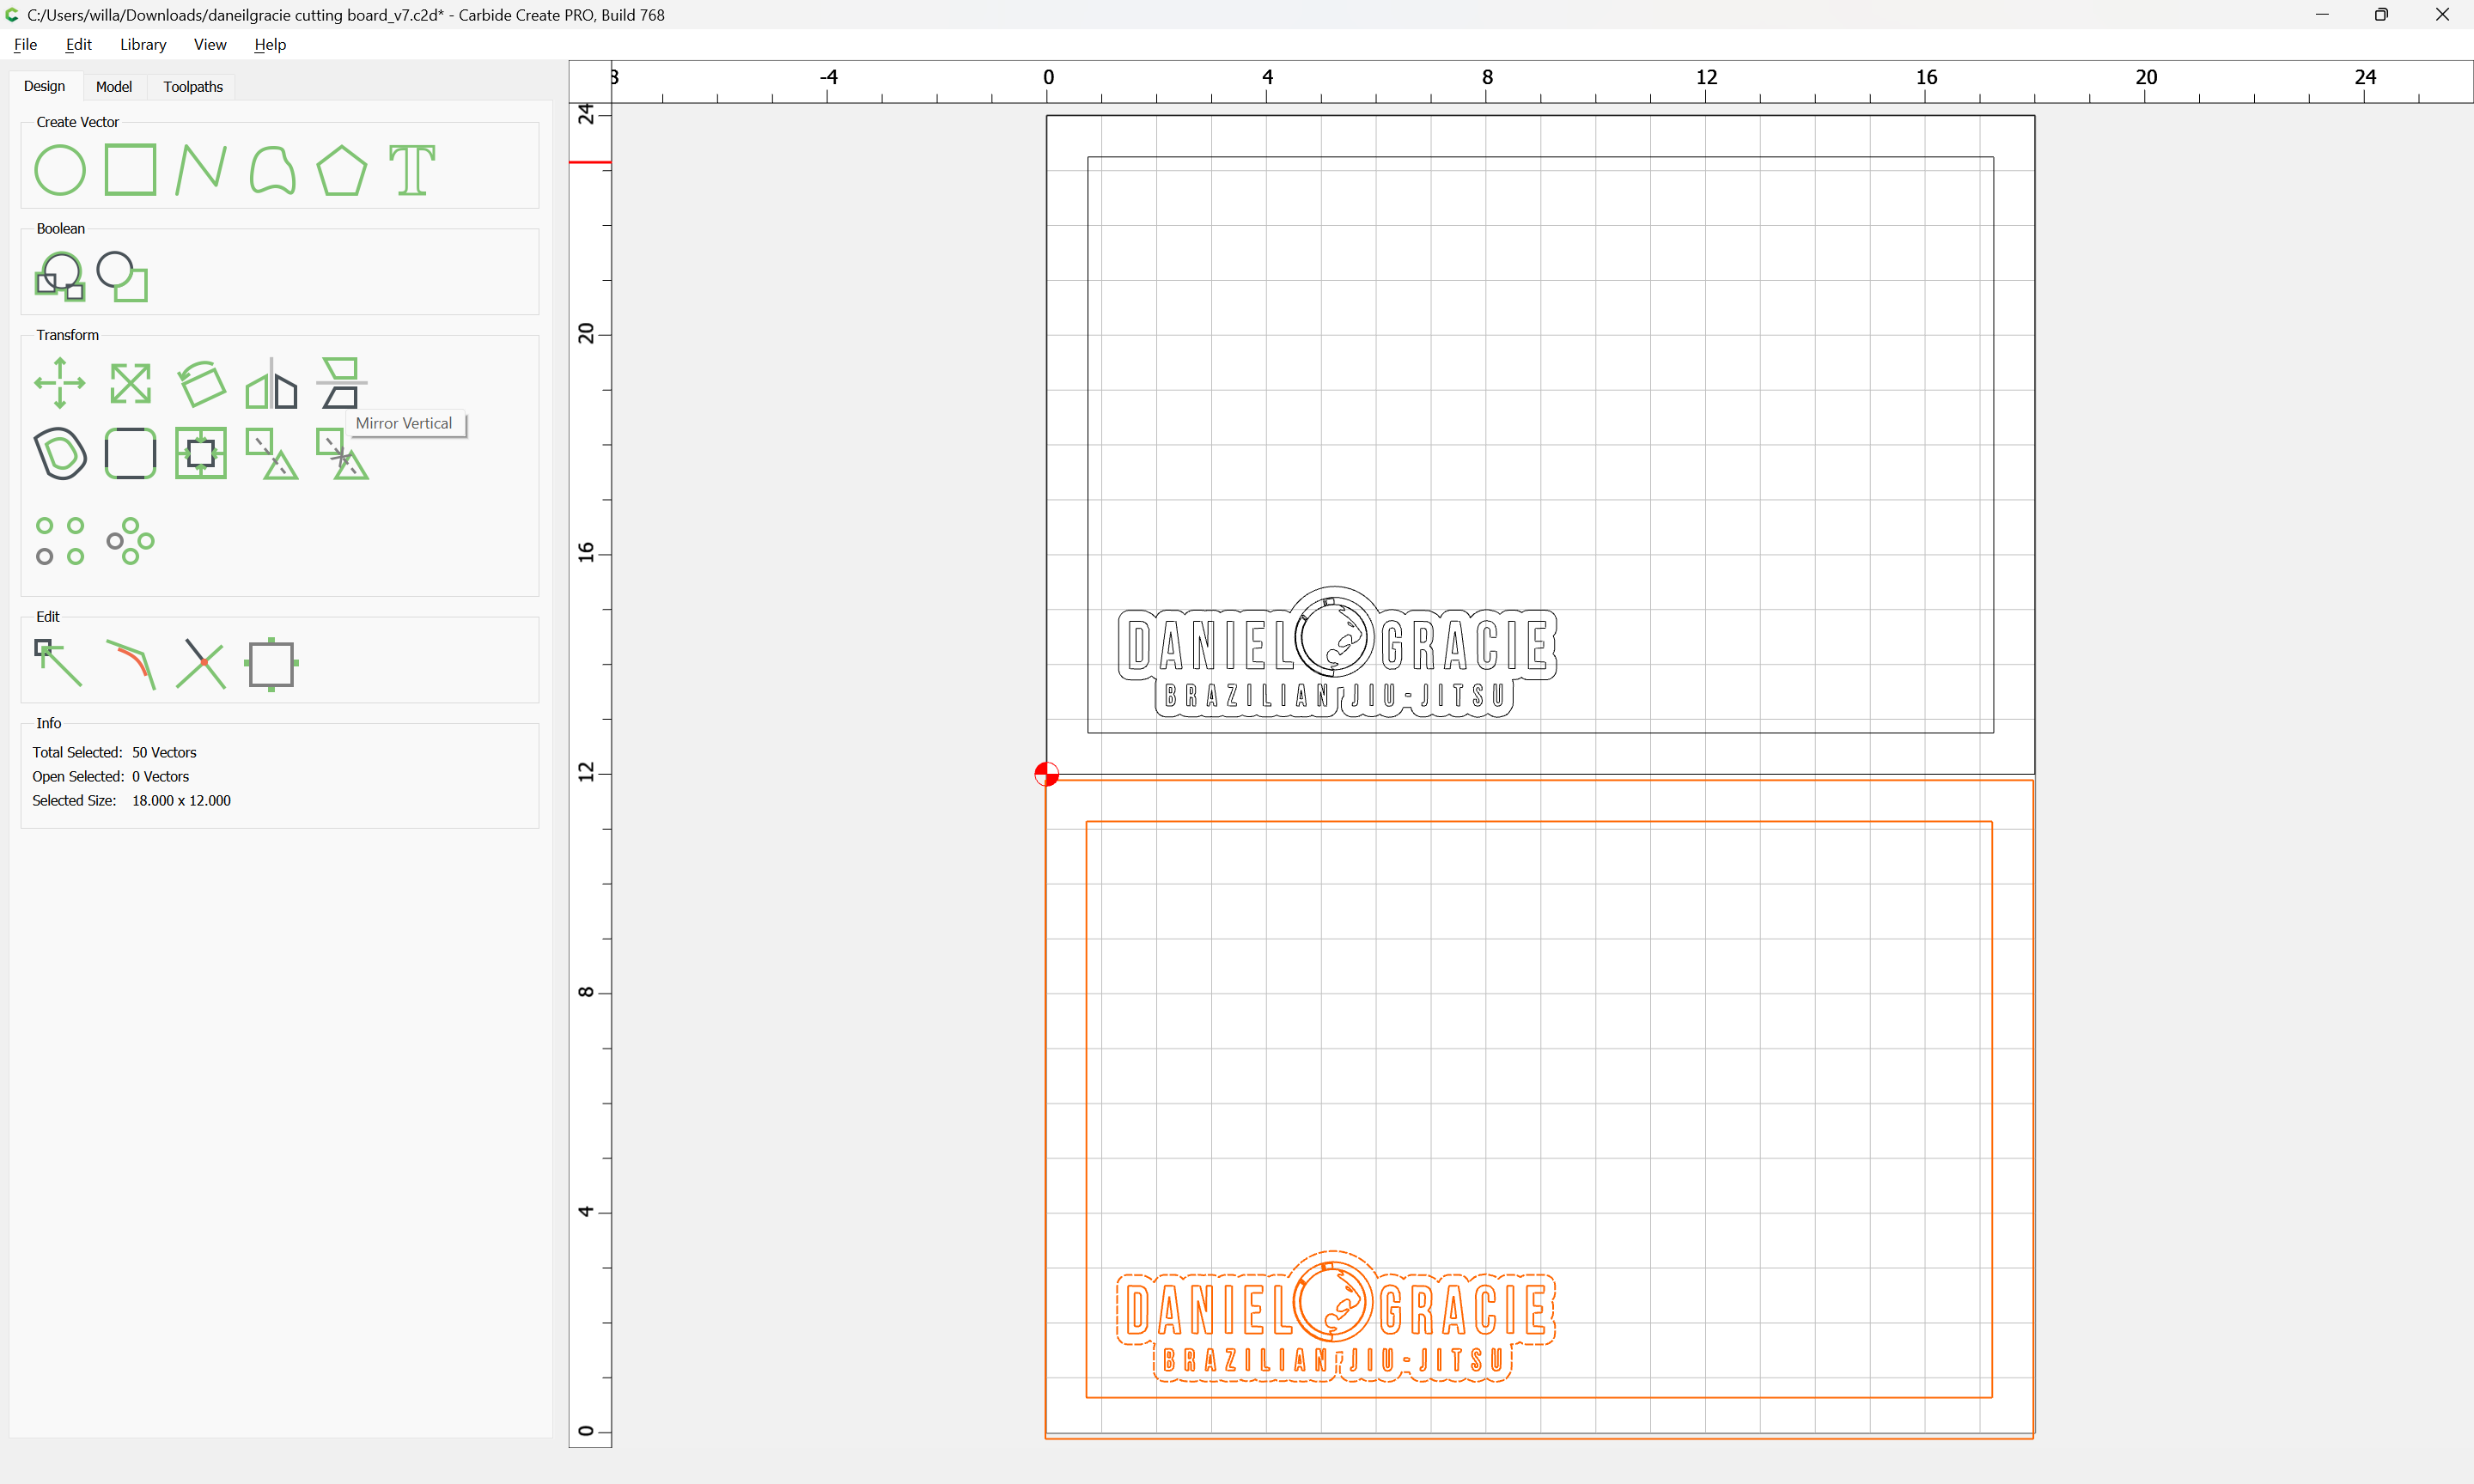
Mirror it Vertically:
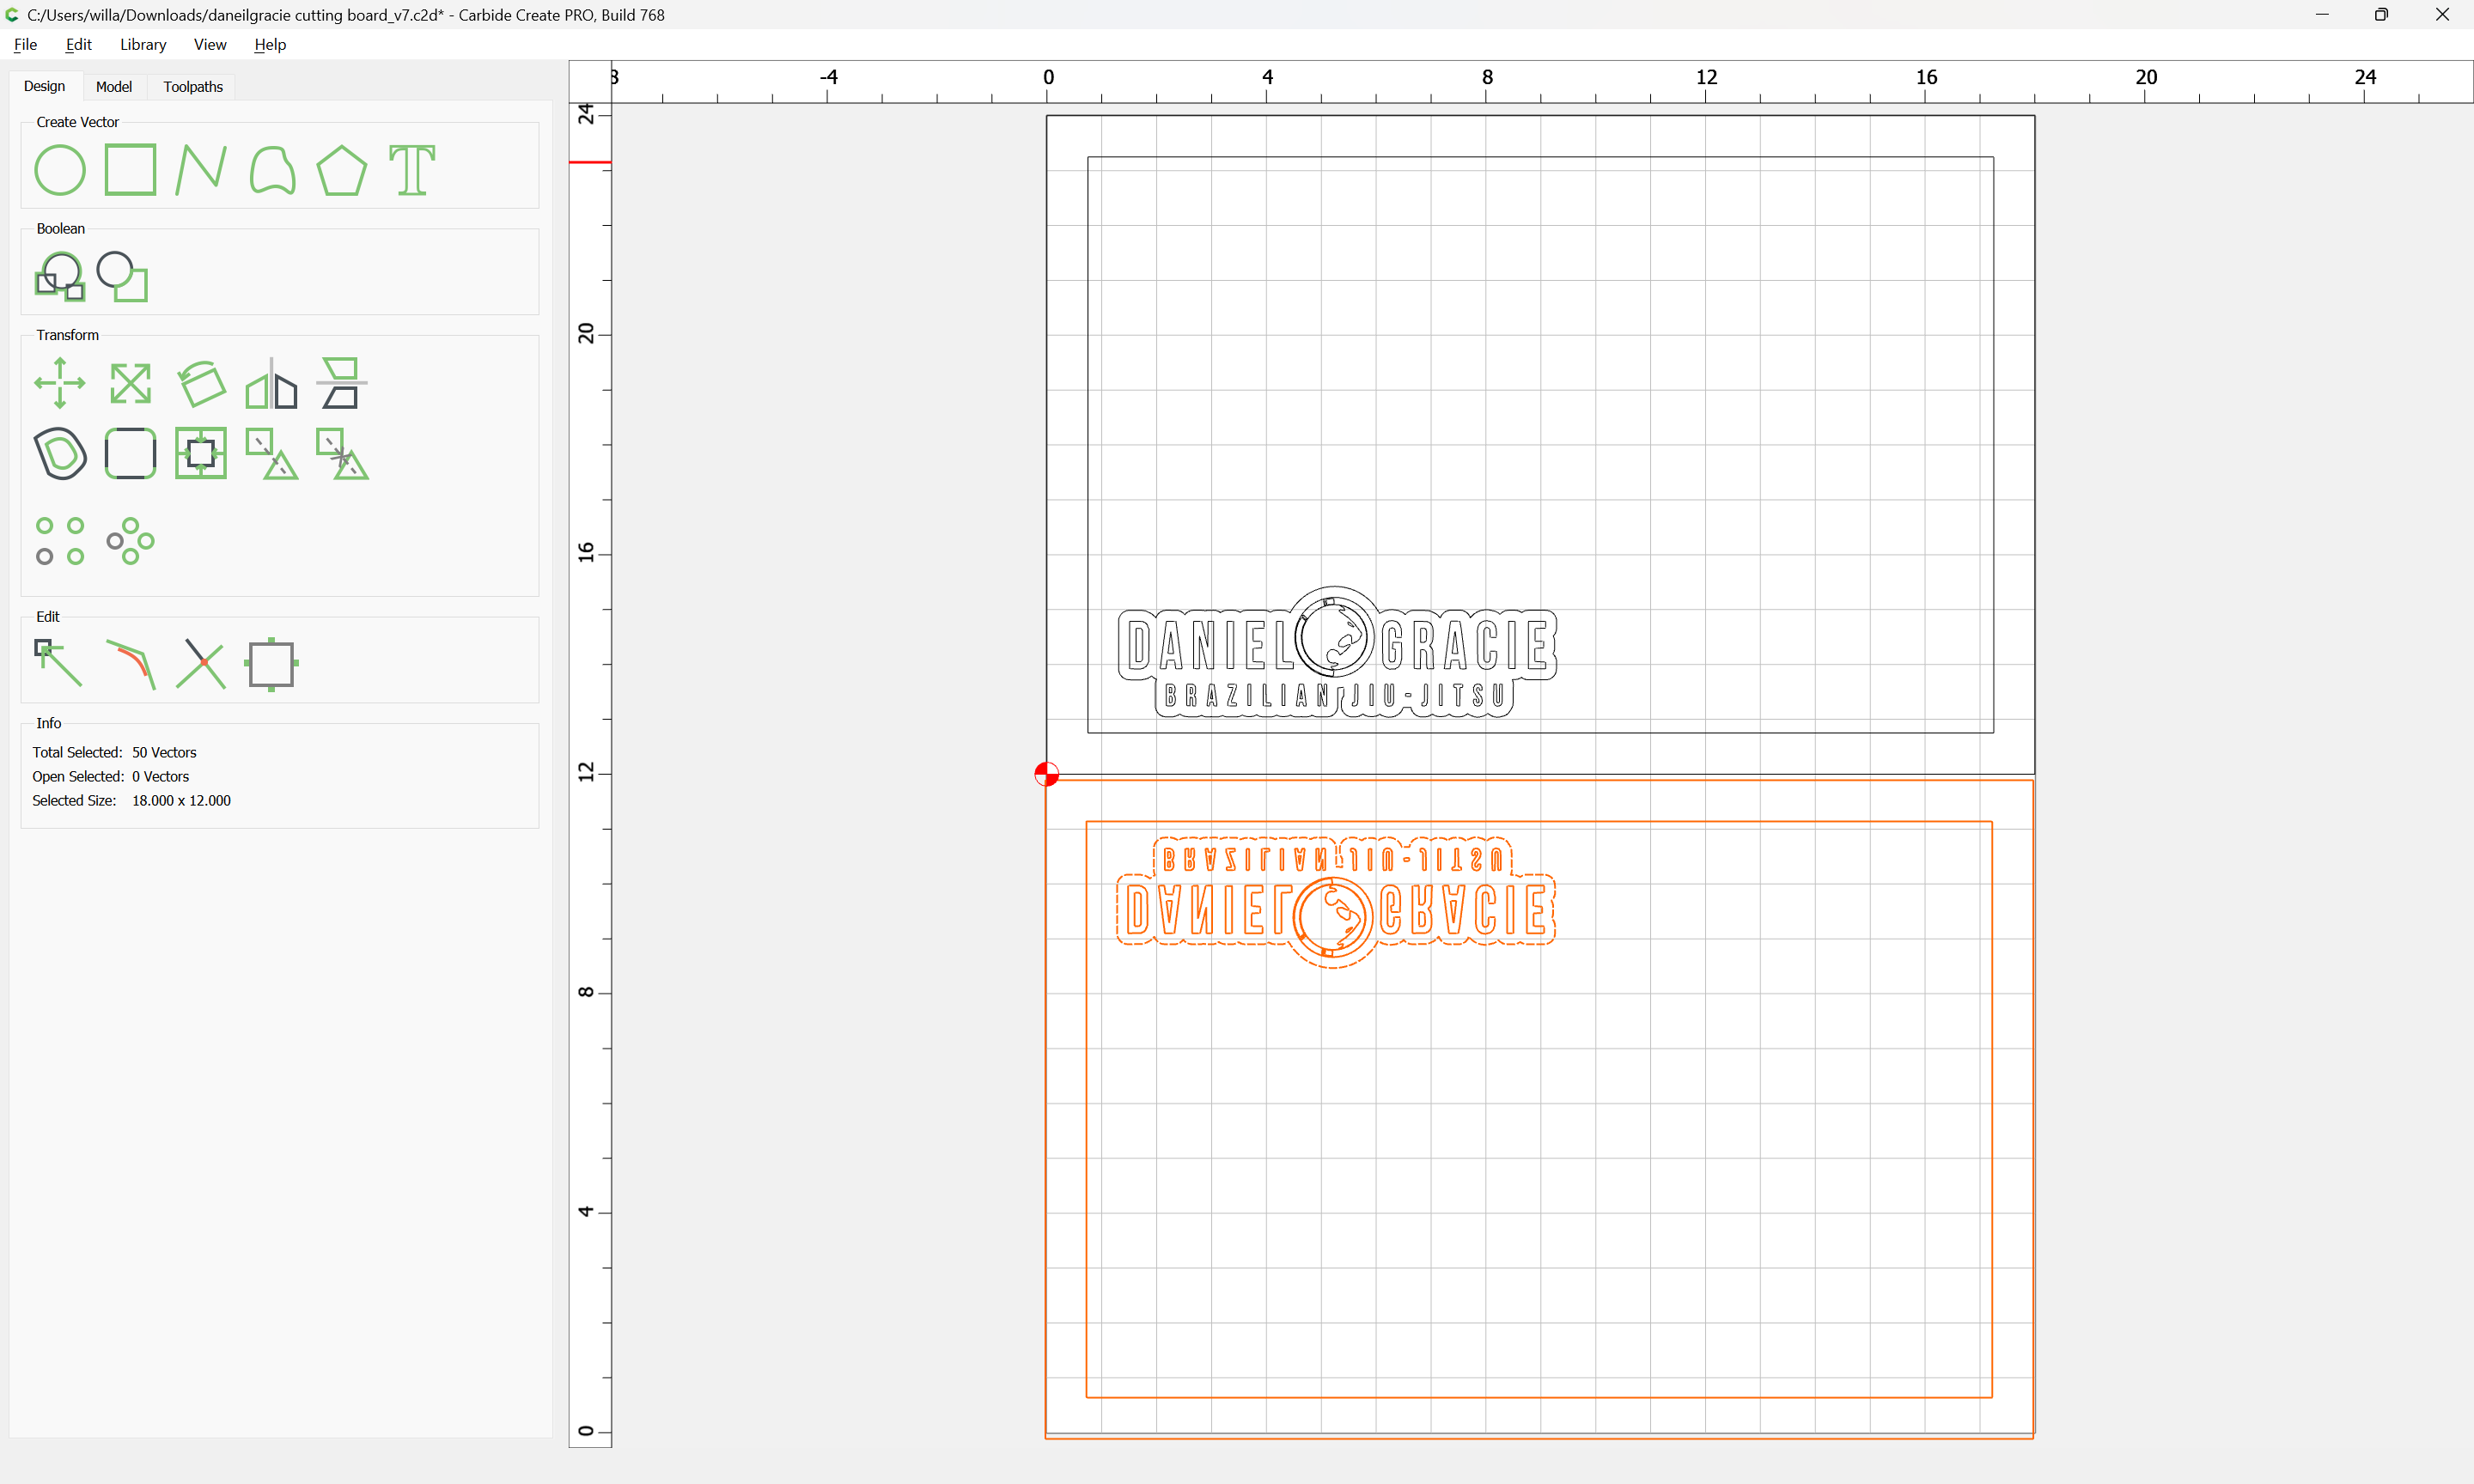
and drag that into registration and use this for the inlay — the male inlay portion of the design will be cut using Upper Left as the origin.
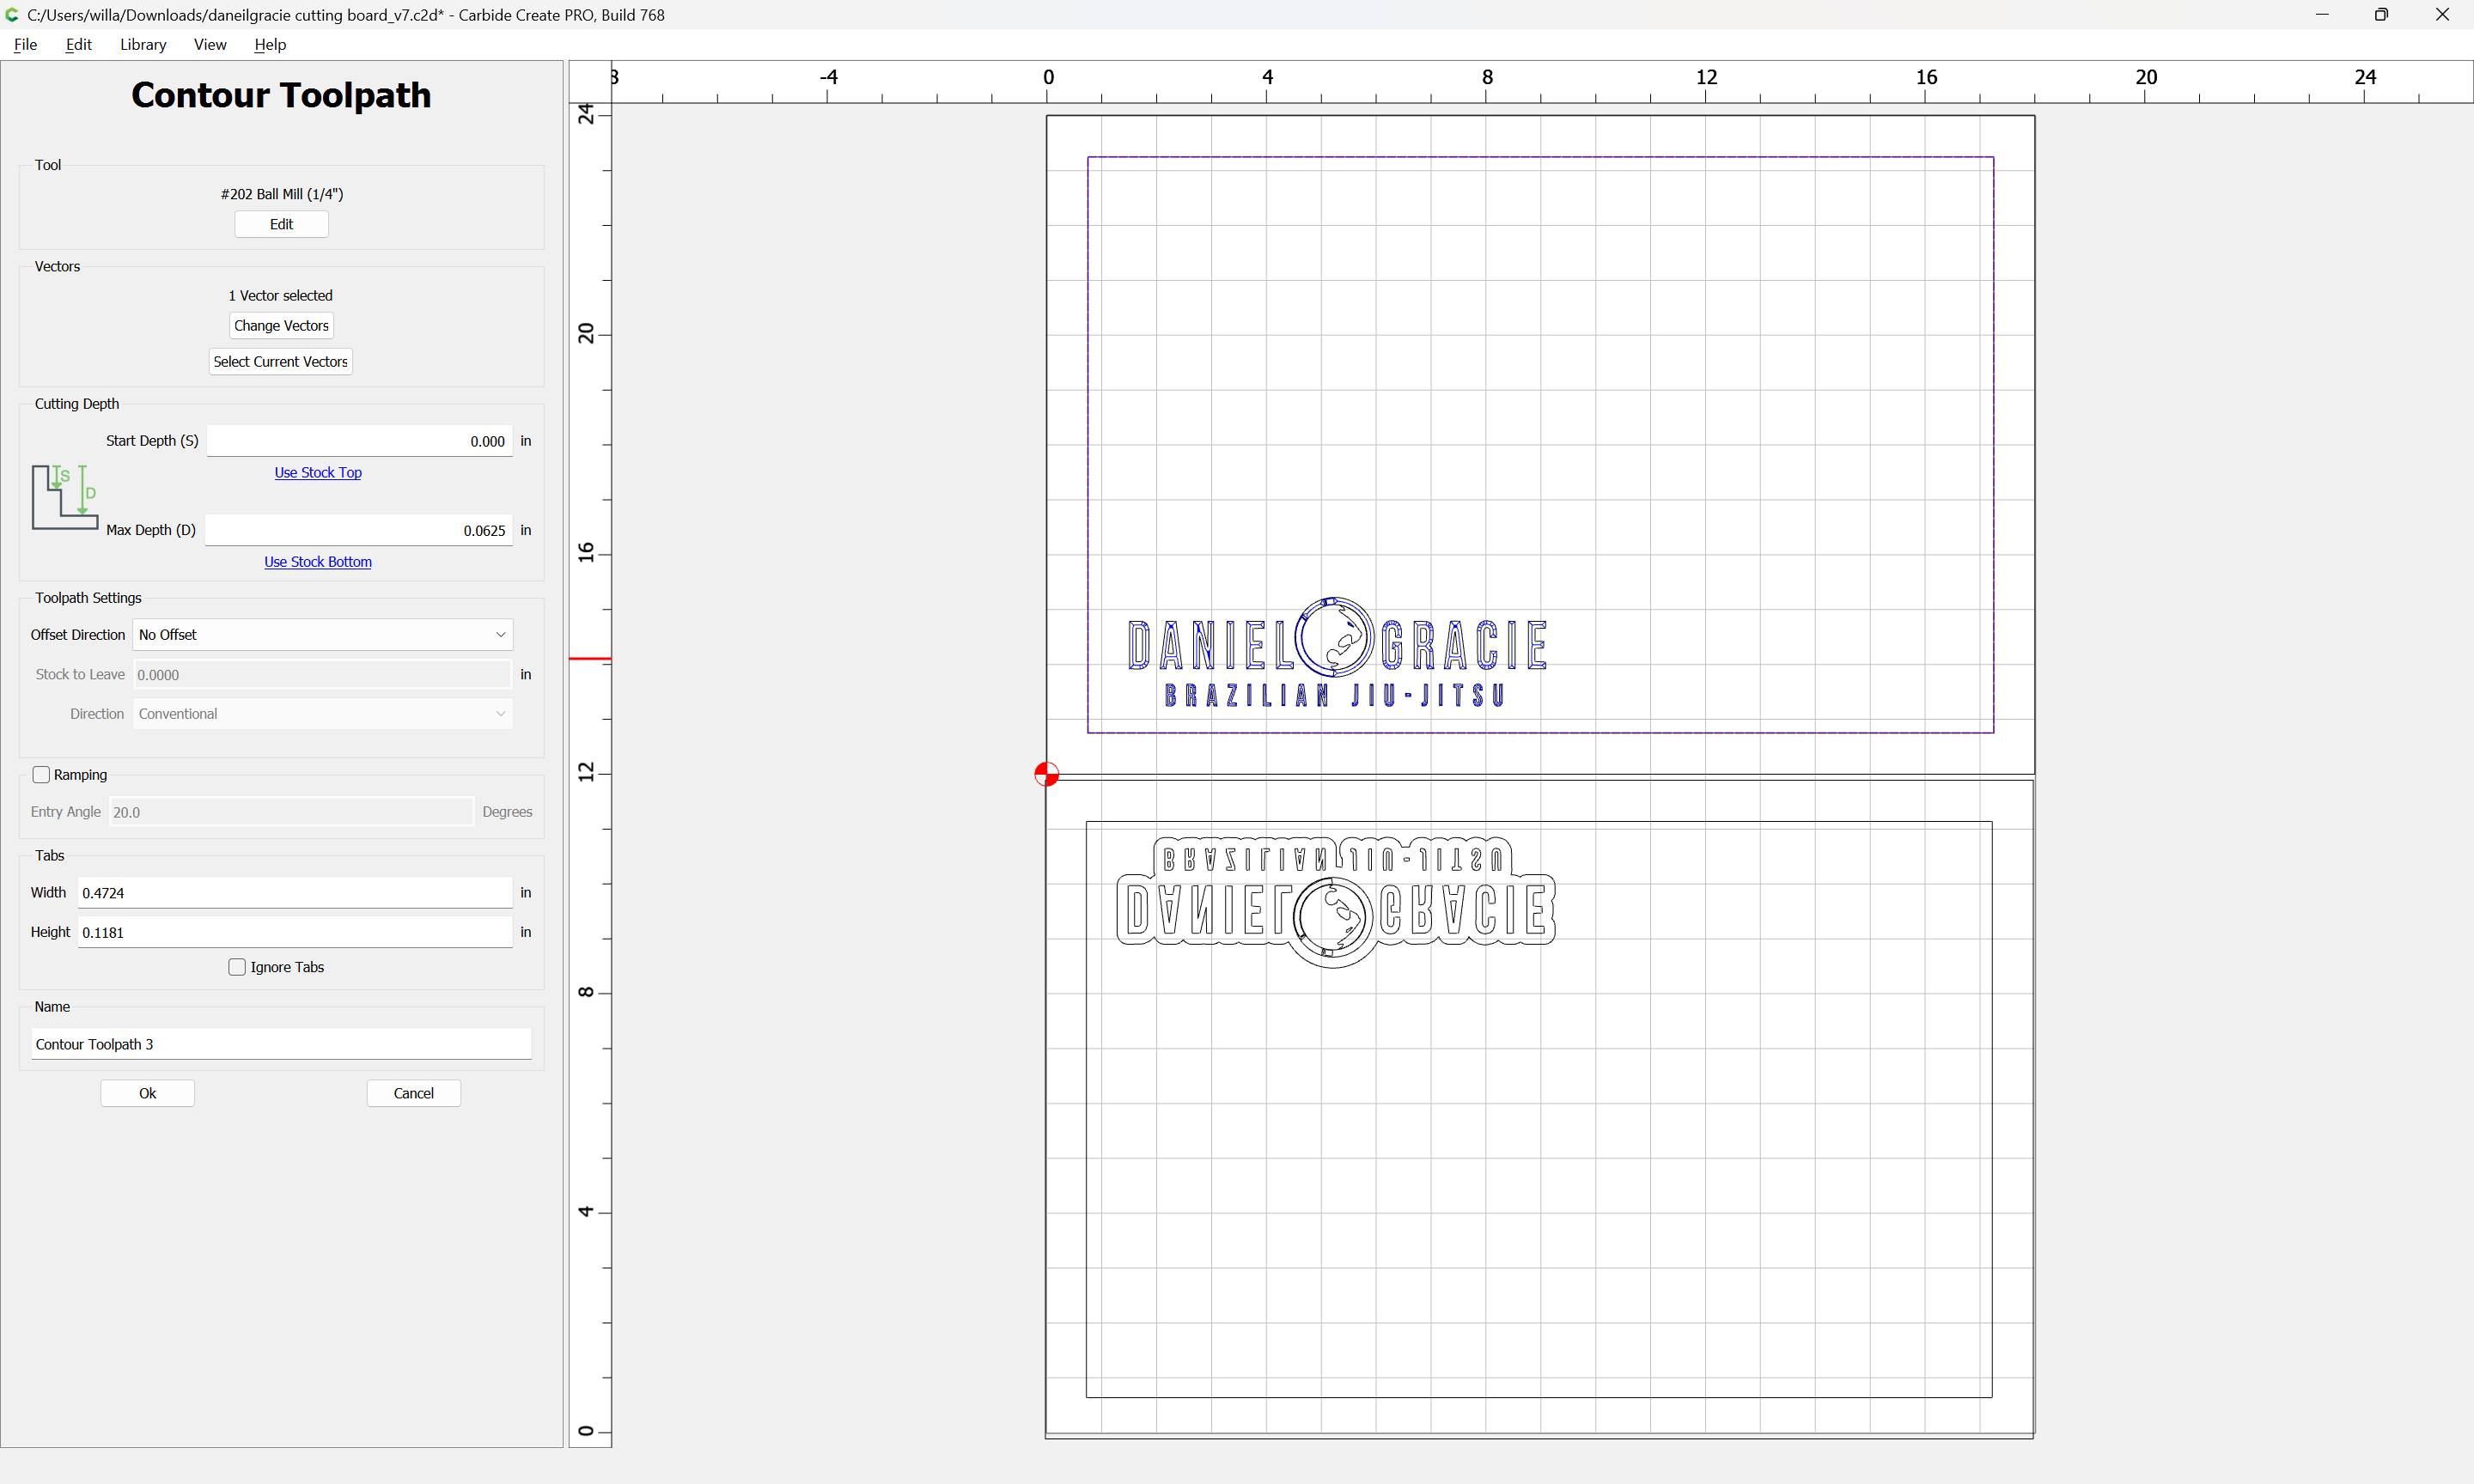
The outline is not needed for the design itself:
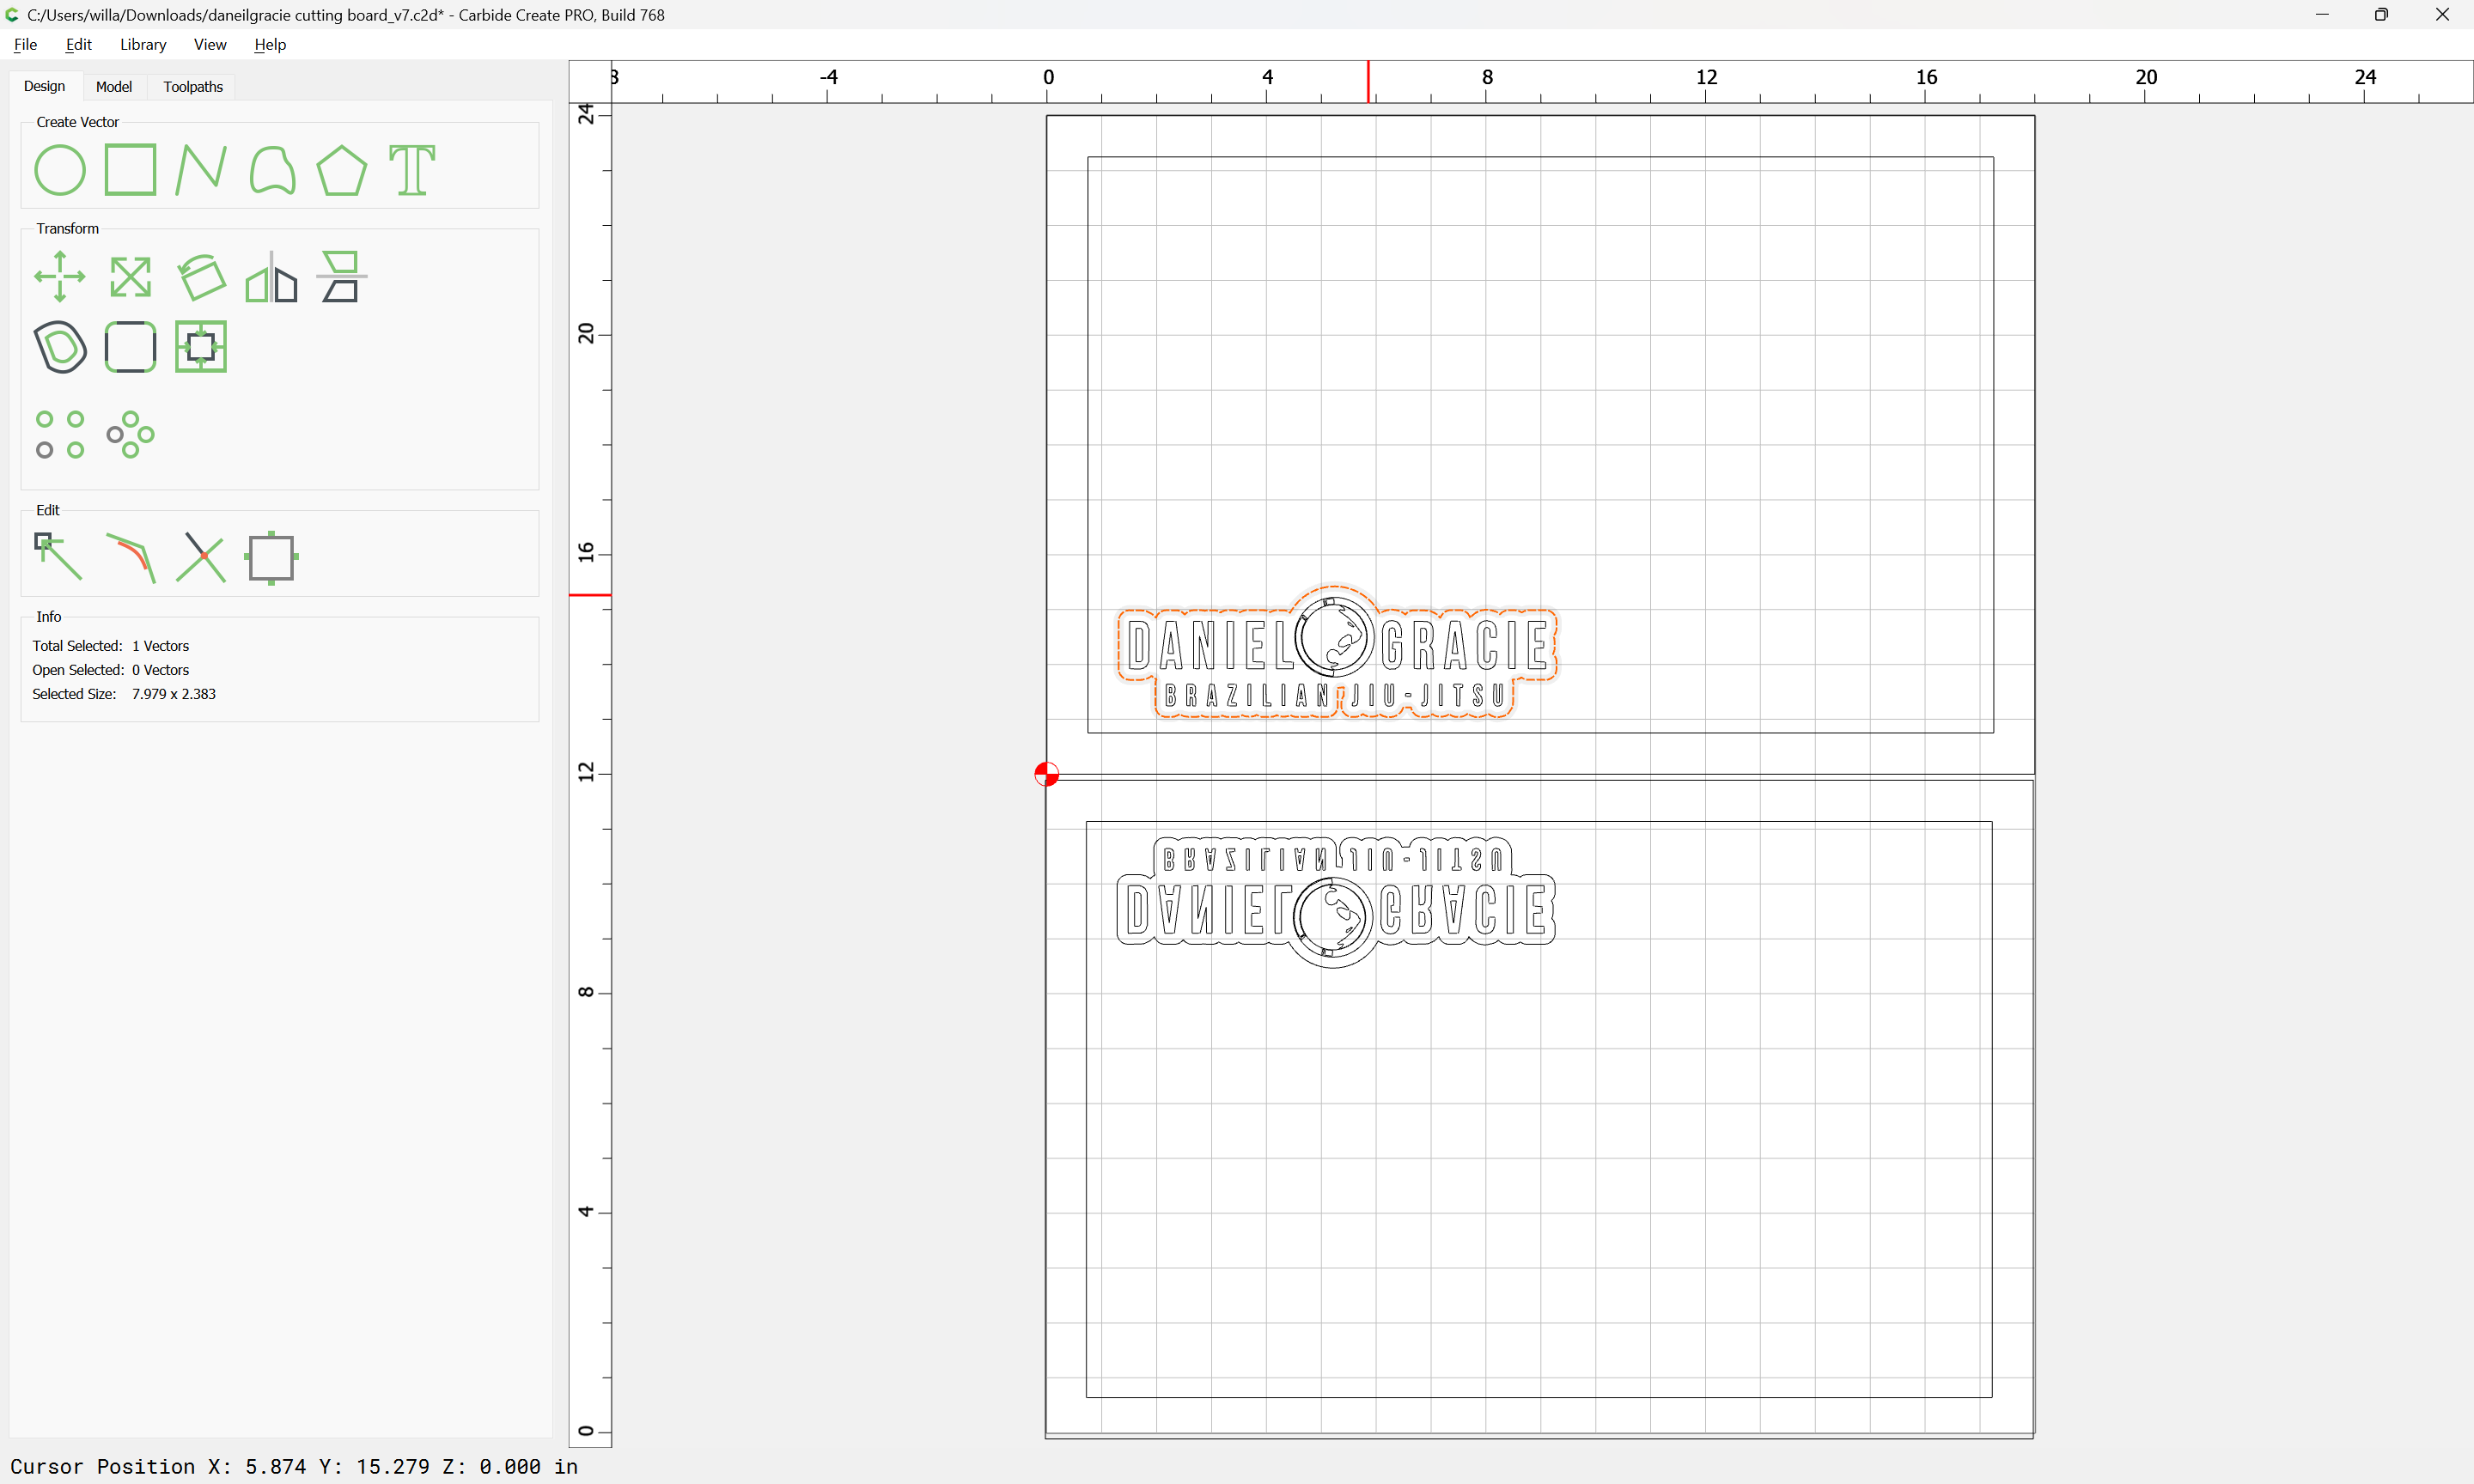
So we delete it:
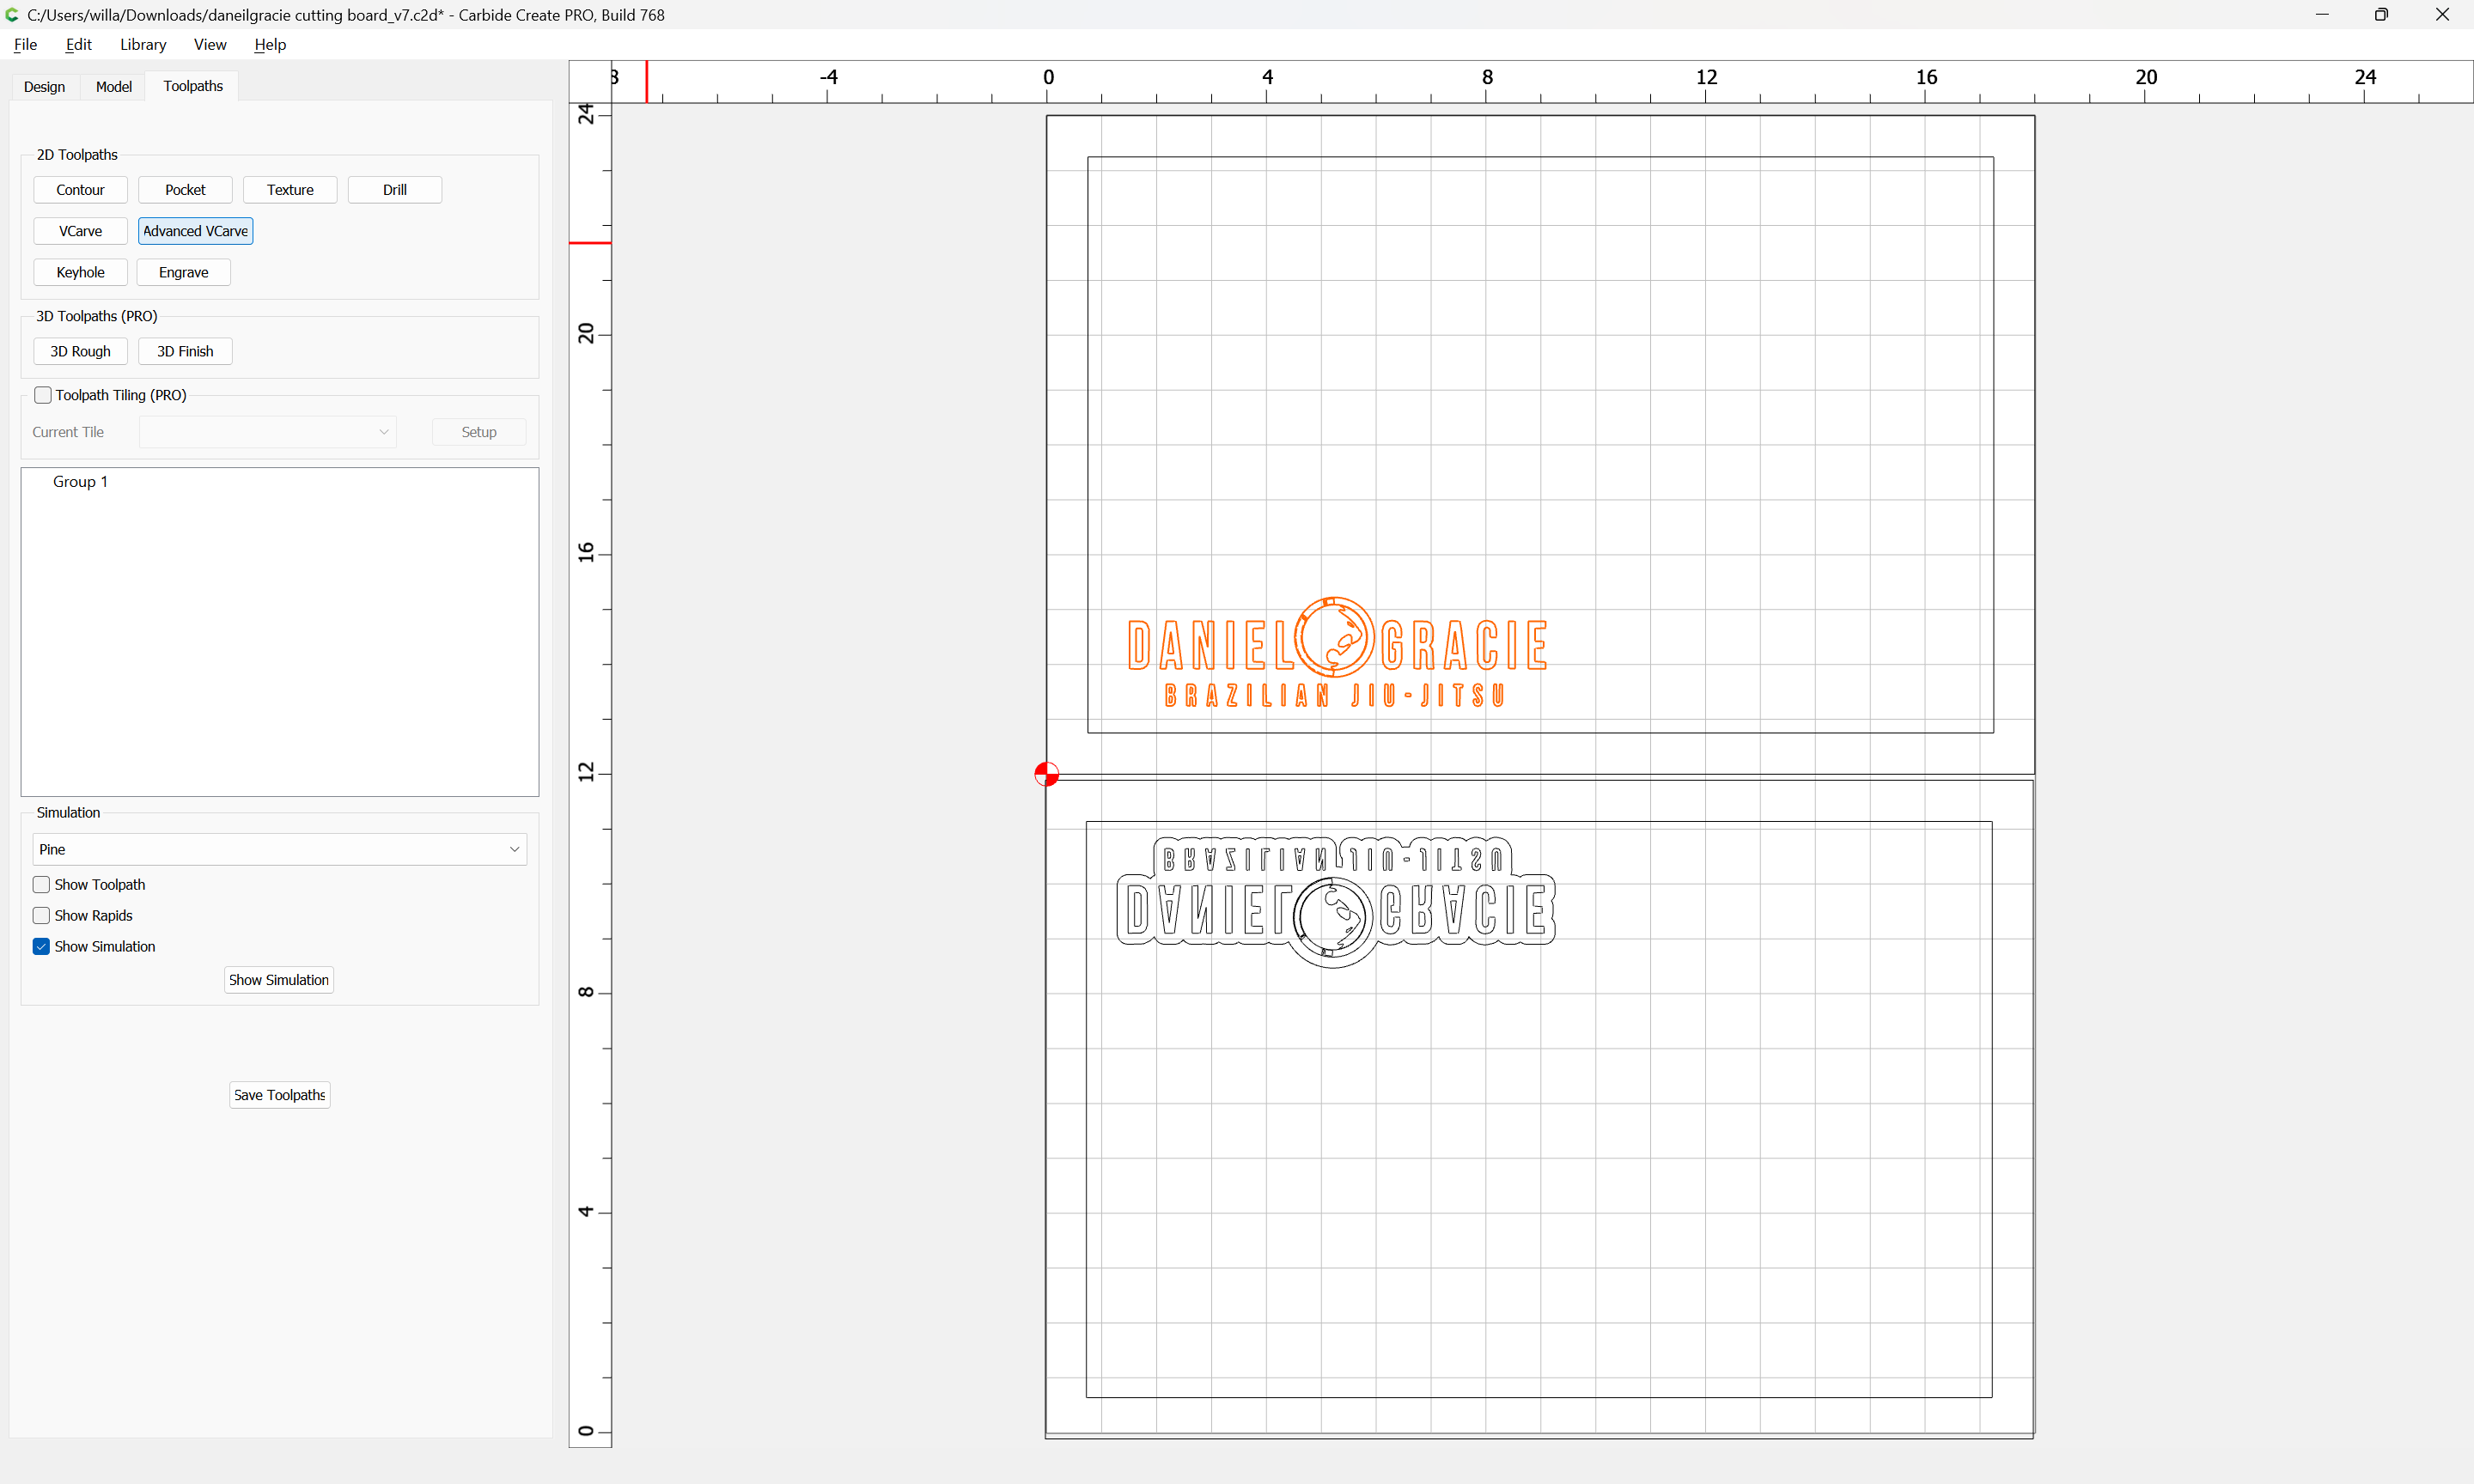
The design itself is cut as an Advanced V carving to a suitable depth:
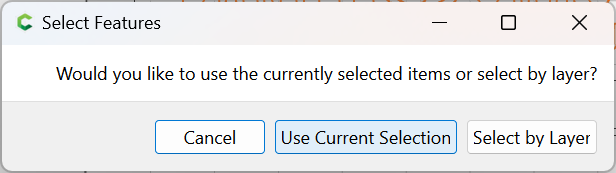
Use Current Selection
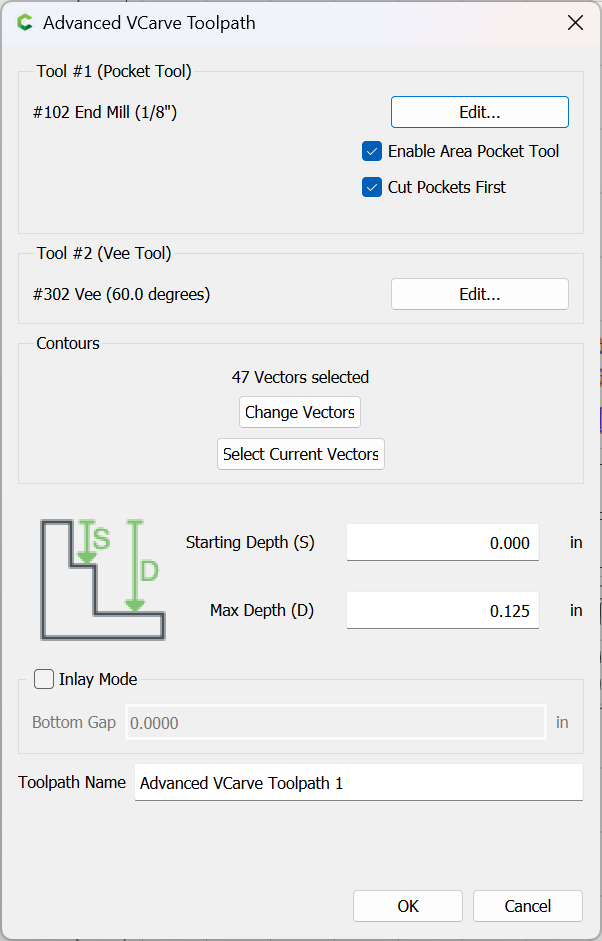
OK
The outer geometry is presumably a juice groove:
which all previews as:
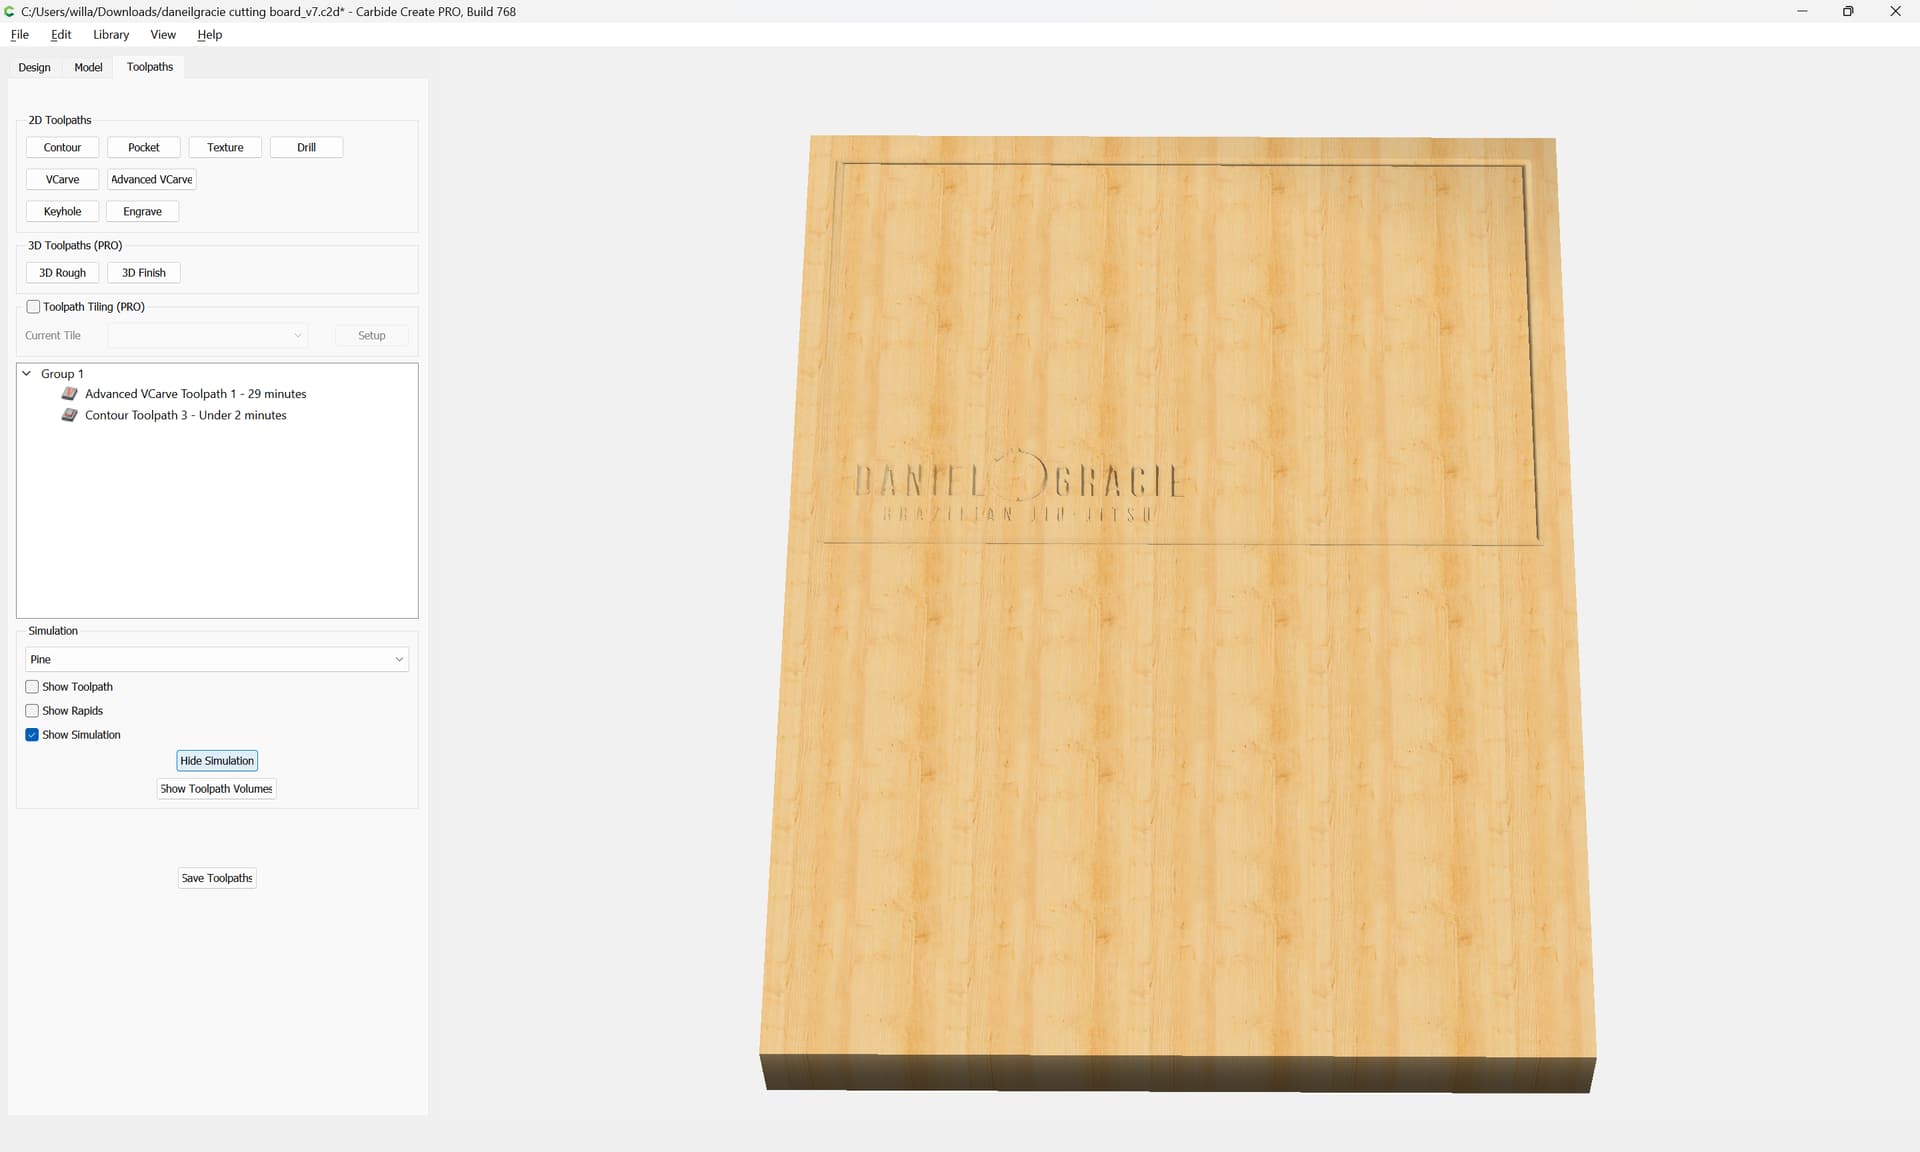
(Since the board is 2" thick we are assuming that it is already cut to size/shape)
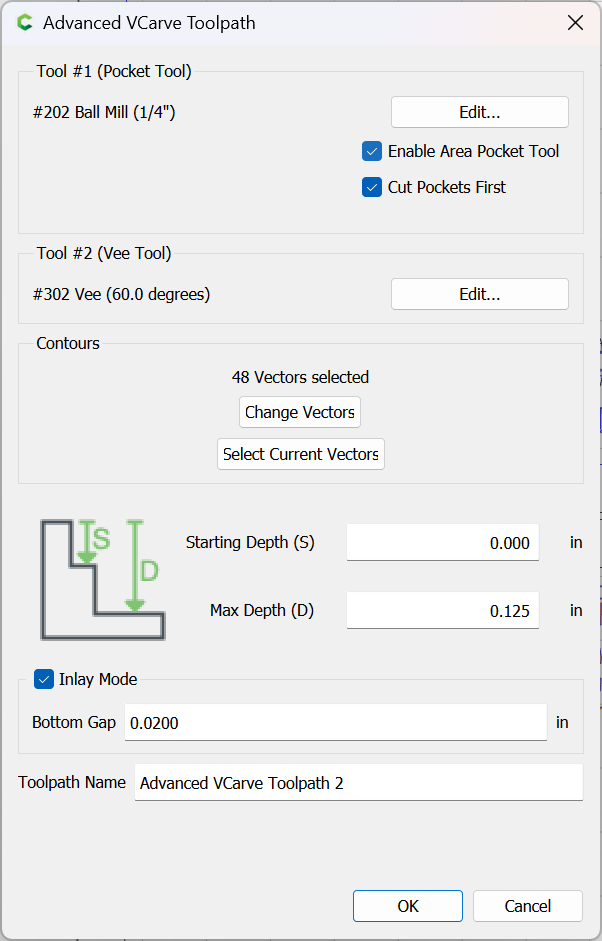
Next we assign a matching toolpath to the geometry for the inlay:
but first creating a new toolpath group:


Since the previous settings were retained all that is needed is checking Inlay Mode and filling in a suitable value for the Bottom Gap and enabling Pocket Clearing:
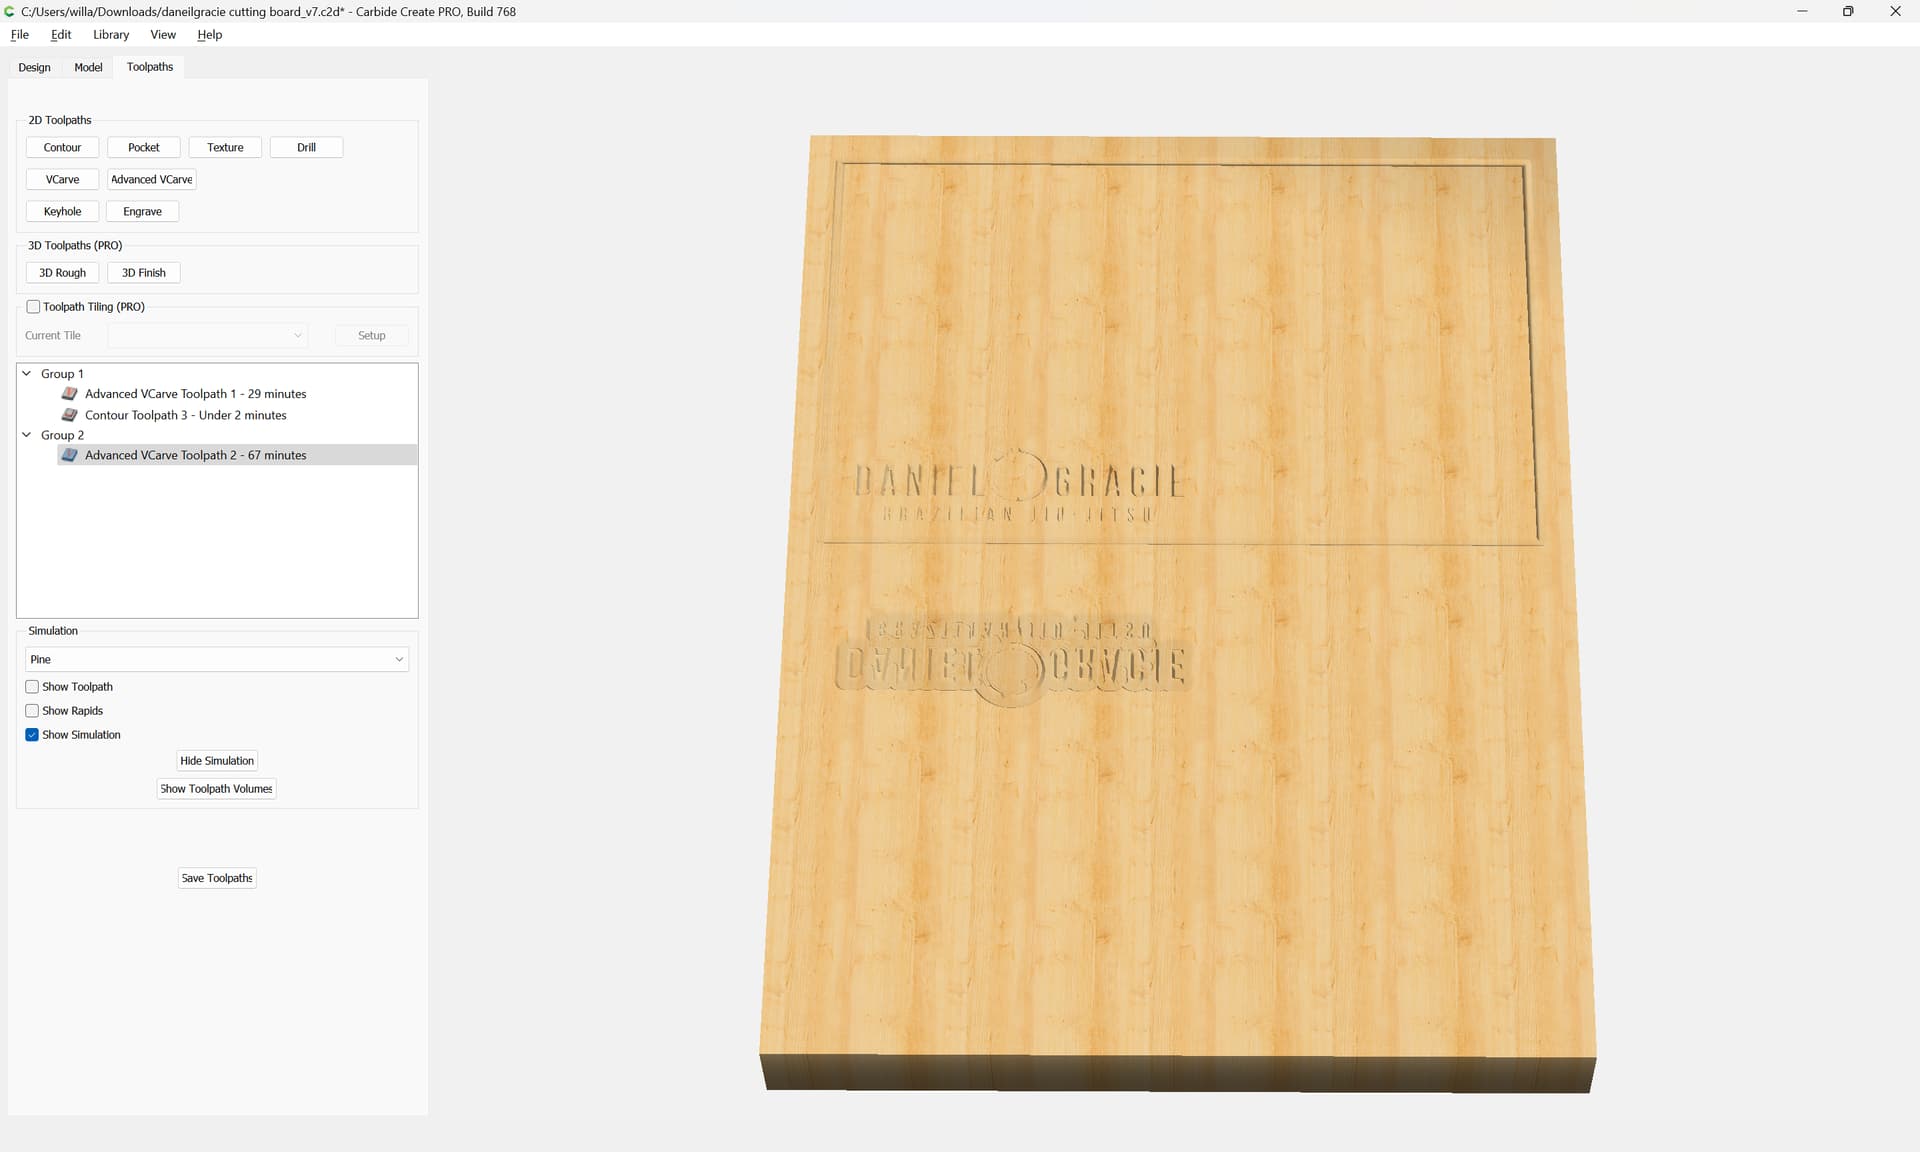
which all previews as:
Given the limited usage of the #102, it may be worth using a #112 instead — testing this is left as an exercise for the reader.
Similarly, the inlay portions of the geometry at least should be tested in suitable pieces of scrap before committing with an expensive cutting board.