I’ve been meaning to write this up for a while, mostly to provide some numbers that I was looking for when I built this. I started off watching both of @wmoy’s enclosure videos, which were quite valuable - especially the “things I wish I’d have done” sections. Well, that and I totally ripped off the “hollow walls with sound insulation stuffed in” idea.
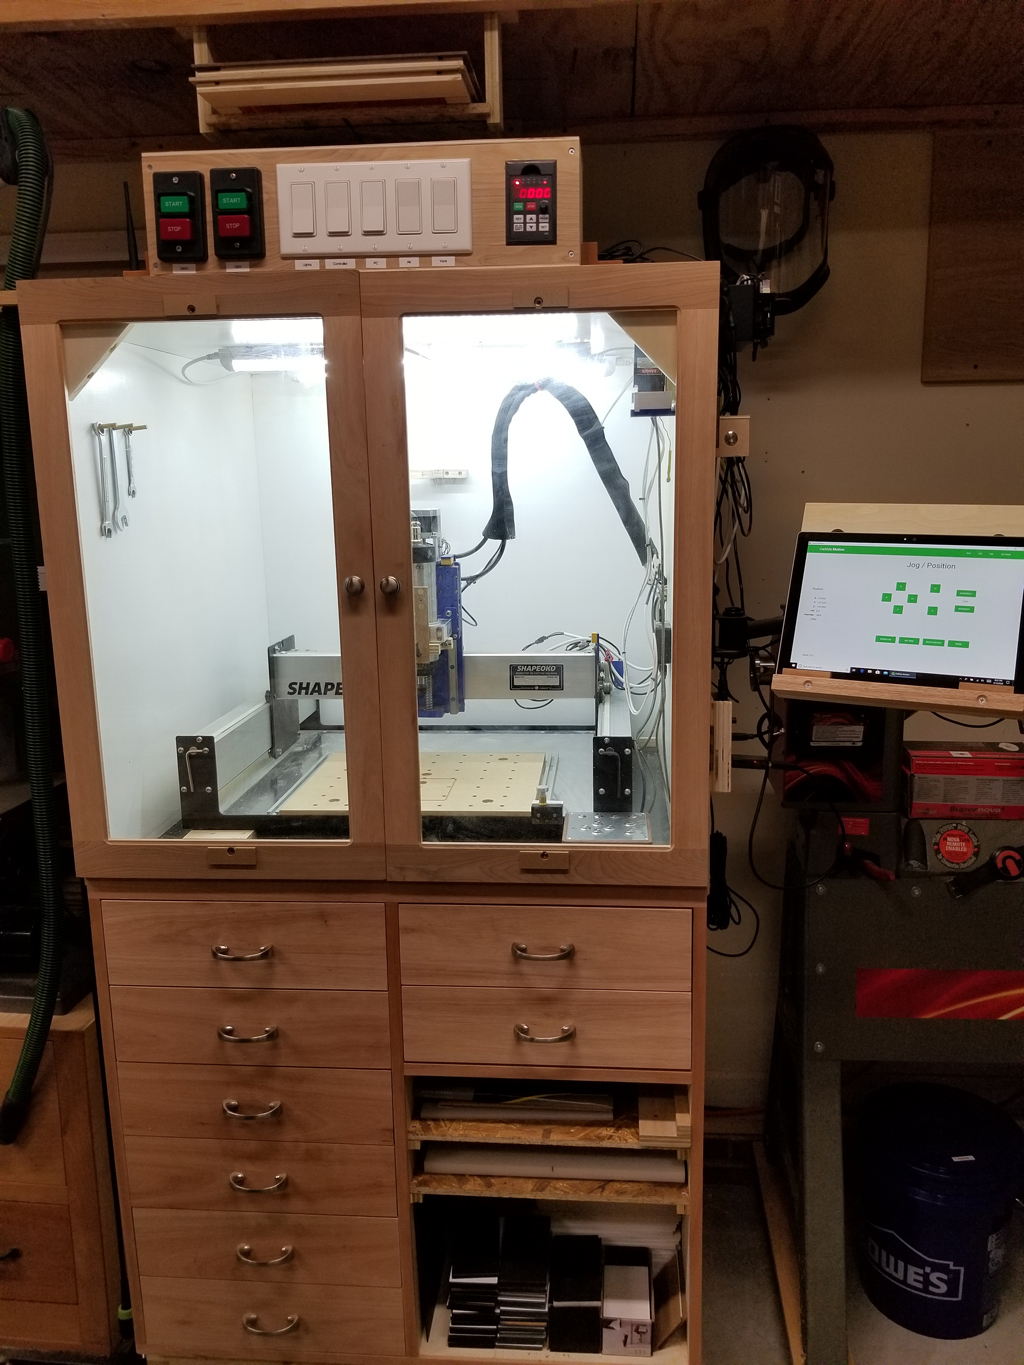
For context for the following numbers, I am six feet tall. A critical victory condition was “don’t smack my head on anything,” followed closely by “don’t need to bend over appreciably.” So, the whole thing externally is 74 in tall, and the distance from the floor to the “plate” upon which the machine rests is 40 3/4 in. Interior dimensions of the compartment are 32 3/4 in wide by 30 3/4 in tall by 30 1/2 in deep. These dimensions meet the above criteria for me, and also allow for the full range of machine usage with the doors closed, with a little wiggle room built in.

All the power stuff at the top is standard home switches (well, minus the two cutoffs) plus the remoted VFD controller (which is “remote” in the sense of “really long ribbon cable”). As you can see, I got a fair amount of stuff from @Luke prior to his assimilation, so that’s an Official Haitch Dee Zed you are looking at, there.  The lights are super-cheap LED strip lights that do what I need them to, since I’m not worried about filming anything.
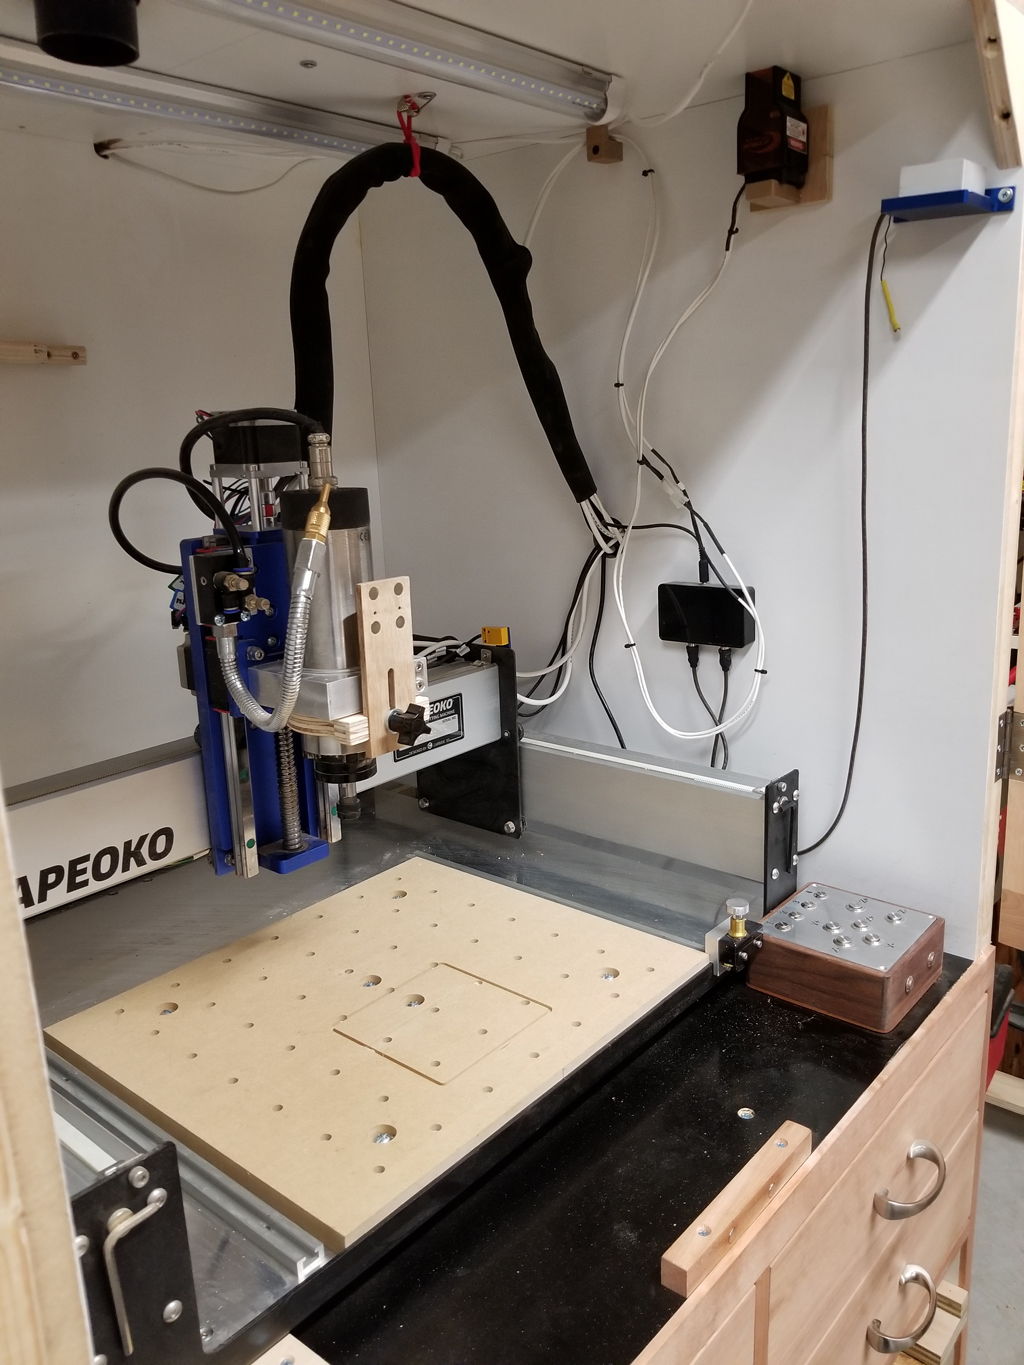
There is mostly enough room to vacuum around everything, but the whole thing is connector-wired such that I can pull out the machine entirely. The back panel is held on solely with screws, for the extremely unlikely event that I ever want to work on something longer than the cabinet - I can just take it off. The little dust-port-looking thing at the top is… well, a dust port. But I don’t actually use it as such, since every dust boot solution I have tried (and they have been many) has had some aspect that I didn’t care for. So the enclosure is my dust collection - I use the air-blast setup to clear chips and just vacuum the thing when I’m done.
(That port is now the intake for a vent fan that I run when doing laser stuff).
Speaking of laser stuff…
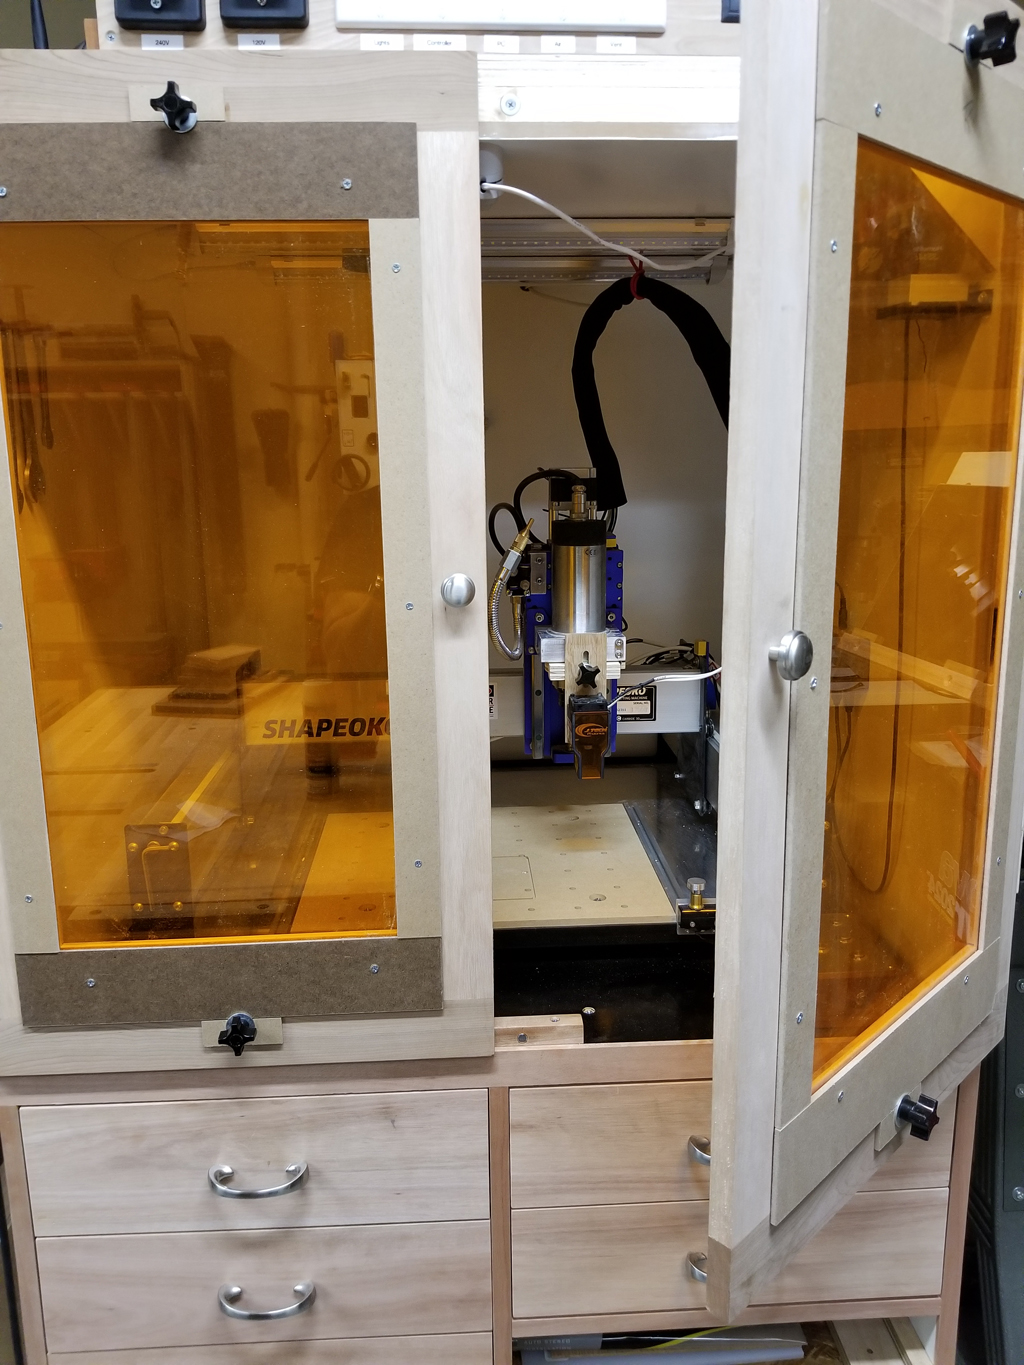
I made up a set of add-on “blast doors” of the laser-blocking stuff, which I can put on when doing lengthy laser operations. They look like unfiltered ass since it was one of those “proof of concept that is now apparently permanent” things, so I only put them up as needed. They work quite well, though.
I have frankly been a bit surprised at how well it all turned out - it makes using the machine a pleasure. I think the sound insulation in the walls may have been a bit of overkill, but it is pretty near silent with the doors closed so I can’t complain. (I mean, silent until I jam a three-flute a quarter-inch into aluminum like a wise guy.) All in all, I actually can’t come up with anything I wish I had done differently - and that, again, is down to Winston’s videos telling me what to look out for.
 But my wife and grand-daughter have been in the shop when a cut was in progress without clapping their hands over their ears and kicking me, so it is still probably pretty good.