Hello, I’m new to this forum. I bought a brand new xxl (3 years ago) and just started putting it together yesterday. I’ve been working with my Shark for the last 2 years so that’s why I was in no hurry to get the Shapeoko out just yet…lol. Wanted to get to know the CNC world a little bit before running 2 machines. So any help or advice is always appreciated. Different machine and software, so I’ll have to adjust and learn as i go. I hope to have it all together later today. I knew nothing at all about cnc until I bought the Shark and started to learn. It was a big learning curve! I still have lots to learn, but I will learn sooner or later…lol.
2 Likes
Hi Michael,
Welcome to the club then!
The shapeoko ebook may still be relevant for you to browse especially since you have a 2019 model (almost vintage by now considering the evolution over the past three years ![]() )
)
1 Like
Thanks for the ebook! I’ll read through it when i can. I’m sure I’ll get some good info from it.
I bought a Shark Pro HD used. I hated that machine. There are 2 Shark forums and I found them very dead. The Shapeoko is a superior machine in a lot of ways. Both Shark and Shapeoko have BitZero. The Shapeoko has BitSetter and BitRunner and are head and shoulders above Shark. Shark has no CAD native and Carbide Create is pretty robust for free. I wrote a pdf on how to use cc by editing gcode for use with Shark. Search for it on forum if interested. If using Vetric be sure to use Shapeoko post processor.
Happy machining. You will enjoy the Shapeoko over the Shark when you get used to it. Most of your learning curve has already been achieved. Not too much more to go on Shapeoko.
I’m sure I’ll enjoy the Shapeoko. So ready for it!
Having issues with hooking up the proximity switches on my xxl. The instructions show a different kind of switch so I’m a little confused. Does anyone have a pic or two of theirs that i can look at?
If you have the push button switches see:
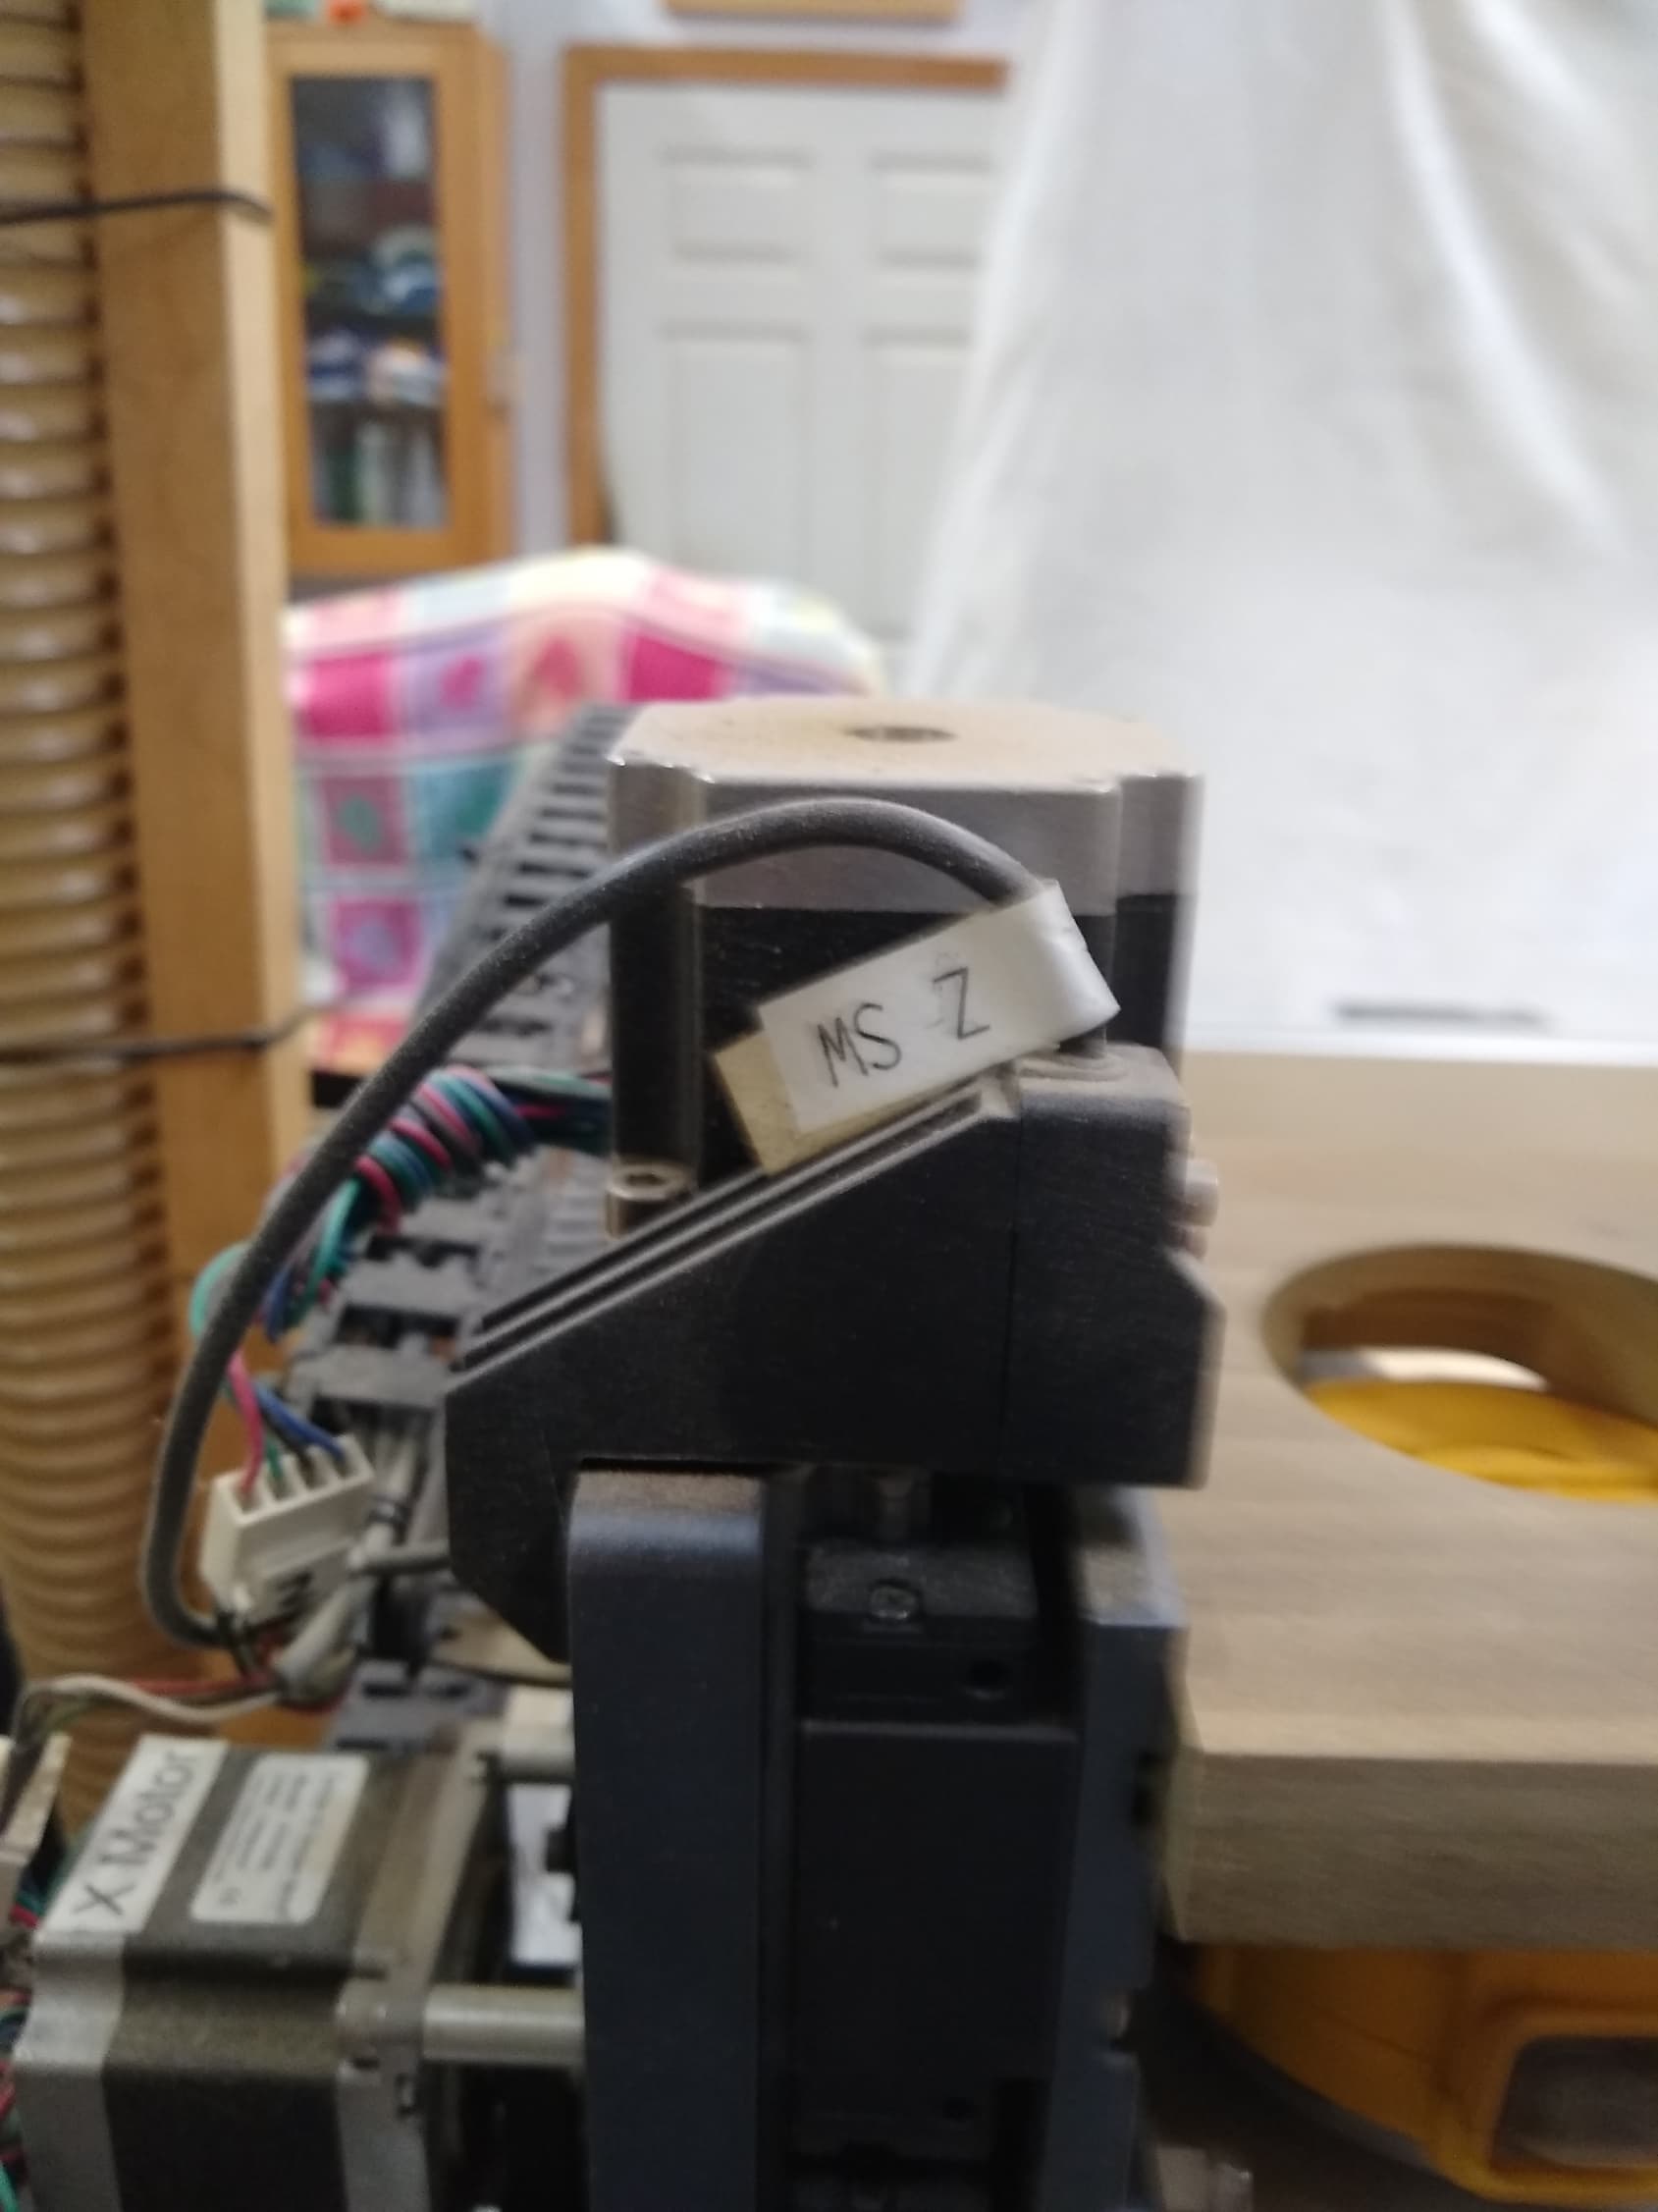
Here are pics of my Shapeoko 3 XXL with HDZ. Your Z may be different.
Y Proximity Switch
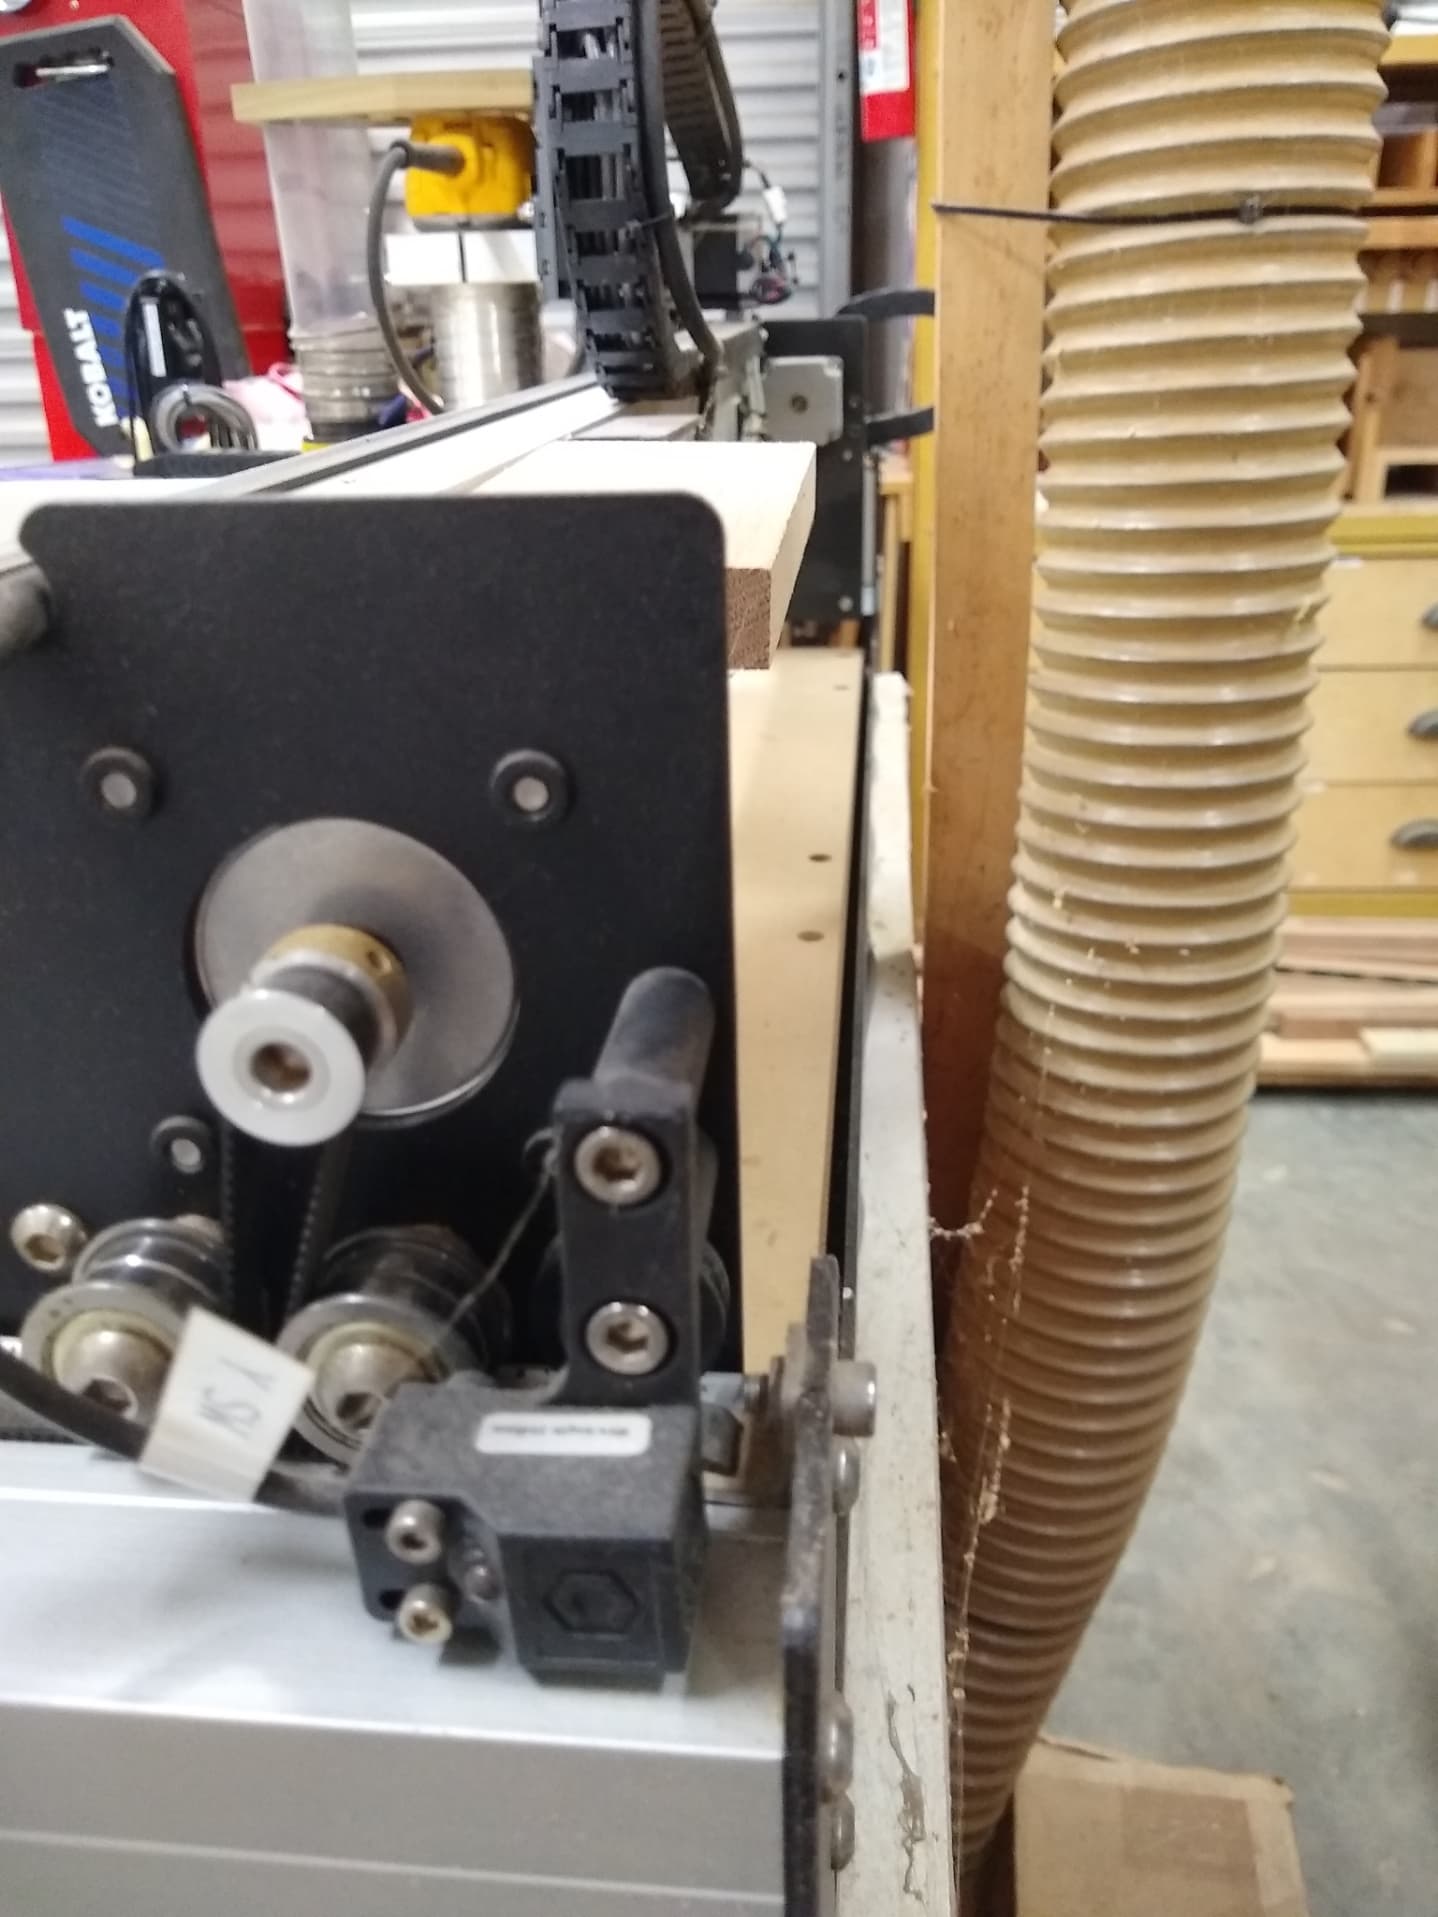
X Proximity Switch

HDZ Z Switch
The hard part is not mounting the switches it is tearing apart the drag chains and running the new wires.
When you get the switch mounted and wired up the most common problem is the switches should not actually touch the side frames but they have to be close to trigger. So when you get them wired up move the gantry to the homing position and power on but do not initialize. See if the X and Y switches are activated and if they are not adjust the switch until they do. The Z is harder because you have to move the leadscrew/ballscrew all the way up so try to initialize and if Z fails adjust the switch. The Z goes to the home position first so the initialization will fail early if the Z proximity switch needs adjusting.
2 Likes
Looks like i have the push button switches and not the proximity switches. This helps out. Thanks!
I just powered up my Shapeoko. Initialized it and it went to the back right corner. Im guessing to its home position? Is that correct or should it be doing something else?
Also, when i try to manually move it with the arrows in the software, it doesn’t move. Am I doing something wrong?
Yep, it should send the Z axis up, wiggle a bit, then send the whole Z carriage to the back right, and wiggle a bit. That should home to machine zero.
Have you tried the compass point quick moves?
No… I haven’t. I’m not sure what that is…yet. LOL
If the initialization completes the default movement in jog is the smallest increment. First you have to initialize.
Power on the Shapeoko and connect but do not initialize. Go to settings in CM and the second tab usually comes up first. Uncheck the BitSetter you will set that up if you have one later. Then go to the first tab and pick your machine and Z type. The Z types are Belt Z on old machines, the second is Z-Plus called LeadScrew and the third is HDZ called BallScrew. If you have a stock machine you likely have a Z-Plus. Then send the configuration and initialize. If that passes then go to job and in the rapid positions you can send the machine to the center or any where on the spoilboard.
If you fail to initialize properly then you have to trouble shoot that. The first thing that happens in initialization is the Z goes up and hits the homing switch. If your Z goes down first then you picked the wrong Z. After the Z goes up then the machine goes to the right rear corner and homes. If you have a BitSetter then jog to the Bitsetter and center the bit over the button. Then set the position and the BitSetter is set up. You will be ready to go if all that happens.
Come back if you cannot initialize.
Thanks for the help! I finally got it to work right. Sorry for all the questions, im sure ill have lots of them as im new to Shapeoko. Whats the best way to secure the workpiece down to the wasteboard since i dont have t-tracks on my machine?
You can add T-tracks:
or use tape and glue:
I have a 2" spacing spoilboard with cam clamps. I have a doc on the forum about optimizing the spoilboard. I also have L brackets and a doc on creating them as well. The painters tape and superglue also works well on small projects.
I’ll have to look for the doc in the forum.
Do I have to initialize and home the machine and go through the whole sequence every time i want to start a new job?
No. It is only necessary to initialize when the machine is first powered up.