In the last step there is an issue, when I roll the X-Z gantry to the front there is a gap on the left side, about 1/8+ inches, but the right side fits without a gap. Any ideas how to correct this? Thanks in advance!
Did you go through the squaring procedure in the instructions?
That’s the step I’m on.
I’m checking to see if anything is bent with a straight edge. There seems to be a slight bend at the diagonal corner (back right?), and also the front left (with the gap). Maybe .5mm minus, I’m just eye balling it.
See if you have one of the black steel support rails over at one end and under at the other…(they are the heavy steel channels that the spoil board bolts to). I had a similar issue because of my enthusiastic an anxious assembly! The back left corner was under the rail that holds the feet-and didn’t have a bolt through it-where as the front corner was bolted sandwiched between the foot rail and the spoil board as intended. I found it when I went to square my XXL up…from their I reviewed every step again, and later found -with Will Adams(Thank You!) help-that I had put the Z plate on upside down.
1 Like
The straps are all on top. But for some reason there is one pass thru whole that is off?
This is a good indication that something just plain isn’t square. Loosen up (do not remove) all the bolts that go through the table and start shifting things around until they all line up. If you can’t get that last hole to line up (using a pick through the table can make this a little easier to hit the hole and drag things into place) there is something else wrong too. Be sure you have left the axis rail screws (between the steel plates and the end of the rail) a little loose so things can still move - it’s in the directions, but easy to miss.
2 Likes
When I had mine about 99% completed, mine was off a little as well.
I loosened up all the screws on the bottom waste boards and the 16 screws that hold the left and right (Y & X??) rails together.
Then I moved the center rail (Z???) to the front and back, then check again. It should square up, mine did, the just tighten it all back up making sure it does not move on you again.
I’m still working on my X,Y, Z axis specifics, sorry I’m still a newb!
2 Likes
Thank Sean!
It appears that one of the axis plates is slightly bent?
I was able to square the front, but then I noticed that there was an inconsistent gap, wedge shape, that light was coming through. I put a square up to it and there is a slight gap that varies in distance.
If I felt confident in using my minivan to drive over it to straighten out the bend, then I would do that.
I’ll wait for Carbide 3D support to get back to me.
1 Like
Back in the day, we would put the end plates over towels and put them over a door threshold or other similar feature and put weight on them to straighten them out — I sent you the official instructions in a different thread — if they don’t help, let us know at support@carbide3d.com and we’ll work this out.
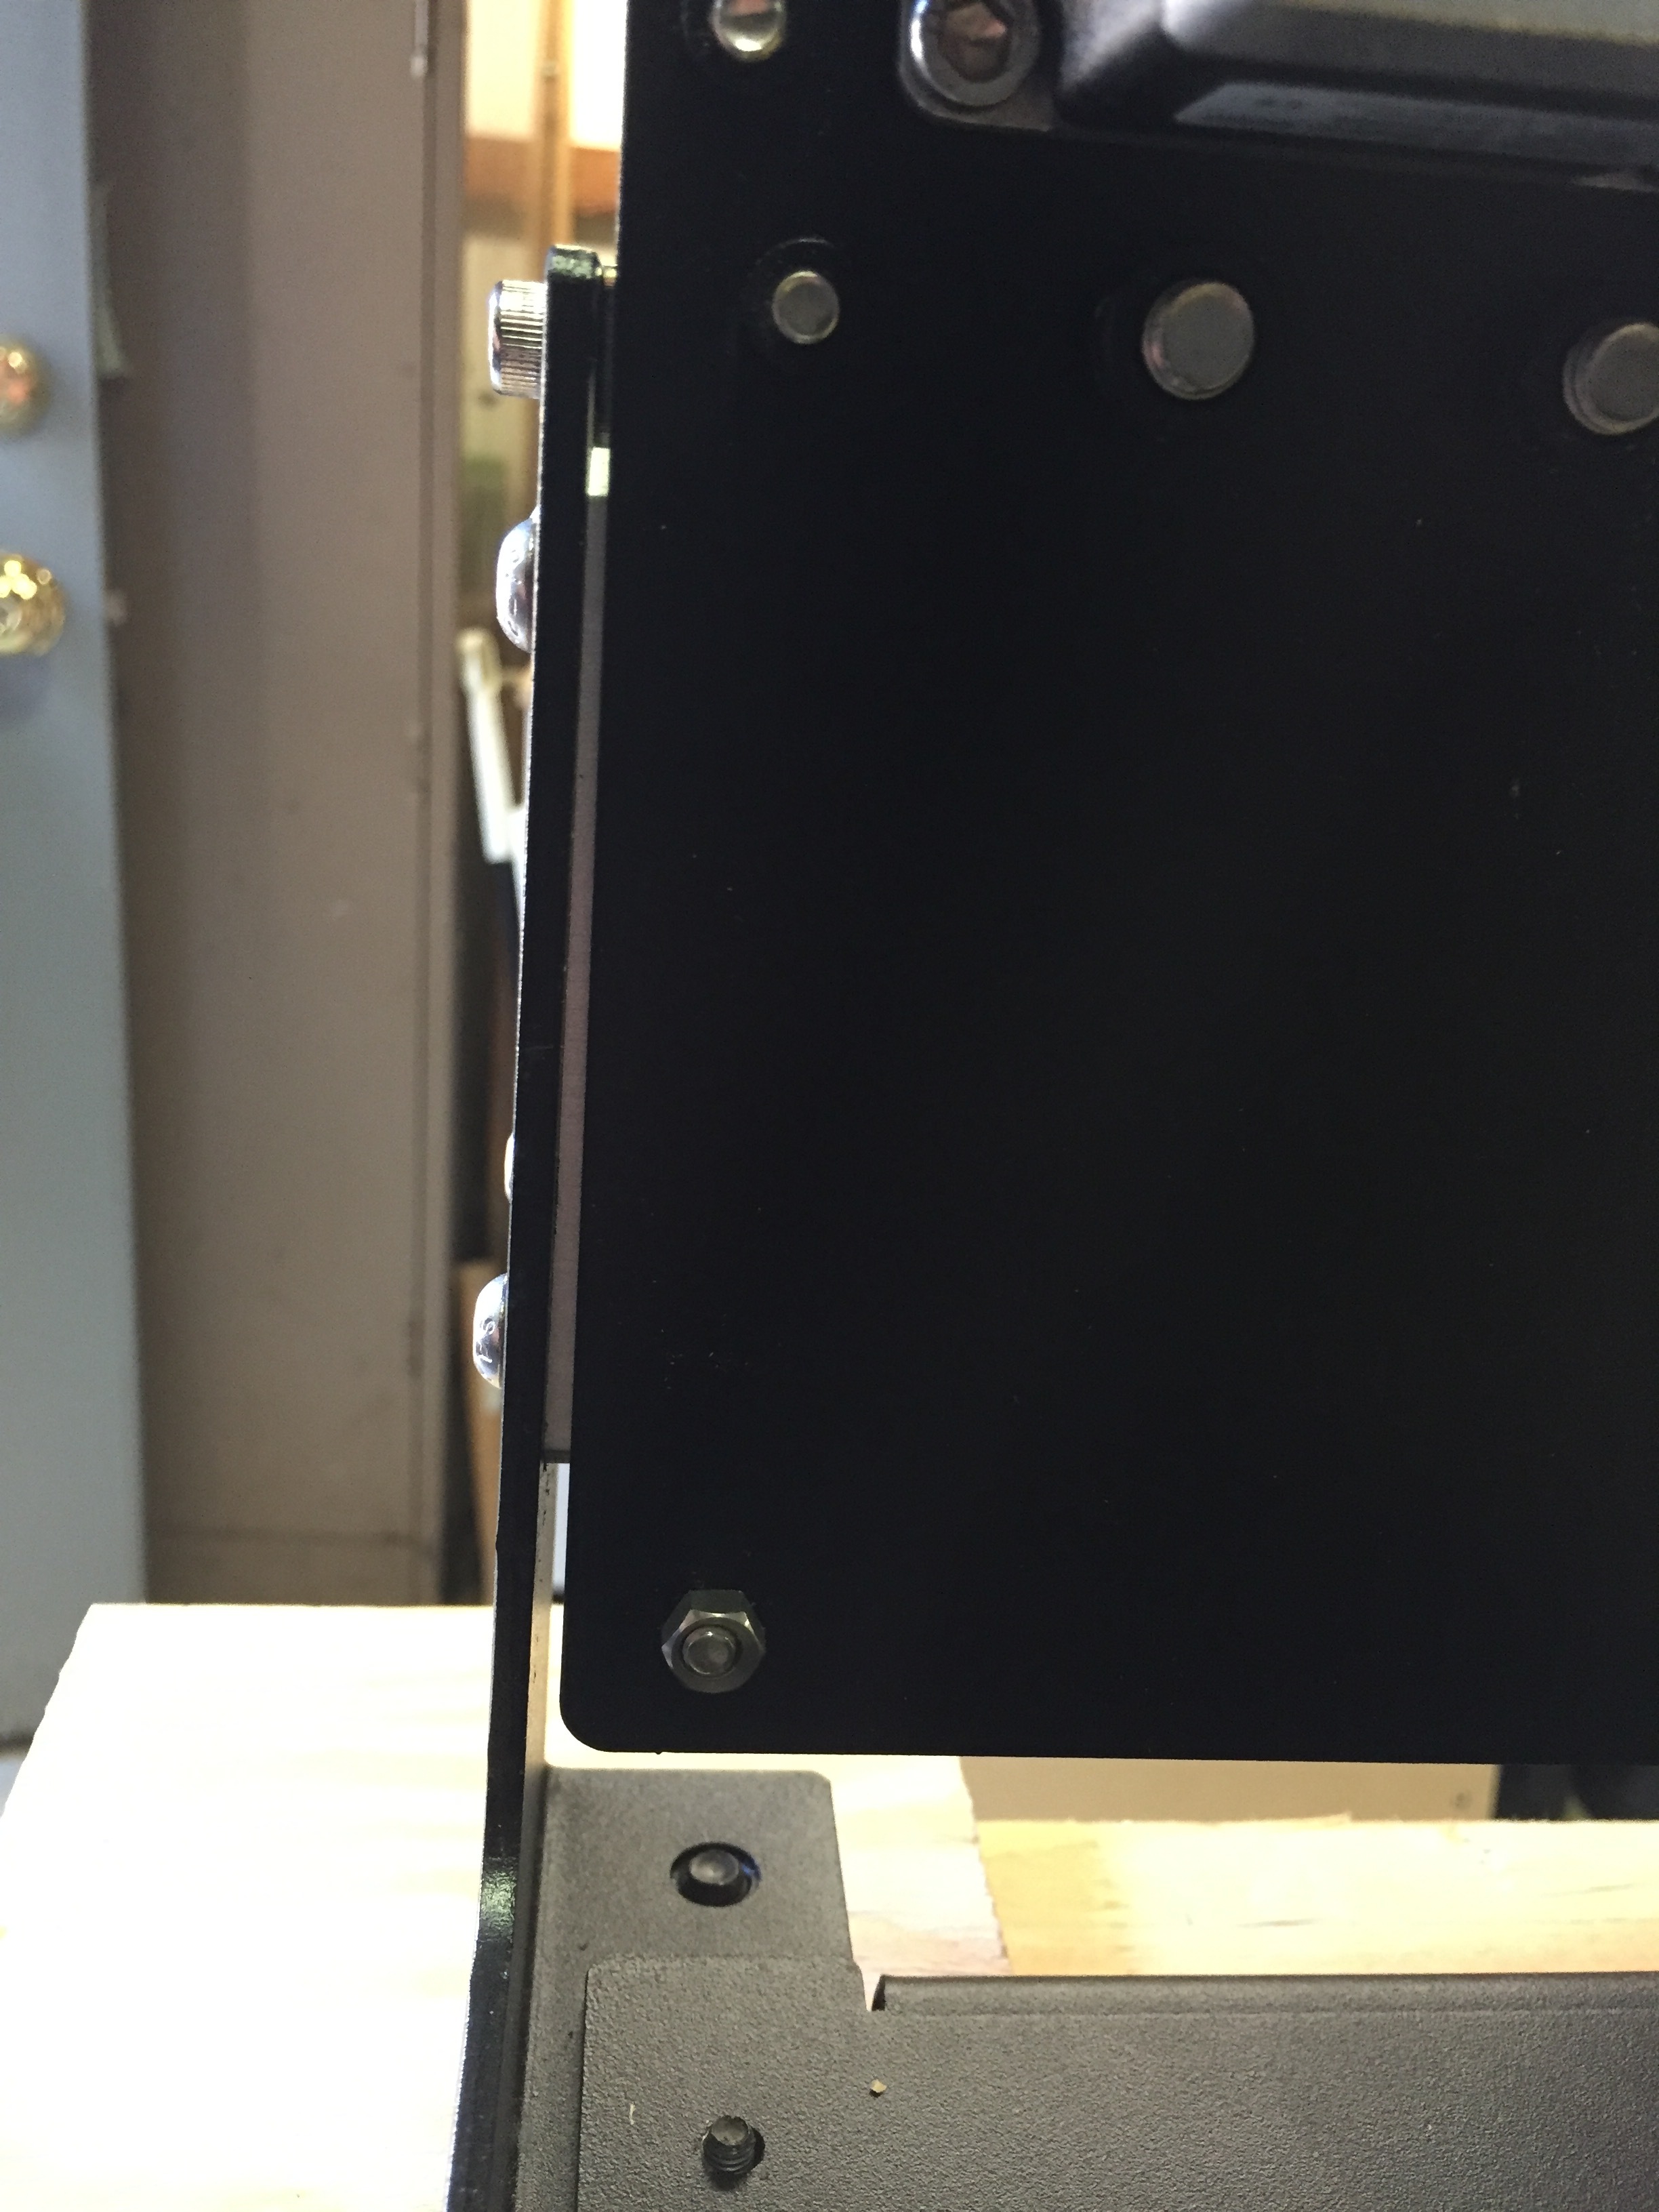
When the front seems aligned (x-gantry flush to rail plates) , all 8 bolts tightened at front only. I slide the x-z to the back to start tightening.
This is result (see image), the x-z plates don’t go flush on one side. I’ve leveled the table as much as I can. It’s in the garage, so there is a slight grade.
I might change out the locking wheels to something bigger this week though, they can be adjusted more than the existing wheels.
Thanks for your assistance on this assembly anomaly.
Tem
I used a plastic carpenter speed square to see how much the axis plate is seemingly bent.
It is easier to hold onto and get flat to the surface.
Can yo see the sliver of light? I’m holding the square as flat to the bottom as I can.

Just a thought:
Are the axis plates and x-z gantry end plates supposed to fit flush to the y-rail plates?
Does this make sense?
The limit switch seems to bottom out even though it’s not contacting that side (where y-axis plate seems bent).
Thanks
At some point, one may want to accept that it’s a kit, with parts built to a reasonable tolerance specification, and note that the machine will run square to itself, so long as things are square to their reference planes — that said, a couple of folks have taken their extrusions to machine shops and had them squared up.
1 Like