I swear every time I feel like I am getting the hang of using my machine I get some crazy disparity and I can never seem to have a confidence level in using it. I have had this issue happen twice now and I have no idea why and I am at a loss and wonder if someone can shed some light on this.
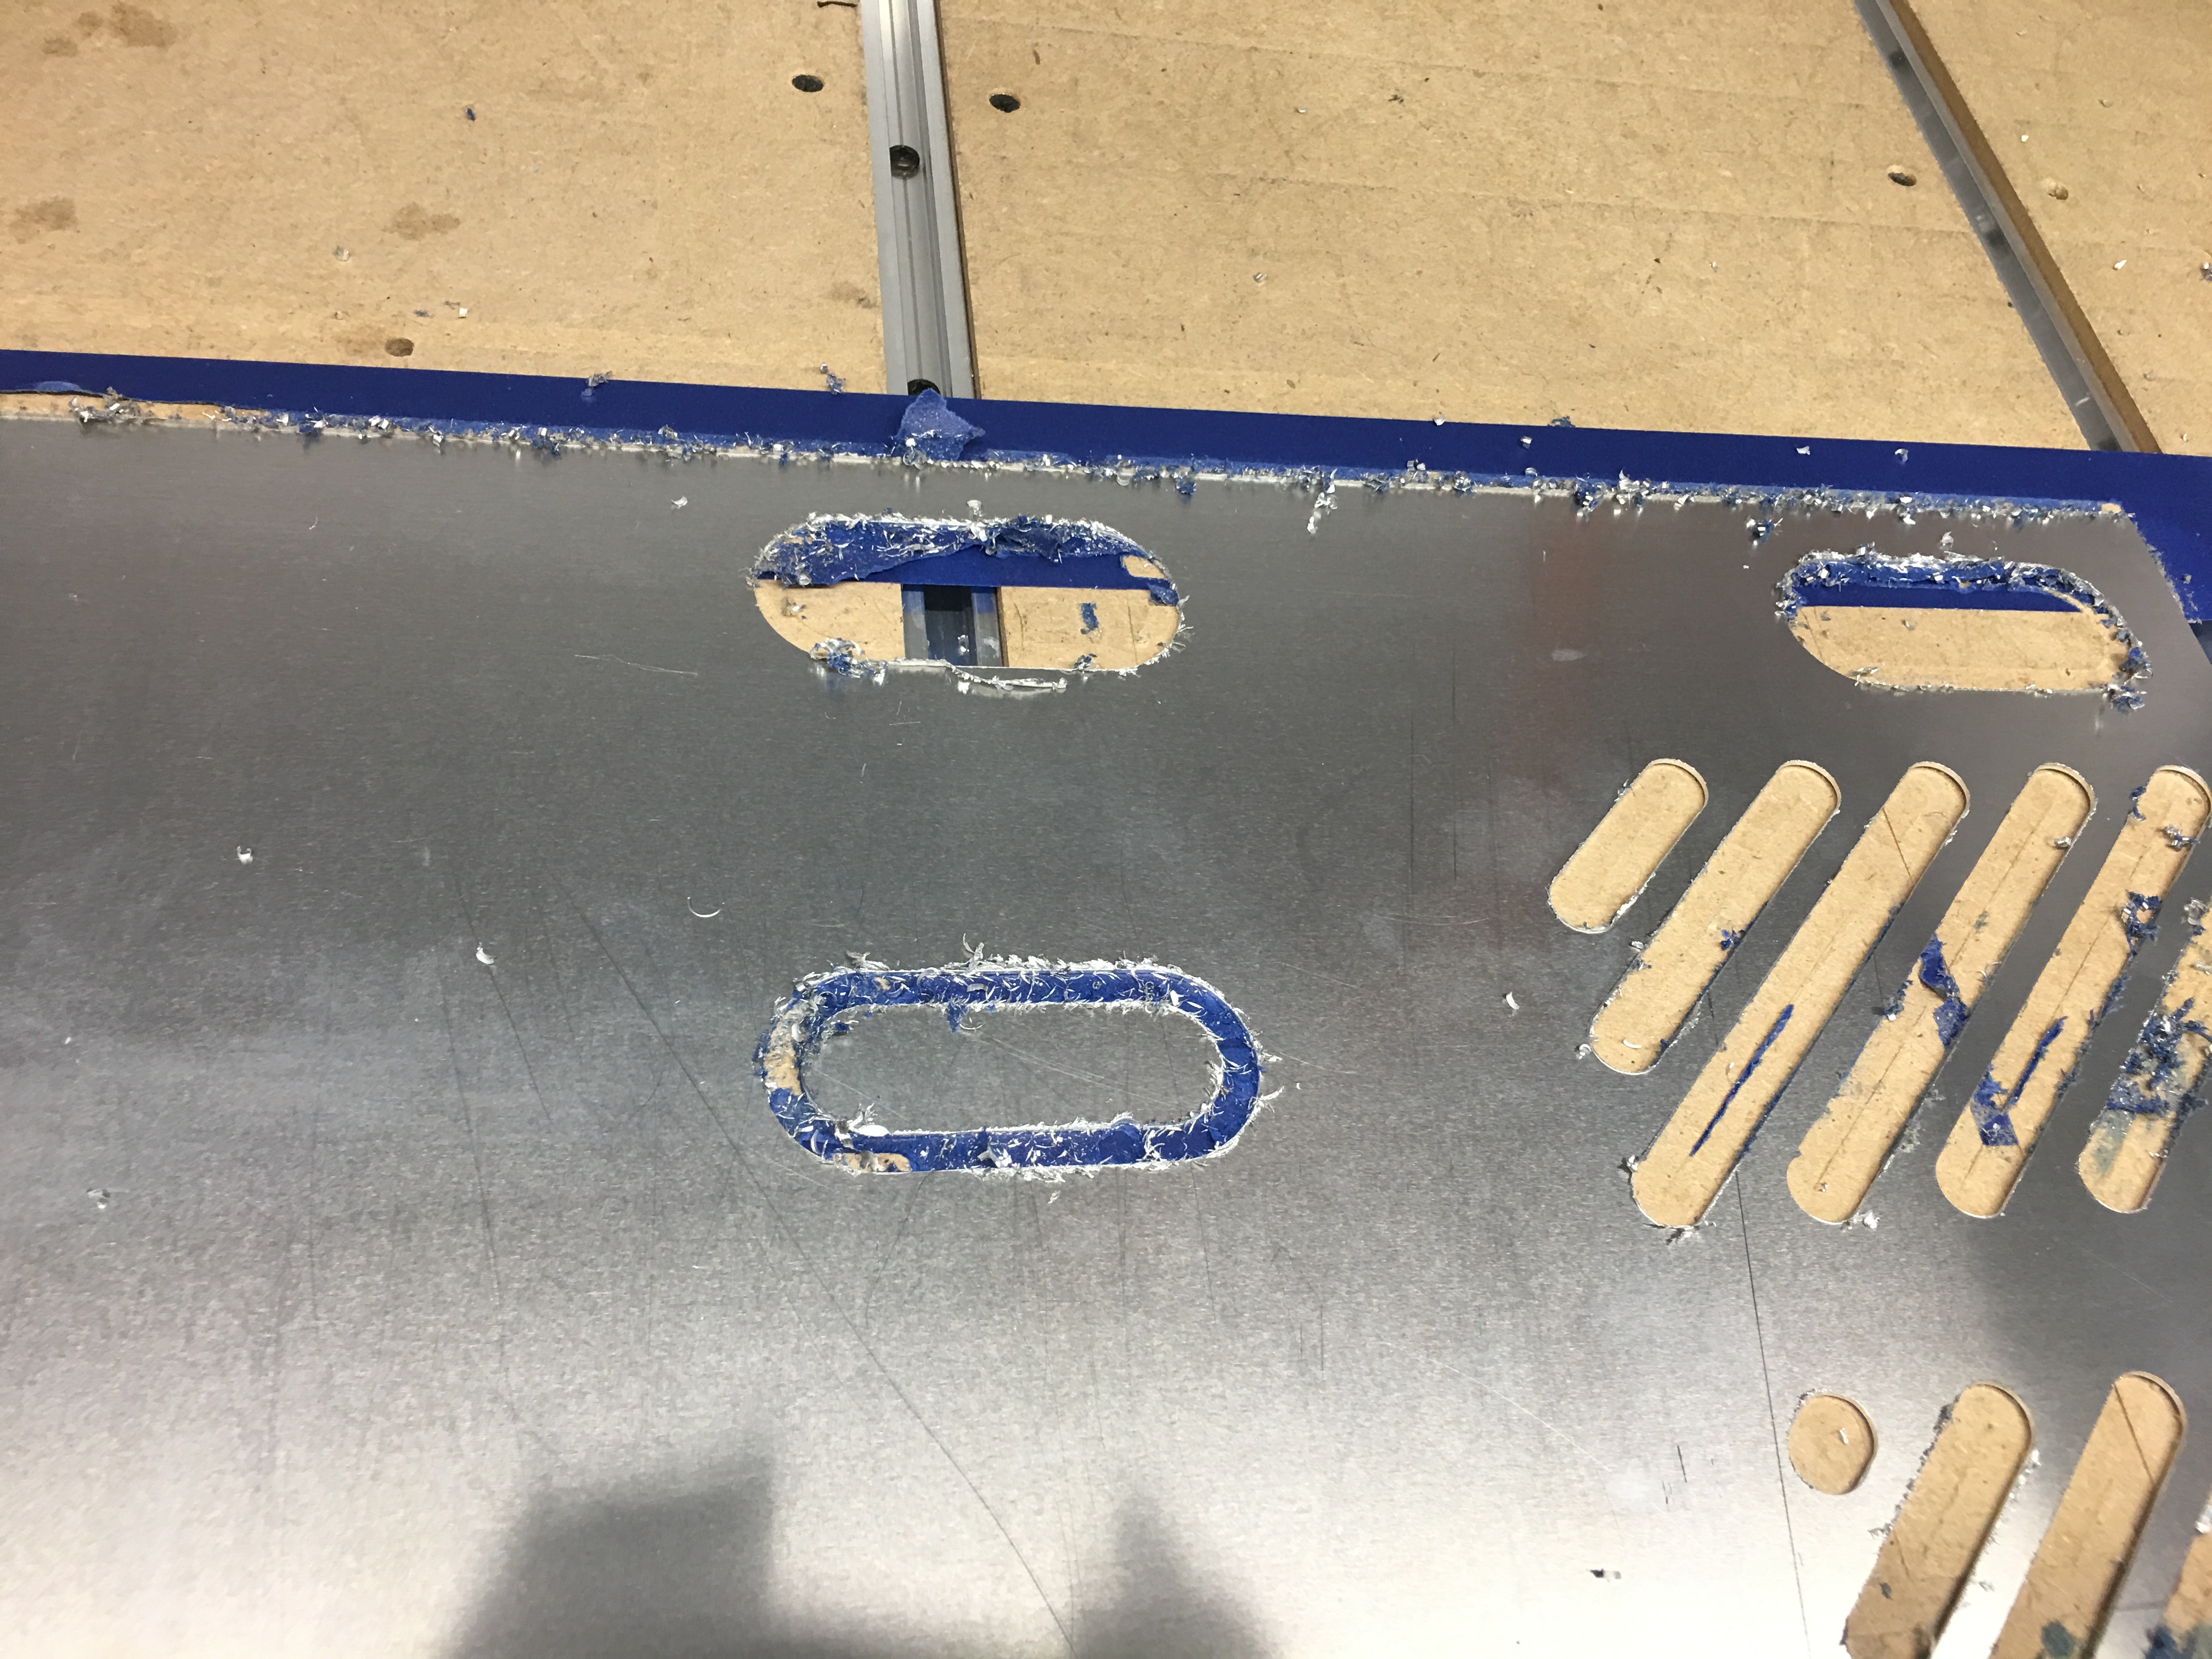
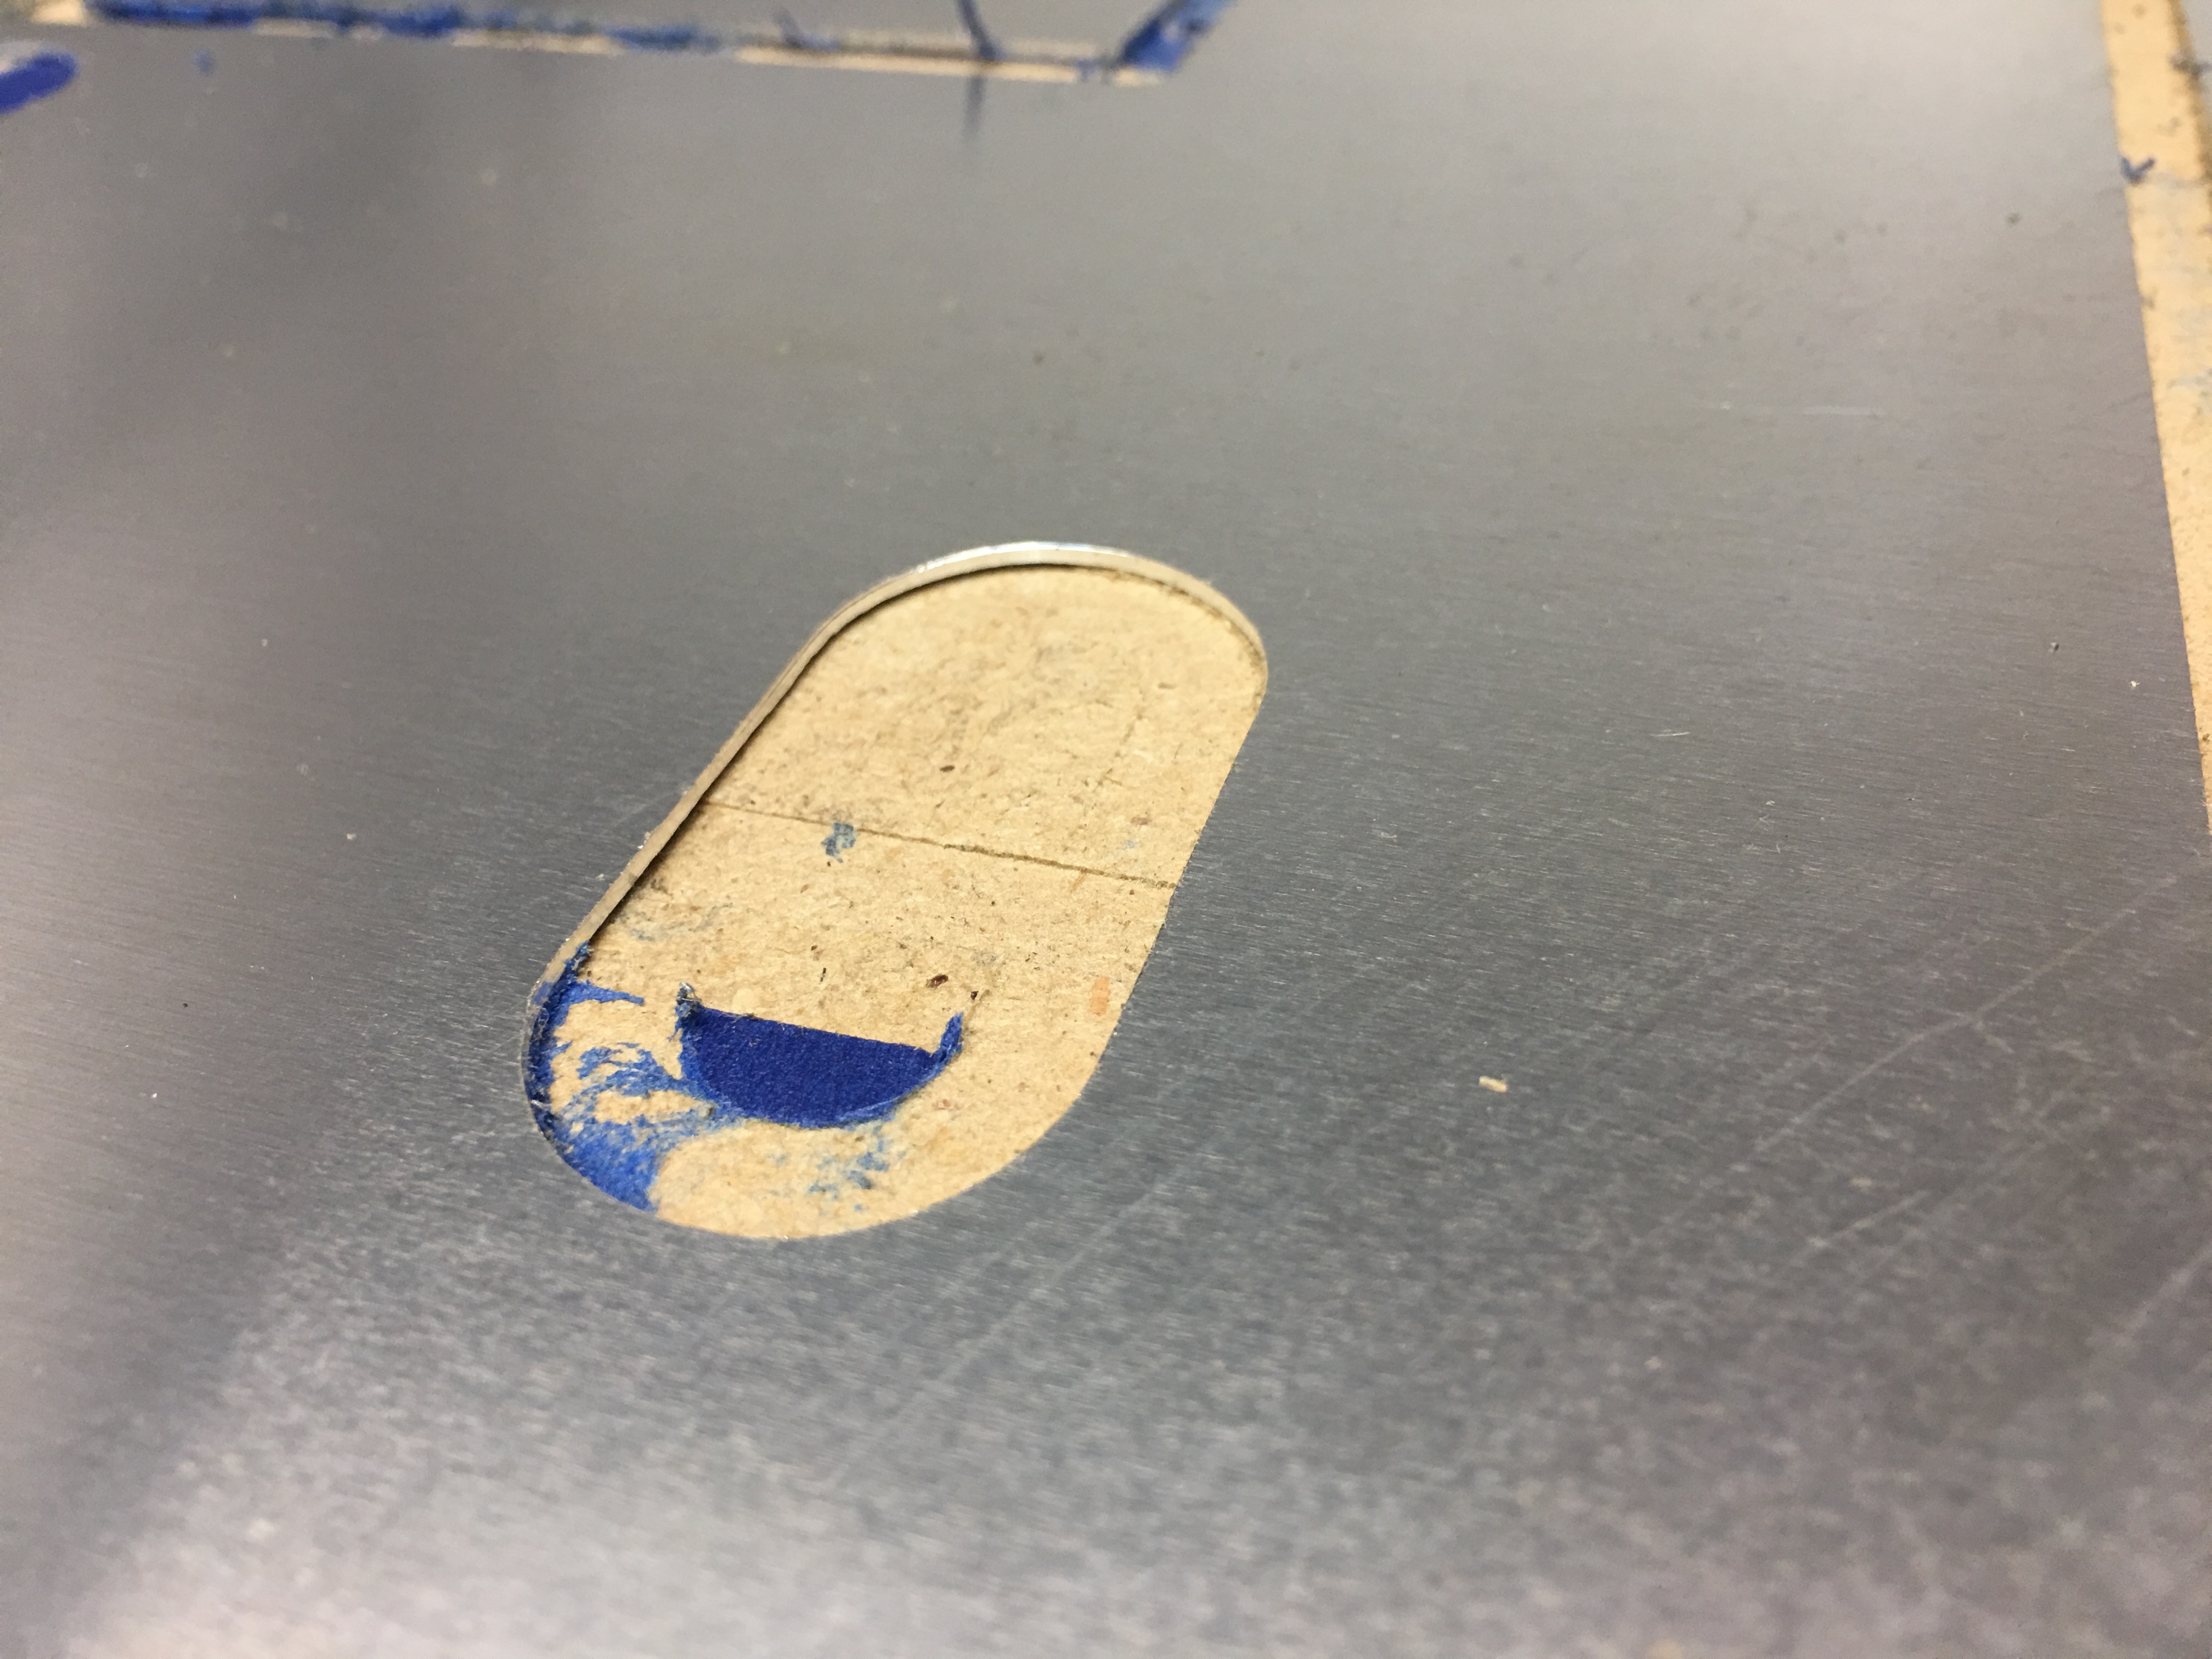
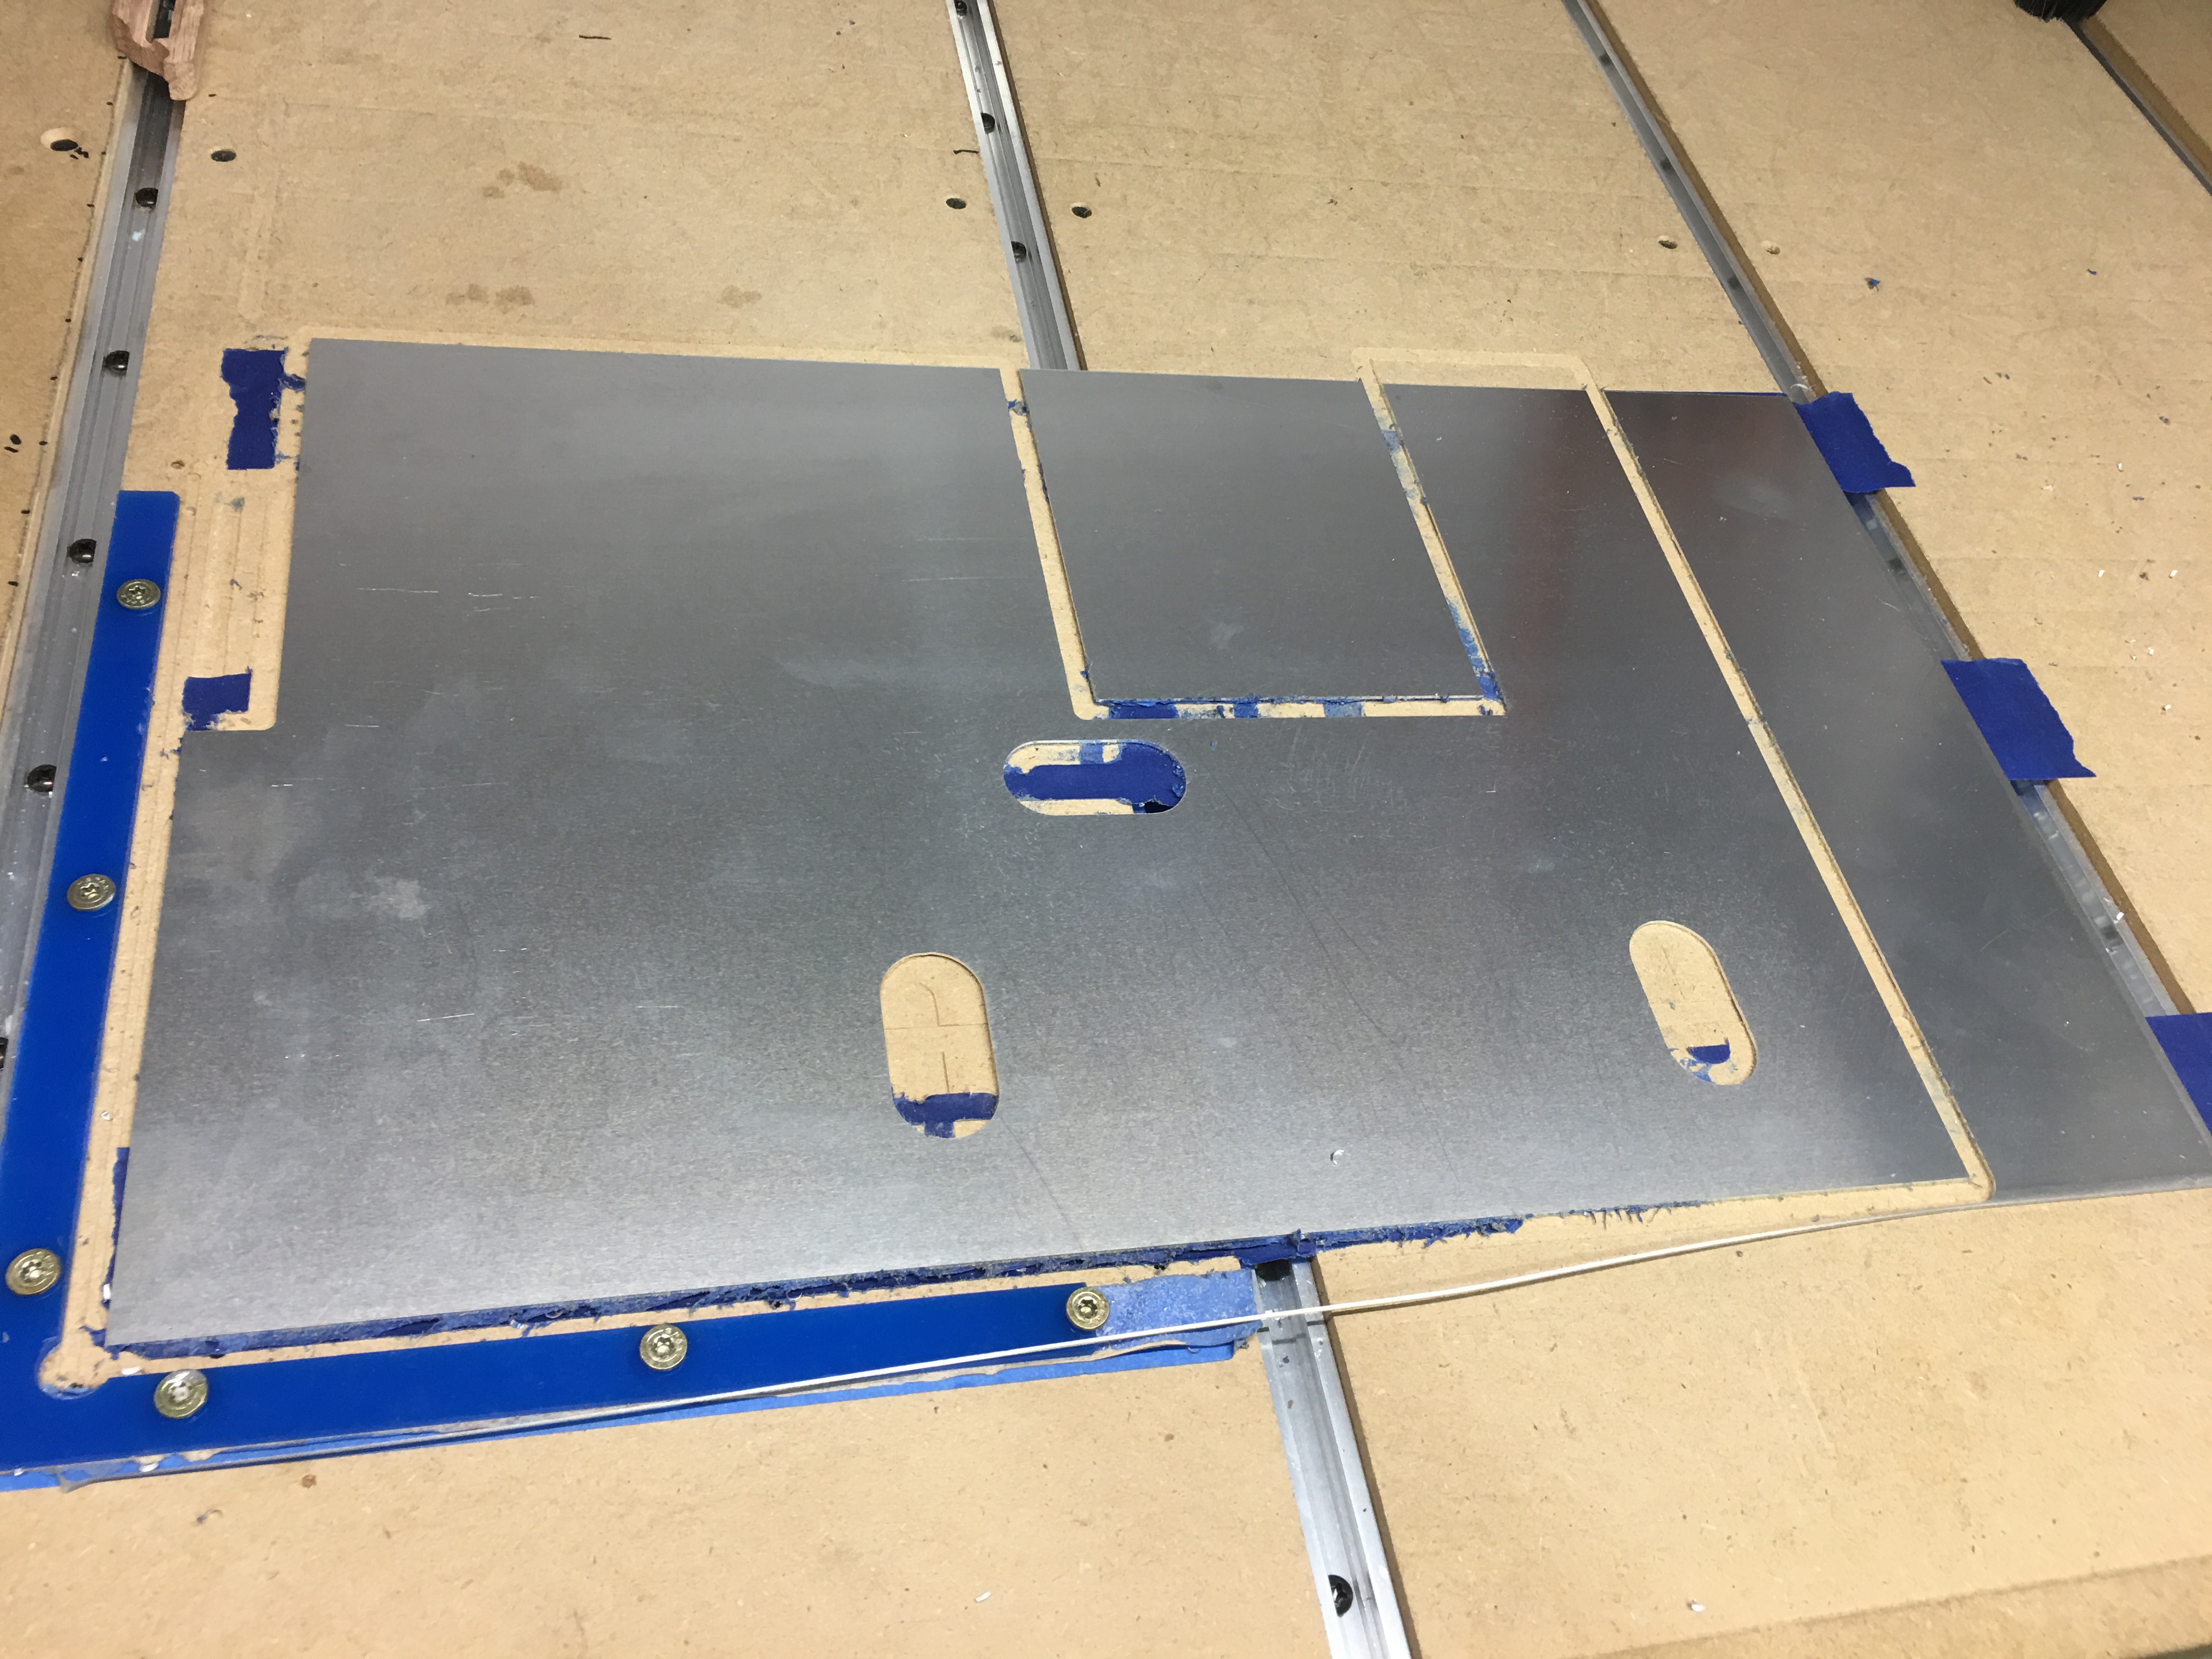
To start, these two pieces I am about to show you came from the same tool, same tool path’s, same feeds and speeds, same RPM, nothing different. The material, .04" thick 5052 aluminum is the same as well, no change.
I can go days with getting finishes like this with just one pass. This is multiple pieces I am holding together for reference.
It is worth noting also that with this job with that absolutely disgusting finish the pieces I pulled out were much hotter than I am used to feeling on a typical good day with cutting this aluminum.
I am just at a loss sometimes and I cannot seem to get to a point where I am comfortable with this machine and if something happens I can pinpoint the reason for it. It is almost like my sheet metal provider snuck in lower grade aluminum without telling me or something…
I will also say I had upgraded the base frame assembly which gave me an extra 1" on my Z axis and I have just one spring connected to the machine and even that one spring is getting to be too much having to travel as low as it does. Still not sure how or if this all equates.
There are also day’s I am paranoid that the motor that moves the X axis is not functioning properly as there have been a few jobs where it was struggling to move left and right and for something it really should not have had an issue with at all.
When milling aluminium if it’s getting warm you are usually going too hard/fast and the heat will build up due to friction. If the first passes are too deep/fast it usually ruins a job.
This morning I was making the first Y axis bracket, I started a little fast the peice got hot then moved from its mounts, wrected the stock and I had to start again.
I re made the part, slowed down slightly and added some coolant. It powered through.
In your case you are using the same settings but your stock does change, for instance when you mount it it might not be perfectly level by a fraction of a mm meaning the first few cuts can be deeper than the rest.
Have you tried ramping into the job from say 0.5mm above th stock?
I have noticed I have needed to use ramping into the pieces given the particular end mill I am using. it is a Spiral O Single Flute made for cutting aluminum, .25" diameter and MOST of the time it works really well and has an excellent finish. Typically I had to put an extra 1.5" overlap finish as the first inch of material it wouldnt cut all the way through on the first pass. For some reason, it did awful today. However, I will say that the two times I have seen this happen it has been the first job of the day.
Whats the DOC you are using? The above pictures look like your going in quite hard. For most of my stuff I use 0.2mm but I ramp at around 1600mm a min. A douse of WD40 doesn’t hurt either.
How new is the bit? Maybe dulling out a little? That to me looks a little like the bit is “pushing” material around rather than shearing it. I could be off, but it’s what comes to mind.
Another thing you mentioned just came to mind. You said you lowered your waste board and you’ve got the Z axis going really deep? When the Z is very low you have a much longer lever arm, meaning your support/extrusion is further away from your cutter…like using a long breaker bar on a socket versus a small ratchet. So you’re putting all things that flex under a lot more stress. Looking at the picture of your “good” parts it looks like you have some deflection(it may just be the photo?). Is there any reason you can’t raise the material up with more waste board or is there some reason why you can’t? If possible I’d raise it up, and also make sure the stickout of your bit is at a minimum.
Look at the bit, carefully, under magnification. Mk 1 Eyeball really isn’t up to the task. I’d make bets that either it’s got material welded to it somewhere (which you can probably get off with a pick) or the tip has broken off. The very tip of the…umm…tip…is pretty fragile on the single flute tools. You might have also gotten to the point of wearing the coating. To drive it home, MAGNIFICATION is your friend here. Use a loupe.
That makes sense and I think I can raise it for the sheet metal jobs. I just get weary as once I set my zero for X and Y I like to hold it there as best I can because I struggle with milling acrylic parts that require double-sided milling which has been the bane of my existence. However, I have a 1/8" thick piece of acrylic as a L-shape angled to keep my X and Y zero and I can place another piece of MDF there for raising my sheet metal parts.
That is good to know as I had not thought about it like that. Would having an upgraded Z axis on a ball screw fix that or is that not really going to make a difference? I ask because I would throw money at it to fix it but I am tired of throwing money at problems I am not certain I know will work.
That is wild that you say that because as I took the bit out to put into the router I had this gut feeling I should clean the bit off before using it… 9 times out of 10 my gut is right with stuff like that and now I am convinced that is what happened. It wasnt the cleanest looking when I started the job which I just assumed was tape residue…
@mikep@DanoInTx and @Luke as always thank you all so much for taking the time to read and respond to my post. I dont know where I would be without this forum.
I believe depending on if the new axis pushes the router further away from the rails it could make this worse, longer lever arm. I have a CNC4Newbies Z axis slider sitting here from like 3 months ago that I haven’t installed partly for that reason and partly because my machine is running really well at the moment. Plus it’s more weight at the end of that longer lever arm. Luke has had good luck with his and others have as well, but I don’t know that this will solve the issue you’re currently having.
You’re totally welcome. Everyone on this forum has been extremely helpful to me with minimal drama. This is a really great forum.
I might be corrected, but 0.04 is 1mm? if so that is quite an aggressive cut on a S3.
A ball driven linear Z can be more stable and have more travel (mine can move higher and lower than the stock Z), but unless you know the cause of the funky cuts there are no guarantees.