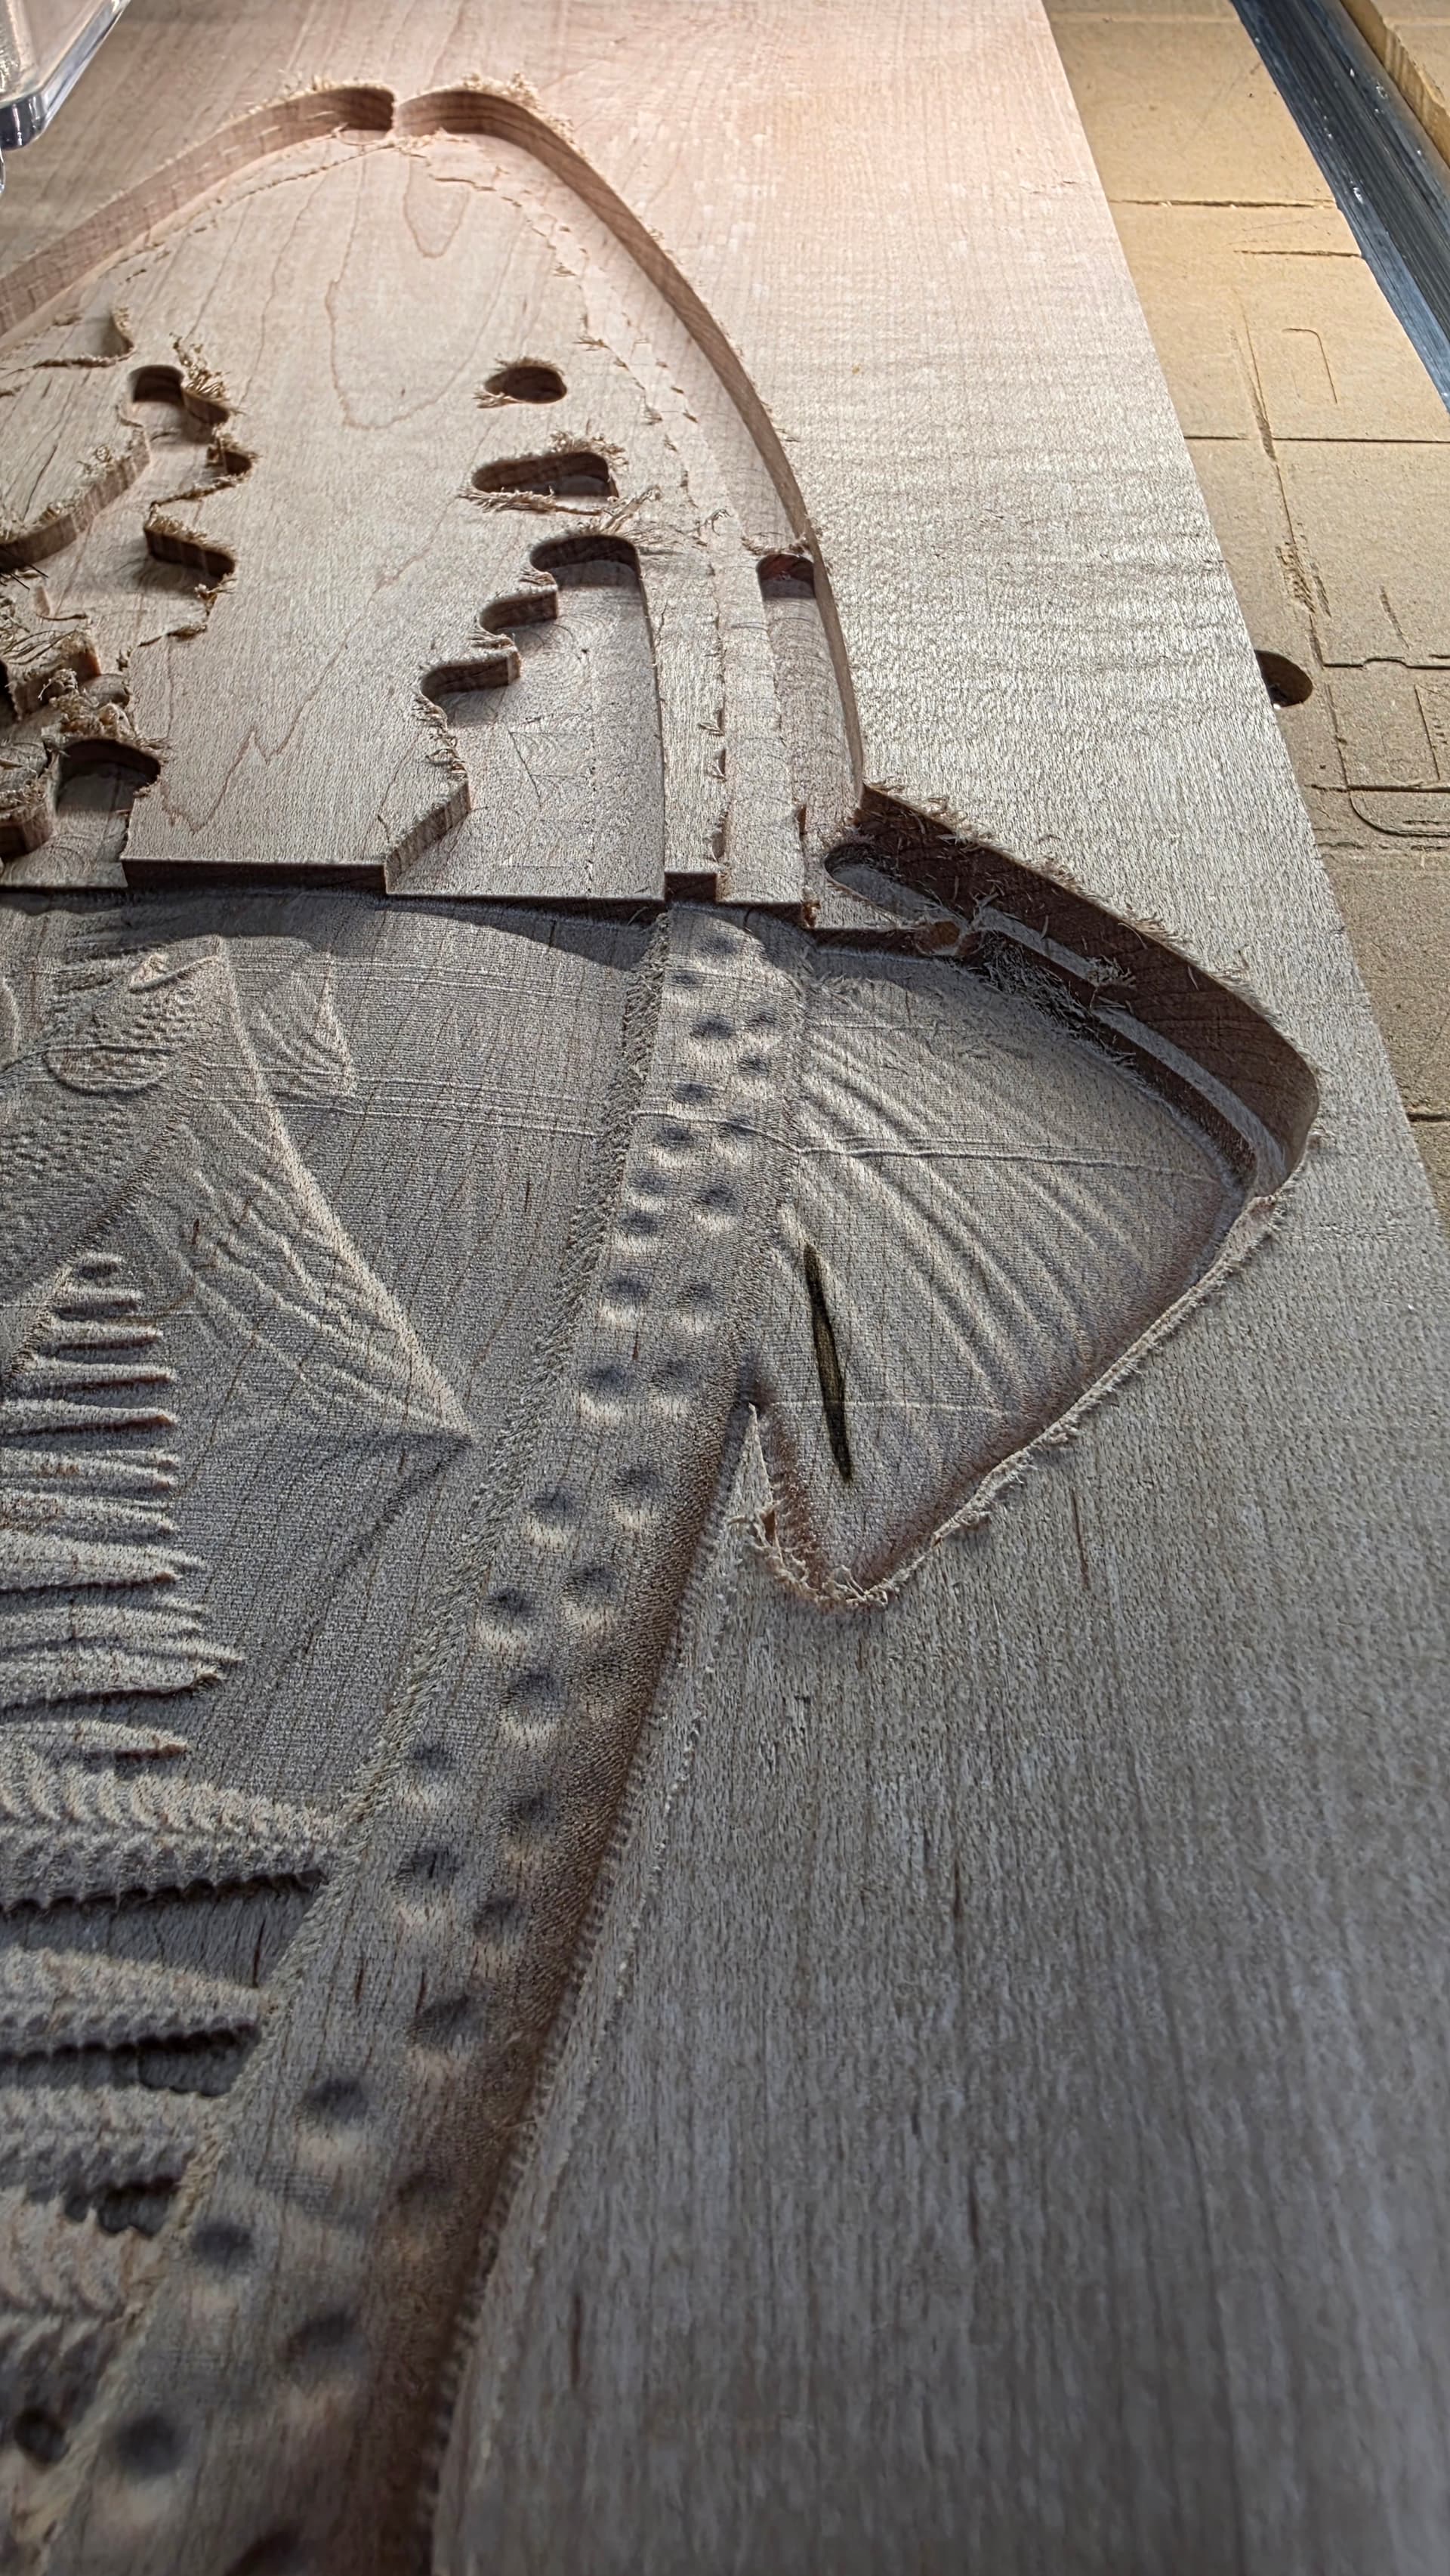
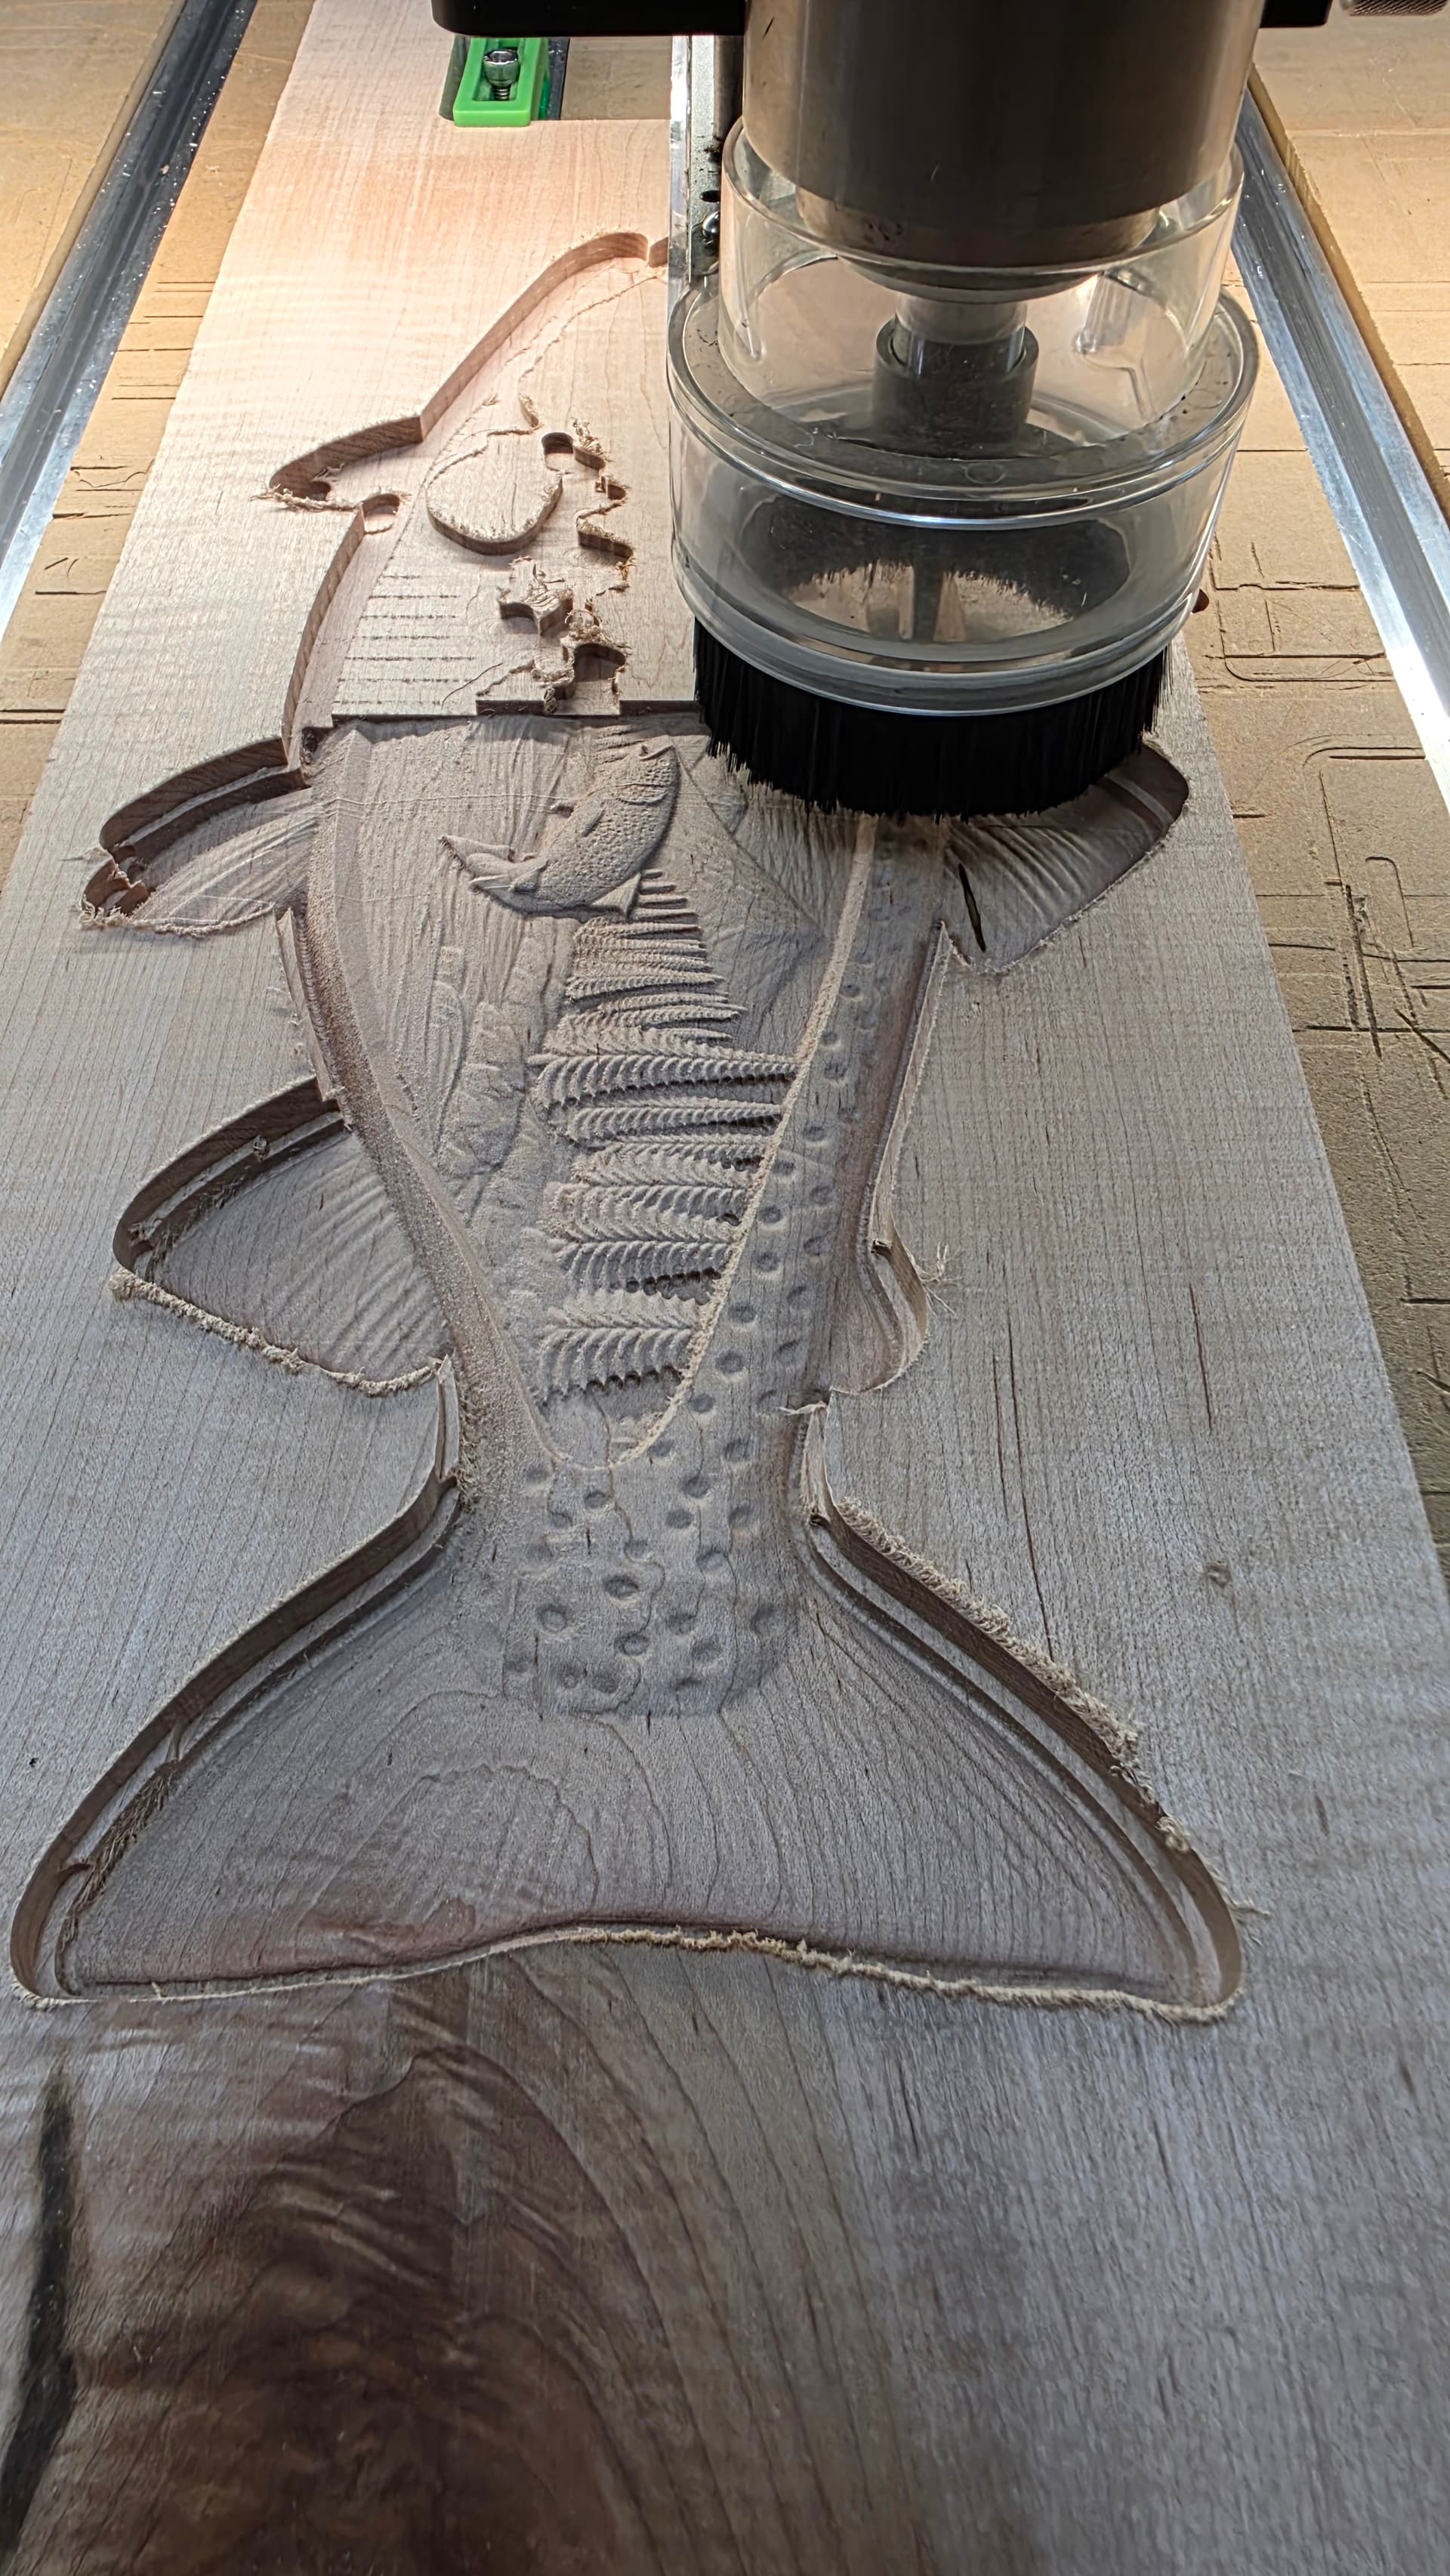
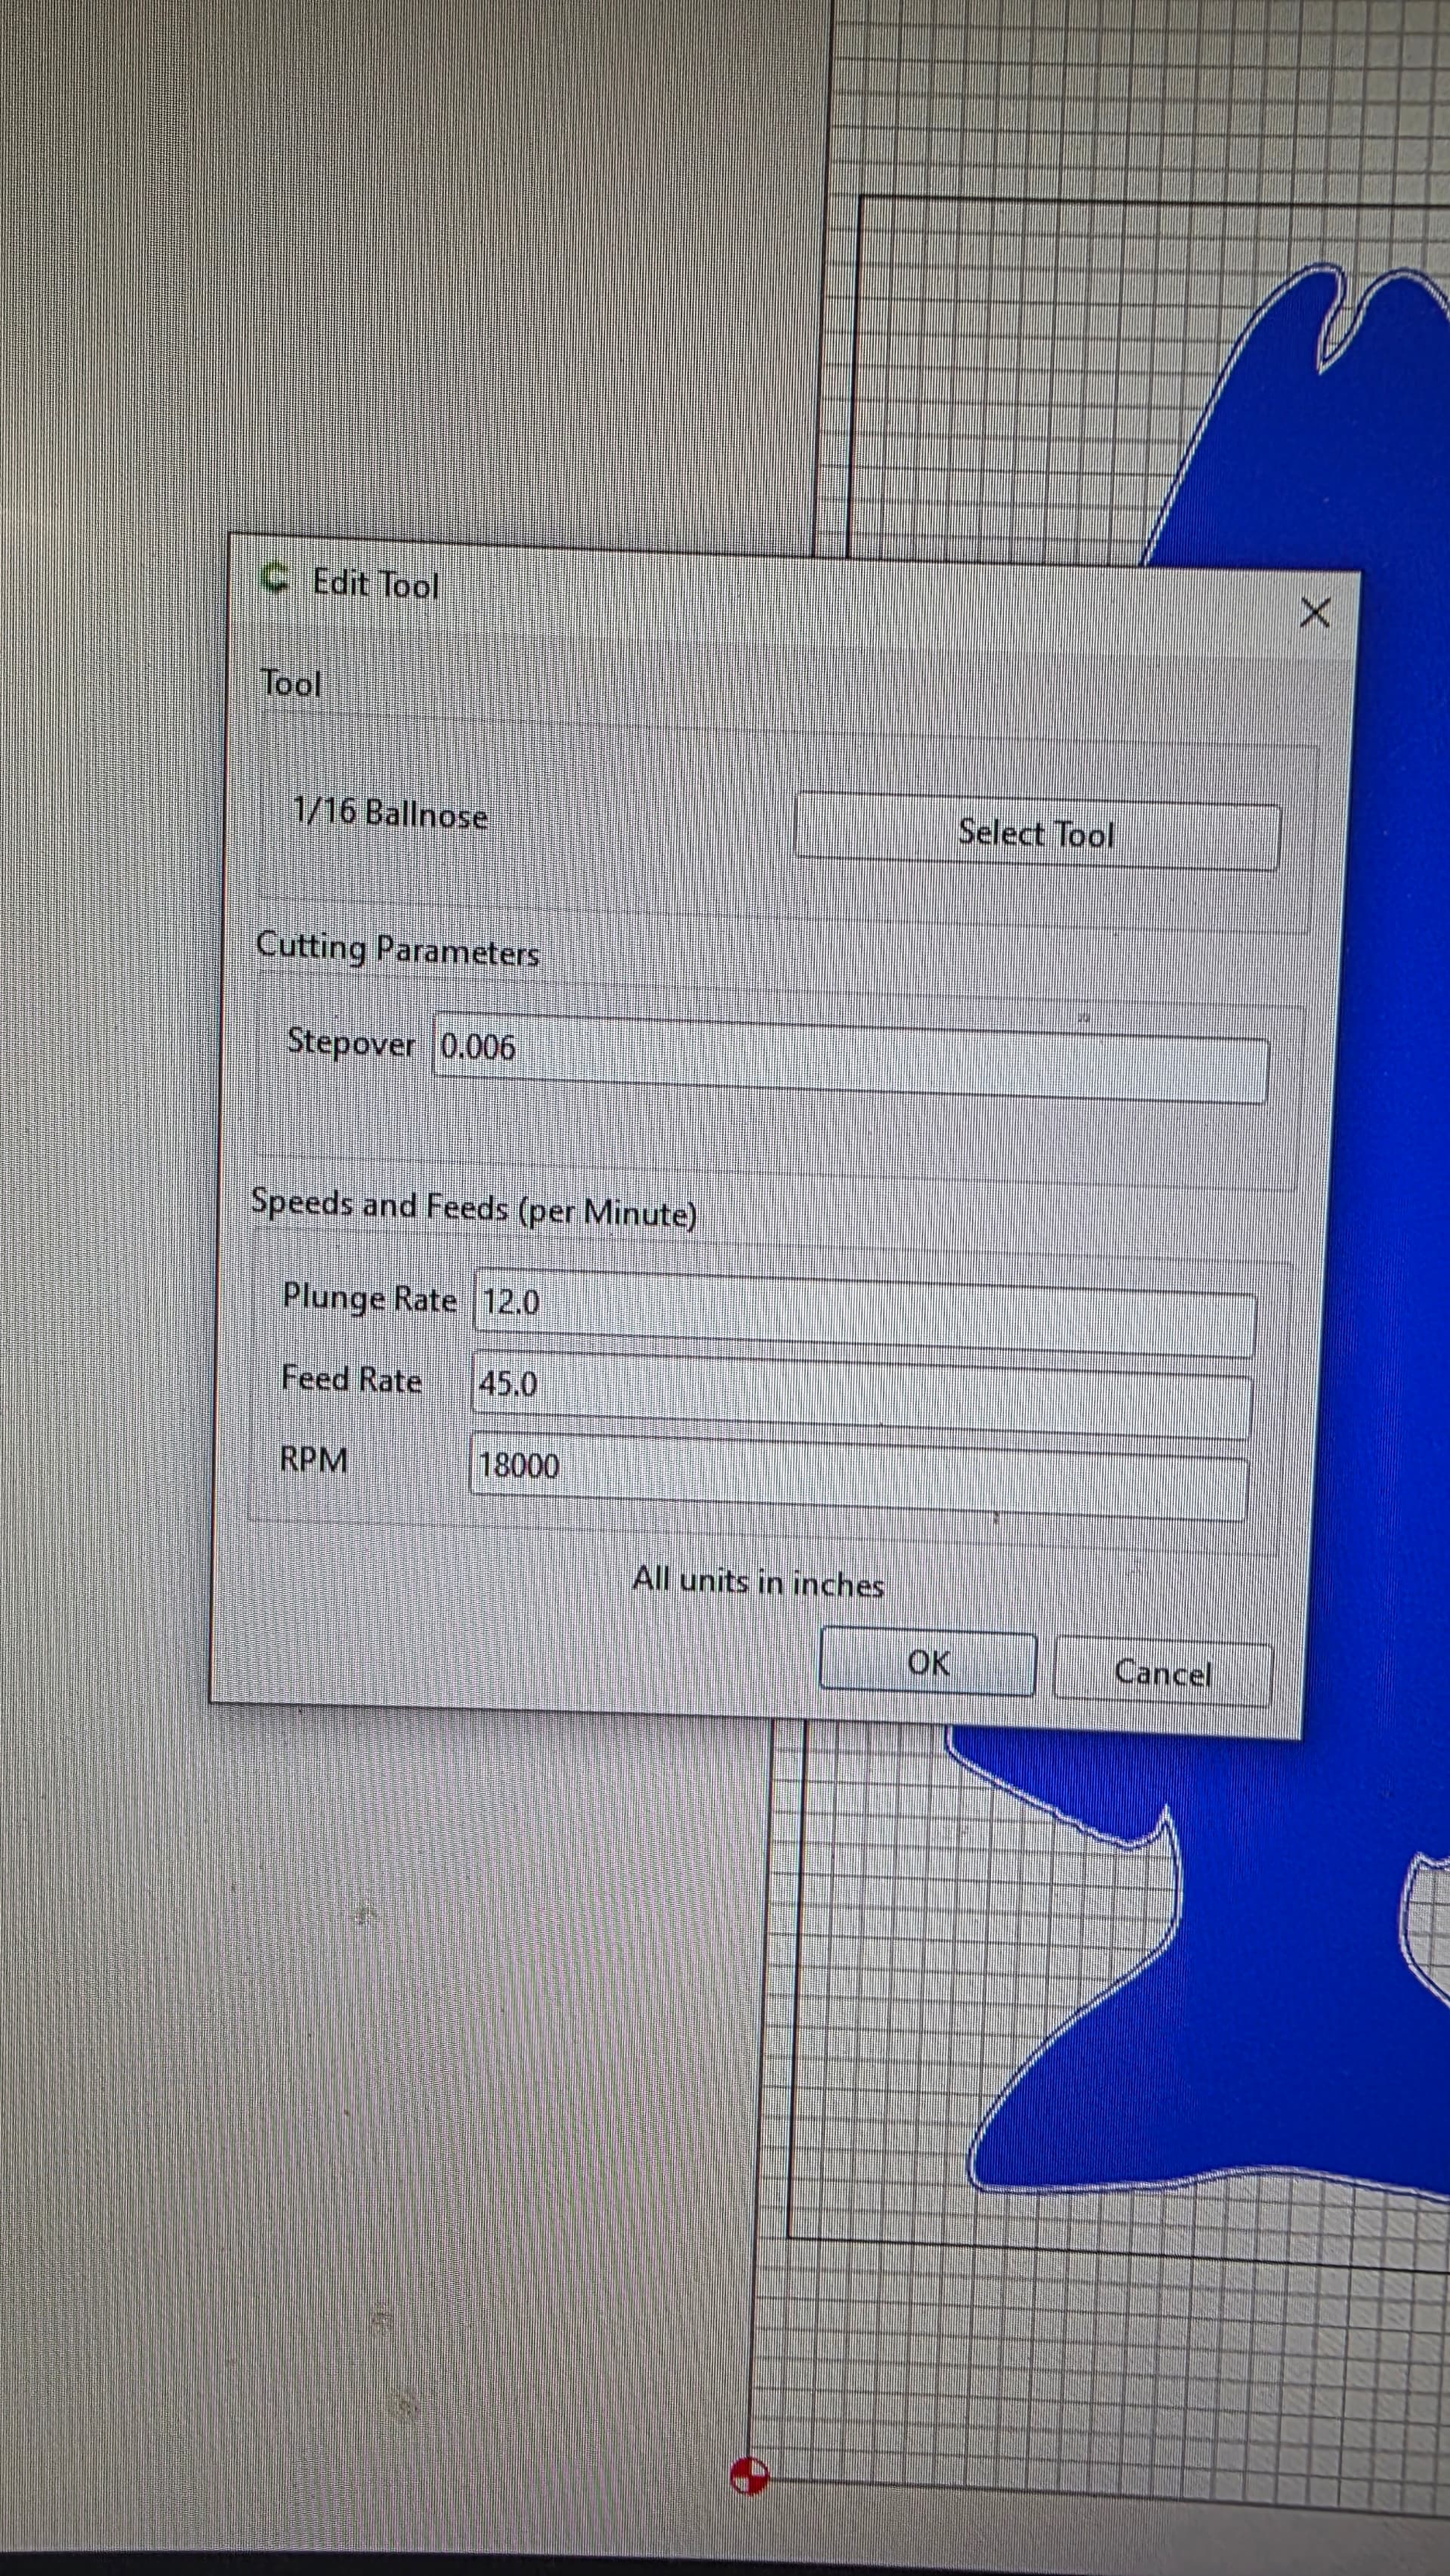
Hello, I have had the machine for about a year and a half. For about 6 months i have been having issues with lines in 3d carvings. They do not show in the simulation. It is across all files, multiple setting and multiple bits. Any ideas what would be causing it?
Also, i have just cleaned and oiled all rails prior to this carving and it is probably the worst so far as far as lines. I am also on the latest software versions.
This looks like some kind of mechanical looseness in the Z axis, OR some external factor is slightly moving the bed and causing things to move oh-so-slightly up and down.
To check for Z slop, try the following. You need a small object of consistent thickness - a 1-2-3 block would be ideal, but even a piece of glass would do.
You want to approach the same position from both above and from below, and see how different things are depending on the approach direction.
Zero to the top of your block.
Switch to jog speed 3 (in metric, the 1mm setting)
Jog up a few steps, then back down the same number.
The block should still slide under the bit. There should be no change in the gap between the block and the bit
Move the block out of the way
Jog DOWN a few steps, then up the same number
Check the position again with the block
Again, no change in the gap.
If you have slop, then either there will be a gap after the first check, OR the block won’t go back under the bit after the second check.
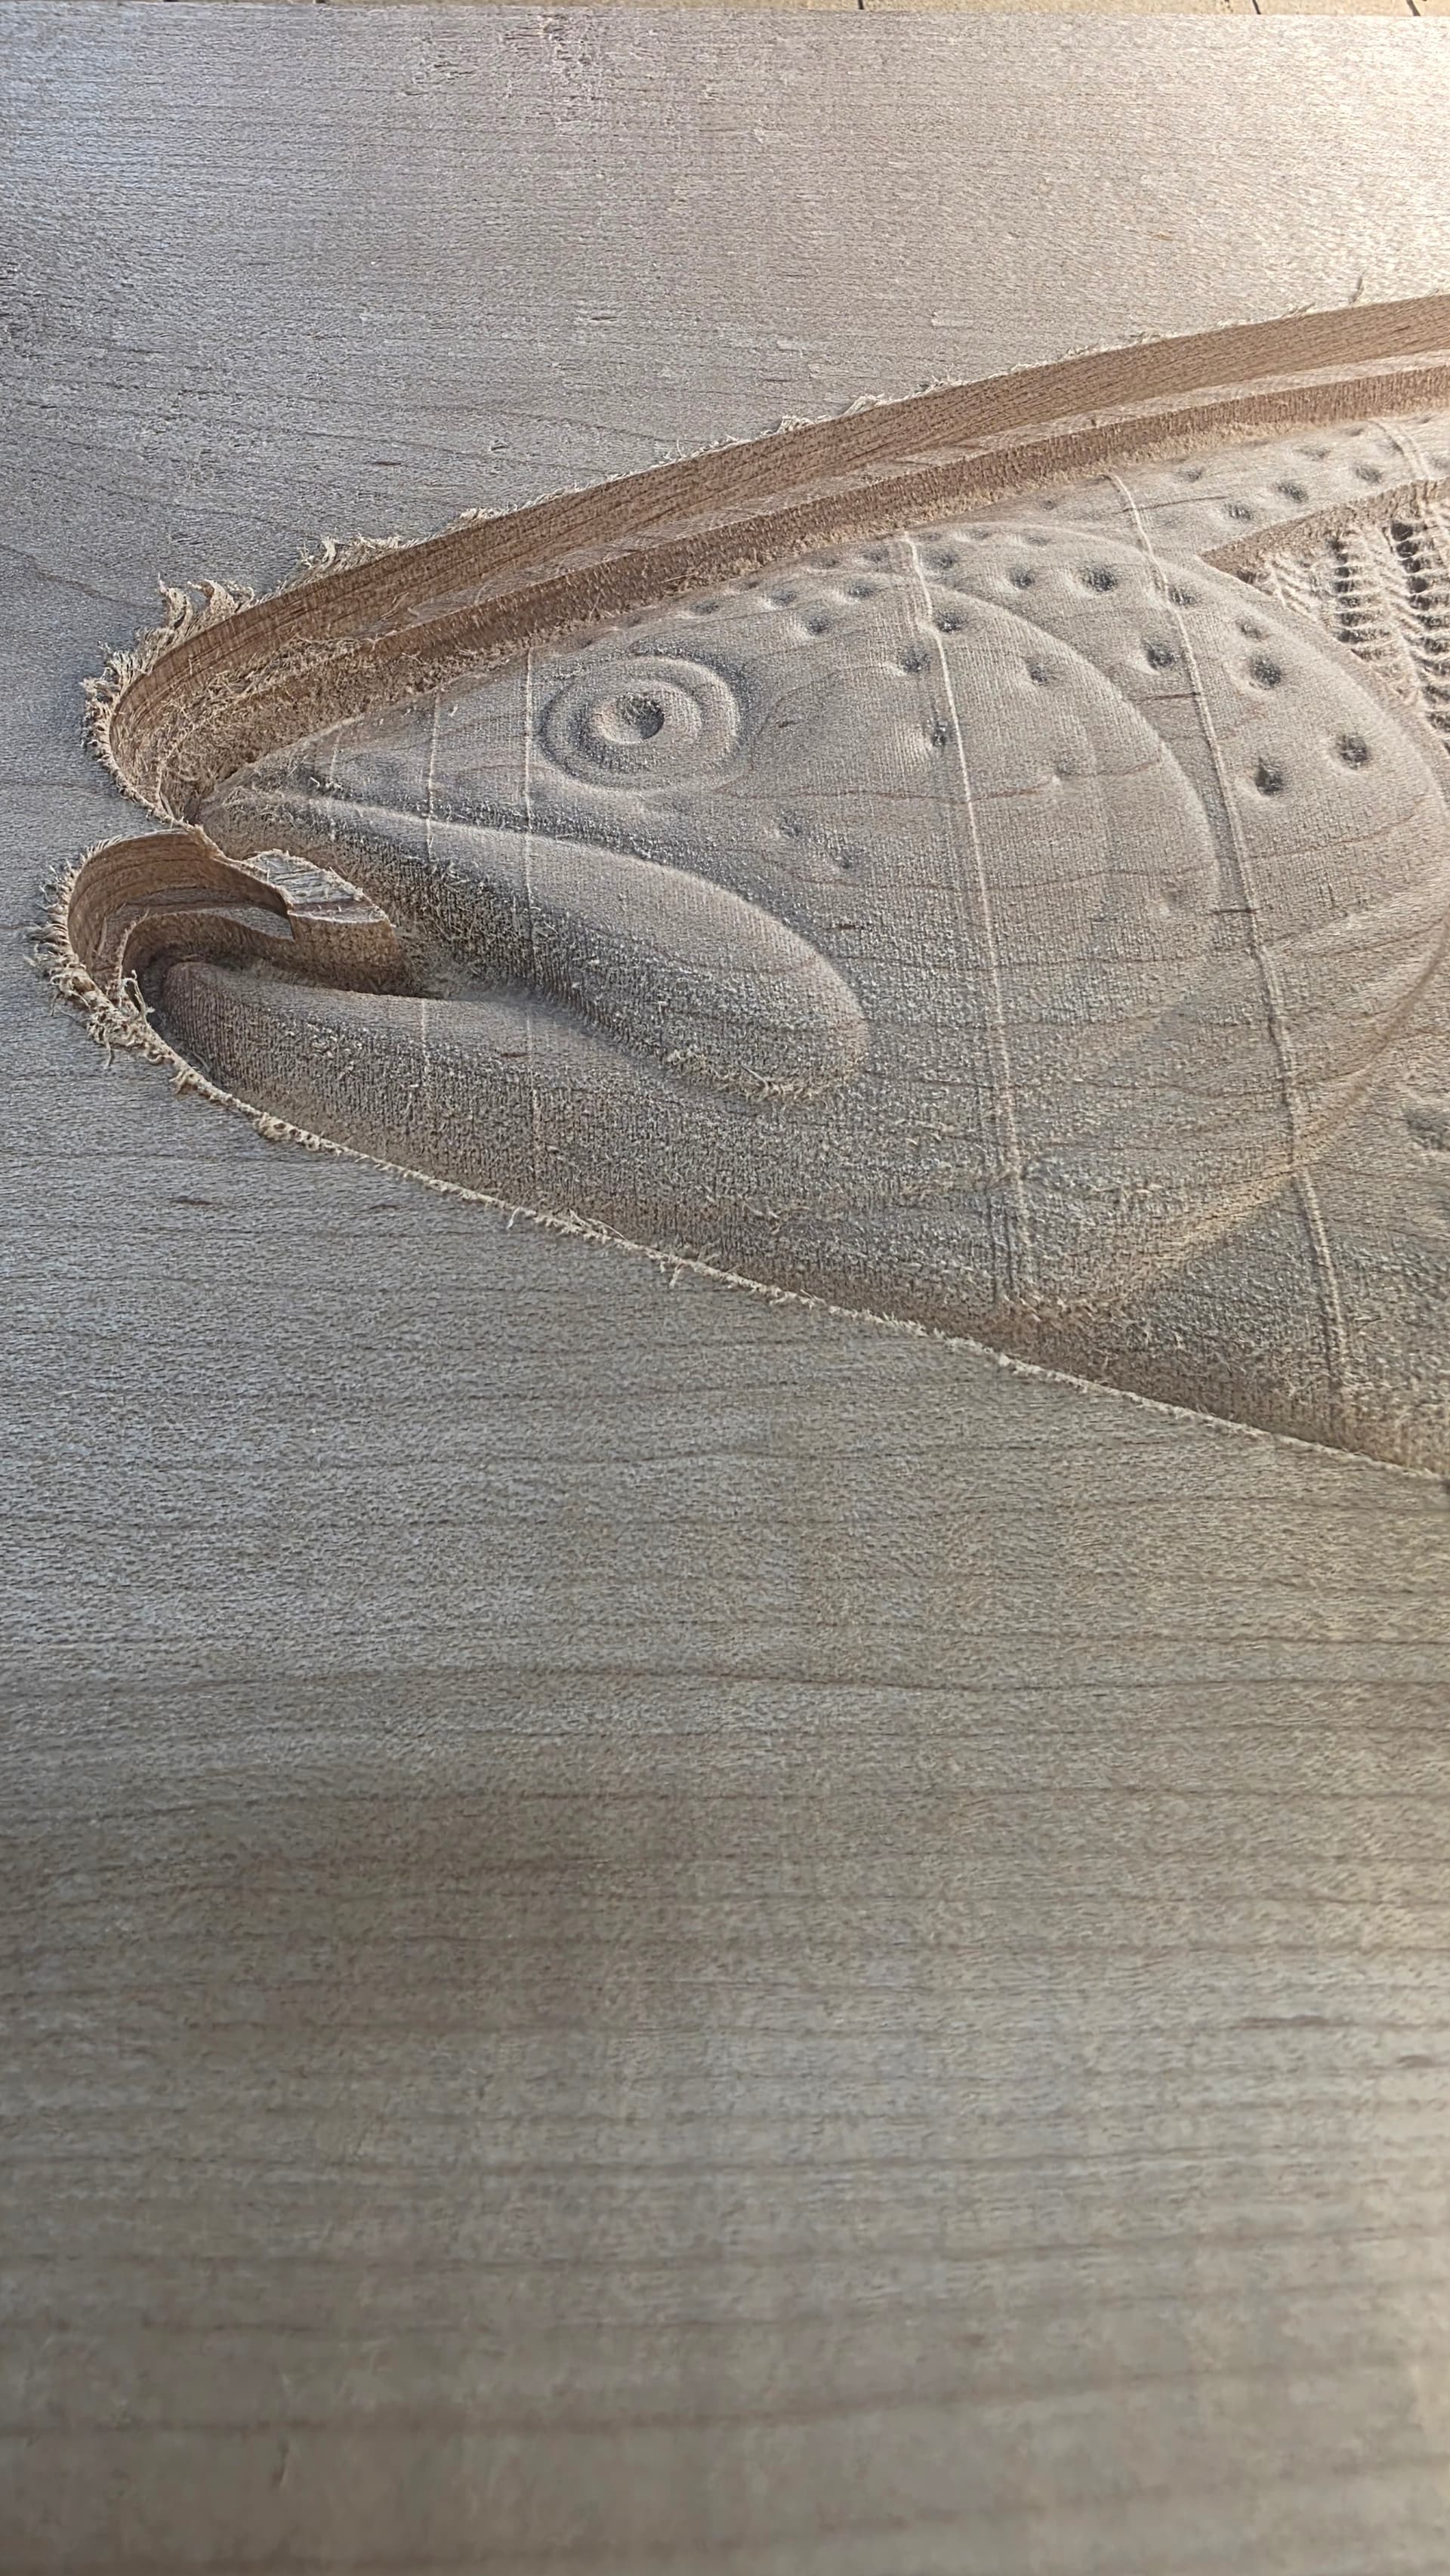
I will give that a try tonight or tomorrow. Here is a different picture. Not sure if it shows anything different that can seen. I am running a second pass at 90 degrees to the first. It doubles the time but should save the piece atleast.
If it doesn’t show in the preview, then some electro-mechanical issue would have to be the culprit — one additional thing to check is that the wiring is in good condition and all connectors secure and that there isn’t a loss of connection when in some specific position.
If your machine is equipped with a Z Plus Z axis check for slack in the anti backlash nut. Trying to more the Z up and down by hand should give you an idea on if it’s worn or not.
My SP5 Z axis dropped due to the top nut coming loose.
The “tell” is no gap between the bottom of the Z axis ball screw thread and the top of the bottom plate of the transom. The coupling doesn’t show that gap as much, must be hanging there.
I powered off everything. Disconnected the Z axis motor.
I could lift the Z axis around .040 , which is about the gap you should have at the bottom plate.
My gap went away and was generating a short lower frequency noise on rapid up.
I had also noticed when flattening stock, I usually add some value between runs.
I rapid to the SE corner, go to set zeros, add to the current Z value. Re run.
On the next pass the Z value should come back on another load tool. If loose, it changes.
I contacted support. I thought I fixed the issue, but …
First I did not use Loctite. A blue residue is on the nut and shaft. Found that to be Loctite 242.
Off to the HW store in the morning.
Second, when you try to tighten the nut it spins the shaft. So light snug is all I could get.
I asked support, how to hang onto the ball screw, if I should at all.
I had the same issue. Long story short it was caused by me leaning on the table while I watched it zip back and forth. If you have a dial indicator lower it onto the waste board and lean on the table, see if the dial moves.
Logan and in a sense Michael are the winners. Carve looks good when I check it, lean over the table to look, put my hands down, all looks well. Check again a little later, see a line. So what happens when you see something not right, you end up checking more oftan, each time leaning on the table a bit…keep seeing more and more lines lol. A vicious cycle.
Thanks for all the ideas, i did che k each and every ones of them. Found the adapter cable for the spindle has loose connections. If i just bump it the spindle turns on. Bump it again and it turns off. I will need to get another one.
Just read through this thread and agree with the “leaning” theory. We have a colleague who runs really long 3D carves and was having a hell of a time trying to find the source of the lines in his finishing toolpaths. Come to find out, his MDF slats were slightly loose, causing a spring effect when the tool applied pressure to the material.
I would tighten up all of the MDF on the machine before your next run