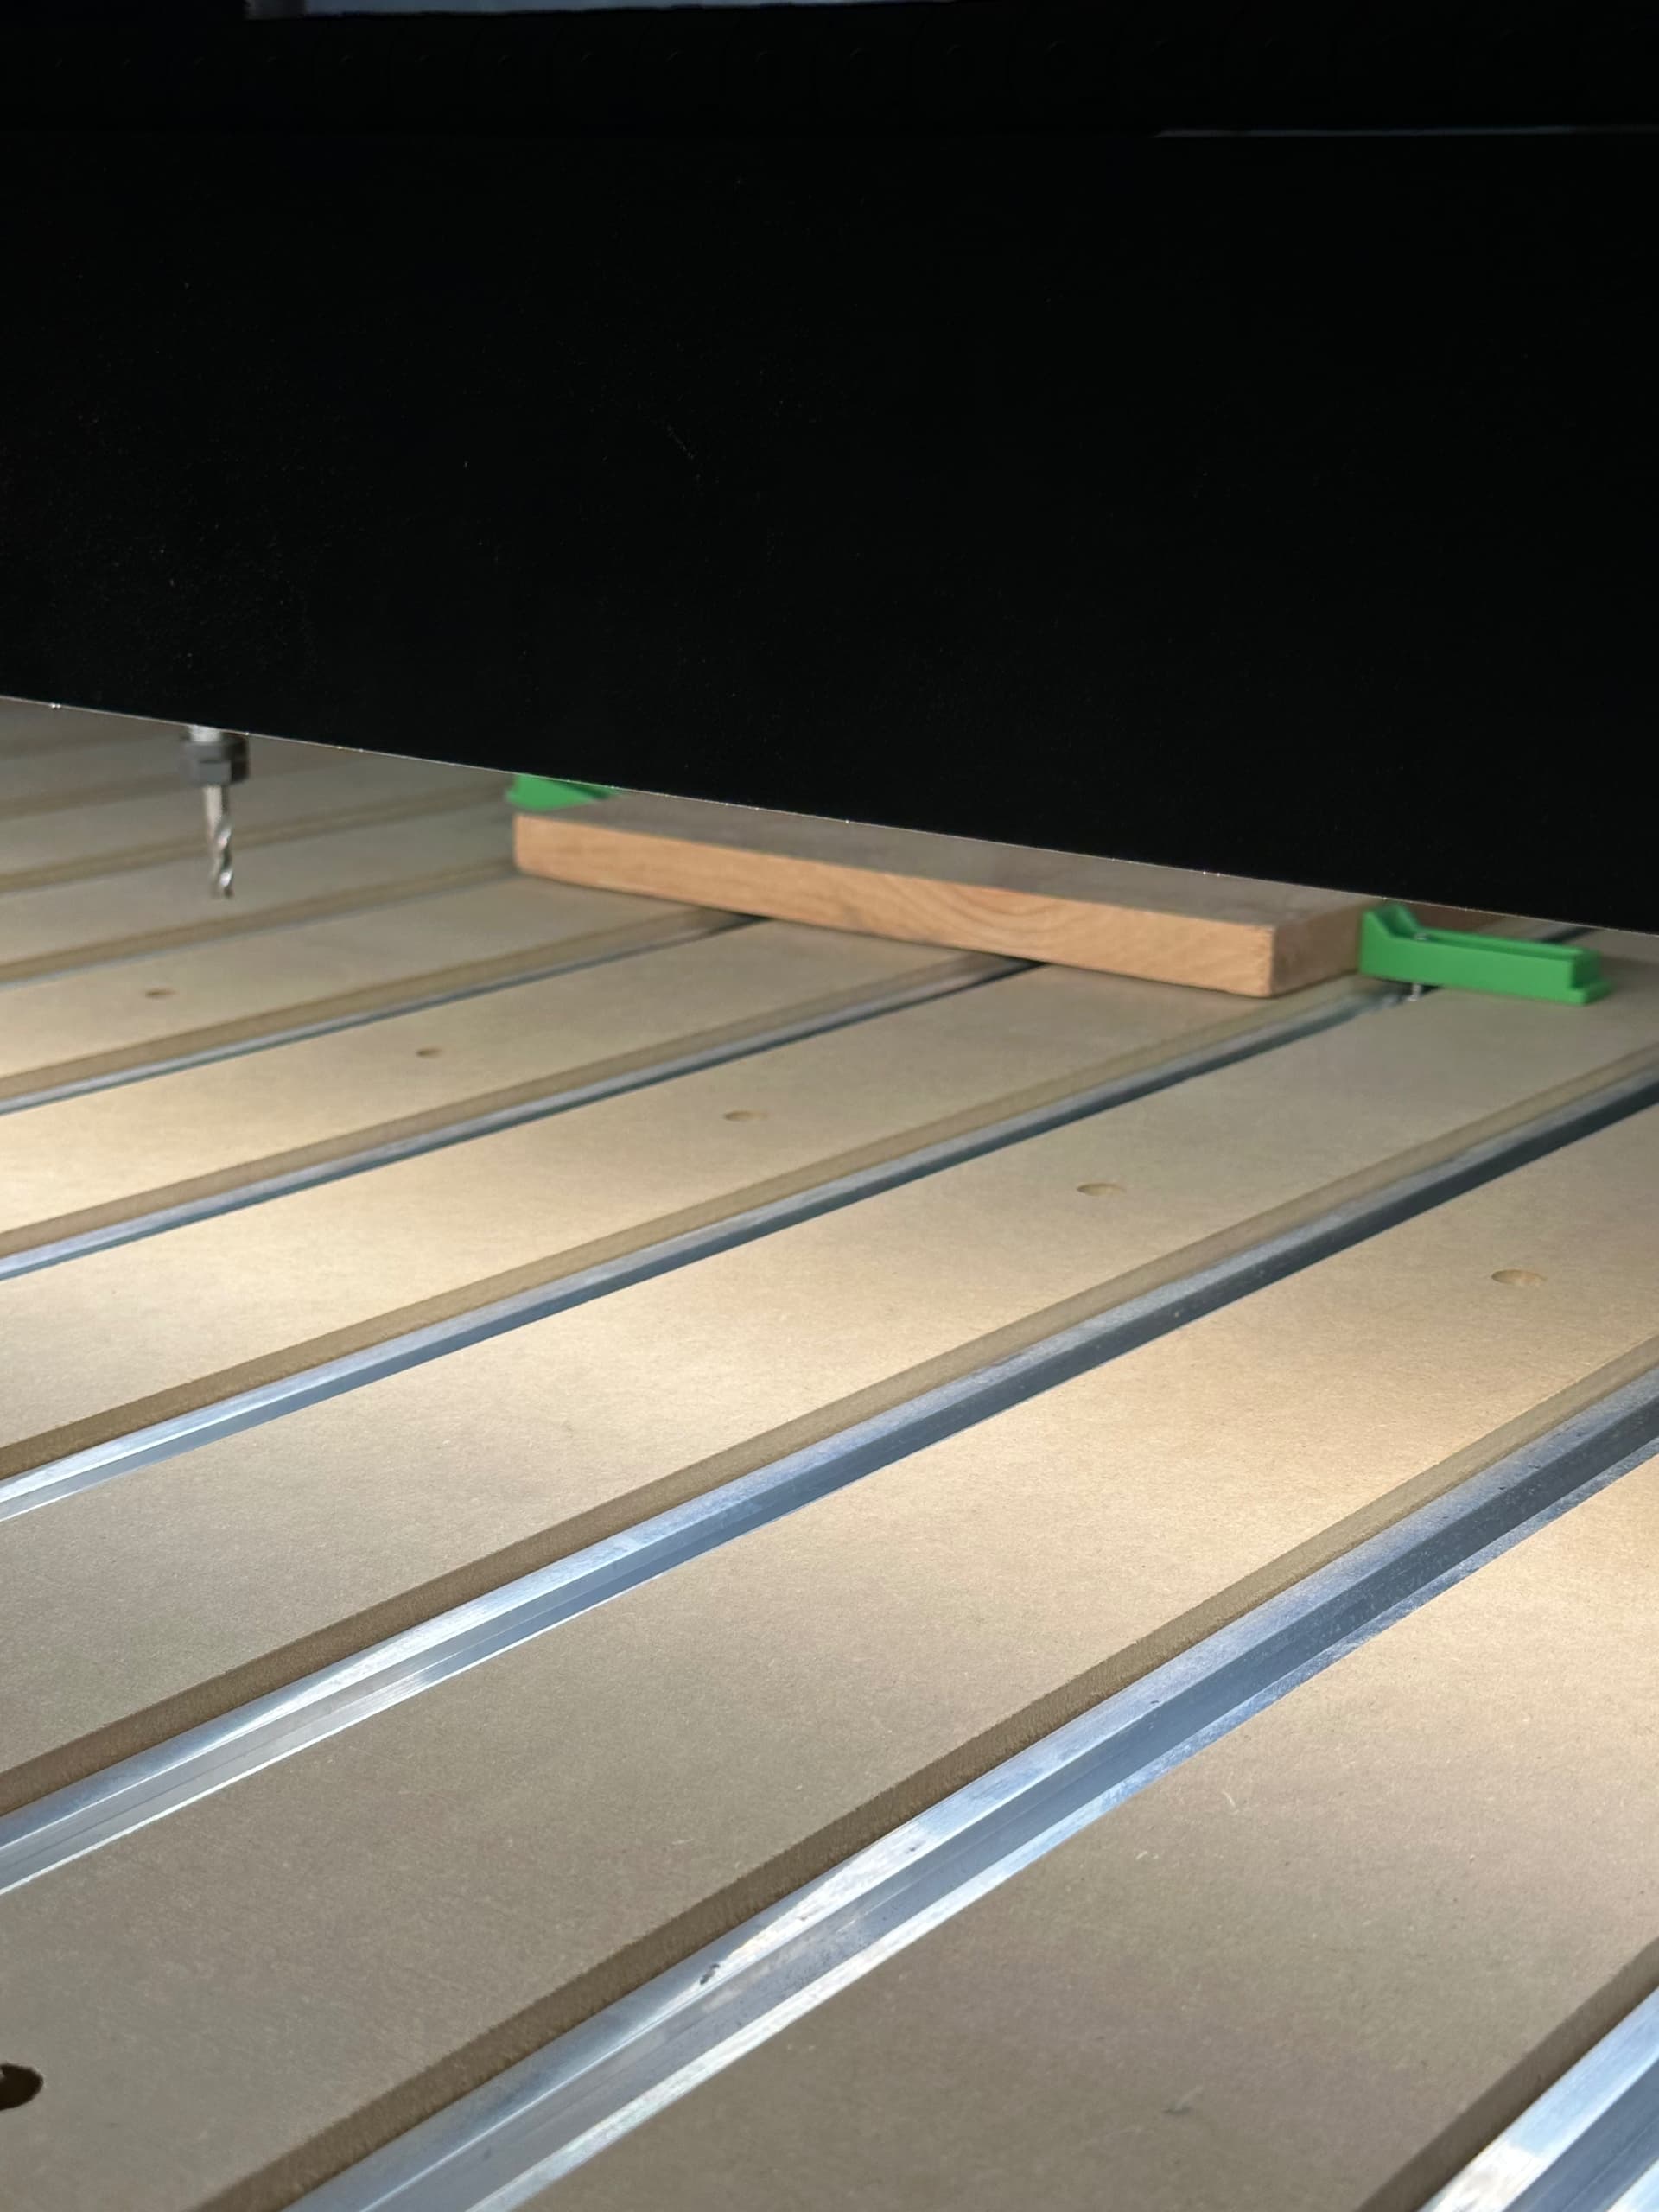
Hi everyone! I am trying to do my very first test cut on the Shapeoko 5 pro, every time I press start job, the router makes the design in the air, away from the wood piece. I’ve set my Zeros on Z, X & Y axis following many videos. I just can’t get it to cut on the actual piece of wood.
Where do you have “Z” zero set in CC. You can choose top of your stock or Bottom. Zero from what you have chosen in CC.
Let us know
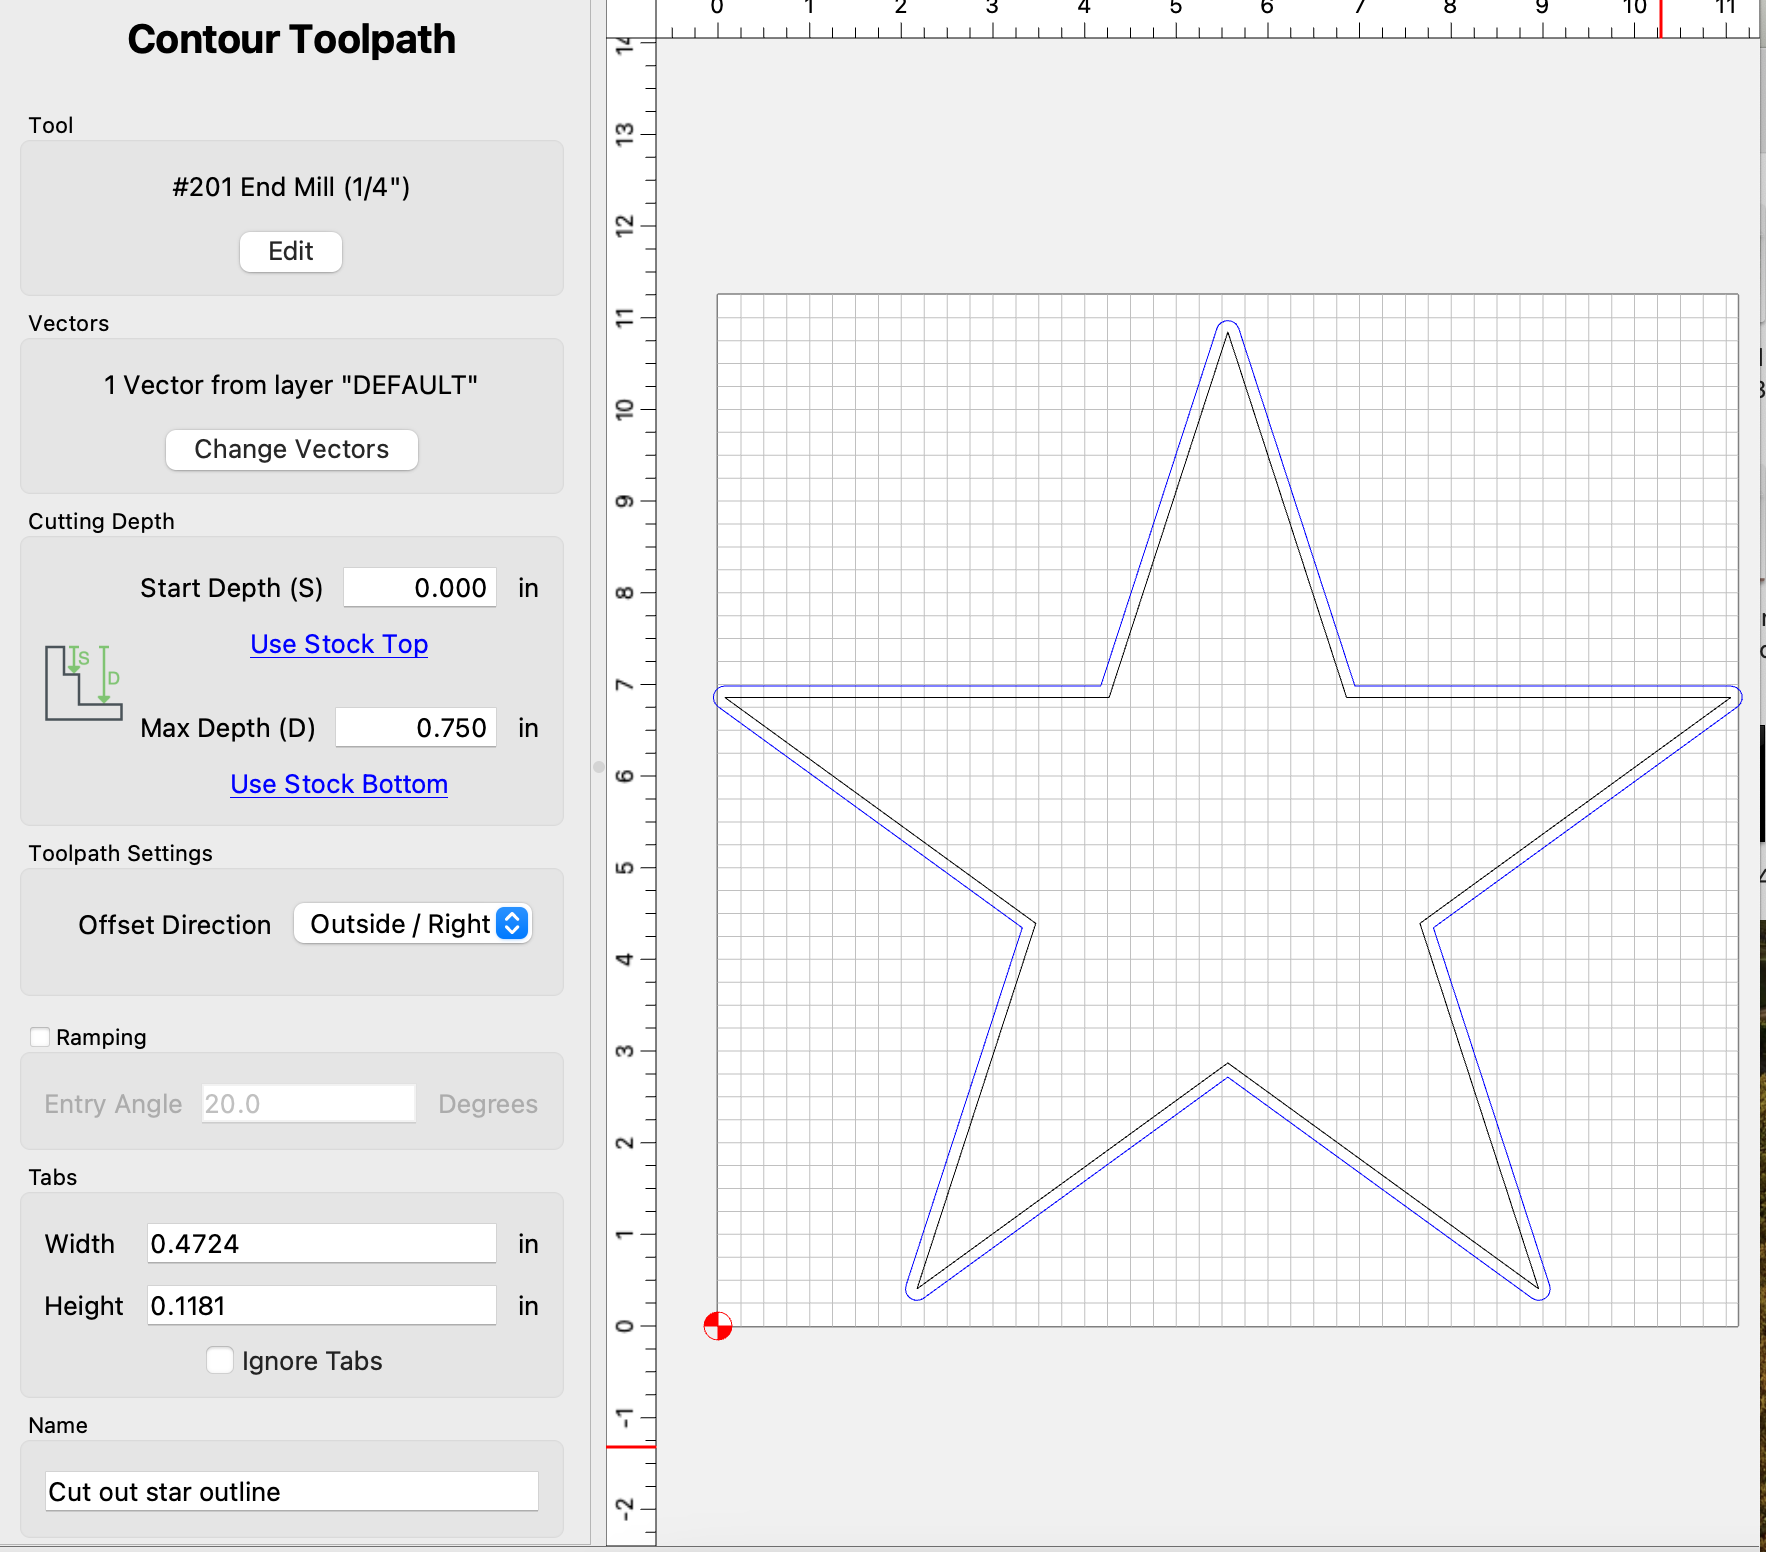
When programing your cut, in setup you can select where you would like to zero.
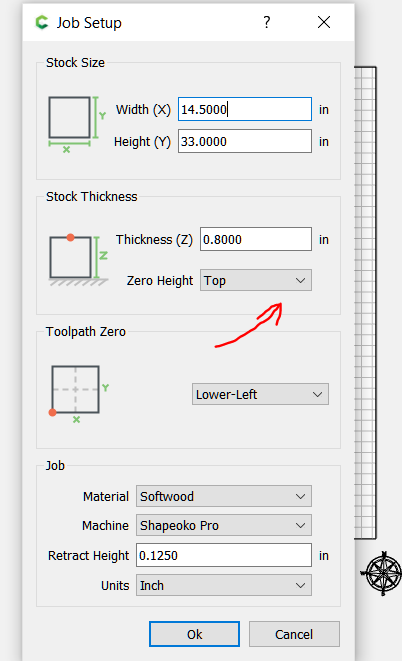
If we choose top we zero off top as you did using the Bit Zero. If the program thinks you are zeroing off the bottom it will offset accordingly, thus air cut.
Is this not what you have?
1 Like
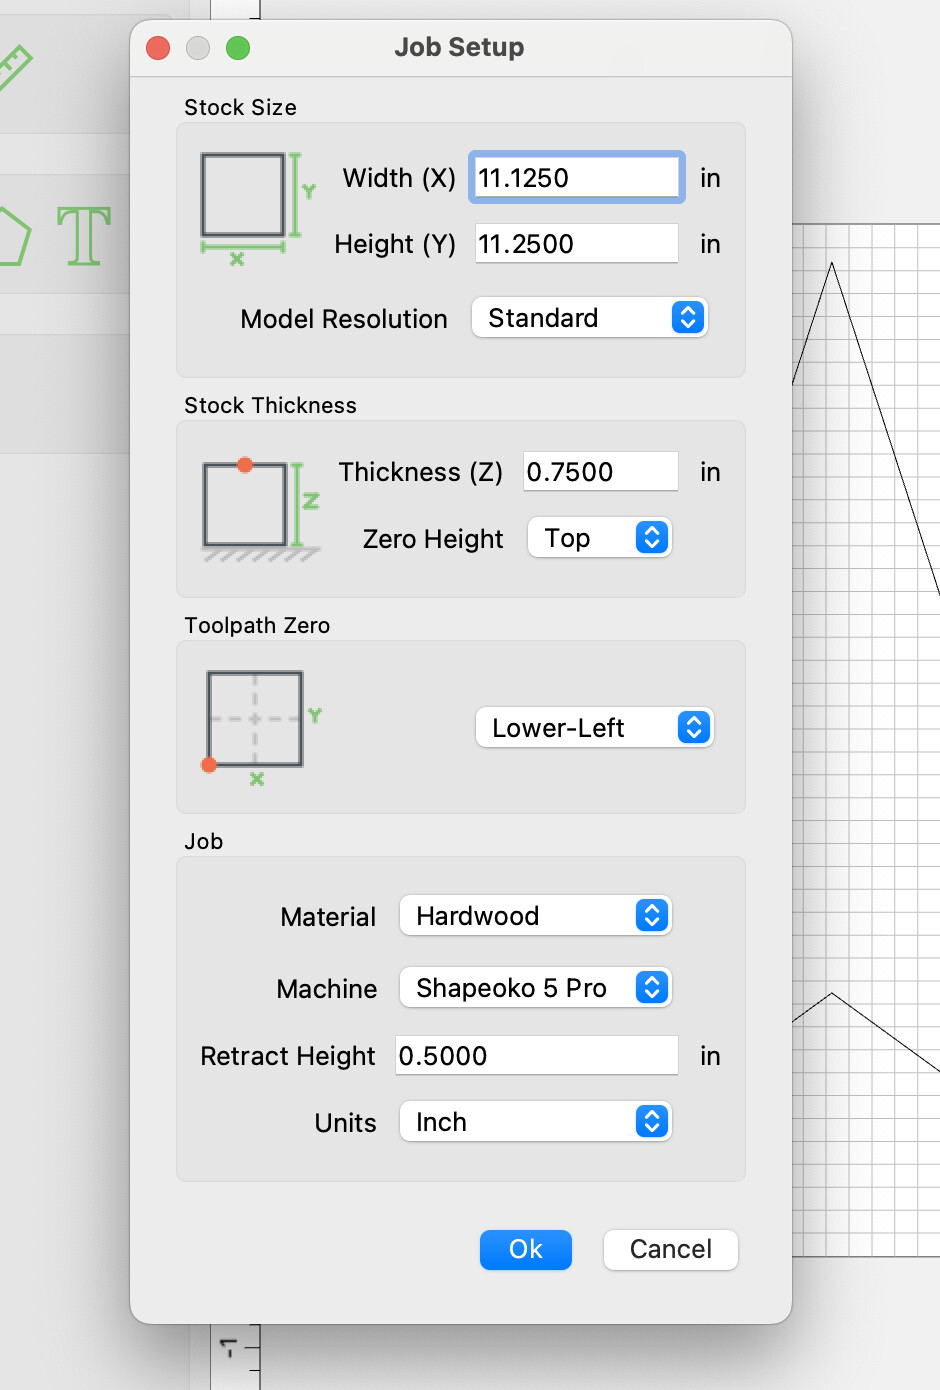
Yes, I have Zero Height: Top
Is there any other place where I can have the wrong setting? Ive tried two different files, a star cutout and a circle cut out. The machine follows the file but makes sure it does not touch the wood, which is so weird!
1 Like
Yes, that is strange. From your description you are using the Bit Zero.
So question, when setting up in CM for a new machine did you select the right machine??? If you chose the wrong “Z” when setting up it might calculate differently
1 Like
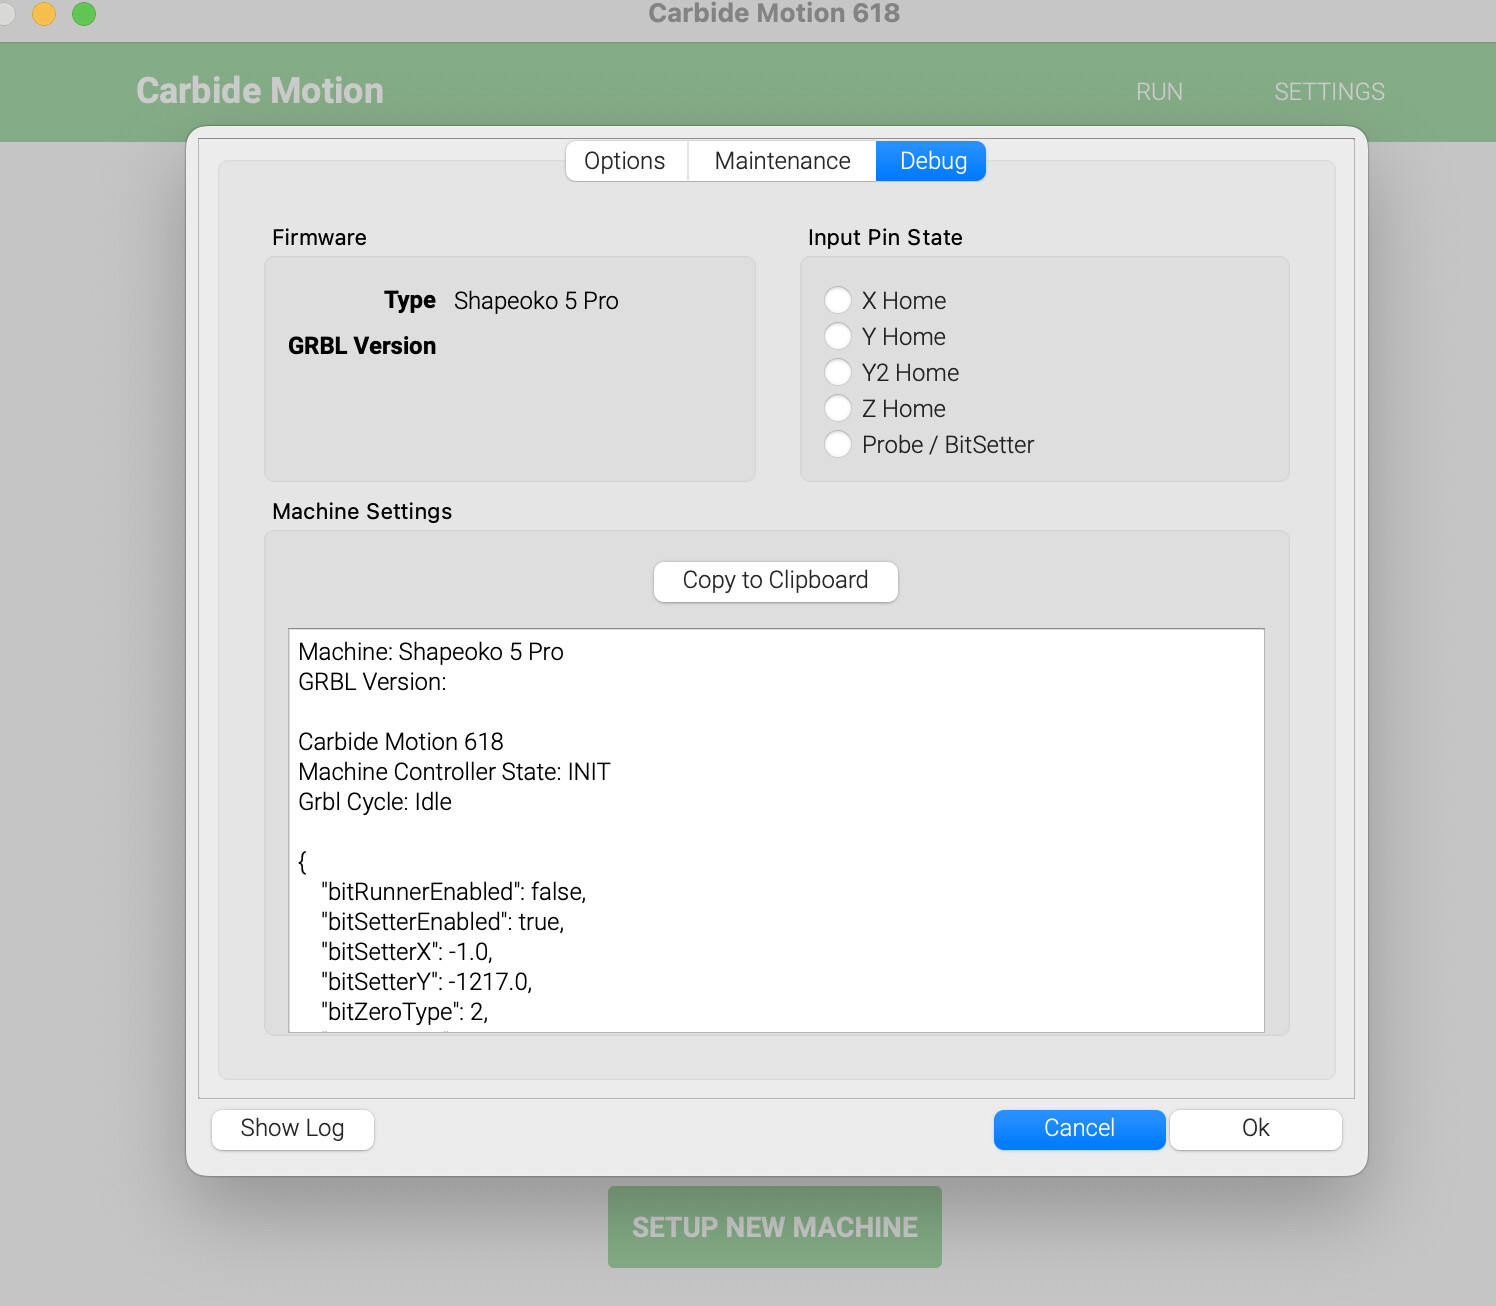
I am sorry, you did not say you are using the Bit Zero. How are you doing it?
Sorry I am new to this! I don’t have a Bit Zero, I have Pro Bit Setter.
I am uploading the file into Carbide Motion, setting my Z to 0, and then the X & Y according to where the wood piece is placed. After I press “Start job” the machine makes sure to avoid where the wood is actually placed and does the design in the air, right next to it. If I move the wood to where the machine was doing it in the air, it moves away from that spot as well.
No problem, we have all been there. They didn’t teach us how to do this in school.
Loaded your part
Secured your part
Installed you bit
Jog to “X” "Y zero
Lower Bit to just above the part. If you are doing the paper method, slow the “Z” movement to the lowest it will go. Have your paper sitting on the part, slide it back and forth under the bit as you lower the bit. When you feel tension on the paper as the bit touches you are there. Go to the set zero tab and select zero all. You can do on at a time if you want.
Is that how you were doing it?
Yes, those are the exact steps that I did!!
1 Like
Have you sent a note to Support? They can walk you thru or do a video chat with you.
How high above the part is it air cutting?
Yes I have sent them a message as well, hopefully they respond by tomorrow morning! It is cutting as high as I set it in carbide create .50 inch
Wow.
I am baffled. Good luck. It is probably something simple that you and I missed while discussing it.
Before cutting, I would recommend using the Rapid Position buttons to:
- Rapid to Current XY
- Rapid to Currrent Z + 6mm
that will afford a check that the origin was set where you expected it to be.
This topic was automatically closed after 30 days. New replies are no longer allowed.