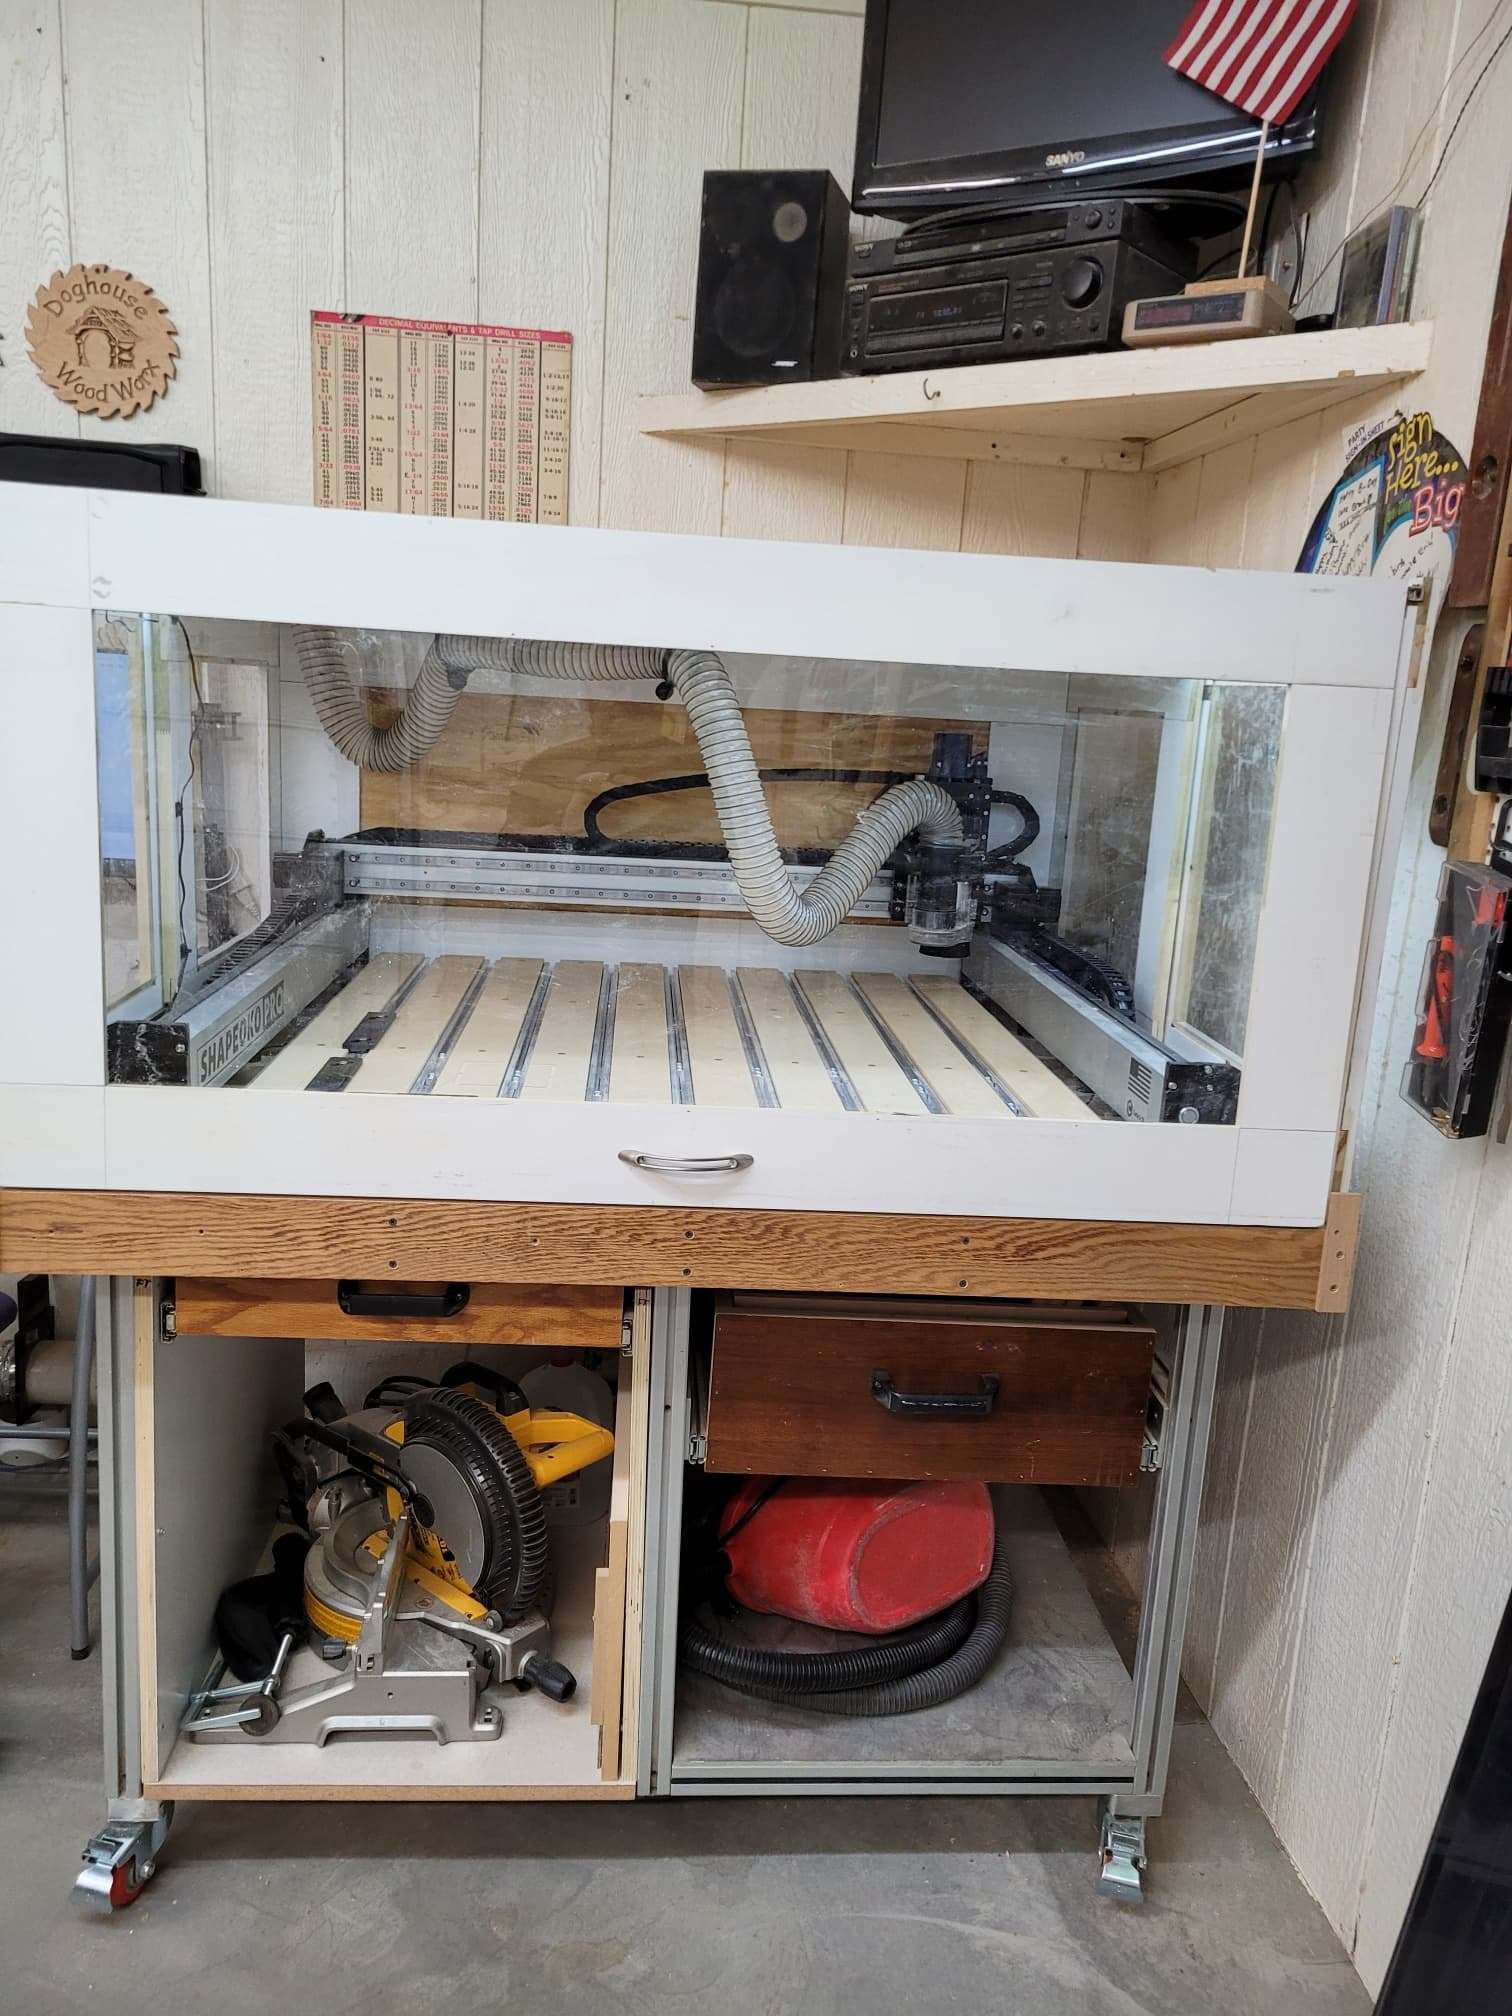
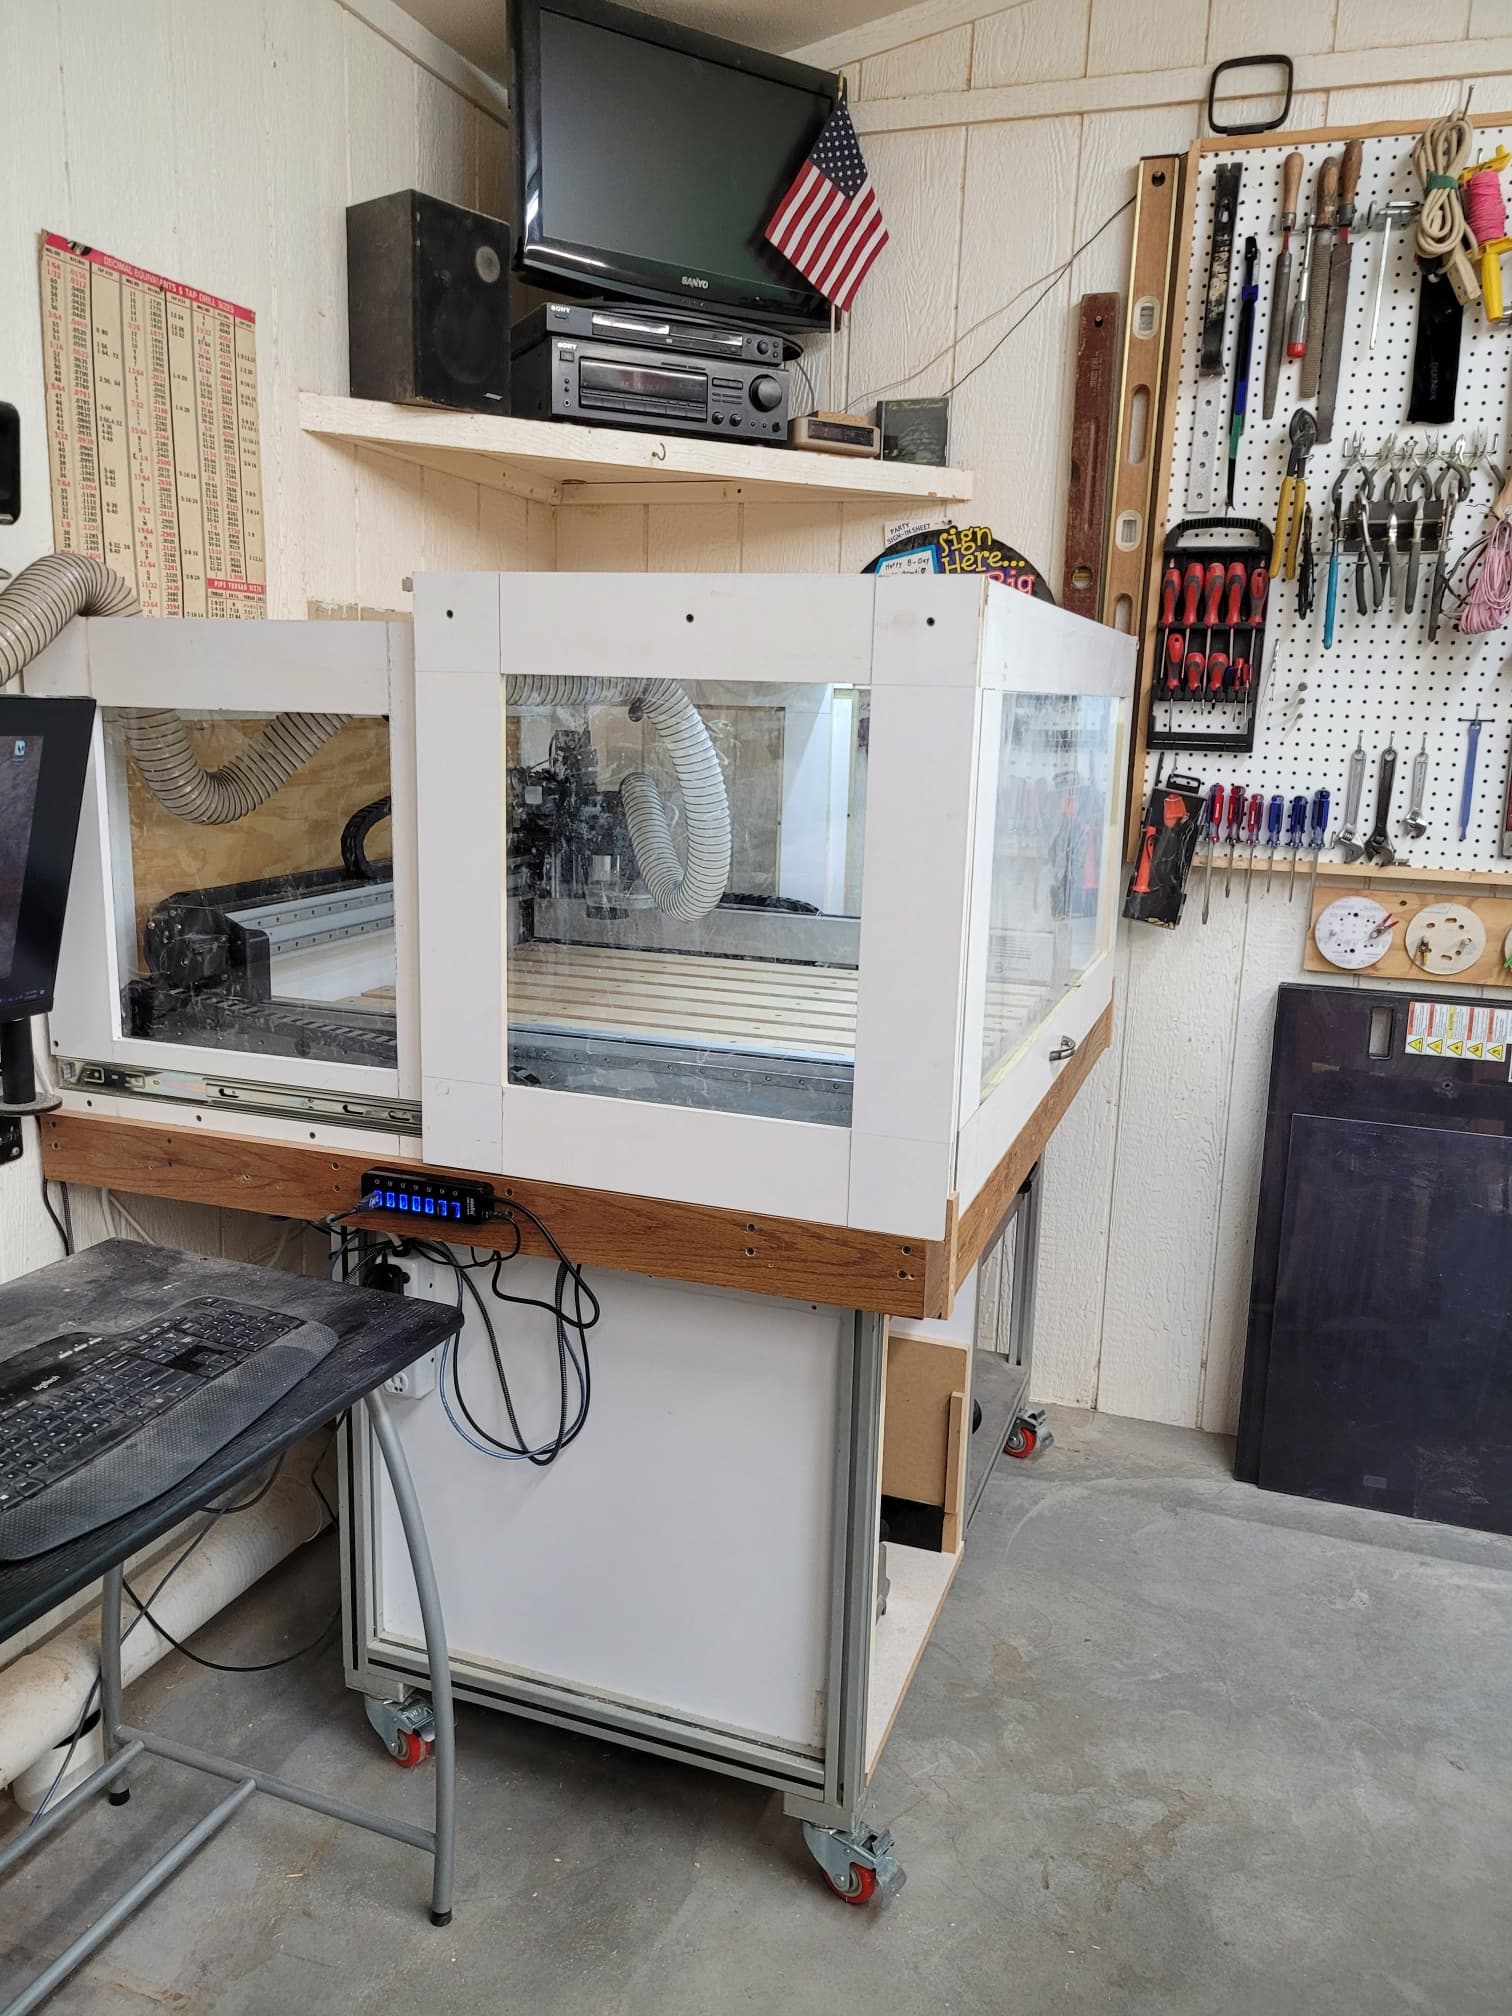
Here’s my attempt at a Shapeoko Pro enclosure, which was inspired by Hunter White’s design.
Than platform had to be extended in both X and Y directions as it was originally used with the S3 that I upgraded from.
I was too cheap to buy the ¾” plywood based on current prices so I made this using some primed Poplar I had sitting in my wood shed for at least 10 years and some ½” plywood salvaged from a shipping crate from work.
Got really luck with the windows as Lowes had two marked down 4’ x 4’ pieces of Acrylic for $60.
It took a lot longer than a plywood build would have, and it’s definitely not as fancy as many that I’ve seen but I’m pretty happy with the noise reduction and cleaner shop environment, especially based on the fact that I’m all in at about $100.
5 Likes
That’s very similar to what I am thinking about building. I like how you did the drawer slides and the LED lighting.
2 questions.
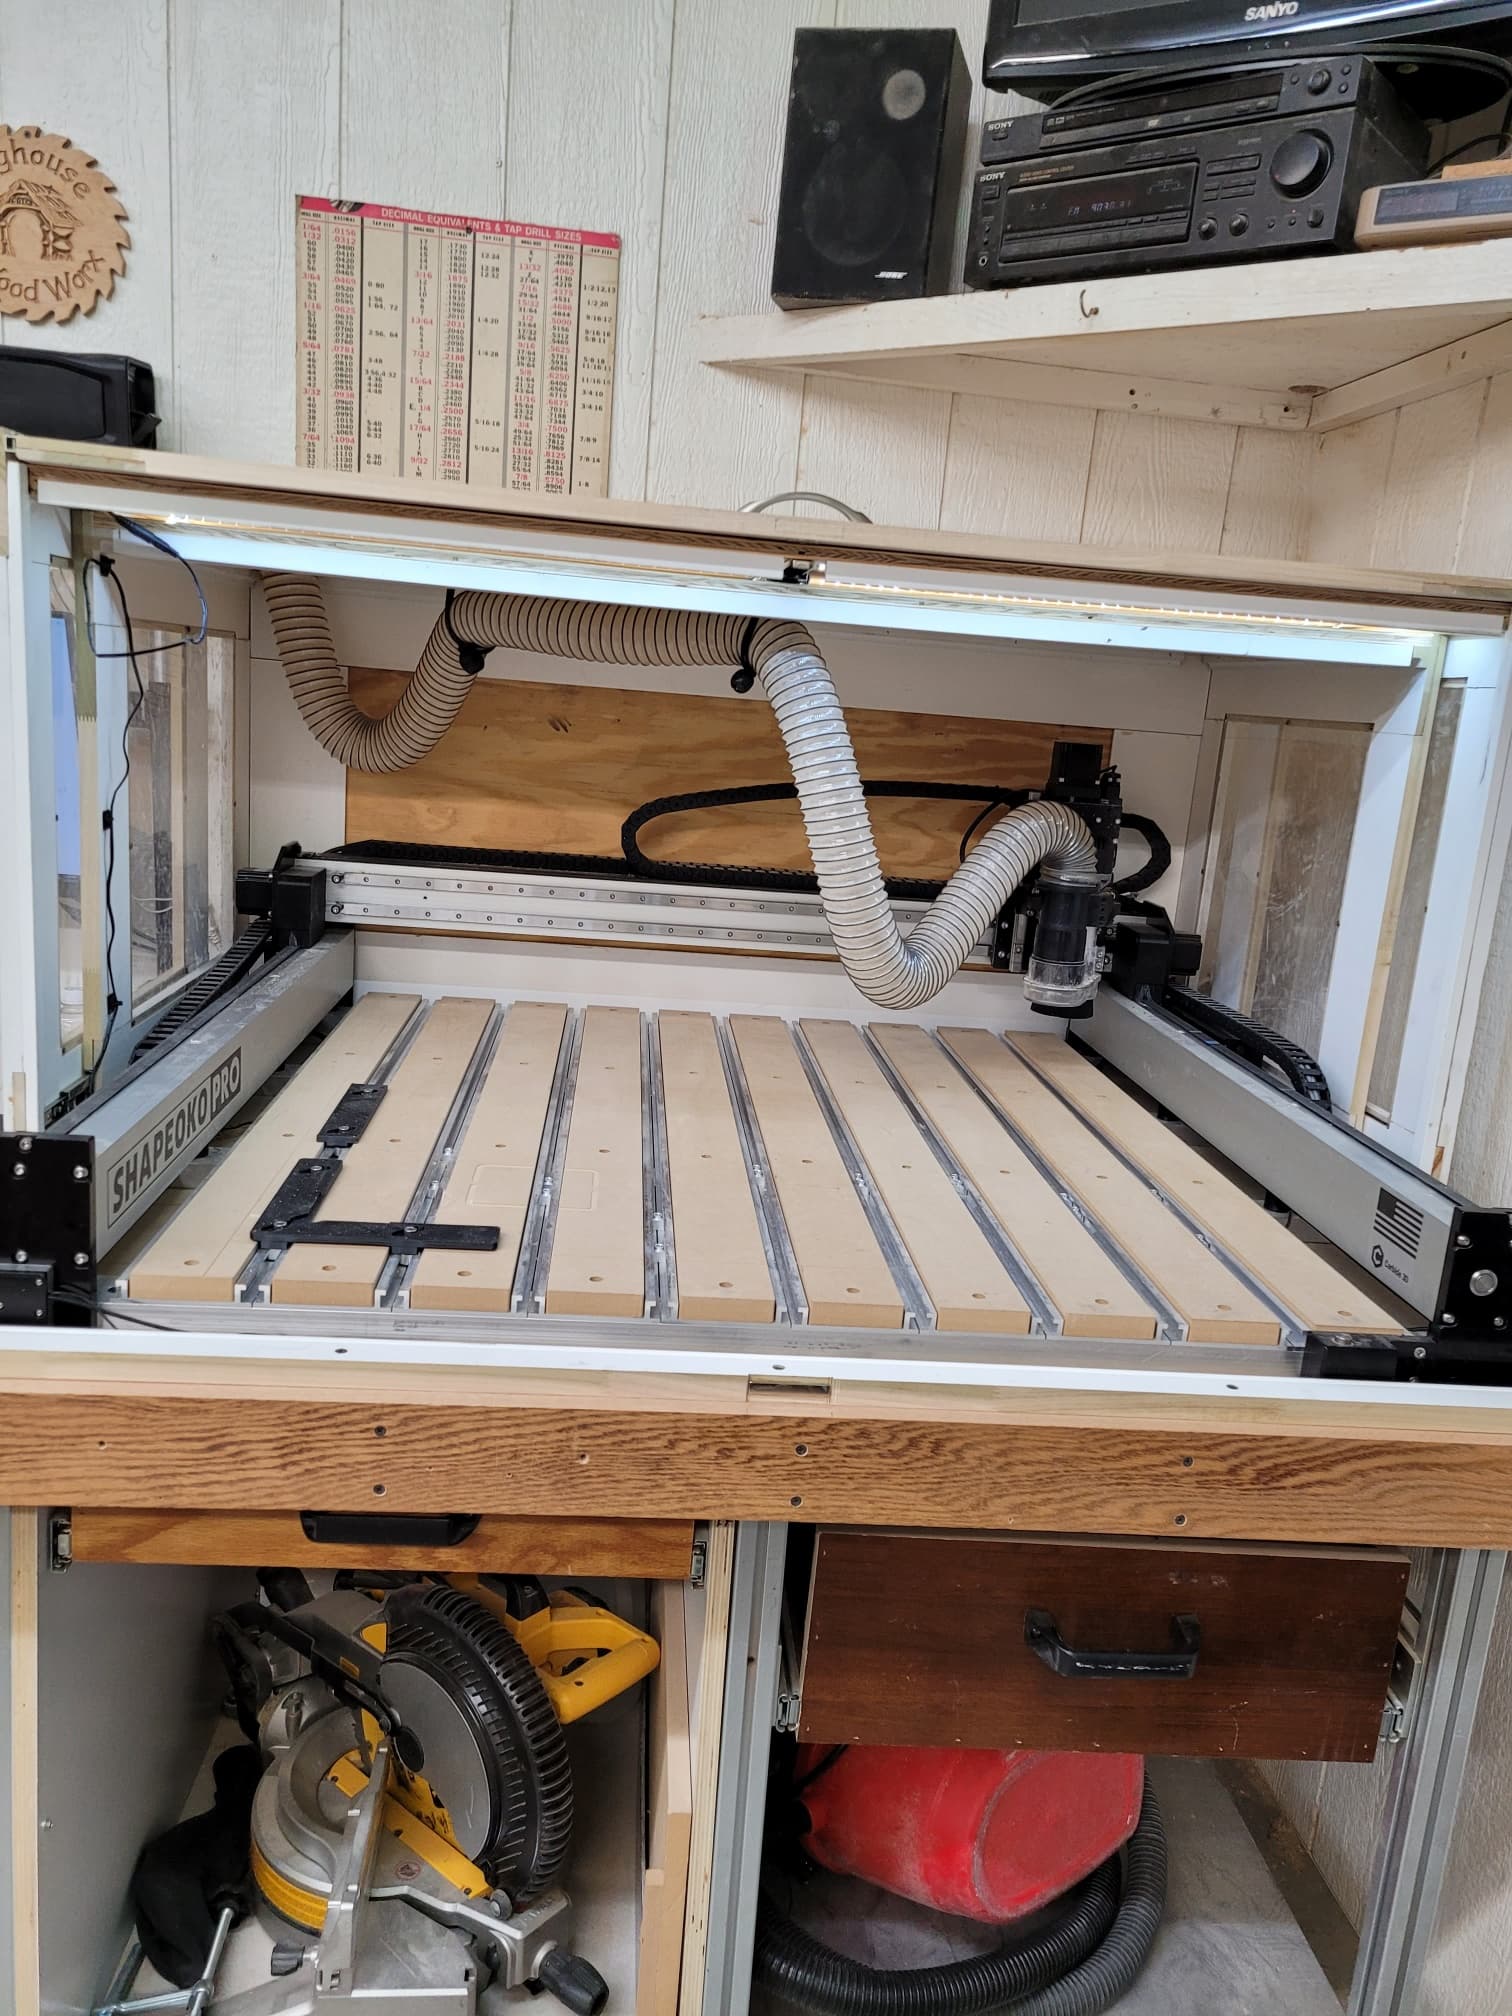
Do you have enough room at the front?
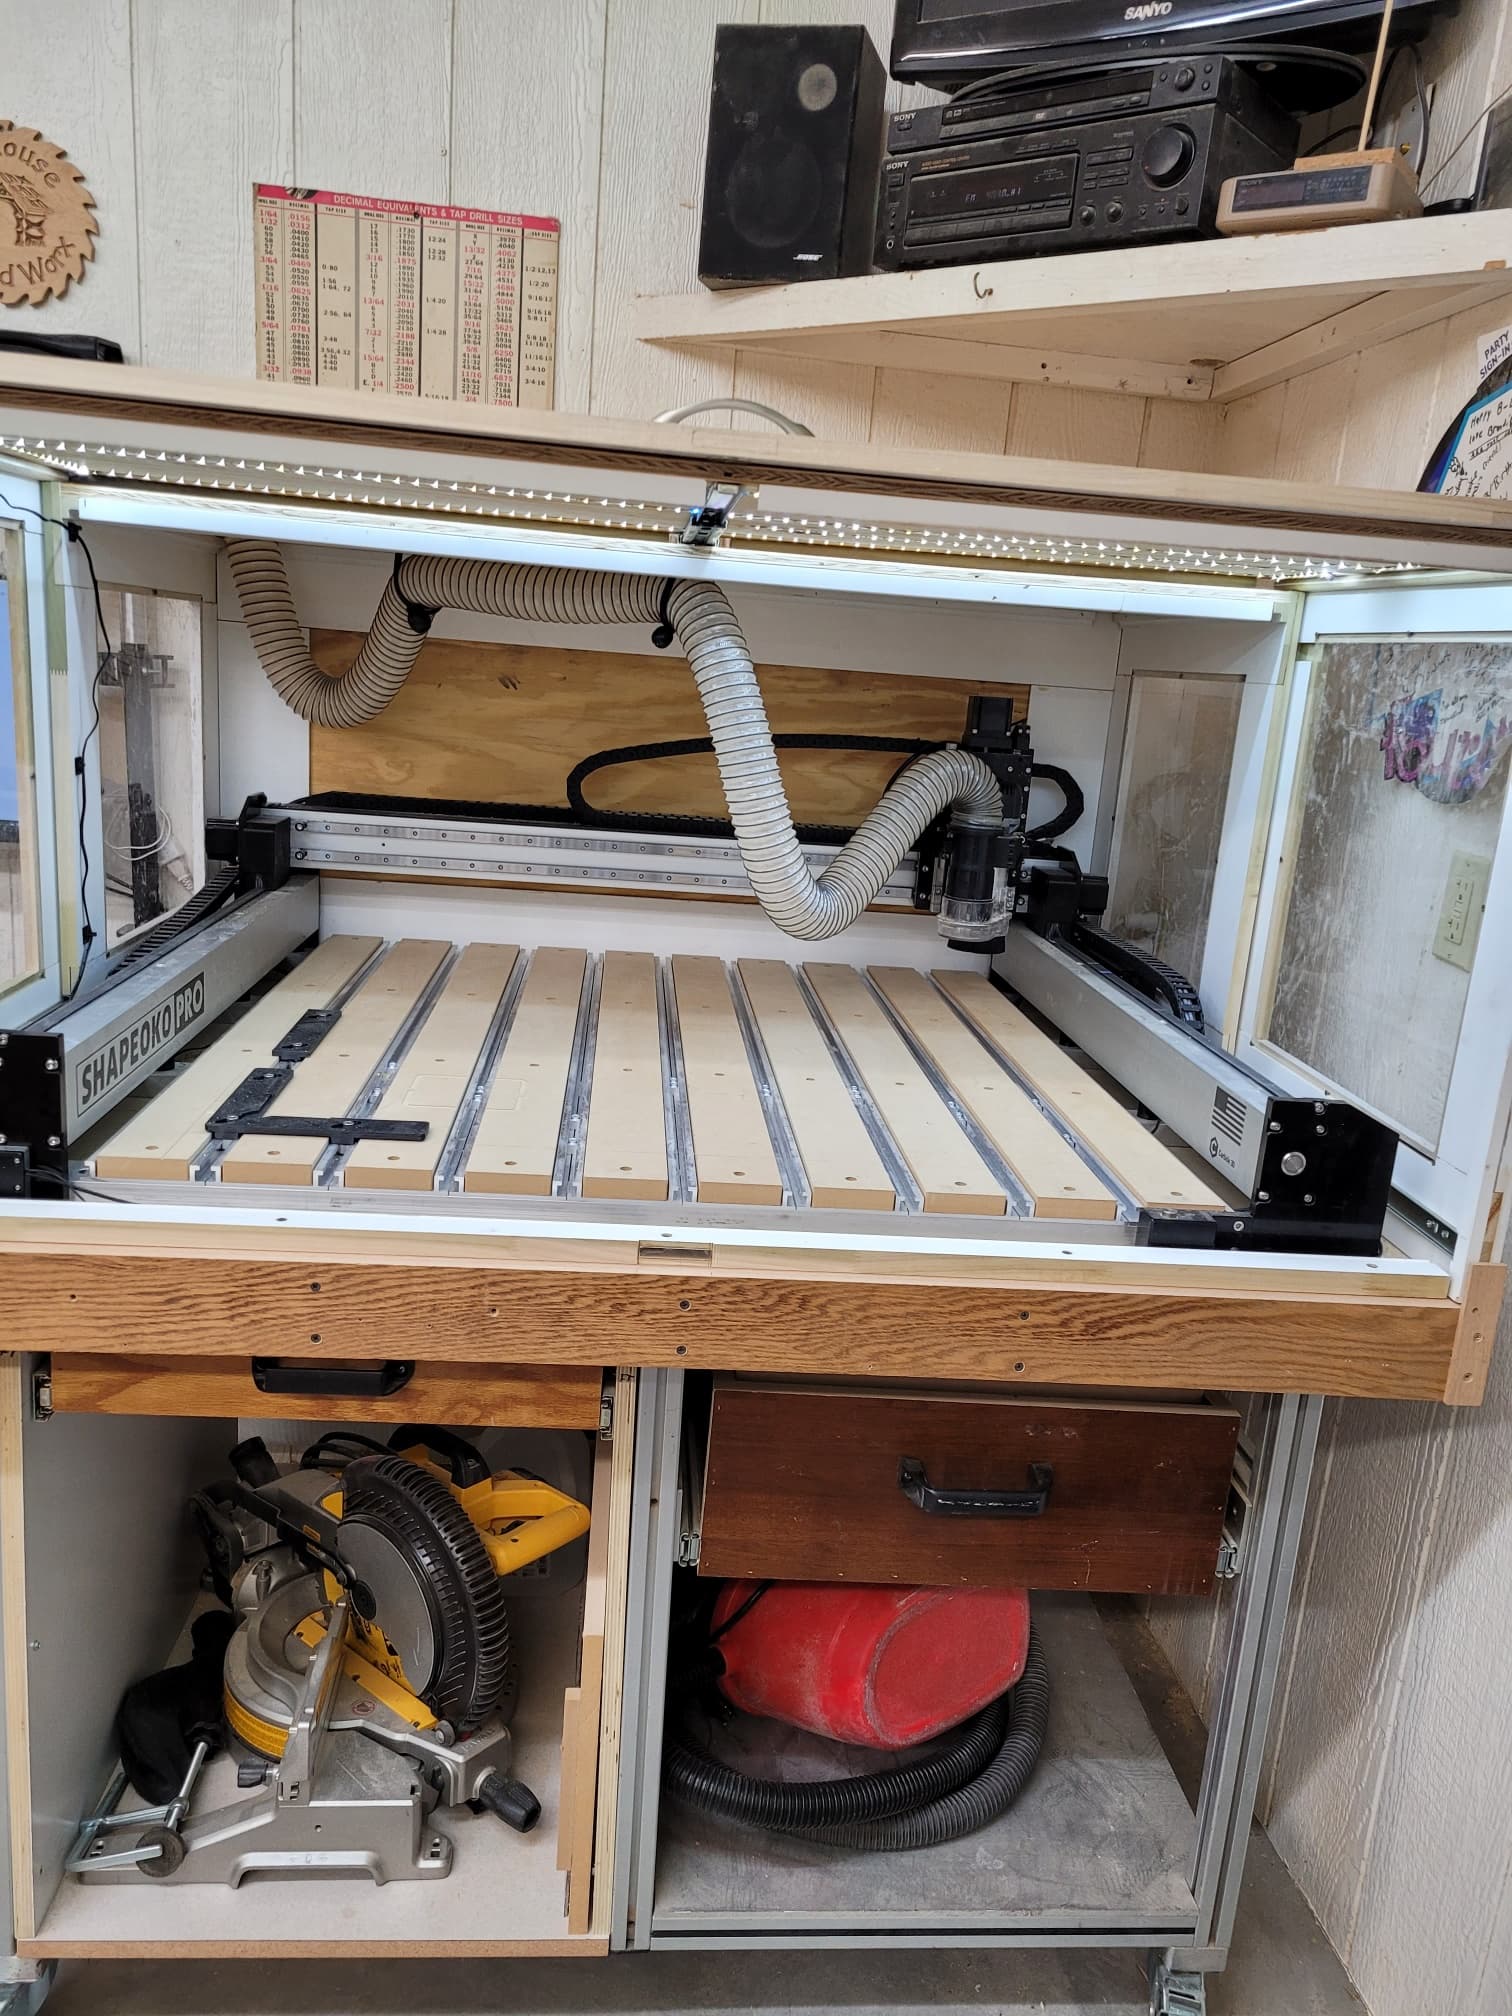
Do you have any other vacuum hoses in the enclosure other than the one on the z axis?
Good Job! I’ve been using wood I have around the shop as well.
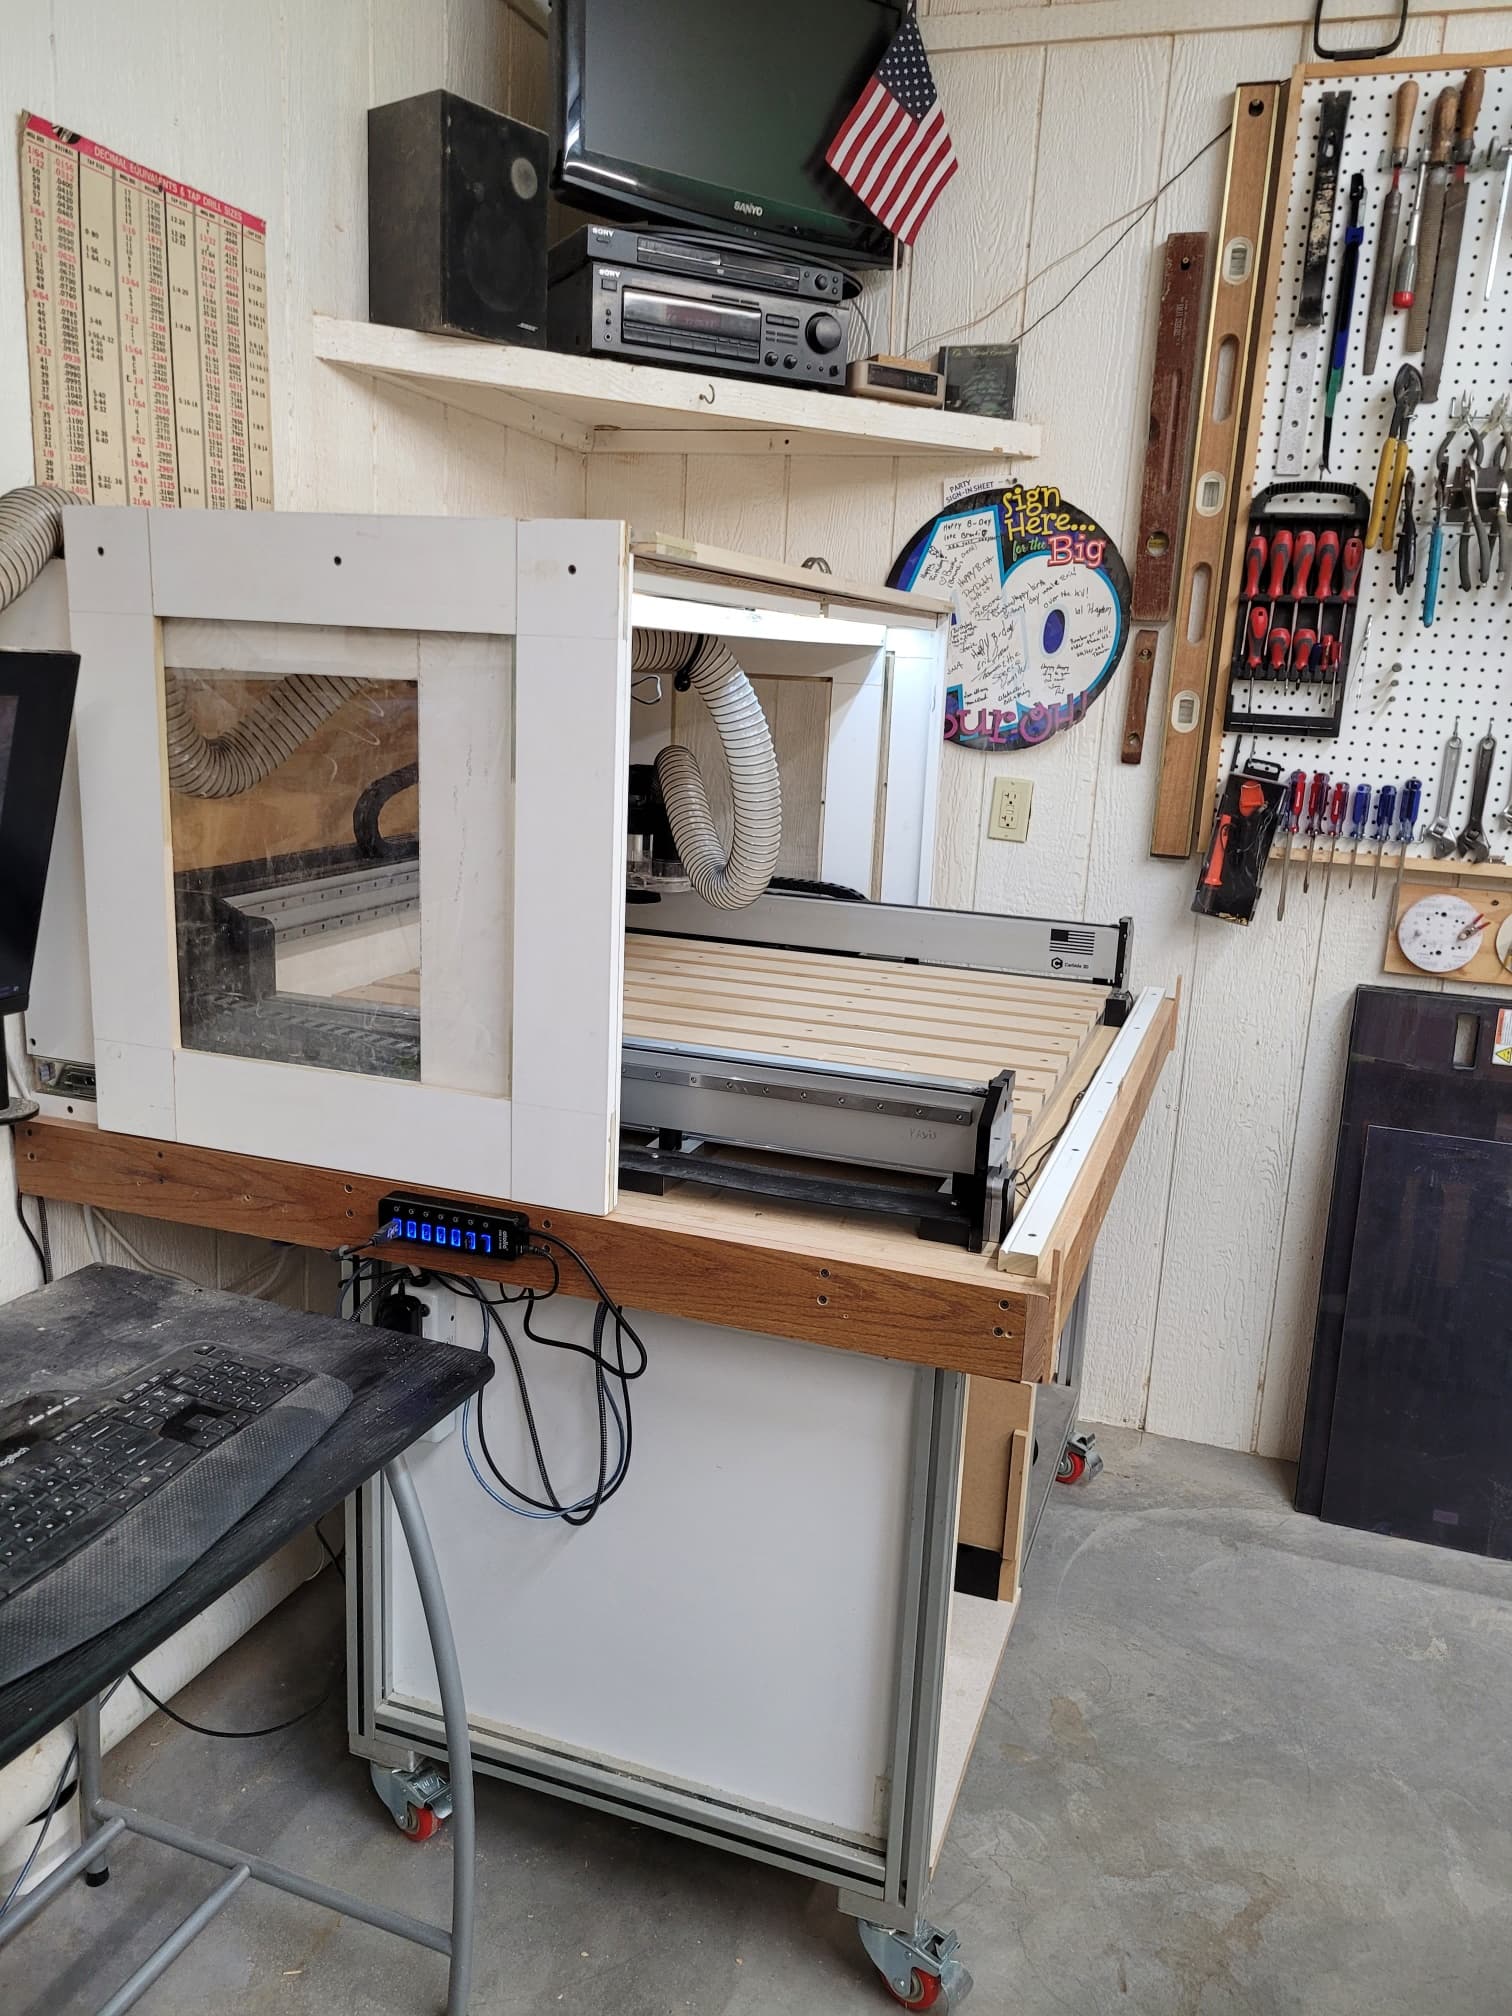
I particularly like the sliding front for ease of access to any project you have on the machine.
Keep more work coming, I look forward to seeing what you do.
Hi Doug,
- Yes, I have plenty of room at the front. If needed I can still slide the door onto the top.
- The vacuum hose shown is the only one, which is tied to a dust collector with Thein Baffle.
Best,
Eric
1 Like
Thanks Eric. It took me quite a while to decide on the appropriate design for my shop layout.
Best,
Eric
1 Like
This topic was automatically closed 30 days after the last reply. New replies are no longer allowed.