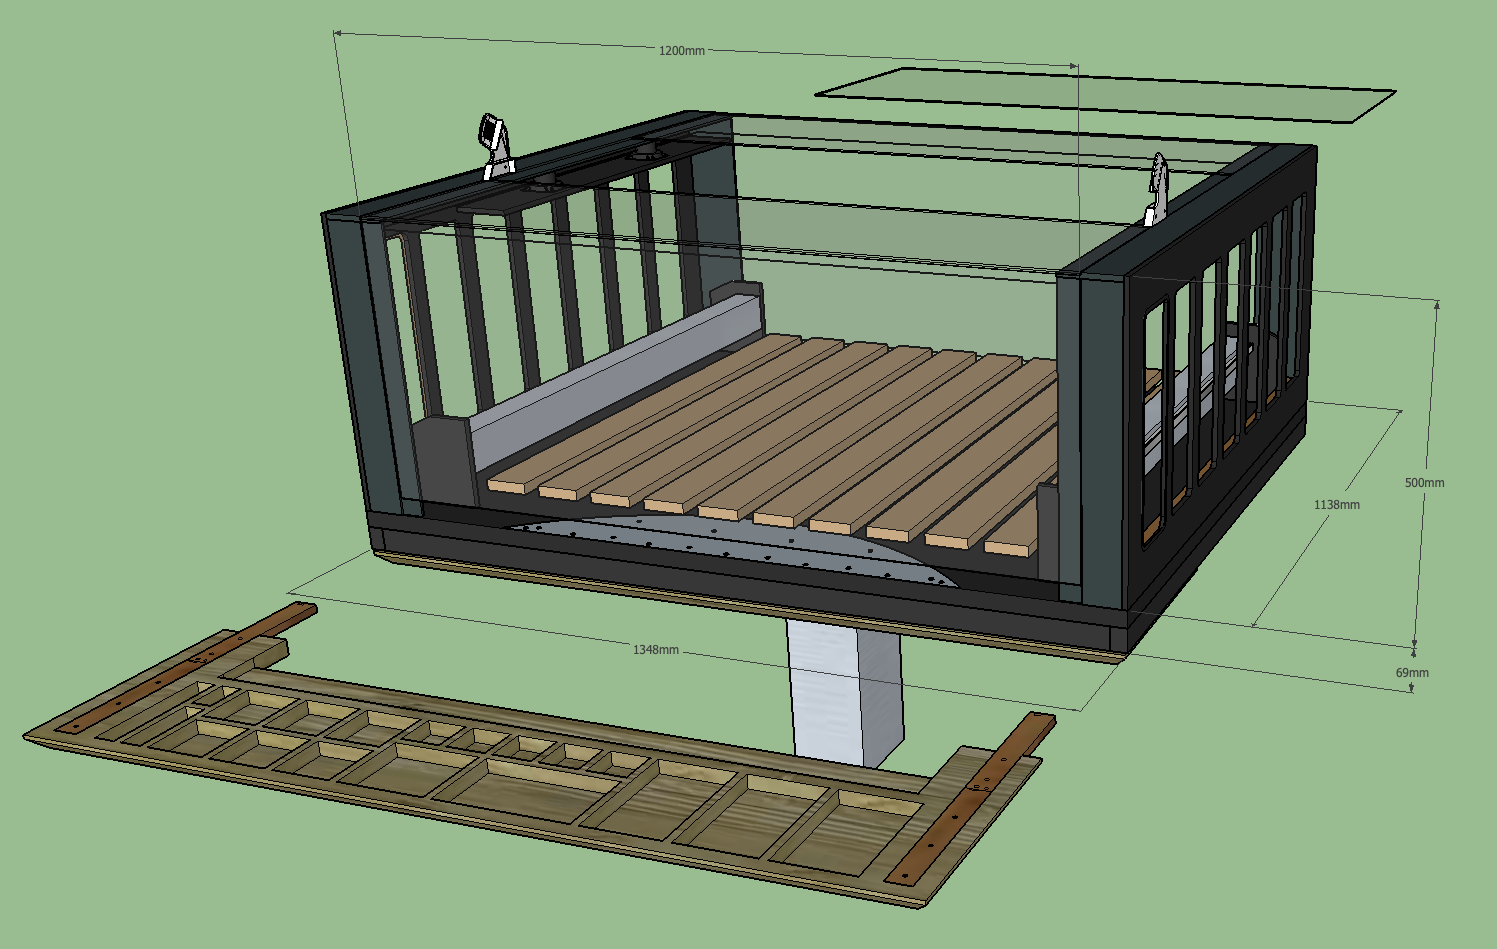
I just wanted to share an idea about what an enclosure can look like. My workshop doesn’t have infinite space and the initial idea was to have and up-down table which in the lower position could work as an additional work surface and in the upper position be placed above the other workbench. For that to happen I need a table with wheels…
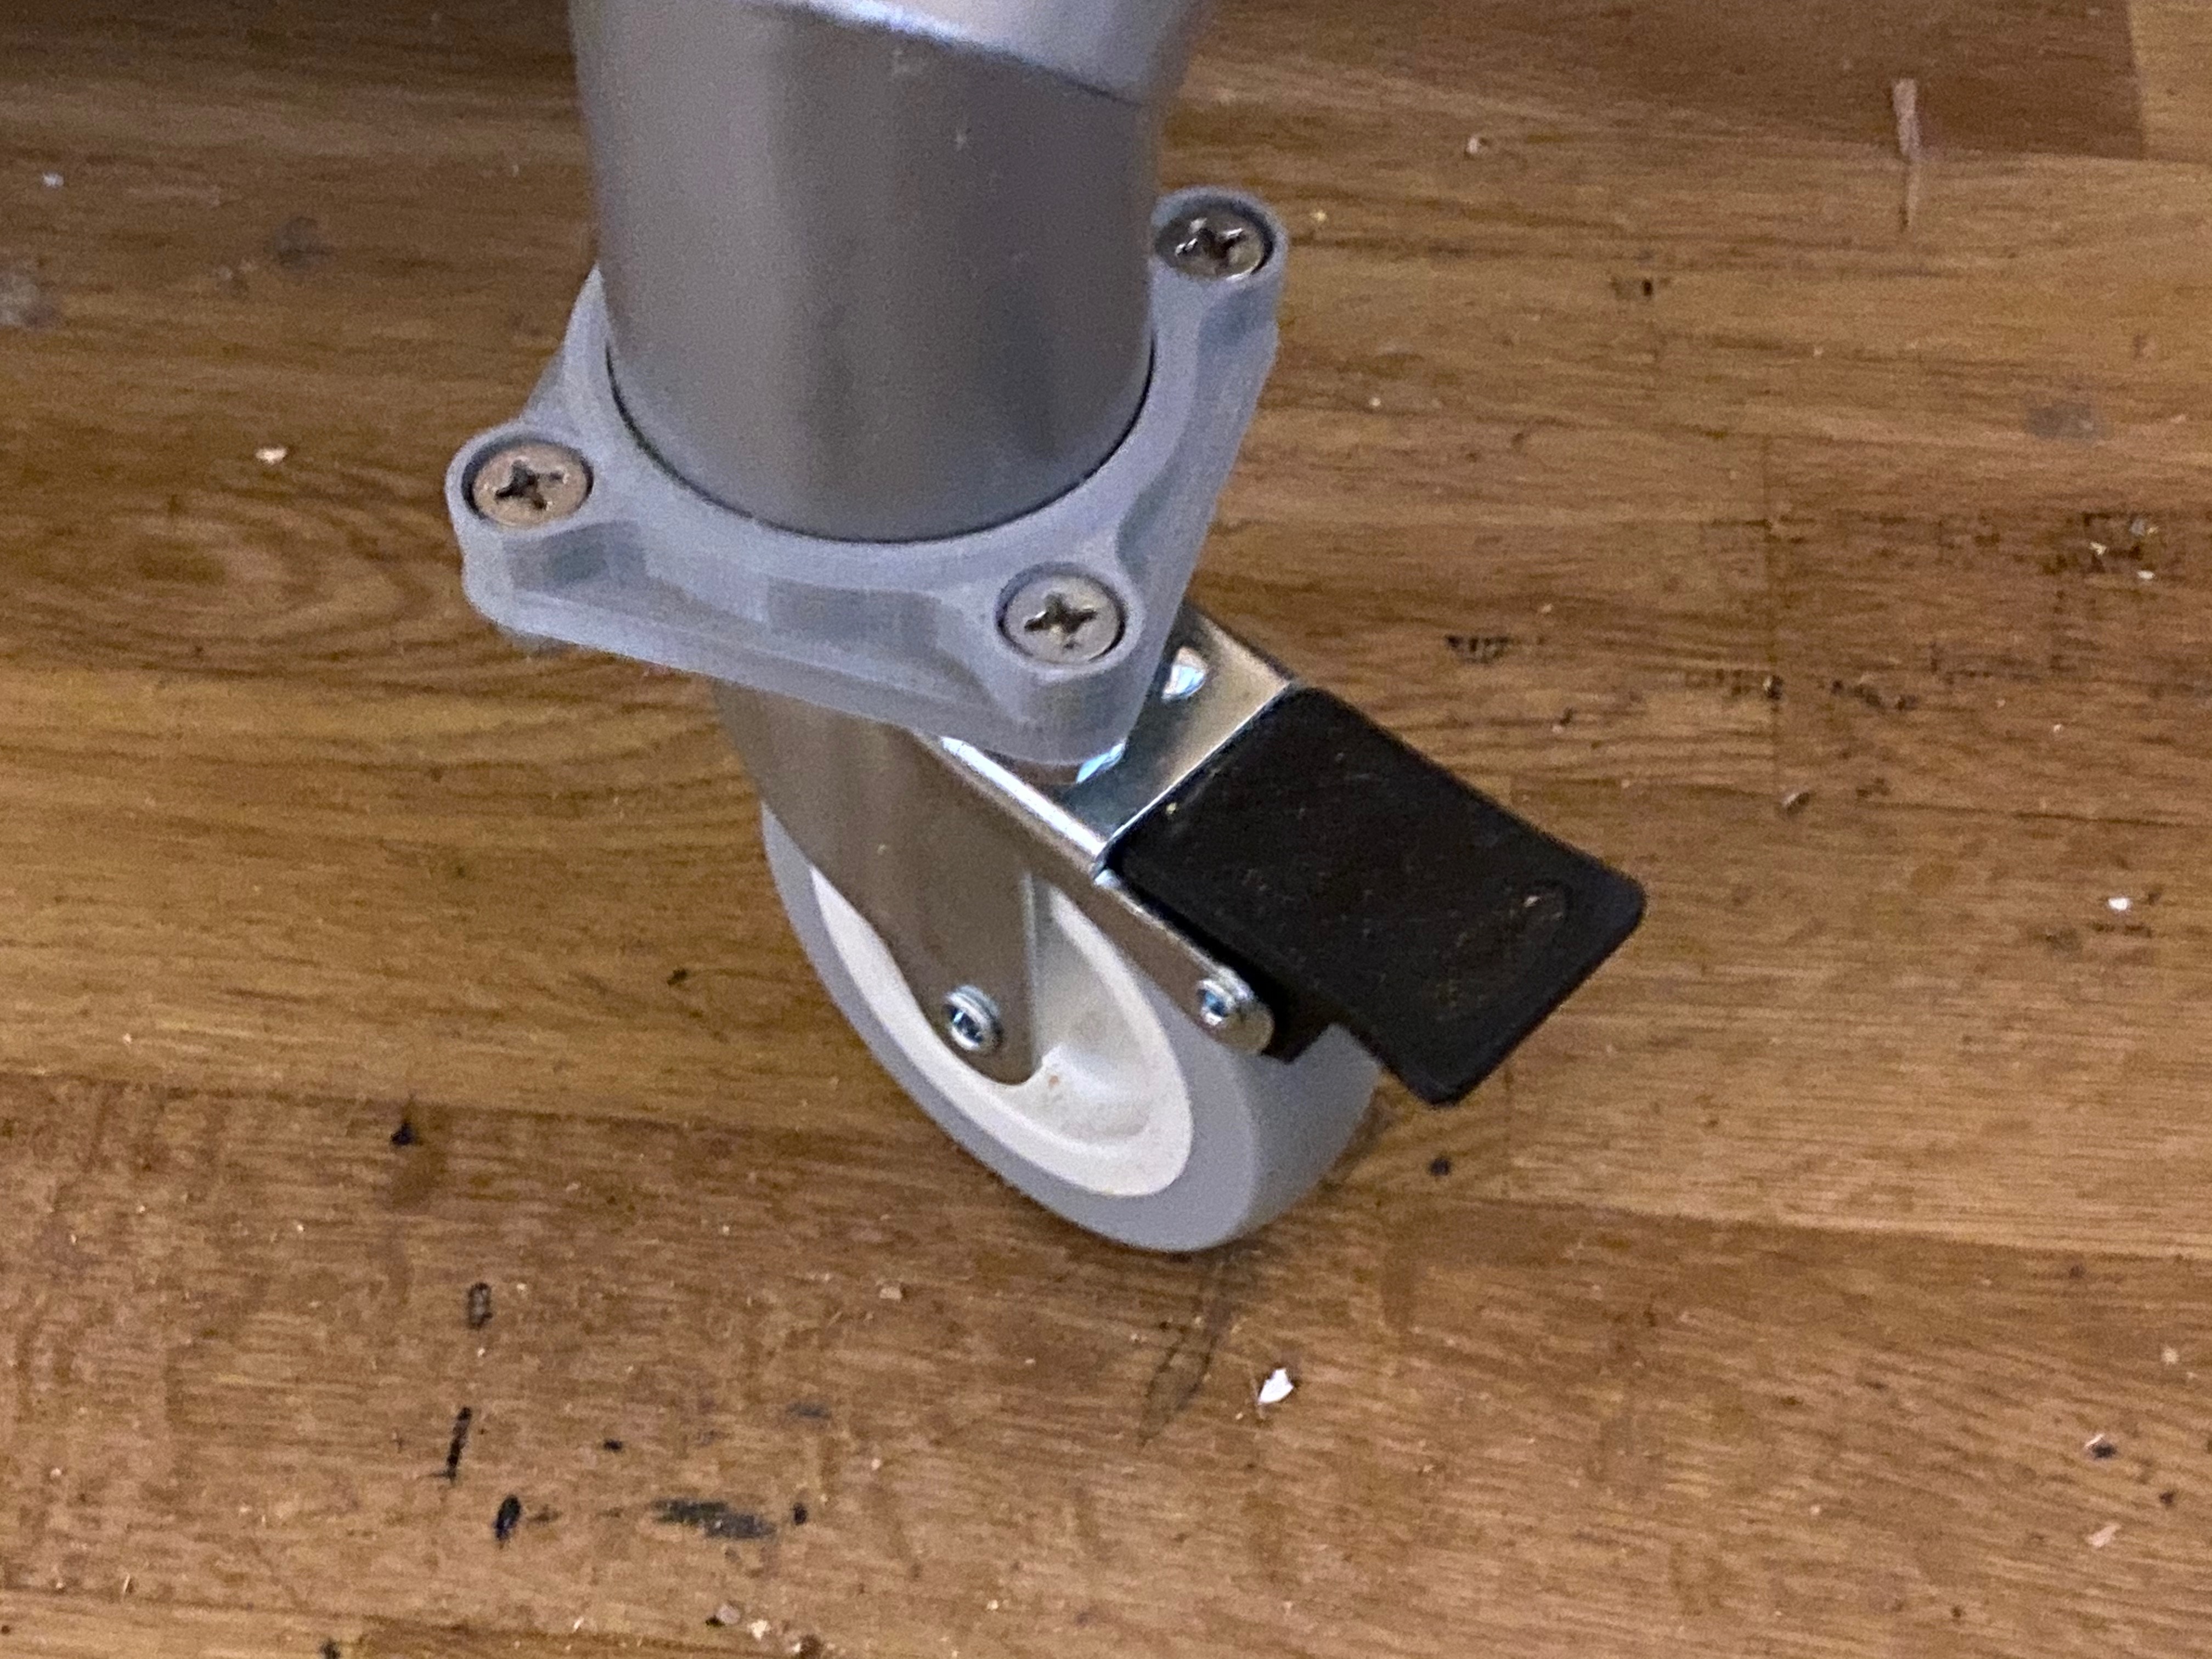
I found a really rugged up-down table in the second-hand marked and had to draw and 3D print mounting brackets for the wheels. One important thing was to be able machine long parts in the CNC so I need the ability to open the enclosure in both ends. This also for maintenance and cleaning. -with the wheels, be able to turn it around. The table became to high in the lower position to be suitable as an additional work surface but I am quite happy with the design.
Still working on how to make the vacuum hose become connected when closed and for a wide area movement, but I have and idea. “Emergeny stop” has been a mandatory since day one, and I am really happy that I found some useful information about the Feed Hold Switch in this forum. -to be add outside the enclosure it in the following days.
Regarding sound and dust - Much better and less sharp sound. Can run it without hearing protection, but I rather still keep them on. The workshop is in my basement and the enclosure helps increase the WAF.
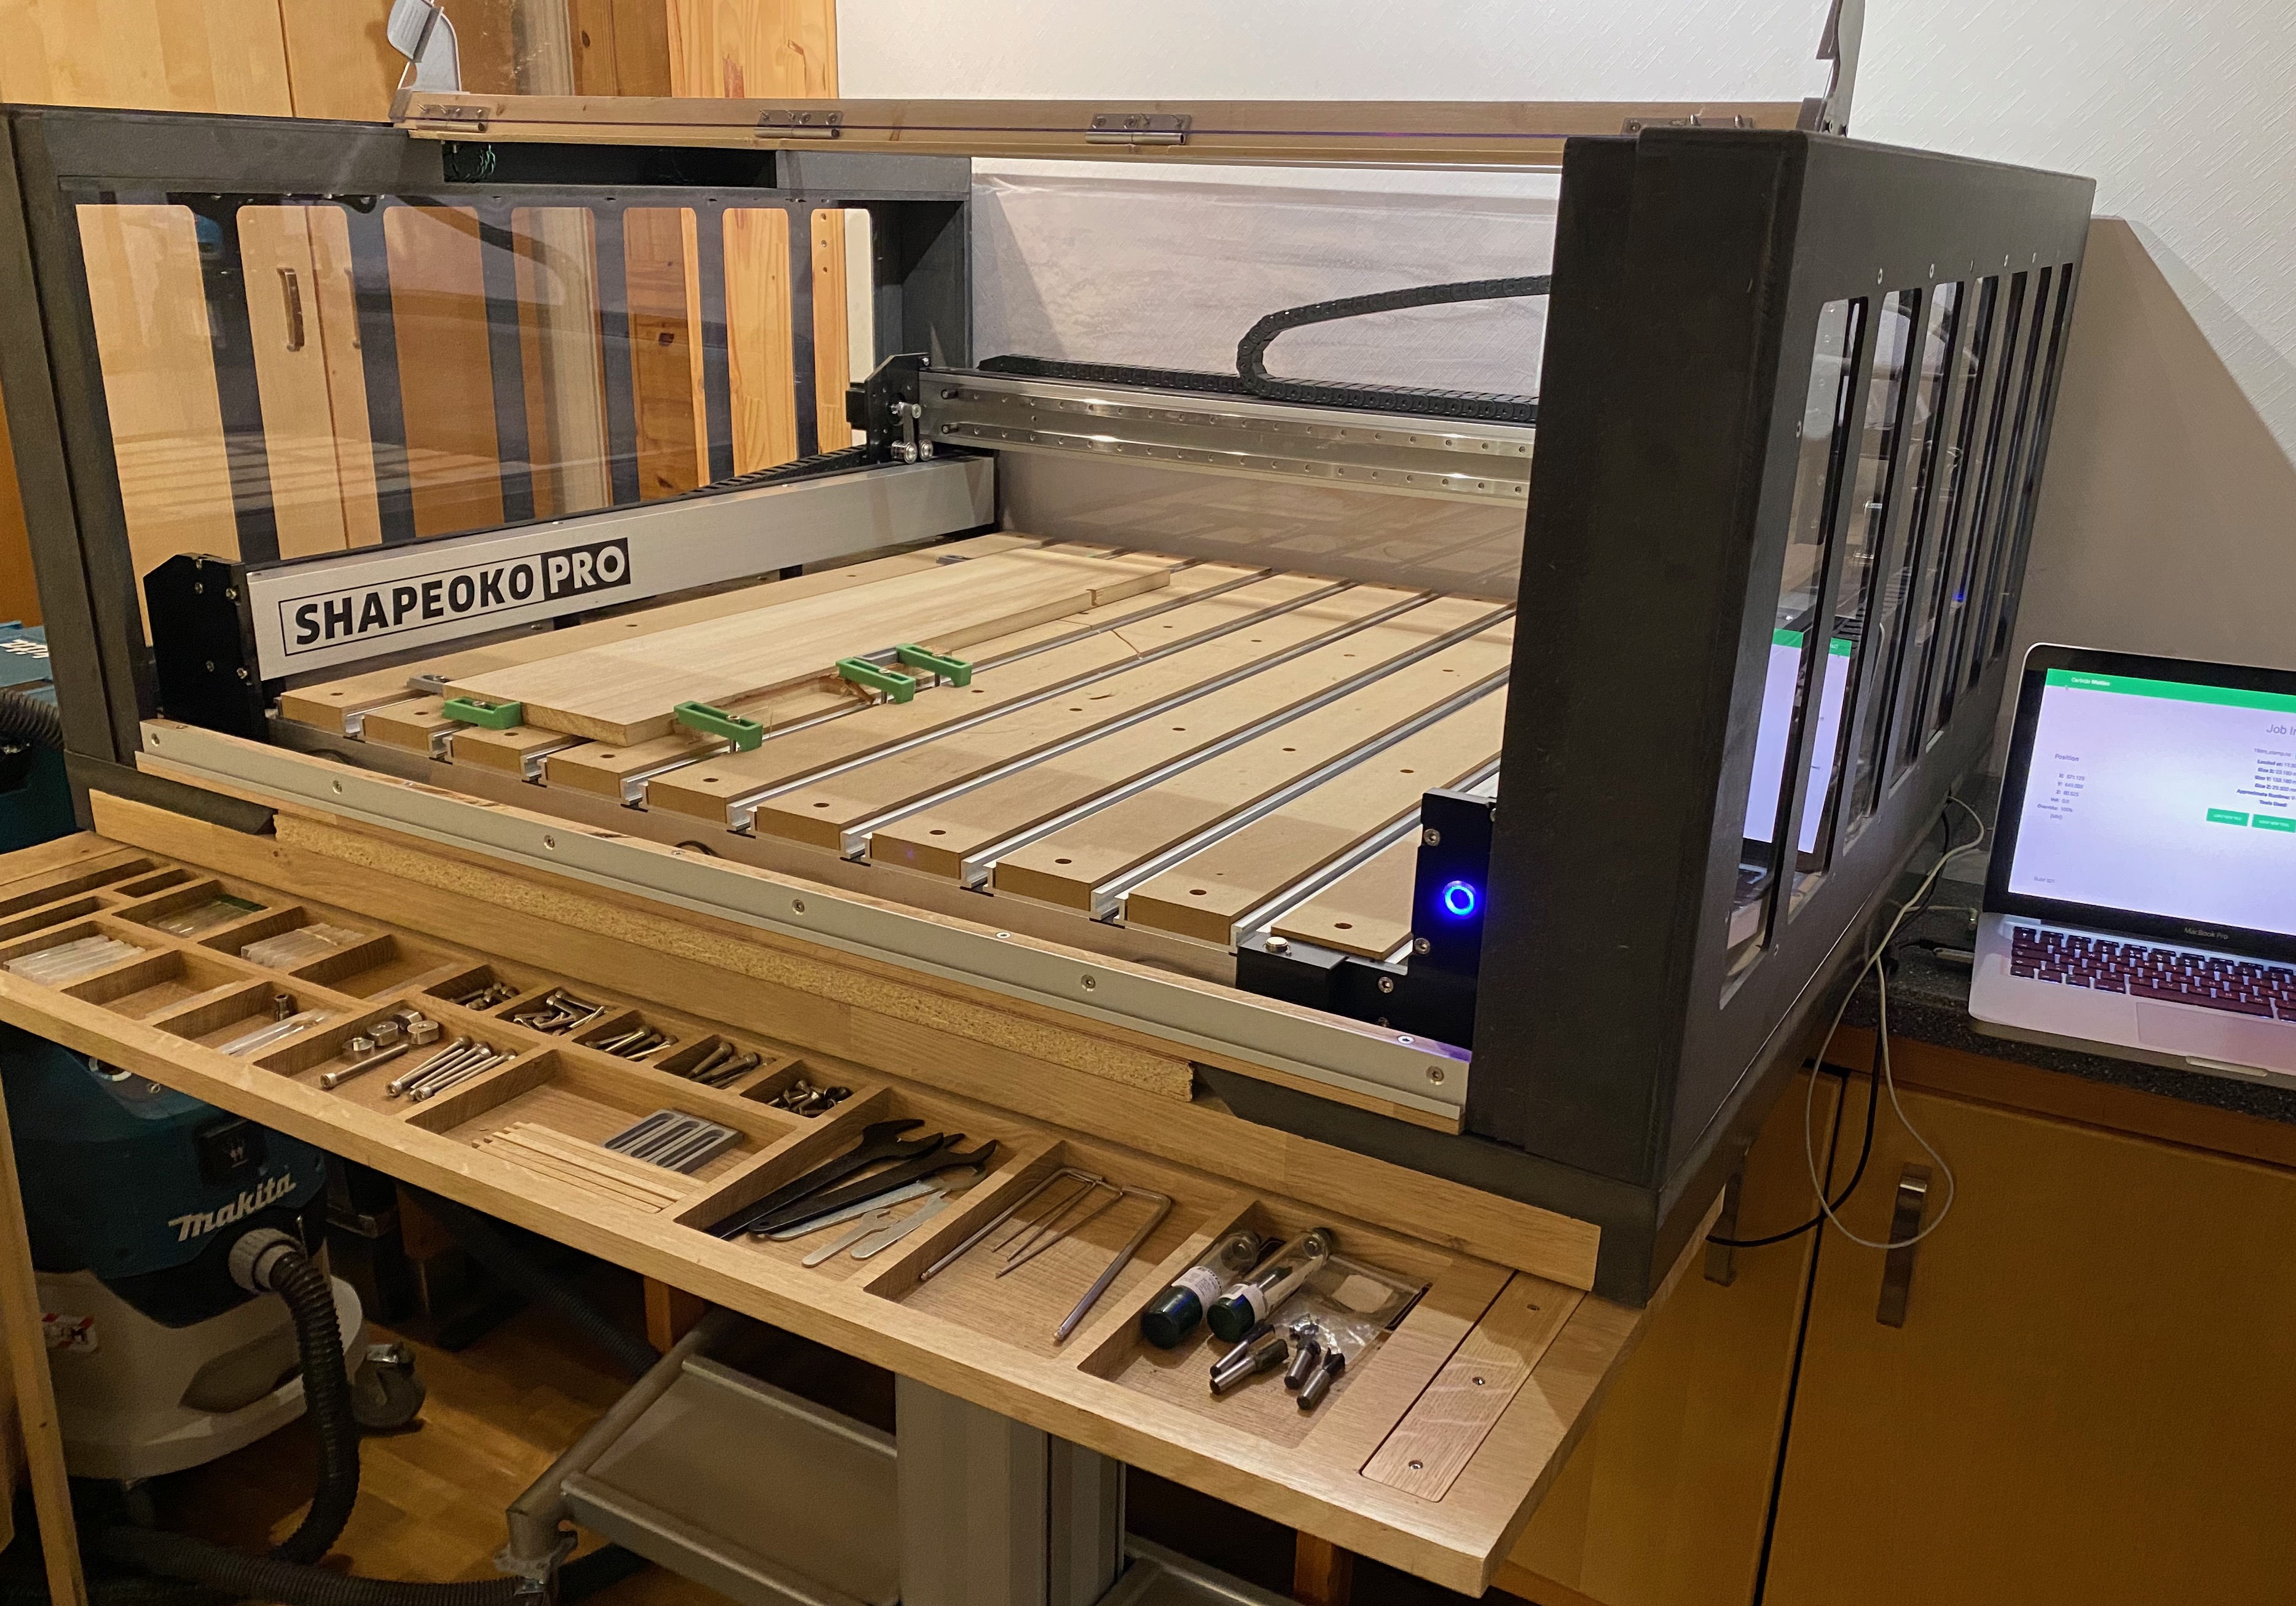
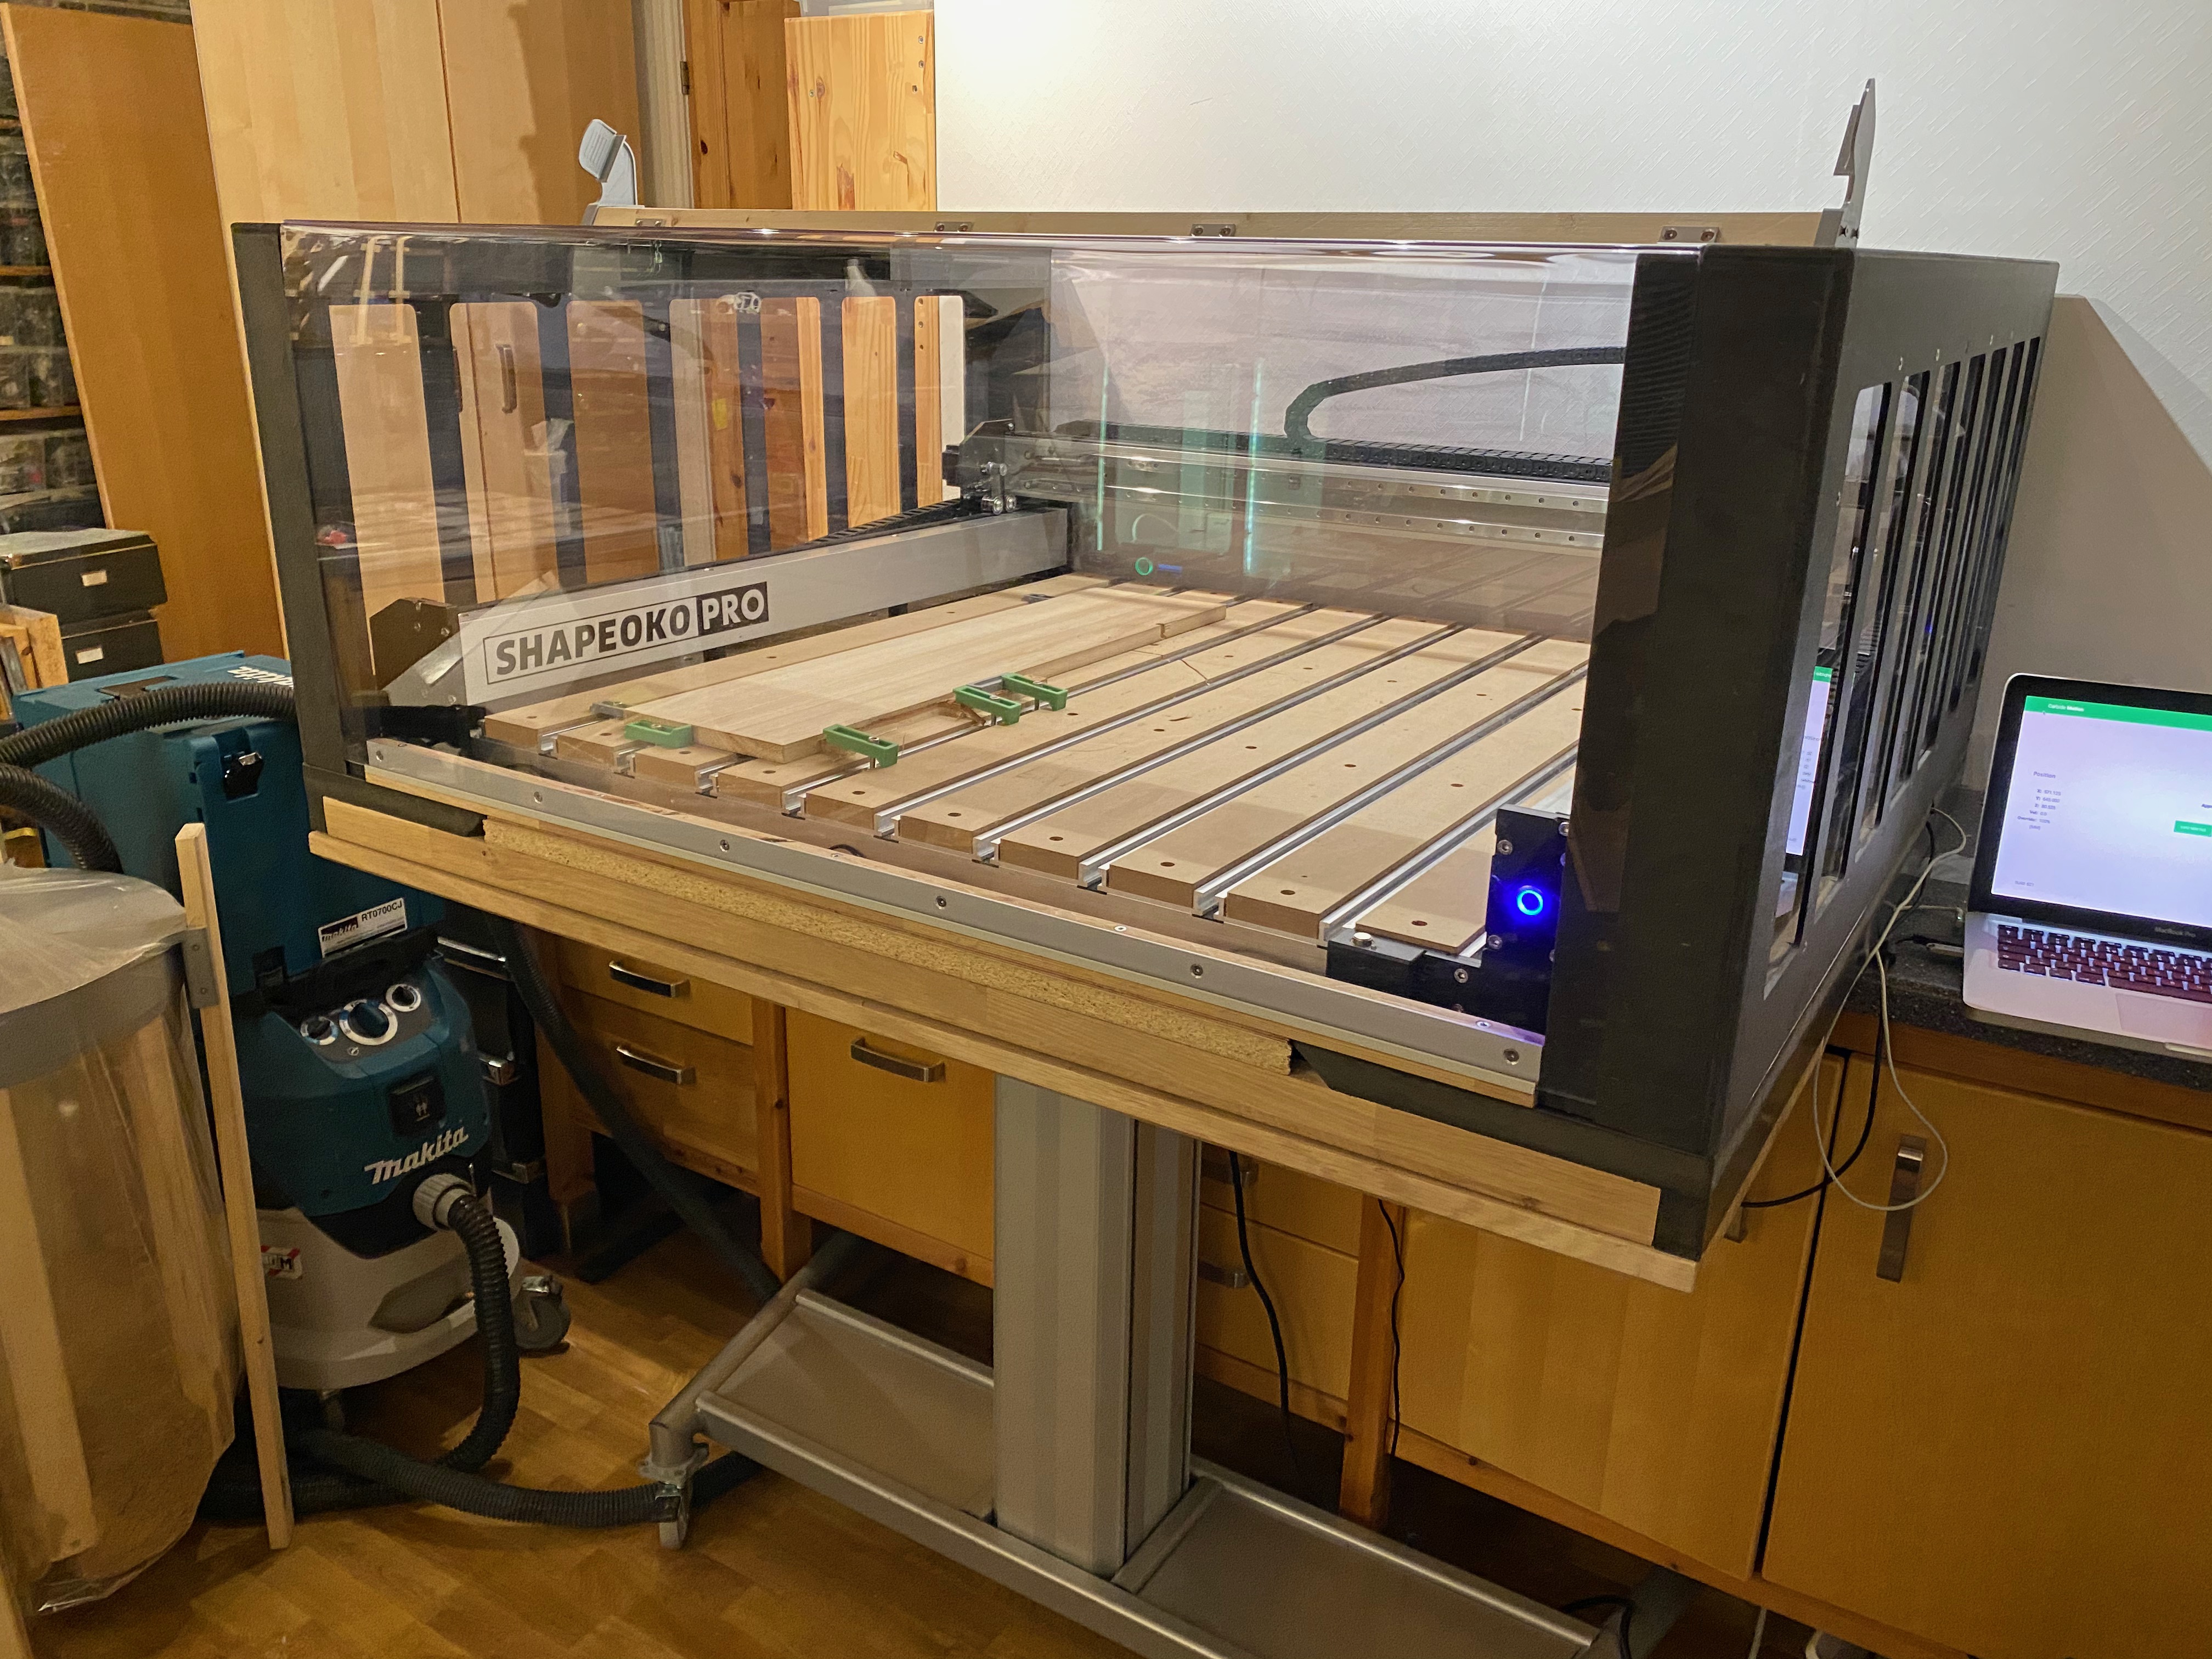
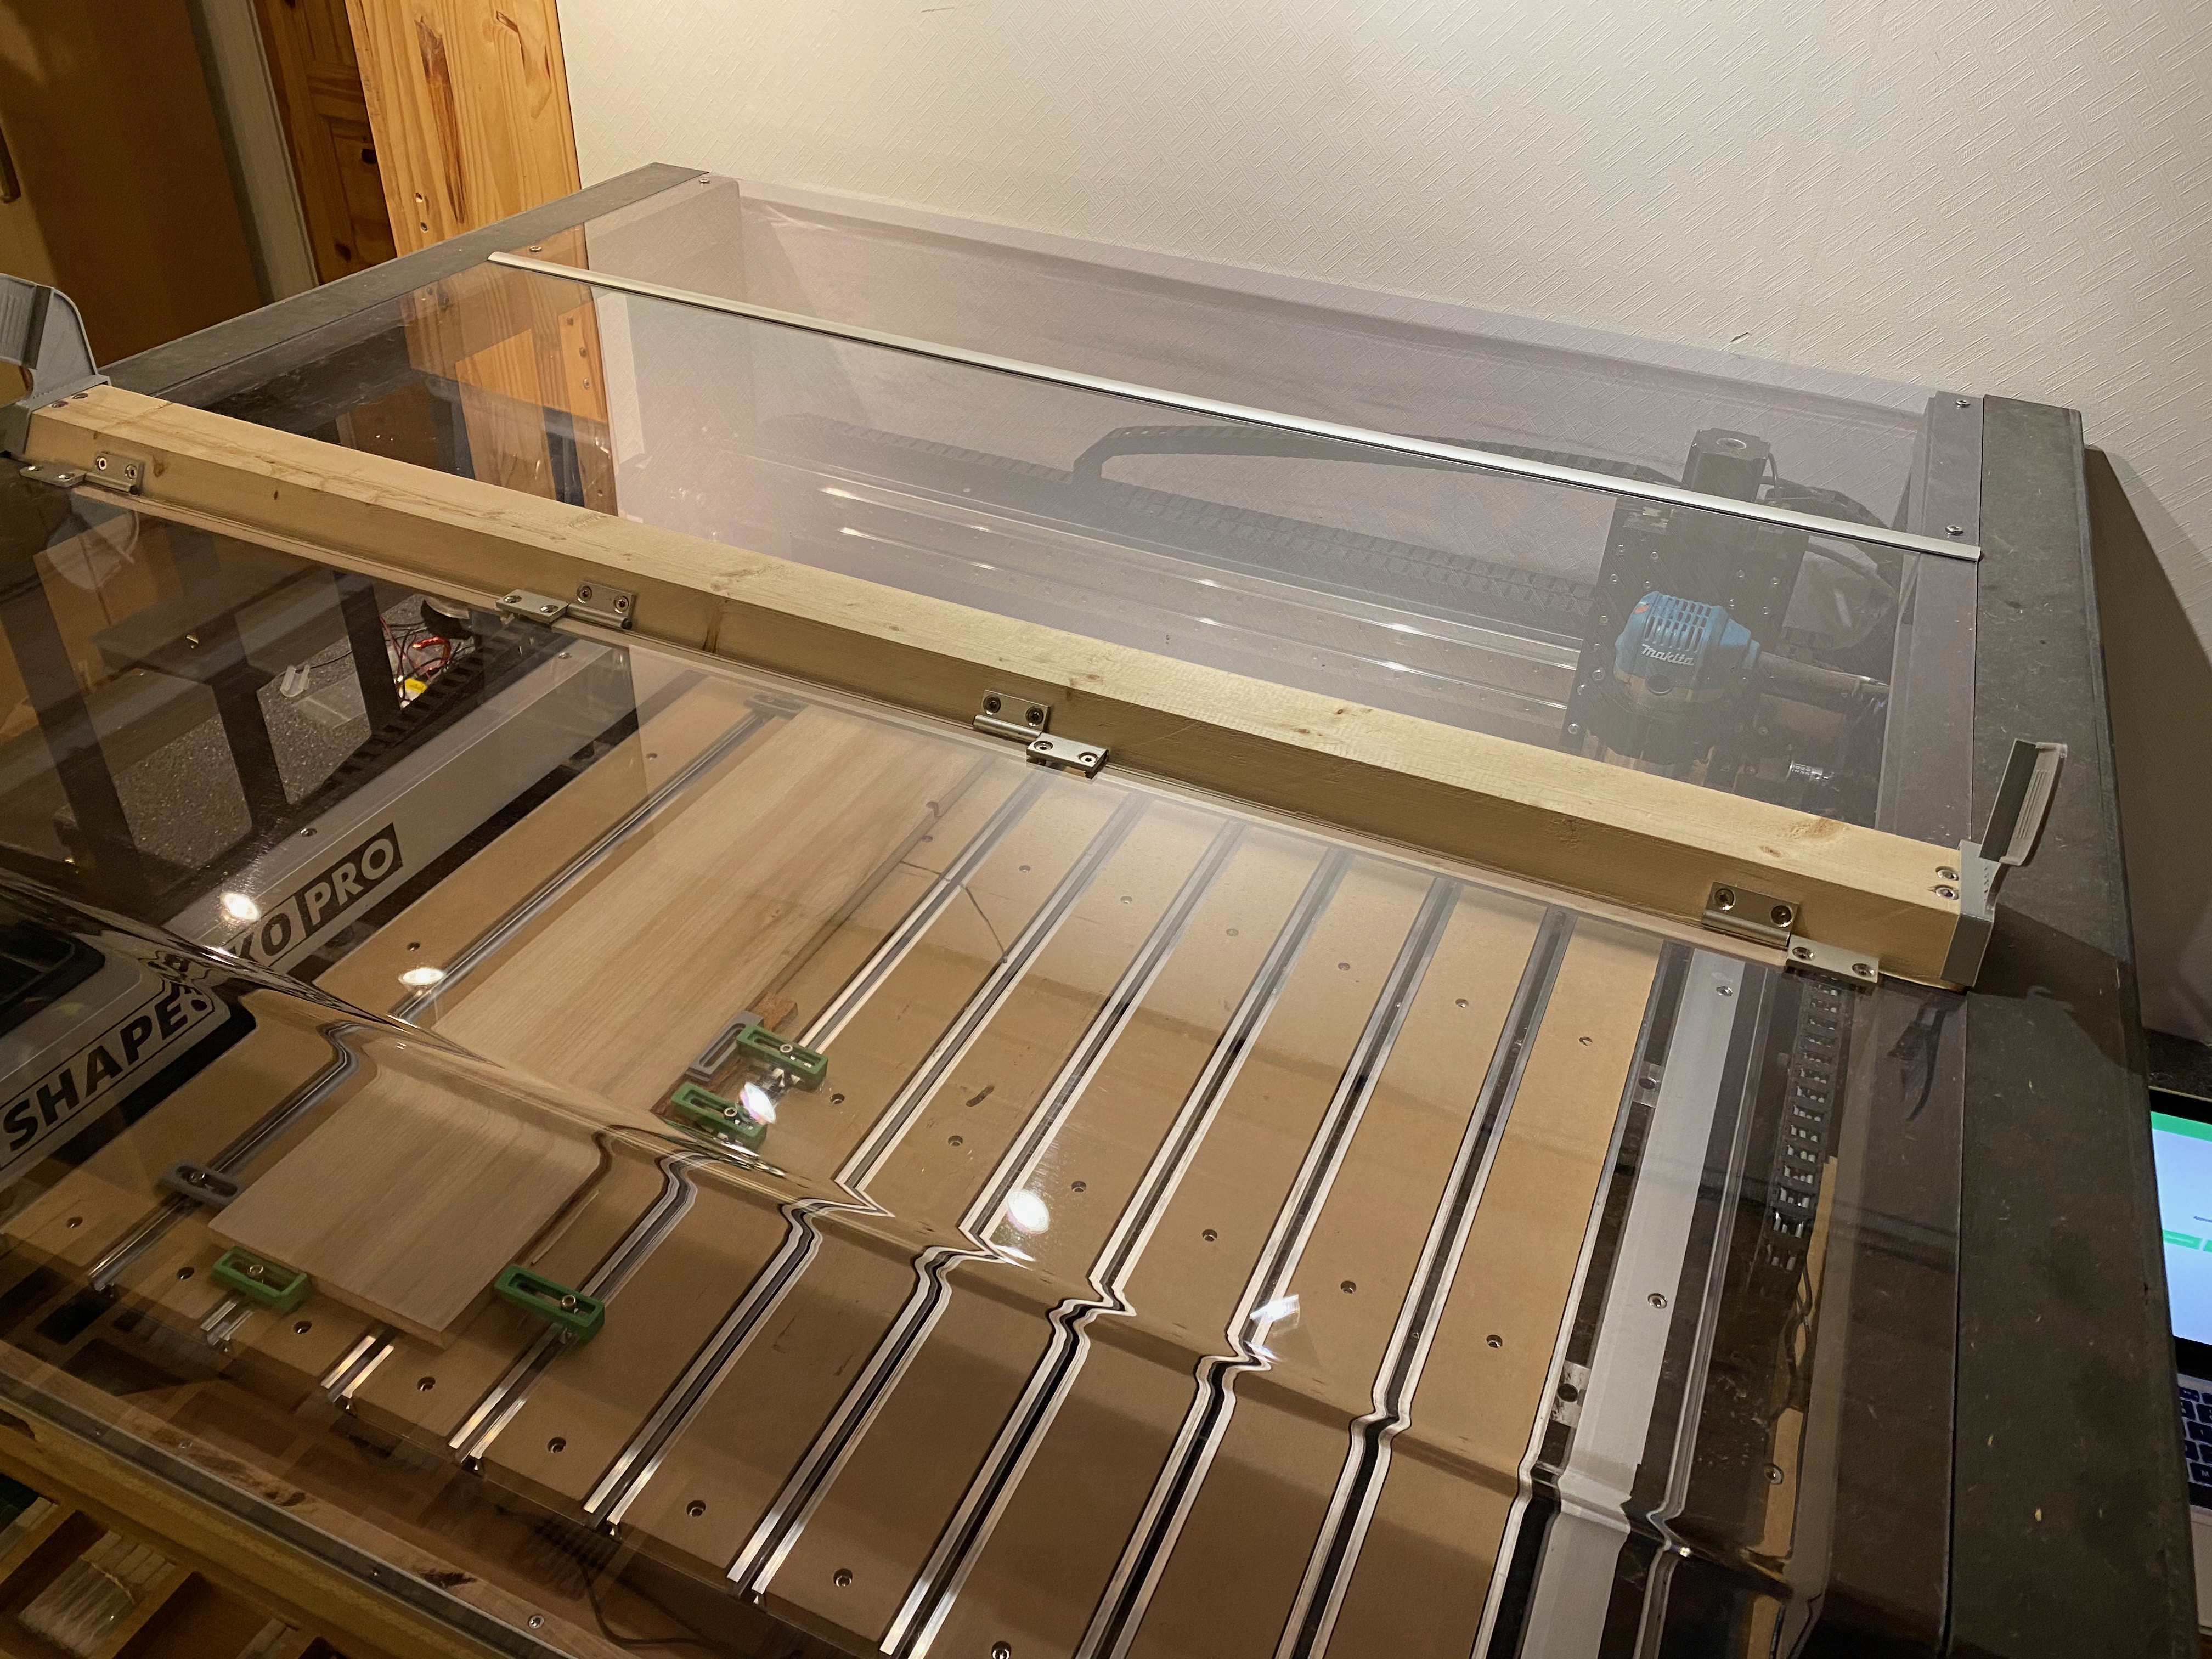
Footprint: 135cm x 114cm. Height above table is 50cm. Clarence for the Z stepper is nearly 2cm. 4mm single sheet. The intension was originally double layer, but then it would become more trouble with dust in between… Everything can be disassembled. The sides are black MDF 2pcs 120cm x 80cm. Plexiglas is 120cm wide x 50+30cm bent, heated with heat gun in a narrow slit (laying in between two MDF plates - the 30 cm part), and bent by gravity. Be very careful as the edges crack if the Plexiglas is only "semi warm so hold it up manually for a time until it´s really soft. I’ve used Sketchup for planning. Actually found a SVG export in Extension warehouse so the windows are made from the SKP model imported into Carbid Create…
More details for those who are interested. Dimensions, SVG files and a few STL files. The door snapp aren’t perfekt, but it prevents the Plexiglas from unintentionally falling forward and cut your nose…
It took 4 (3,5) sheets of Plexi 120cmx80cm.
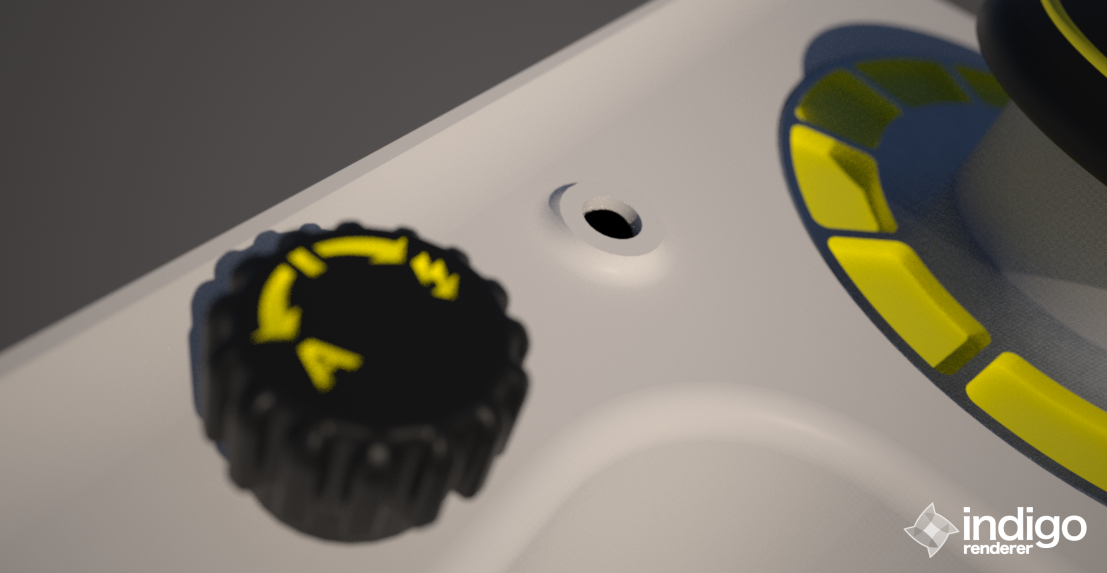
Sharing an idea. Finally, the prototype of a “run” panel with FEED_HOLD (PAUSE), BitRunner rotary switch and LED + vaccum + reserved (pot). Also planning a “jog” panel on the left…
Thanks, I will post more. Jepp, Ultimaker 3 Extended to the roof with 0.8 nozzle, 10-11 hour print. Thinking about splitting into snap modules. Except for the small buttons, the idea is also to make something that could potentially be made with a Shapeoko… and the FEED-HOLD with alu plate a separate unit to be used with or without the console.
First off great job on the enclosure and really like how the stand works out in your design with the casters rolling under your workbench/cabinets and the enclosure table sliding just over the benchtop/workbench. I’m assuming that was intentional and thought out in your overall design. What is the thickness of the plexiglass that you used and how would you rate it’s effectiveness to cut down the noise? I’m considering going with less expensive and thinner plexiglass but doubling it up for the front door with a 10mm to 15mm airgap between both layers or a single thicker panel.
I use 6mm (1/4") and I would guess a 60 percent reduction. I am not sure how to check the levels, but I can make a video next time I am carving, of the door open/shut
Thanks for all the nice comments! I’m planning to make a video regarding noise. The up / down table with wheels was a plan from the beginning to enable treatment of long objects with relief on the side bench. The cabinet should reduce noise and more importantly; dust. What I found after the table was finished, and what was a little surprising was that much of the loudest noise was med/low frequency that went down into the table top. I have therefore benefited greatly from rubber bumpers, and for the Pro model this is extra favorable due to self-supporting table. The plexiglass thickness is 4mm. These attenuate high and midrange frequency noise. I think it works quite similarly also with thinner plexiglass, but the most important thing is that this is as airtight as possible and the overlap between the plexiglass and the frame is an inch or more for the door and other removable cover.
I do not have a XXL machine as of yet but I have a piece of 1/4" Styrofoam under my 3018 that reduced vibration. I was thinking maybe 1" foam might work for a larger machine? Any insight on this thought?
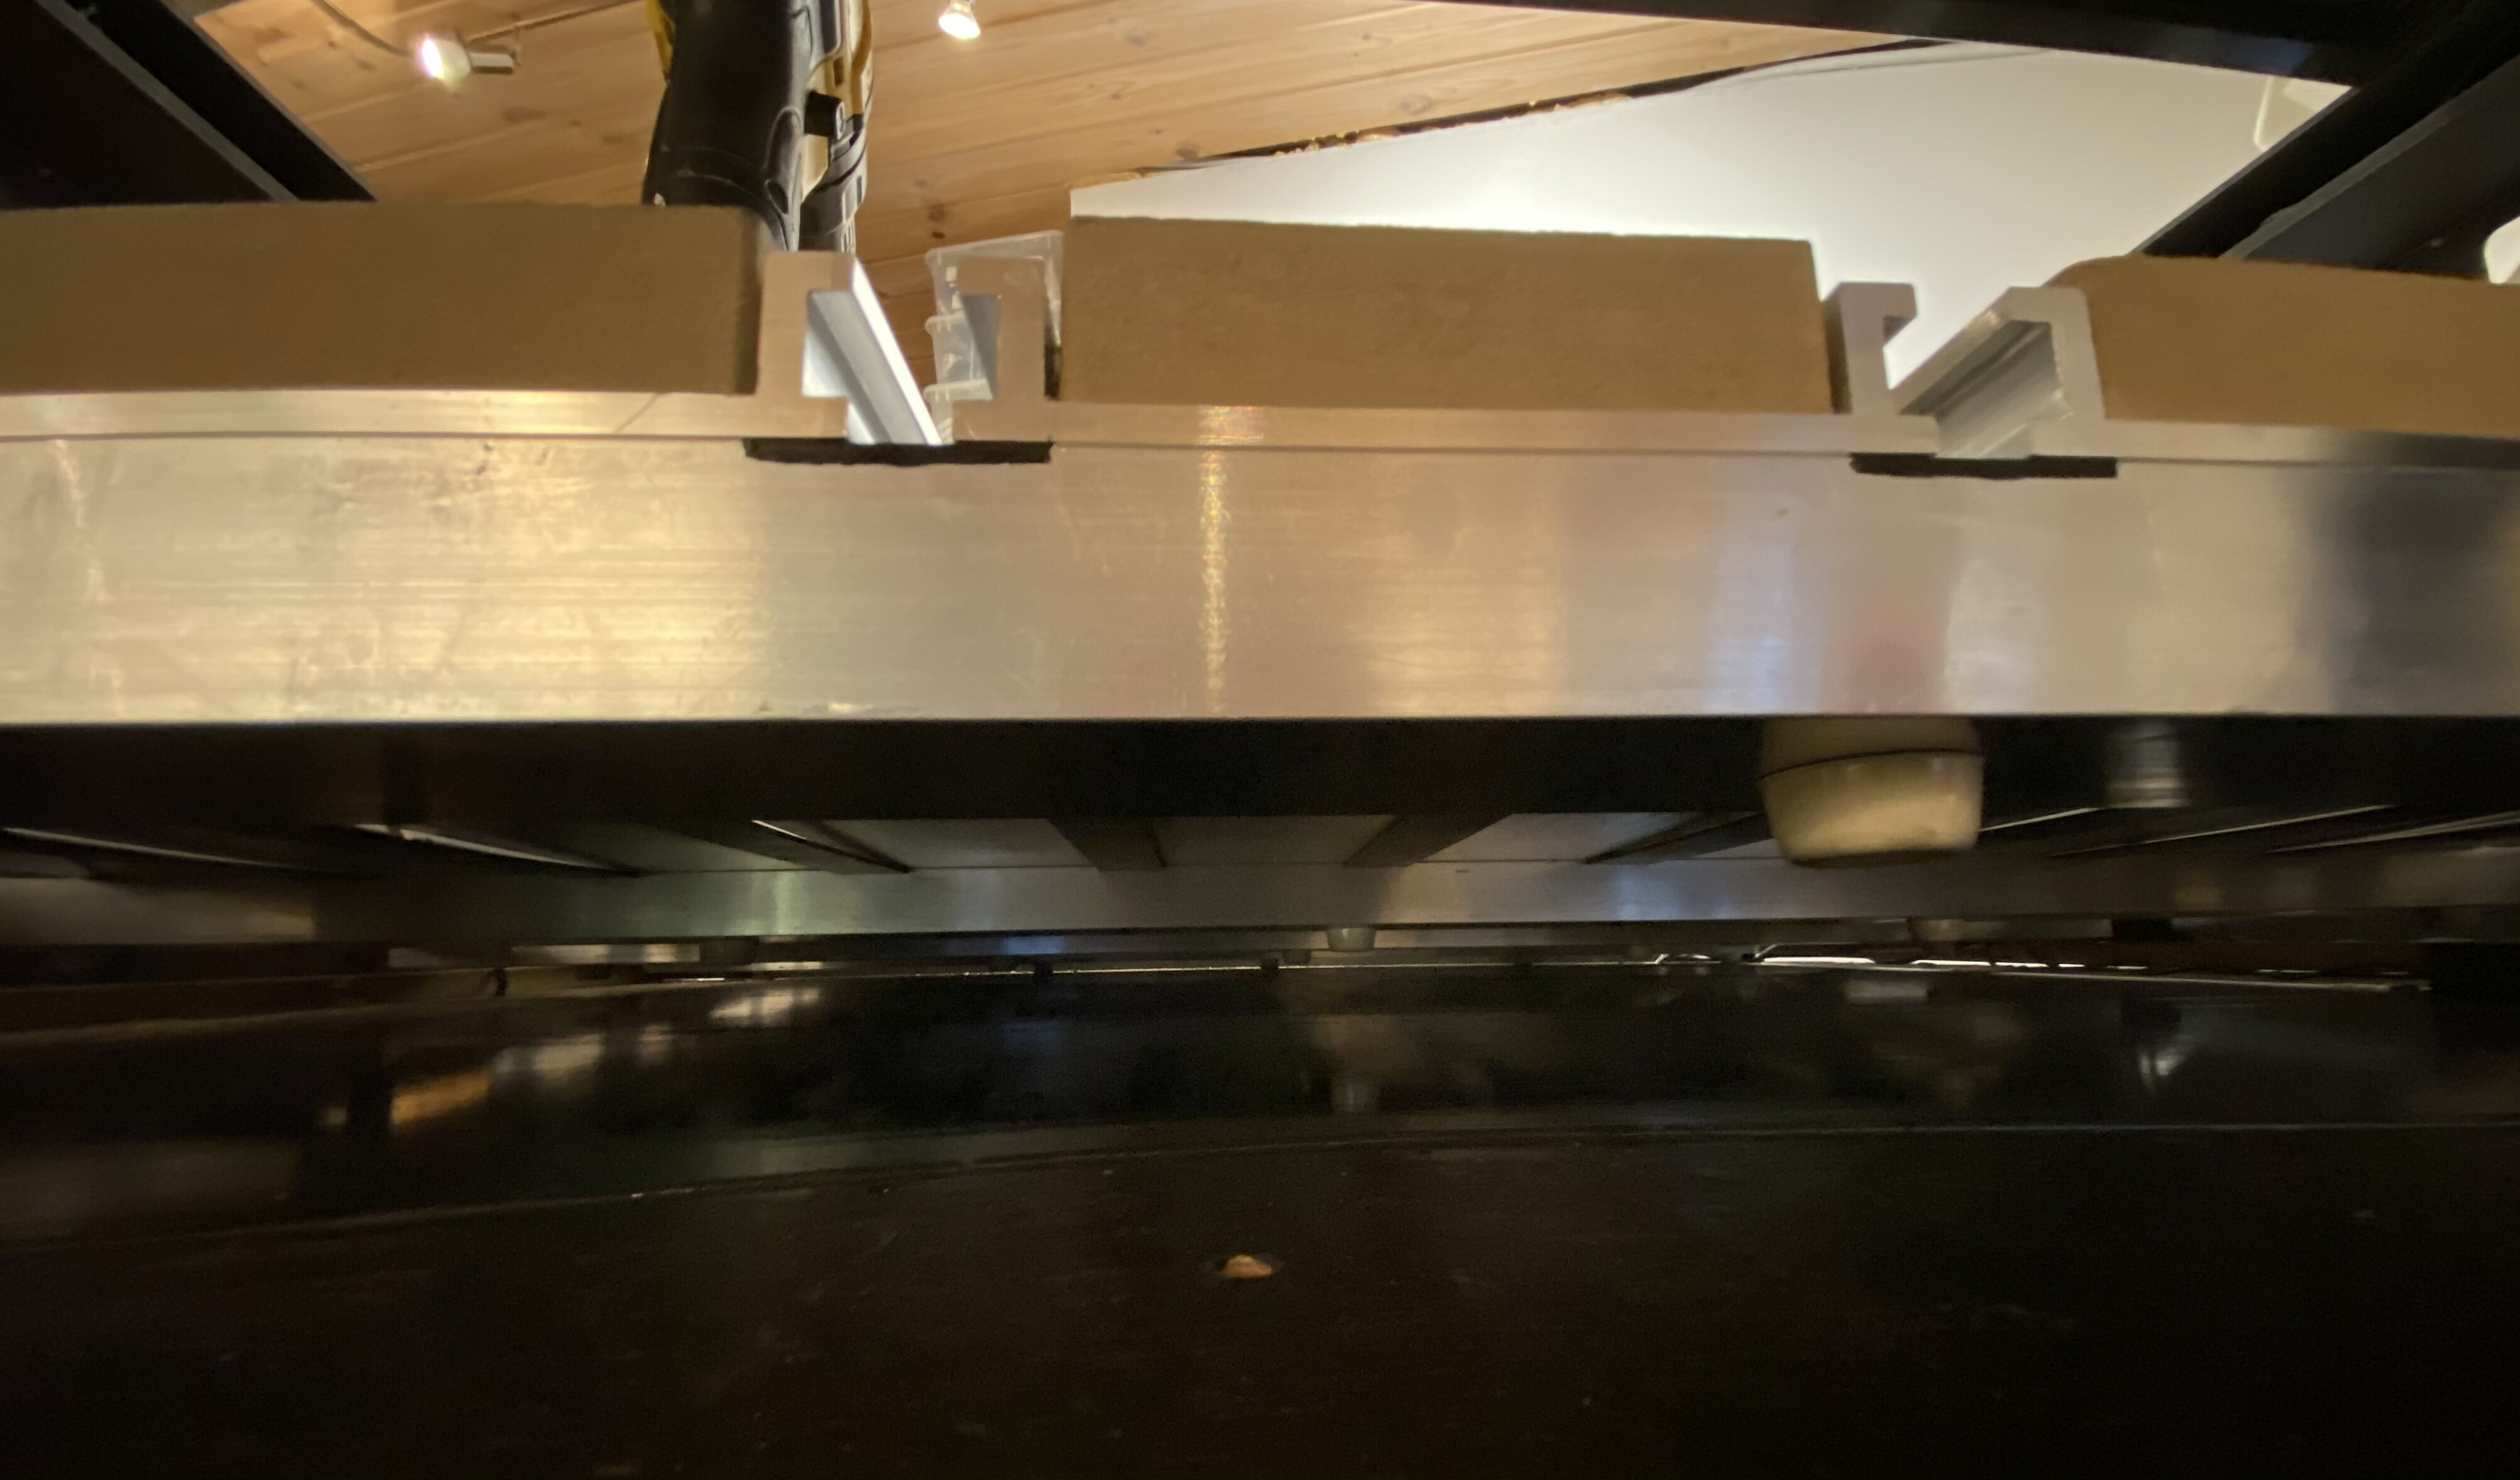
I like the idea of the rubber bumpers to help dampen some of the vibrations however in doing so I think you probably also ended up raising the Y-beam endplates off the table as well. These end plates only have 4 bolts going into the Y-beams and I wonder if they are intended to provide some rigidity to the machine as long as it’s sitting directly on the table. By raising these end plates off the table I would think any force is now being opposed only by the 8 bolts (4 per Y-beam) passing through the Y beam, the round risers and into the lower supports. Possibly this is still strong enough but something to keep in mind if you notice your tolerances are off or if you observe some shearing in the Y beams.
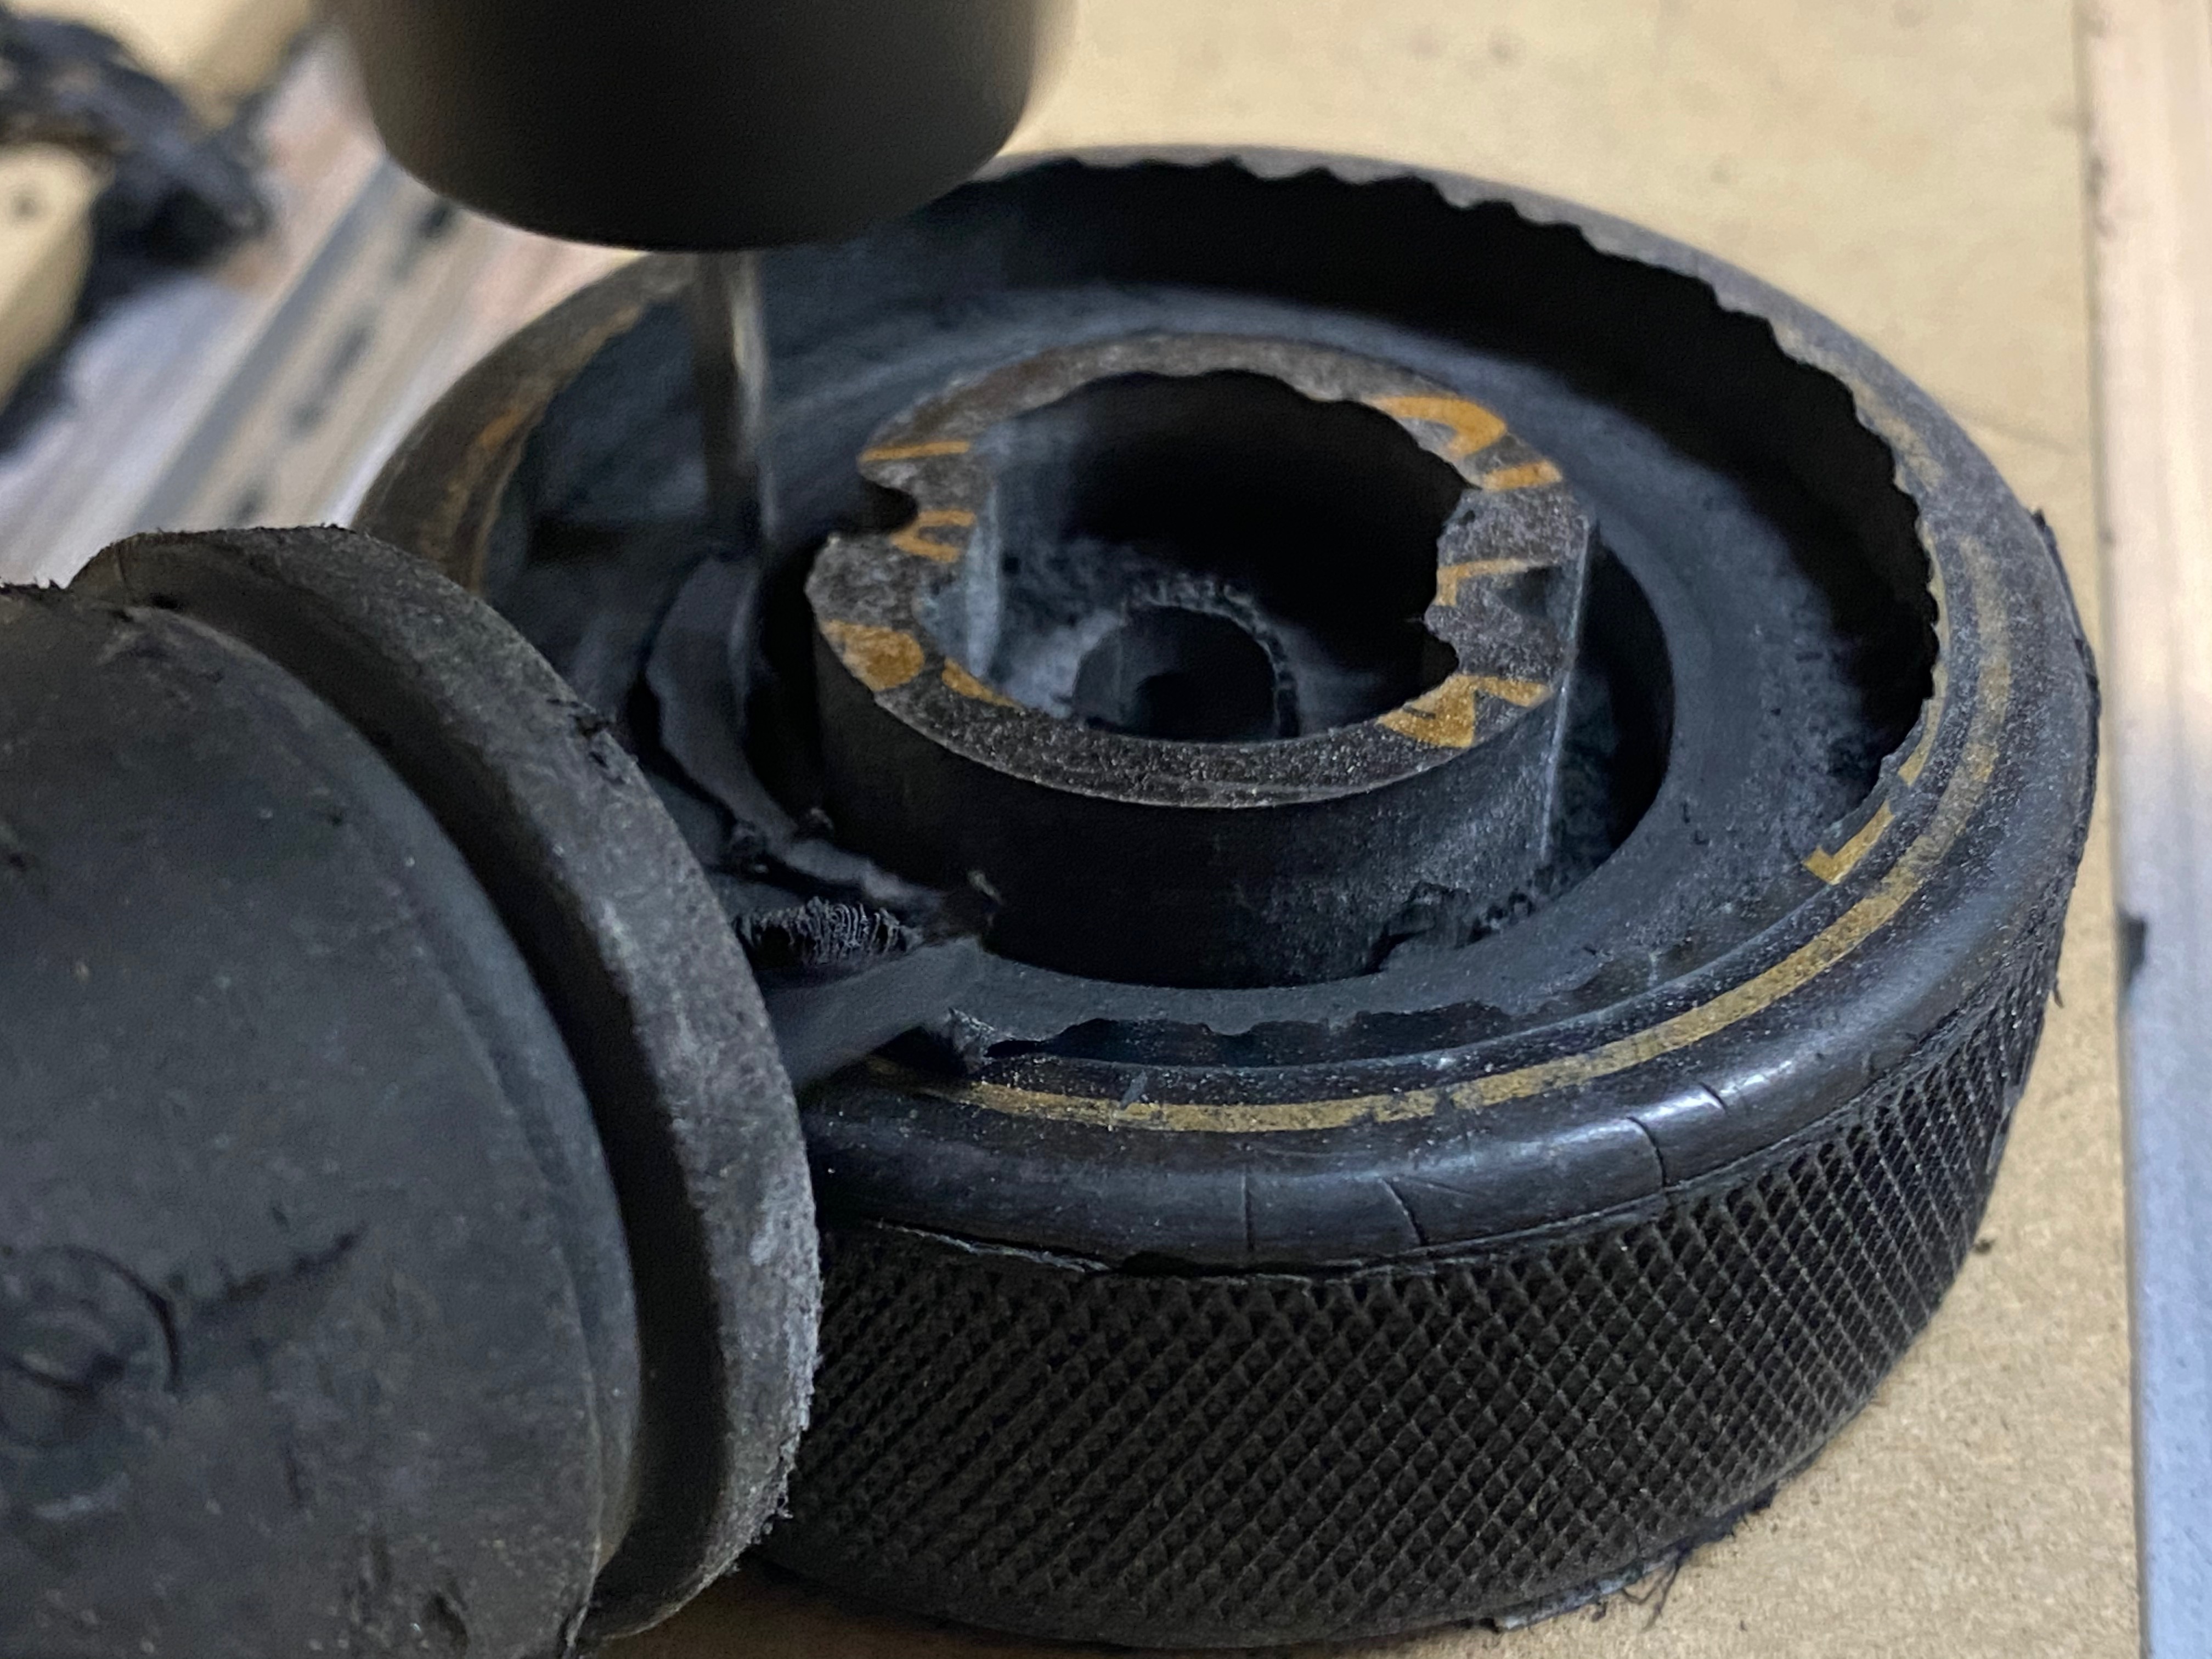
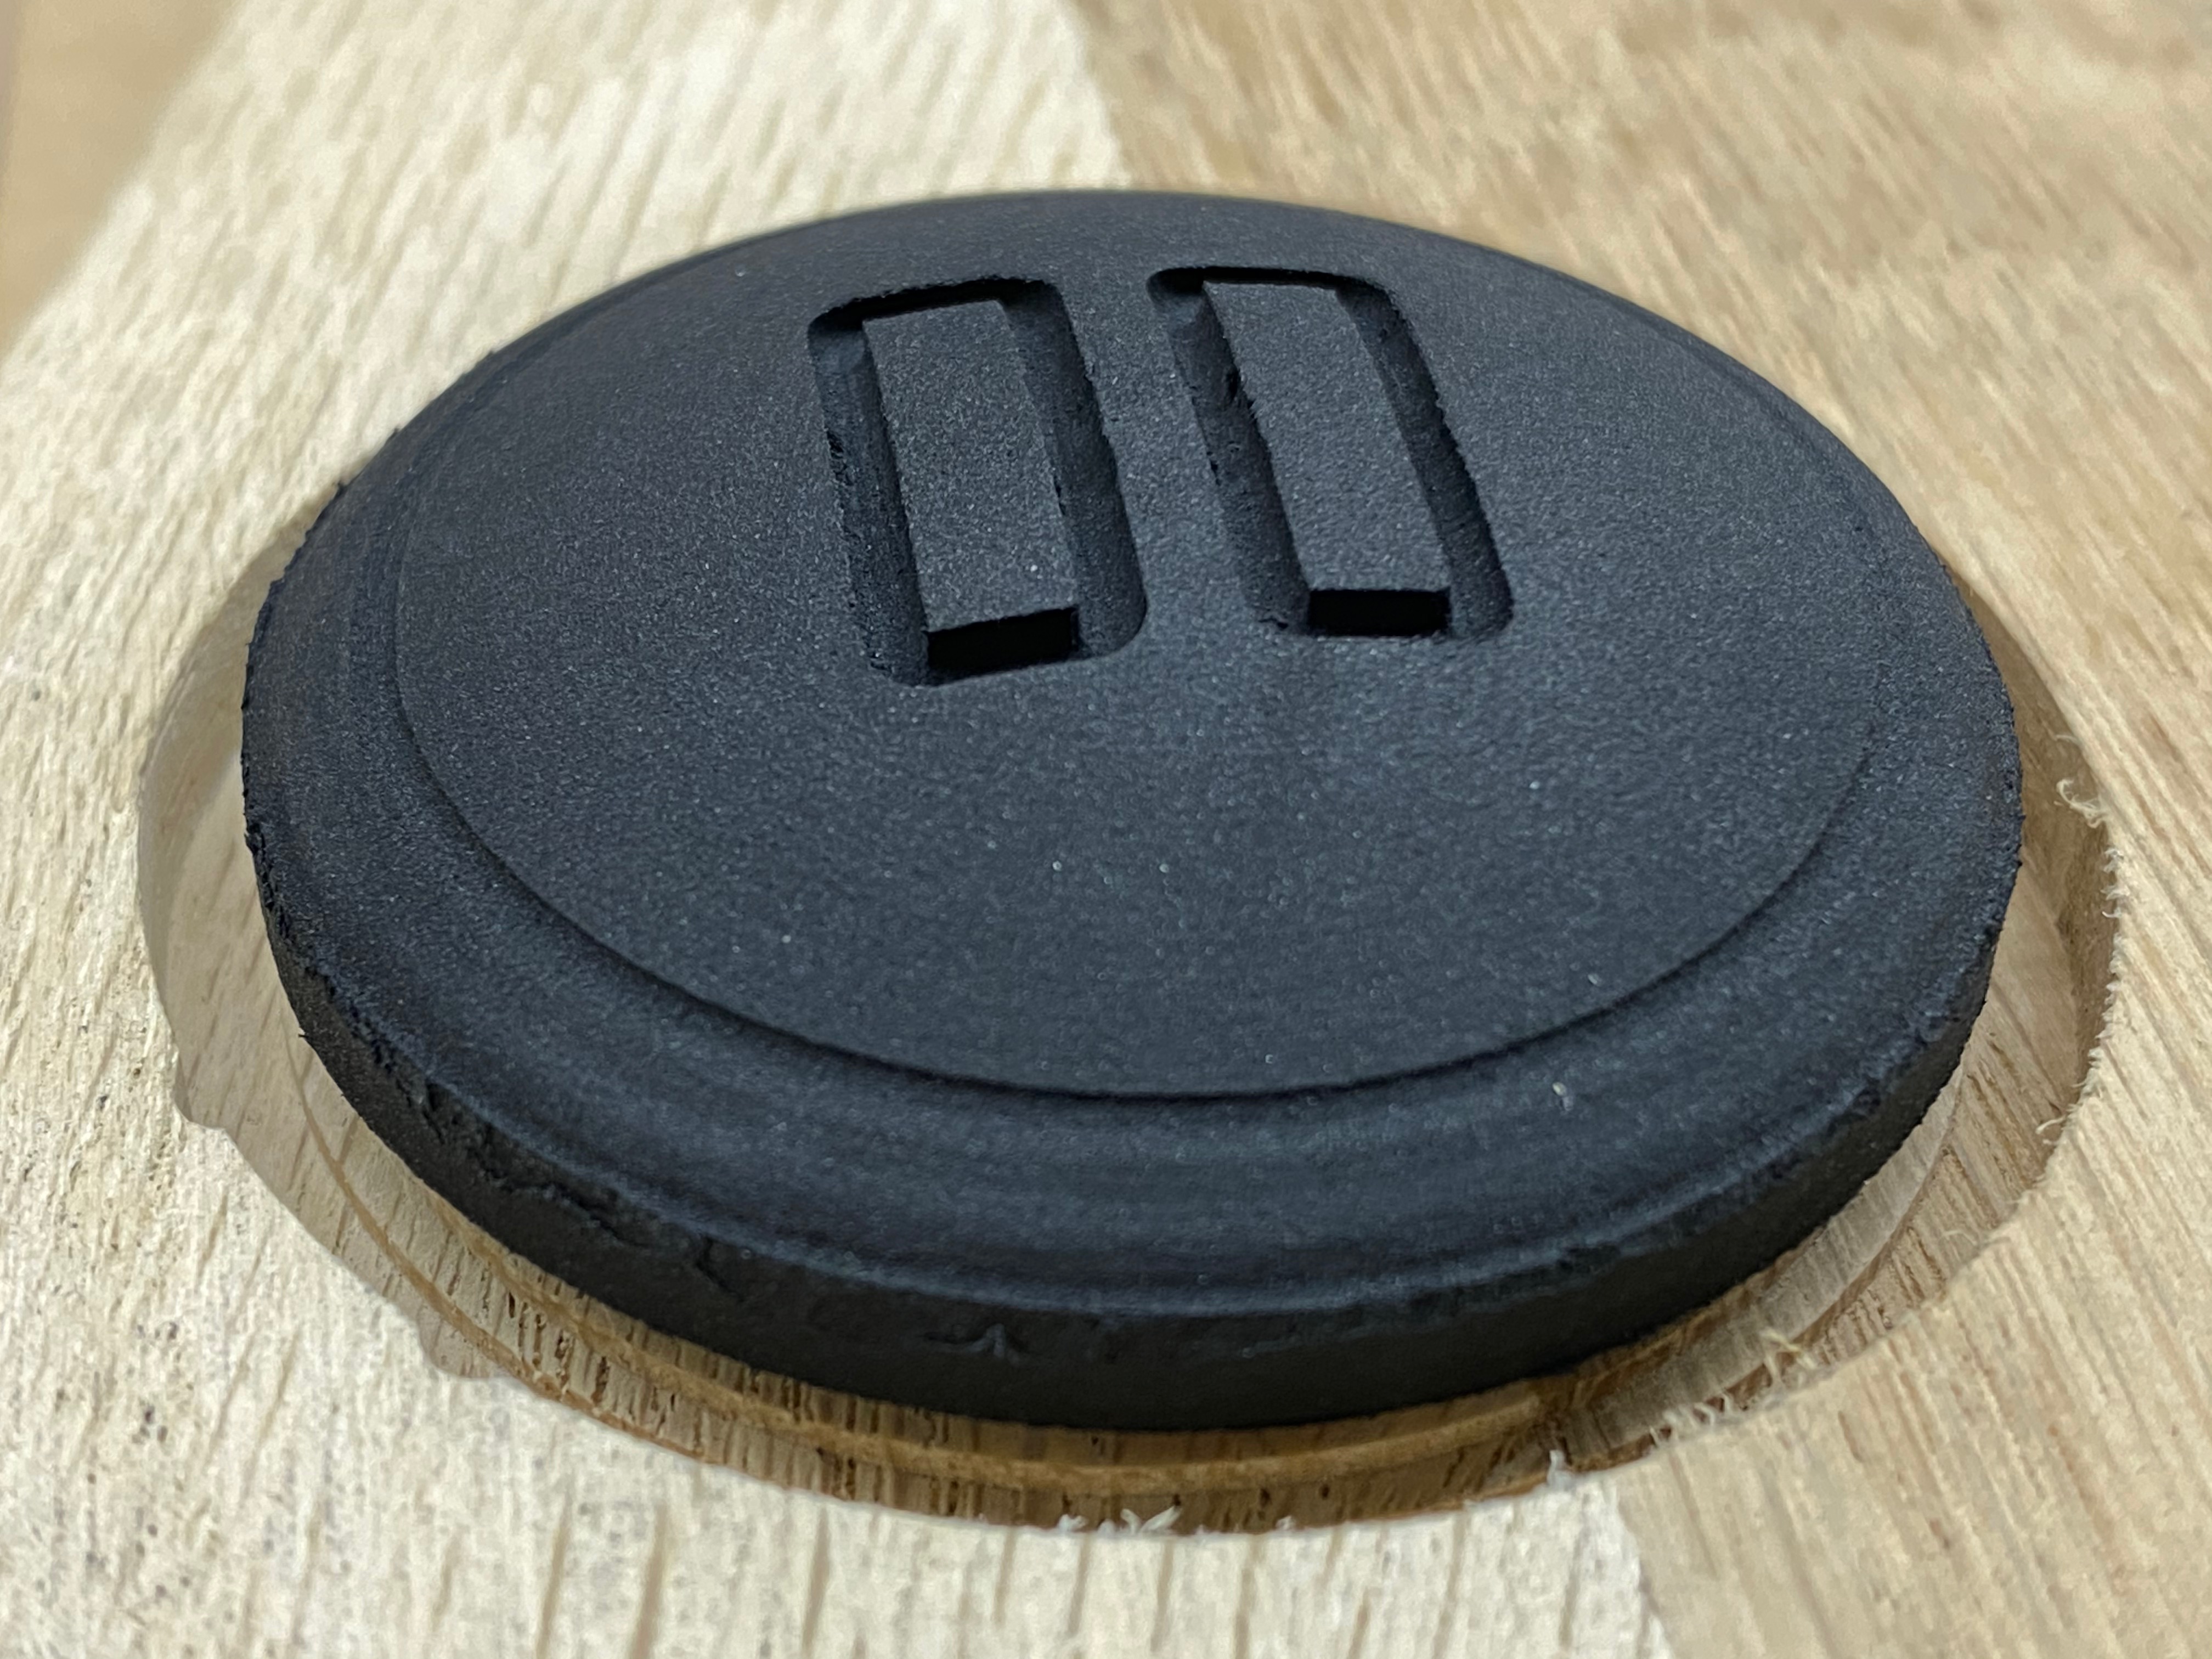
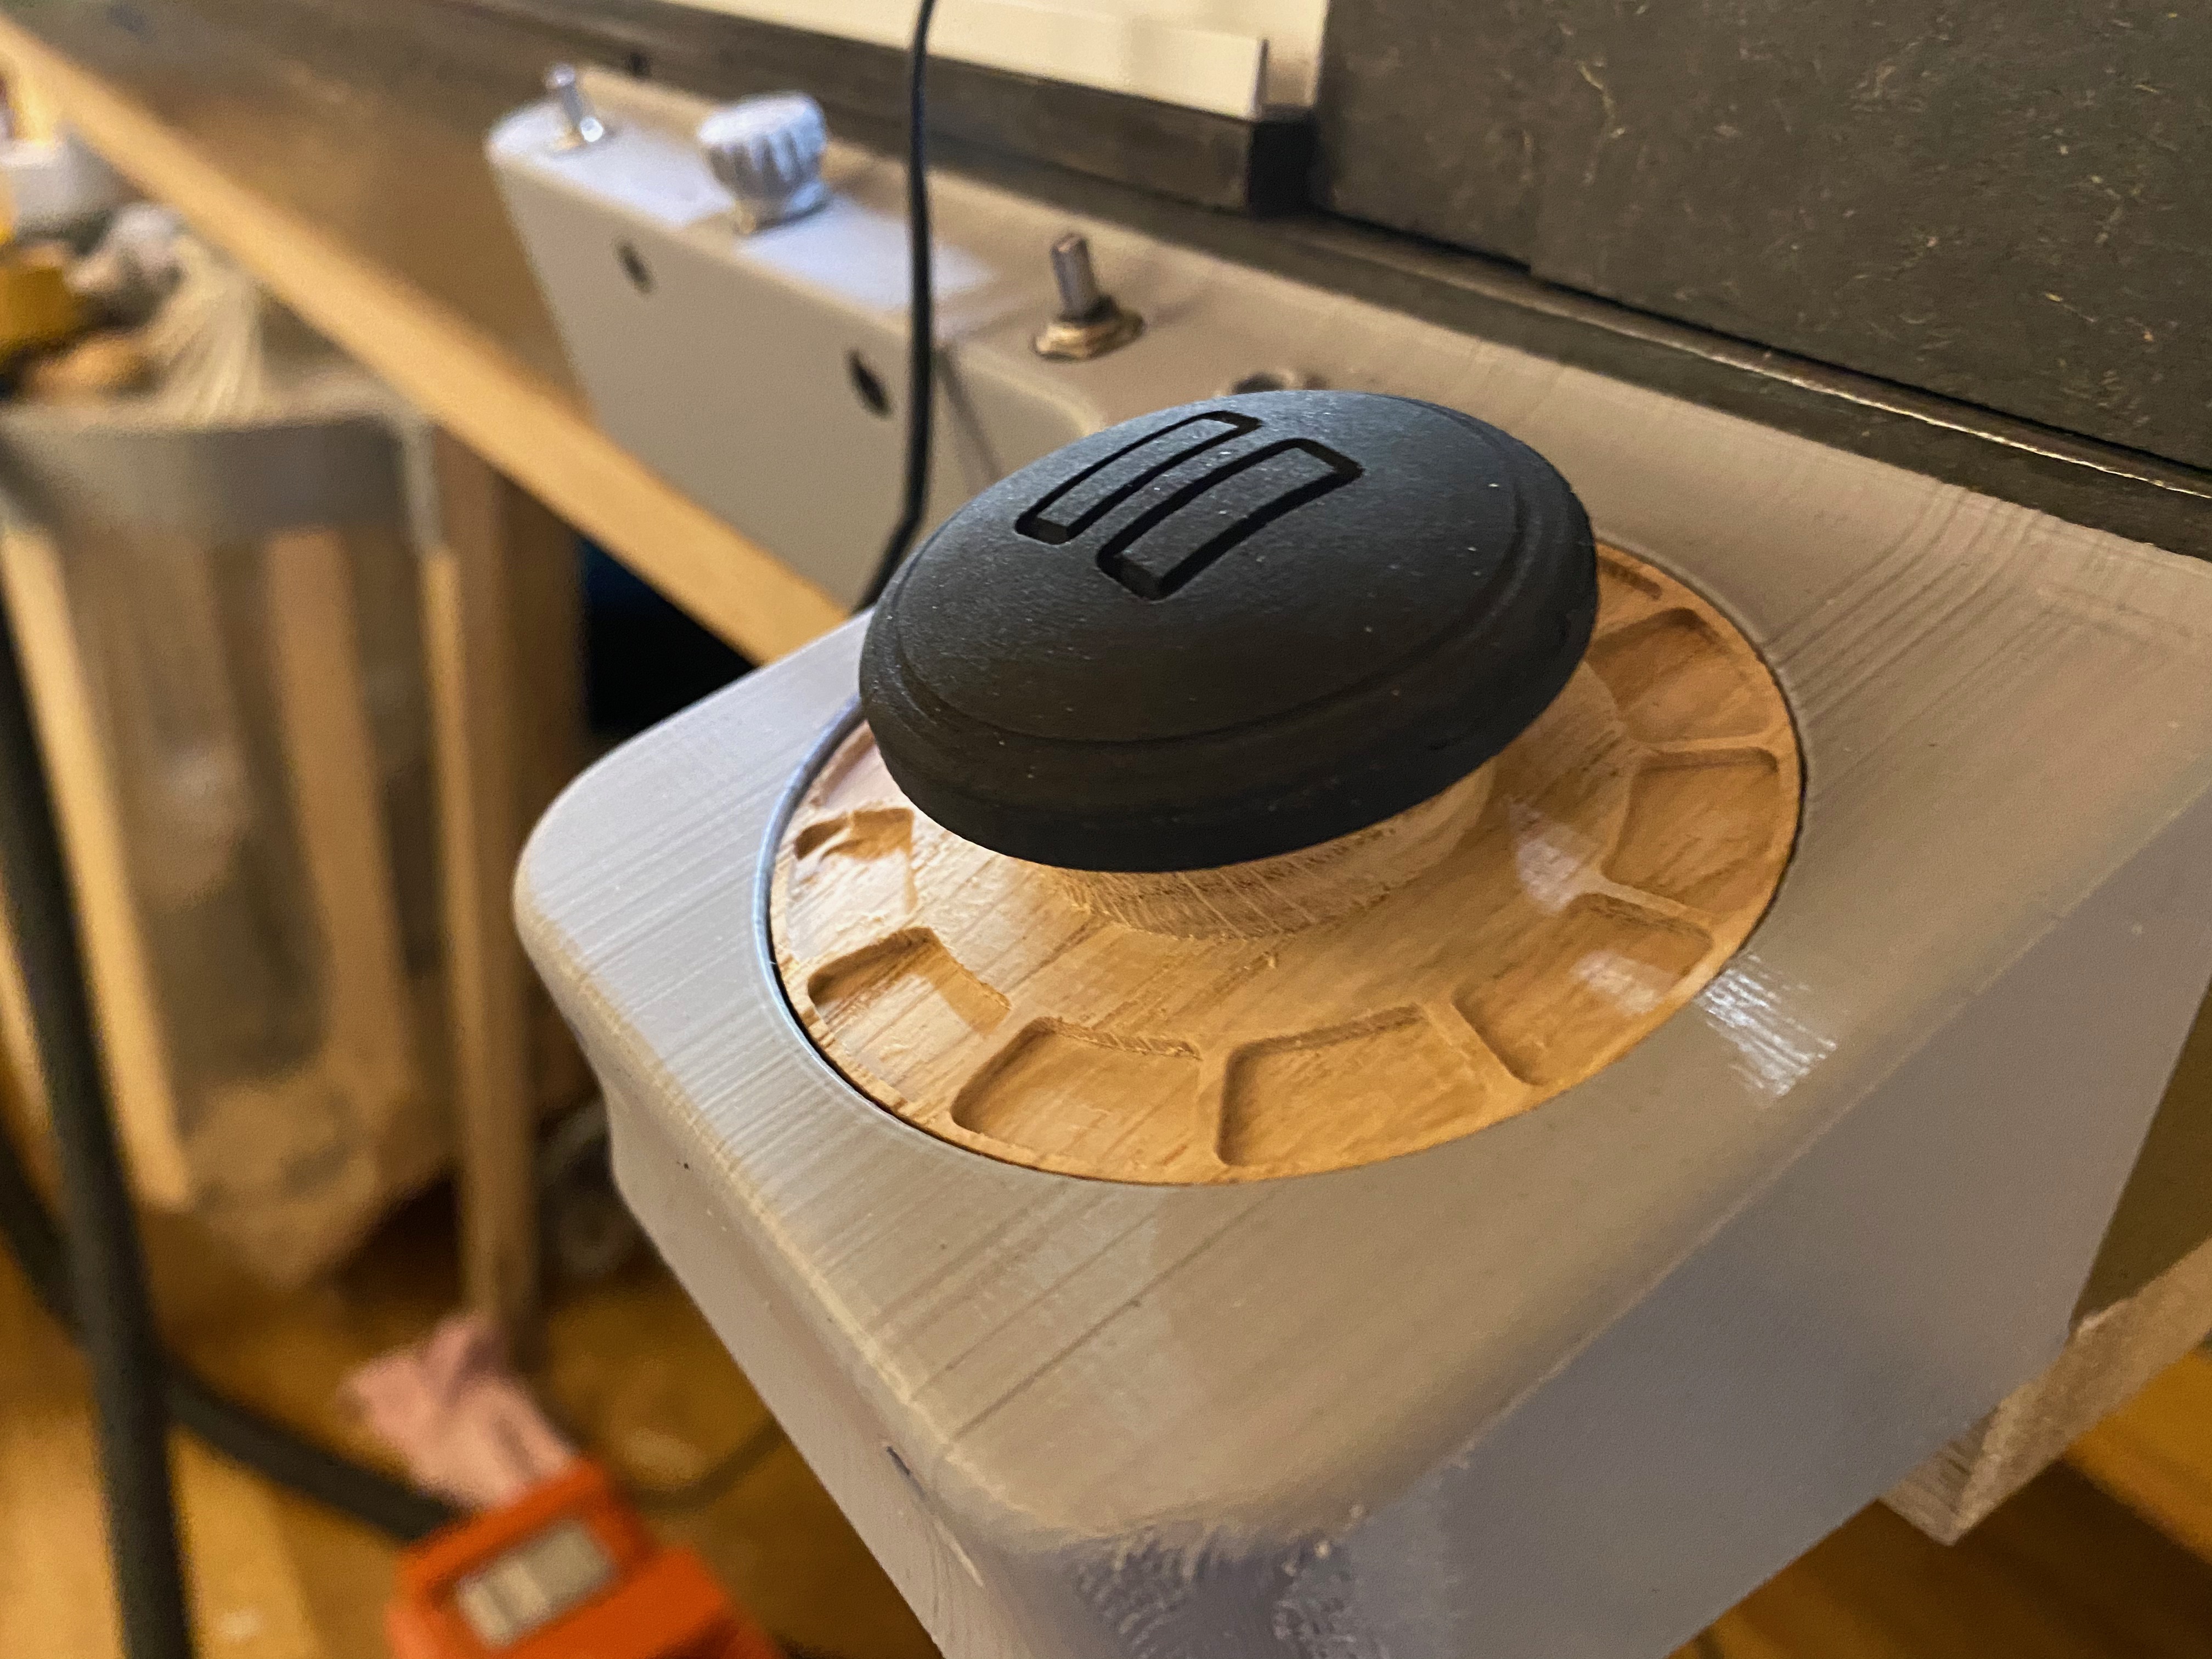
That’s a clever use of a puck, how was it working with this material? I also wonder if this would take paint well or if you’d have to use one of the plasti dip / plasticoat products.
Thanks! it’s a solid piece of rubber. As long as the remaining material next to what is to be cut is +3-ish mm or more, it is very easy to work with. A sharp mill will cut it like a knife, and strips like a fringe rubber band will be left when you work your way down. I used the default Polycarobonate settings in CarbidCreate as a start. Used tape or wood form at 10000 RPM 1/8 End Mill. I took some video, will publish soon. It shows how 0.2mm stepover with 1/16 Ball Mill makes perfect finish. Have not tested paint yet, but will do so soon.


 )
)