Hello, I had to step away from my Shapeoko Pro 3 XXL for a while and am now trying to get it to work with a new laptop and a new version of Carbide Motion. When I setup a new machine, I select Shapeoko Pro and Z plus for machine. I then download the configuration. at this point I connect to the machine and select initialize and the z axis looks to work just fine. Then the machine heads to the front left rather than the back right as i would expect and it then grinds until I stop it. I checked the wires to make sure that they are int he right places I found the old build document and went through it to make sure that connections did not get moved).
I ran this same scenario several times downloading each time hoping f or a different result but before insanity sets in I thought I would ask if there is something that I could be missing or something better to do to get it to work with Carbide Motion 653.
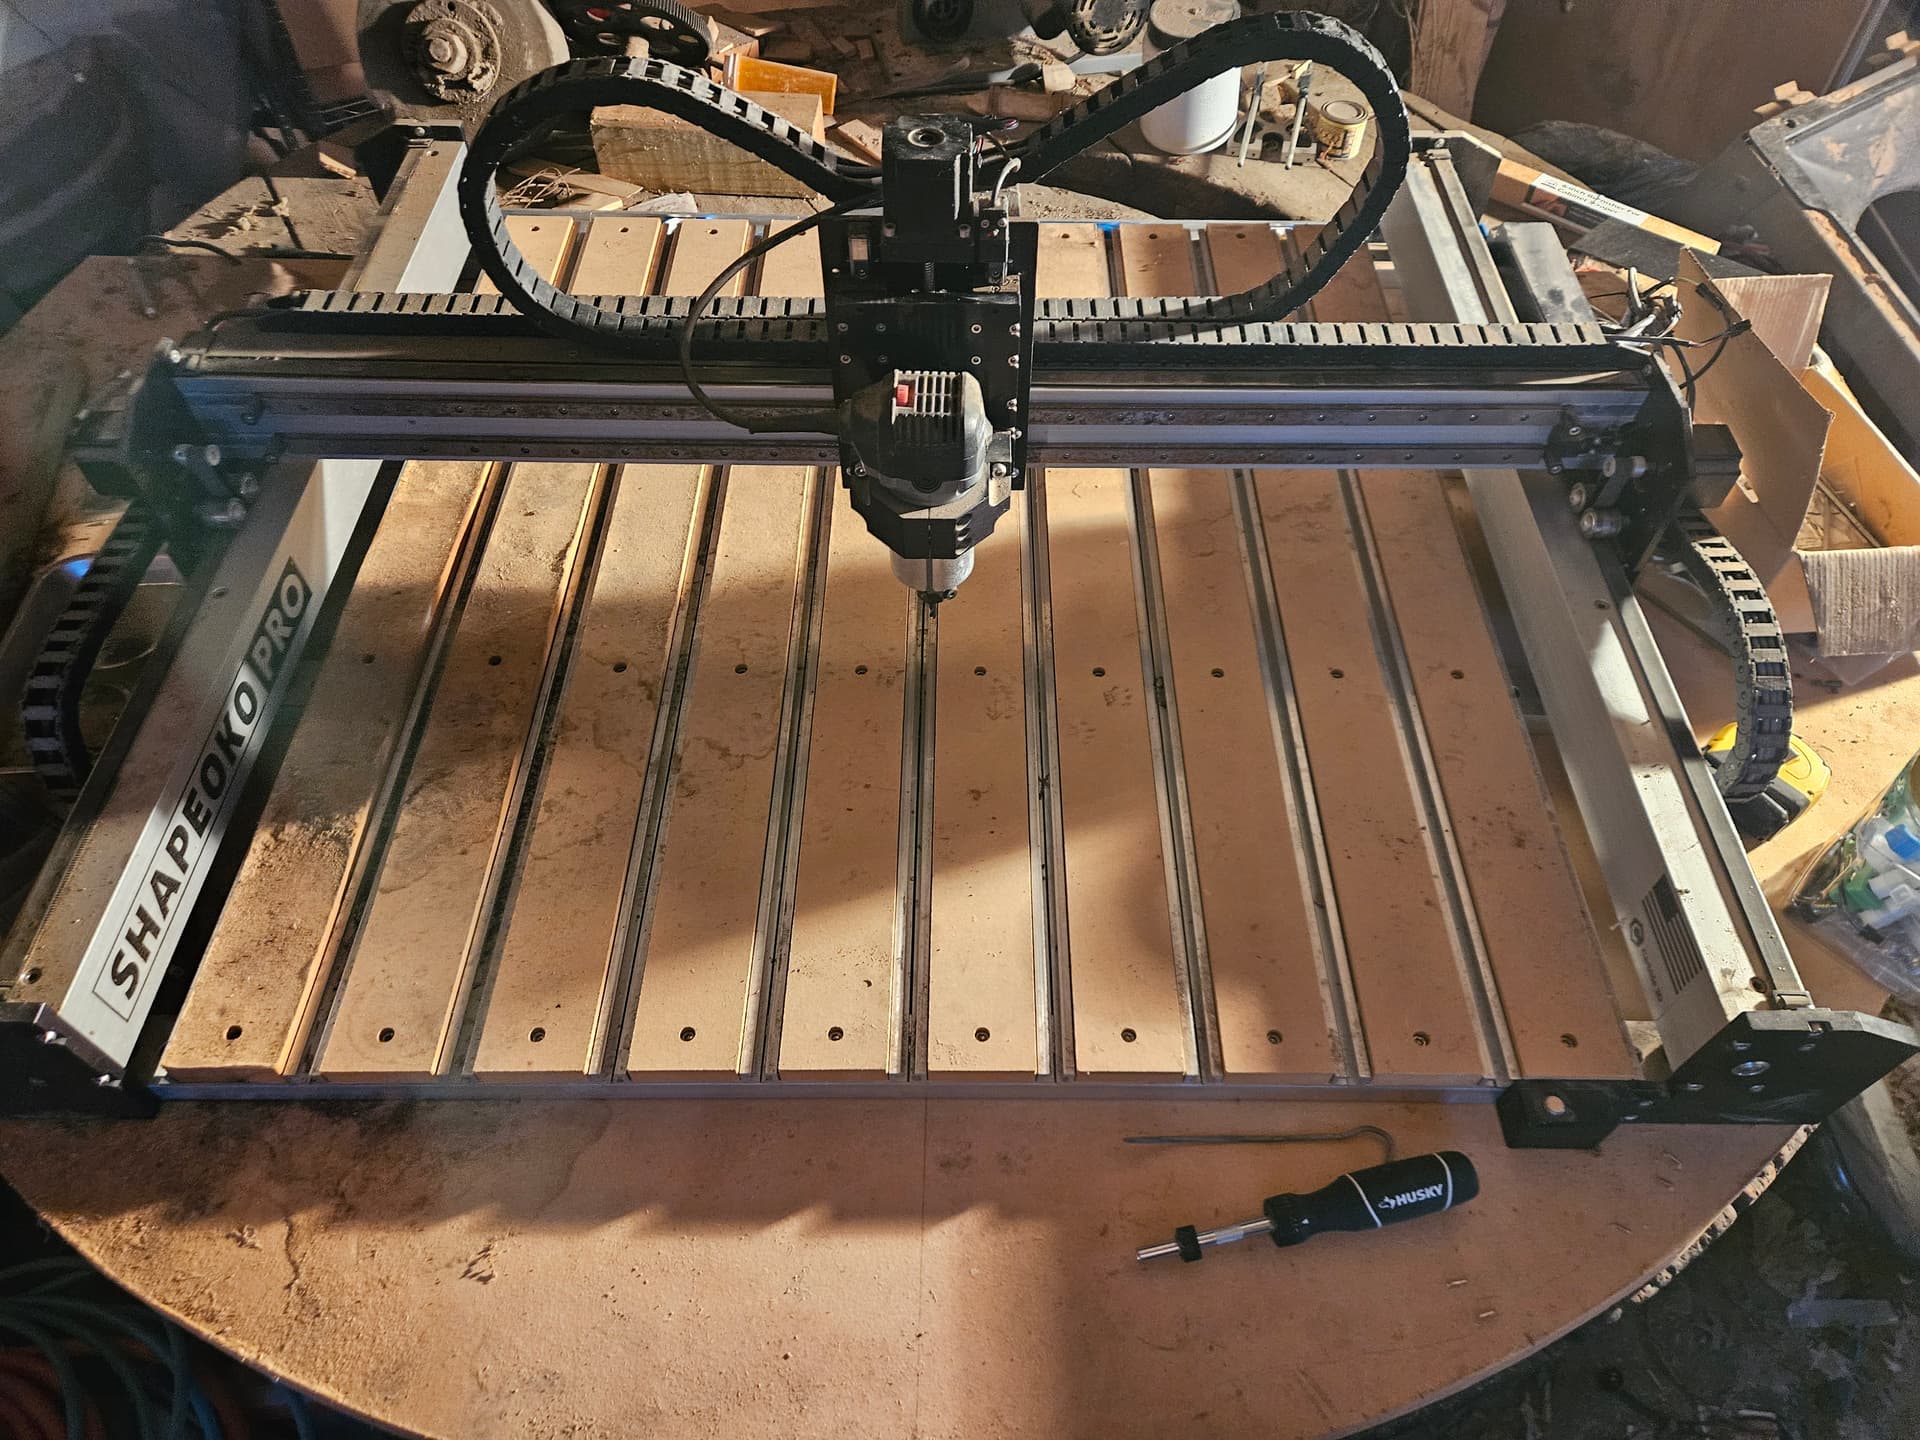
Power down and slowly/gently move the machine to the center of motion for all axes — for the Z-axis, move it all the way to the bottom, then up to the top, then down low enough that you have access to/can see the Z-axis homing switch.
Power up, connect to the machine, go to Settings | Debug — are any switches stuck on? Test each switch — does each show as the correct axis as an Active Input?
If the wiring harness is all connected properly & you’re getting reverse stepper motor movement on the X/Y, then most likely the ‘Output Direction Mask’ setting of the controller was set differently in the prior, working configuration. This may have been done as a work-around to swapped conductors in the wiring harness - it’s what I did with my SPROXXL.
Now whenever I do a configuration send to my machine, I have to remember to change that controller setting back.
Ok, progress.
I have selected the shapeoko pro with z plus and down loaded the files and with above directions it is now correctly going to te back right when initialized. But now trying to get the bitsetter working, it shows that the red led light is on all the time. And when I do the tool change is is giving the following…
BS001: The BitSetter probe is already detected as closed.
This can be caused by several things:
The BitSetter button is jammed down.
If you have a BitZero, is it touching the ground clip? (Is the red LED lit?)
I had a Bitsetter which was working fine, then inexplicably acted like it was always depressed when it wasn’t. Took it apart to discover that the bolted together button-Spring assembly had become unscrewed & dropped down onto the sensor. Put it back together & it worked fine again.
I took the bitsetter case apart and saw nothing wrong, except when reassembled the led light was off. I Pushed the button and the led light came on but would not go off again. When it was apart I confirmed that the button was lifting back off the sensor. So got flattening started with manual setting of zero, but would like to get the bitsetter figured out.
Quick update, hopefully close to closing.
I have ordered a replacement sensor for the bitsetter. Thus far, everything else looks like it is working.
Thank you very much for the direction , suggestions and education, I am getting there.