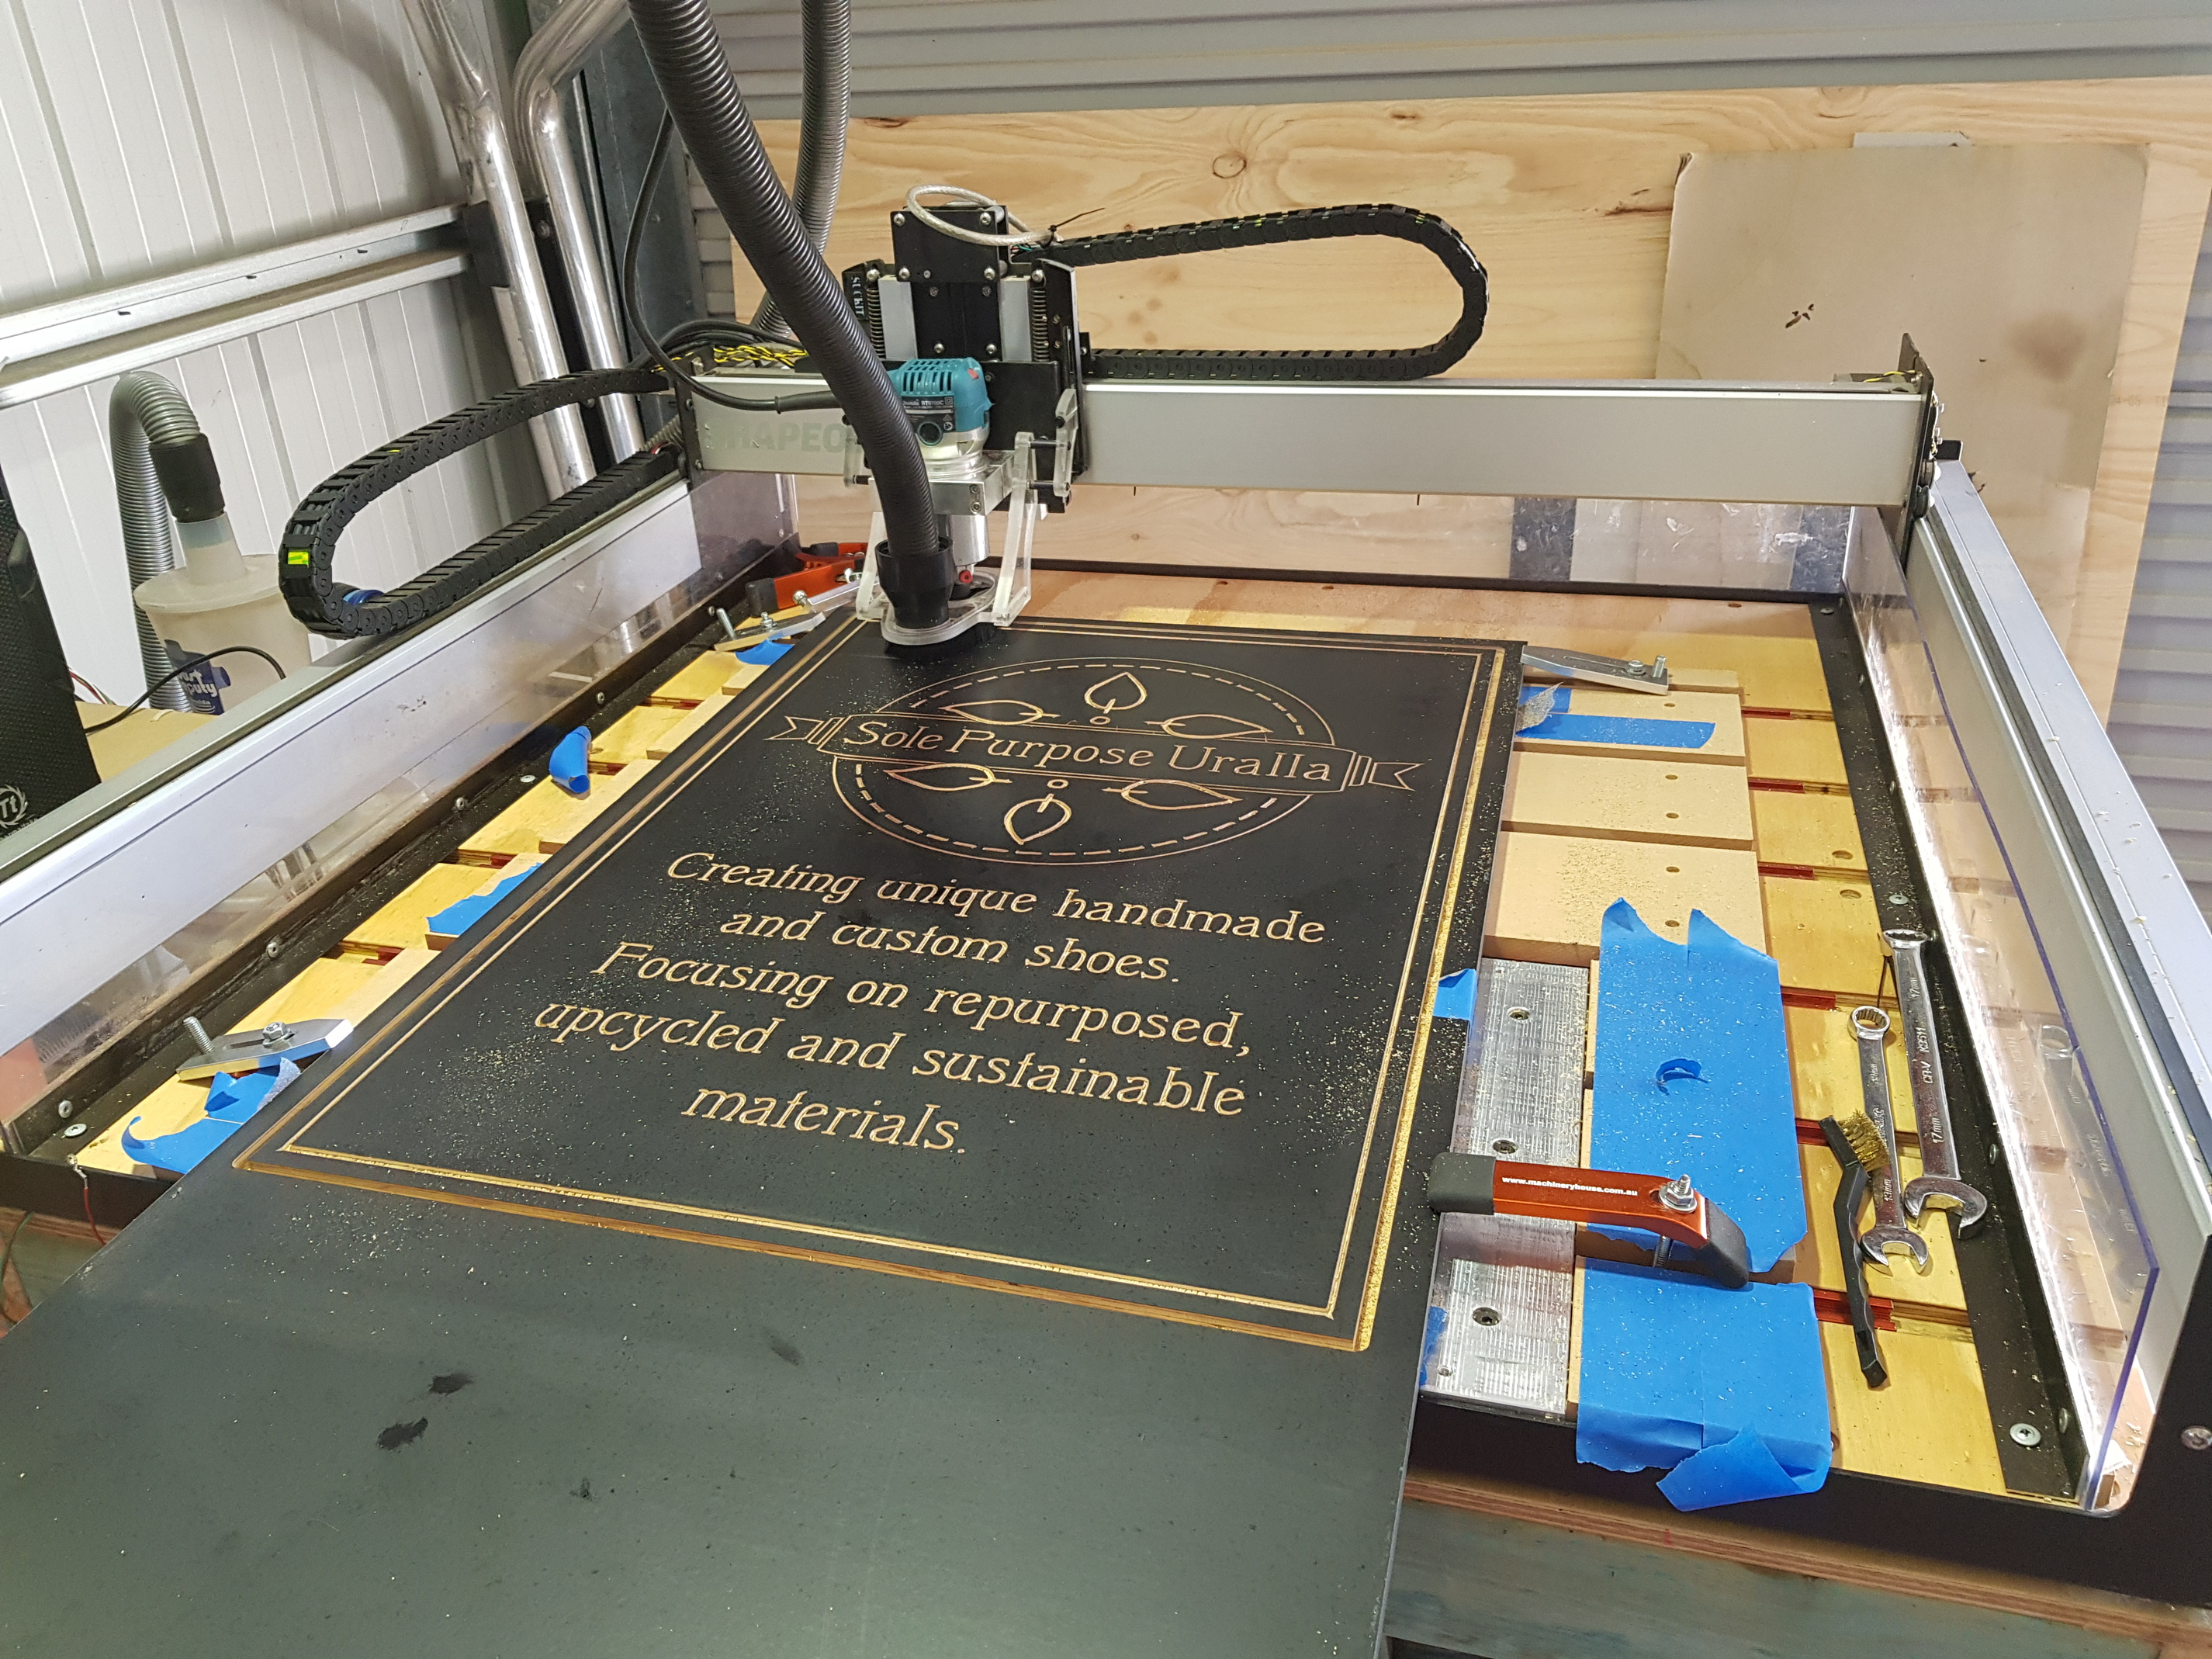
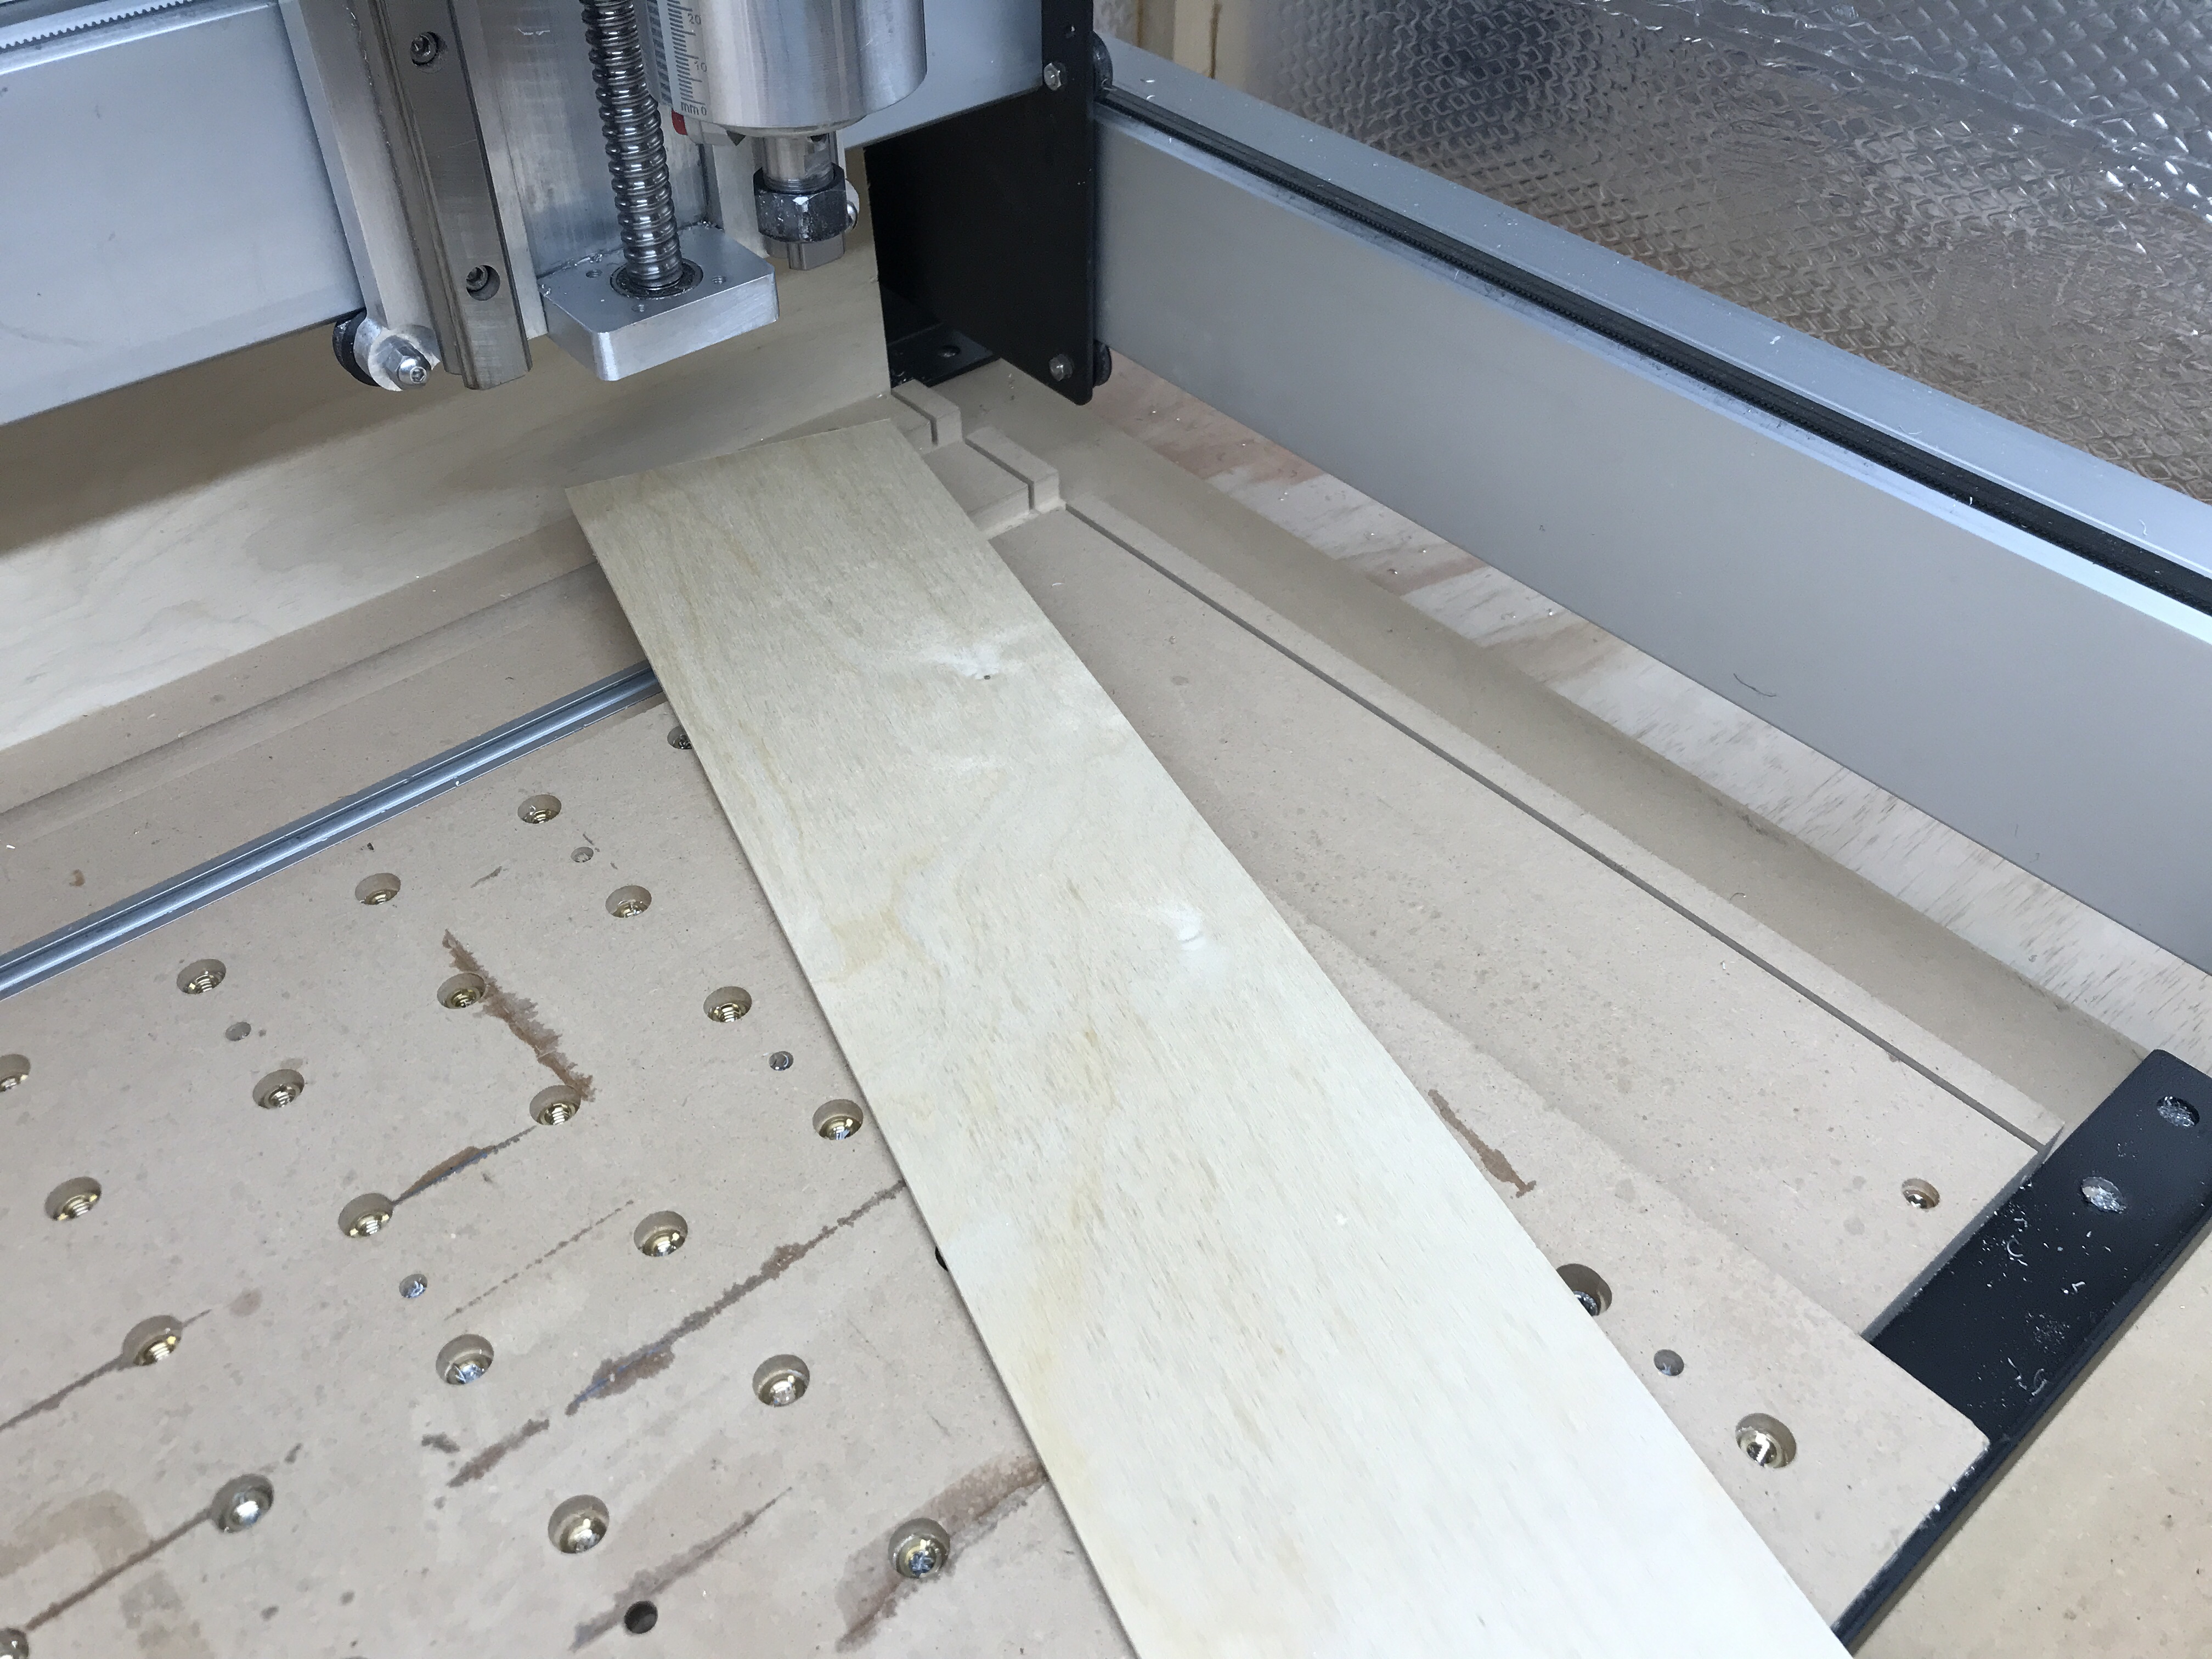
My shapeoko is sitting in a tight enclosure, and I was getting tired of vacuuming on the sides and back of the machine, especially when cutting metal with no dust boot. I saw this guy in a youtube video (can’t find it again…) that had 3D-printed long covers and installed them on the sides, and I thought it was a neat idea to address that concern, so here’s my first go at it:
The pine covers look out of place and ruin the looks of my beloved aluminium bed, but as a prototype it worked just fine and makes a great job of containing the chips within an easy to clean boundary. I’ll probably redo them in a nicer material.
Side note: I did use the dust shoe, but this very deep pocket means loss of suction near the end of the job…and I was testing full-depth adaptive clearing on oak, so I also wanted to take a good look at those chips. So satisfying
I rarely see any of these cover/guards/fence thingies on this forum, so never thought about it before.
Interesting. I suppose if I used some door weatherstripping material I could whip up some… chip catchers?.. that “seal” against the bottom of the Y rails and my shiny (HDPE) baseboard. That would mean I don’t lose any of my hard-earned travel, and they could stay there unobtrusively performing their duty.
I cut some more HDPE for my SmokeSucker (laser smoke vacuuming “dust boot”), and HDPE chips go everywhere even with a dust boot. I think they’re made of anti-vacuum magic (or perhaps it’s just static, but what’s the fun in that). At least they’re not vicious like aluminum sparkles can be.
Yeah they keep a lot of rubbish off the rails and on the wasteboard
I love seeing how people come up with solutions to similar problems, having a place to share it is great!
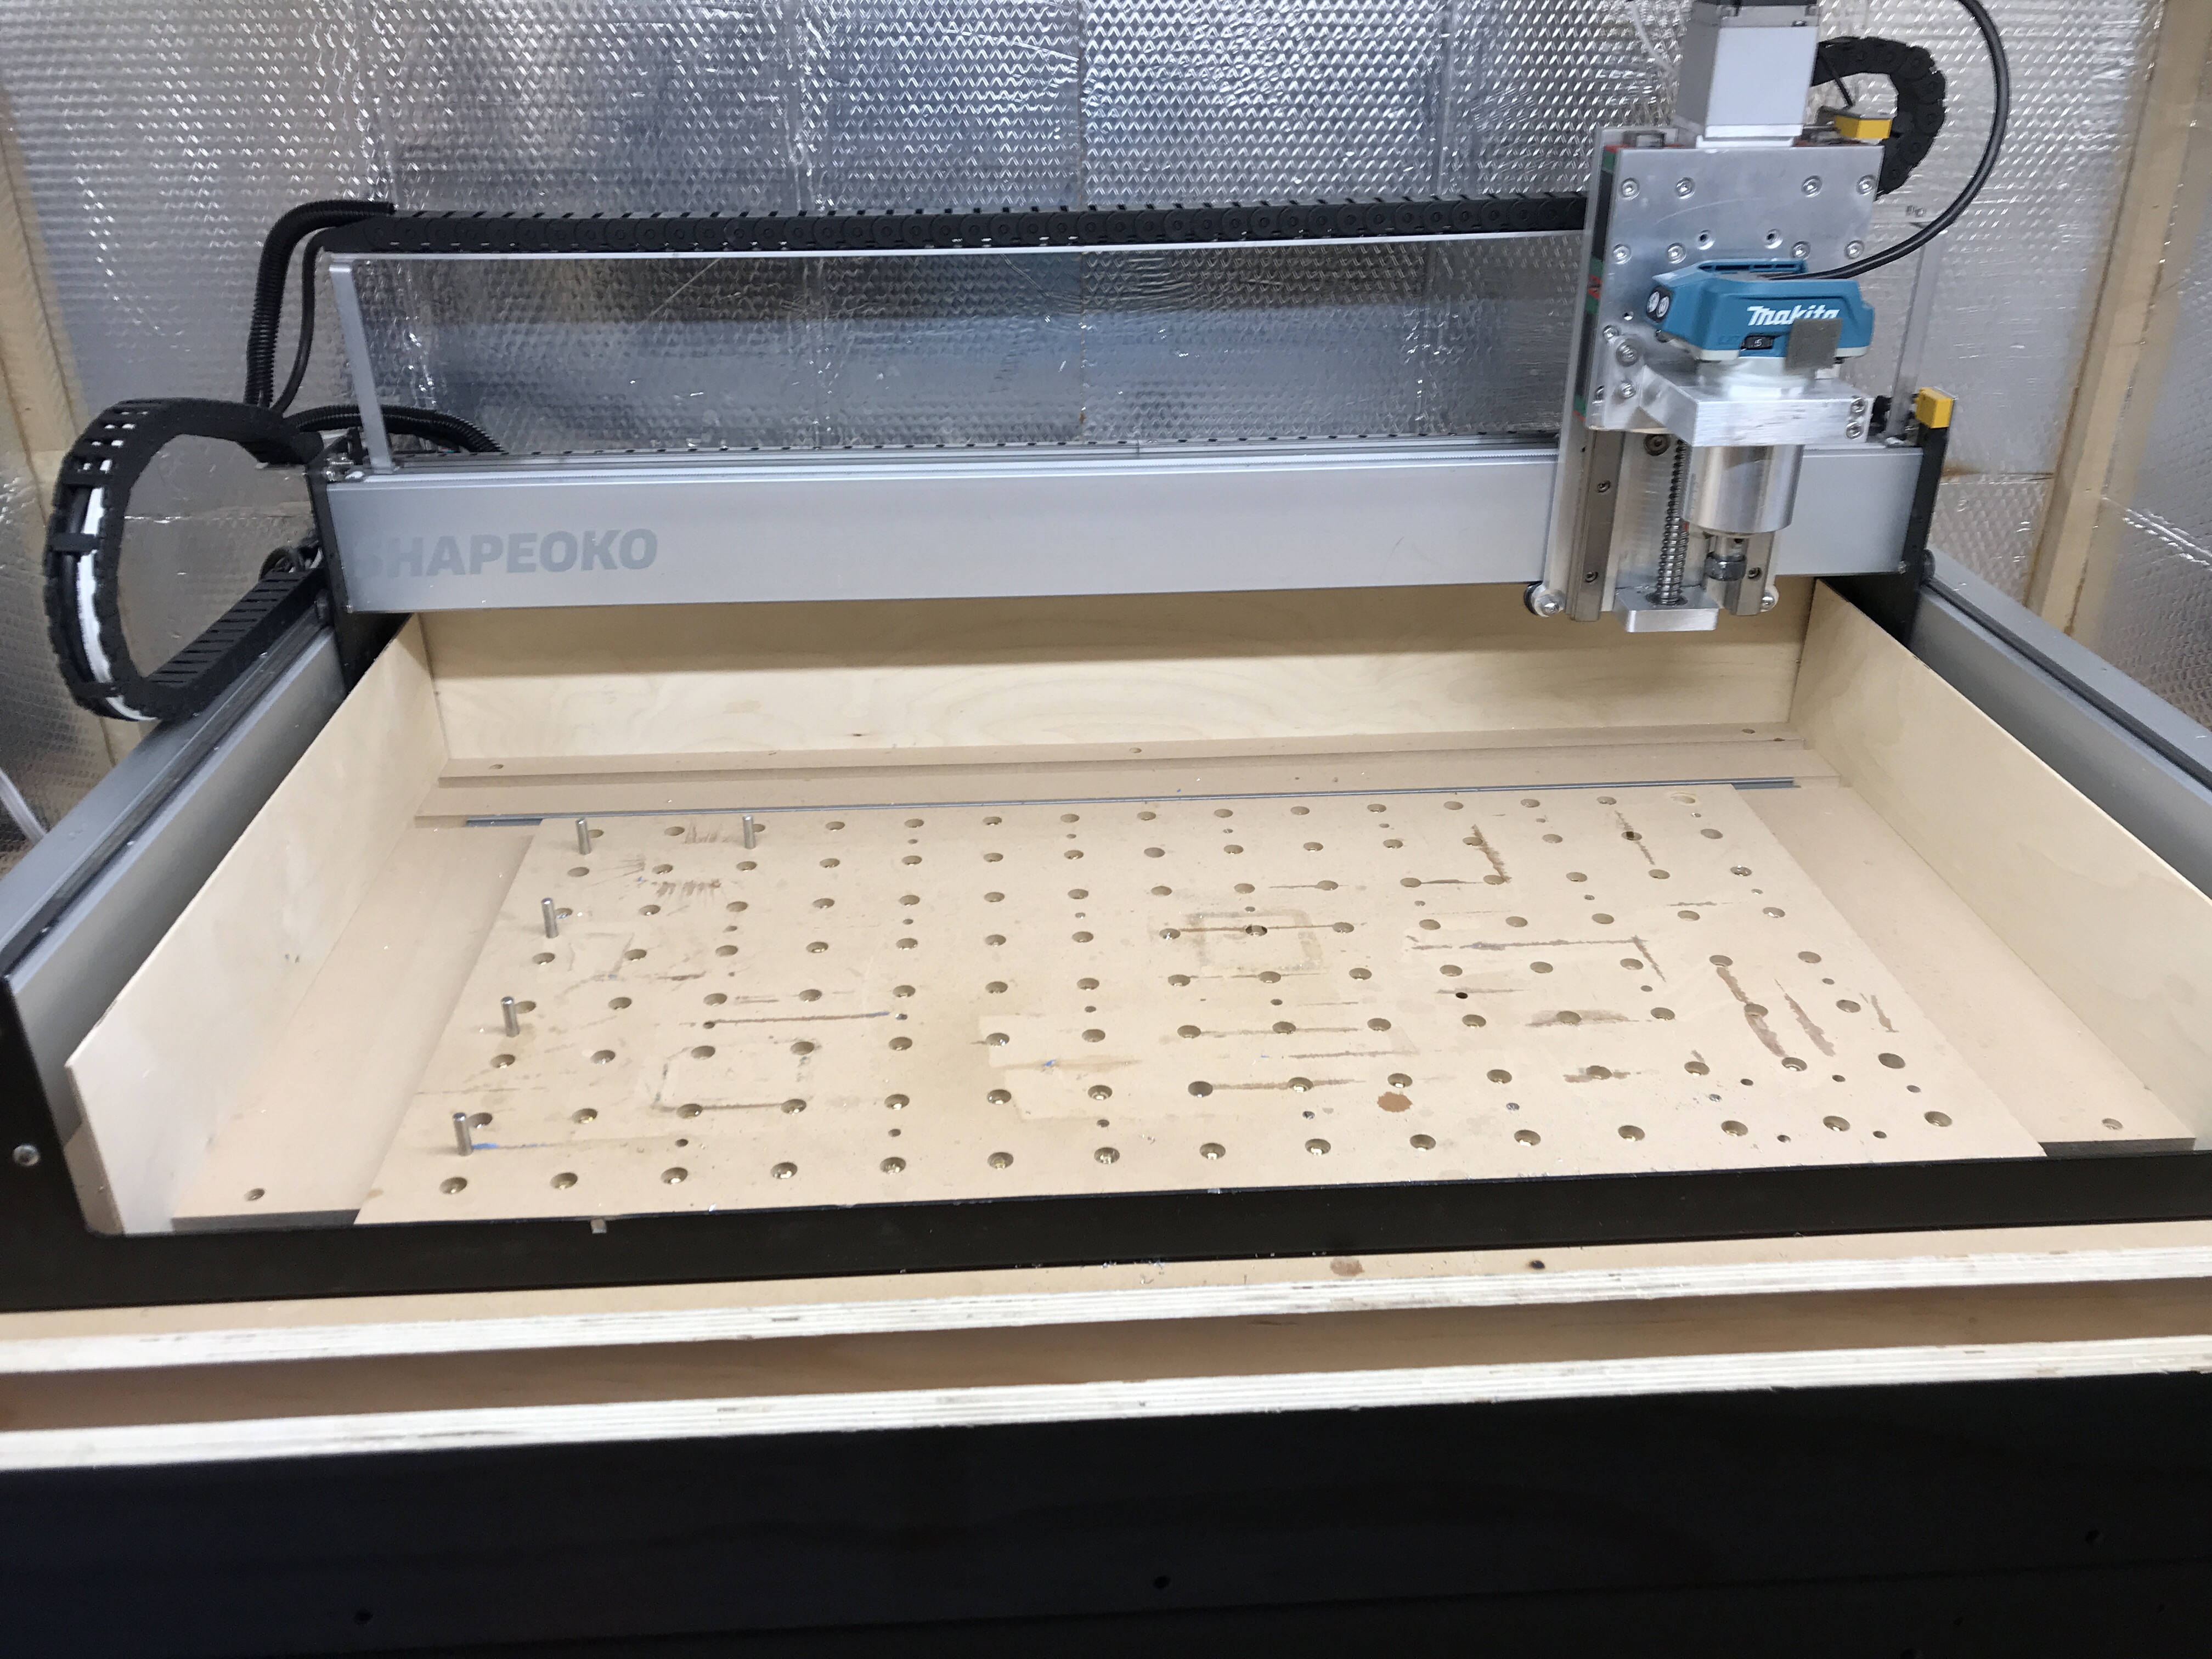
I also added an acrylic sheet on the back of the machine. It sits in there sort of wedged between the wasteboard and frame , and I remove it when required for bigger jobs or for cleaning/access. It gives good protection from stuff flying out the back too
I’m away from the machine but you can just see it in this photo
I don’t really concern myself too much about the little bits that get past the dust boot (I create way more dust and wood chips in the rest of my shop). But I don’t like the fine stuff that builds up on the rails and gets mashed under the V wheels. I remember a post a couple years ago where someone had put toothbrushes on their plates to sweep that dust off. I forgot exactly how they did it, but I may have to devise some sort of rail sweep
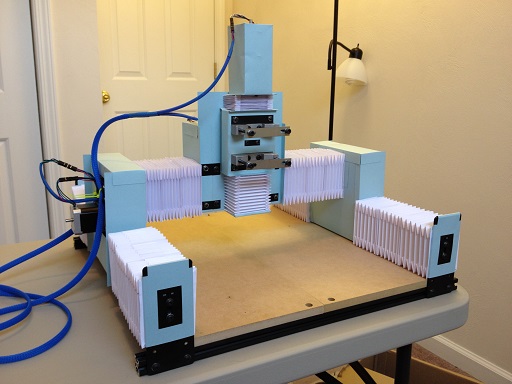
A variation of this concept would protect the rails completely at the expense of a little travel loss. And make the shapeoko look remotely like a Tormach
And now that I know that they are called “accordion bellows covers”, a little googling tells me there should be a way to procure some of the right size for the shapeoko. No way I want to spend hours origami’ing them by myself, but I can’t seem to find any relevant link on the forum to buy them. Too specific ? If anyone gave this some thought already I would be happy to hear about it.
Re-posting this image from the shapeoko wiki just to give people a sense of how cool (weird?) that would look:
sorry for slightly going off topic here @stutaylo i love that sign and am in the process of doing my first paid work (gulp) would you mind answering some questions
I looked into this a few months ago and could find some that are the right size but they are expensive! I priced out that it would be at least $100 for them and at that price, it wasn’t worth it for me.
@JulienThis guy wrote a small program to help DIY bellows. I tried it and lost patience with it. I may have my wife give it a go…she’s more into paper crafts than I.
Great idea, I’m regularly cleaning the little V wheels with compressed air and a little toothbrush but I wouldn’t make my own bellows. How would this work with the drag chains on the Shapeoko?