Shapeoko side covers (fence ? walls ?)

I looked into this a few months ago and could find some that are the right size but they are expensive! I priced out that it would be at least $100 for them and at that price, it wasn’t worth it for me.

That stuff looks amazing. Found something similar at Menards for those in the USA: https://www.menards.com/main/building-materials/panel-products/concrete-forming-panels/building-materials/panel-products/concrete-forming-panels/3-4-x-4-x-8-tigerform-forming-plywood/1235020/p-1444441905347-c-13341.htm

2 Likes

@Julien This guy wrote a small program to help DIY bellows. I tried it and lost patience with it. I may have my wife give it a go…she’s more into paper crafts than I.

2 Likes

Thx, it looks doable but tedious :slight_smile:

That’s what

is for.

2 Likes

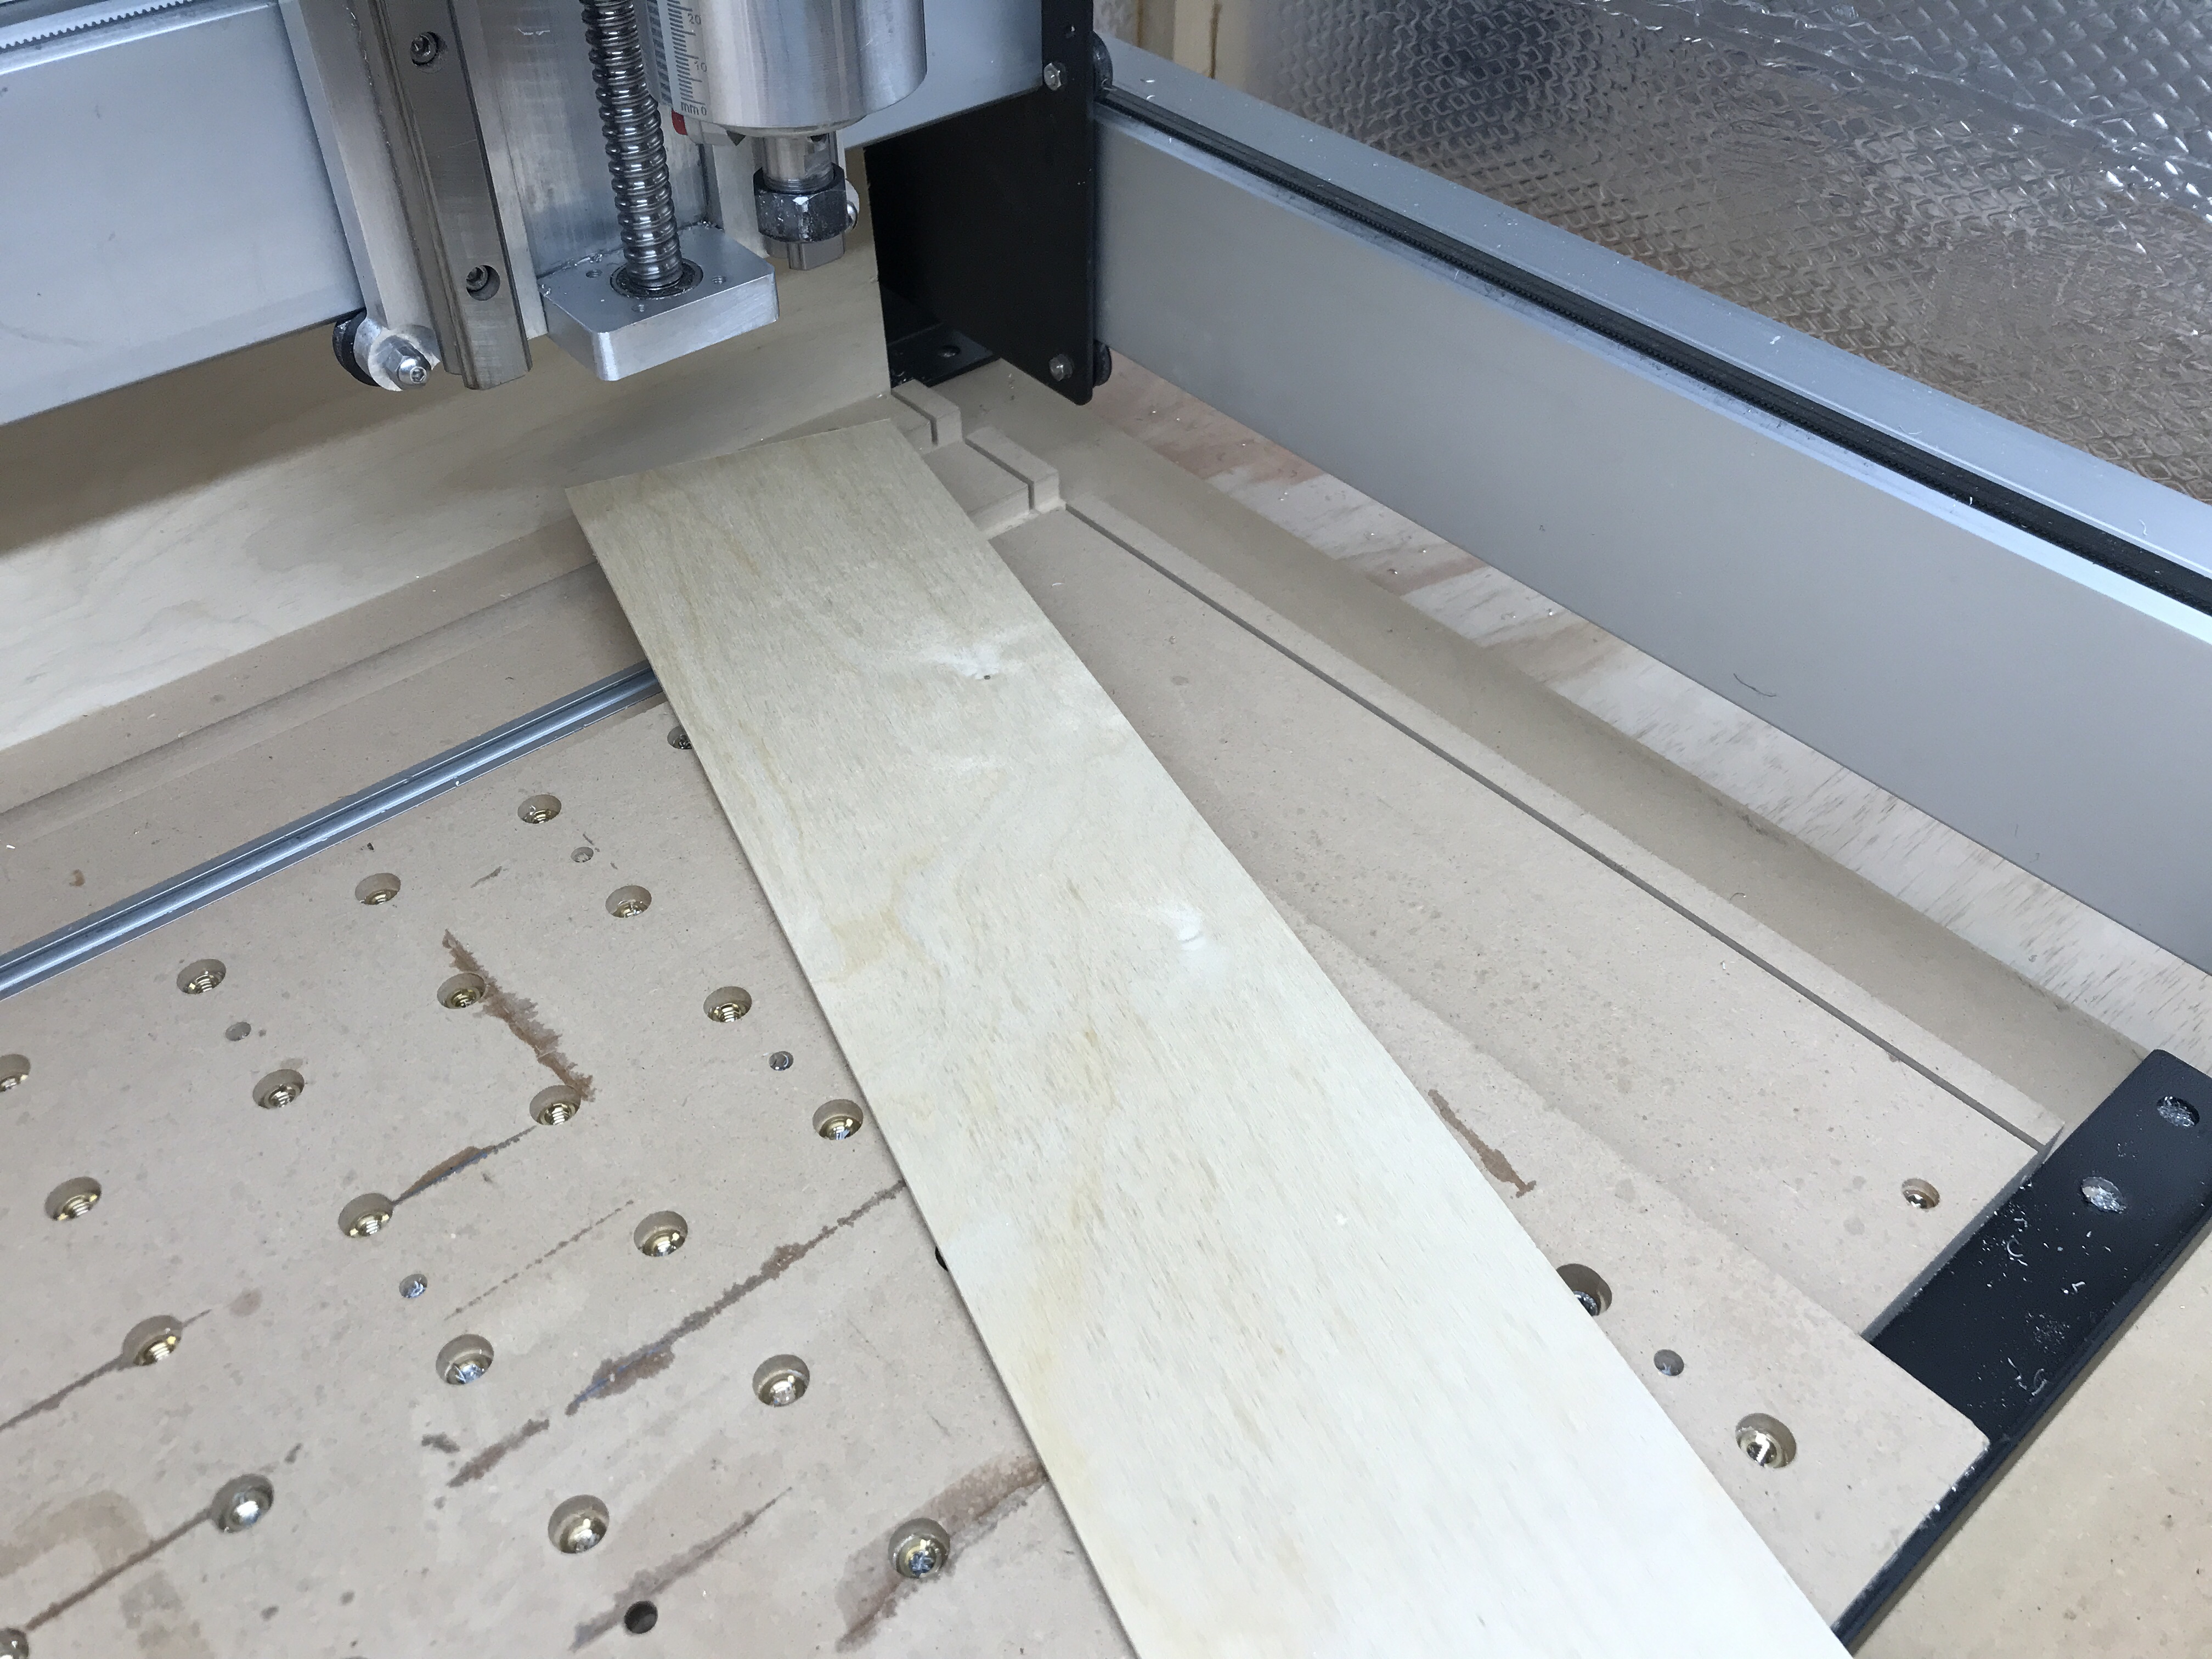
@Julien, I cut 1/8” slots in my “base” spoilboard then insert 1/8” BB ply. Easy to remove if needed.


6 Likes

Great idea, I’m regularly cleaning the little V wheels with compressed air and a little toothbrush but I wouldn’t make my own bellows. How would this work with the drag chains on the Shapeoko?

You must be reading my mind… I will not cut slots into my aluminium bed, but I was considering attaching rails with slots in them to each side for inserting/removing the side walls more easily, exactly like in your setup. Simple and efficient indeed, and this will do just fine for now (I may or may not dive into the DIY bellows rabbit hole, later)

1 Like

I have a piece of 3/4 steel tubing with a bit of aluminum flashing riveted to it, much like Julien’s way up there at the top. I can pick them up and move them around as necessary, they’re just a bit shorter than the bottom of the carriage. I find being able to move them around is kind of nice, and if I forget, the carriage just barely clears them, but the router can obviously just knock them over, so nothing gets damaged. If I’m cutting something small, I put them on both sides of my tertiary mounting board and it keeps the mess down (I have an XL) to a smaller part of the machine.

1 Like

Allright, so I borrowed a mix of ideas shared above and have now replaced my bulky pine prototype with this final setup:

2mm hard foam strips, double-sided taped to aluminium corner guards. I can install them and take them off very easily, and they look way nicer than those thick slabs of pine I had initially. I also made them the maximum height possible to barely clear the gantry.

Thanks for you insights, this is a much more common setup than I thought after all.

Now to cut an acrylic chip guard to protect the bottom of my HDZ, and I’ll be ready to make tiny mountains of Aluminium chips.

By the by, I have no regrets going from my old MDF wasteboard to this HDPE one. The tape&glue method works just as perfectly as it did on MDF, but HDPE is obviously much more resilient to repeated tape removal.

6 Likes

A few snaps of the chip guard, slightly modified so that it fits between the arms of the suckit that I never take off:

Assembled:

and it can stay there when I am not cutting metal and need the dust boot in place:

That’s enough modding for today, back to cutting things.

3 Likes

Interesting, when I look at your design, I can see that aluminum fascia sold in North America would probably be a good choice to make these side covers. Unfortunately, I recycled a lot of it last year as part of renovations, it would have been a good re-use for the old stuff I removed. I will have to check if there are a few pieces still laying around.

Are those bellows open at the bottom so that they can be put on without dismantling the various axes?

No idea…I would hope so

I like your solution. You might consider upgrading to the newest SuckIt shoe (or the whole kit). I has so many improvements, the most significant of which is a shoe that directs the suction to a smaller area. The mounting brackets are now steel, so that makes it super sturdy. I recently bought and extra of shoe so that I could use longer brushes for some jobs without having to change the brushes. Your photo shows the exact type of job that longer brushes would be good for.

Again, nice work. Thanks for sharing.

Yeah the new suckit models seem to be great, but living on the other side of the pond means I would essentially pay almost as much for shipping as for the shoe itself (considering I would not want to buy the full kit again). I already hacked my original suckit arms anyway to make it fit with the HDZ (same reason : it was not cost effective for me to go and buy the HDZ-specific adapters in the US).

After a sunday afternoon of making Aluminium chips, I confirm that these sides covers are super helpful.

Also, I need to add a removable cover on the front side too, right now I get chips everywhere on the floor when I open the enclosure front window…

3 Likes

Awesome! I have some 1/4" plywood that would work great like this. How did you make them stand up straight? Wood blocks by the bottom that they’re attached to?

I glued foam covers to corner rails, and fastened them to the wasteboard using bolts so as to make them easily removable. You can check the post above that starts with :

for a picture of the setup when not buried under a ton of chips :slight_smile:

2 Likes

This topic was automatically closed 30 days after the last reply. New replies are no longer allowed.