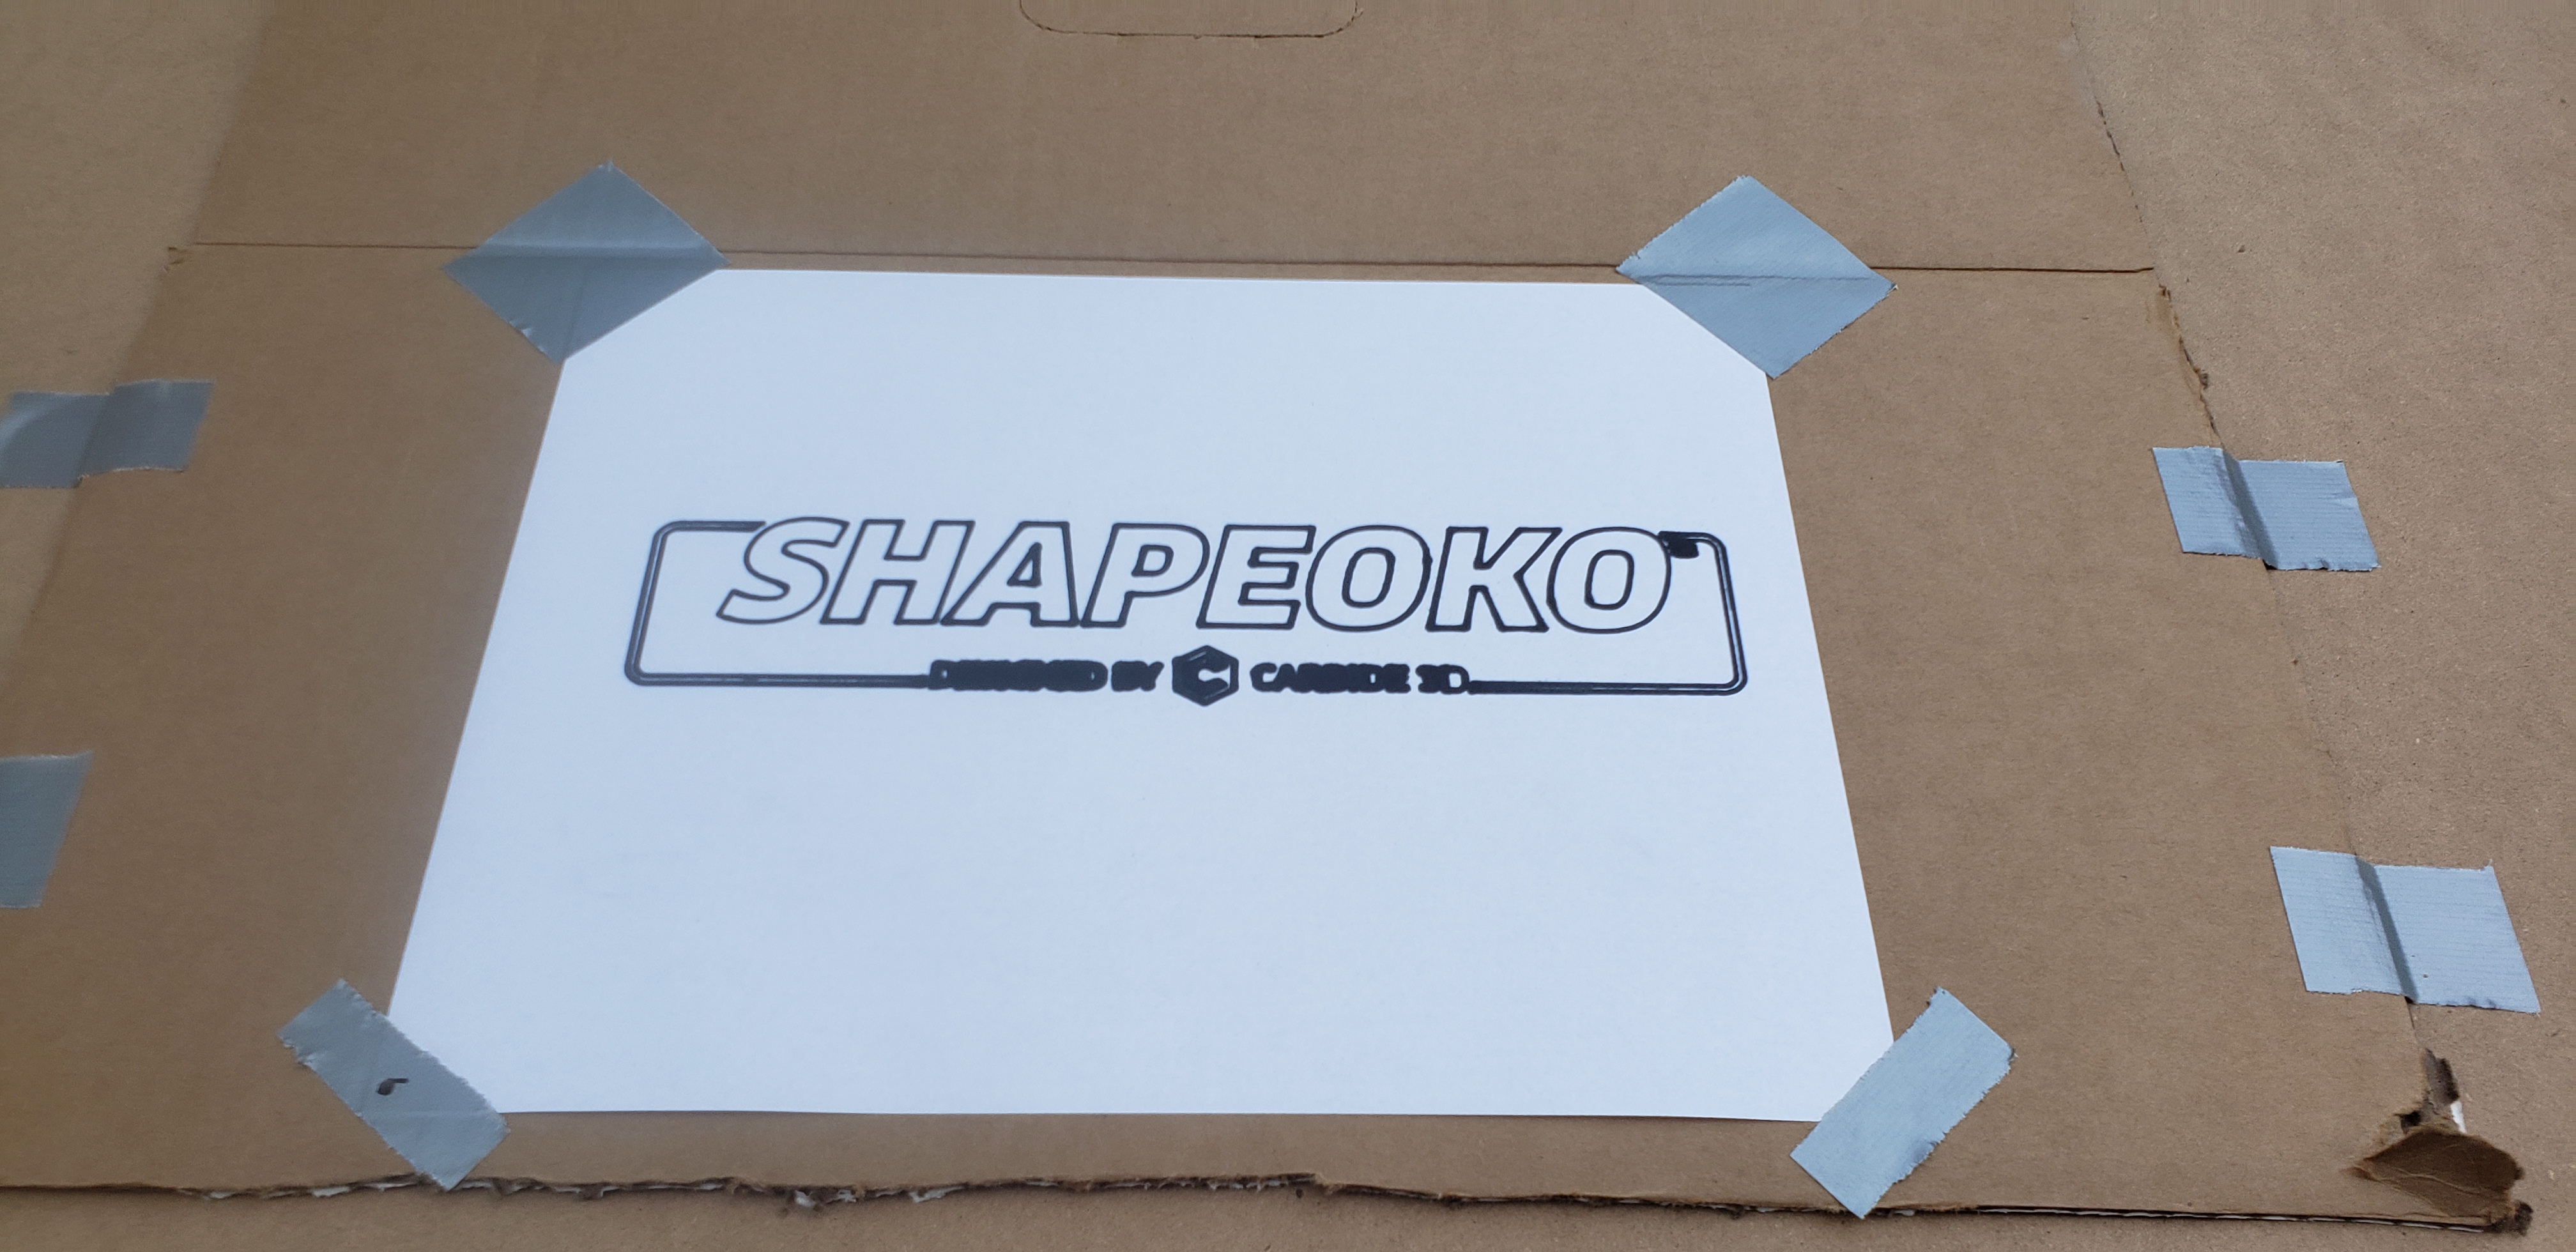
While finally got my machine assembled and up and running. Ran the hello world program only problem was getting the felt tip marker close enough to the paper so it would write out all the letters. Now it’s time to connect the probe and tray cutting something. First project will be the threaded waste board.
4 Likes
I would suggest the diamond, circle, square test as a early cutting job. I did it as a way to test run the machine and correct issues from the start (belt tension, squareness of the machine, etc.).
https://wiki.shapeoko.com/index.php/Calibration_and_Squaring_the_Machine#Diamond_Circle_Square_as_3D_Tutorial
4 Likes
I also just built my machine and ran hello world!
First try I smashed the tip of the marker when I was zeroing  so the small print a it bottom didn’t show too well. Second time I used a different marker and smashed the tip again while zeroing:see_no_evil: the small print showed up good, but I had a crinkle in the paper and missed a letter. I will cut the threaded wasteboard as my first project too.

4 Likes
If you’re not smashing the Sharpie you’re doing something wrong. I smashed mine, more folks than are willing to admit it smashed theirs, it’s kinda a right of passage. Fun stuff!!
Dan
5 Likes
Yeah, one of my lines from tech support is I suspect @edwardrford et al of owning Sharpie futures…
3 Likes
I too smashed mine… ended up running it with a ball point pen, worked well.
Seemed to be a little more forgiving in getting the Z axis axis just right.
1 Like
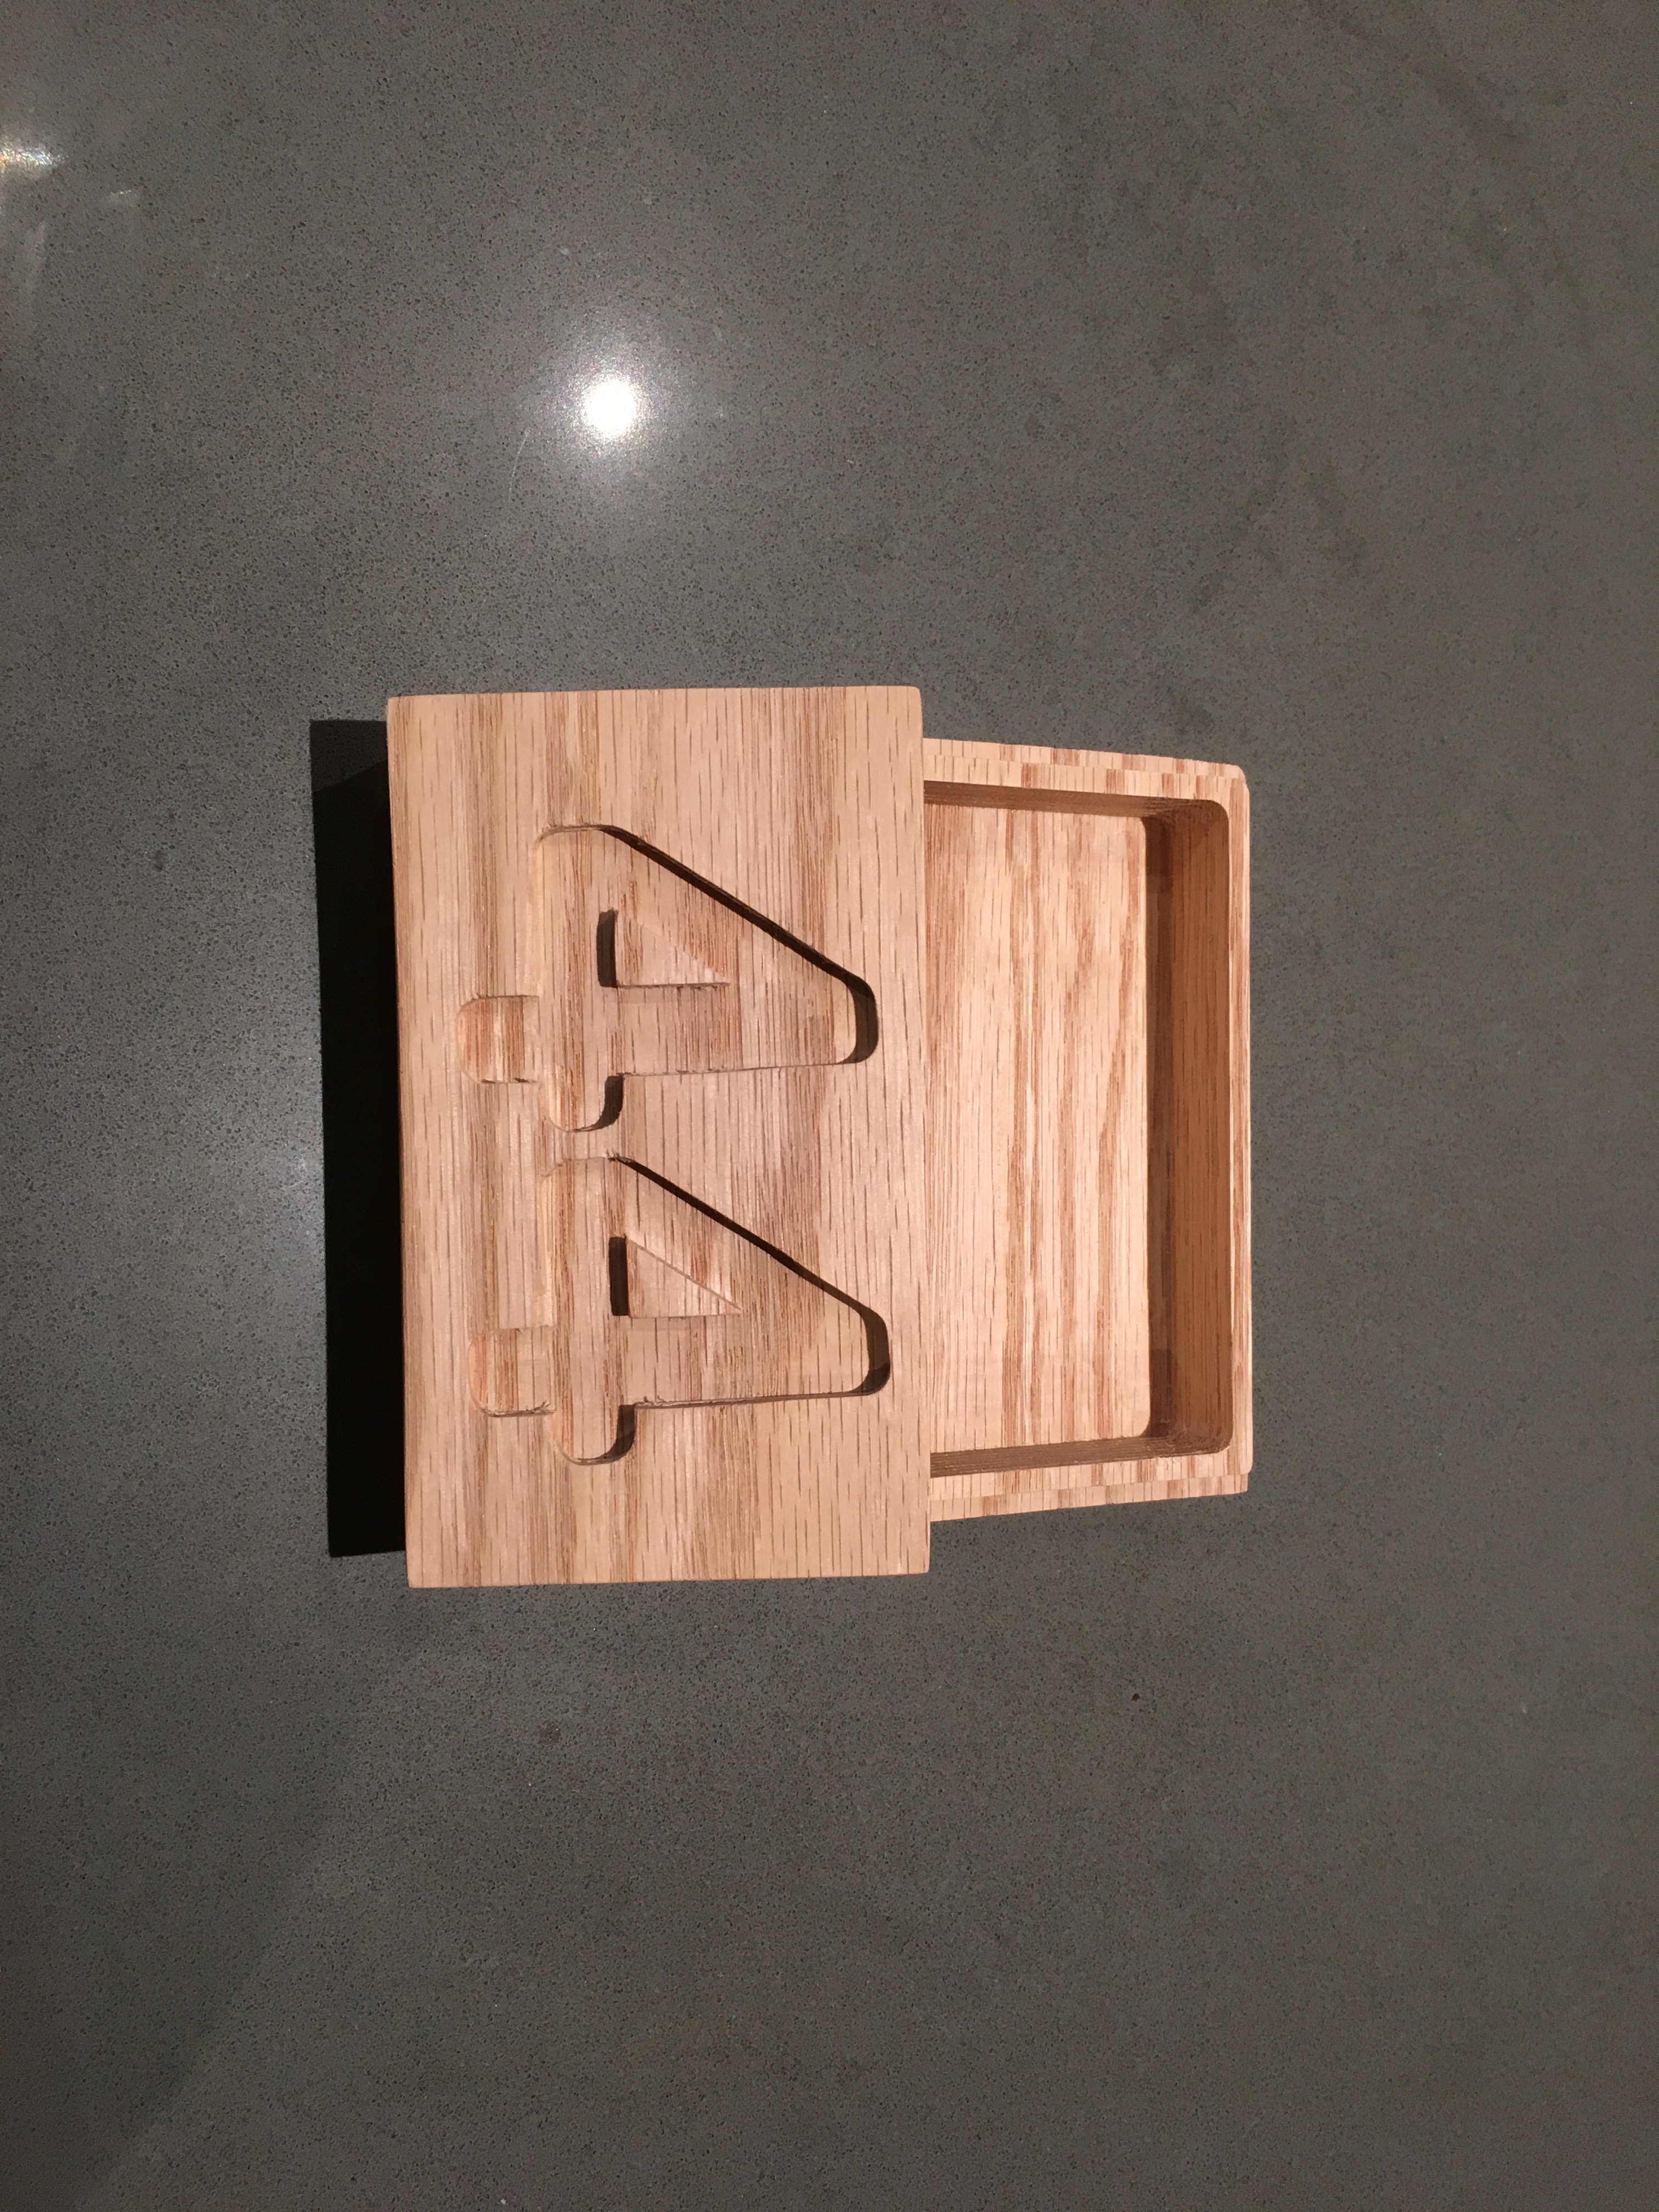
I’m up and running now, after some missing parts. I, too smashed my Sharpie but decided that I was never going to reach Z nirvana with a Sharpie, so moved on to a small box. I was too nervous at first to cut up my precious wasteboard so I just used some double stick tape. It worked OK, but slipped a bit at the last minute resulting in a thinner lip than designed on one side of the box. Luckily I had my shopvac right there and used the nozzle as the hold down for the last few cuts.
5 Likes
Cool, welcome!
You might want to try the tape/super glue method.
2 Likes
Thanks! I actually drilled the wasteboard and used inserts following a plan here on the website. It came out pretty well and now I’m not worried about my stuff flying around!
Congratulations on the successful project.
Clamps are good but they don’t work all the time specially when you carve close to the end of your stock; you will cut through the clamps. As Griff said the masking/painters tape to the stock and the wasteboard with CA glue in the middle works very well. If you want, you can just use the clamps on the side of your stock not as hold down but as bumpers to prevent possible lateral movement.
1 Like
As we all do, I think, (it’s not a bad thing) I made/bought all varieties of clamps in the early days of learning how to use my SO3.
I also broke my SO3 and several dust boots by running into said clamps. Mostly due to my inexperience with CAM, but still costly and annoying.
Now I have a drawer full of clamps that I very rarely use, would anyone like to buy some?
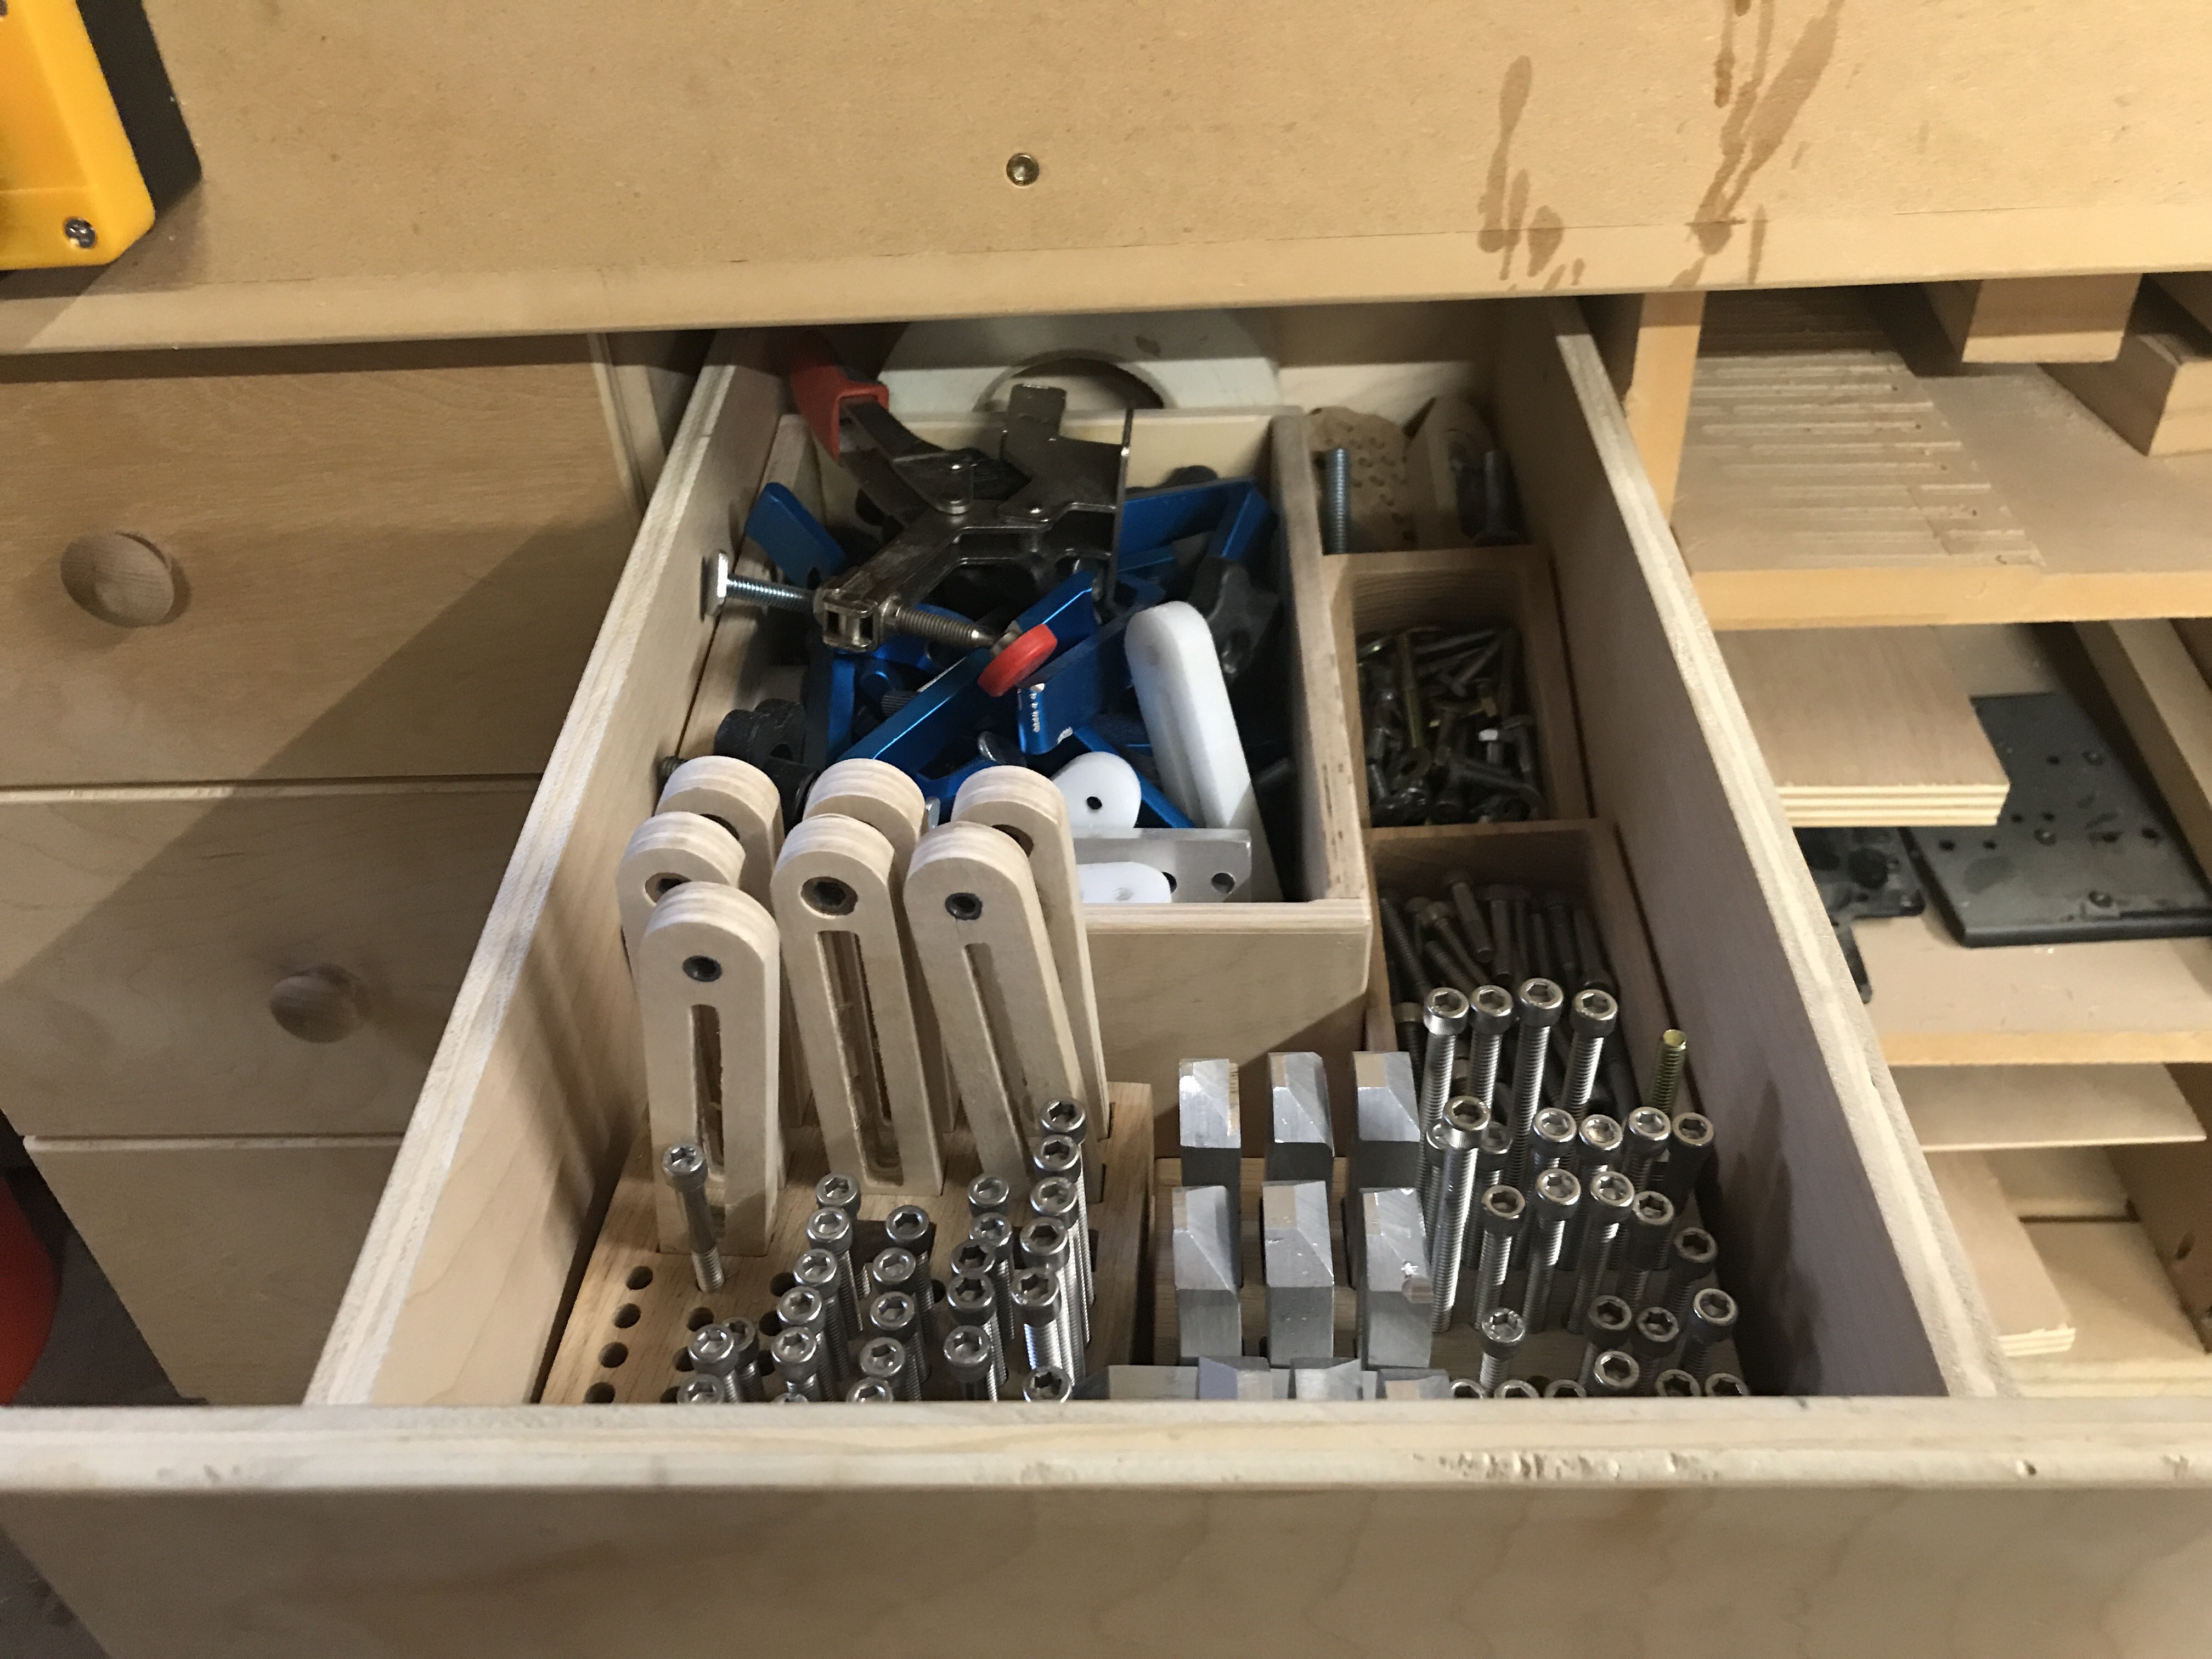
I’ll never get rid of all of them, they are definitely needed for some jobs. But, I’d guess I use tape/CA or a machined fixture 95% of the time.
2 Likes
I still use my inexpensive Shop Fox Cam Clamps pretty regularly on my T-tracks-and-inserts setup. They work really well for projects that involve machining the top out of a terrain model or game board, but they’re not the best solution if you’re cutting things out.
The quality control is sorely lacking on them, but I swap the bolts, add a washer, and (for T-track use) a better T-track nut, and that gets them up to cromulence. They’re trivially easy to use and low-profile enough to be below stock top, but they are hardened steel, so you don’t really want to try carving into the face of one unless you’ve got your feeds and speeds just right. 
This topic was automatically closed 30 days after the last reply. New replies are no longer allowed.