Shapoko 3 XXL Enclosure Questions

New owner of a Shapoko 3 XXL here. I have no CNC experience, outside of some limited 3D printer work. I’m planning on working with aluminum and plexiglass. I’ve been doing a lot of research and trying to figure things out.

I have questions about building an enclosure.

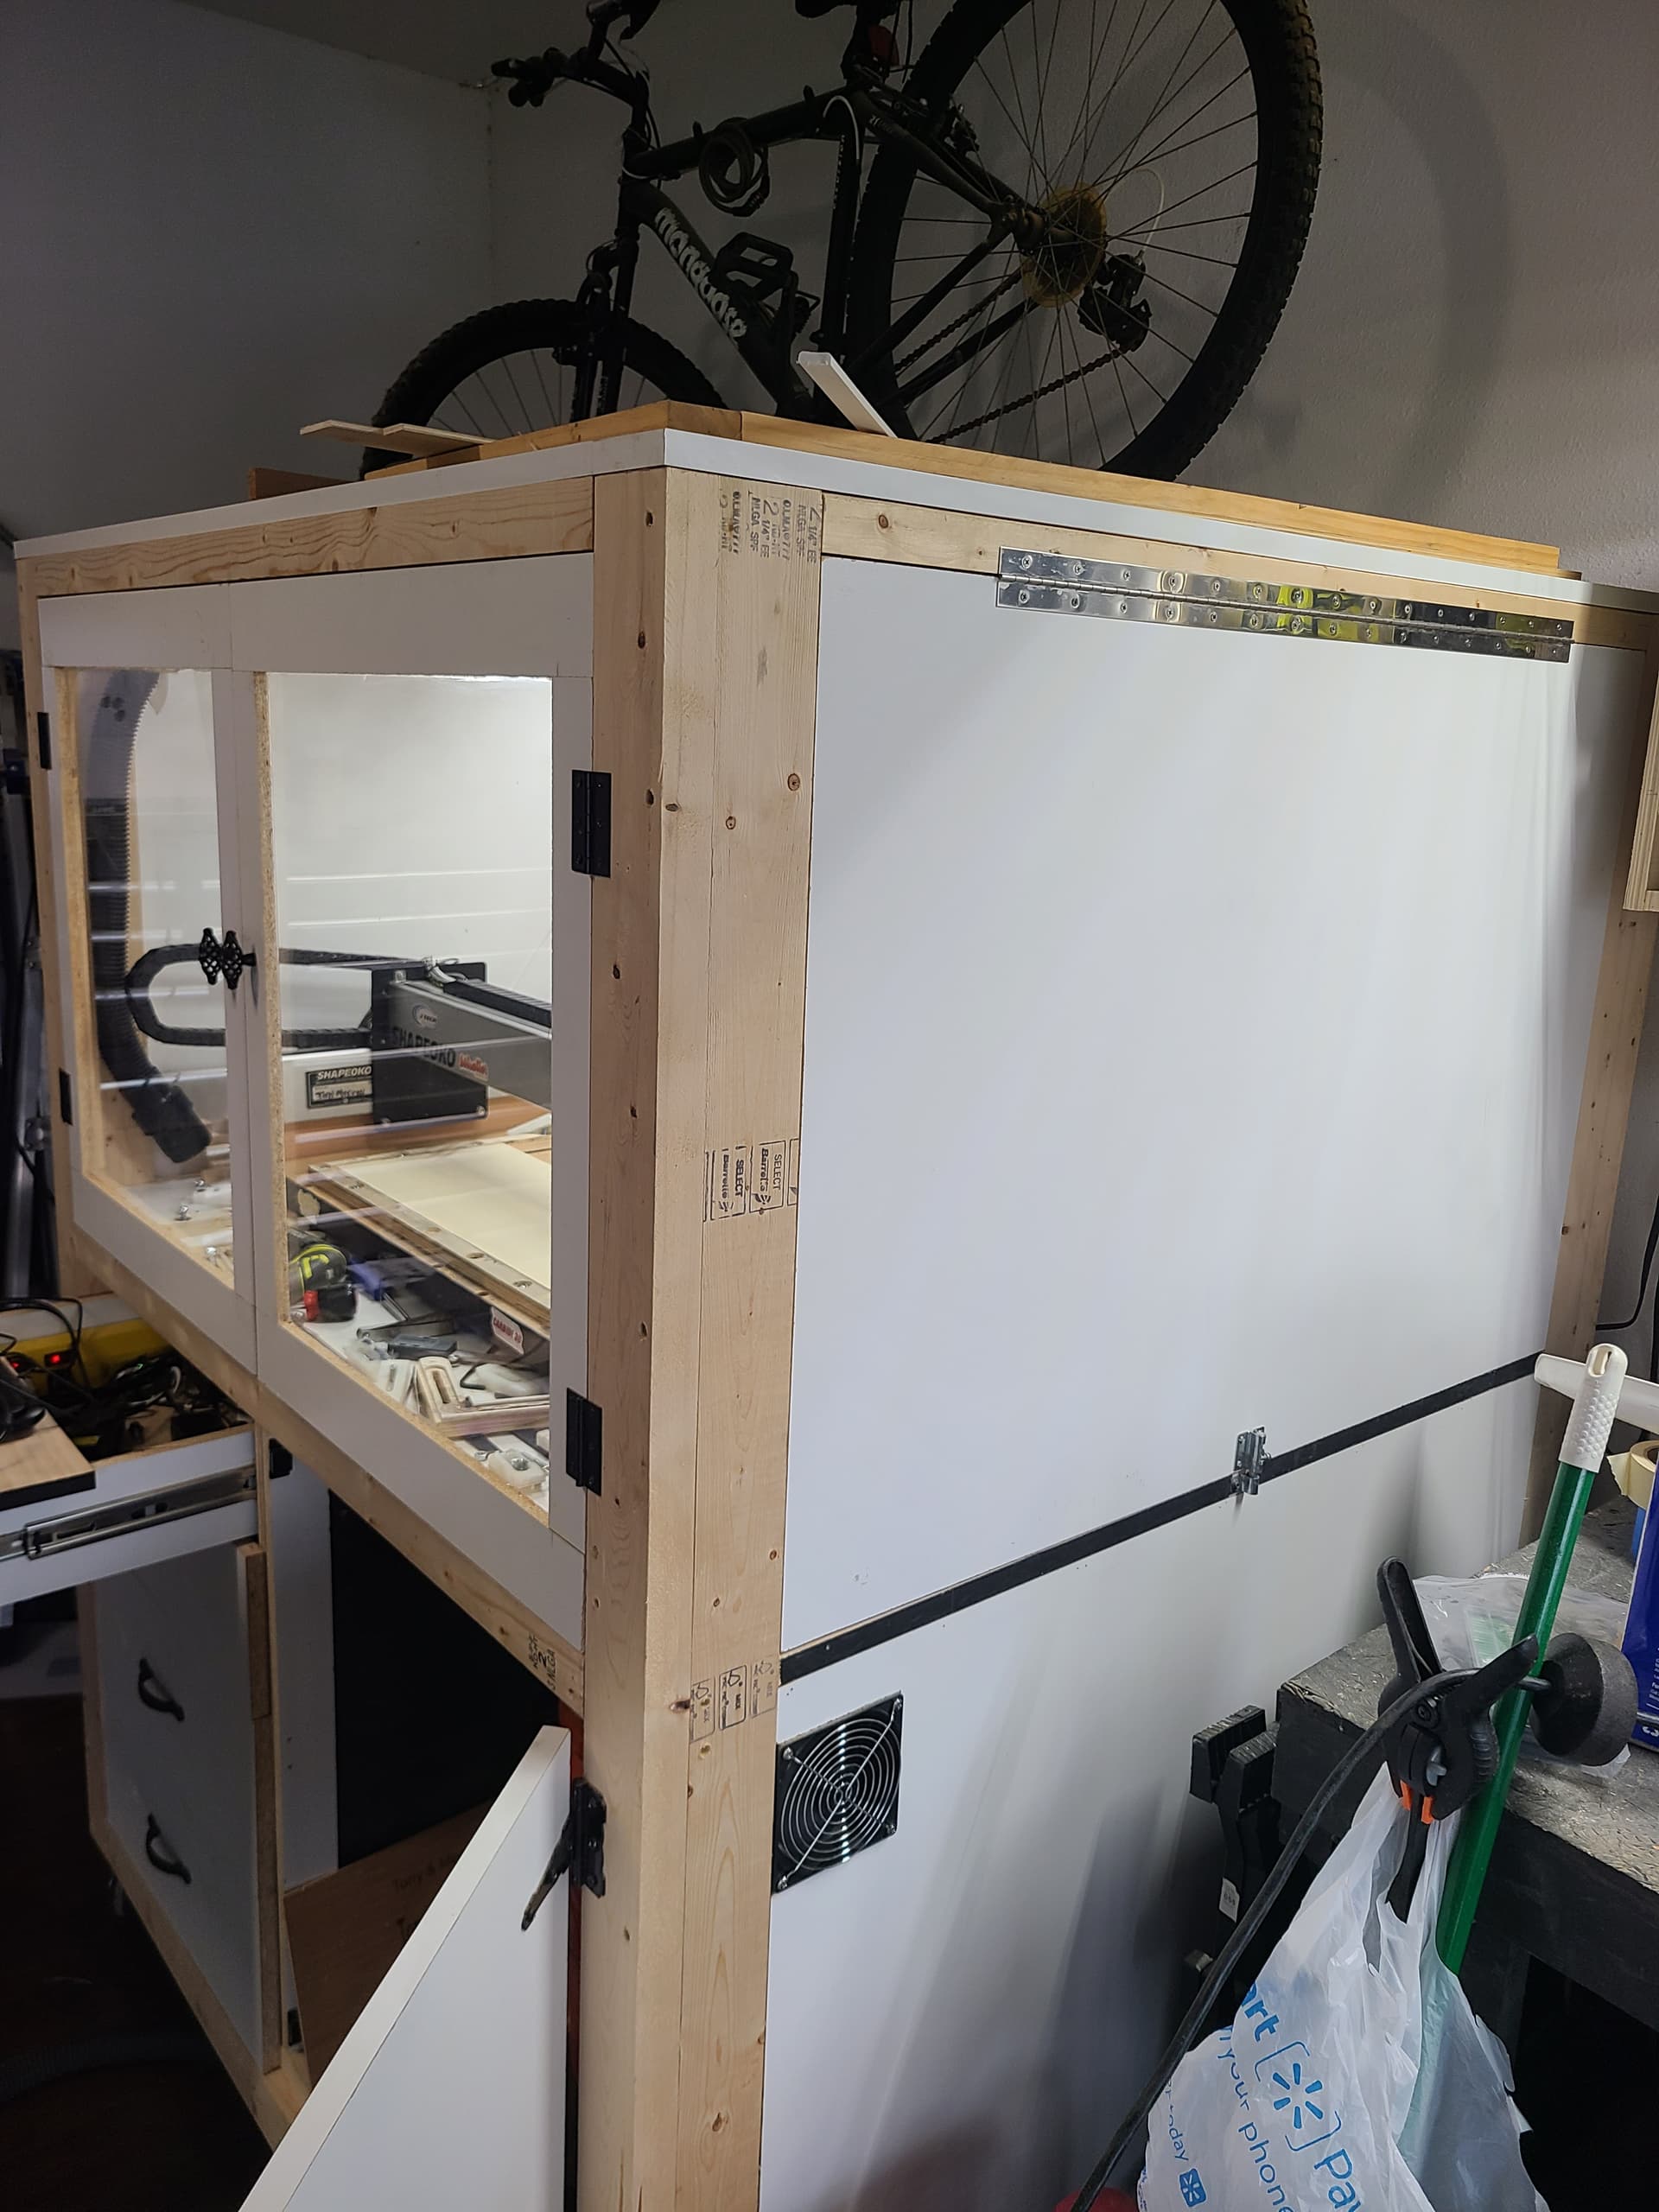
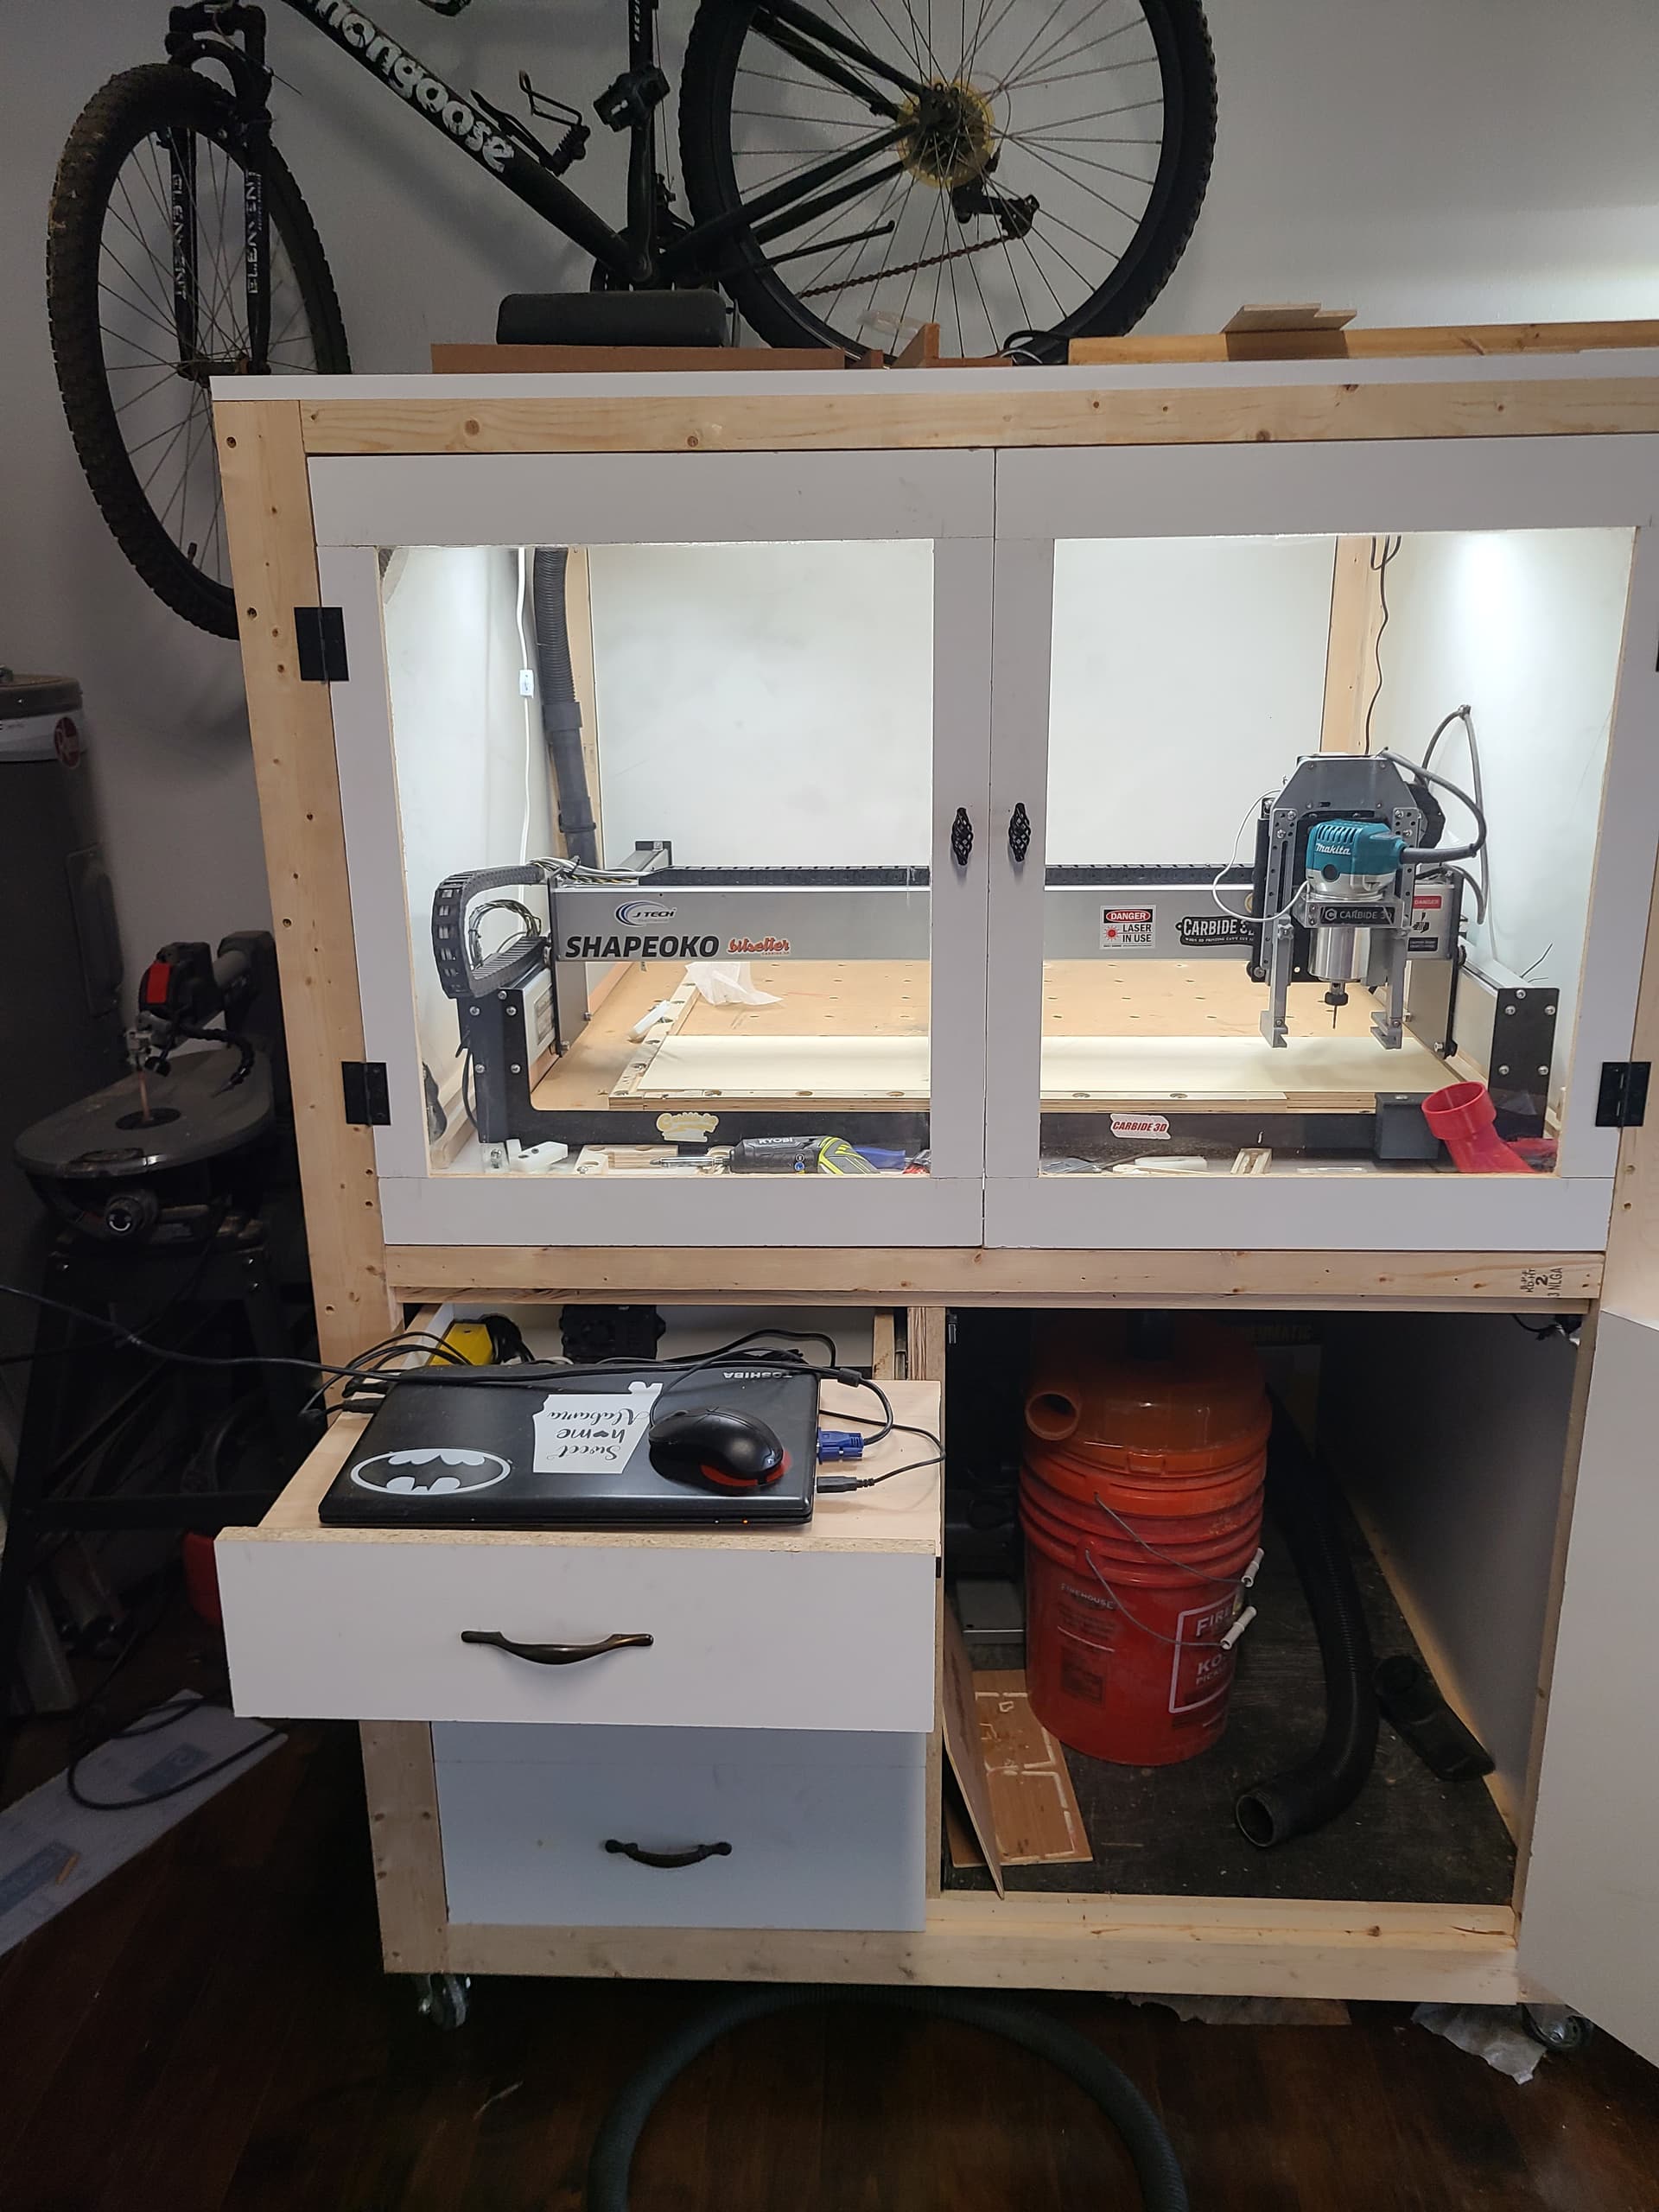
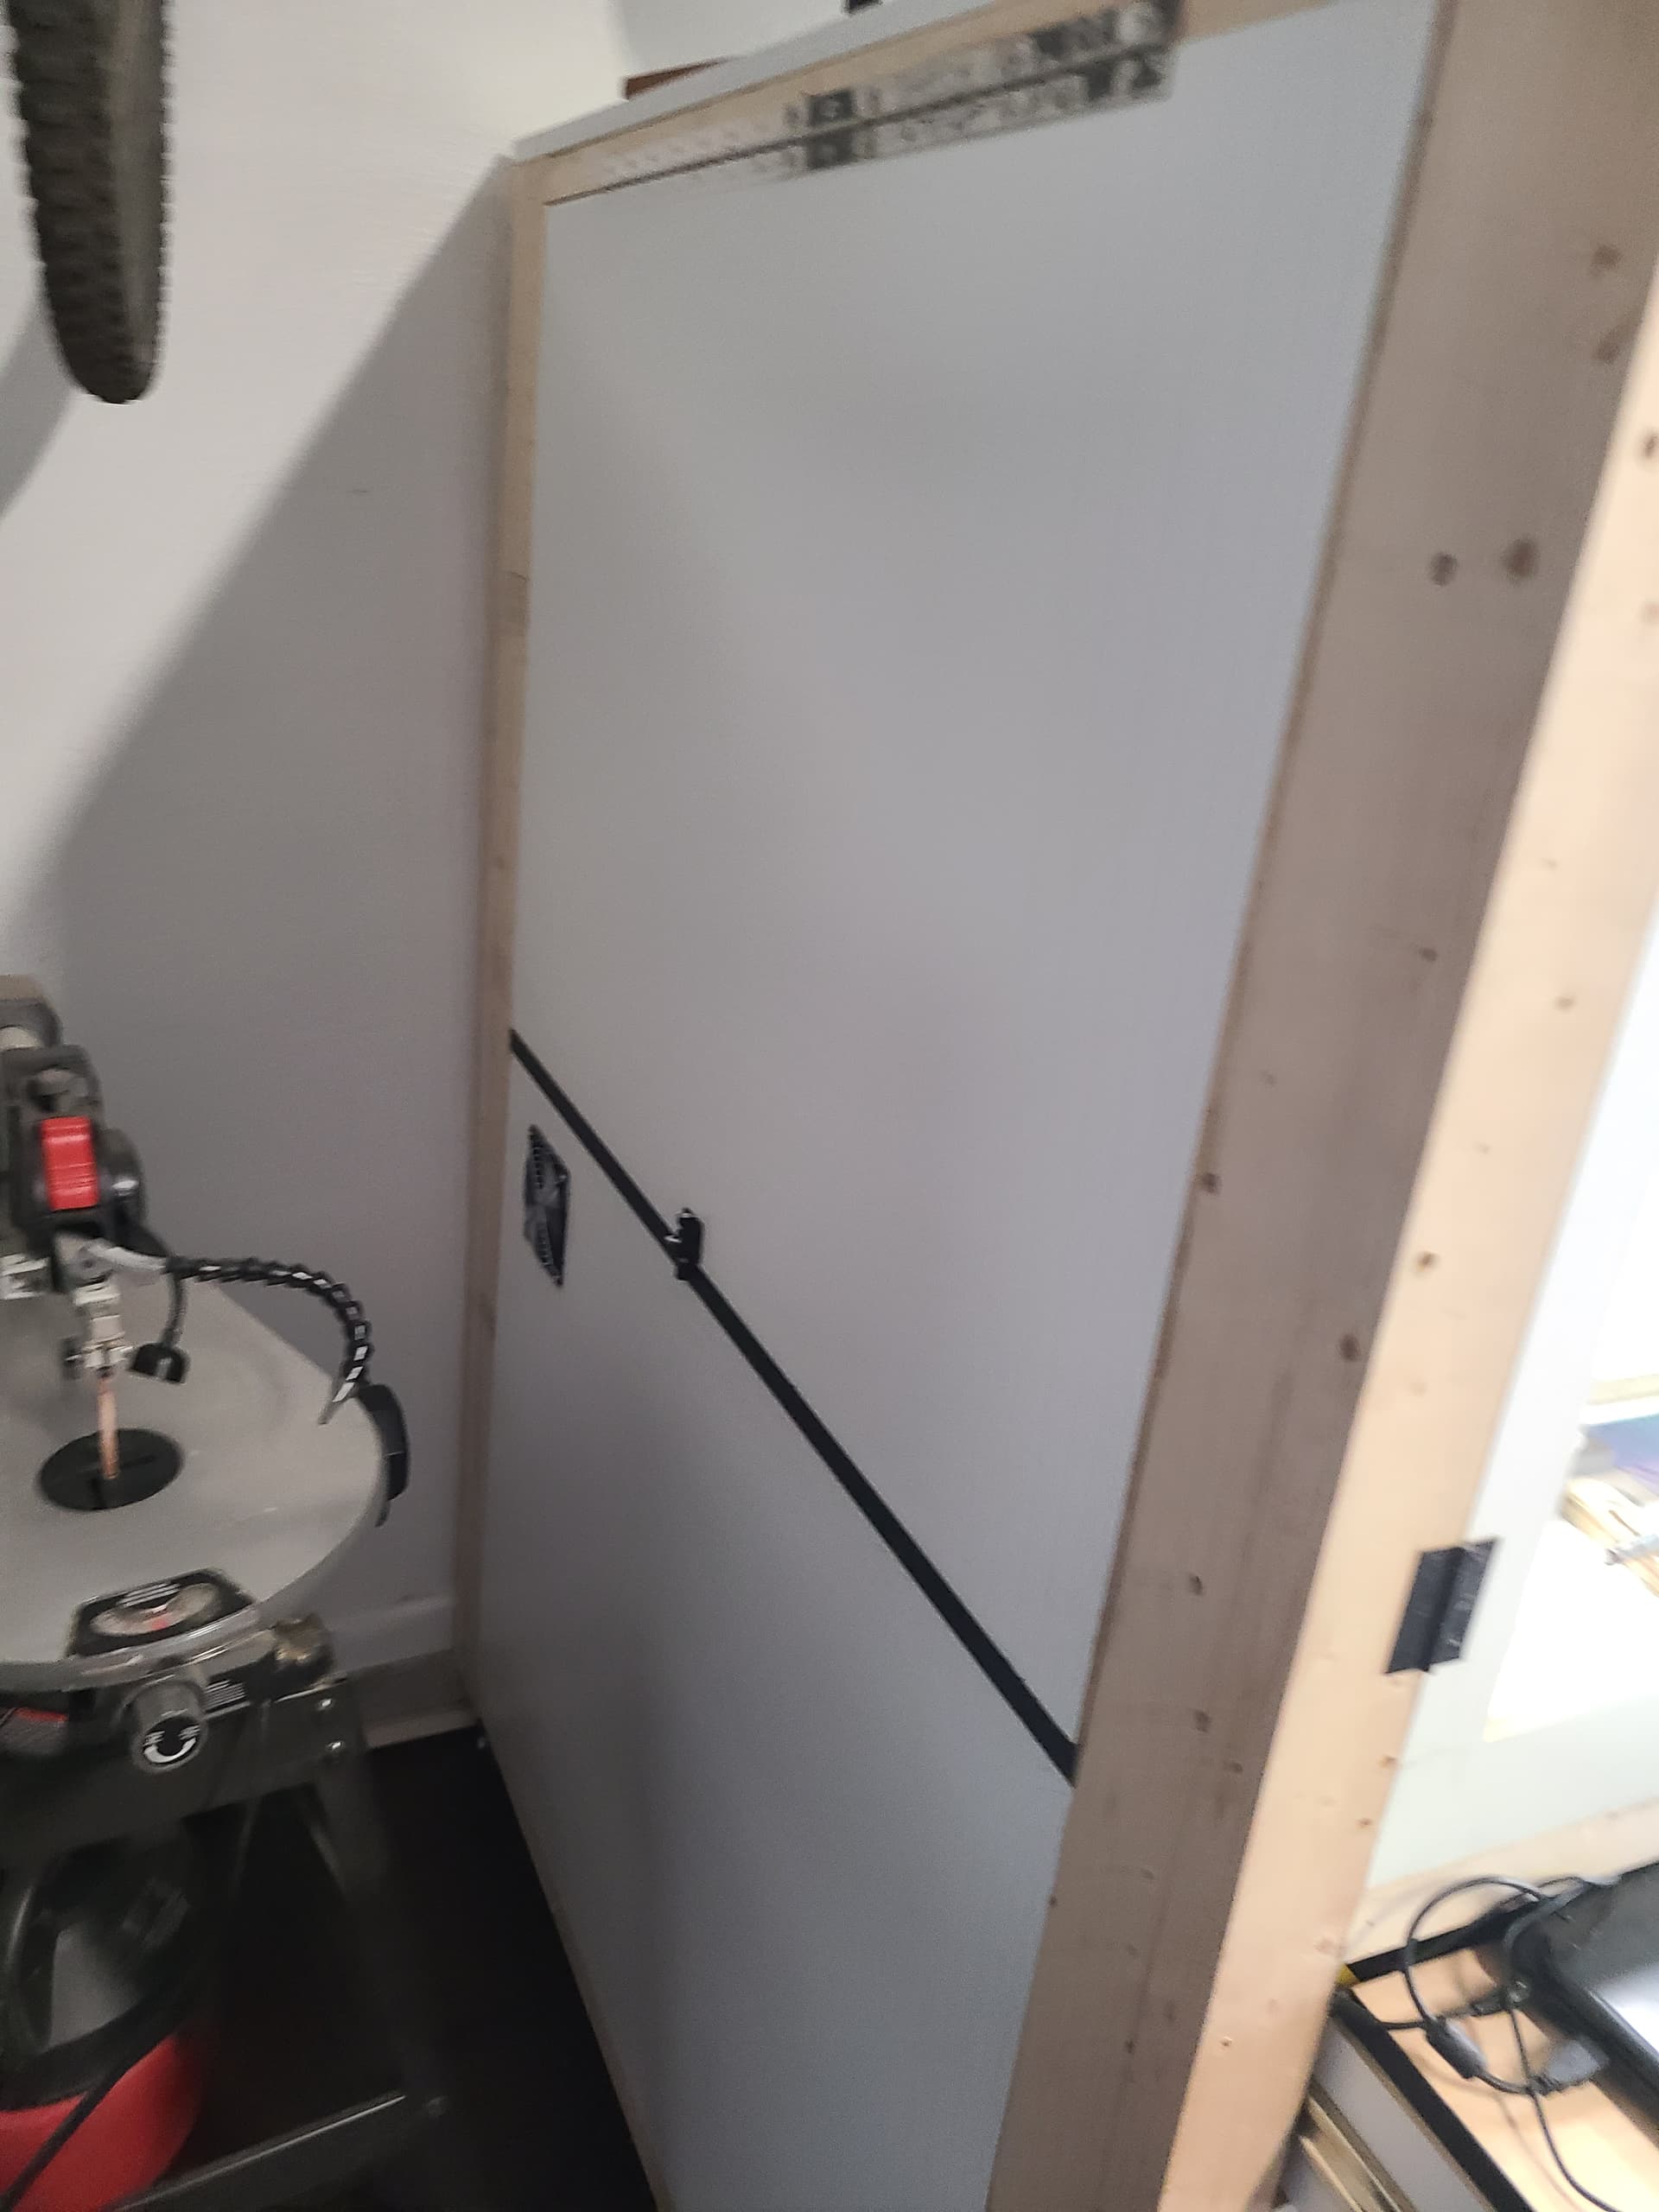
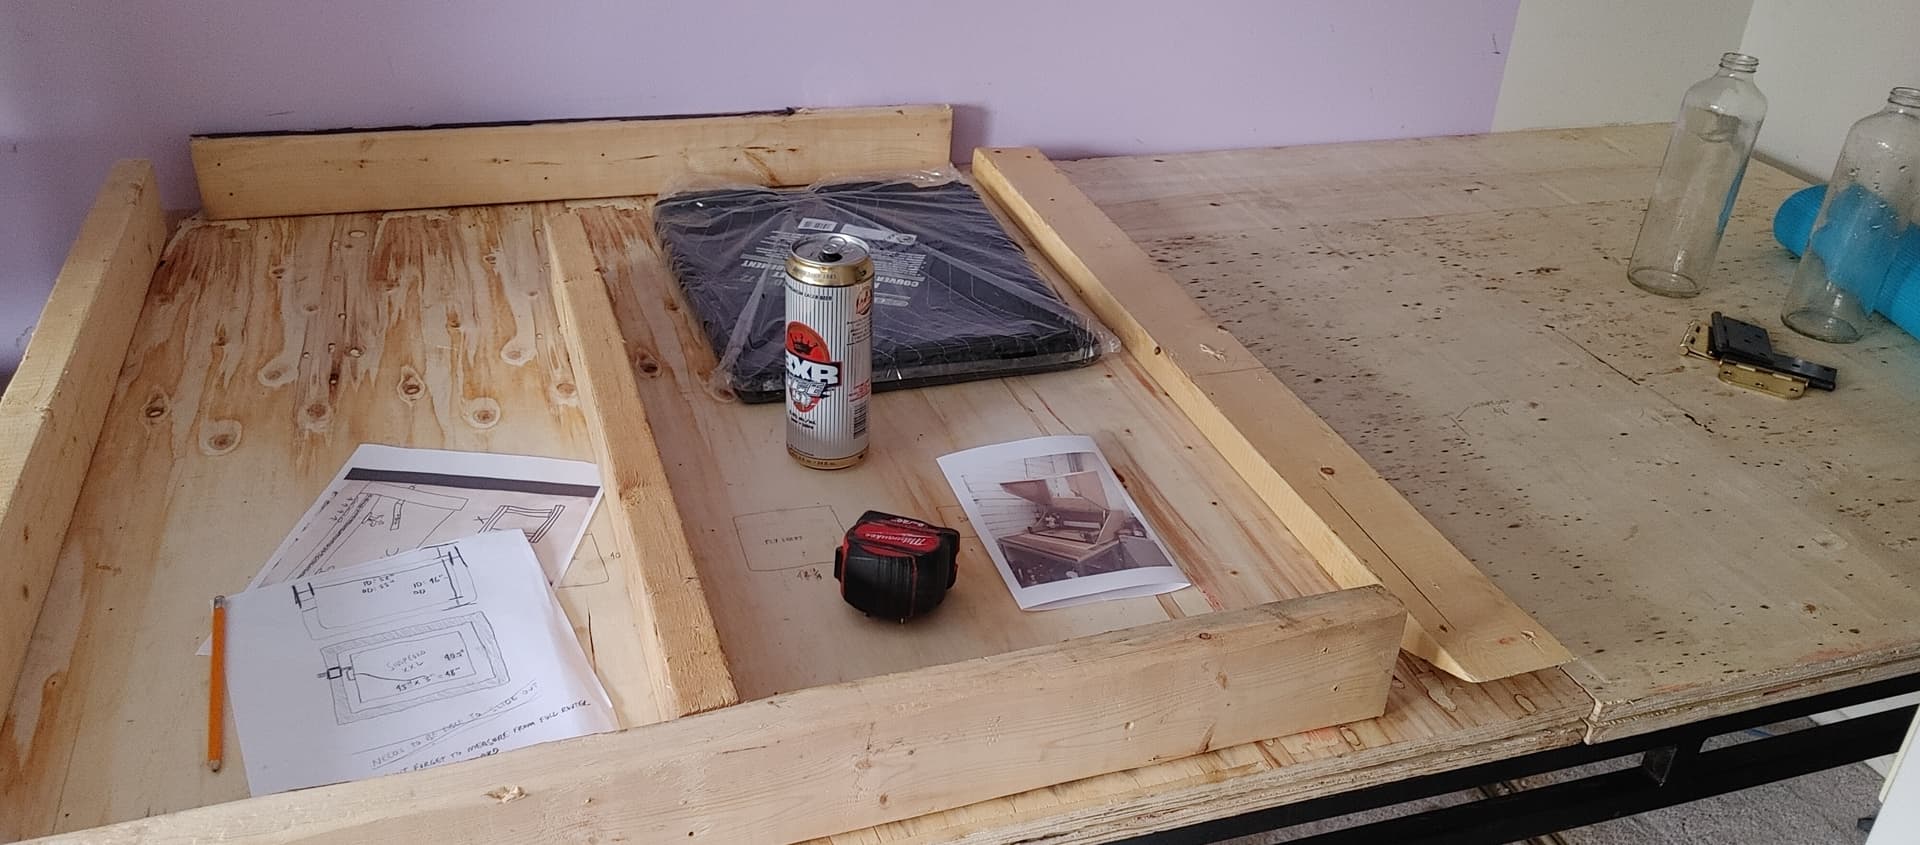
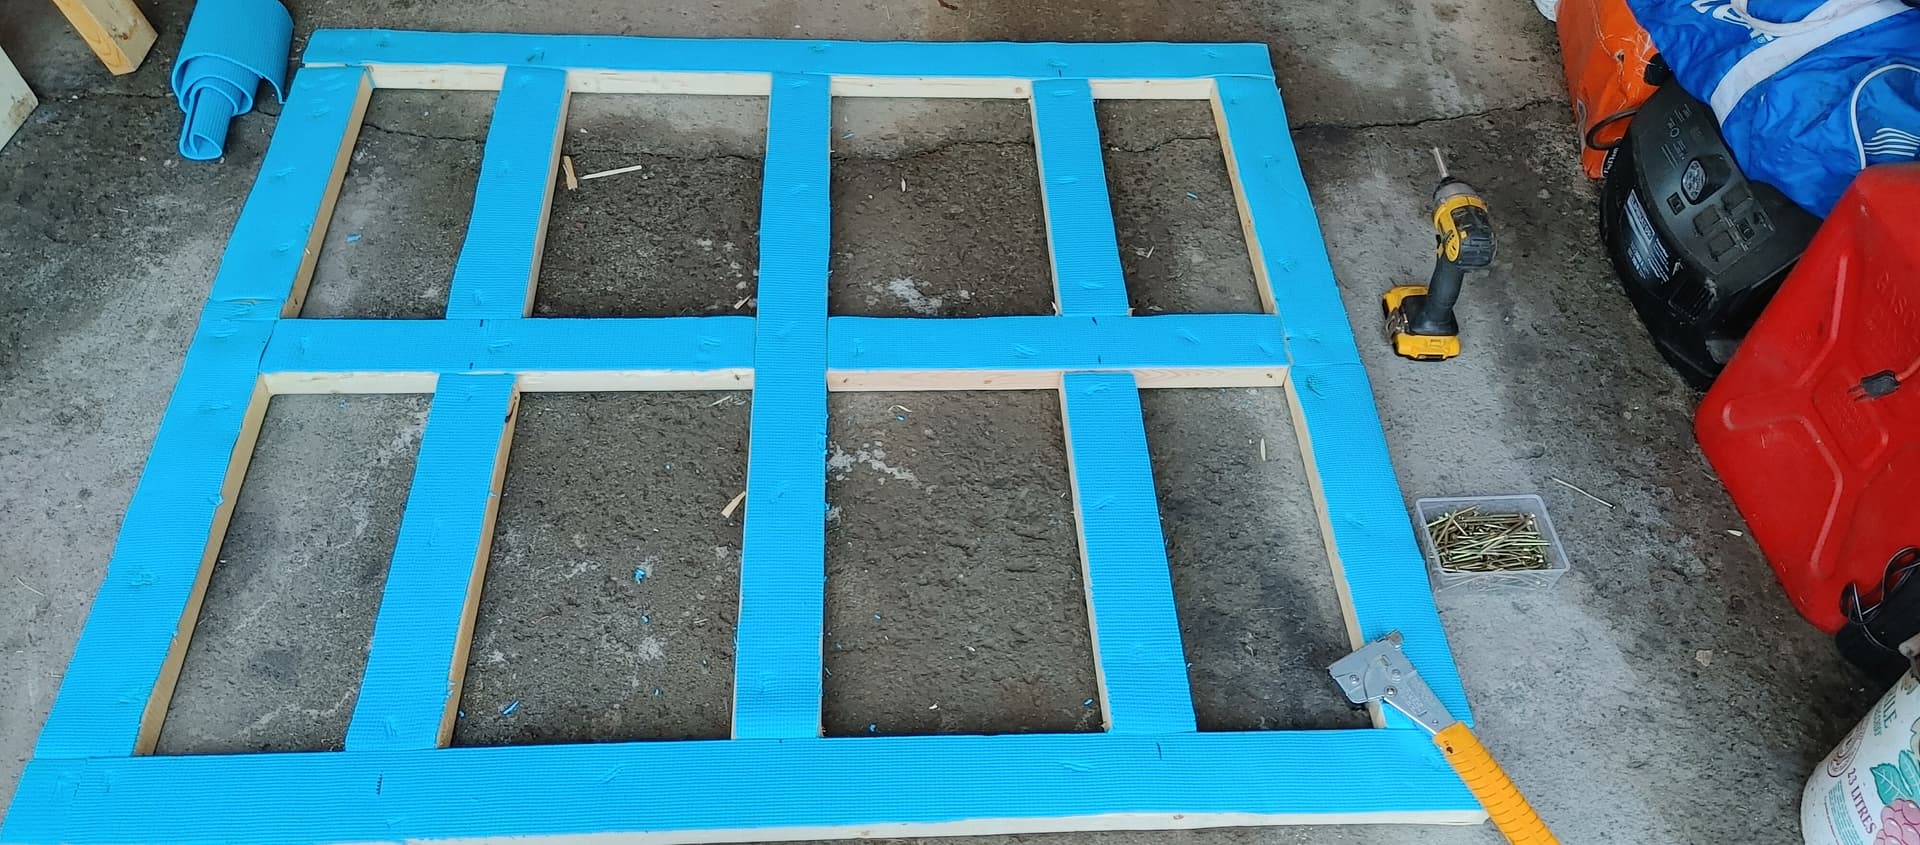
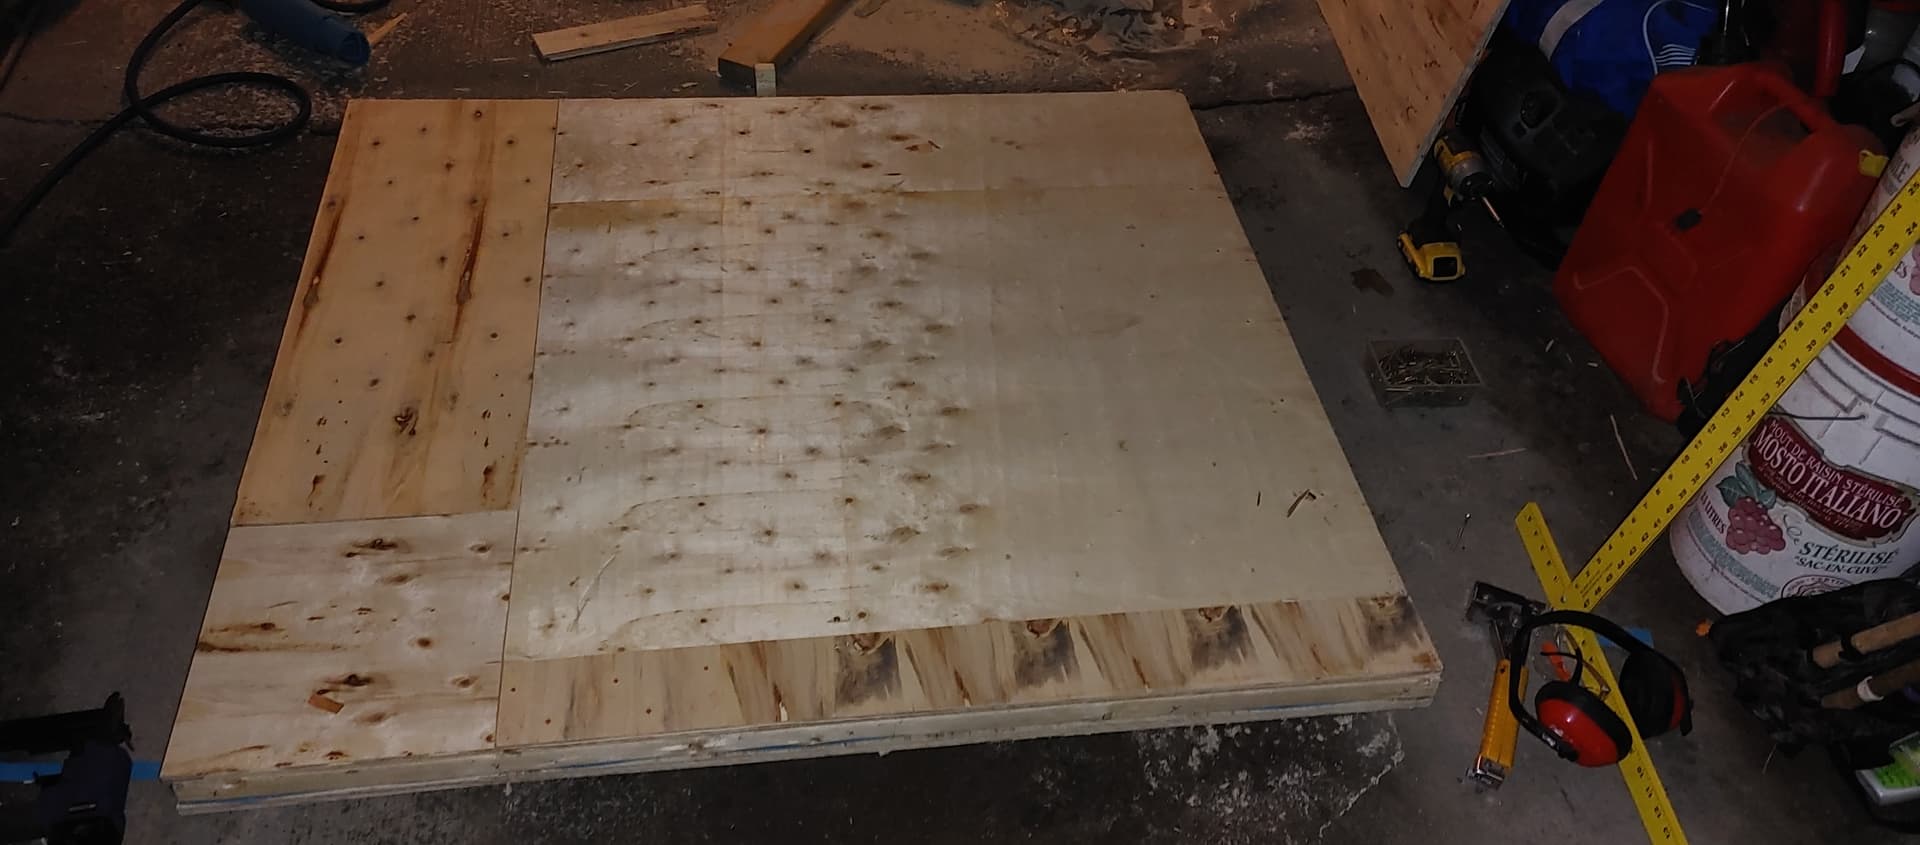
My plan is to use 2x4s to make the frame, I’ll use drywall interior, 1/2" plywood for the exterior, with heavy moving blankets between the layers. Front face will have a basic lexan viewing window (multiple spaced layers).

Main goal is noise reduction while keeping the price down.

  • Should I make a cabinet or split design? Cabinet seems more simple to make, split seems harder but makes it easier to access the entire machine because it opens up the front and the top out of the way.

  • How much space do I need around the machine? I noticed the router comes out many inches towards the front of the machine past the frame. Is there a risk of it crashing or does it only use that position when I have the door open?

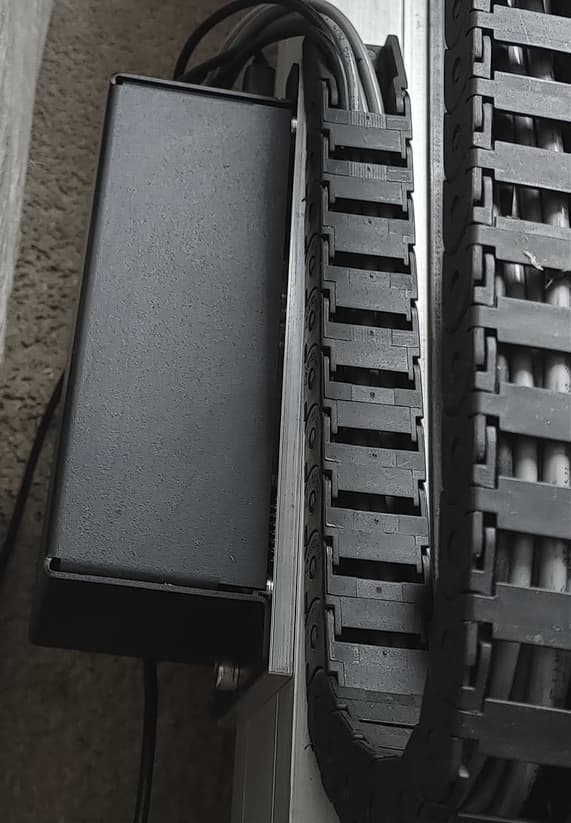
  • What’s the best way to feed wires out of the enclosure without letting sound escape?

  • Do I need to feed out the router wire away from the other electrical wires or send them out together? I heard things about possible electrical interference (I have dewalt router setup for now)

  • Is constant fresh air circulation important when cutting aluminum / plexiglass? Should I make intake an exhaust or keep everything confined? I won’t be working with wood.

I have the 4XL and while I do not have an inclosure around it, I do have lexan side and back panels that are about 12" tall. I have about an inch space on each of the three sides. To be honest, its very hard to clean up the dust and debris that falls on the sides and back areas. If this was a one peace enclosure, there would be no way to keep it clean. My panels are removable, and about once every six months, I will remove them and do a deep clean, but otherwise, I am only able to clean as far as the vacuum nosel will allow. Also, there are times when maintenance is required, and I have to walk to the side or back to make an adjustment. Again, it would be very difficult with a once piece enclosure.

So my recommendation to you is, if you are going to make a one piece cabinet, then make side and rear access doors that open much in the same way as your front door so you can get to the table top as well as any areas of the machine.


4 Likes

Regardless which enclosure style I go with (leaning towards the split design) I was planning to be able to roll the machine straight out onto a table. I have a very large table setup approximately 2x the size of what the enclosure will be.

I was going to put 2 small fixed wheels on the back of the machine so I just slightly angle the front while pulling back to roll it out onto the table. My concern is how easily the wiring can move, if I can just unplug everything and it moves freely it will be easy.

Is it possible to quickly detach wires from this control box?

The problem with adding 4 inches of free space to all sides of the machine is that it will take up crazy amounts of space, especially when you factor in that I’m using 2x4 framing. Ideally I’d like to be able to easily drag the machine out with 5-10 minutes work at most if that’s possible.

I’m planning on building a solidified base for the machine in the future, and it would have to come out for that type of installation. I think being able to remove it is really important.

The wiring is really not meant to be unplugged/re-plugged easily or often. Also, once the machine sits somewhere and you surface the wasteboard/tram the router, chances are if you then move the machine (roll it, in your case), it may twist and bend by a very small amount but just enough that you may have to resurface/re-square/re-tram. I would recommend not moving it often if you’re going to need high precision.

An alternative to leaving a large clearance around the machine, is to plan to have removable panels on the sides/back of the enclosure.

If you are going to use dust collection (for plexiglass chips and/or metal chips), then you need some air intake, more or less equivalent to the diameter of the dust collection hose. More enclosures are not airtight, and it “just works” without an air intake due to gaps here and there, but the shopvac may struggle if the enclosure is really close to air tight.

4 Likes

^ I appreciate the info. I really want to try to figure out a workaround. I don’t want to work on the machine (major maintenance or modifications) while it’s partially enclosed.

I wonder if I could make an enclosure that has two options: 1) the front panel opens up for all basic tasks, or 2) the top and sides of the enclosure could full detach from the base. That would leave the machine and the wiring attached to the base.

I have around 20 of these clamps I wonder they would be ok to hold the enclosure onto the base, but allow for relatively quick disassembly when needed.

th-1302078474

In regards to dust collection, I wasn’t planning on doing any if I can get away with that? I was going to put a filter over the router intake, try to make a setup to protect the wheels and belts from chips, and then just blow compressed air onto the end mill.

The machine and your lungs will thank you if you set up dust collection.

I’m not against setting up dust collection, I already have the attachment and would just need to buy a shop vac which is cheap. I definitely don’t want to breathe in aluminum. I thought it would create chips though and not dust? Most of the videos I saw people were just running compressed air to blow away chips.


My xxl is set up with the enclosure and i have had 0 problems with maintenence! The front is double door with 1/4" thick plexiglass, and the sides and back are in piano hinges for maintenence access. My dust collection is nothing special but works. I have a 16gal rigid shop vac with the home depot dust stopper which all fit underneath. Just throwing some ideas out there for ya!

4 Likes

Welcome, enjoy your new machine.

As noted elsewhere dust extraction is valuable, not really avoidable in an enclosure as your acrylic chips will bounce back onto the rails and jam up the V wheels, they are extra sticky with static straight off the cutter and stick to everything.

Quite a bit of the noise goes down through the base of the machine, depends whether you’re looking to kill high or low frequency noise?

The double skin can work, not sure I’d bother with the moving blankets, that’s a lot of weight to move when you need to get to the machine, perhaps just fill the gaps with Knauf Earthwool or similar acoustic grade rockwool? (which is also non-flammable)

Perhaps build your frame of 2x4 and have front, back and sides all removable?

You’ll do better with the space in front, also add another 4" clearance for a dust boot on the machine for acrylic or wood cutting. If the space is an issue you could run jobs where the machine has to come all the way forward with your front panel off?

You’ve got two layers of wall to go through. I’d suggest a fixed area of panel with a wiring firestop type rubber fill on inner and outer layers.

To save later trouble, take the router wire out separately, many send it up to the top of their enclosure with their dust extraction hose and then out away from the machine cabling.

Dust extraction is really important with acrylic, unless you have a machine with flood coolant.

As previously noted, it’s strongly preferable to leave the machine in place once it’s set up, many even bolt the machine down to the bench or lay it on a rigid foam to stiffen up the baseboard. If you go with the frame and removable panels you can be tighter on clearance around the machine.

Don’t forget vertical clearance, crawling into your enclosure through a letterbox to attach the workpiece or fighting for clearance for an extraction hose is a PITA you don’t need.

4 Likes

I probably went the extreme route. I built a small closet for my S03 XXL. I used the noise dampening insulation from HD in the walls. It has two openings for connection to air filter machines. The closet is about the width of the machine and 5 feet deep, so I can stand in there with the door closed. The noise reduction with the HD insulation isn’t great, but it works a bit.

2 Likes

Sorry not sure the proper way to quote on this forum yet. Any tips on that?

Appreciate the responses, you guys helped me avoid major problems so far and think things through a lot better.

For chips my solution was to only use a specific area of the table and try to protect all critical areas - not sure how I’d do that but that was my initial thought. I have a huge XXL machine and only need 12" x 10" working area for 99% of my projects, so maybe I can tape rigid plastic to the bed or soft neoprene?

Just so my understanding is clear, will milling aluminum create hazardous dust, or is the main goal to protect components from sticky acrylic chips? I don’t want to breathe in ANY aluminum, and don’t want aluminum dust in that room whatsoever, has anyone tested with a laser if it creates tiny dust? It’s an upstairs guest bedroom where the machine will be running (temporarily). My little nieces and sister / brother in law sleep in there occasionally so don’t want ANY dust on the bed etc.

The base of the machine will be: 1/2" plywood, 2x4 frame (lots of cross bracing, it’s going to be HEAVY and way bigger than I want lol), insulated with blankets (looking into maybe doing rigid soundproofing materials or soft insulation with vapor barrier), plywood, then 2 more sheets of plywood for the table top.

The table itself is made from 1mm steel tubing and isn’t very rigid. Going to create a steel bracket to mount the base securely to the rooms wall studs. Overall this is a temporary setup I just need something baseline functional for now.

Goal is general noise reduction but high frequency is definitely more annoying so need to block that. The enclosure will be in an indoor guest room with the door closed, trying to keep the noise away from nearby rooms and downstairs. Just need like 70% reduction.

I have a water cooled spindle / VFD but won’t install that for a while (wiring / amp draw / knowledge issue). Don’t have time.

No way I can move the enclosure as 1 person due to dimensions, so weight isn’t a concern. It’s going to take 2 people to lift the top off, and it’s gonna be heavy af lol. Might even do 1mm steel exterior on top of the plywood, mostly for aesthetics. Planning on multiple custom bent 3/4" rebar lifting handles.

Clearance is 2" extra space on the left and right and 3" front and back. I’ll be leaving the control box enclosed on the side rail so factor in 3" extra. If I push the machine back flush against the back of the enclosure I’ll have full front clearance for the router even while enclosed.

The main wiring should remain with the base and the machine if ever the top has to be pulled off. The router wire and vac will be routed through the top.

32" of clearance from the bed to the top of the enclosure, that gives room to drop my 3d printer inside if ever I need :grin:

No plans for lighting yet, that’s the last thing I’m worried about :face_with_spiral_eyes:

1 Like

The little speech bubble thing at the top left of the box where you post sticks the previous post in a [ quote = " ] blah blah … [ /quote ] block. You can delete text in that block to pick out specific bits to answer.

I wouldn’t worry about aluminium dust, you should be making chips not dust or your cutters won’t like you very much.

The dust boot on my machine feeds a shop vac with a cheap Amazon cyclone to settle out the big stuff, all stuffed under the table. That’s sucked up Aluminium, wood, plastics, all sorts. I find it’s actually pretty handy to keep the cut clear and the Aluminium chips off the rails on my machine. I’ve just invested in a quiet compressor so I can have air blast and mist lubricant, but my first shot will be running that under the dust boot with suction on.

Plastics like acrylic really need dust extracted, not just to stop them gumming up your linear motion but because the chips will melt if they stay in the cut and you’ll get a gooey mess and broken cutters or workpiece. The trick in Acrylic is to move the cutter quickly to avoid heat build up.

Sounds like you’ve got the top and sides well insulated, have you considered methods of avoiding vibration transmitting through the base of the machine to the floor? A layer of acoustilay or similar floor soundproofing or some softer anti-vibration feet for the table?

You will certainly not be the first person on this forum to build something they couldn’t move :wink:

1 Like

^ Perfect thanks for the info!

I could add that in if necessary, I think I’m gonna roll with how it is and see what kind of reduction it gets. Hopefully at least 60-70% from outside the room.

The base of the enclosure weighs close to 200 lbs. I ended up just stuffing a bunch of scrap 2x4 cuts in there with some moving blankets. I did foam in some areas, not sure how much that will help. Overall it’s a crappy job tbh but I need to rush it.

The plywood I bought is terrible quality :laughing: but I got it practically for free. I’ll put a top layer of something better quality.

I’m going to try and make a lighter top, maybe I’ll use 2x2’s with sonopan for the part that lifts open.


This topic was automatically closed 30 days after the last reply. New replies are no longer allowed.