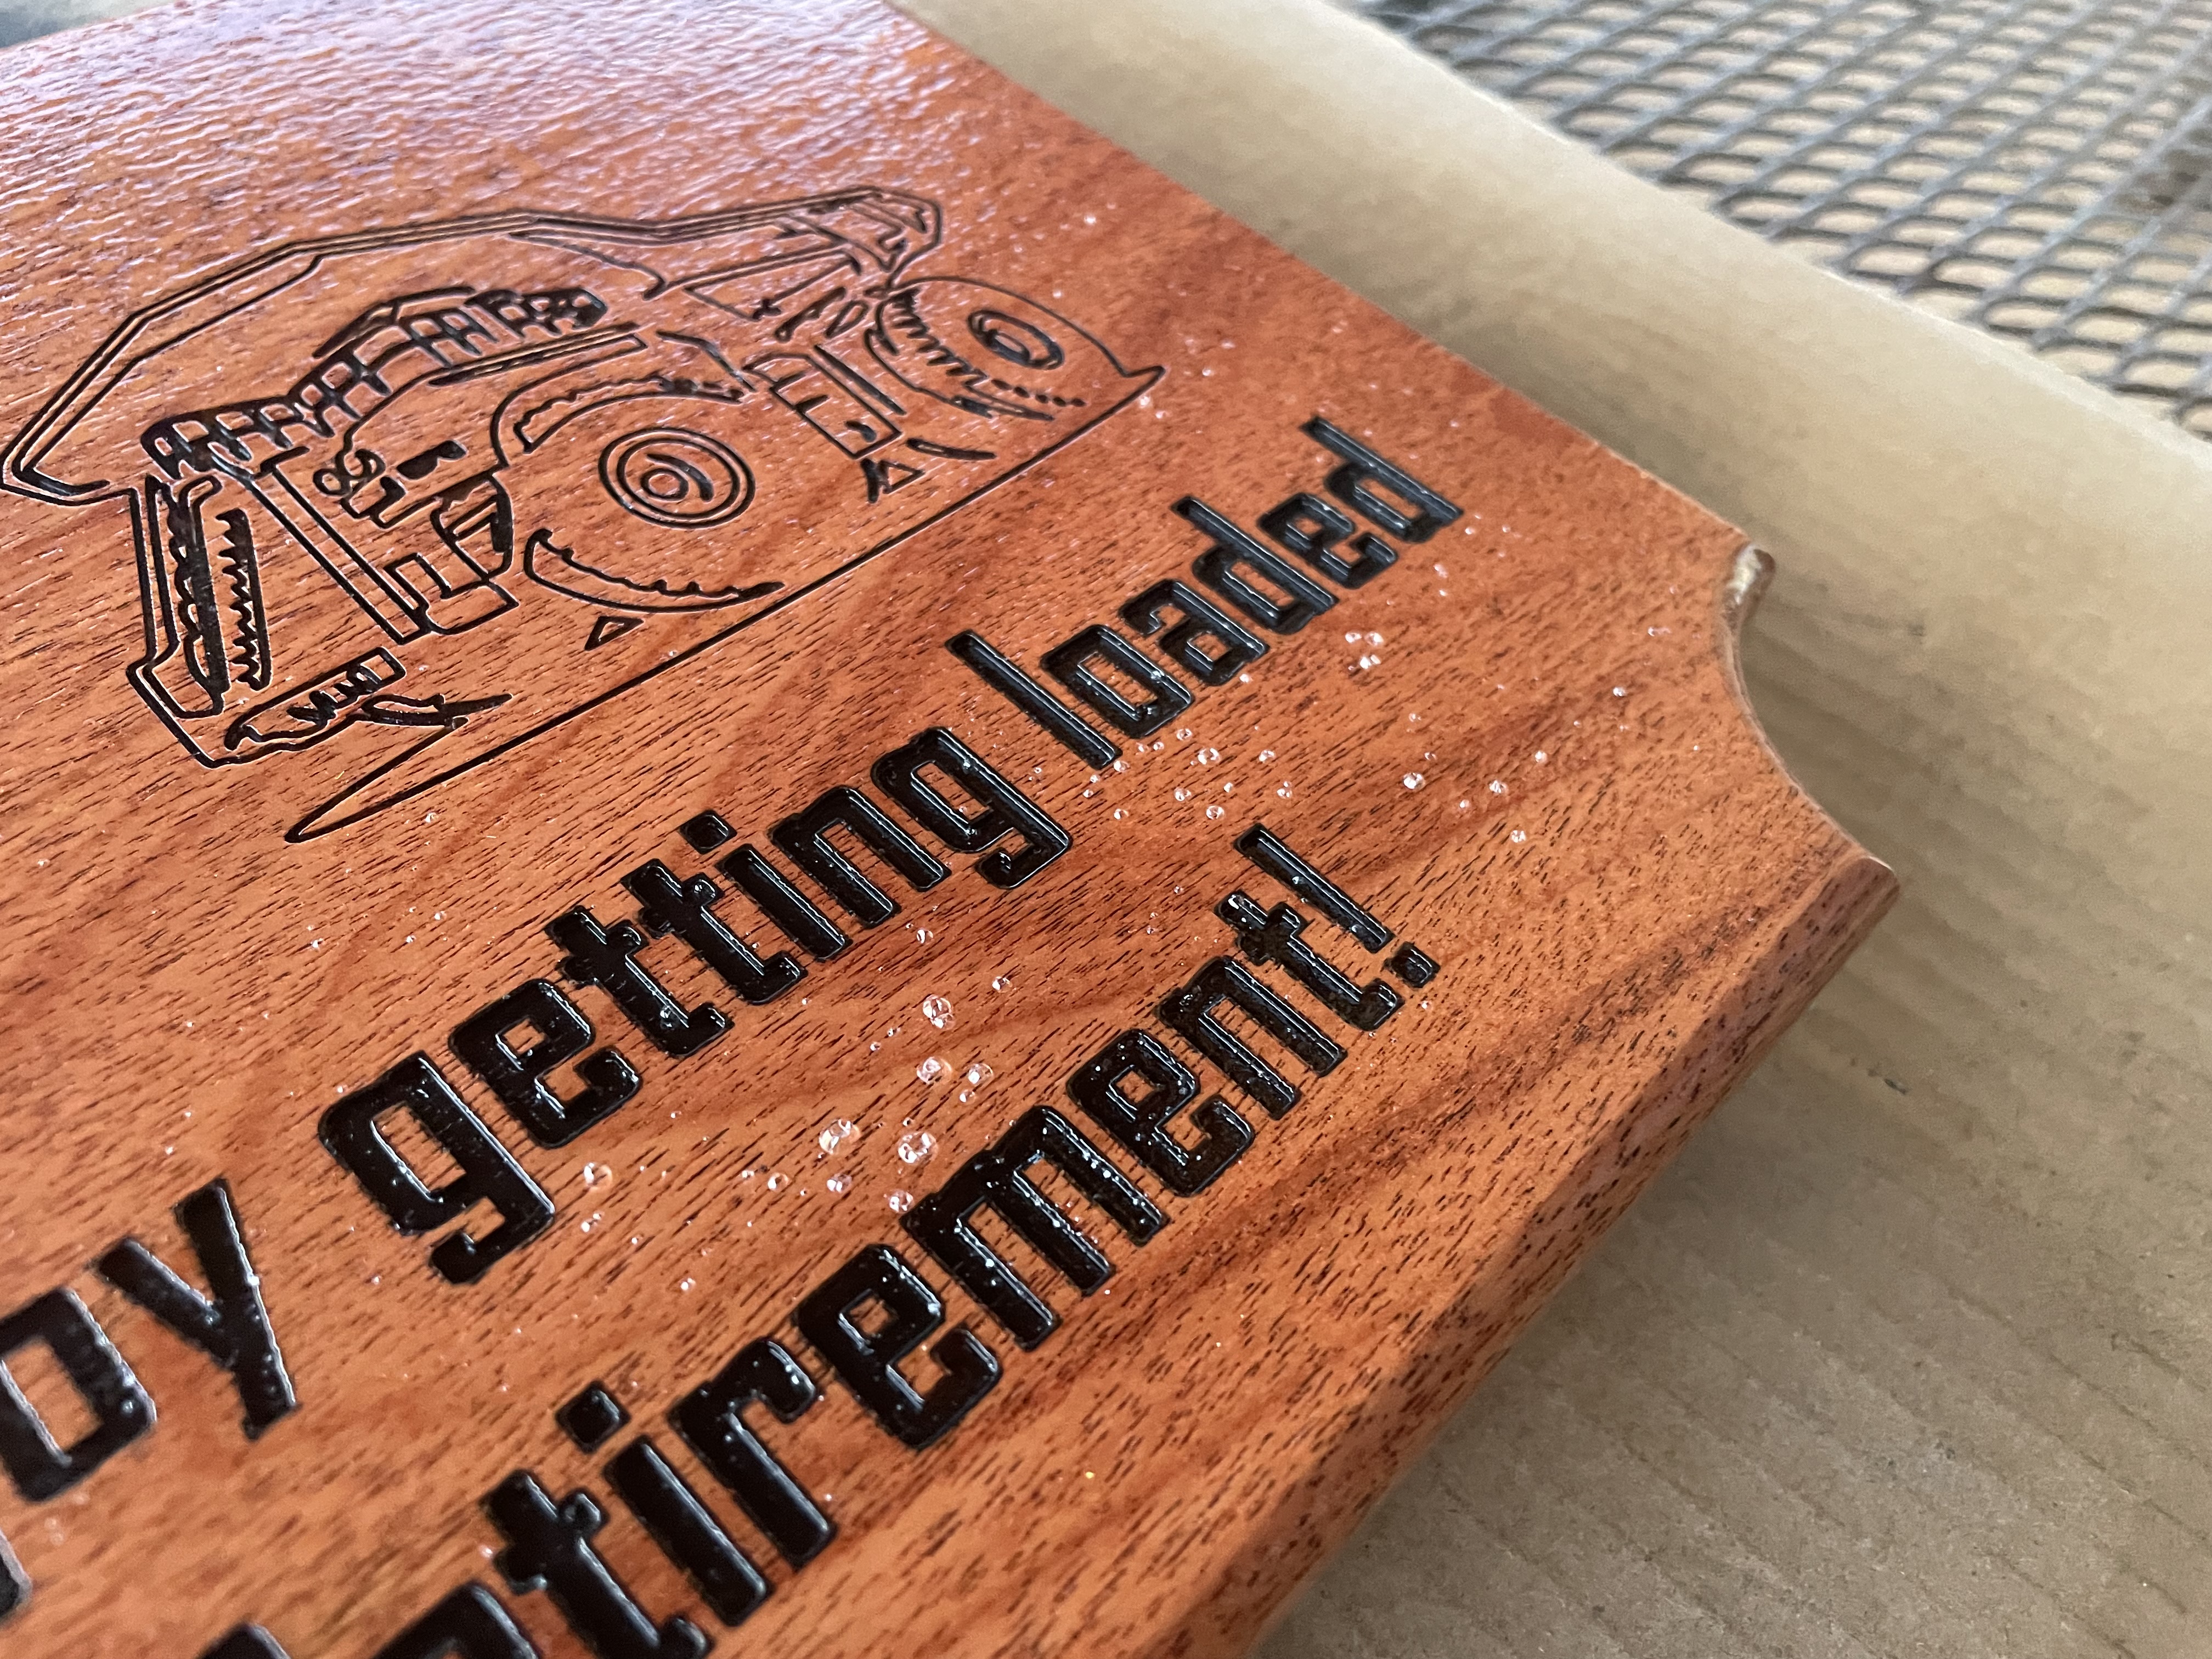
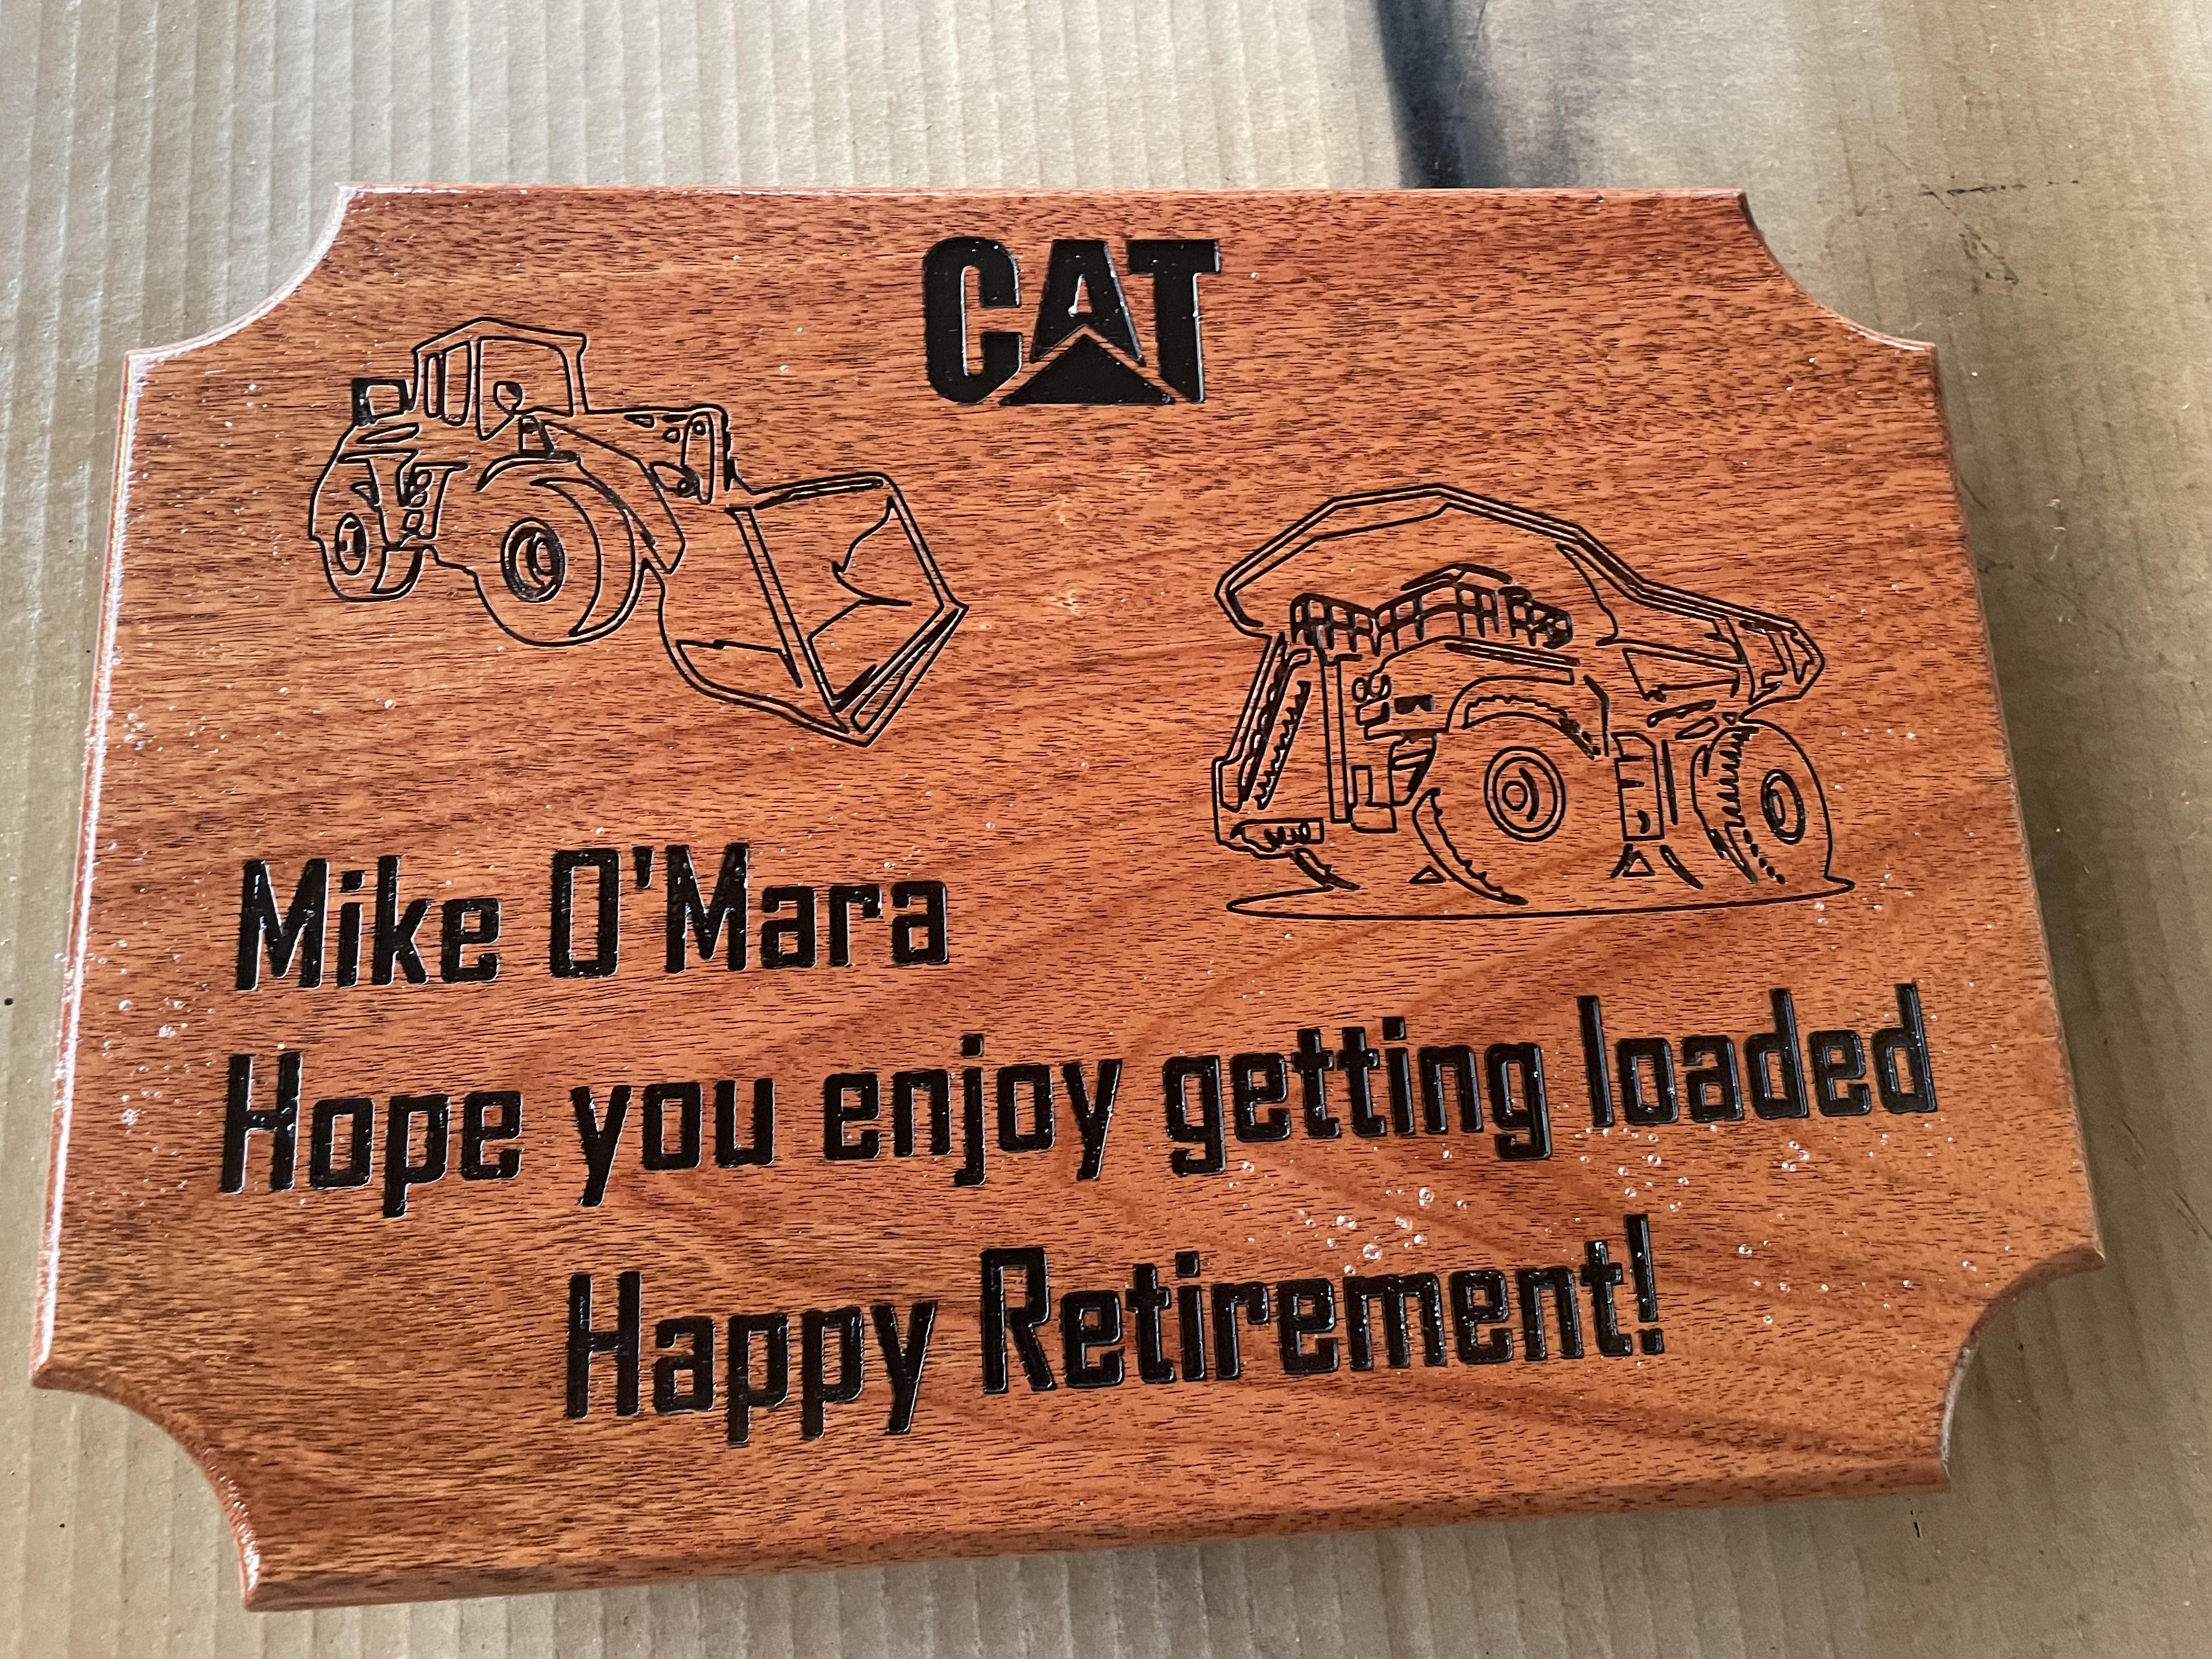
I’ve had this actually happen with Roasted Red Oak and this Mahogany piece. It seems to always seal the first side nicely then When I go over the other side, the shellac has small bubbles.
I think this is caused by dried wood because it also happened with polyurethane brushed on.
What is the technique for preventing this?
Any way to recover the piece? I’ve done this one like 4-5 times now. Scuff with a red scotch brite pad and thin layer of sealer. I’m thinking a flat razor to flatten it again.
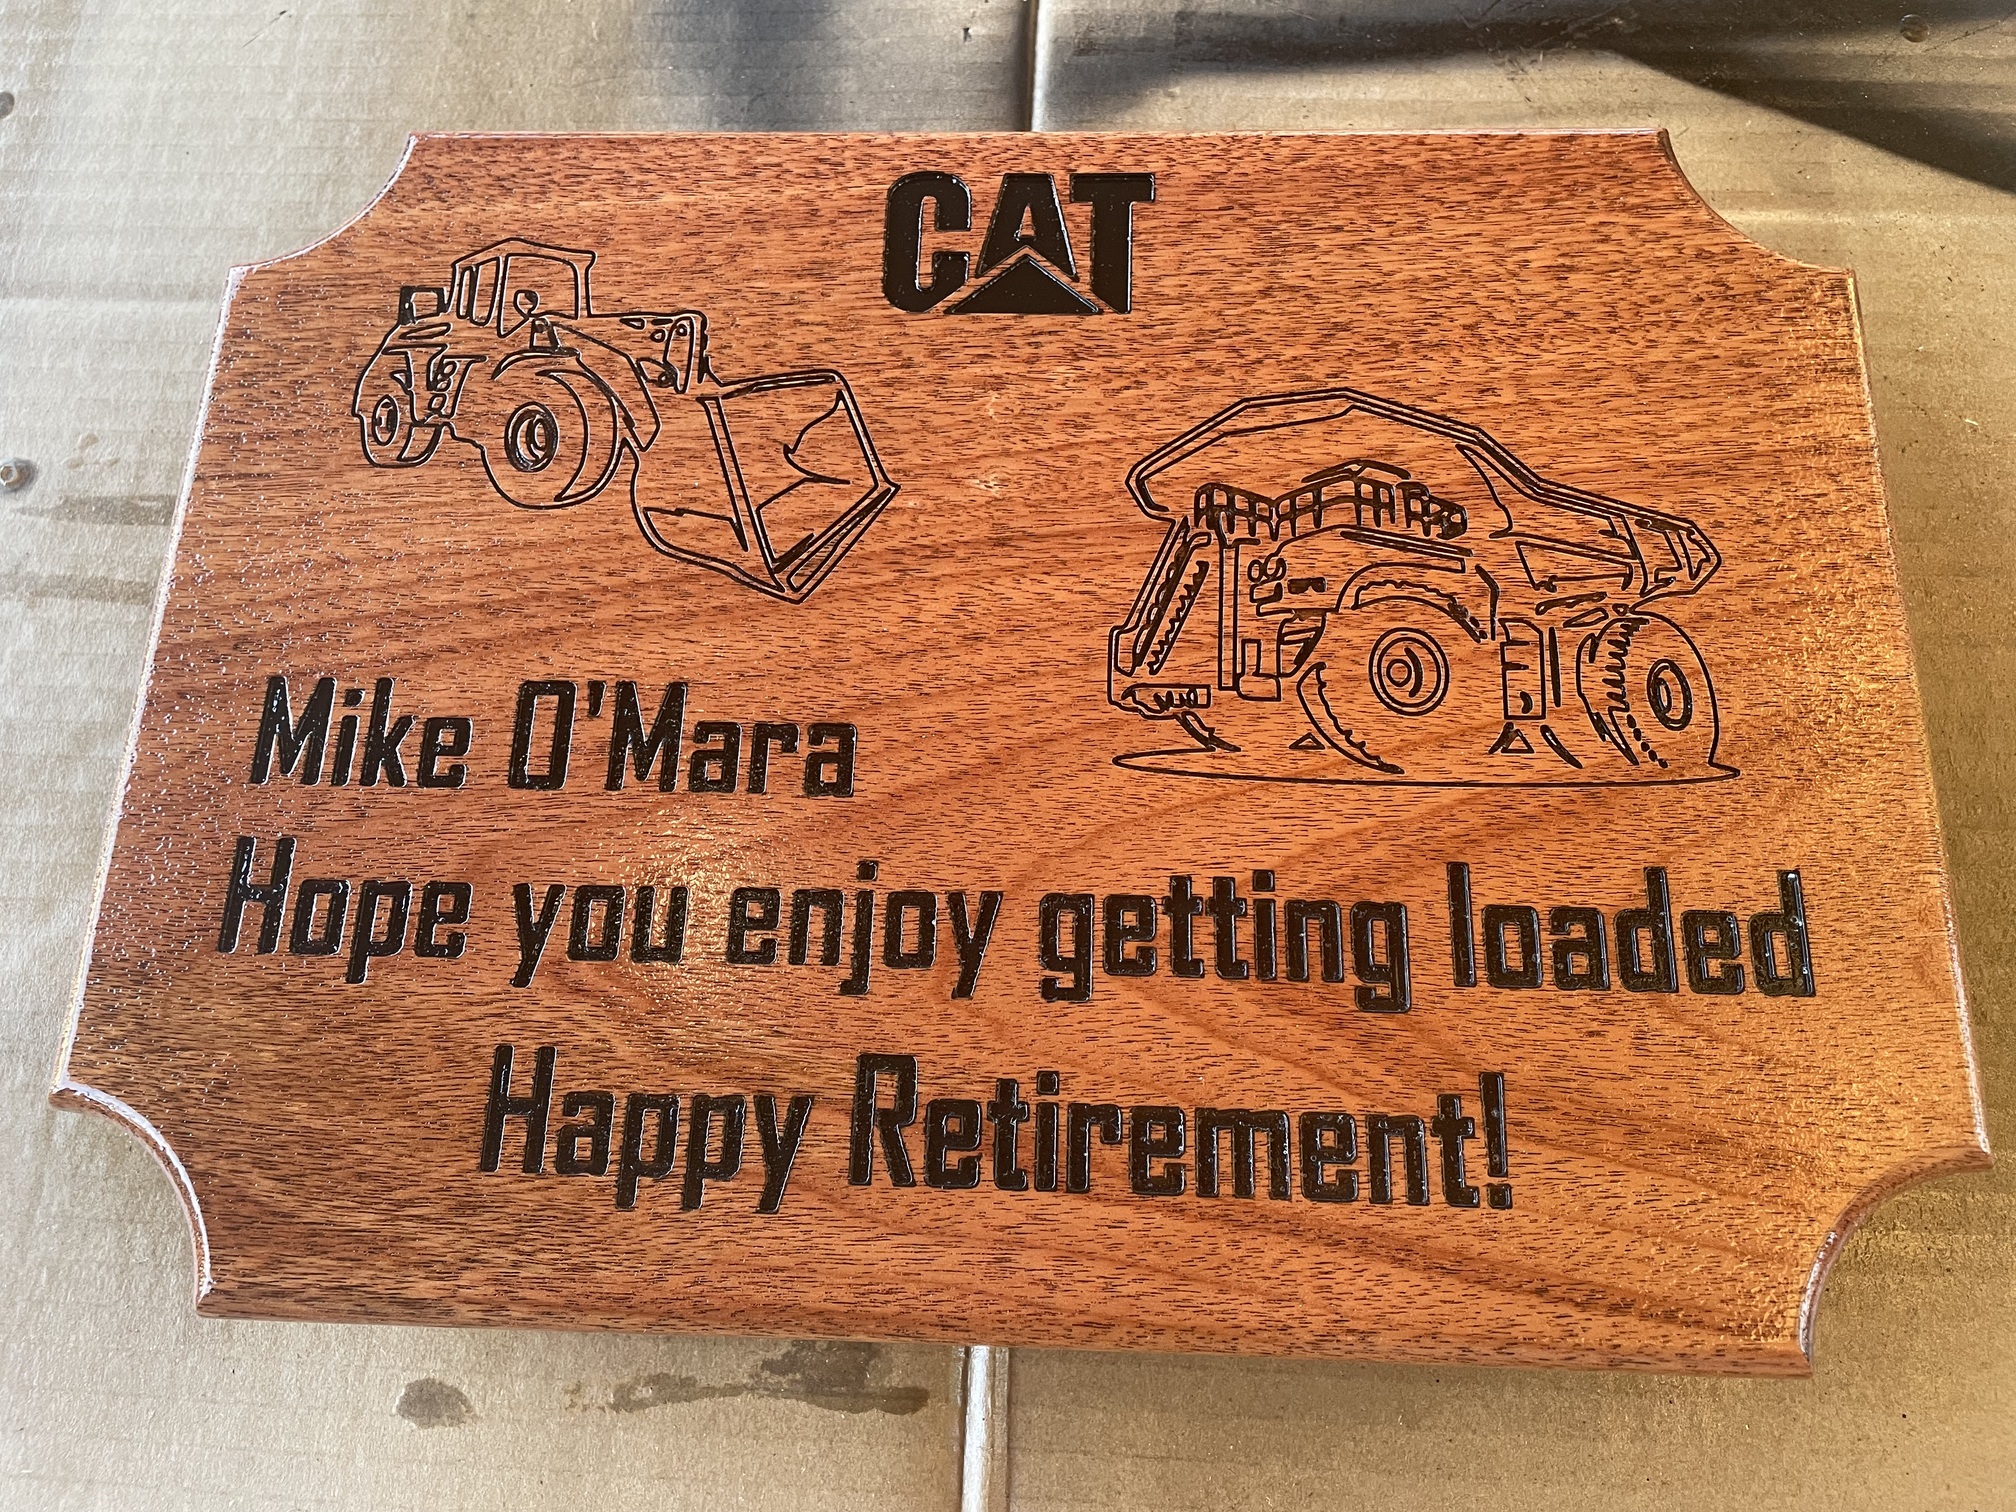
I intend on delivering the plaque on Wednesday.
I’ve seen this also. To eliminate the bubbles while the finish is drying. Use a heat gun on the low setting and go over the bubbles and it should eliminate them. You could also use a hair dryer on the low heat or cold setting. This sounds wierd, but you can also get close to the wood and exhale (Breathe) on them. The carbon dioxide (Or maybe its Carbon Monoxide) in your exhale breath will break the bubbles To fix what you have just get some 0000 steel wool and sand off all the bubbles. Then take a tack cloth to remove all the 0000 shavings. Then recoat it.
Razor or steel scraper would work. I think I would just go straight to sandpaper.
I think either way you’re going to want to lightly sand it & apply another light coat of finish.
Several coats of sanding sealer before the final finish. Always. Then the bubbles might be in the sealer, but the sealer will eventually create a barrier. (Too late now, though.)
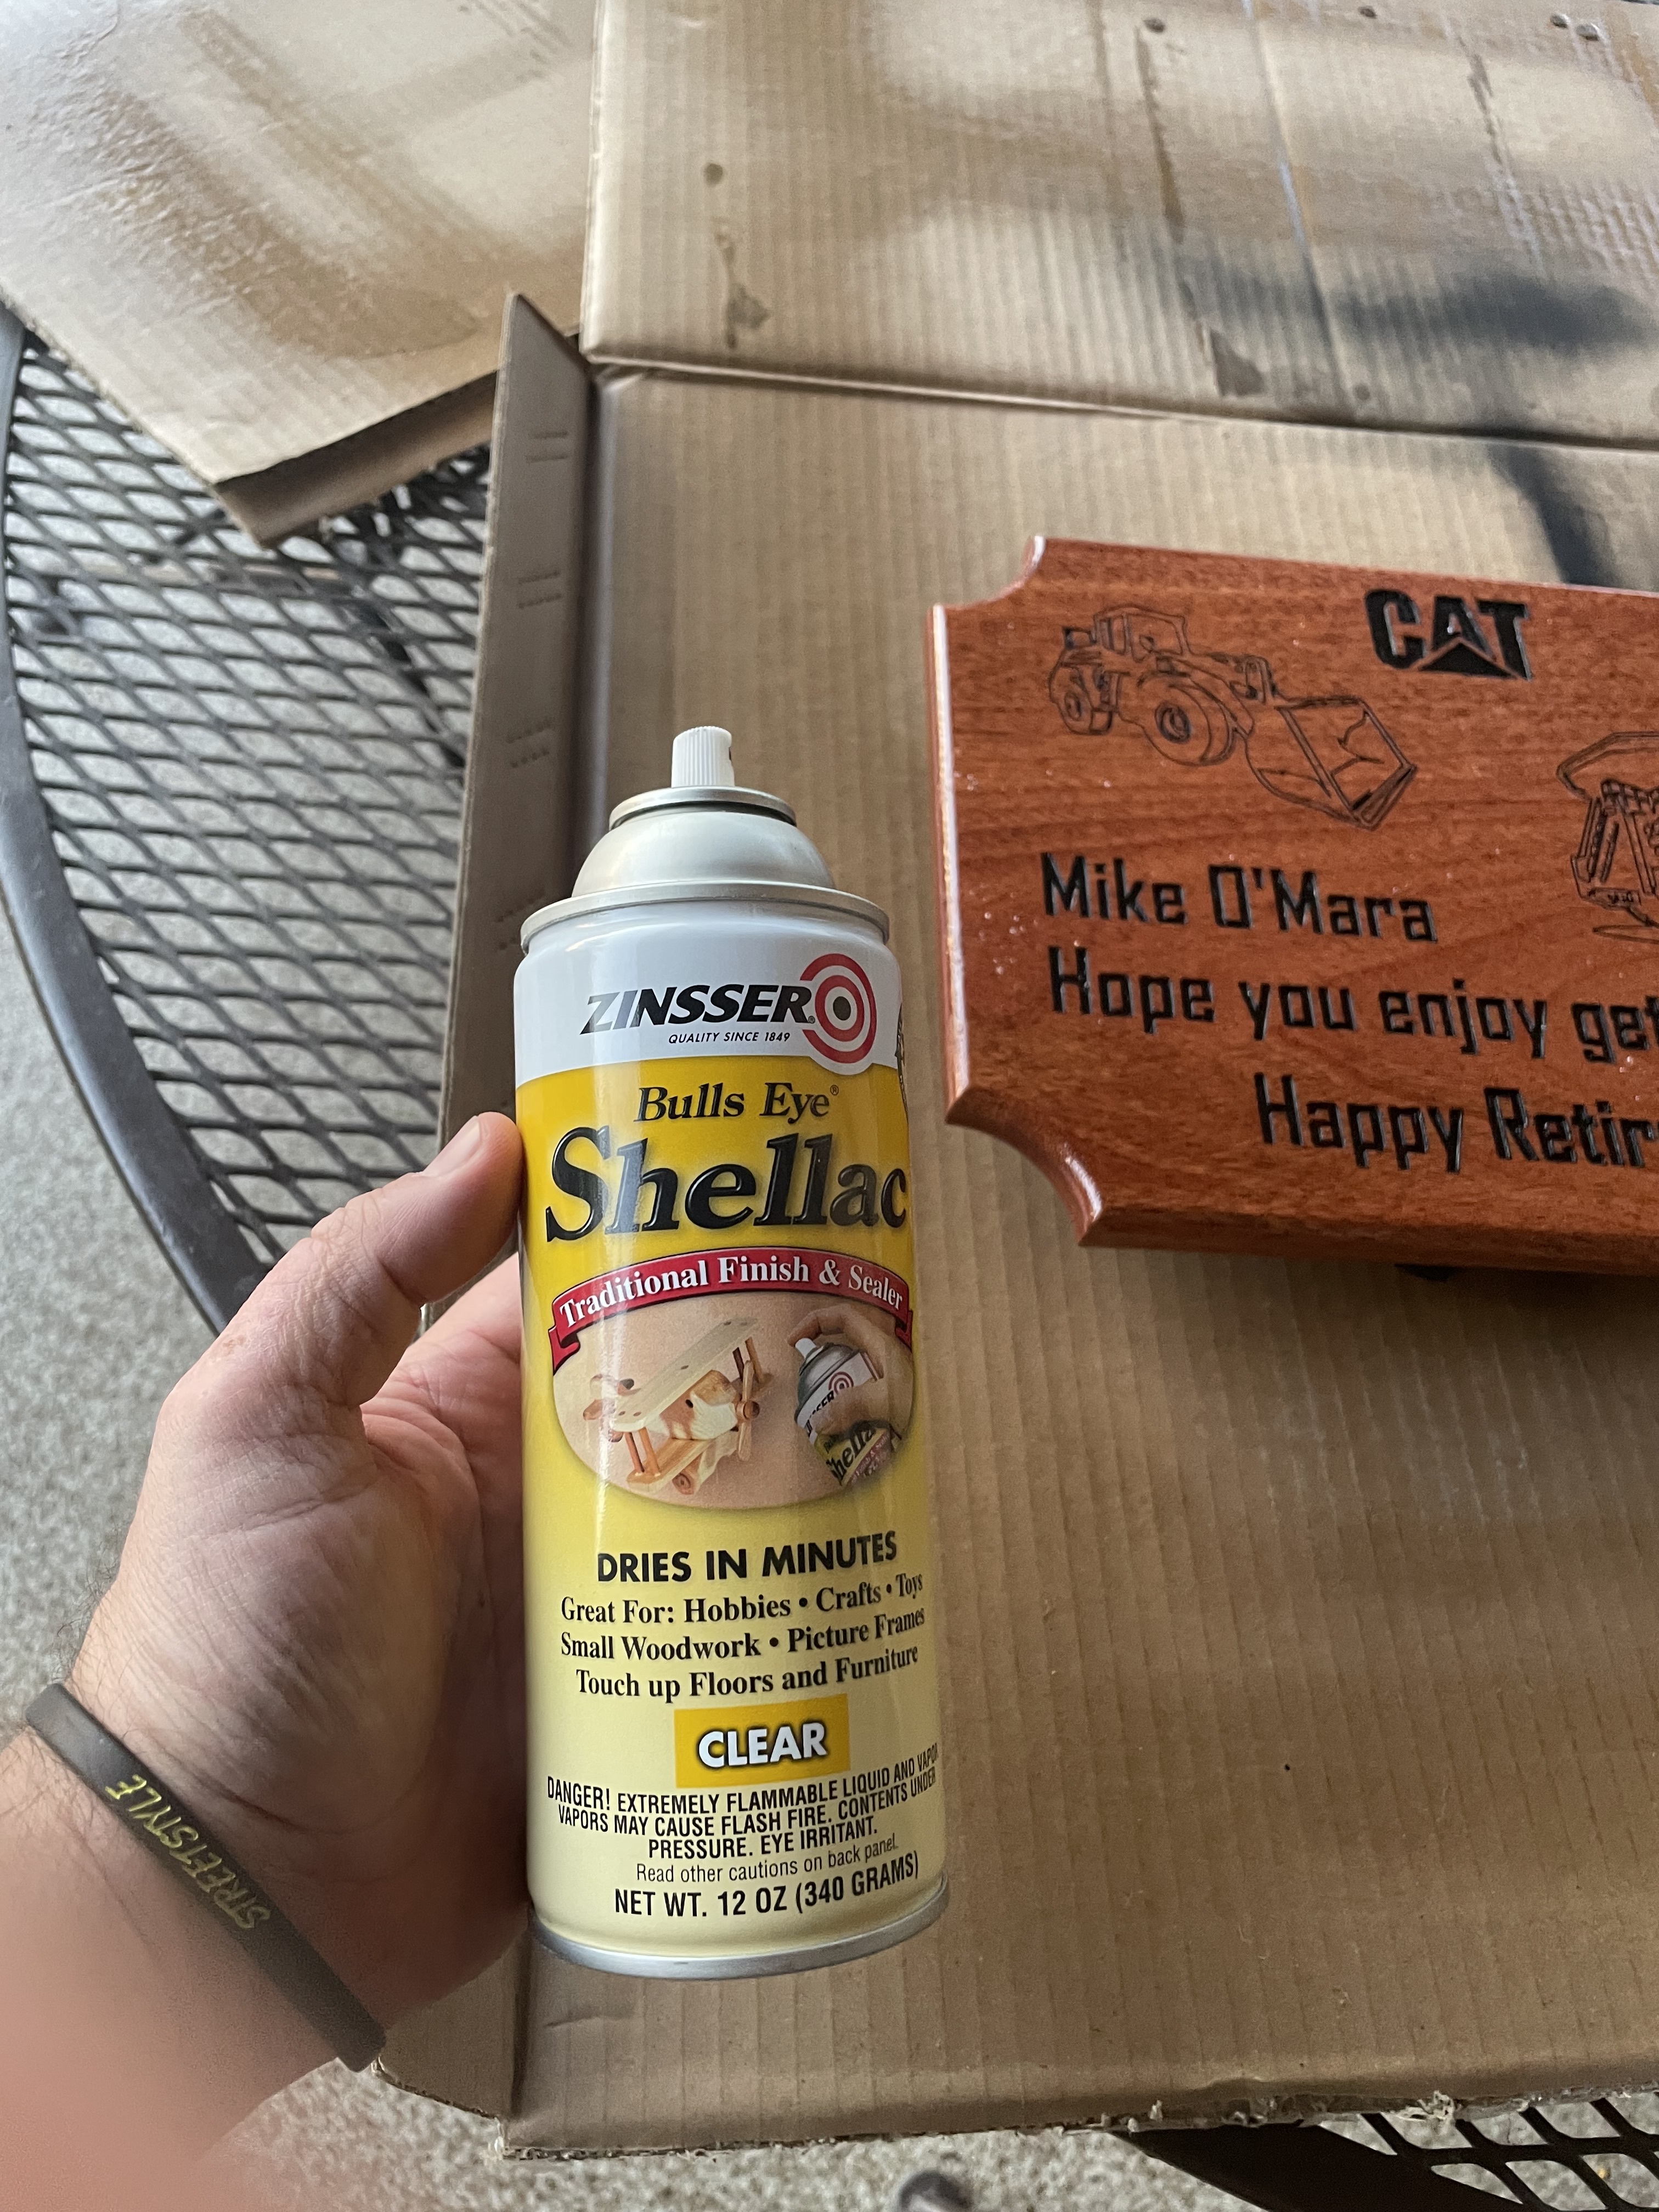
I’ve always used lacquer sealer, and recently switched to this. I like it!!! Dries just as quick as the lacquer and the smell is a lot more pleasant And it sands really nice. I’ve sealed projects with the intent of applying a lacquer or poly finish, and decided the shellac finish was really nice. A little polish & a quick rub down & it’s good to go.
I once made a “gold brick” with magnets embedded in the back out of a double thick cheap MDF cutoff for my banker associate (after she helped me out of a jam.)
Nine coats of SealCote with sanding to 400+ grit between coats made the gold paint finish smooth as a baby’s bottom.
When I handed it to her, she almost dropped it because in her mind it was going to be heavy!
I have used that shellac for a long time as well. I got what I assumed was a
Bad can or bad nozzle a month or so ago. It spit and sputtered and really messed up the surface.
Next can was fine and I don’t recall seeing bubbles rise up to the top during the finishing. I use a really light spray though.
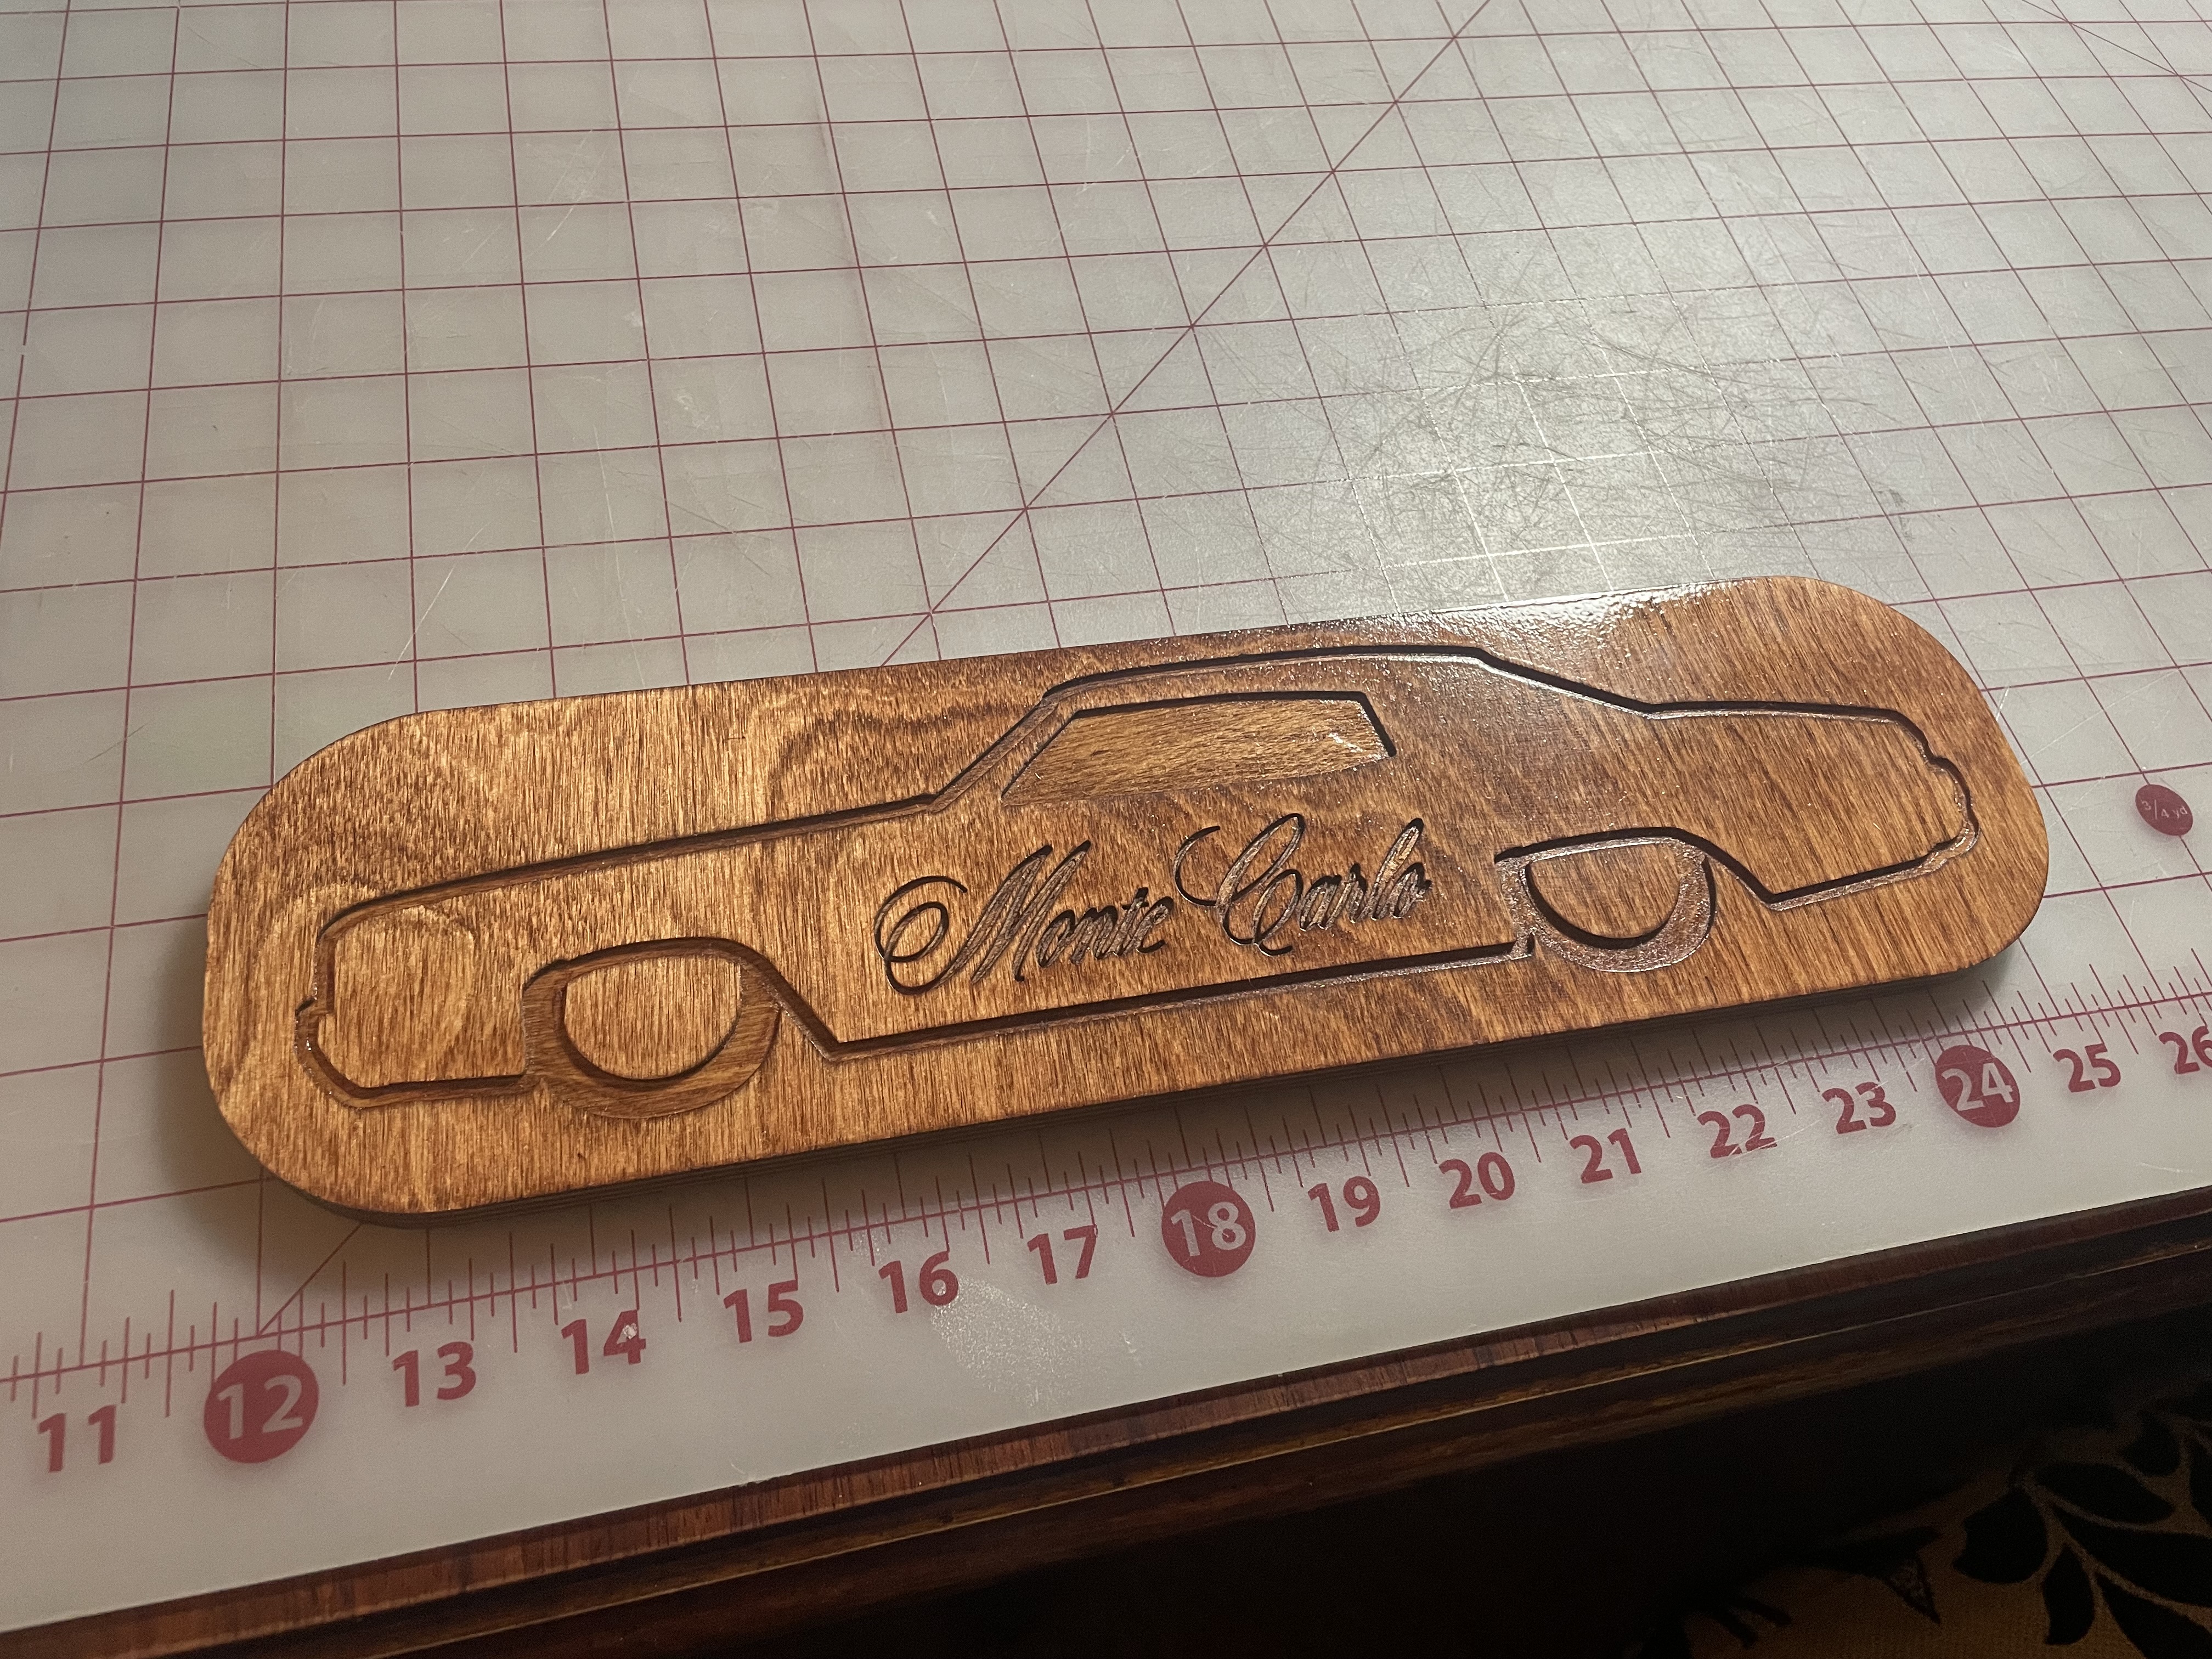
Heat gun or warm sunlight will help. Don’t be shy about sanding lightly between coats. The first coat should be very thin for just that reason — bubble avoidance. It will also raise the grain so a bit of light sanding is order. It comes down to technique and experience. By the way, that sign looks great!
A painted surface can also be made more smooth with some fine sanding. Sounds contrary, yes.
Shellac dries very fast. You can try the heat but since it dries so fast that may not work. I seal almost all my project with the product @CrookedWoodTex suggested the Zinnser Universal Sanding Sealer. I wipe it on let it dry about 30 minutes and sand lightly with 220/320 grip paper by hand and apply a second coat if needed. The spray version has a lot more carrier to make it spray so maybe try the wipe on version instead of the spray. The bubbles are air escaping from the wood. The purpose of the shellac is to seal the wood. You can seal with shellac and then apply another top coat either water or oil based or simply 2-3 coats of shellac. Shellac is a good finish and traditional finish but it is not a good topcoat for items that get worn or used by hand. For a wall hanger that will seldom be touched it is a great finish and easy to touch up or refinish.
Thanks! This is what I did today with a couple very lite coats and followed by low heat and the bubbles came and gone with it.
I appreciate everyone’s insight. This was my first time using this spray on shellac and really like how it worked on a couple other signs I completed. This wood was more dry that the plywood I guess.
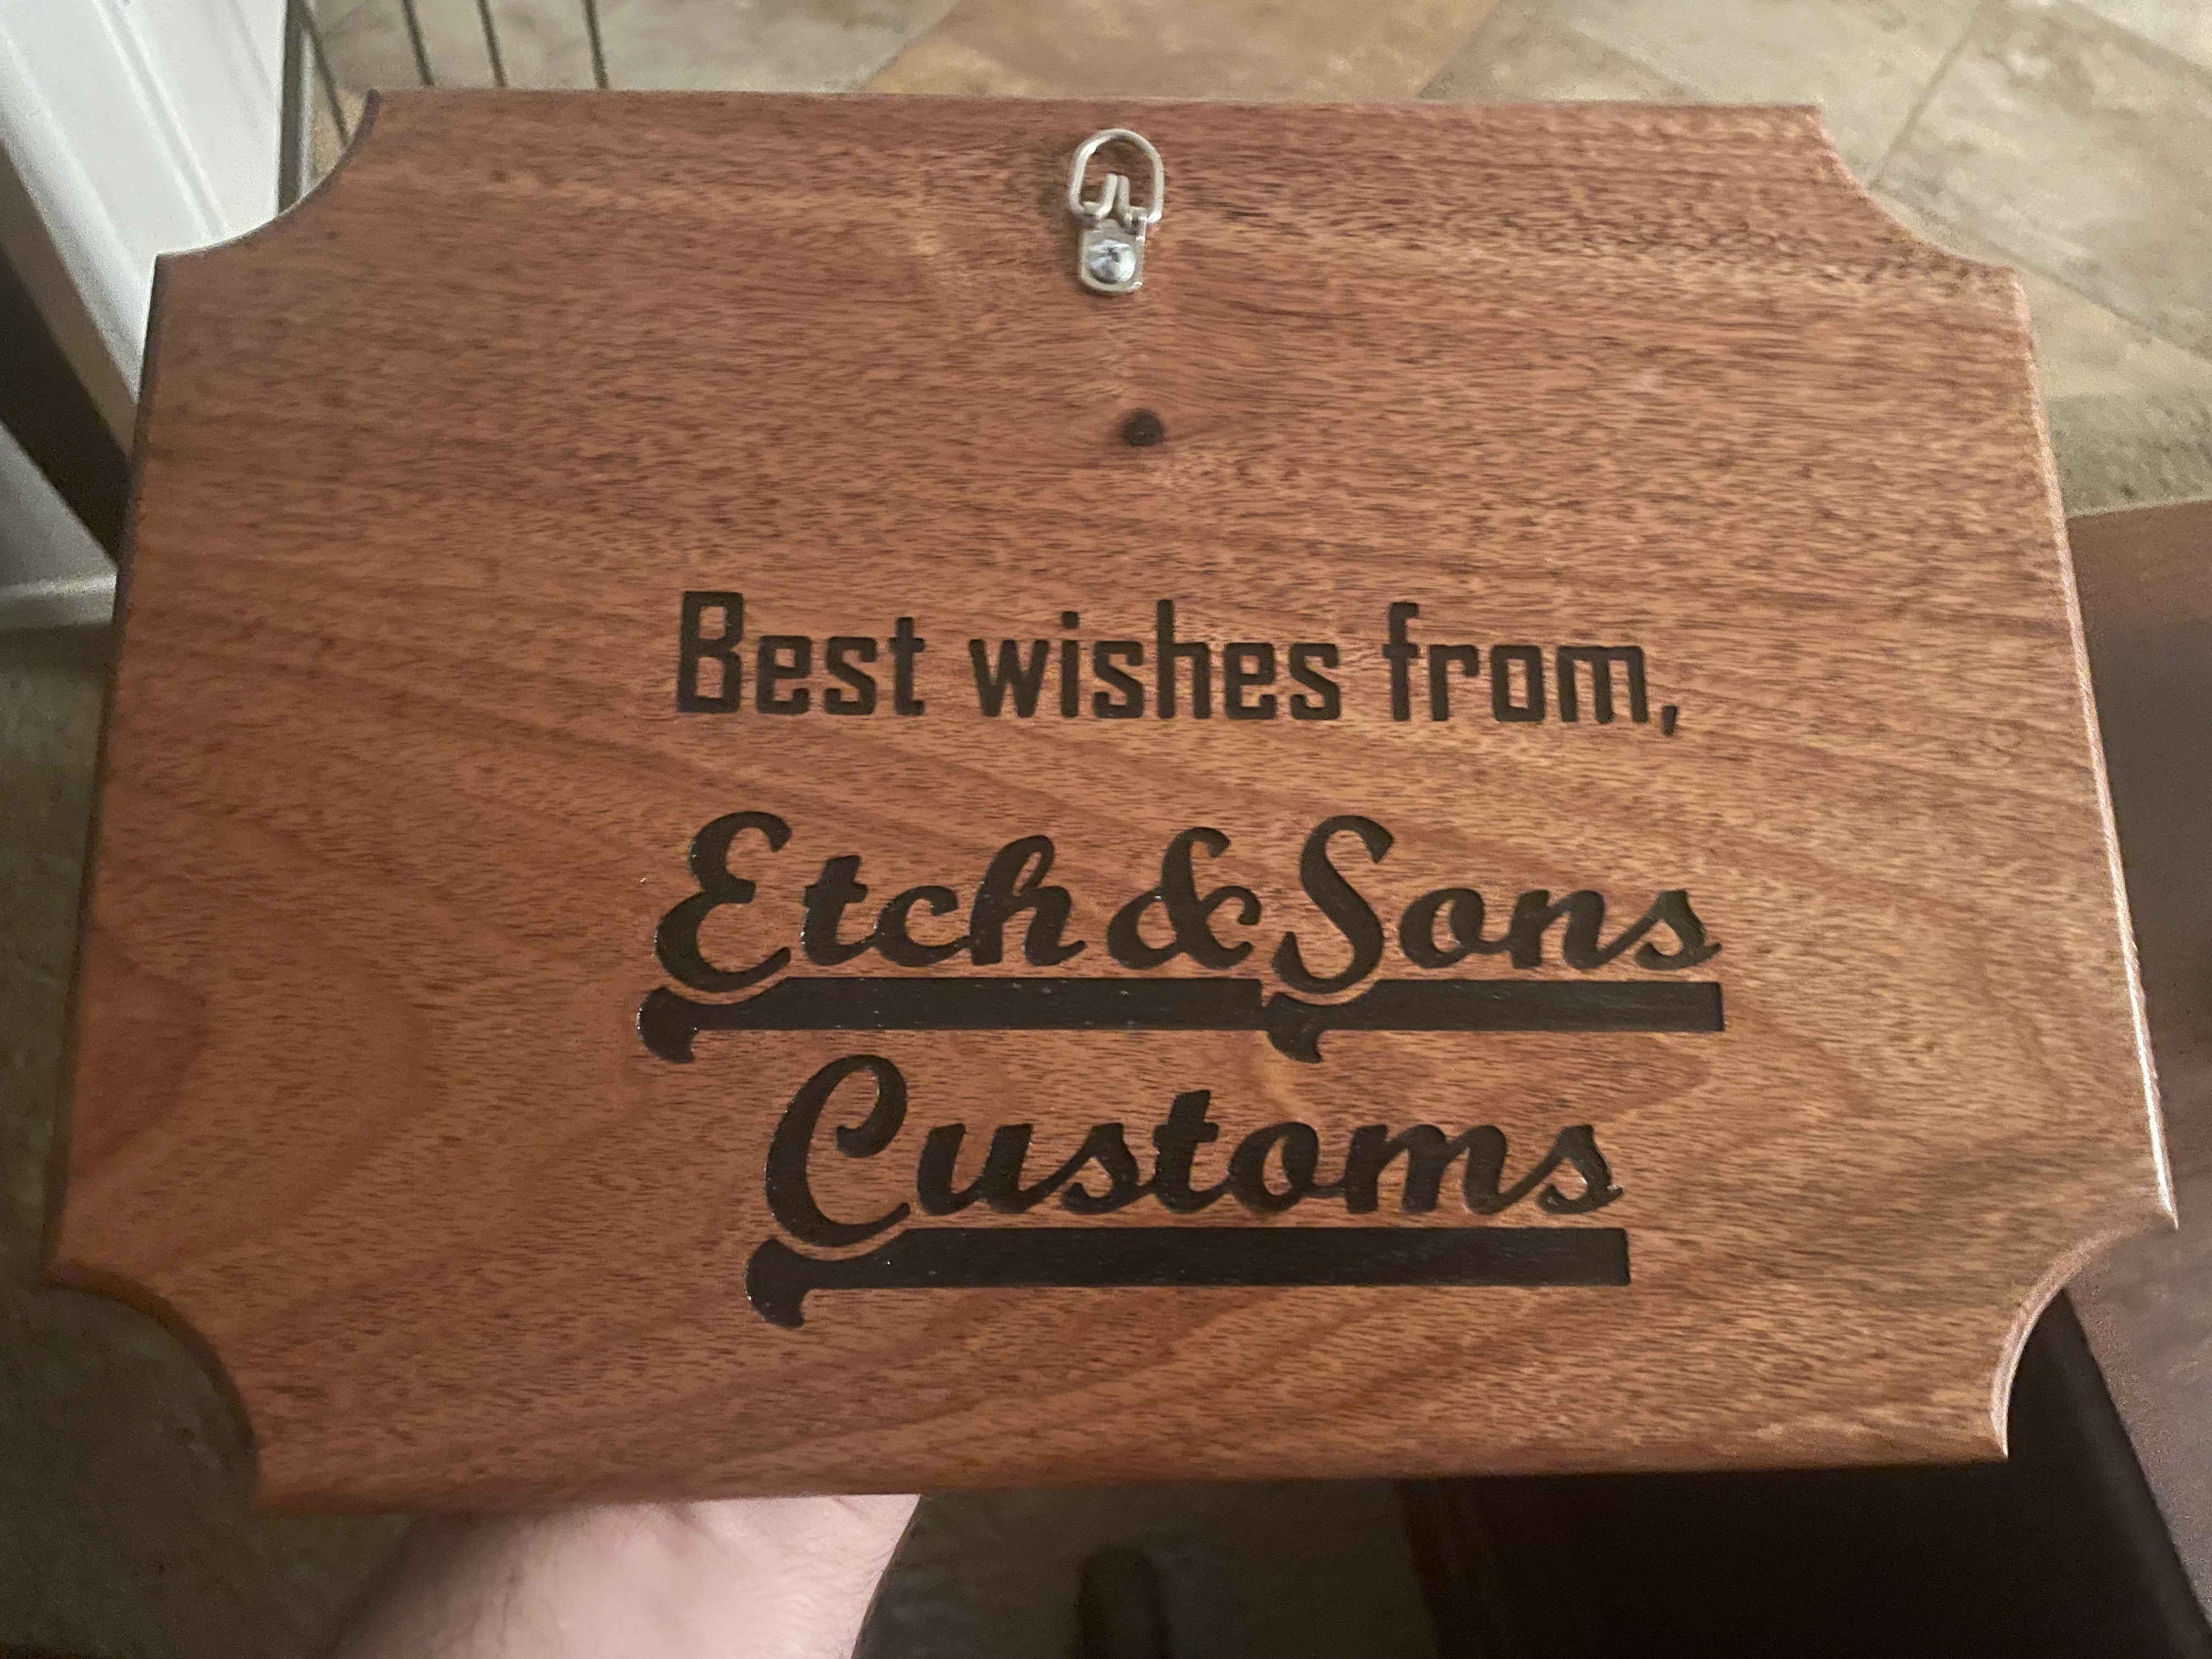
Looks good. I
Am hoping though that 8 in your profile name is a stand in for the & and not an indication of the total number of sons. I have 2 and a daughter. That’s enough to drive me crazy and limit my shop time.
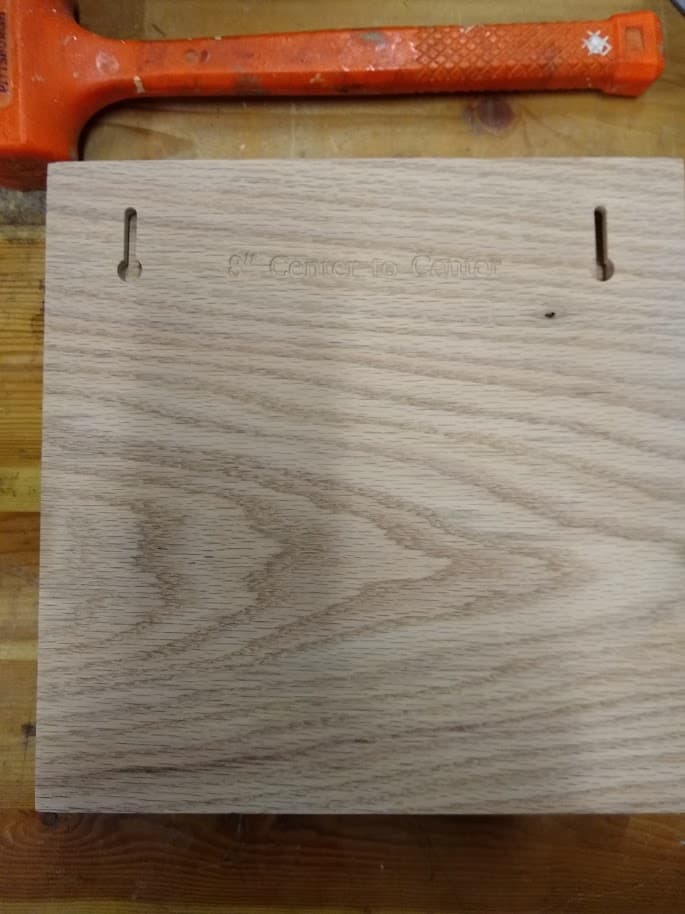
Your plaques are very nice. The picture with the semi-round eyelet always has me concerned. I have used those myself and everything always gets crooked. Finding the perfect center and that the wood is perfectly balanced is tricky. Personally I use a key hole bit and make two. Then I engrave the spacing and supply a couple of hollow wall hangers with screws.
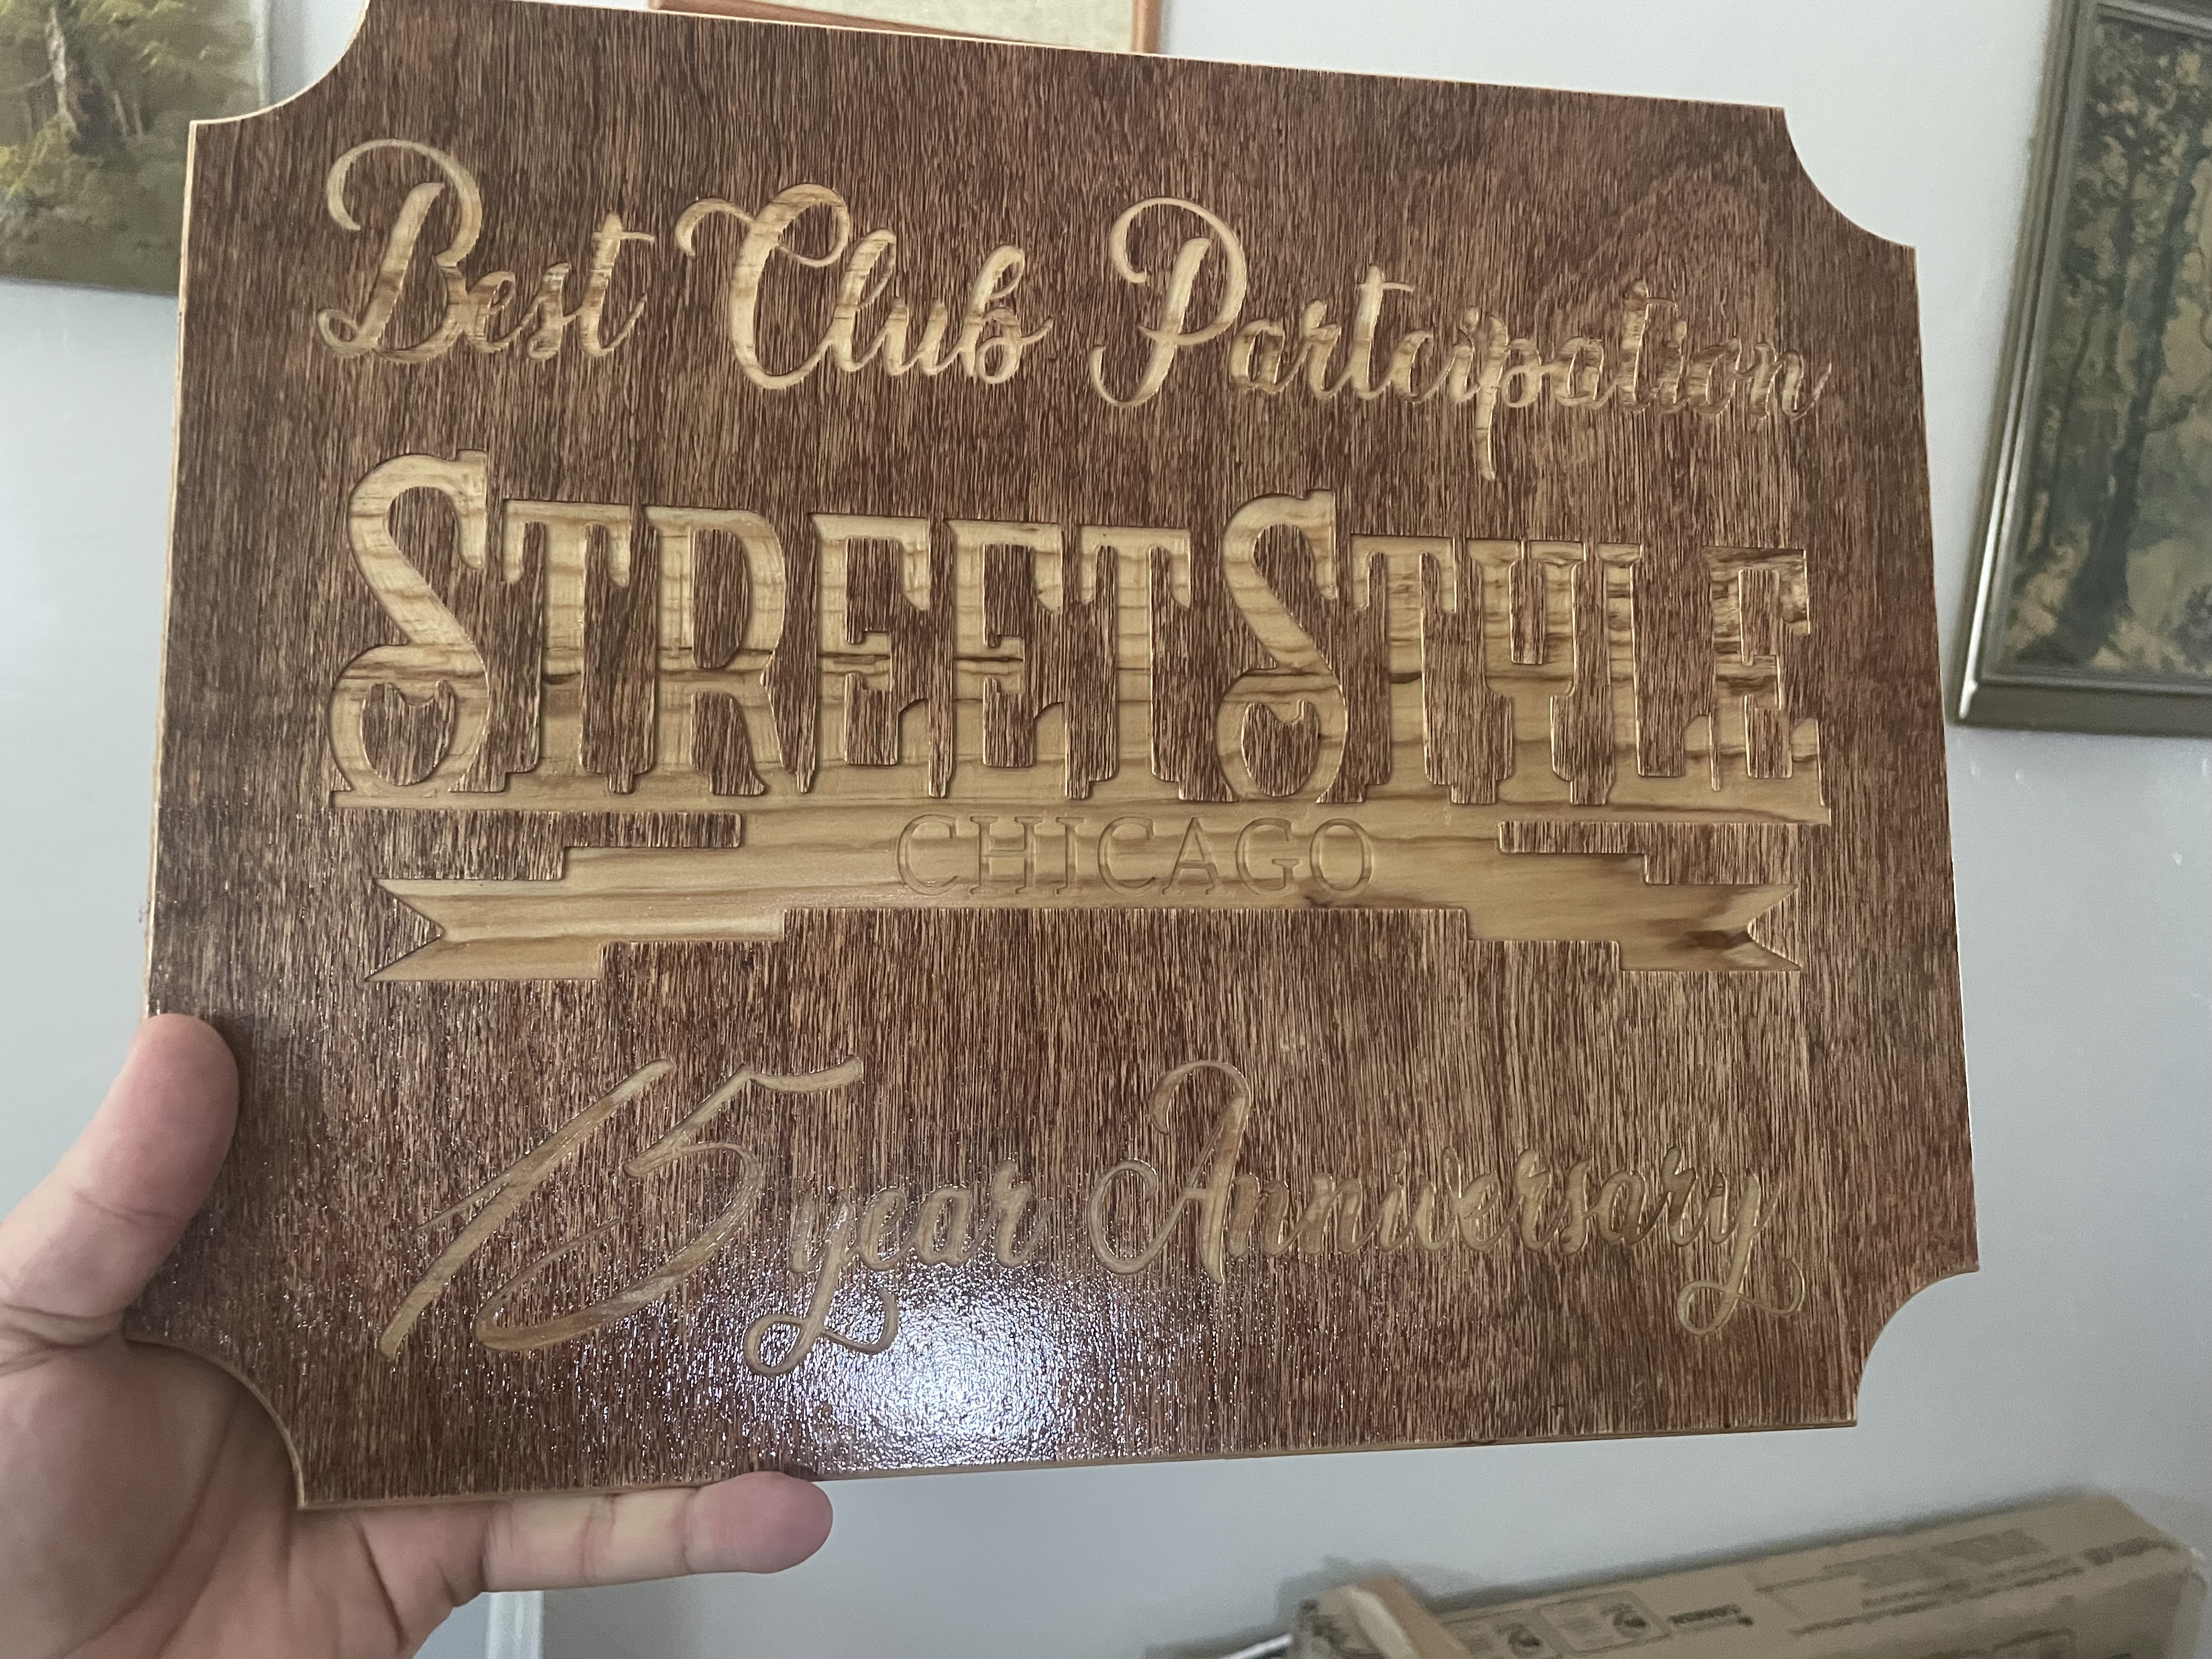
In the image you can see I carved 8" center to center to aid the recipient with hanging the plaque. It may just my pet peeve but I hate to see a picture hanging crooked. The plus is you dont need the hanger but you do need the hollow wall hangers. Relying on the recipient to have some may never get your plaque hung on the wall.
I appreciate all the advice! I agree about these hooks. I’m hoping it’s even.
I have been wanting to do keyholes, but I haven’t been able to try it out yet. I do have the router bit, but my plunge router is a little hard to get to right now. Do you use the keyhole bit on your CNC? I was thinking that bit wasnt fit for CNC use.
I use my Keyhole in my CNC all the time. It works great. Takes longer to set up the cut then the actual cut. There are several great tutorials on the web and Carbide Create even has the tool path.