Show me your S3 custom cable and spindle coolant hose routing please?

They’re 1 meter R38 18x37mm, I chose this size as big enough to have lots of space for coolant pipes and extra stuff. The spiral wrap going partway into the drag chains and cable tied to the mounts provides some extra strain relief and mitigates cable wear at the entry / exit to the drag chain.

I’d use MadHatter’s mounts though, mine were just cut and bent to fit without any real design.

I did drill and tap the X and Y beams to mount the extra support brackets, double sided tape is not a valid way to anchor drag chains…

I used the stepper mount bolts on the Y plate for one of the chain anchors.

Thank you Liam, I will be incorporating the 4th chain into my builds. Excellent design.

1 Like

Do you have a spindle or a router?

Currently I have 3 S3’s with 3 carbide 3d routers, one is getting a 1.5 kw, one is getting a 2.2 and I am not there yet for a spindle on the 3rd. They are all being upgraded to 80/20 rail frames with 3/4" Aluminum caps. They all are getting linear rails and Dan Story’s rail kits which I have all 3 sets already. All 3 are getting plumbed into a Lightobject 1600 watt chiller.

This is what they will look like:

1 Like

OK,

You may want to do a Z drag chain as well then, I’m doing that on my rails upgrade. I’ve got a prototype of the spindle end of it on the machine and all the bracketry for the other end as soon as I get the rails on. The spindle coolant hoses and wiring are quite heavy and don’t like repeated flexing at stress points very much. The spiral wrap is OK as a start but I can do better.

I’m presently figuring out whether to try to route the extraction hose through brackets on the Z carriage and if so where.

1 Like

Let me see what it would cost. I usually charge $2/hr for printing parts, which usually put most parts outside the realm of anyone wanting them from me. I will work on getting the most current solid models and quantities put in my Google Drive folder so you can shop them around to other 3D printers.

Check out https://www.reddit.com/r/3Dprintmything/ for the shotgun approach to getting a quote.

I have a 3D print farm I am building. I would prefer the models if you would be willing. The original Fusion models would be even better if it is ok for personal use only, I could edit to fit my system.
More then happy to Paypal you some money for your hard work.

Thanks for the offer of payment, but I get a lot of help from the various online communities, and I don’t mind giving back when I can. You are more than welcome to print and sell these as well if you want. Everything I throw up on Thingiverse is pretty much the same as well, just attribute the design to me.

EDIT: I designed the parts in SolidWorks, so I will upload the SLDPRT, STL, STEP and whatever other file format you want - provided SolidWorks will save it.

3 Likes

Thank you very much I really appreciate it.

I did some wire management a while ago, with some custom 3d printed parts I designed. It was a lot of cutting /stripping and soldering with heat shrink tubing. I did this when upgrading to eBay proximity sensors. I also added a molex connector and routed power wires for a laser to be added later. Im running stock z drive and a Suckit dust boot and made everything to work with stock hardware. One day I hope to upgrade to the HDZ and a spindle.

!
IMG_20200206_233333|666x500

1 Like

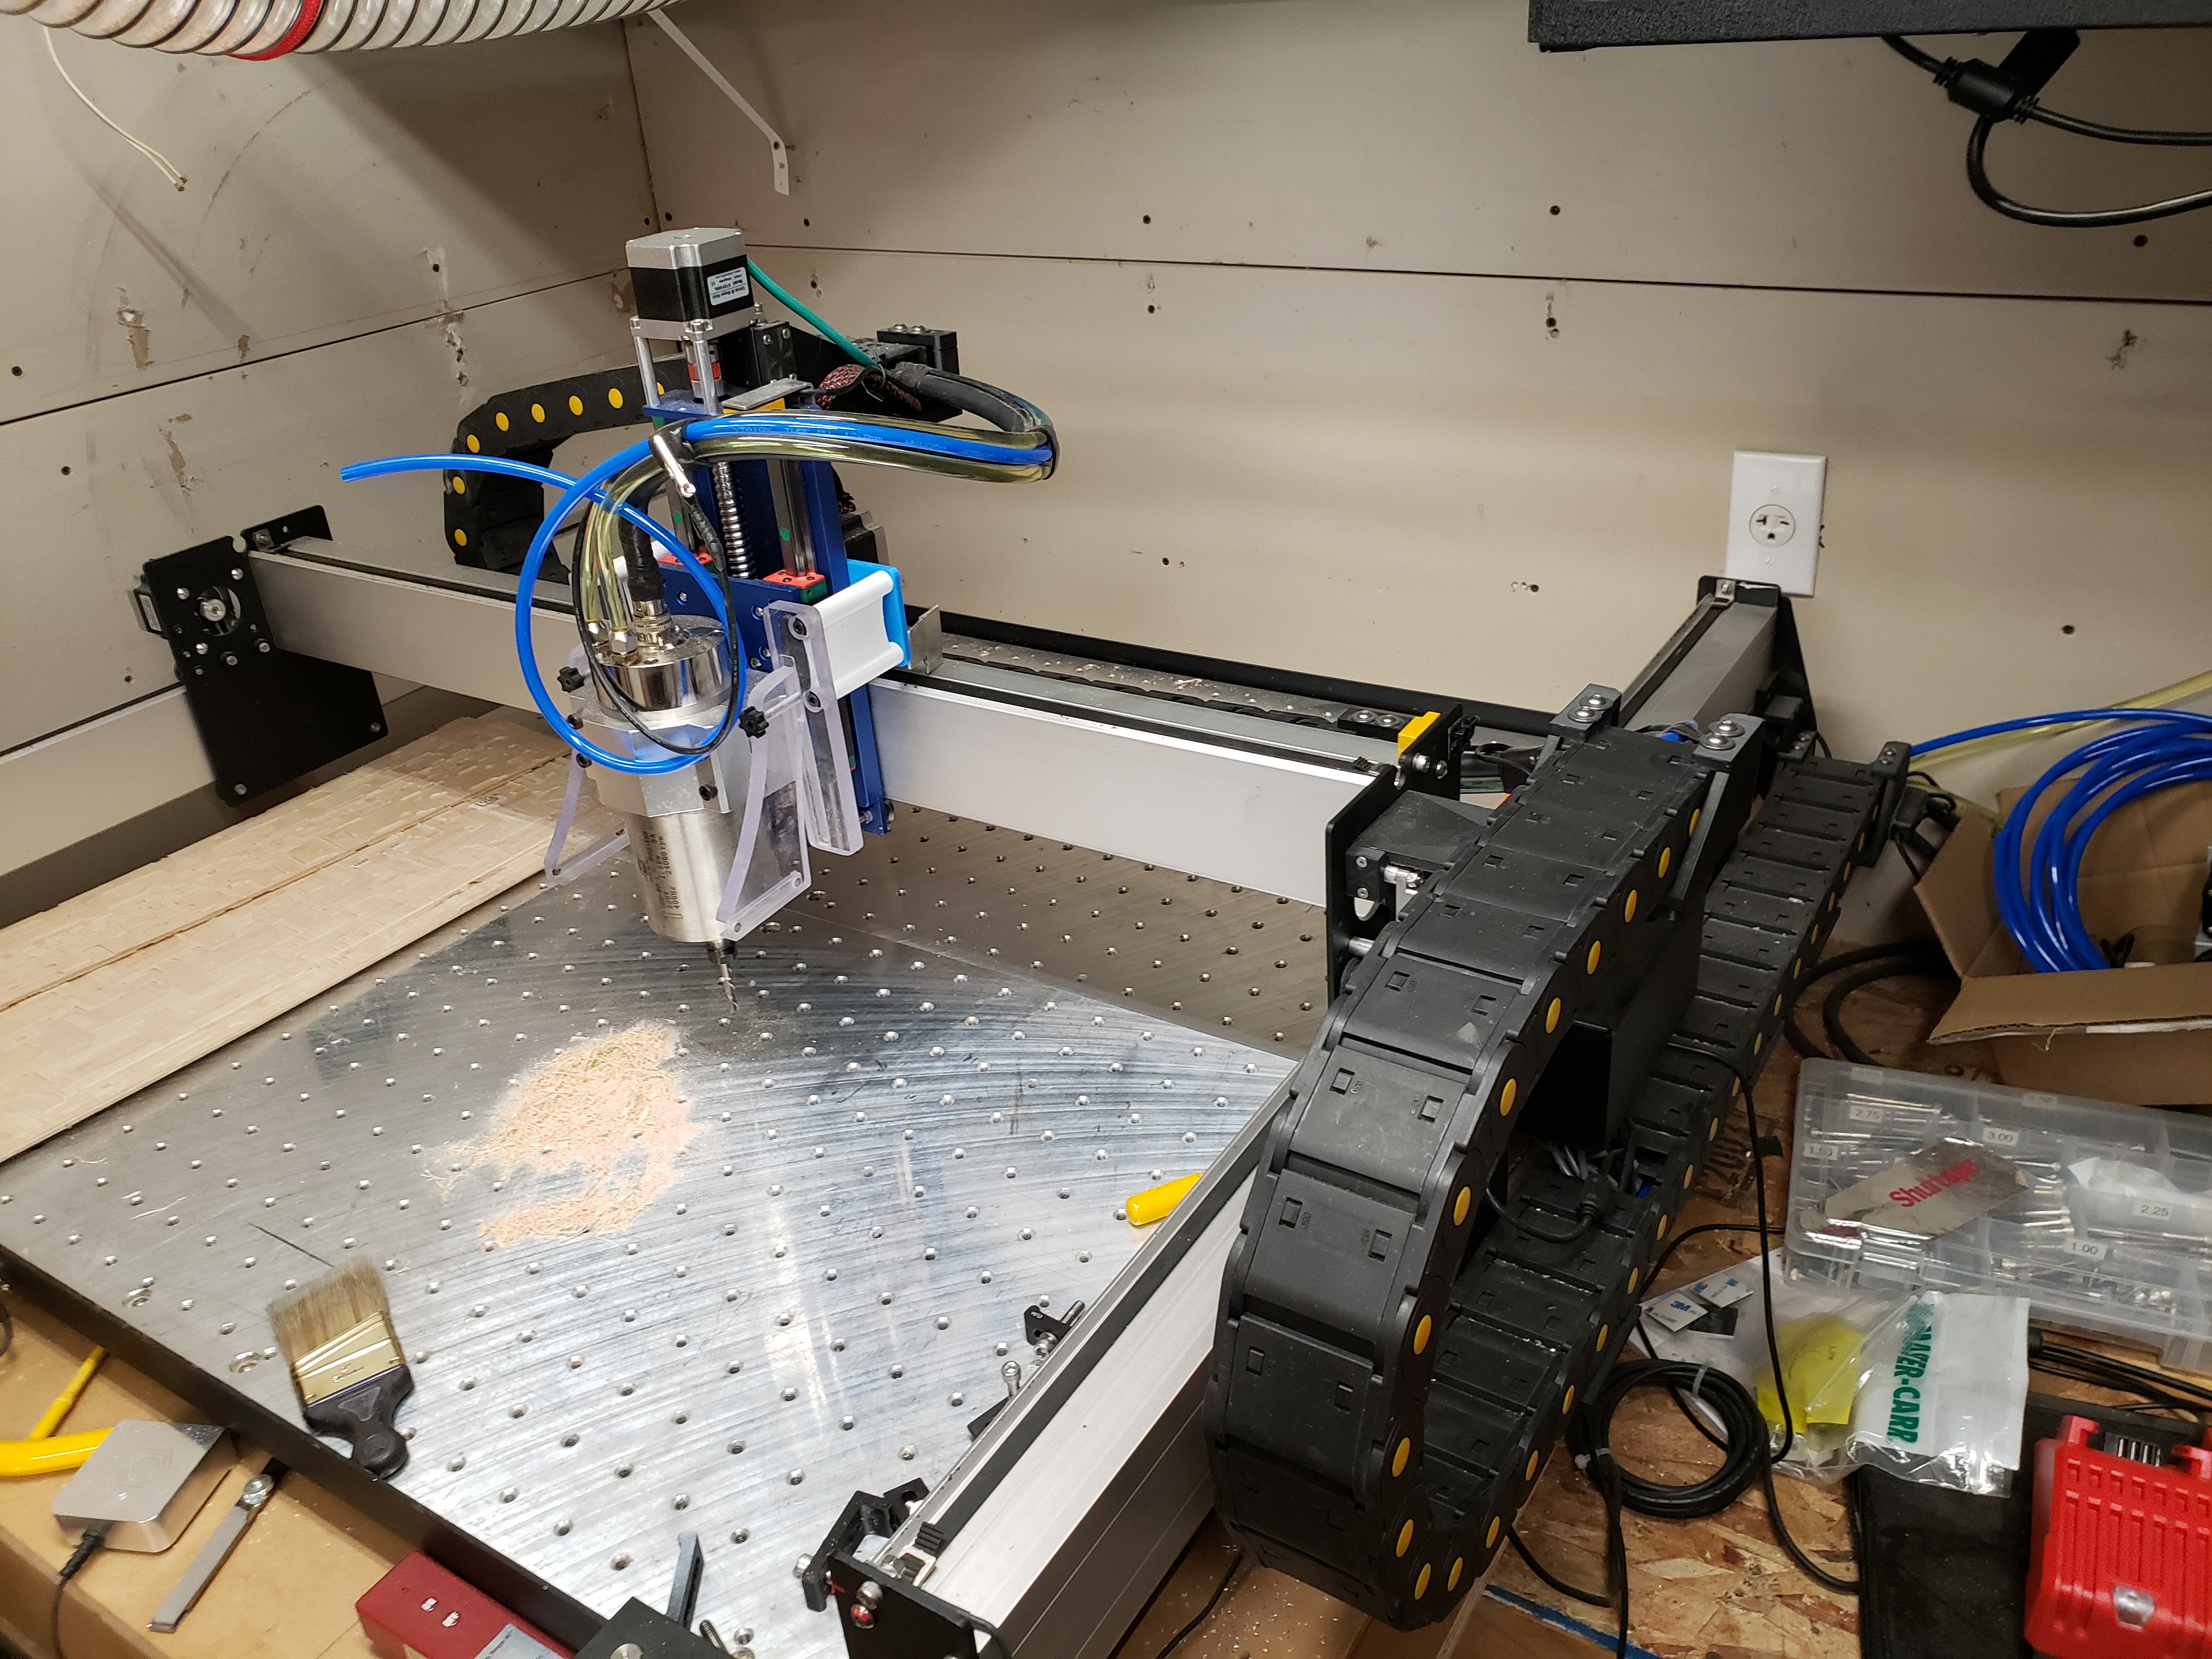
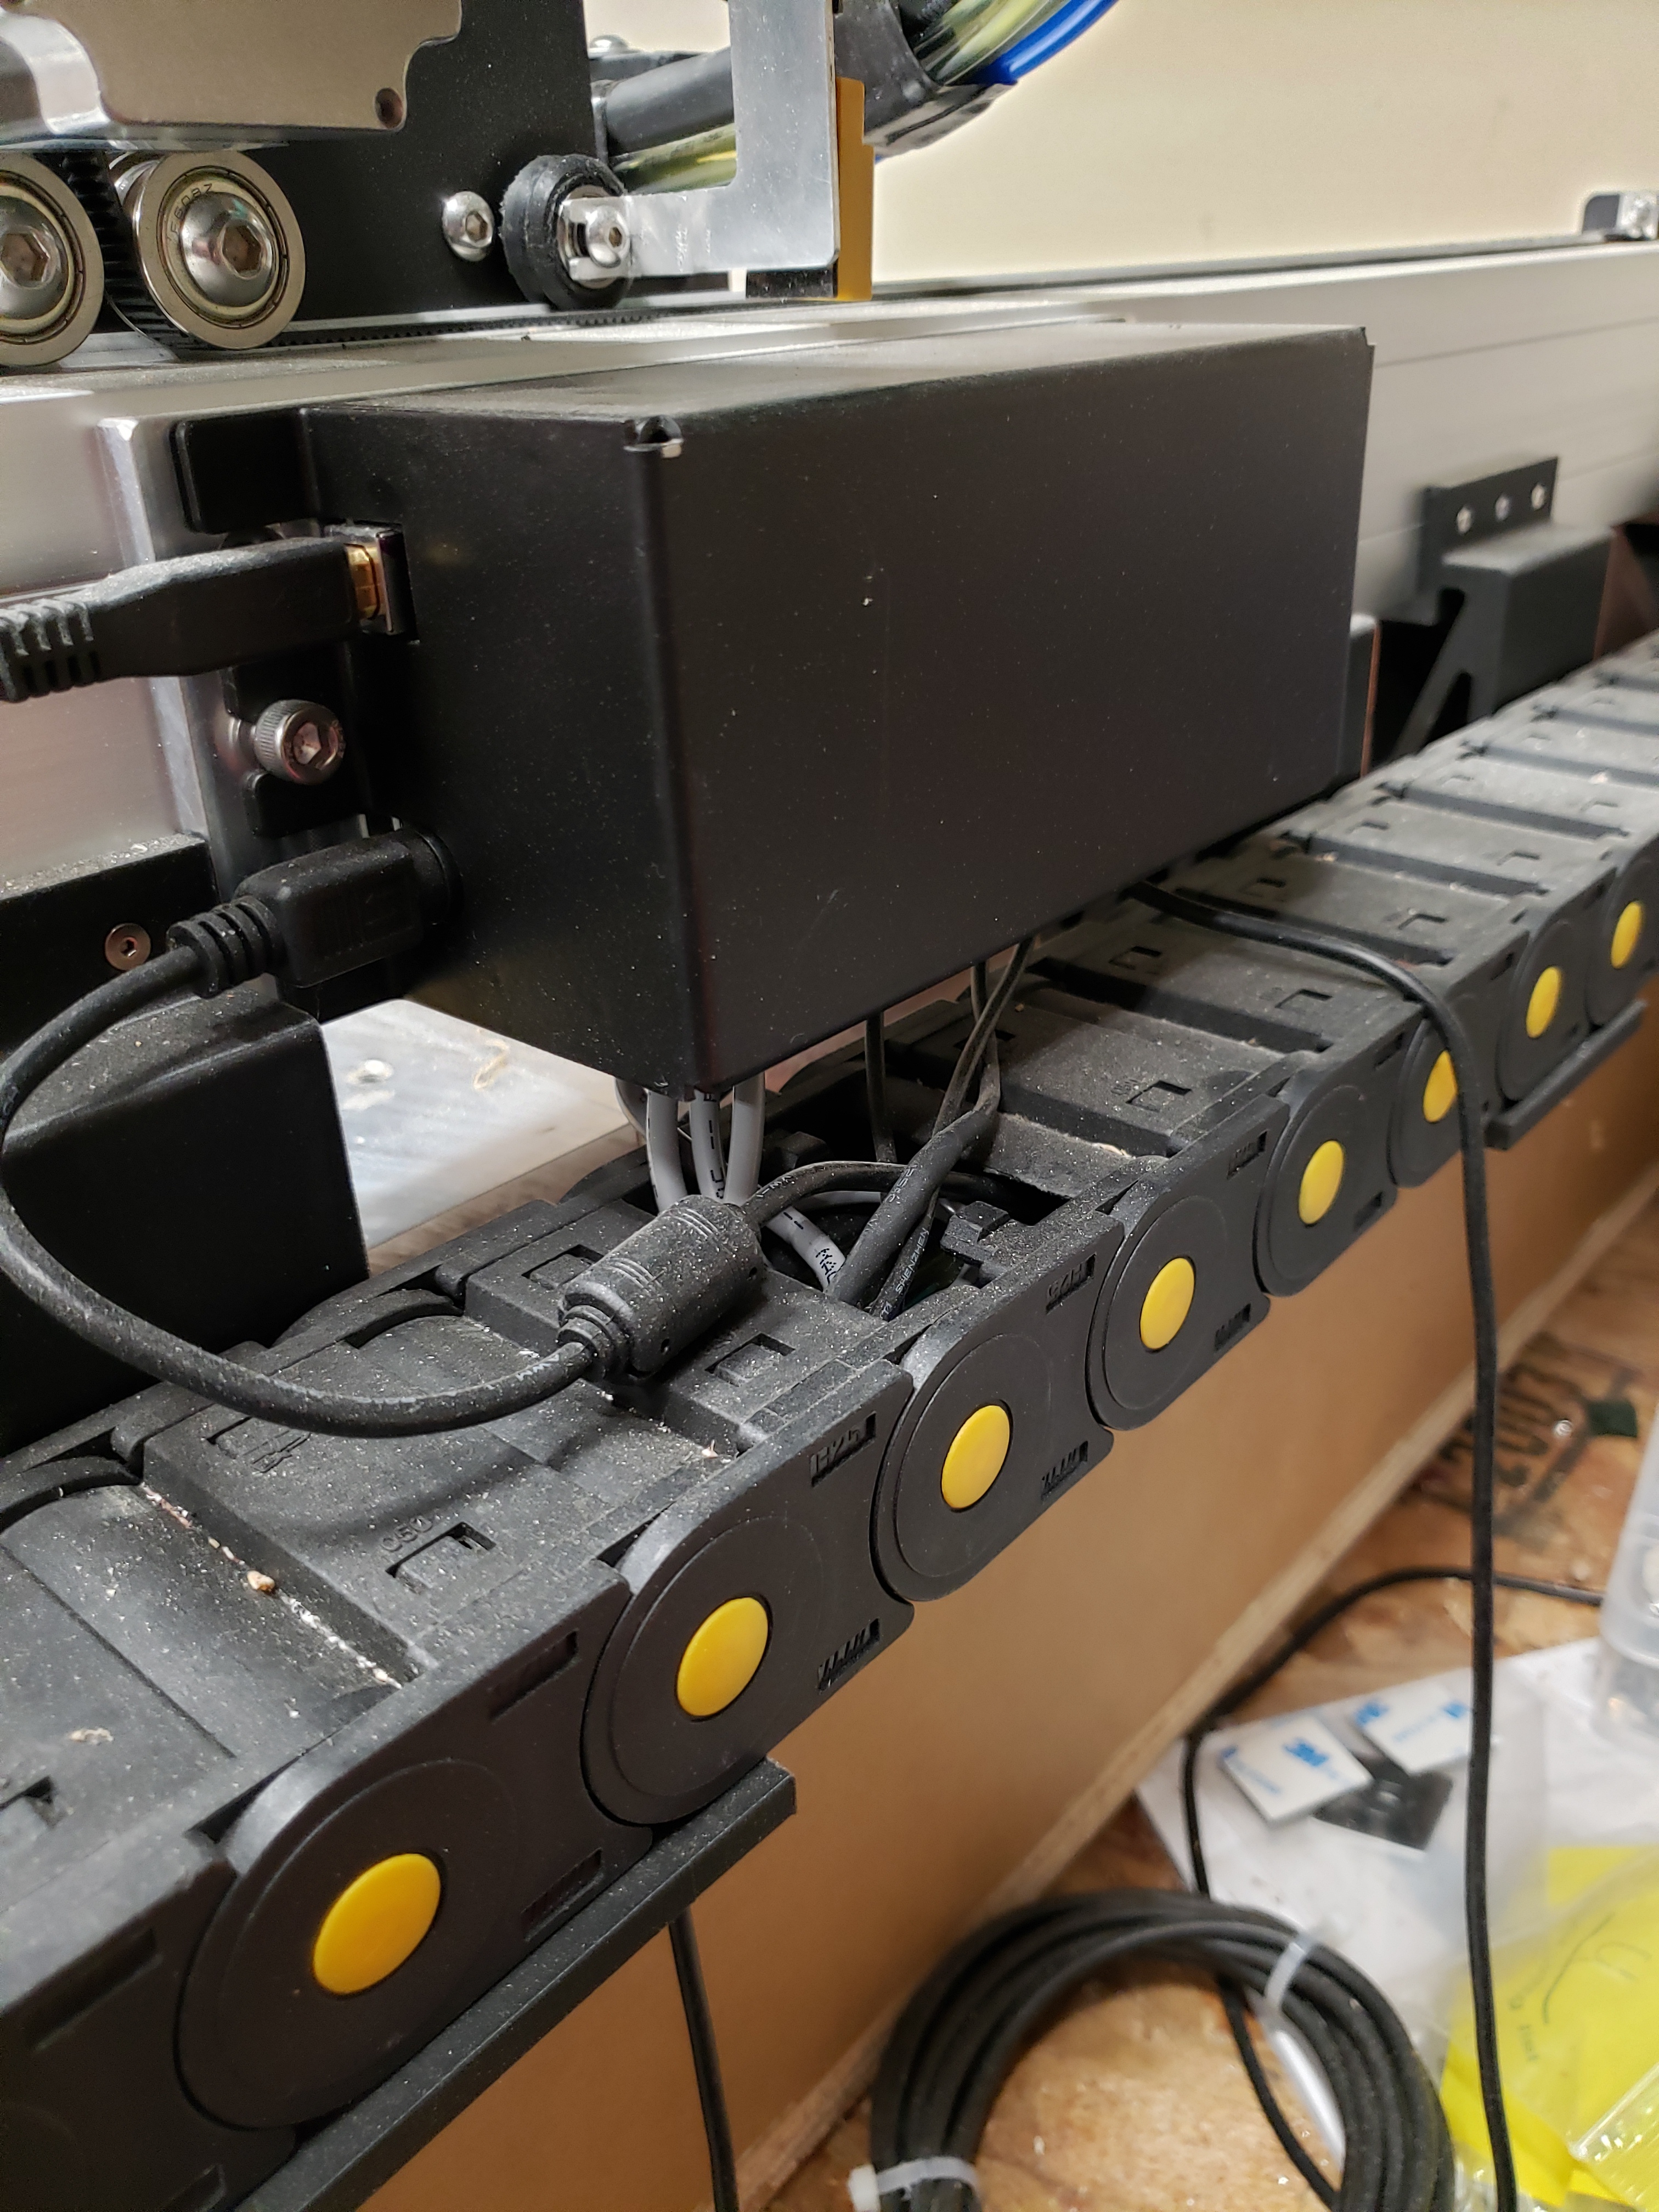
Here is the drag chain that my brackets are sized for. I bought three 1 meter lengths, and had only a few segments left over.

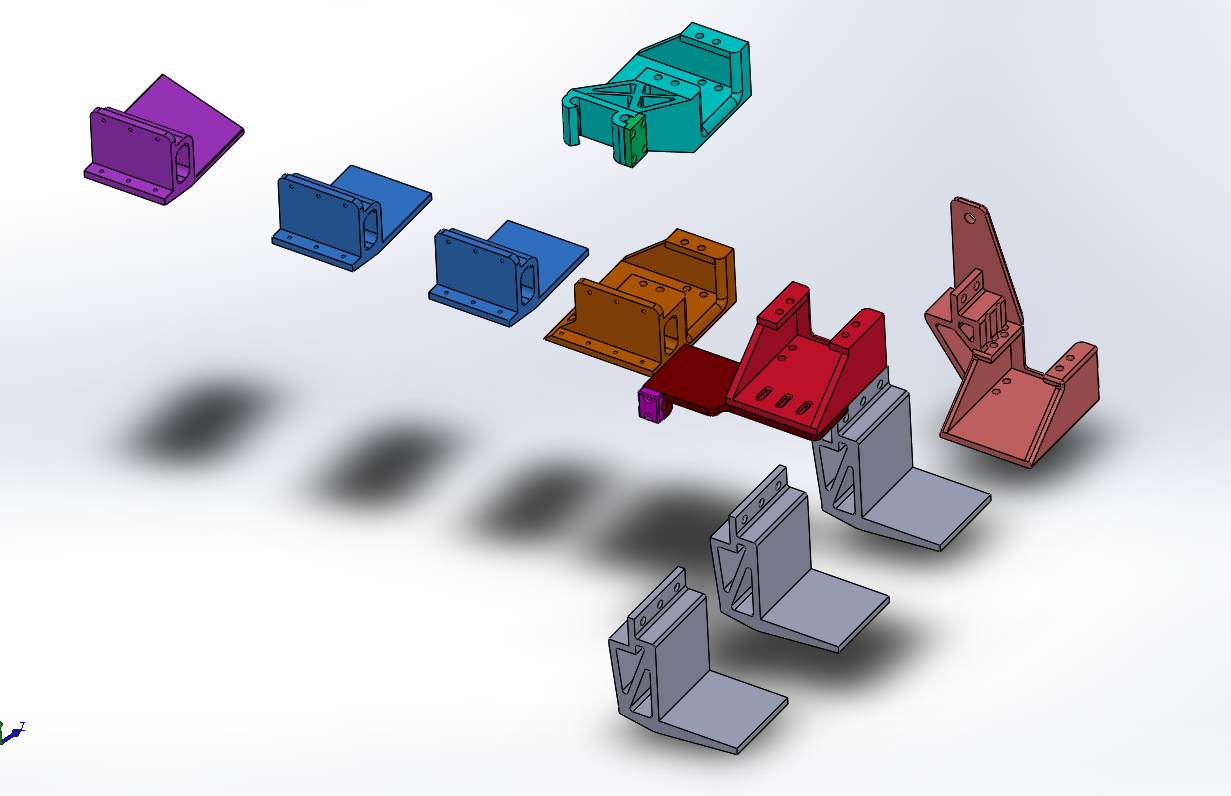
Here is a screen shot of just the 3D printed parts I have on my SO3 XXL. There are 10 unique 3D printed parts, and 13 total parts.

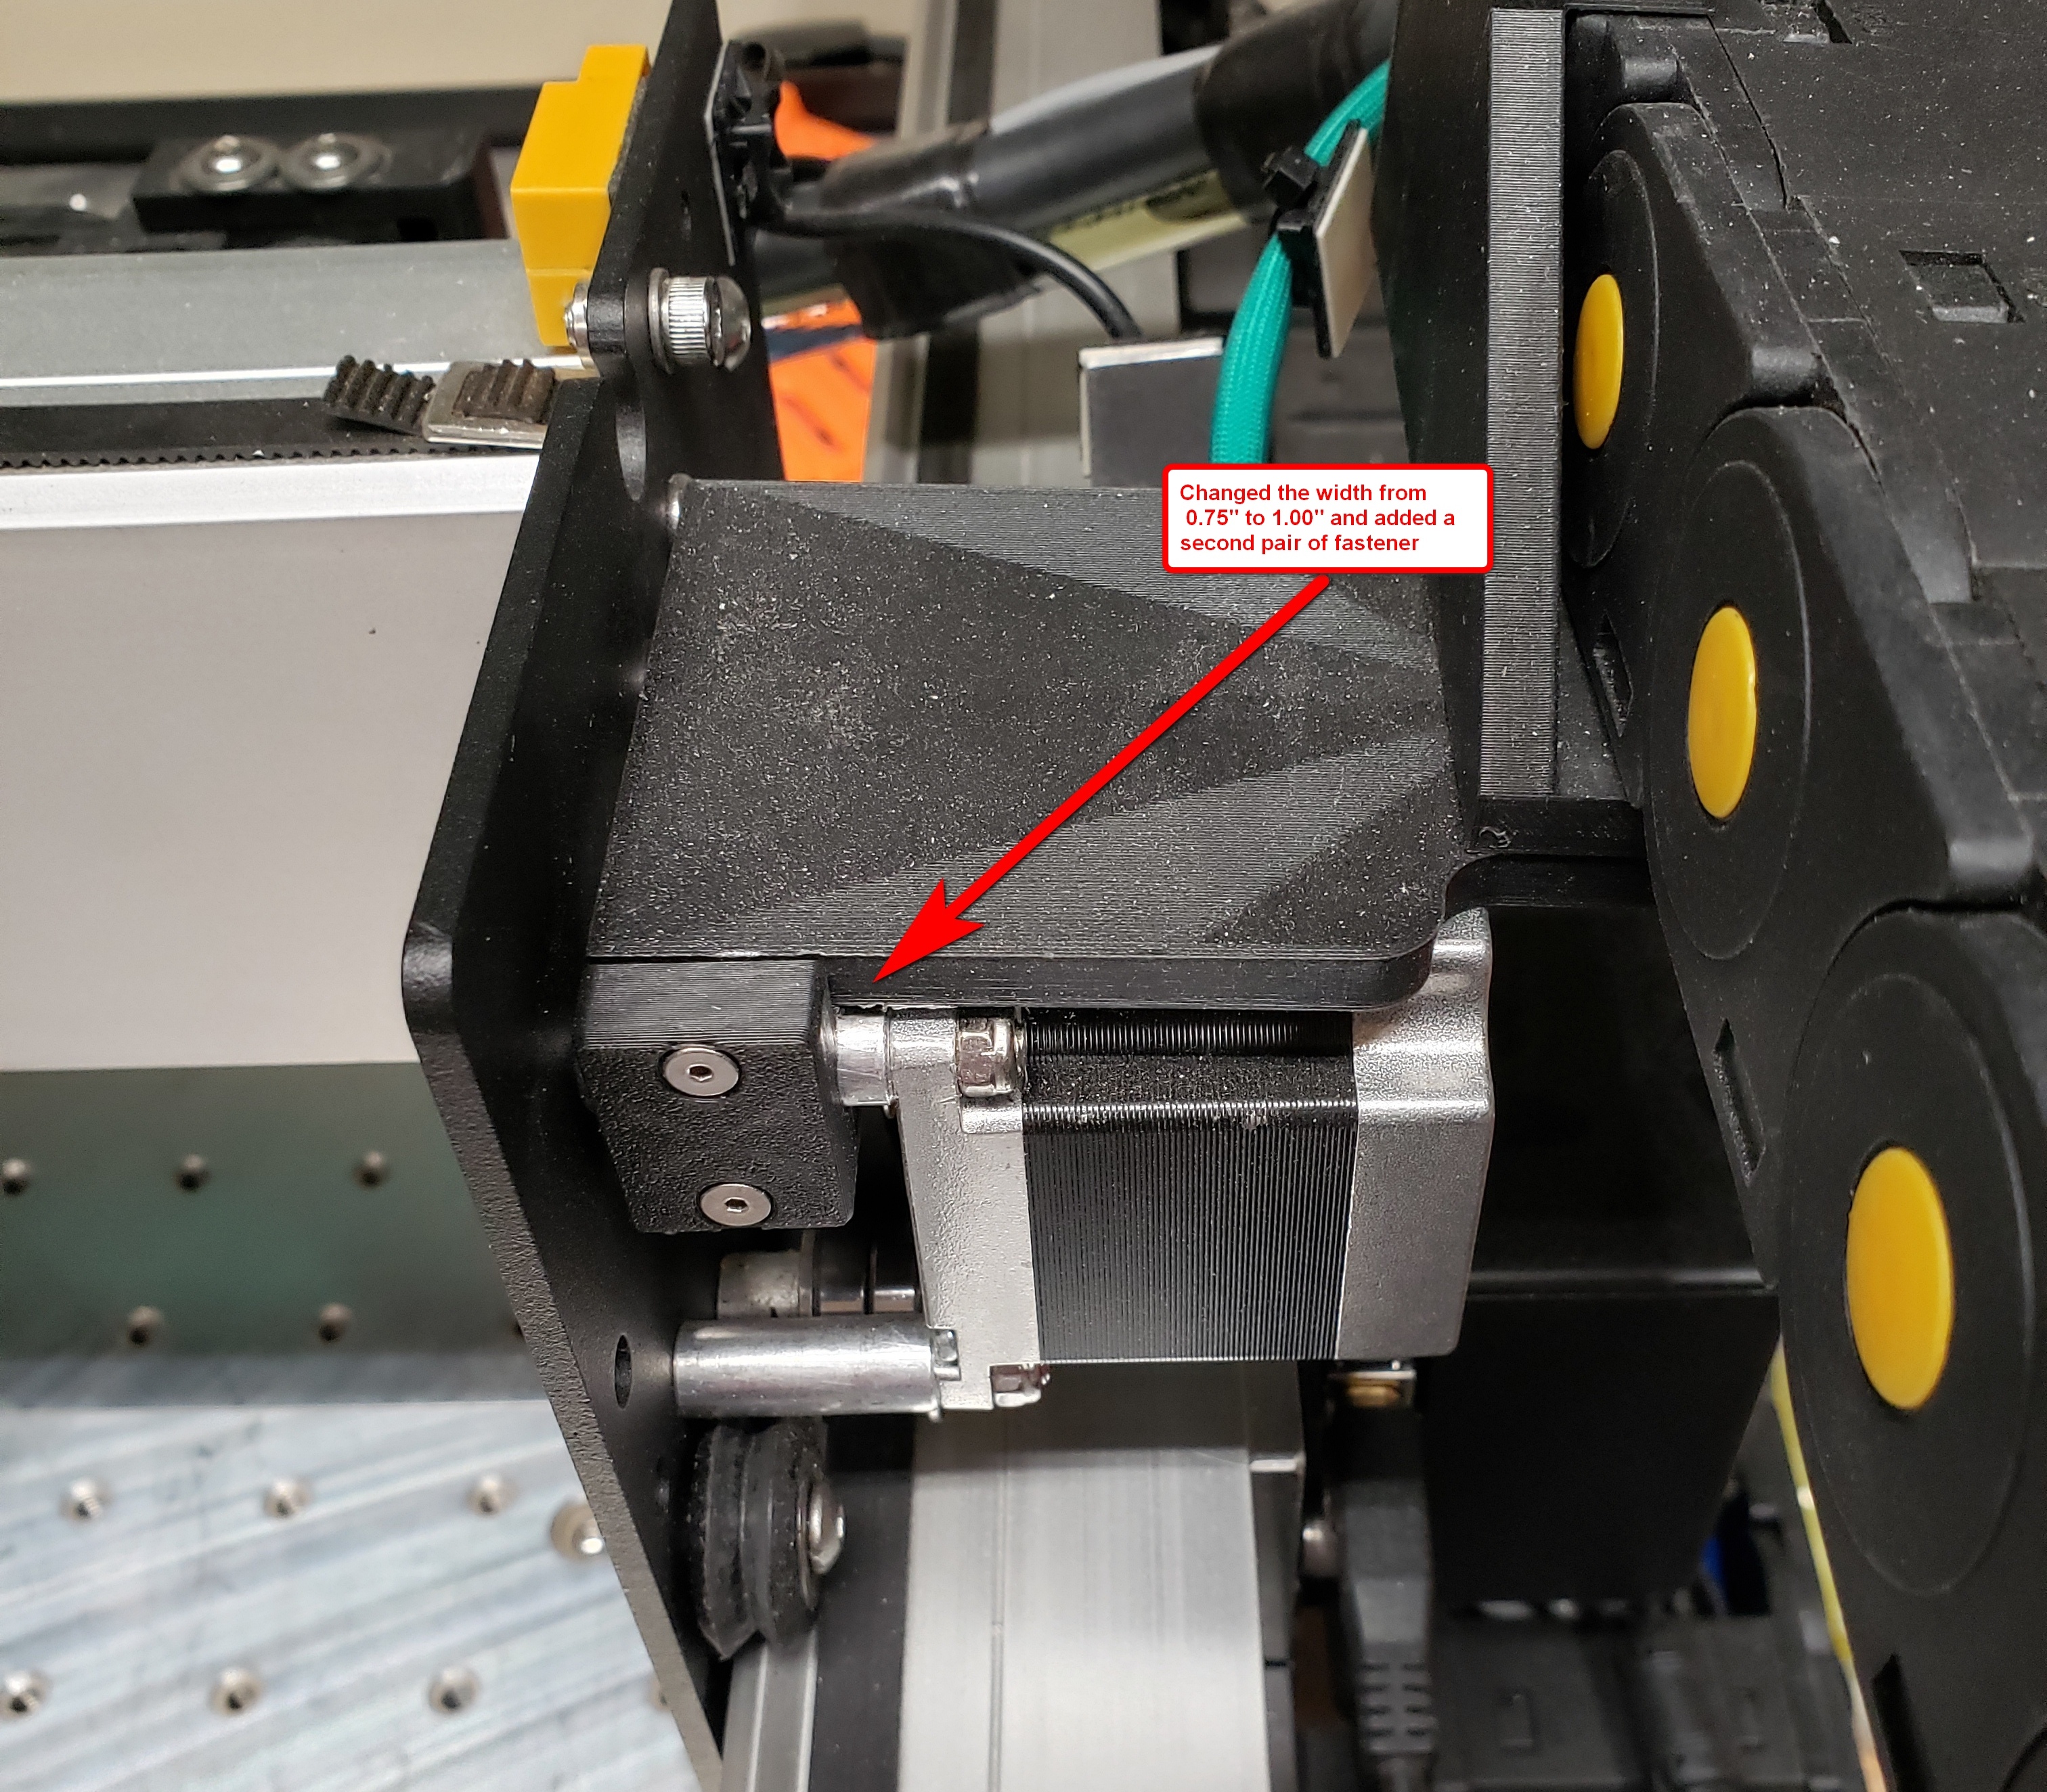
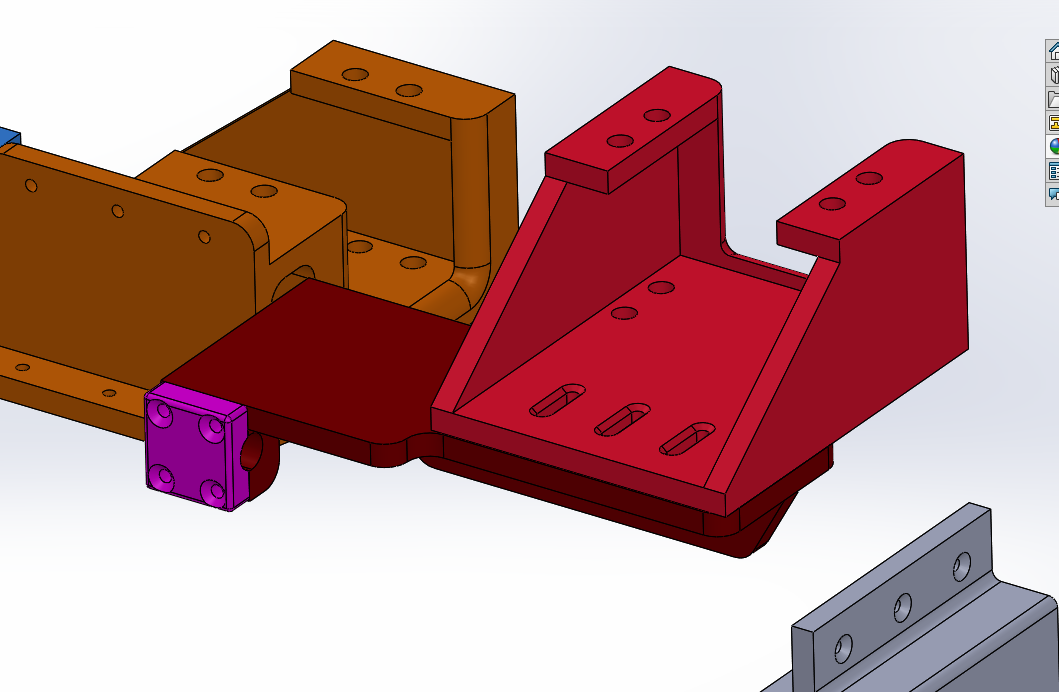
The only part I am not happy with is the brick red part under the red part. It clamps onto one of the stepper motor spacers, and it works just fine, but it “wiggles” back and forth if you bump into it. It bugs me and I am finally going to redesign it so it is more sturdy. It has lasted just fine without issues for the last 18+ months, but now that I am going to release it into the wild, I need to change it first.

I am uploading pics to imgur, and when they are done, I will post the link here so you can see the parts installed on my machine. Imgur is being difficult.

Here are the files in my Google Drive folder. I updated the wobbly bracket by making the clamping portion 1" wide - the same as the spacers, and shortened the gap between them by 0.050", so they should clamp tight to the two stepper motor spacers.

2 Likes

That is a lot of parts! Looks like you spent a lot of time on this. Really a great design! Ordering drag chains tonight.

1 Like

This is so well done. I can not thank you enough for this. You are very talented.

1 Like

Looks like my HDZ is different from yours, mine does not have the stand off spacers on top. I believe I will need to redesign that part. Thanks to you providing the Step file it will not be a issue.

1 Like

Thanks for the compliments, I appreciate them.

Regarding the HDZ, yeah, that’s not too surprising. I have one of the Mr. Beaver first run HDZ units. Also, here are the fasteners I bought to use for the brackets and drag chain.

The bracket above has oversized holes to use an aluminum spacer, washer and screw combo to allow you to hold the 3D printed part securely and clamp the end plate to the rail securely - but without crushing the 3D printed part.

The aluminum spacer is sized to allow you to tighten the button head screw tight enough to keep the end plate from moving, but protect the 3D printed part from crushing completely. The aluminum spacer is 0.0625" shorter than the 3D printed bracket thickness, so the 3D printed part can be compressed up to that thickness before the spacer takes the force.

The washer will distribute the load from the button head screw to the 3D printed part, and it is thick enough it will not deform (much) and hold the 3D printed part securely.

For the four long fasteners that hold the drag chain into the brackets, I did not actually put nuts on the bottom side of them. It turns out that they stay in place just fine, and it is easy to just pull them out if needed for whatever reason - like feeding more crap into the drag chain.

I am trying to remember what countersunk fasteners I used, I think they were just some stainless steel hex socket ones, also from McMaster-Carr. I’ll go out to my shed and see what I can see regarding them.

For the fasteners that hold two 3D printed parts together, I just printed the parts with three perimeters and six top/bottom layers, and tapped the plastic and screwed them in directly. They are NOT coming out, so putting in brass threaded inserts is just not needed.

EDIT: Yup a bunch of 4-40, 6-32 and 8-32 screws.

1 Like

Thank you, that makes it much simpler. Lots of hardware!

1 Like

I’m a hardware fiend. I just love having an excuse to have to buy some sexy stainless steel fasteners! Even better if they are hex drive!

1 Like

I have a big collection also. My favorite is ARP 12 point polished hardware, but I also like flat head socket cap screws. Keeps everything centered perfectly while flush with the surface.

1 Like

This topic was automatically closed 30 days after the last reply. New replies are no longer allowed.