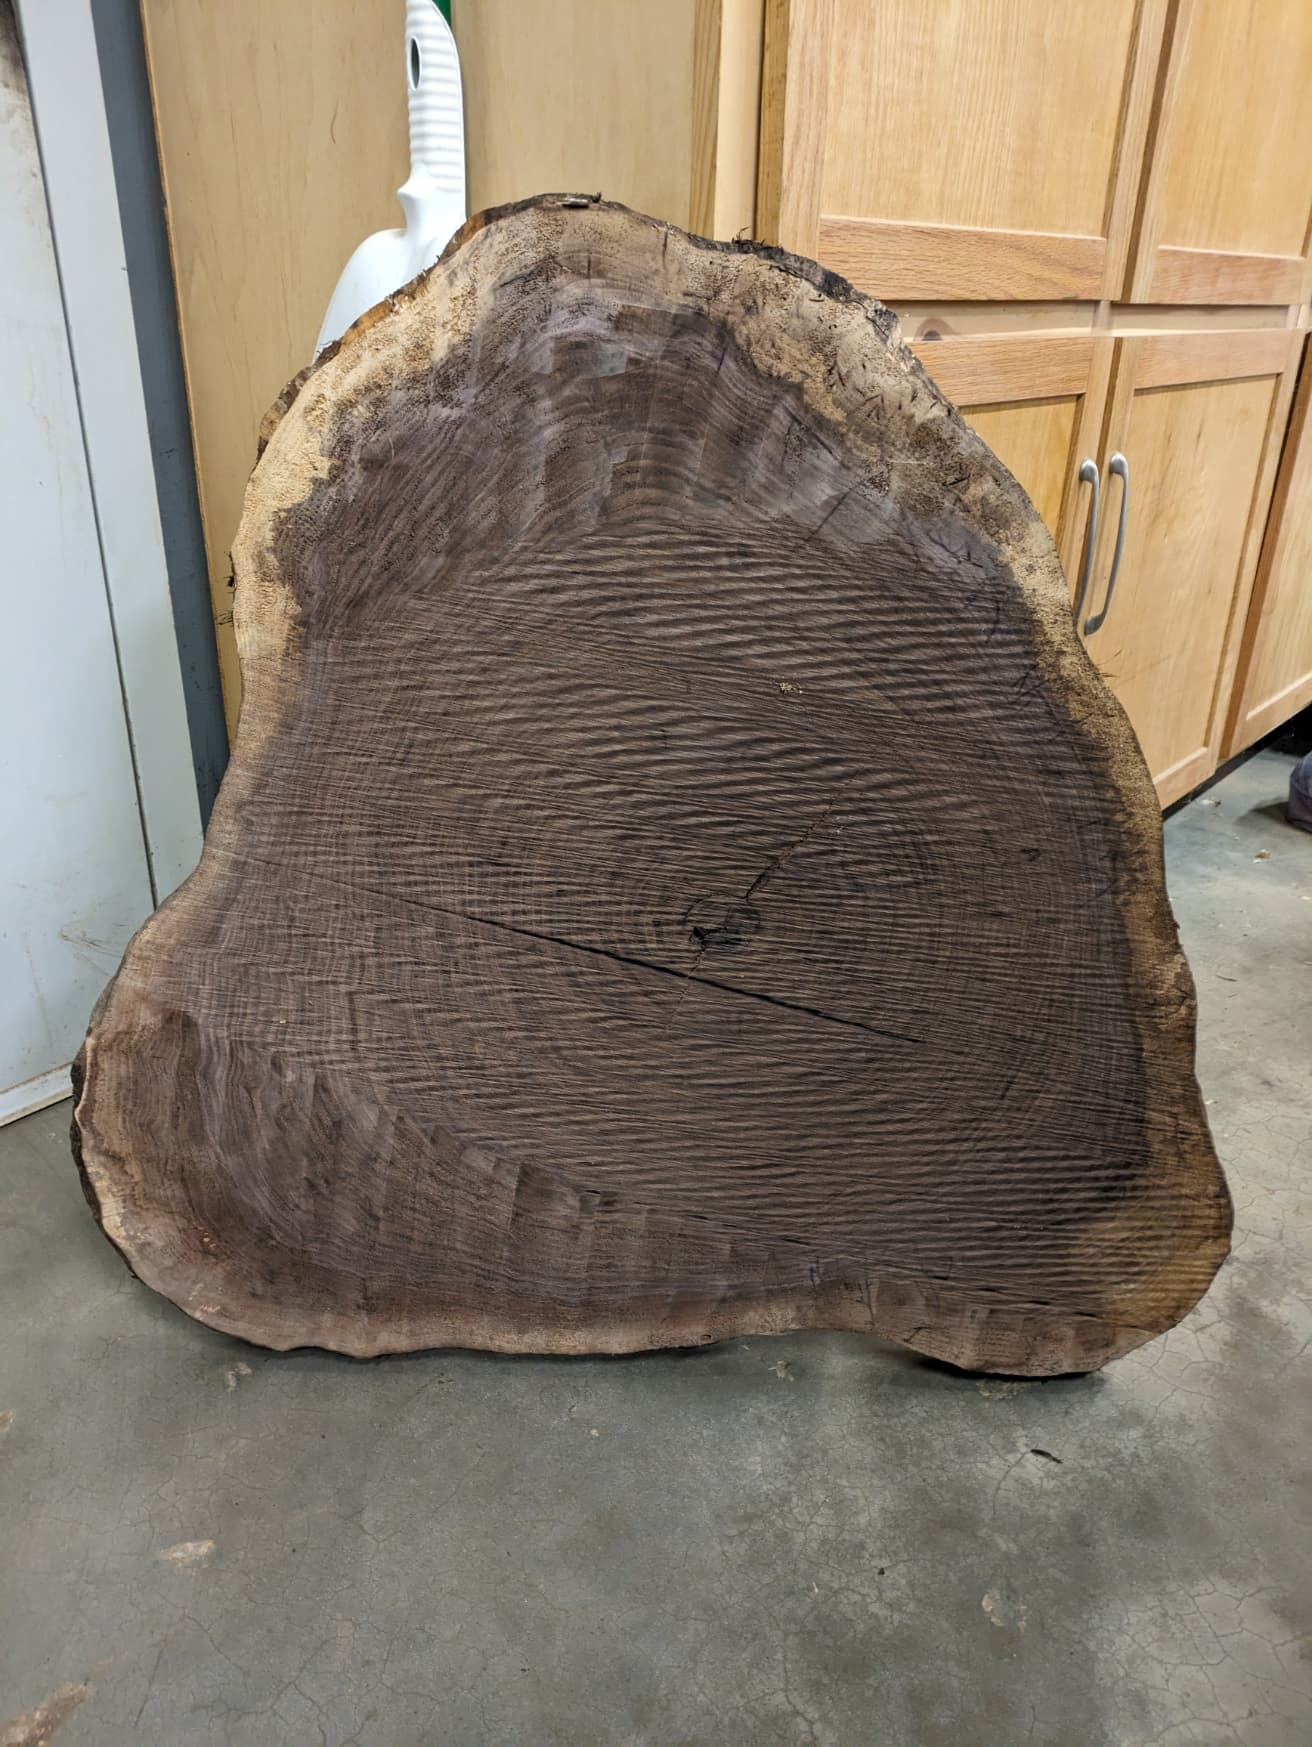
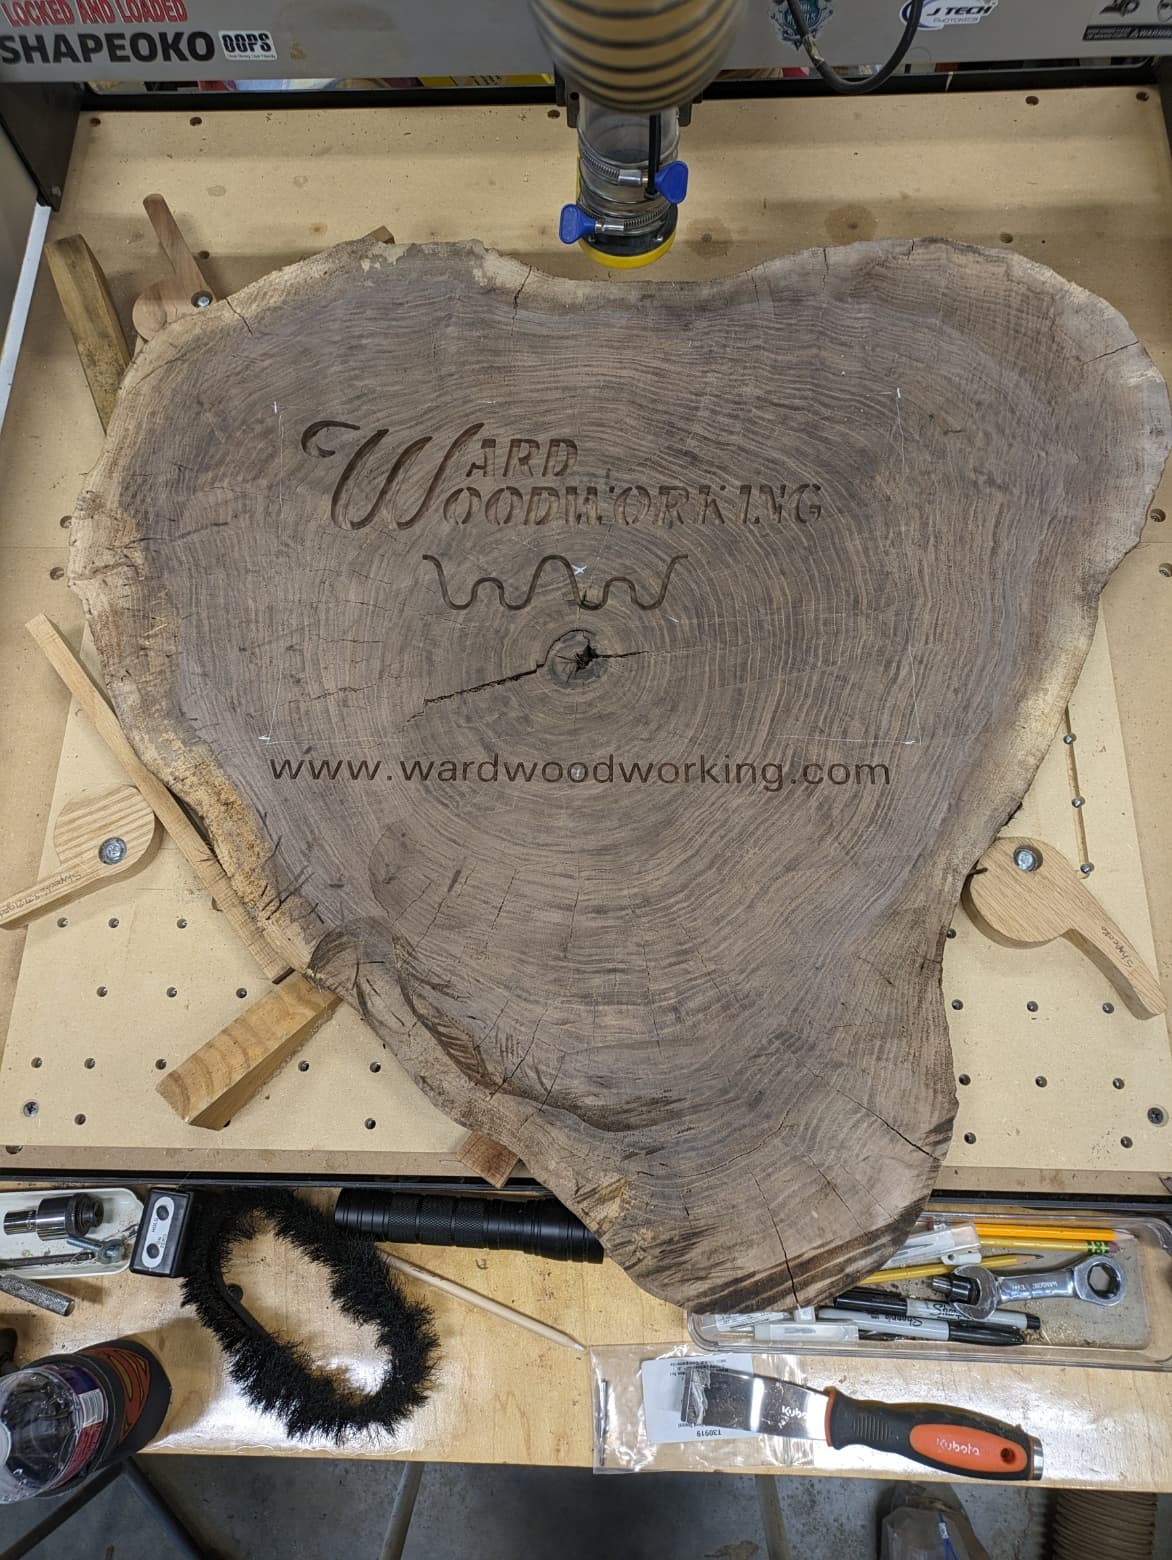
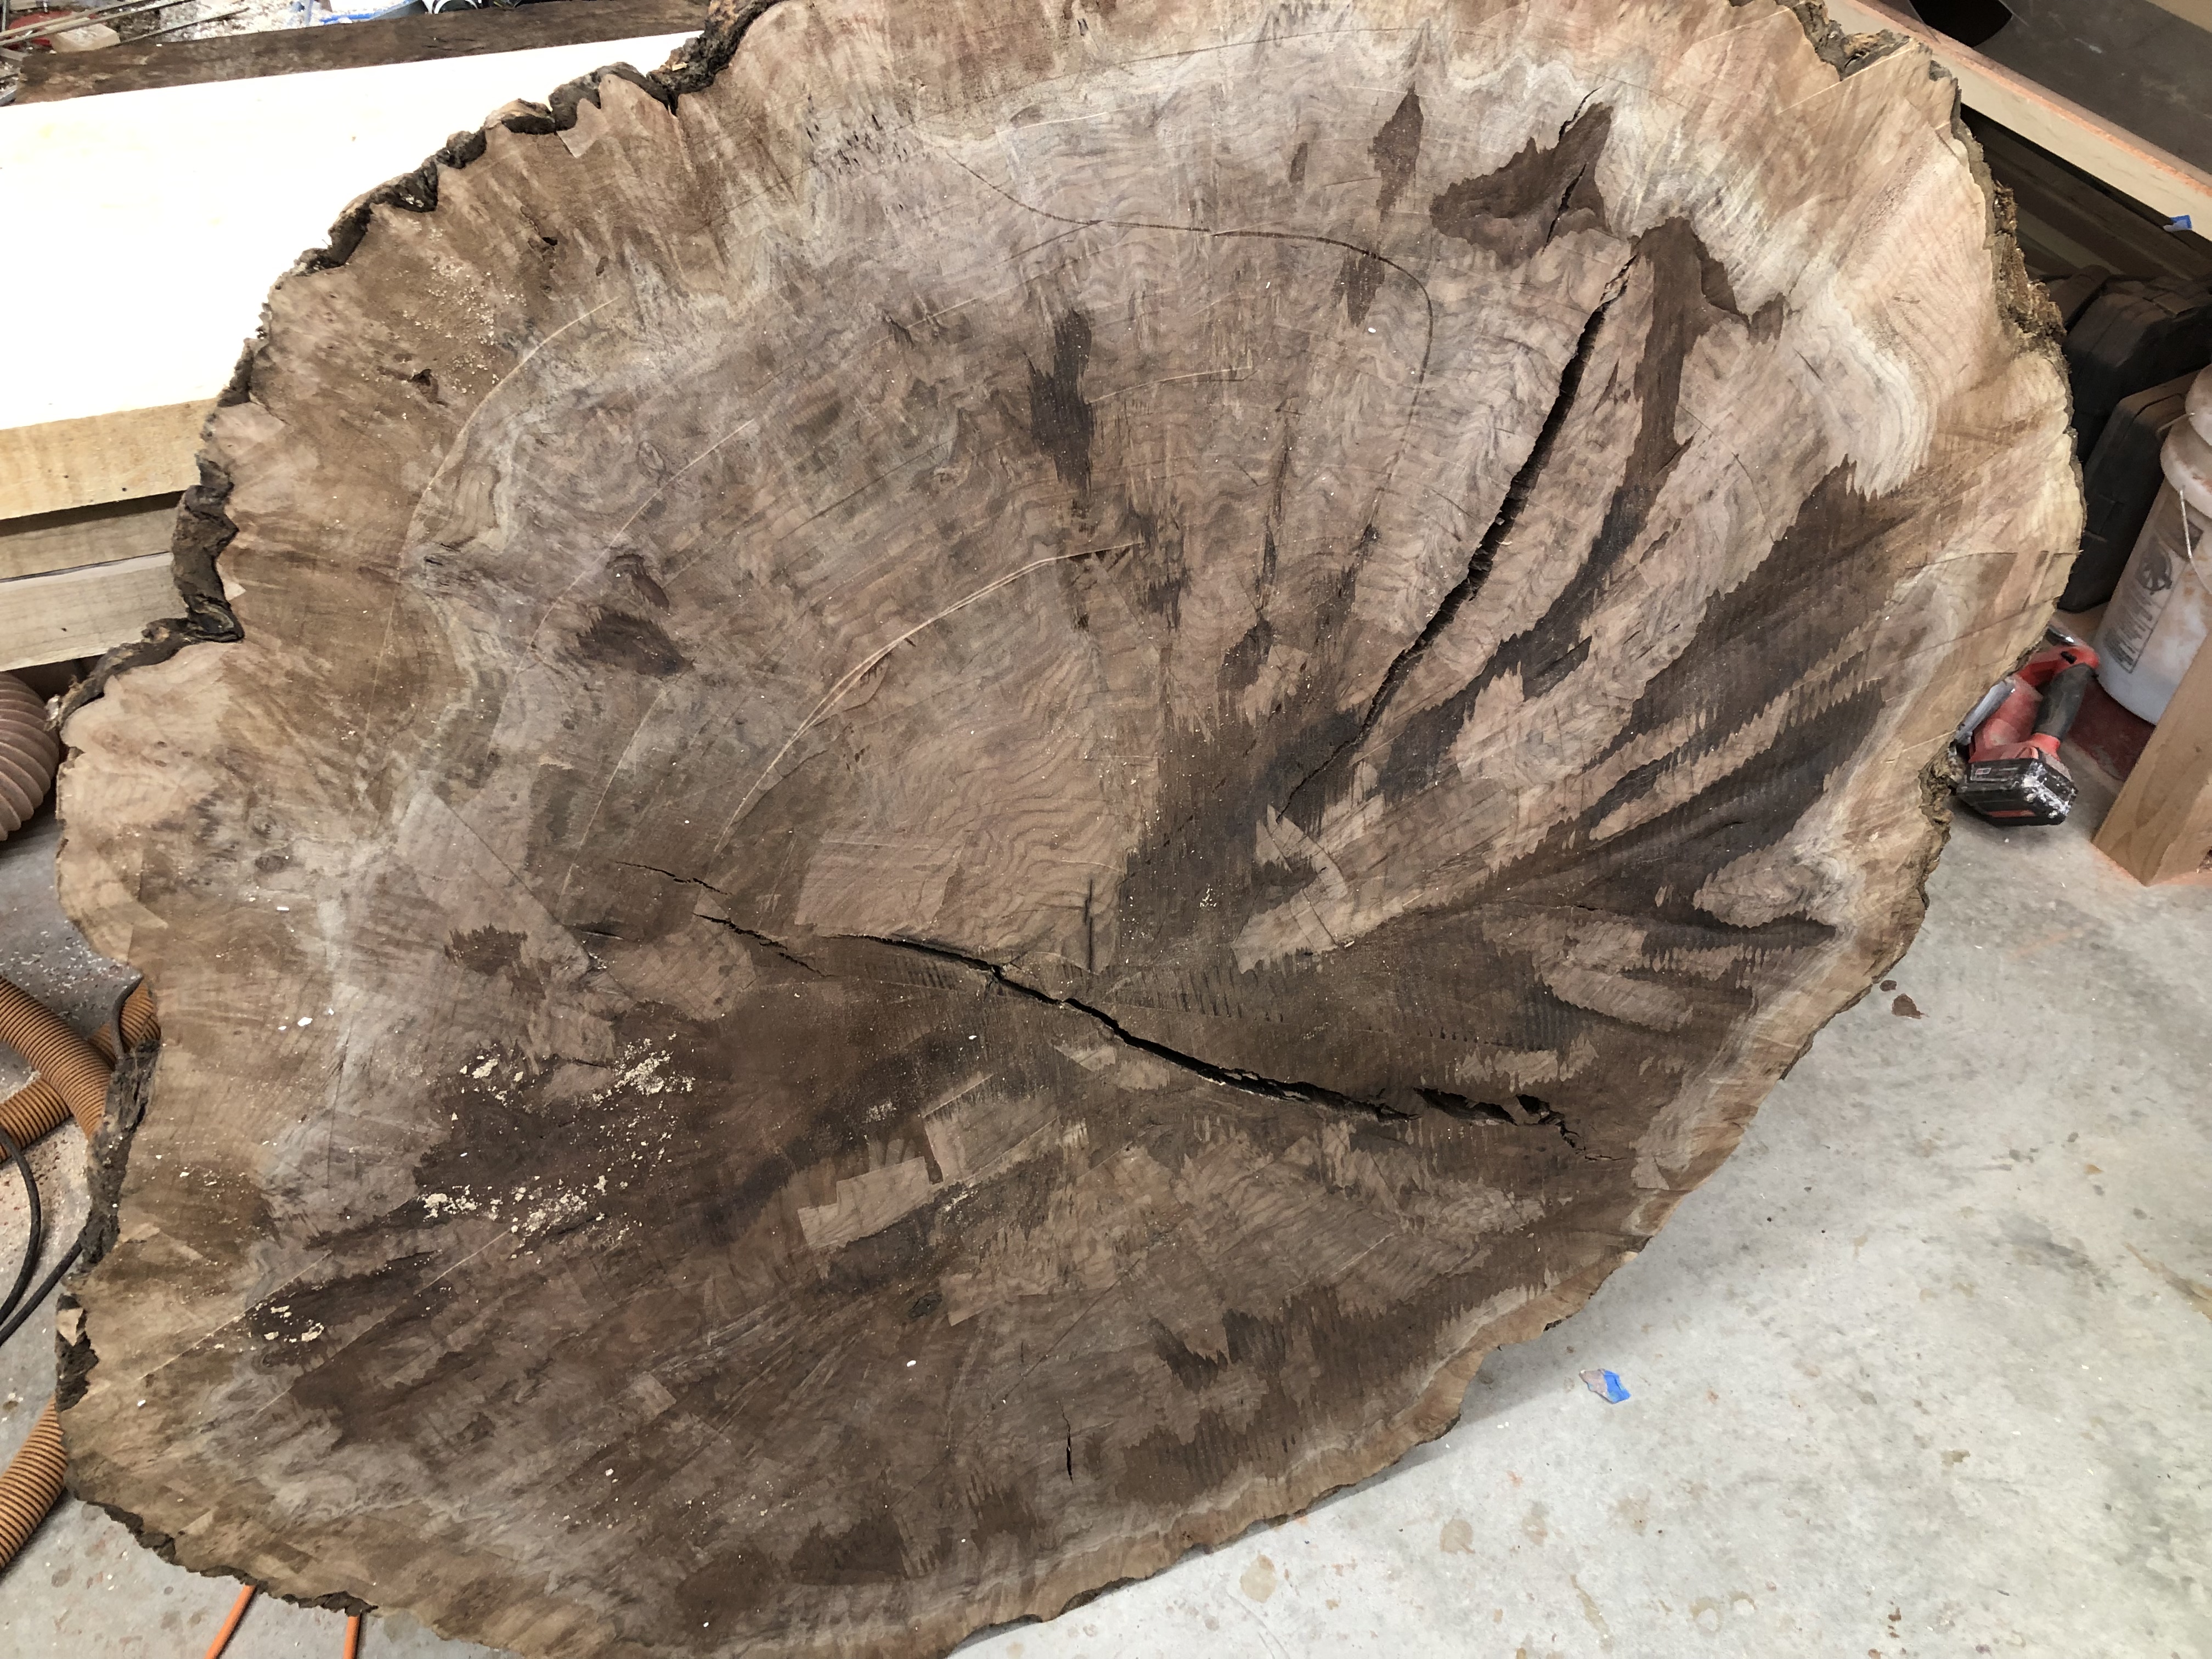
I am working on a sign for a friend’s woodworking business. This started as about a 4" thick Black Walnut cookie. Another friend cut it down to make a 2.5" cookie for him to make a table for his sister inlaw. The left over part is going to be a sign. During the sawmill operation the cookie moved up on the sawmill clamps so it was cut crooked. I put the larger cookie on my slabbing mill and made one side flat today. The shorter cookie will be a sign. I put it on the slab mill and got the high spots flattened down but the cookie has a big bow in it. I made the tool paths in Cc and sent my friend a proof for him to approve. Because the cookie has a bow in it I stopped flattening until he approves the proof. I will flip it over and flatten the other side and then carve on the flat side. I will have to shim it on the Shapeoko 3 XXL to get a good carve. The reason I stopped was since it is bowed I wanted to flatten the other side and immediately put it on the Shapeoko before it bows more. Luckily the cookie is about 32" x 32" so it will just fit on my SO3.
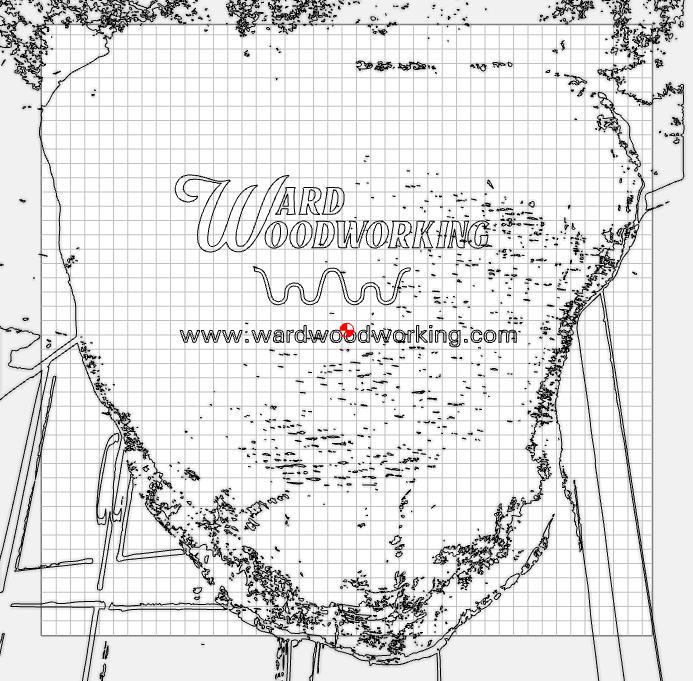
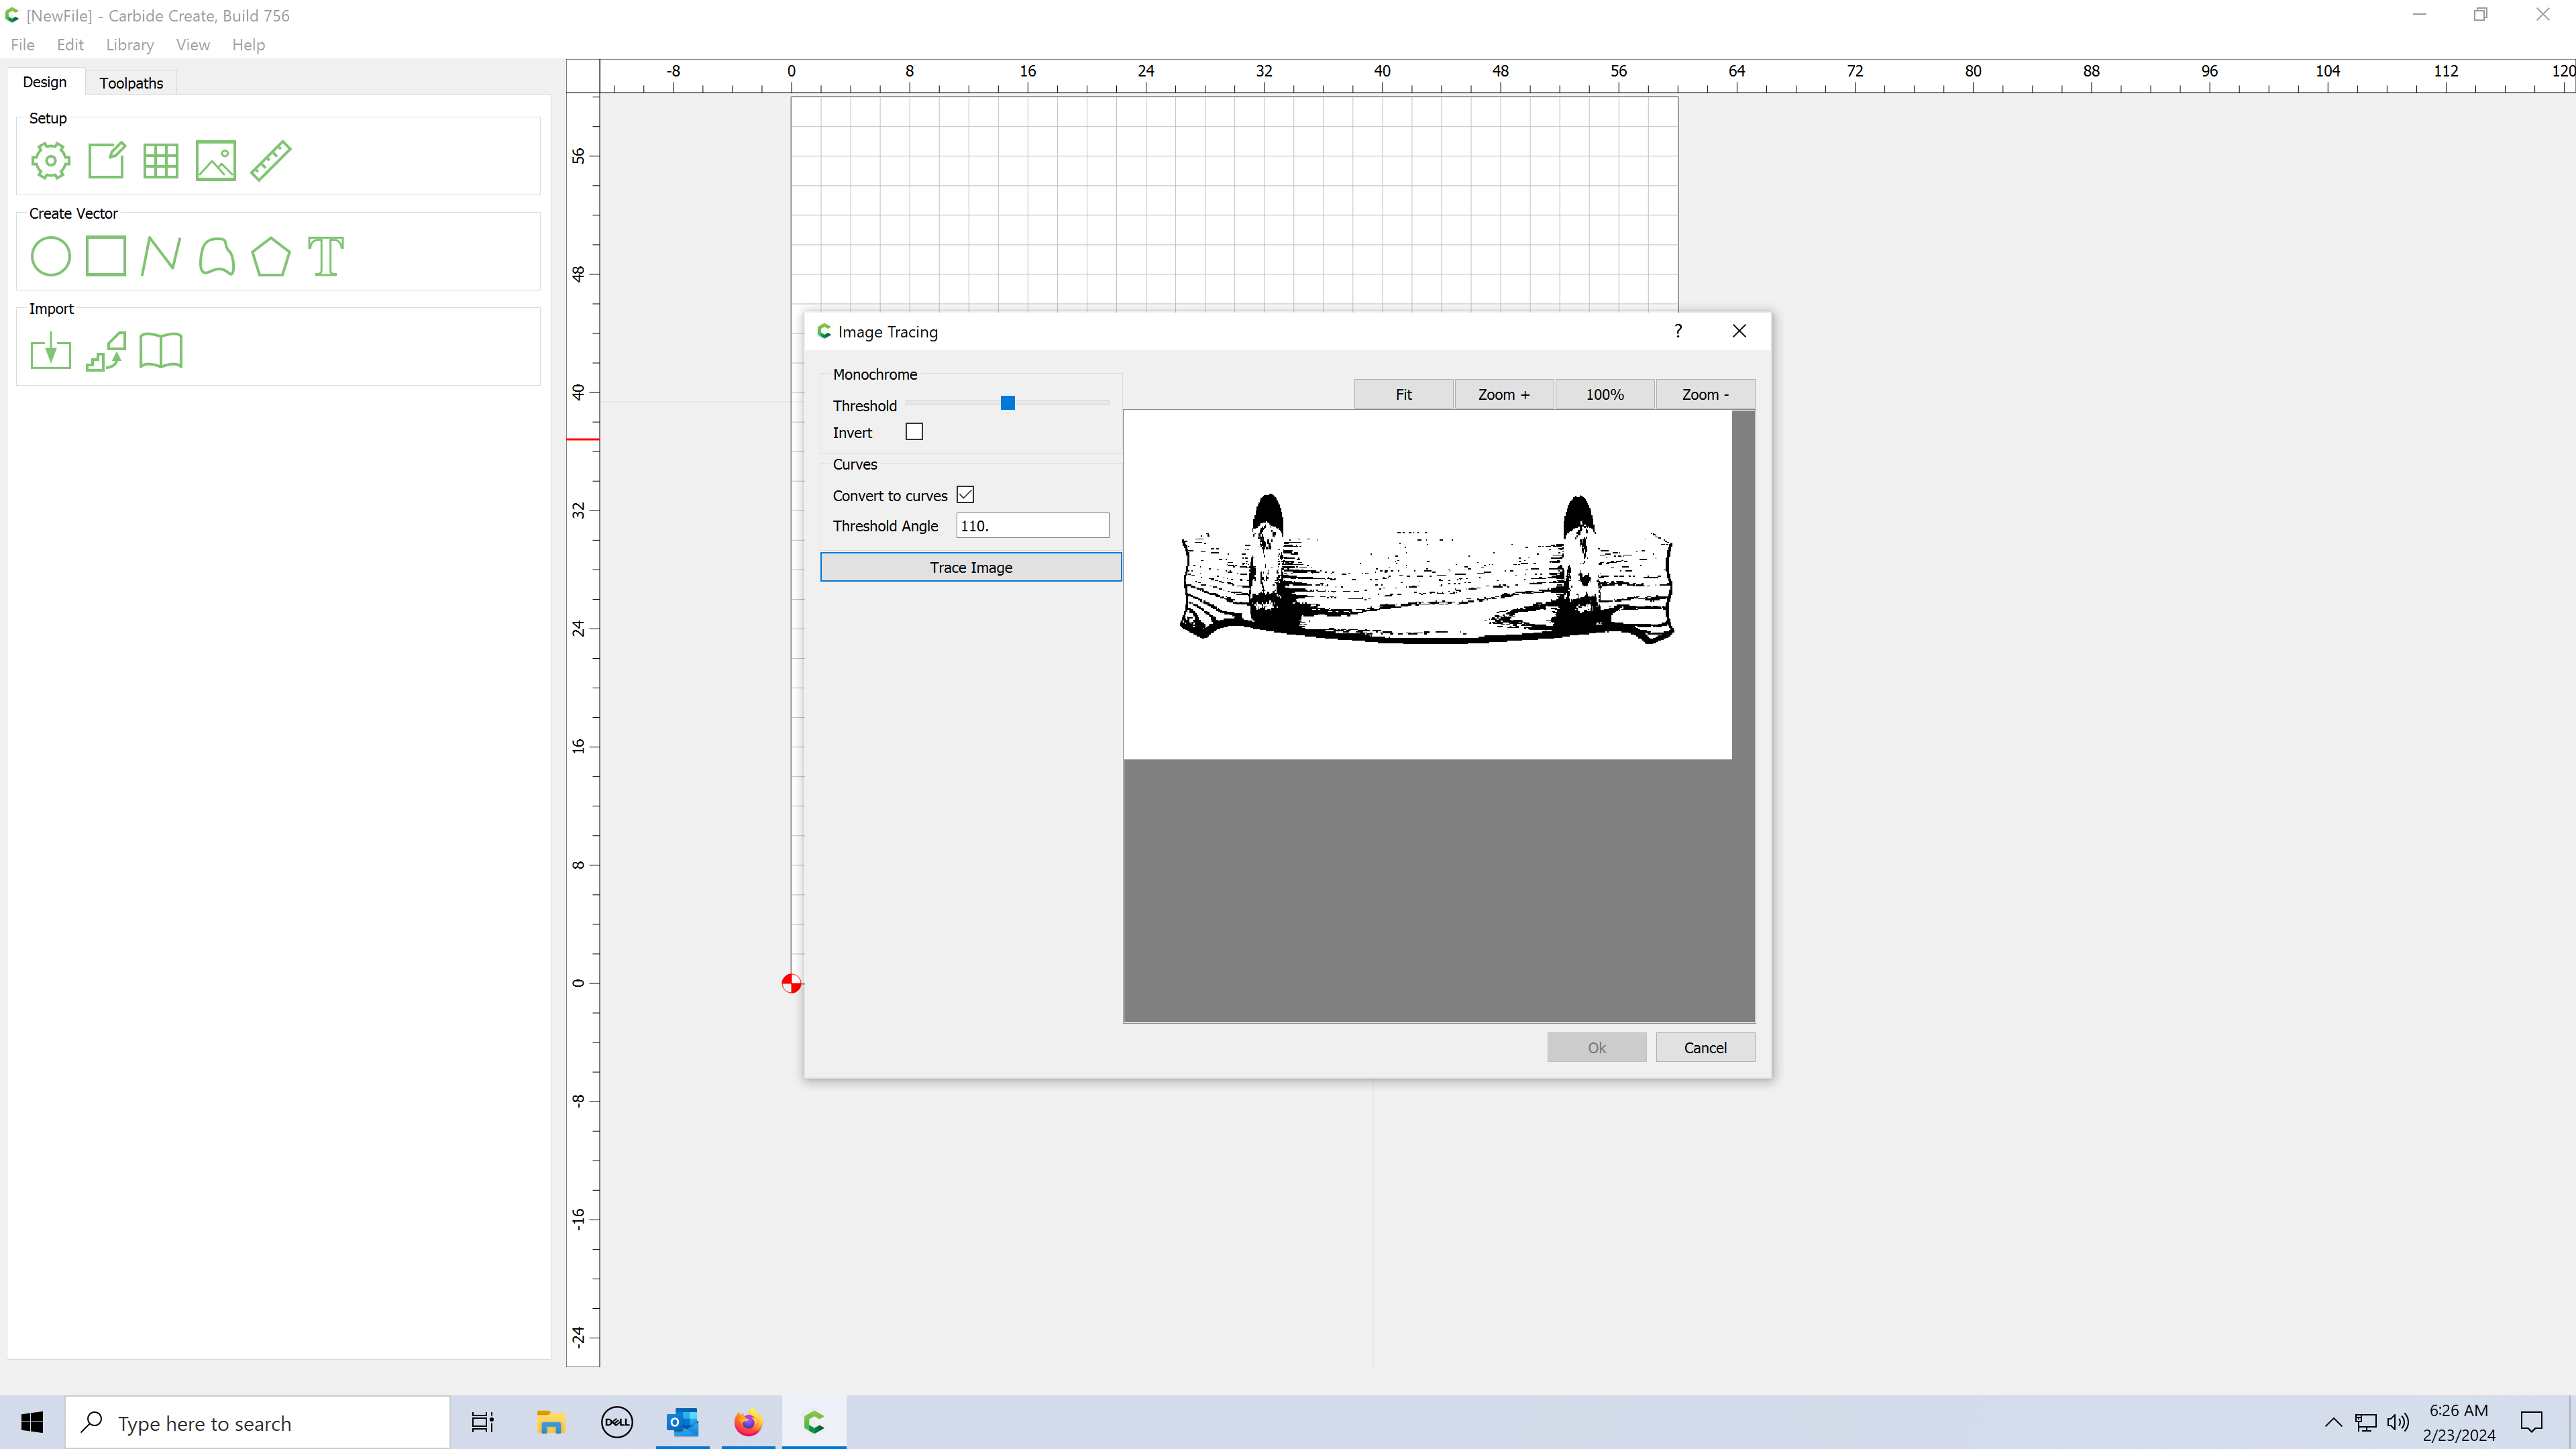
I photographed the cookie and then traced it in CC. I then scanned his business card and went into Inkscape and removed the unwanted parts and sized it to about 20" long. My friend approved the design and I will likely flatten it tomorrow and carve it.
The one thing I cannot figure out is how to eliminate all the extraneous parts of the traced image. That is not important because it is only a guide for placing the text for the carve.
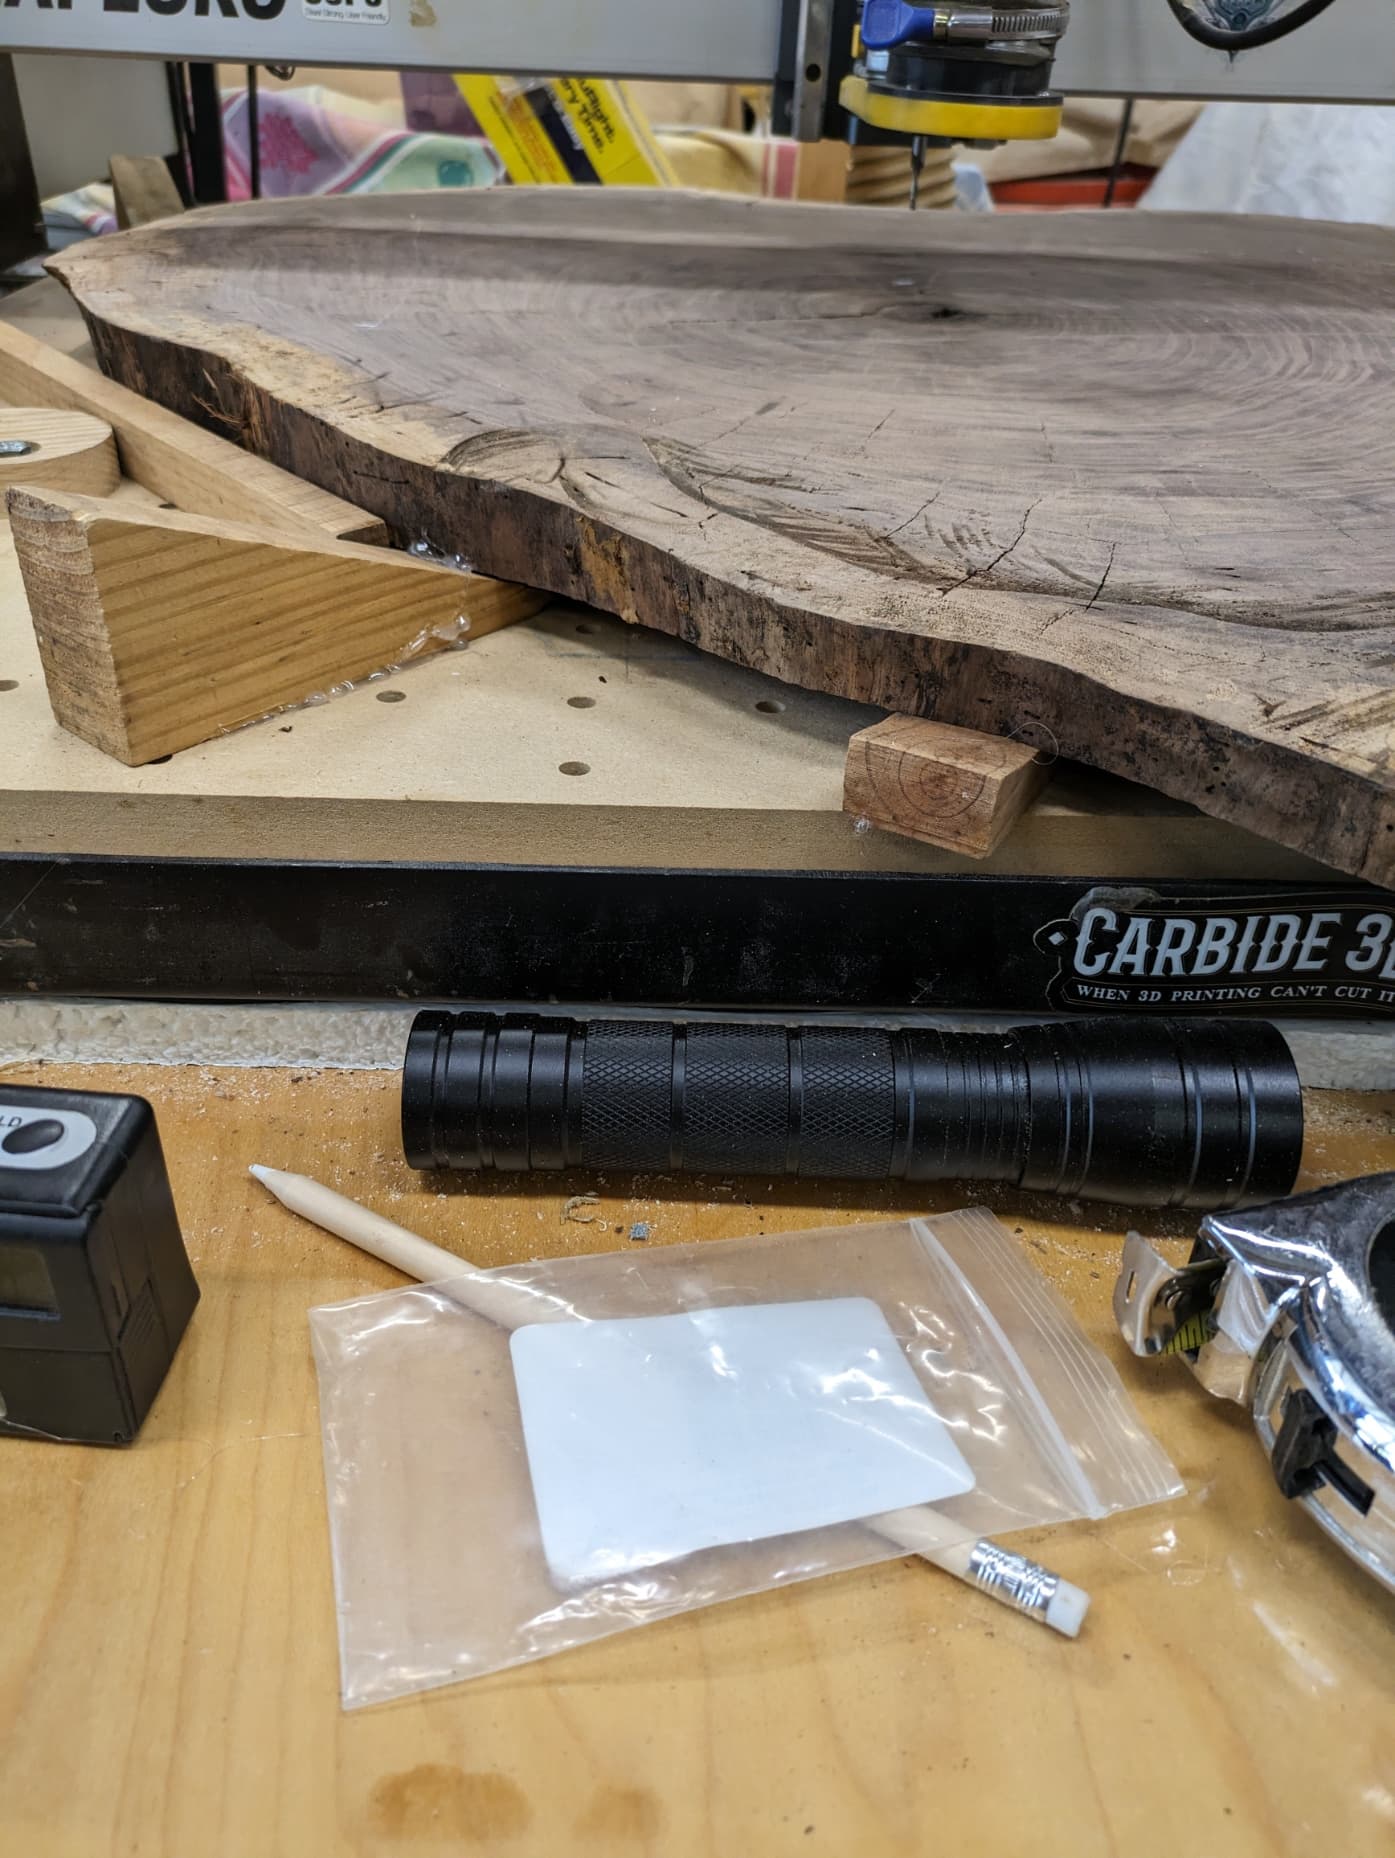
Here you can see the top and bottom edges are flattened and that will aid in flattening the other side. This will be the back of the sign so it does not have to be flat, just the other side.
The cookie picture is 180 degrees from the carving.
Luckily the cookie should just fit on my spoilboard. The text is not even close to the edges so it should be good. I will pocket the image to .2" and we have not decided if it will be epoxy filled or painted. Then it will be finished with spar urethane. Some eye hooks will be attached and then hung by a chain on the wall outside his shop.
The larger cookie will be a table. It is not flat on both sides but that is ok. He will turn a pedestal and shim the table top to get it level.
The best laid plans of mice and men often go awry.
No expert here. Simple mans way of doing it without knowing how. I Rubber Band box the portions not needed and delete. It gets down to click and delete after a while.
Good Luck. Bet it looks great when done.
Edit. Shift click and grab errant spots will allow you to grab most before the delete button
Start making nodes all around the image to develop the external shape of the cookie with as much detail as you want. (It shouldn’t take as long as deleting the small bits.)
Once you get the basic shape outlined with a vector, get rid of the scan.
There is a lot going on in your picture and all the lines, objects and curves add a lot to your image.
I suggest you take another picture against a smooth wall something that is light in color and void of any other objects.
Open Carbide Create and trace your picture and play with the settings before tracing your picture
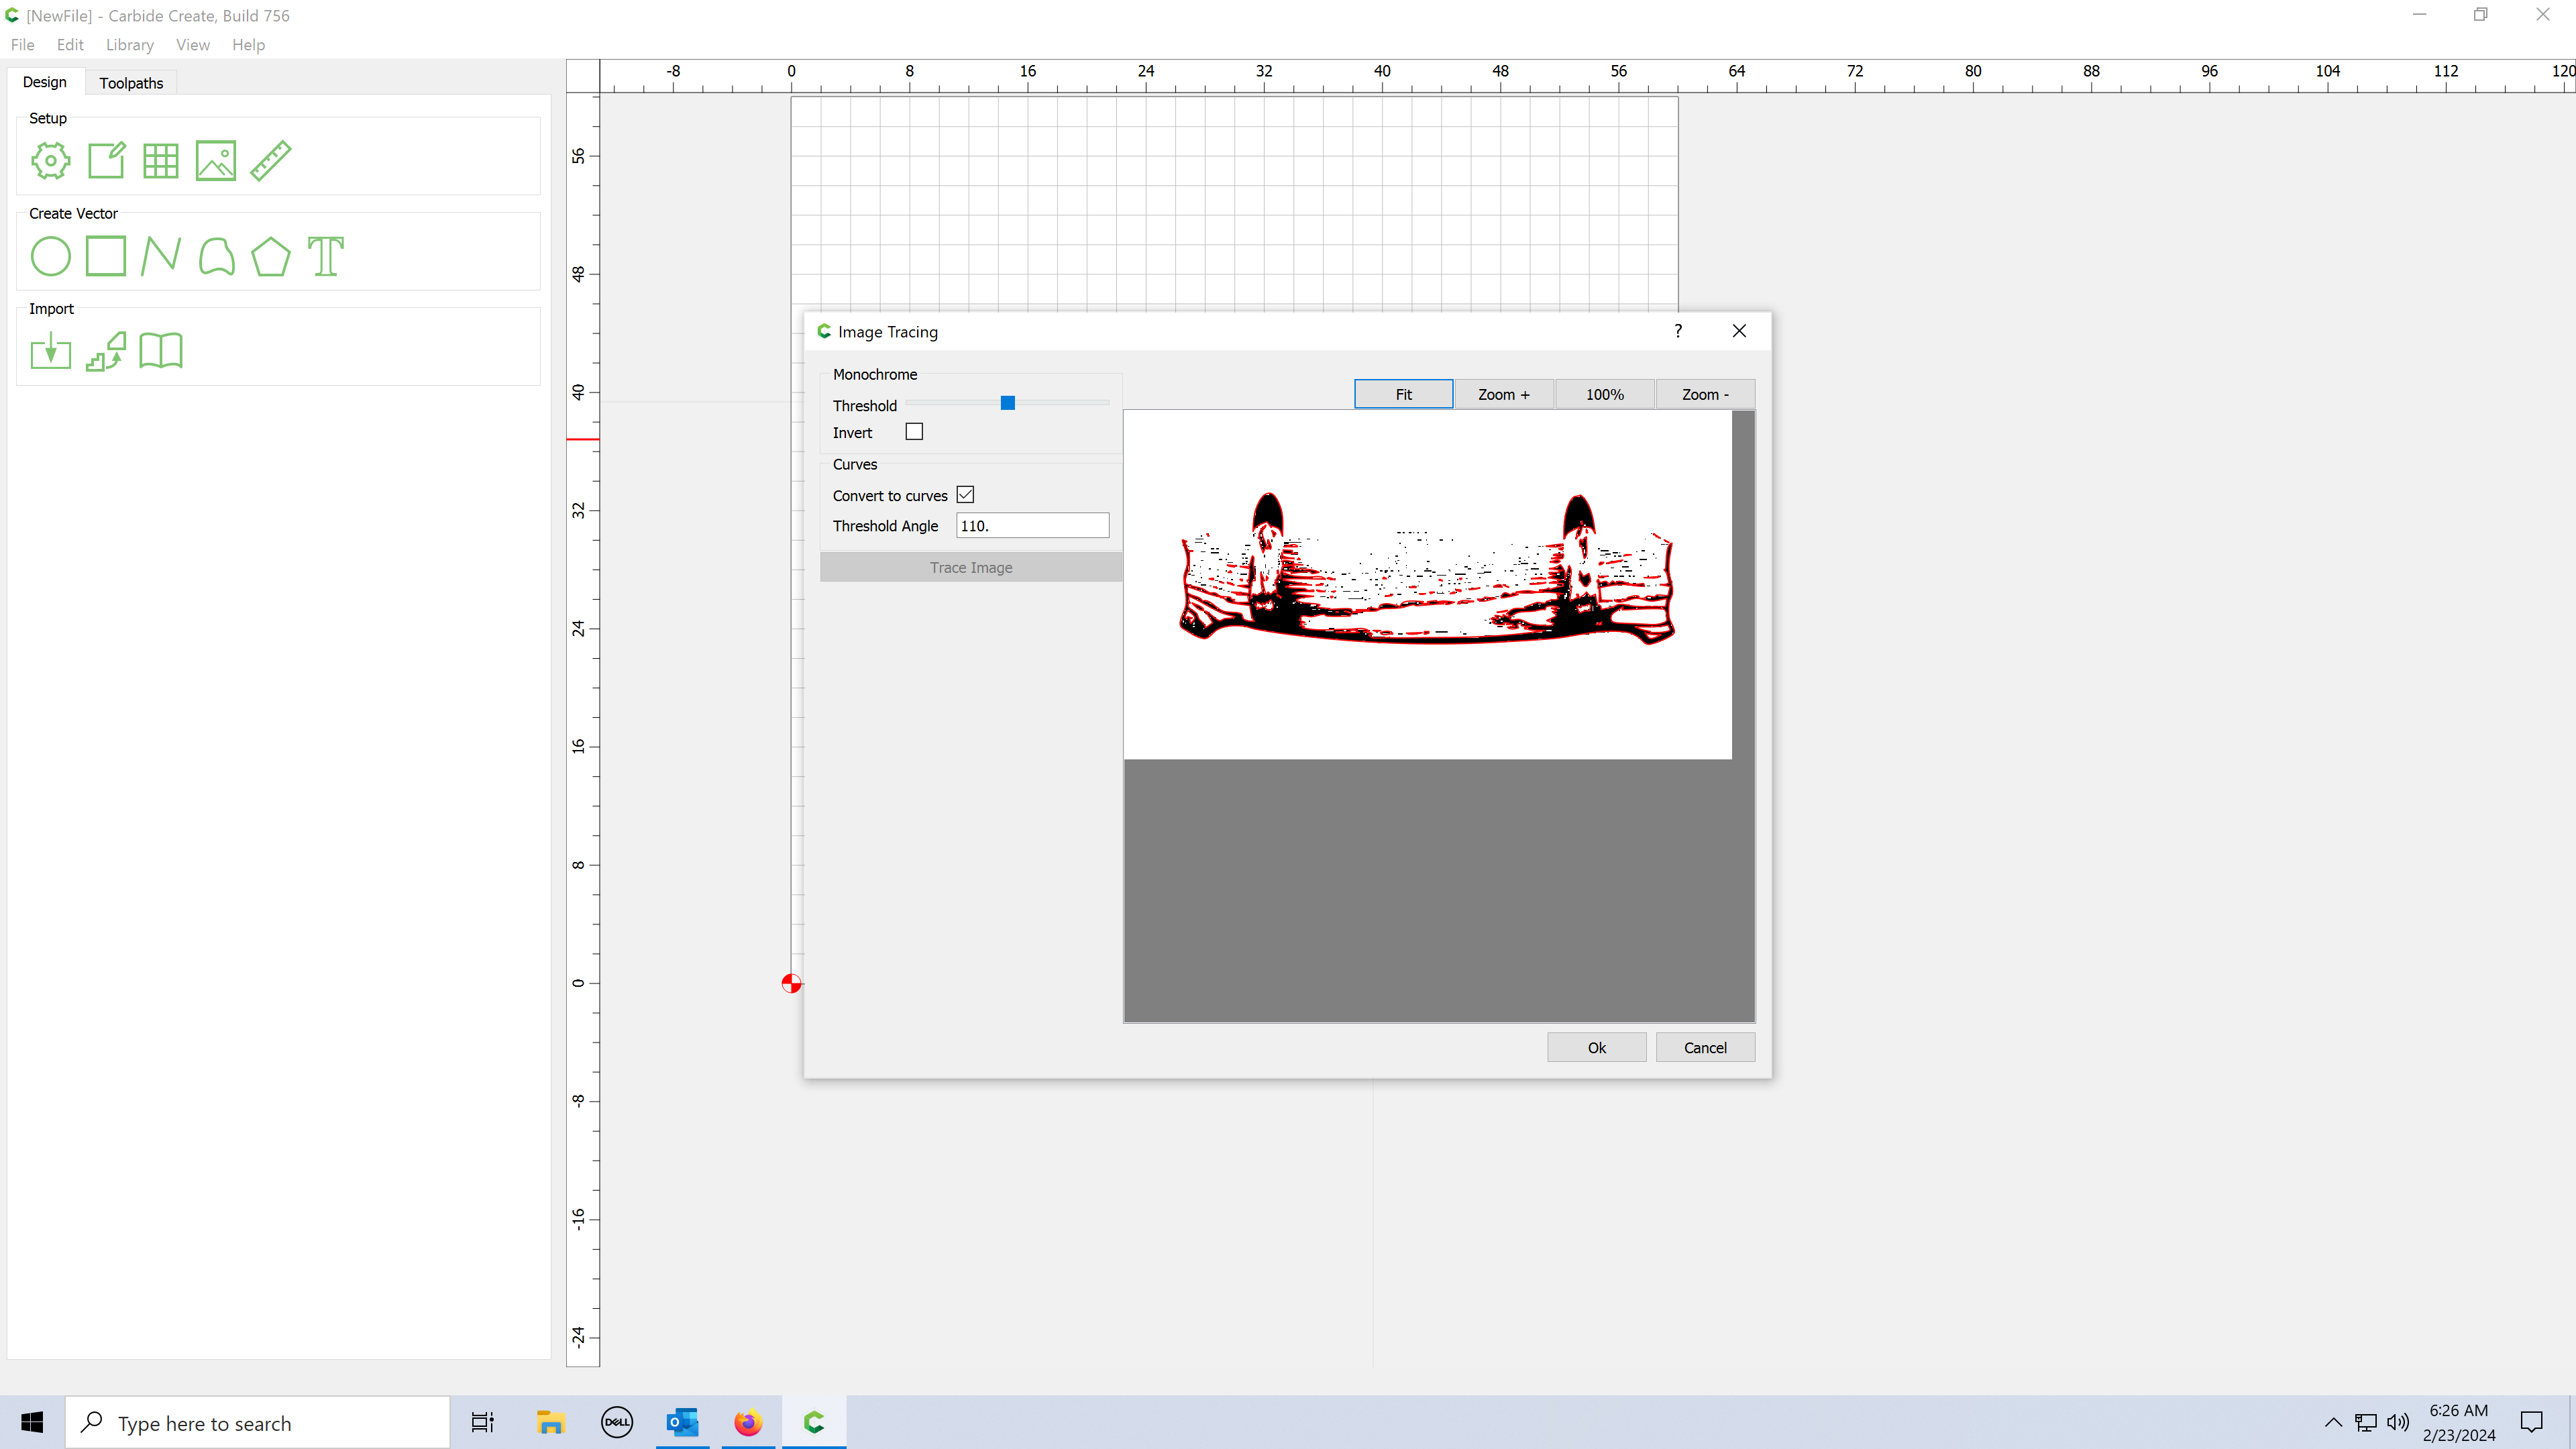
Adjust the Threshold value higher and change as needed to reduce the hundreds of extra nodes. This is the value that will give you better results and less time editing. You want an image that is dark and showing less extra items.
Adjust the Threshold value to further reduce the extra nodes. I have found this does not change much but try and see if it does something on your trace.
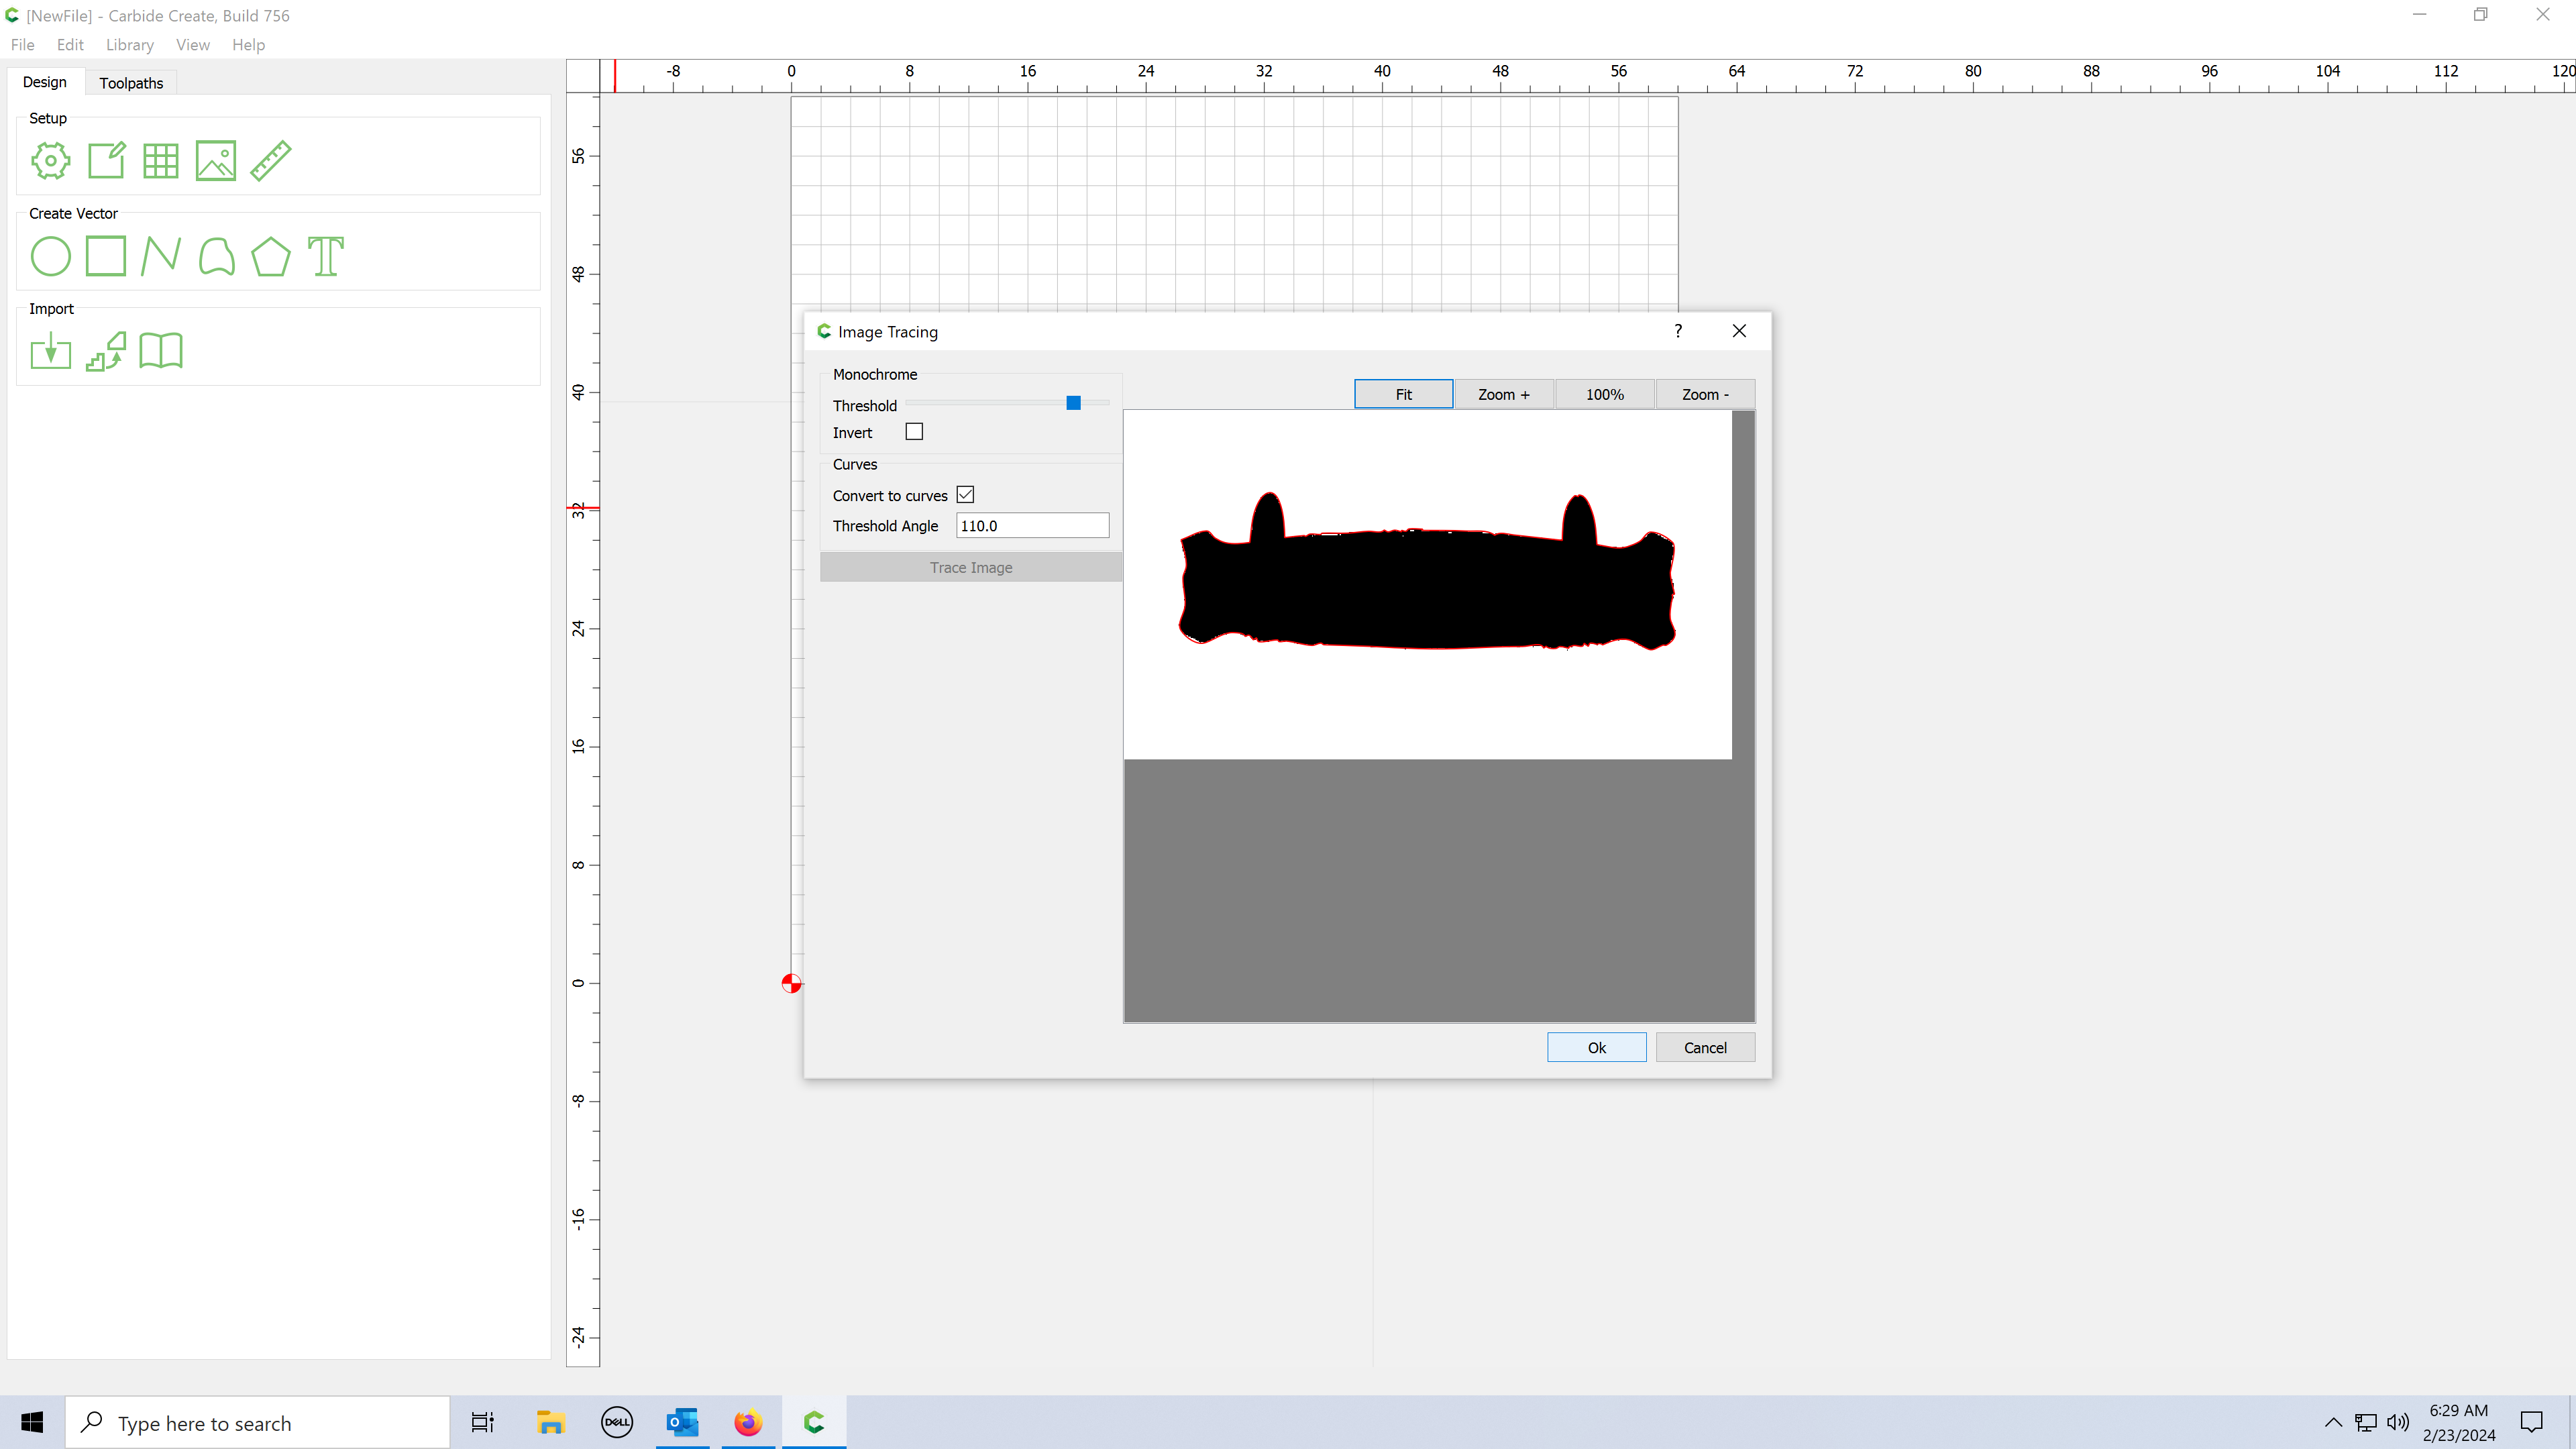
Remember you really don’t want all the detail of the picture being traced, this ads extra nodes to edit. You want to create a tracing that is easy to edit and have better results. You just want the outline and nothing else.
The better picture and adjusting the Threshold value will give you something easy to work with.
Once you have something to work with you can edit the nodes. You will need to un group the imaget to edit the nodes. For your project you don’t need an accurate/ detailed image to use you need a basic outline. don’t over think/work yourself on this just get and outline that is one complete vector and nothing in the center.
Thanks everybody. The traced image was just to center text and not part of the design.
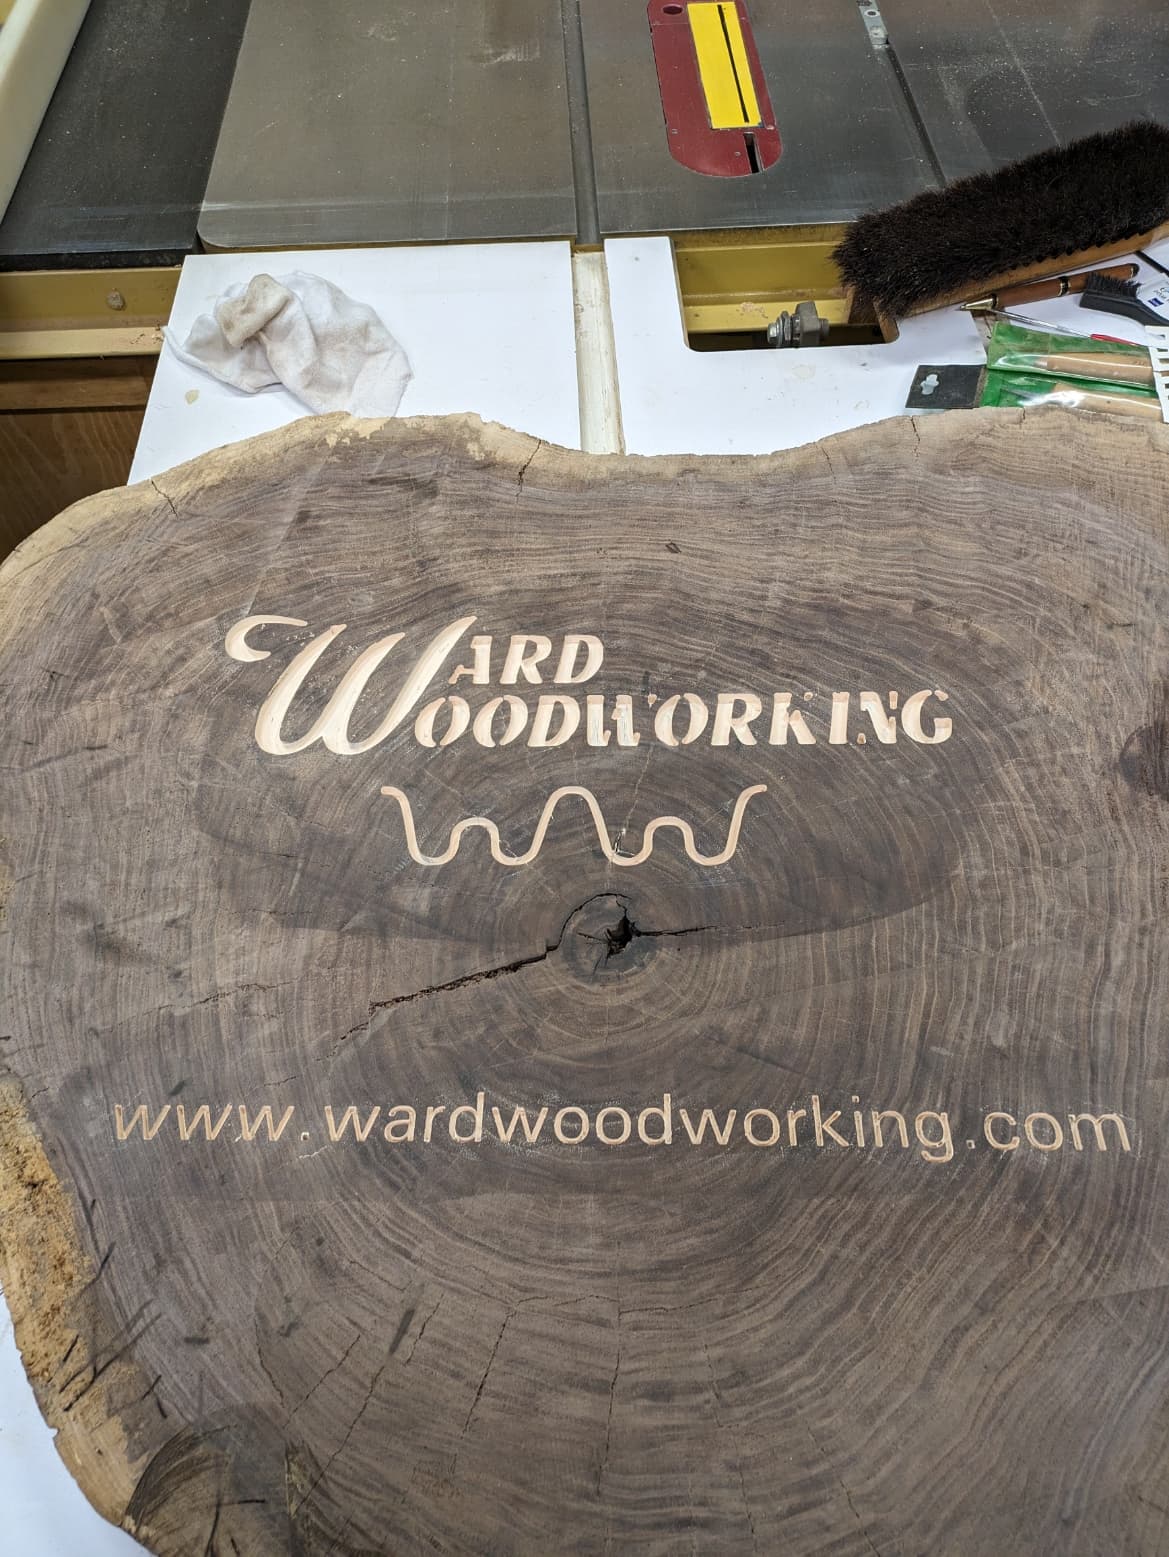
I got the opposite side flattened in the middle and got it carved today. I am going to paint it tonight and deliver it tomorrow with the larger cookie that I slabbed.
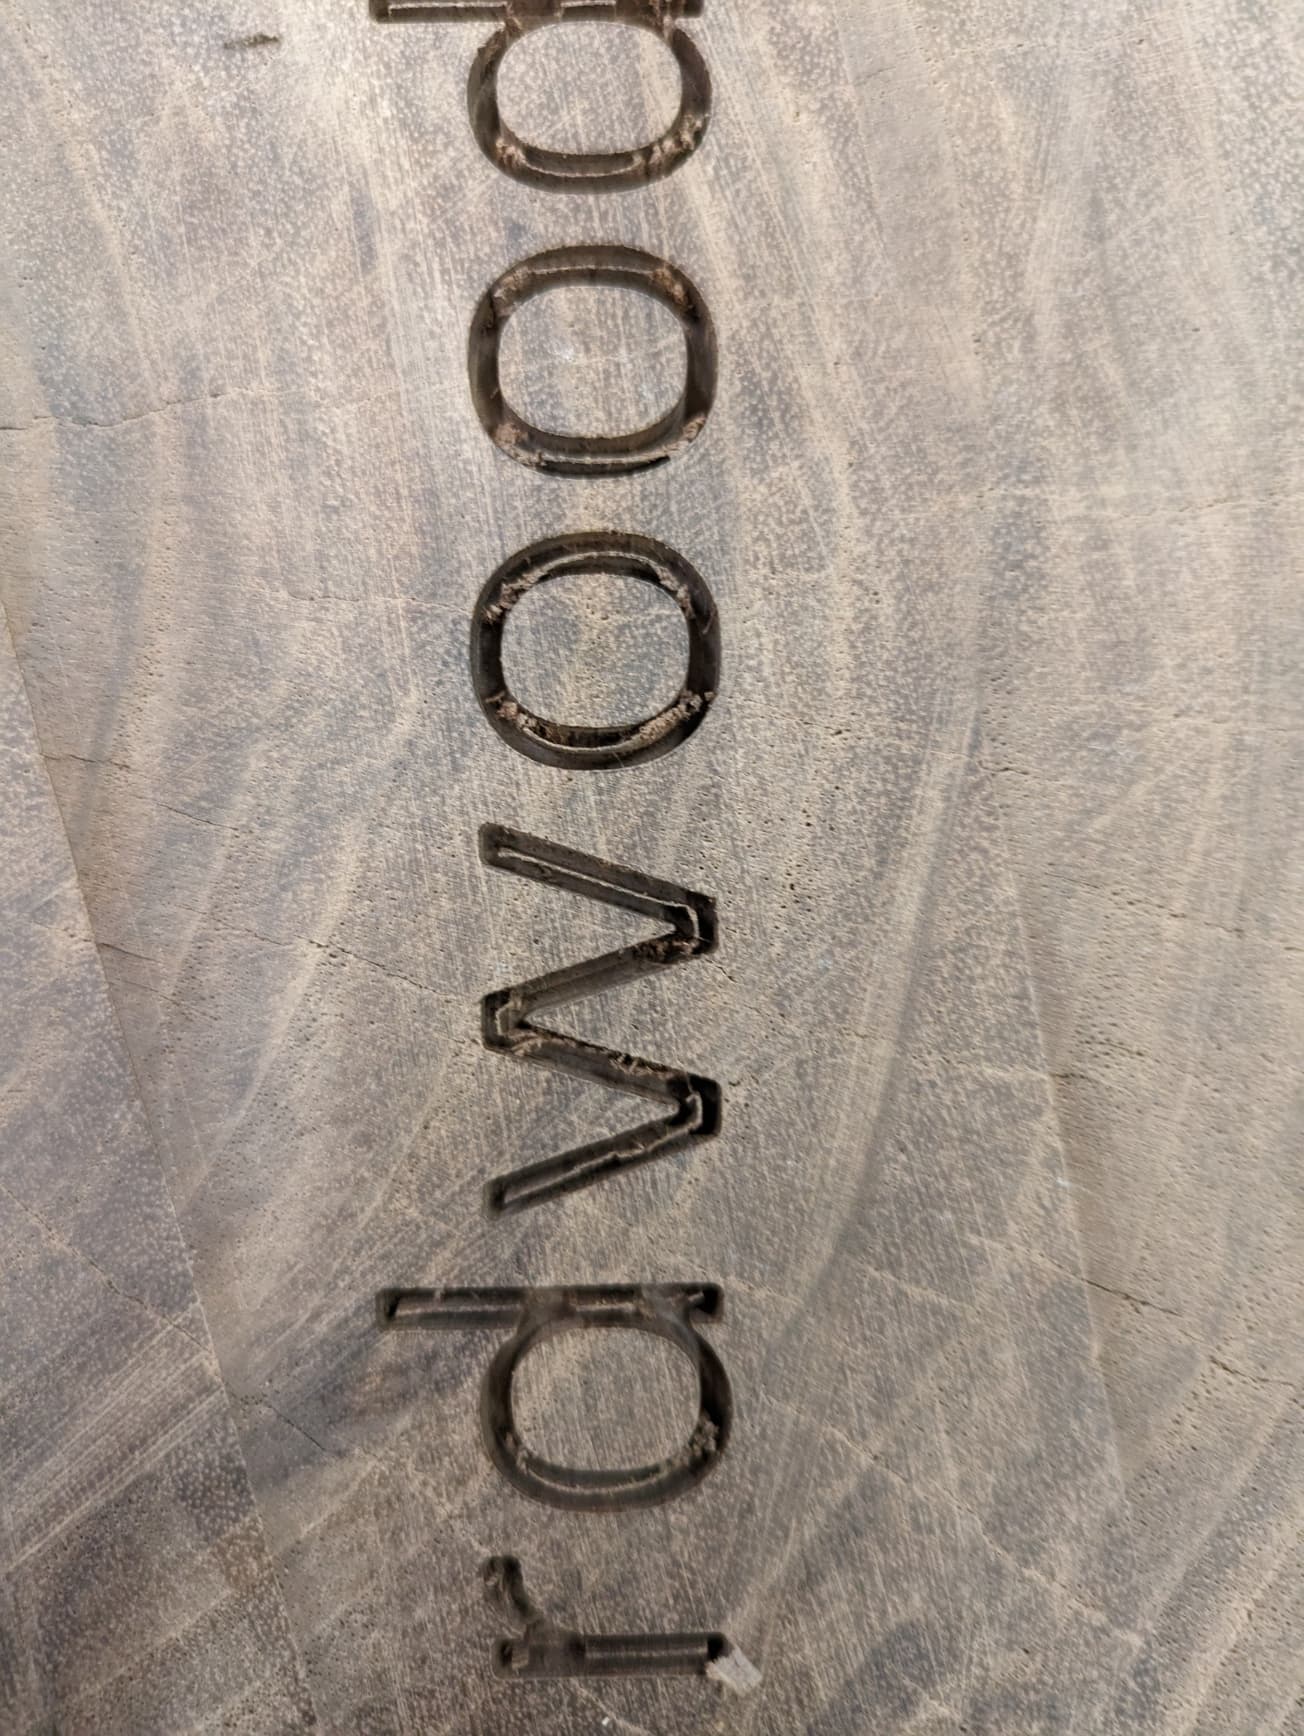
One pequiliar thing that happened on the small text is a tiny offset line was left in all the letters. I am using carving knives to cut out this and it is slow going. This black walnut is tough.
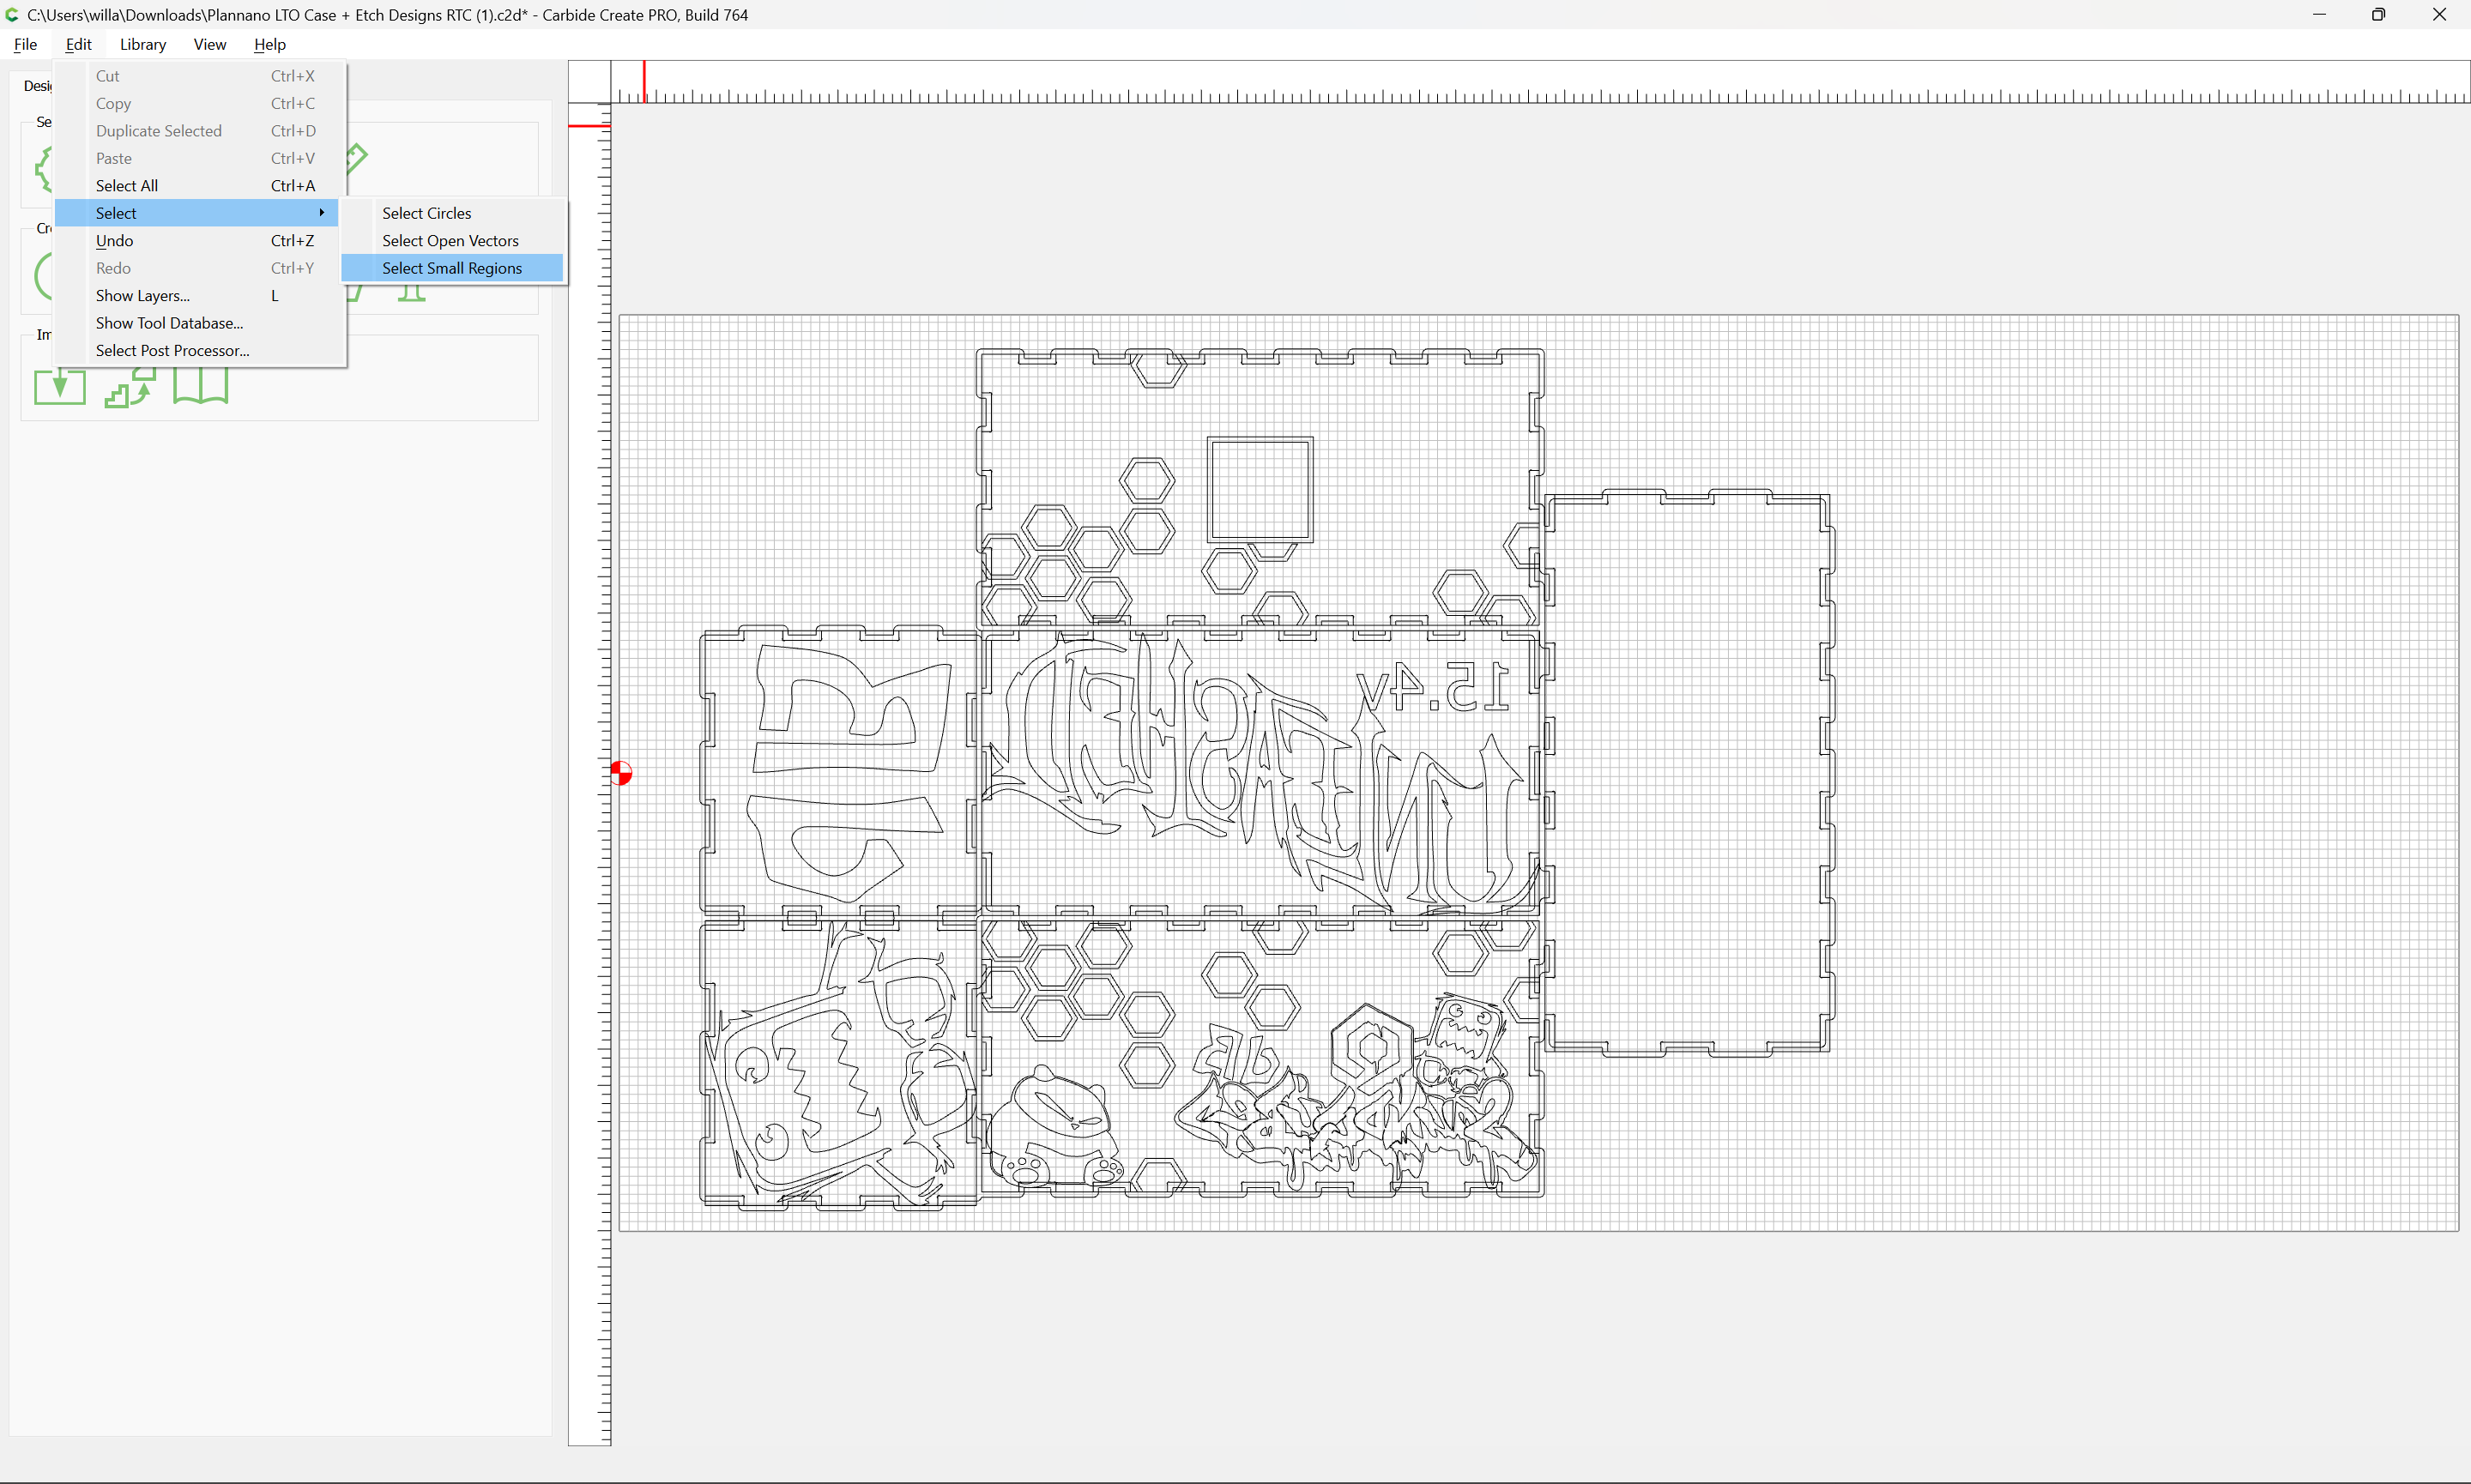
I cut those letters out with a #122 1/16" bit. I unfortunately took it off the spoilboard before I noticed it. Otherwise I would just have recut it. There was a large knot/pith in the center so my original design had to be modified. I cut the larger logo at the top first and then recentered below the know and cut the web address.
Since the piece was only flat on the top I had to put wedges in and I used hot glue to secure the wedge to the spoilboard and some more to secure the wedge to the cookie. Worked out well.
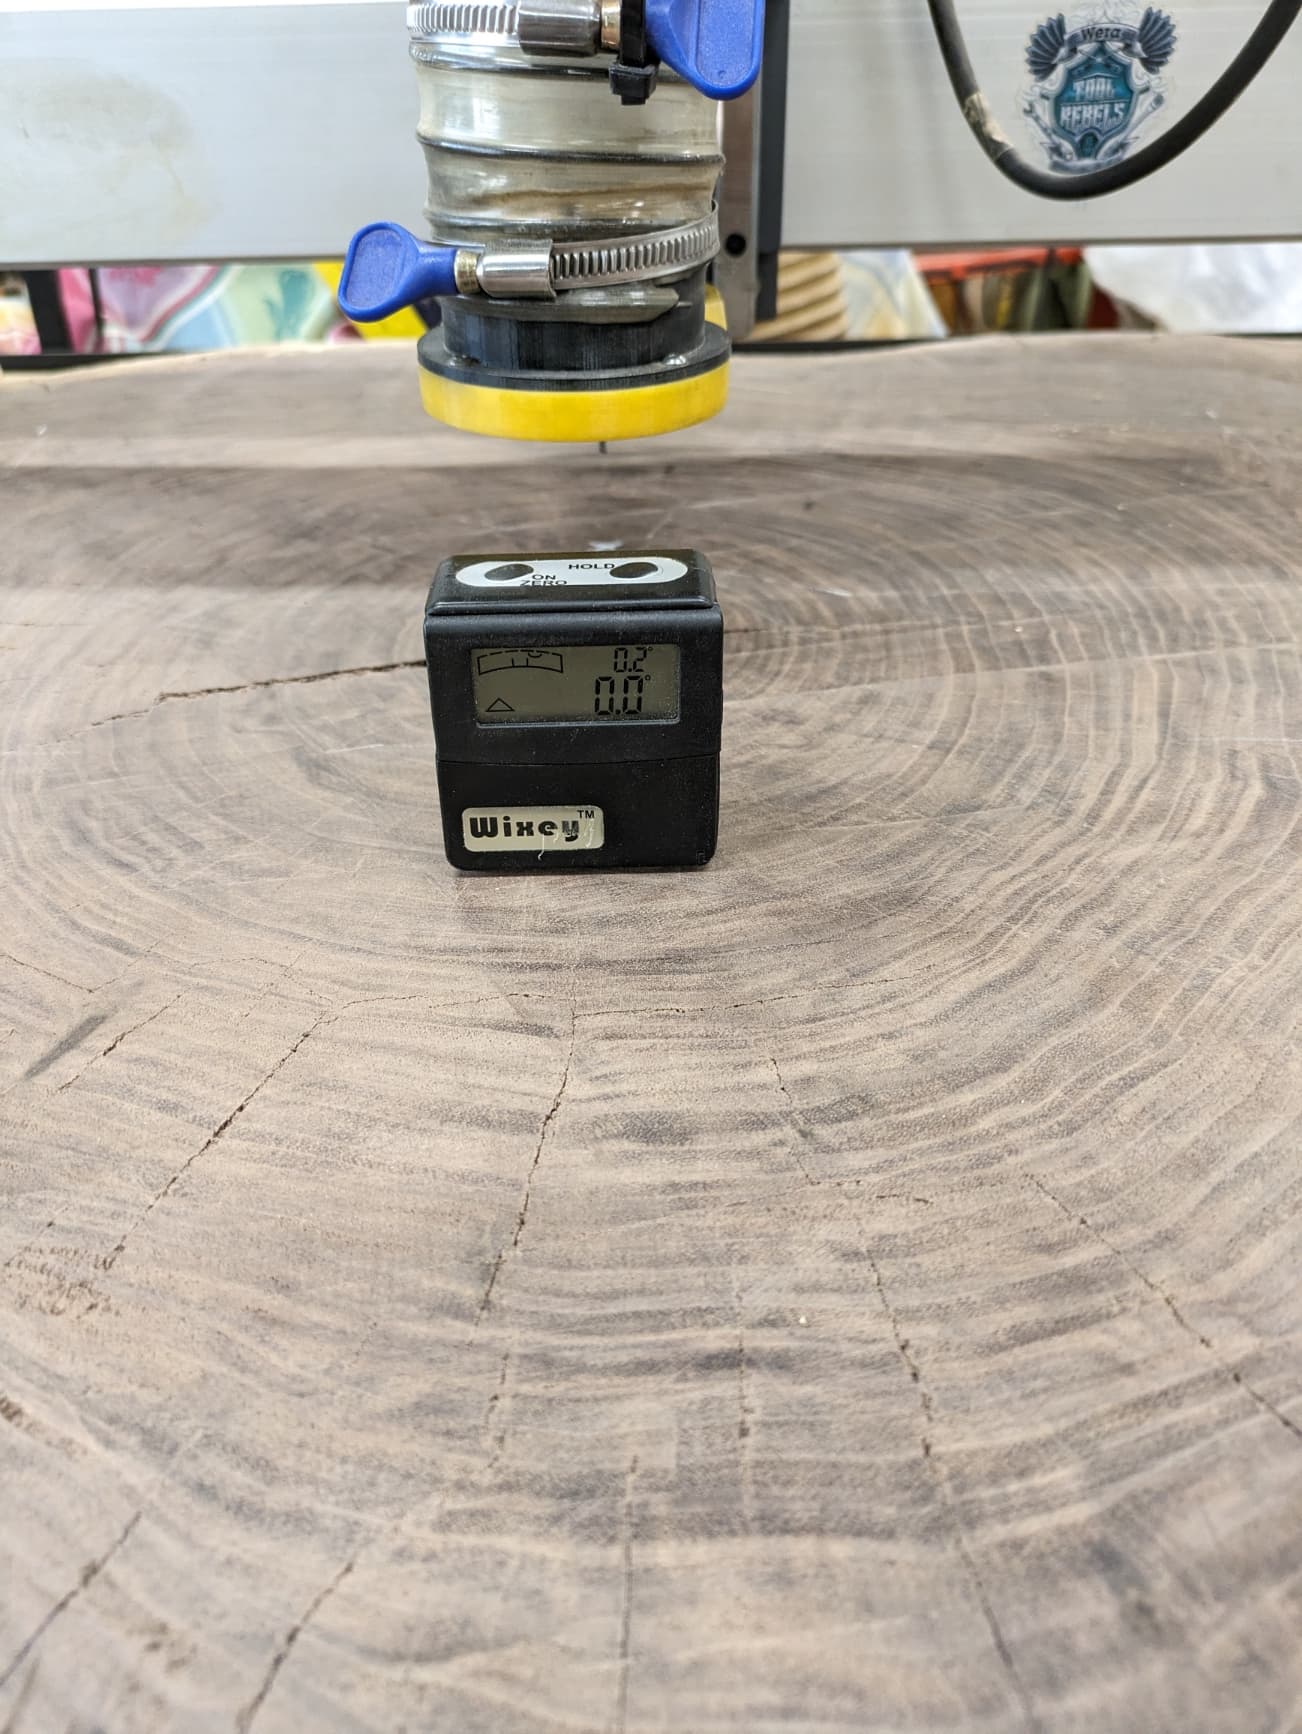
To get the cookie level I used my Wixey digital level gauge. I zeroed it on the spoilboard and then shimmed until it was basically level with the spoilboard. I purposely cut the logo to .25" deep and the web address to .15" so if there were imperfections it would not have to be cut again.
I checked it in both directions and applied the hot glue and wedges. The piece did not move. I did have a few cam clamps around to keep it from moving.
I got the project painted. I had to do a combination of air brush and brush. I had cut the logo to .25" because I was afraid the surface would not be quite level. The www was cut at .15" because it was smaller. The air brush worked fine on the logo but I had problems getting the walls of the www coated. So I let the paint dry a while and went back with a brush to make sure the walls were painted. I had moved the sign around to different angles to get good coverage but still had some areas that were light on paint.
The dark spots are dewaxed shellac. This is an endgrain due to it being a cookie. So I did not want a halo around the lettering and the shellac helps seal the surrounding grain. I will sand off the excess tomorrow after drying overnight. The owner will use table top epoxy to finish the sign.
Got the sign sanded this morning. I need just a little bit more paint to touch some areas. I used 80 grit on a random orbit sander and still have some paint in the end grain of the cookie. I will take my Bosch electric planner later and hit the whole surface. Glad I went so deep for the logo and www so that gives me room to take some wood off and get the paint out of the pores.
When I get done I will put dewaxed shellac over the entire surface. The end grain really soaked up the shellac so to even it out I will coat the entire project front and back. I have a flap sander I will go around the edges to knock of any remaining bark or bark residue.
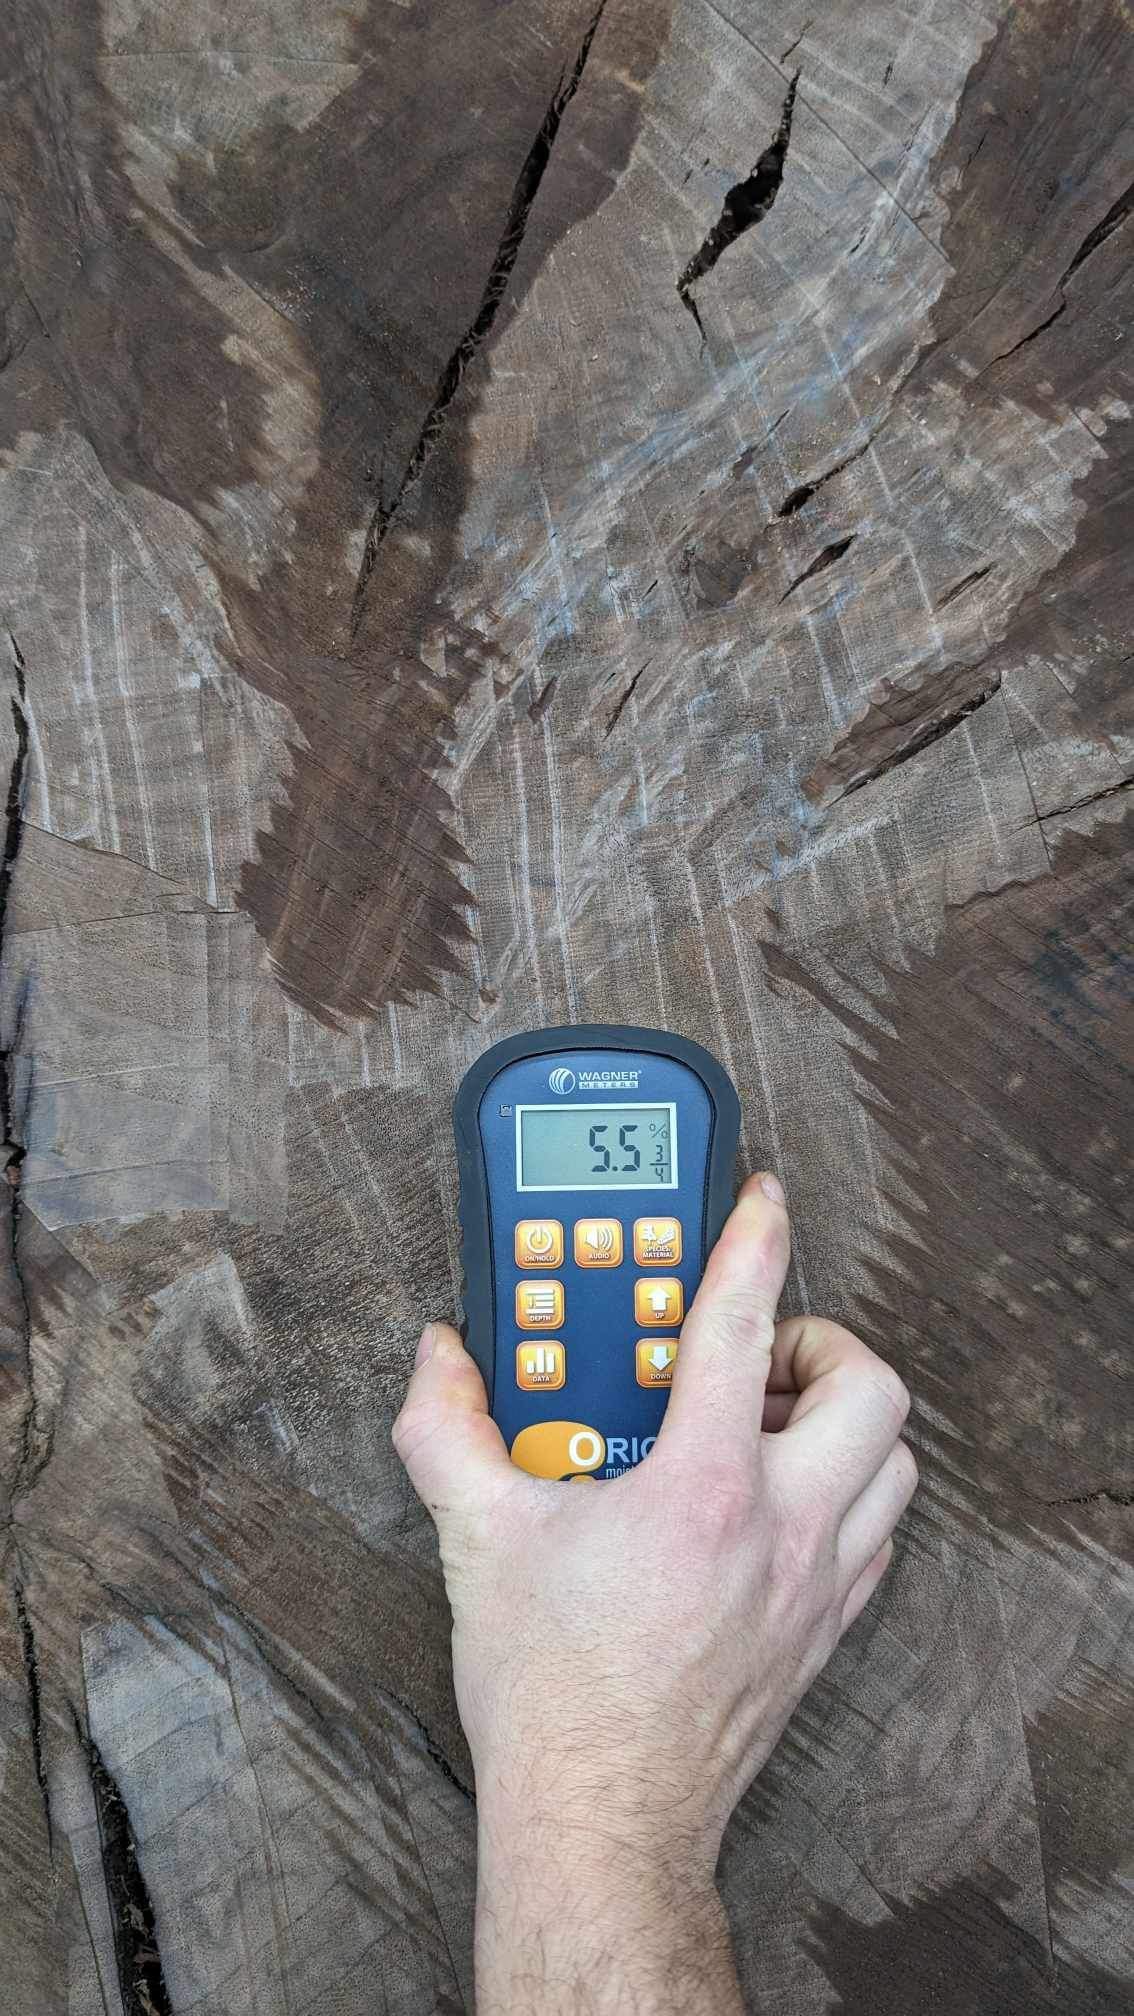
@gdon_2003 whats the current moisture content on the walnut cookie? This is a pretty important question on wether it was kiln dried or air dried. Just something to be aware of, if your above %15-20, or has trapped moisture, your inlayed design becomes an increased risk of separating over time as the cookie will shrink causing stress cracks in the grain.
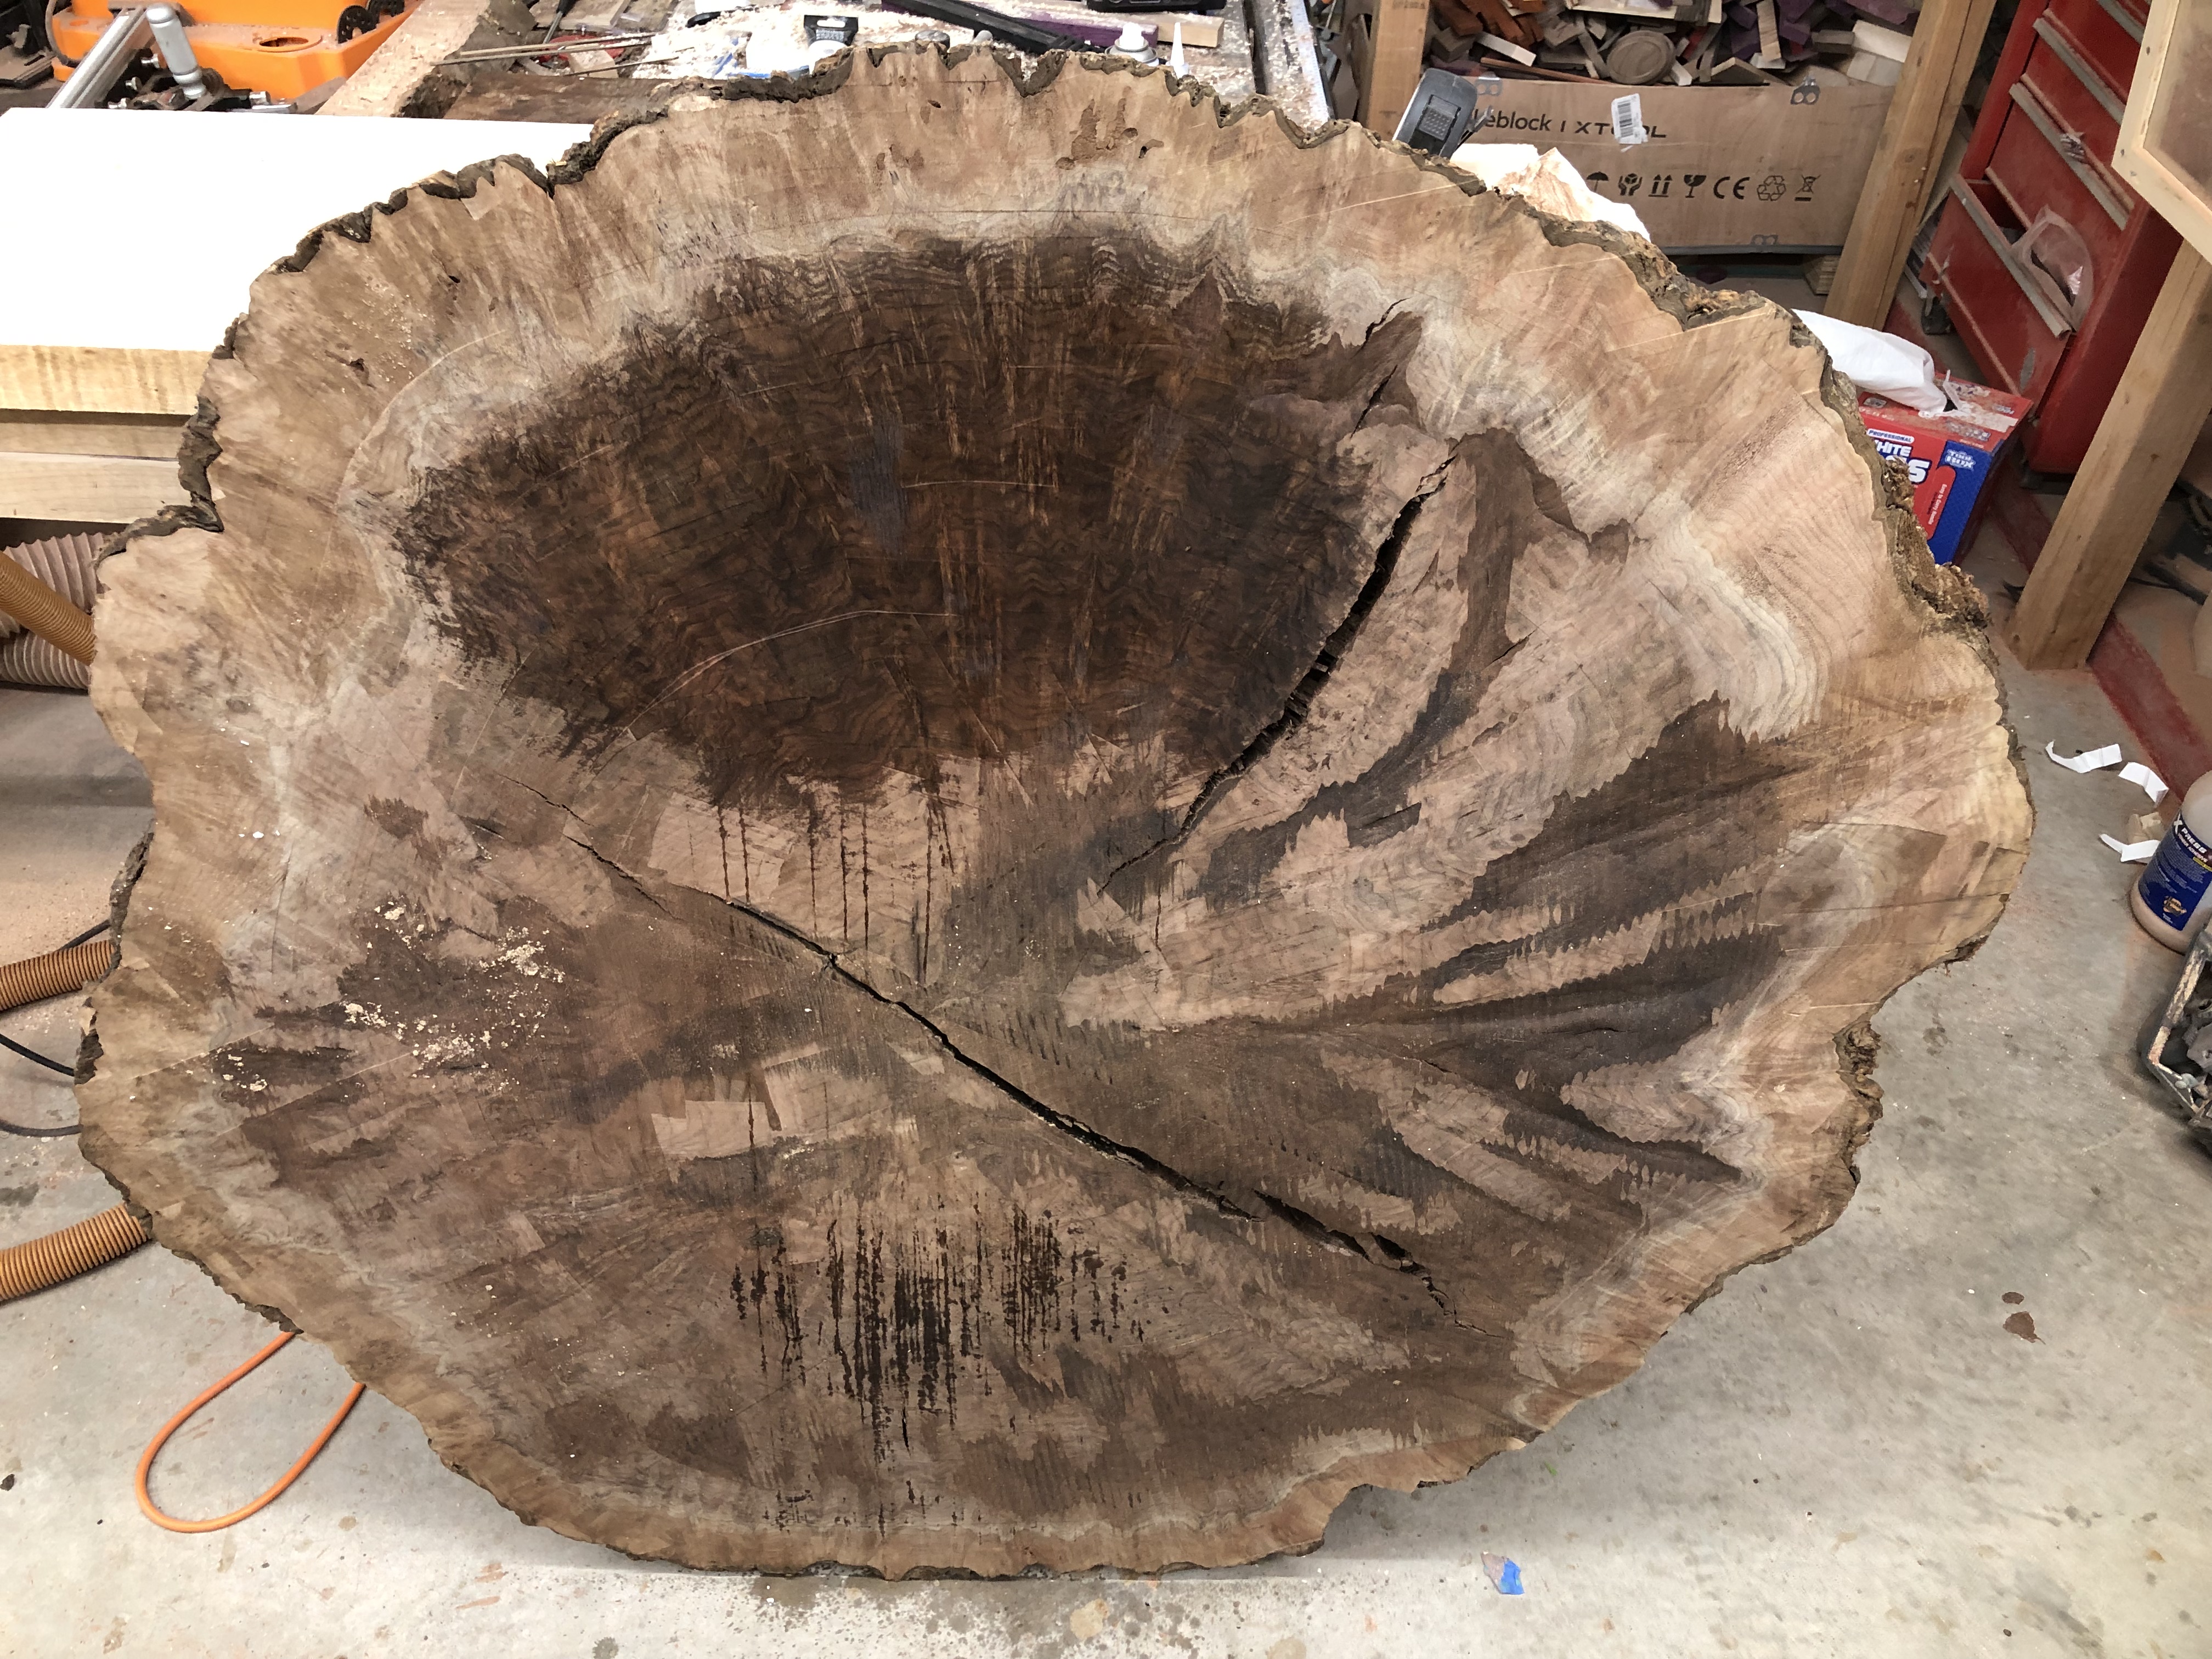
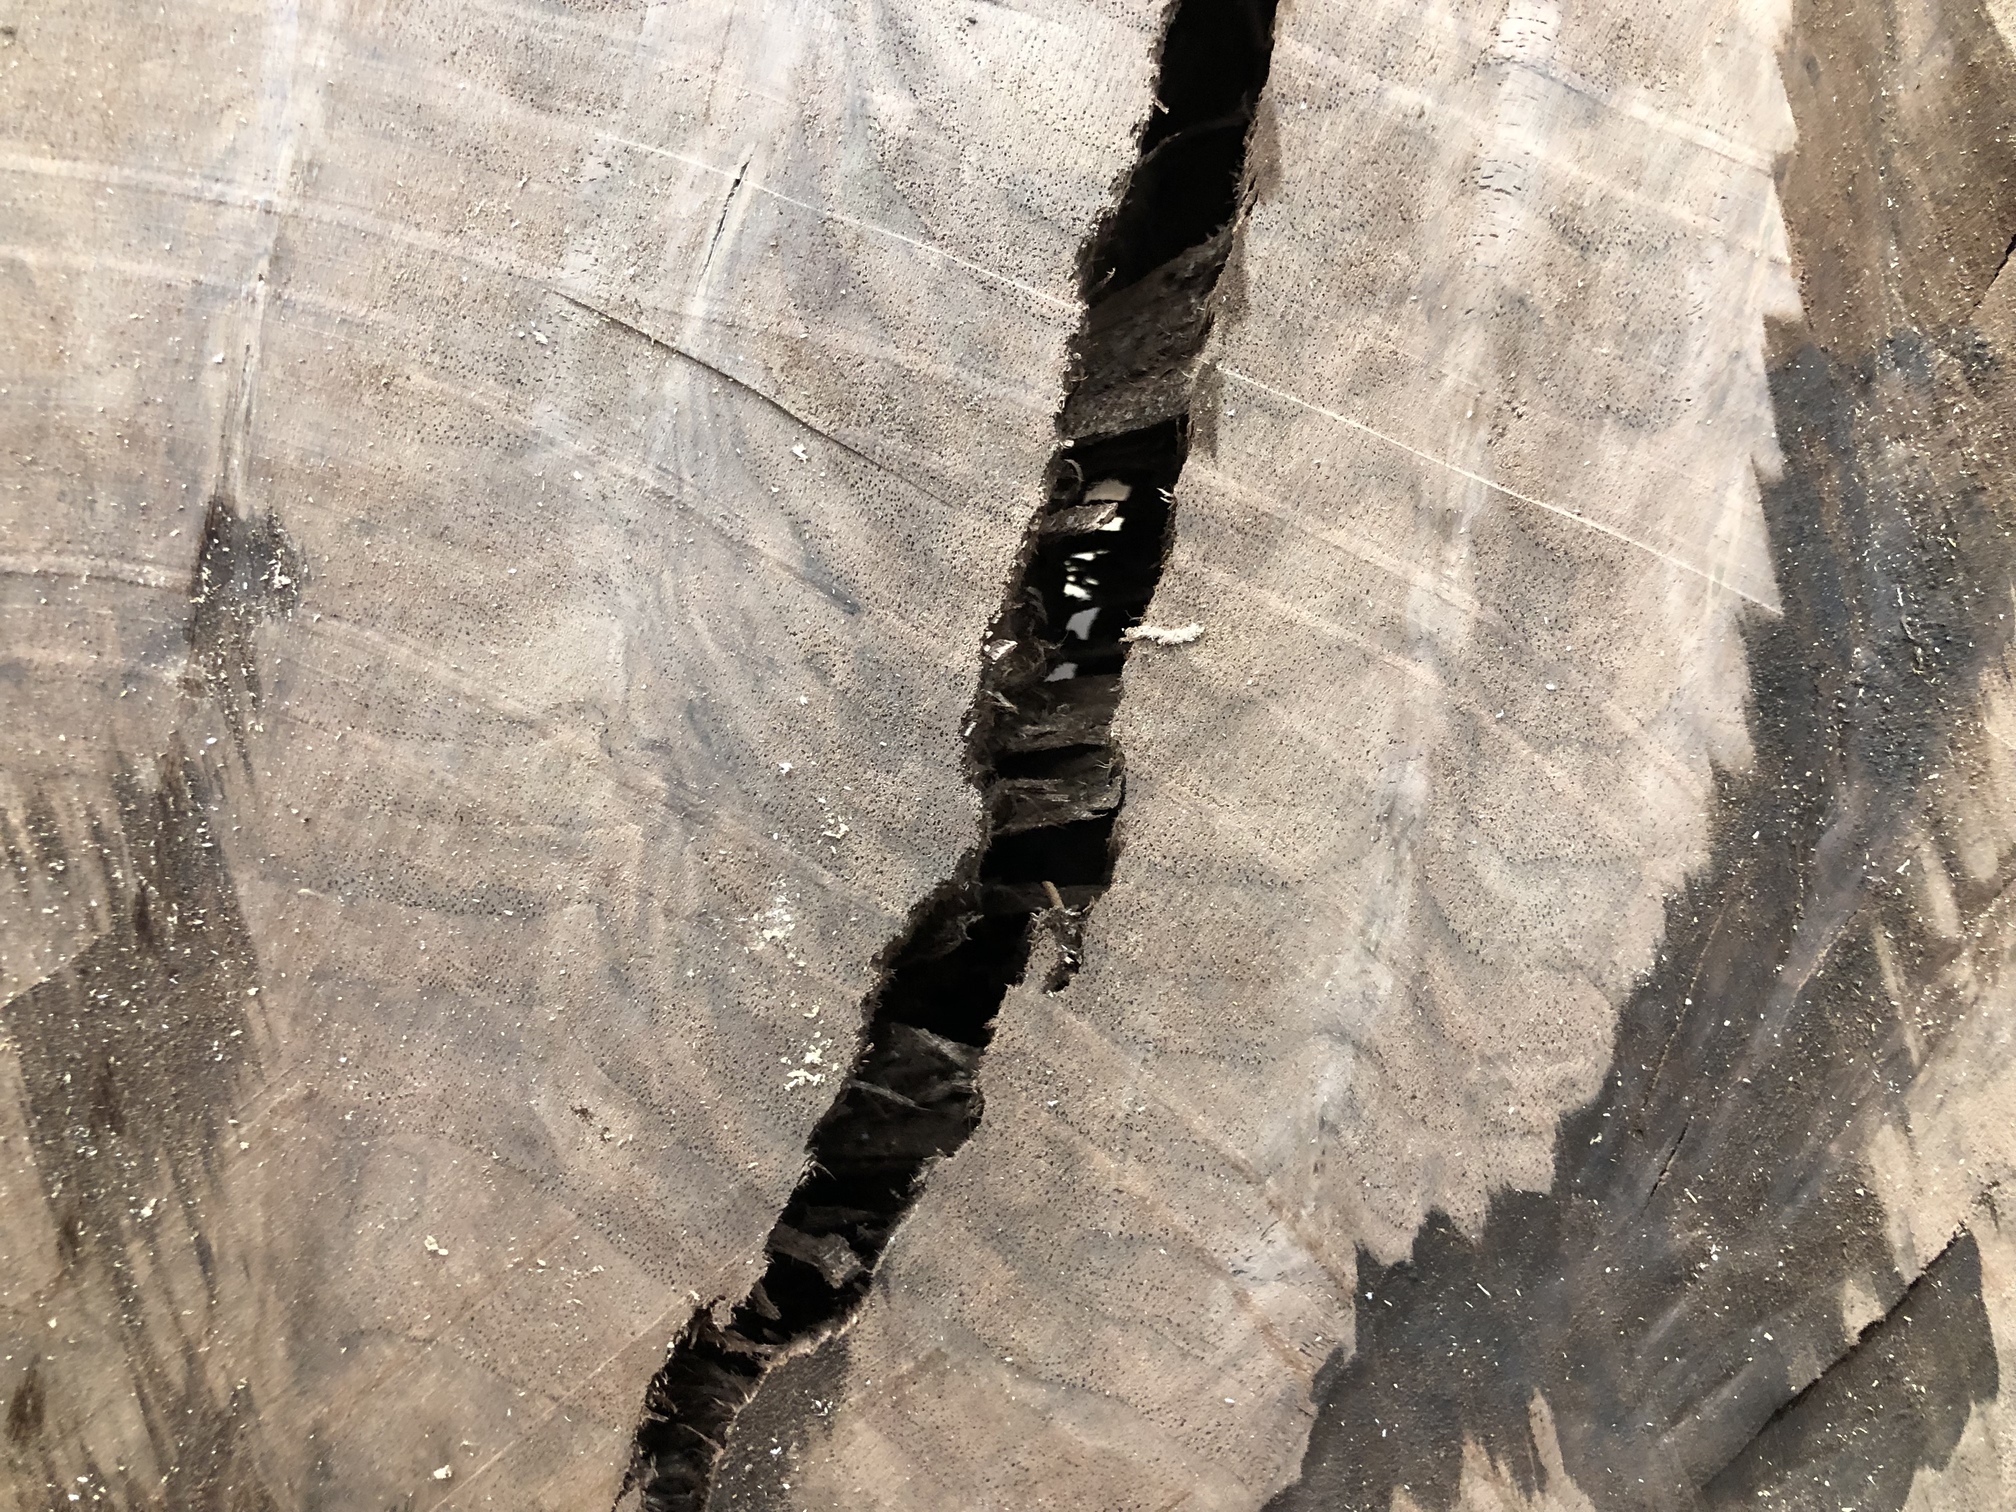
Here’s a 56” claro walnut burl cookie I just received from my wood guy in the northwest….it’s sitting right at 7% and I tested the entire surface in multiple spots over the past 2 months to feel confident enough to start working it. Those major cracks in the cookie came as it lost its moisture.
This is a 4 year old air dried cookie. I did not measure the moisture content because it is just a rustic sign to hang under a covered area outside my friends shop. It could crack more over time but now that it is carved it will stay there until it turns to dust.
, no worries, just something to always be aware of. It looks great and I really like the color choice on the lettering. It’s a great contrast to the walnut.
I have a cheap General moisture meter. I occasionally use but it is hard for me to swallow the big price tag for a good one. Then there is the debate of pin less or pinned. The General gets drug out occasionally and used.
In the last few years I have been milling a lot of rough cut lumber. I would likely buy a metal detector before a new moisture meter. A few months ago I was planning a 13" wide piece of rough cut maple and in the center of the board was a nail or staple. I heard the planner make a noise so I stopped and looked and dug part of a nail or fence staple out. Any tree on a fence line around here gets staples in it to hold up a barbed wire fence. Luckily it did not damage to my planner knives. What was so weird it was in the middle and not near an edge. Maybe when it was a young tree someone put a fence up or a nail to hold up a sign. I will never know who or when it was put in there. Such are the mysteries of life.
I have chopped down a tree with 7.62x39 that was standing in a pond. That wood will never be harvested but there are a lot of strange objects in wood. I watched a wood turning video the other night and out of the wood came crawling bugs. I had a sycamore lidded box I roughed out and sat on the shelf. Back at Christmas I had a couple of them on the shelf and got them out to look at them. One of them was full of sawdust and several bug holes in the lid. I removed it from the shop before it spread. Luckily it was just one box lid.
Funny you mention that. I was over at a friends today and he was milling lumber and found what was the remains of a .410 gauge double barrel shotgun about 6" left inside of a tree. It ruined his mill blade. Also in the same tree he found a screw driver and lots of bullets. The tree must have been used for target practice and the screw driver was pushed in to hold targets.
The youtube videos about wood turning find rocks all the time in root balls.