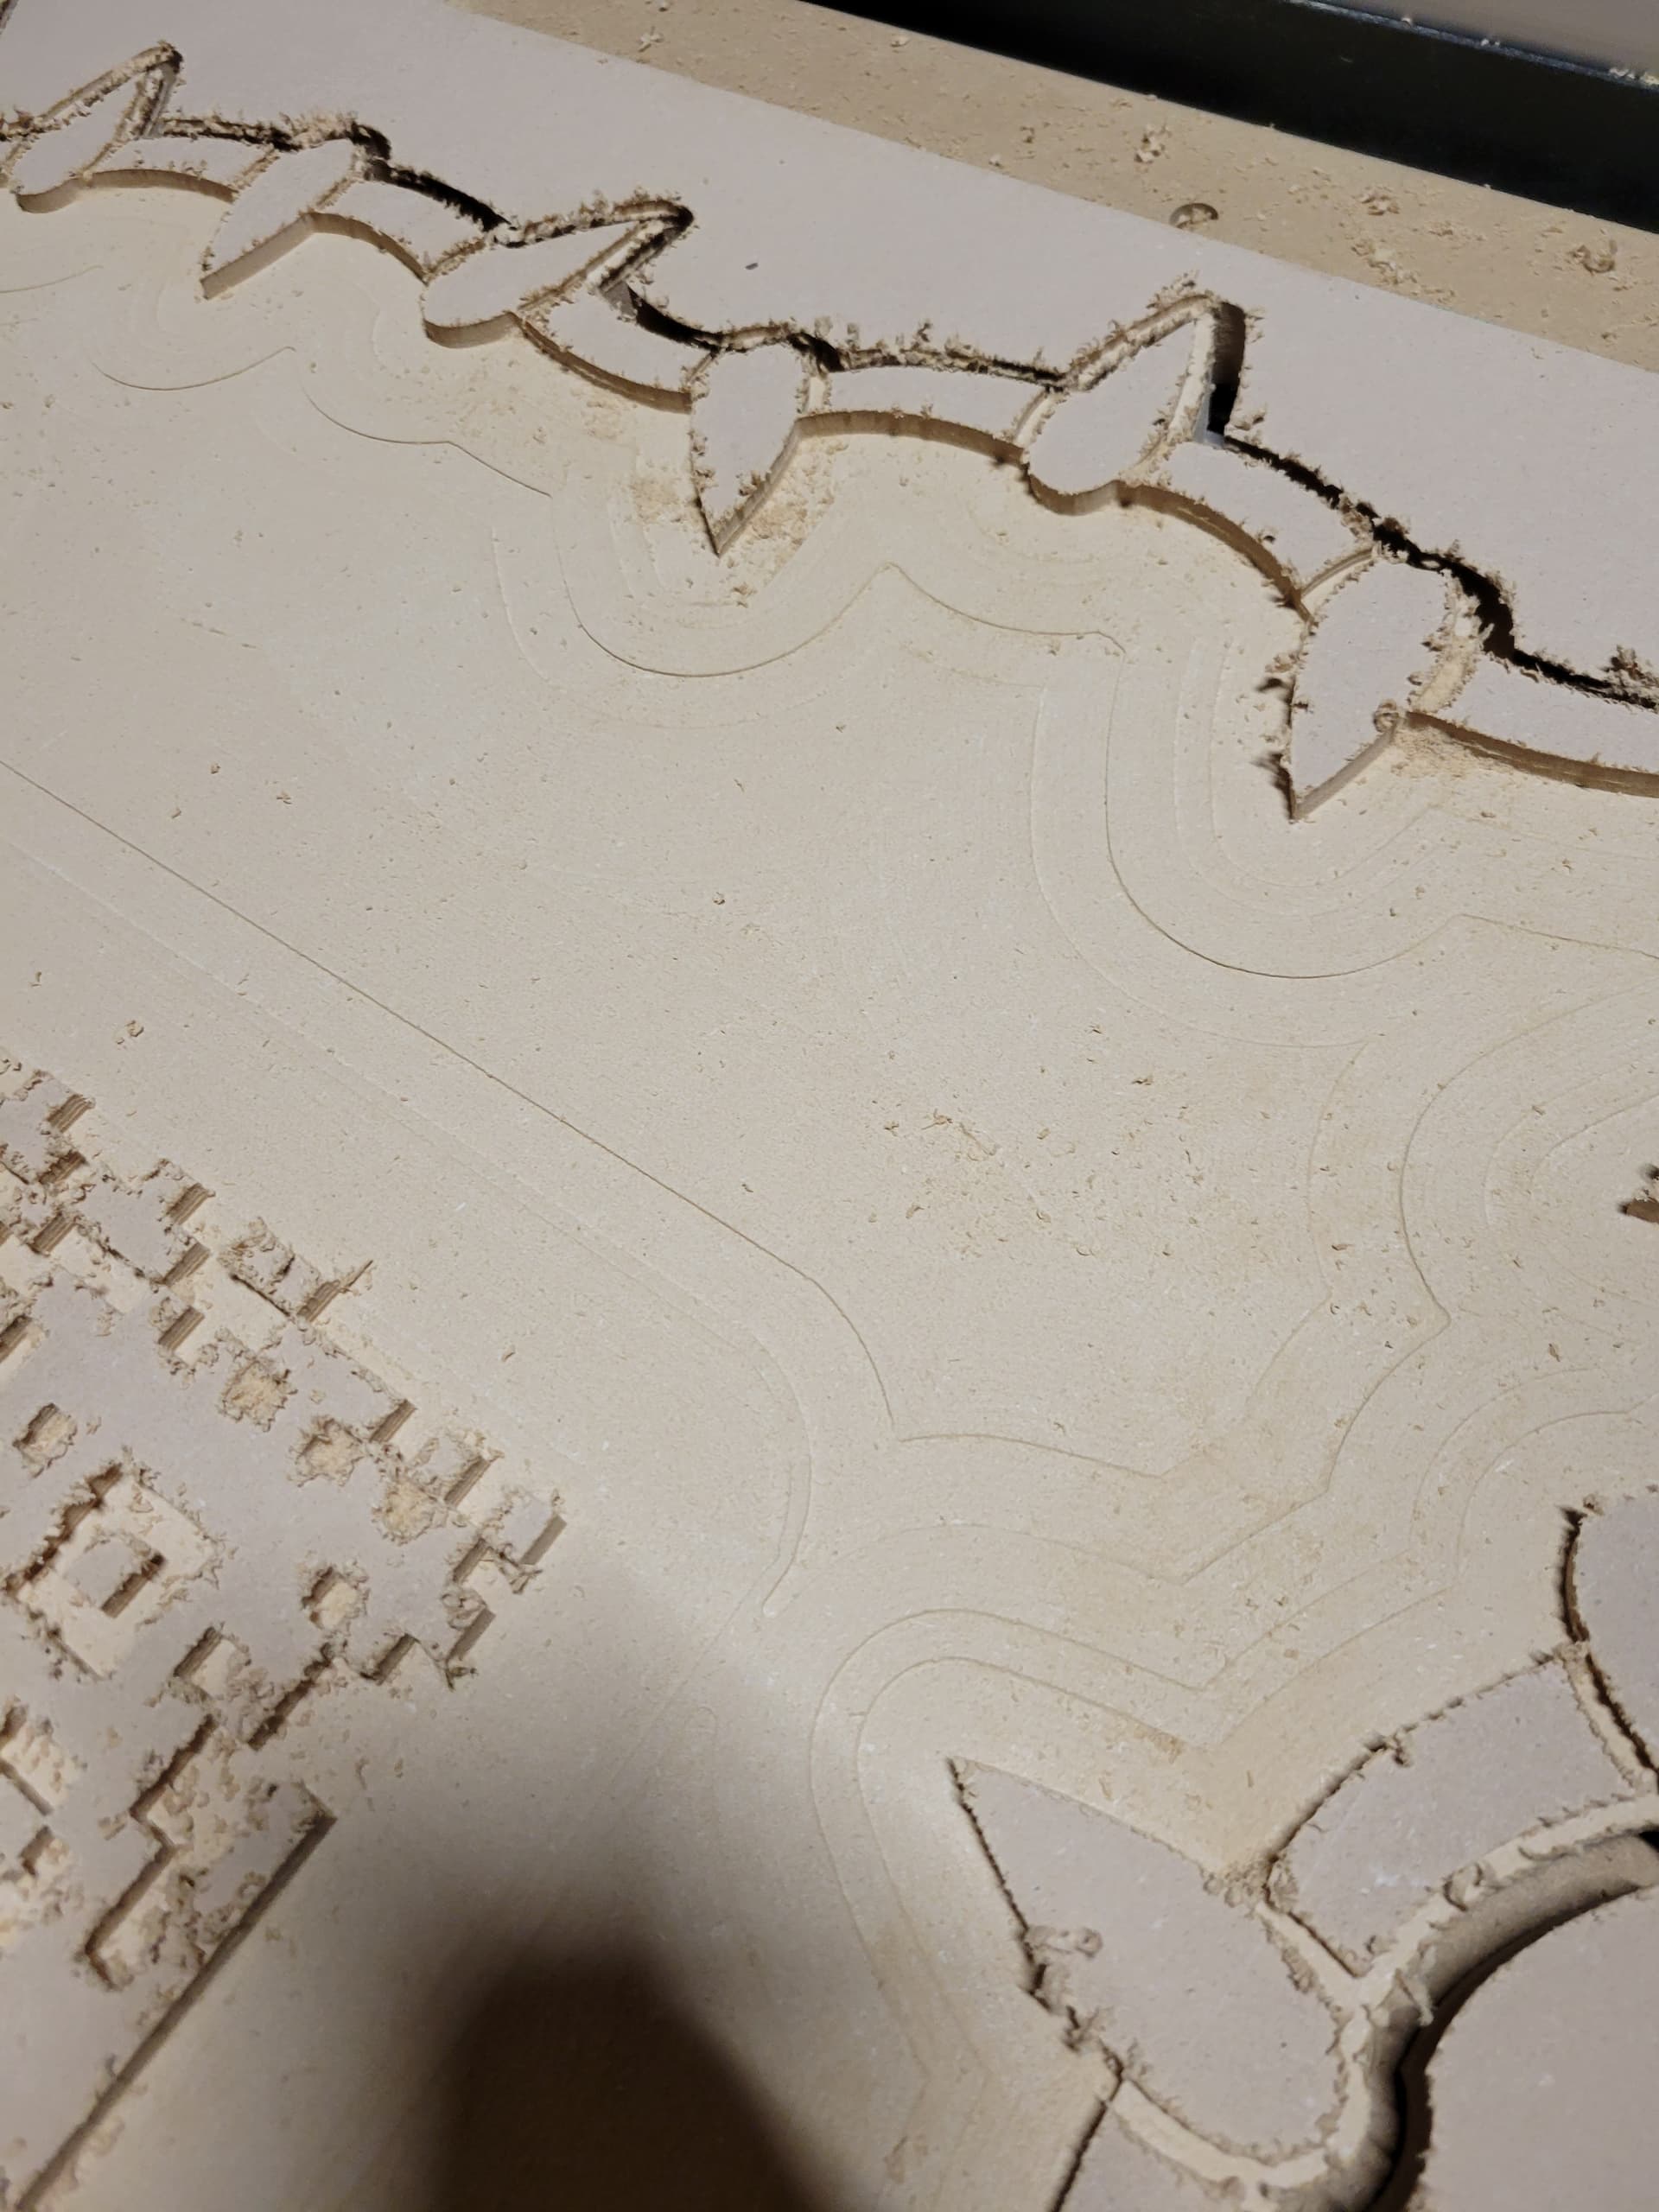
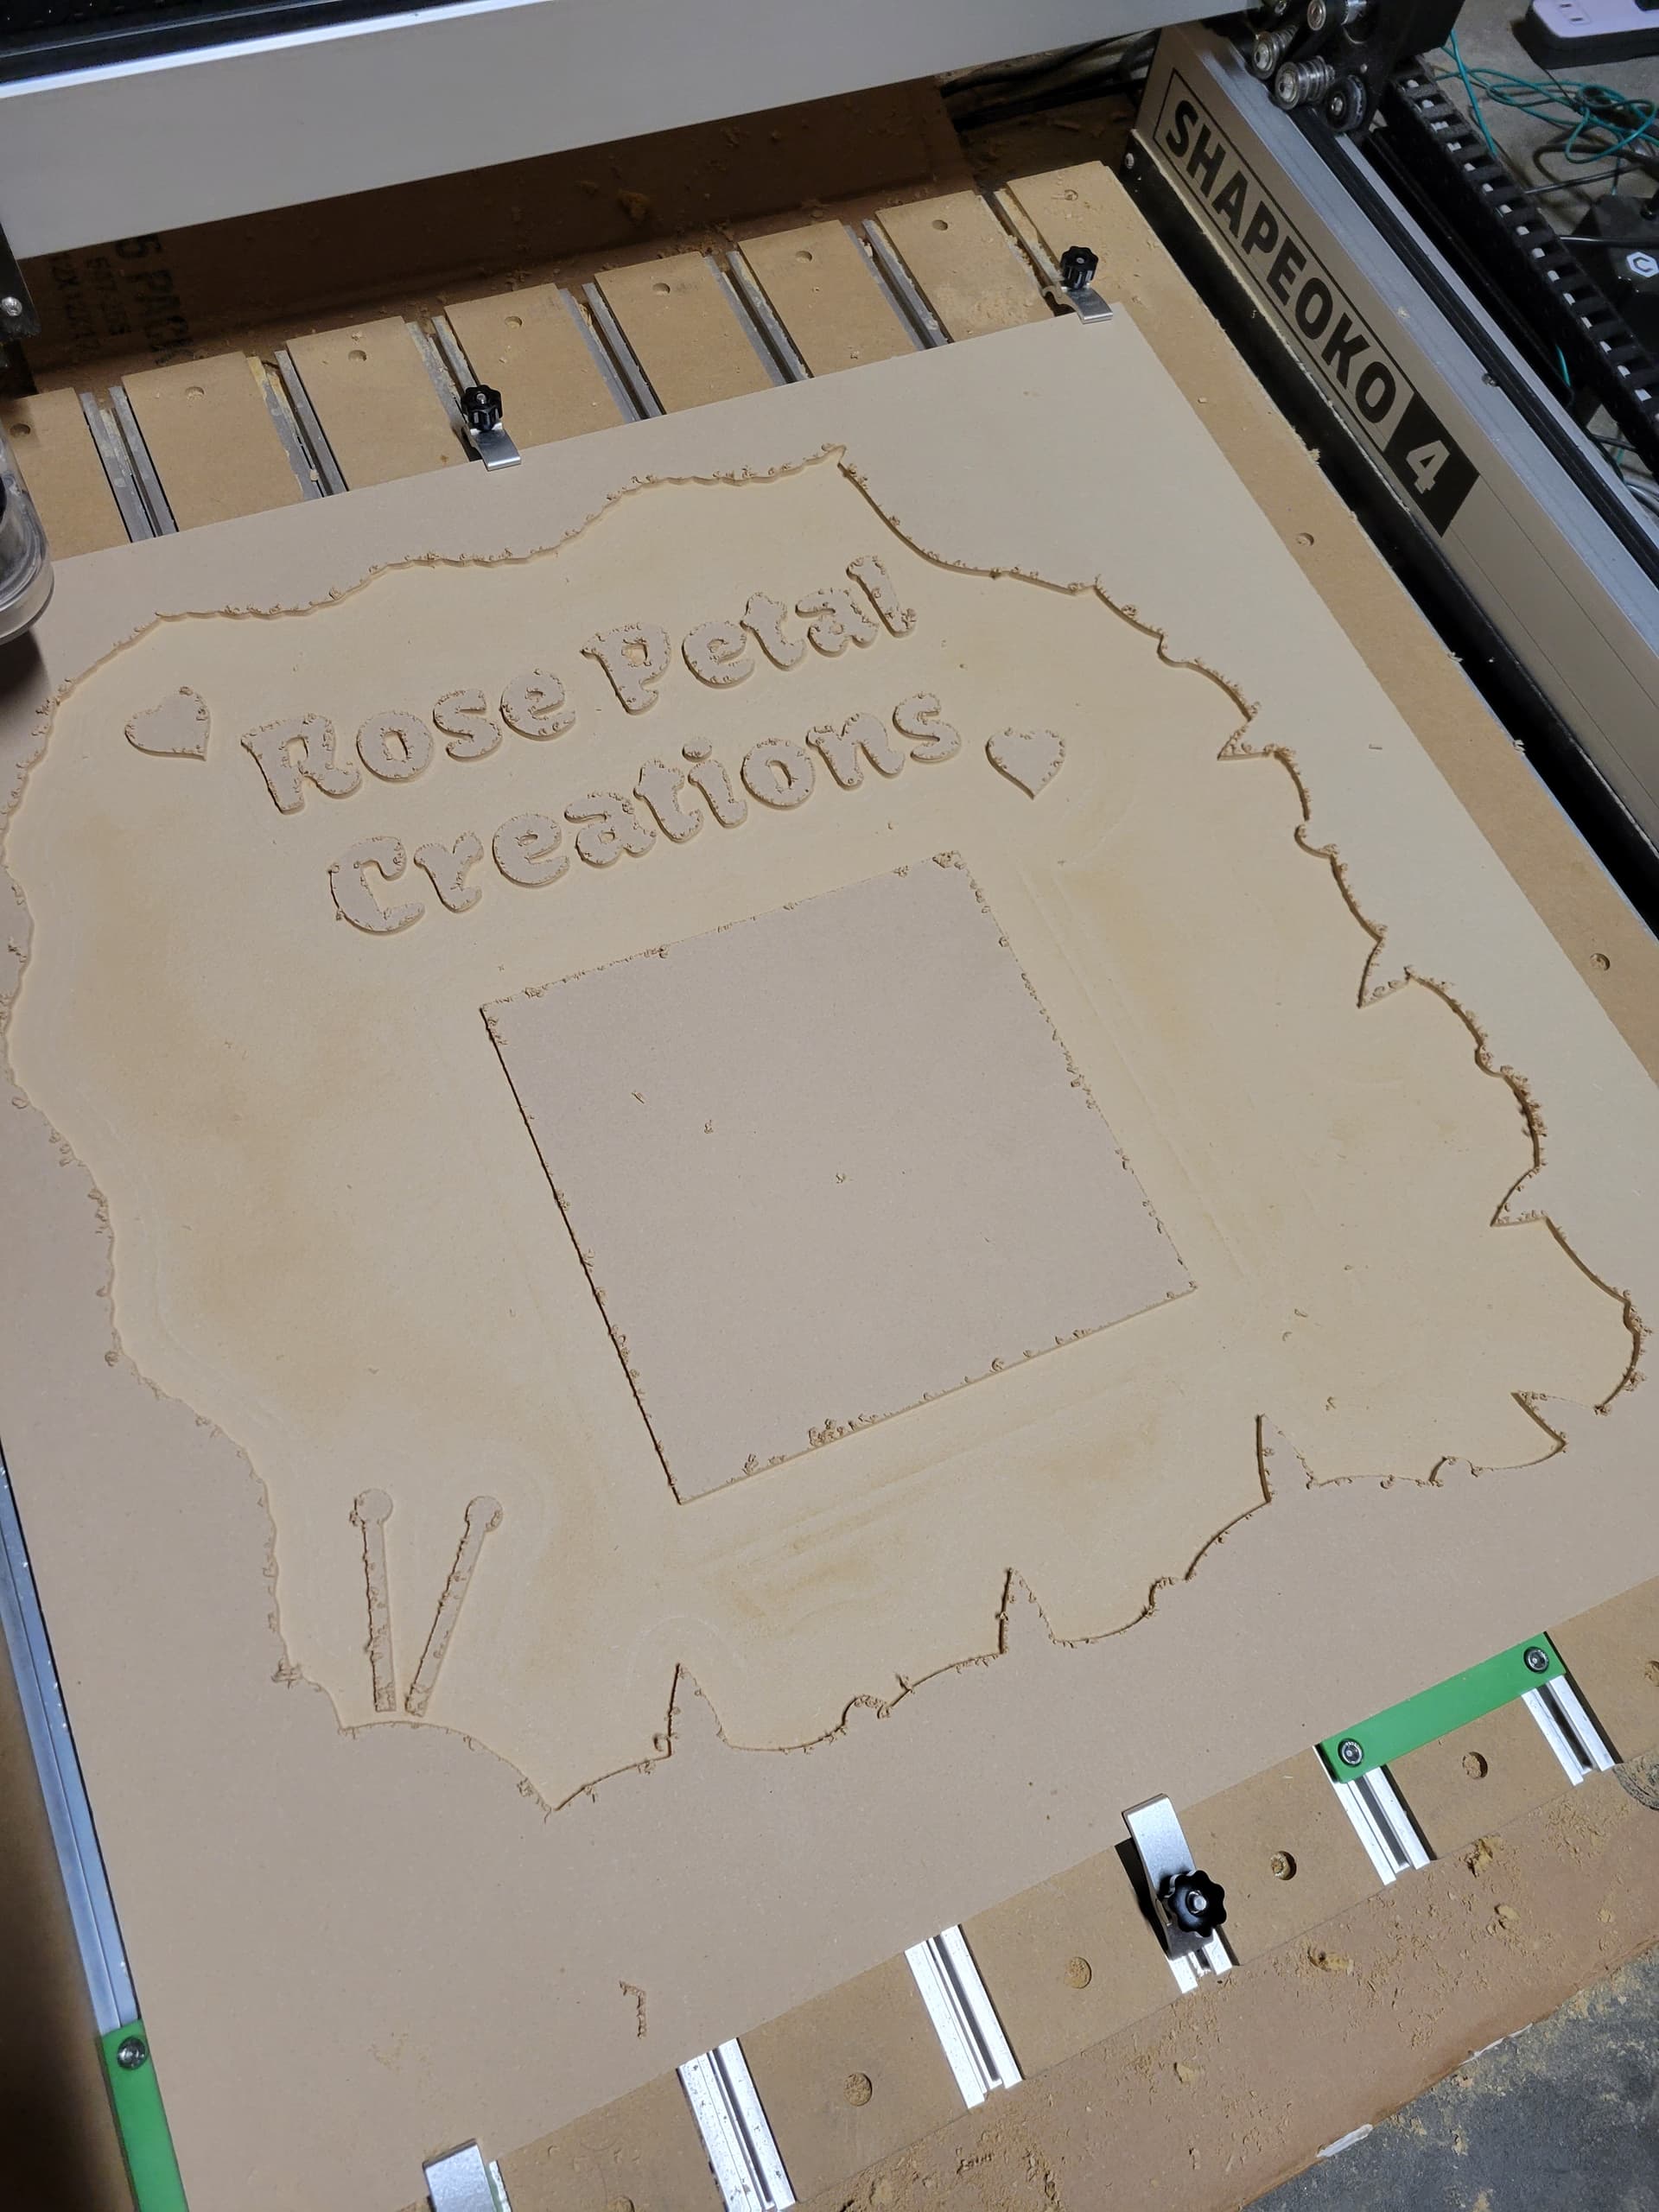
Does anyone know why my signs keep end up looking like this? I’ve tried different bit sizes, different bit tightnesses, speeds. I always get these weird steps around the borders and letters of any sign I make
In order of likelihood, I think… (I could be wrong, just from what I’ve seen)
-
Workholding. Especially with upcut tools, the tool generates a lot of upward force on the material when cutting. If the cut is too aggressive, it wants to lift the material. Make sure the material is not moving up/down.
-
Slop in the machine. With the machine ON, and the spindle OFF, grab the tool & try to move it up & down. Is it the spindle shaft, the spindle, the Z axis, or one of the other axes? Typical culprits are the spindle shaft & a belt driven Z axis.
-
The cutter moved. The same forces that can pull the material up, can also pull the tool down. But typically when this happens the cut will just keep getting deeper.
-
Lost steps. The same forces can also cause the machine to make unintended moves, pulling the axes away from where the machine thinks they are. These machines are not a closed loop system. The controller tells the machine to move to a point. The steppers make the calculated number of steps to get the machine to that point. The controller assumes it made it to the programmed destination & continues. Nothing verifies that it made to exactly that point. If the tool creates enough force it can pull the carriage off track, or prevent it from reaching that exact point.
Again, in this case everything after that event should be off by that amount, until another lost step event occurs. The fix here is lighter cuts, making sure there are no obstructions preventing movement.
Loose stepper motors or drive bushings can also contribute. Make sure stepper motors & connectors to the drive mechanism are solid.
3 Likes
Hm thank you Tod! I went down the list this morning.
-
I double-checked my material secureness last night before running the cut and I triple-checked this morning. It seemed pretty secure
-
I did not see any movement on the Z-axis
-
I did encounter this issue when I was still testing feeds and speeds but unfortunately it does not seem like it
-
I’m thinking this is the likely culprit. The cuts seem to be uneven across the entire piece but they are localized in areas where the toolpath starts another rapid. I am doing some DOP test cuts to see if that’s the issue. I’m thinking this is it because I never seem to get this weird unevenness when I do one pass for my preferred depth. It only happens when the depth is too deep I have to do multiple passes to get down to where I need. I might’ve gotten too ambitious and its causing lost steps
I did some depth of cut tests to see how surface finish looked. Smaller depth of cuts led to cleaner surface finishes and no missed steps and larger depth of cuts left a rougher surface. I started to see the steps happening, albeit on a much smaller scale, with the larger depth of cuts. I am attempting my sign again with my new smaller depth of cut.
Sadly it will take almost three times as long to carve out fully but maybe its worth it considering how much surface finish work I am saving myself. I will post the results after its done if successful
Another alternative would be to use a rough/finish strategy. Use the larger depth of cuts to rough, leaving a little stock on the floor & walls. Then rezero Z as a sanity check & run a finish path at the full depth & width.
Another way to do this (without the rezeroing) is to set the depth of cut to something just a bit smaller than a factor of the total depth. i.e. You want to cut 0.250 deep, with about 0.050 cuts. So you would get cuts at -0.050, -0.100, -0.150, -0.200 & -0.250. But If you set the depth of cut to 0.048, then you get cuts at -0.048, -0.096, -0.144, -0.192, -0.240, leaving 0.010 for the last cut at -0.250.
1 Like
I might try the .048 strategy soon if my following line of thinking leads nowhere
Can longer carbide create steps result in loss of steps or glitches in gcode generation? I carved again at a smaller depth and ended up with the same exact stepping occurring in the same places. That particular carving step is 10 hours long, and about 4 before the change.
I had a similar issue with areas being missed when carving on another longer carve and I was able to seemingly fix it by breaking up that step into smaller steps
I’m wondering if this is the same issue
@Tod1d I redid it again with the 0.048 step method you suggested as well as broke it down into smaller steps and it worked out. I also tightened my belts and pulley screws.
I chnaged so much i dont know which was the fix but im happy its finally flat. I really appreciate your help!
2 Likes
This topic was automatically closed after 30 days. New replies are no longer allowed.