Simple Bit Holder

I decided it was about time to make a holder having just placed another order from Carbide3d for some more bits.

Render with aluminum inlay. This was the original plan, but someone forgot to measure the aluminum they had on hand… 0.25" != 0.2"

So, since I have a bunch of oak flooring, the new plan is to use oak.

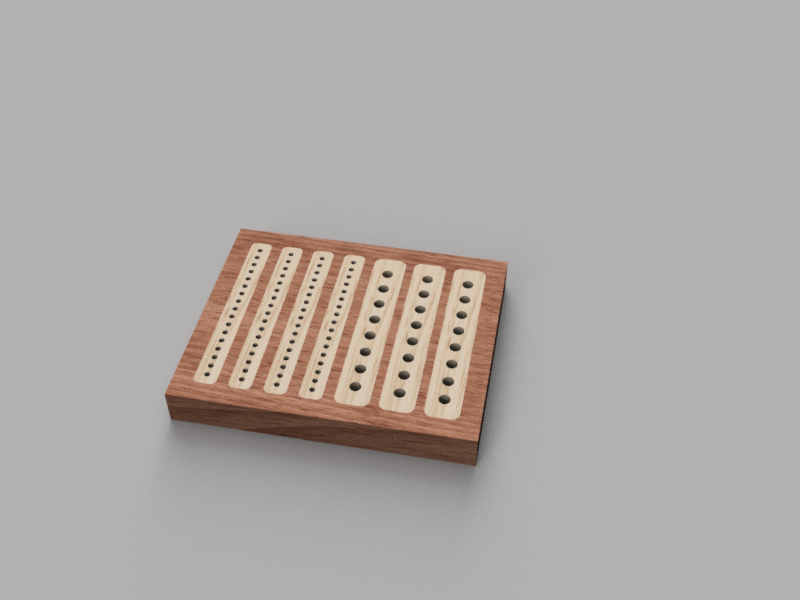
Step 1: 1) 0.25" rough 2) 0.125" finish. I didn’t have a flat 1/8" bit, so used a ballnose instead. Cleanup can be done with a chisel, and it won’t be seen with the inlay in place anyway.

Step 2: To be continued. This is as far as I got tonight.

5 Likes

uh, you missed a hole?

1 Like

What program did you render in? looks awesome!!

@DJ_Valenski Caught that did you? Yeah… I noticed that after you had said something.

@nick I used fusion 360. Those are actually cloud renders, but the free ones.

2 Likes

Very nice. I also like to make things for shop using the SO3. I wish more people would post pictures like this. It inspires us.
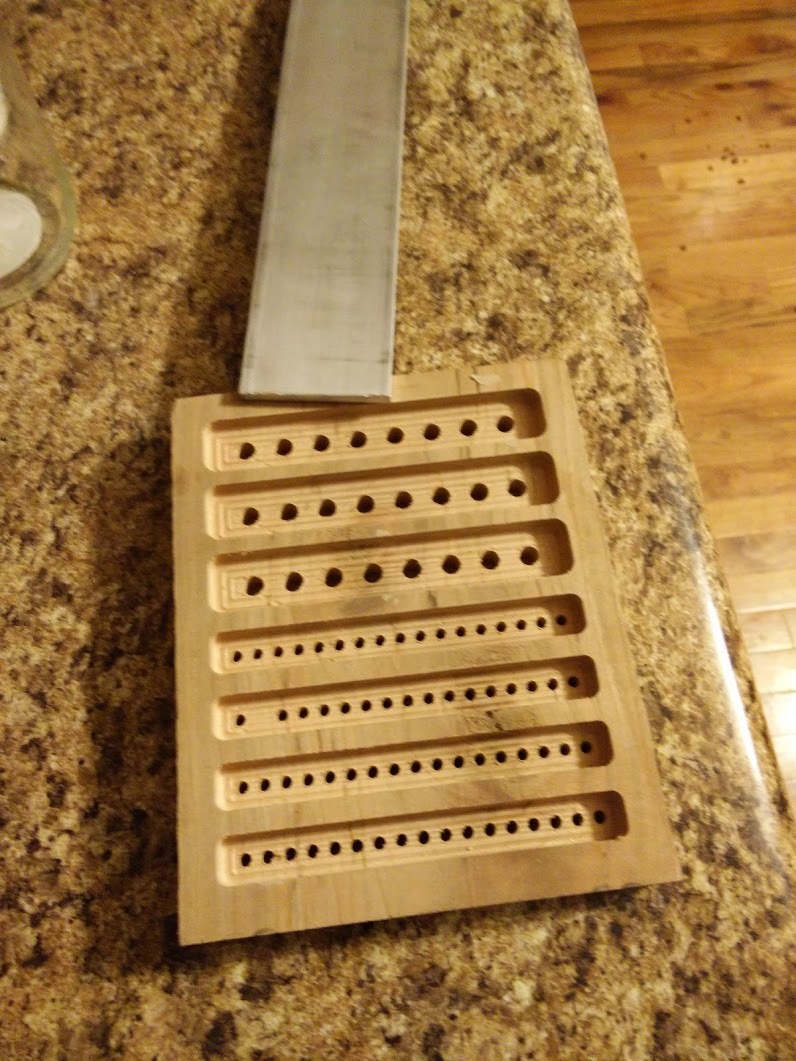
Did you hand drill the missing hole? Did you figure out why it happened?

If you need more, there’s a section on the Shapeoko site: http://www.shapeoko.com/wiki/index.php/Projects

I did cross-post one here: Locking register calipers after H.O. Studley

Thank you. Yeah I used a drill to fix the one hole. I had forgot to select it in Fusion.