I’m going to guess that a lot of folks already use this technique and that it’s old-hat for most. But just in case it didn’t dawn on you already, I thought I’d contribute it:
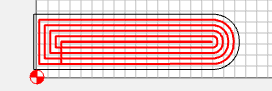
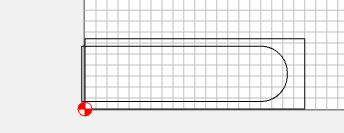
I happen to be cutting hinge mortises into a number of carcasses of varying widths and wanted to use my CNC. The challenge is to position the hinge against the side of the workpiece in a precise location. When that location is Bottom-Left, it’s easy - I create my mortise design, use lower left, and precisely locate the hinge:
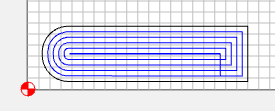
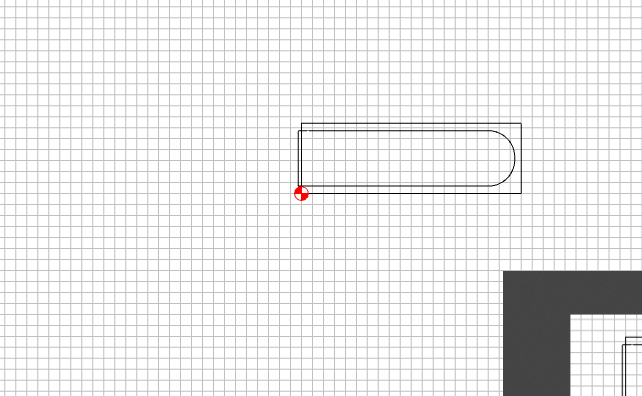
But - when you need to cut the mortise on the other side of the cabinet (or on the top of the carcass for the top of the door), the mortise needs to be flipped the other way:
The issue is, you’ve lost the reference point for the corner of your carcass. You’d want to be able to set the reference point at the BOTTOM RIGHT in order to position the mortise perfectly - but, of course, CM only offers
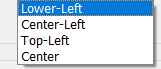 - and I don’t want to rely on empirical measurements to calculate the starting location (offset).
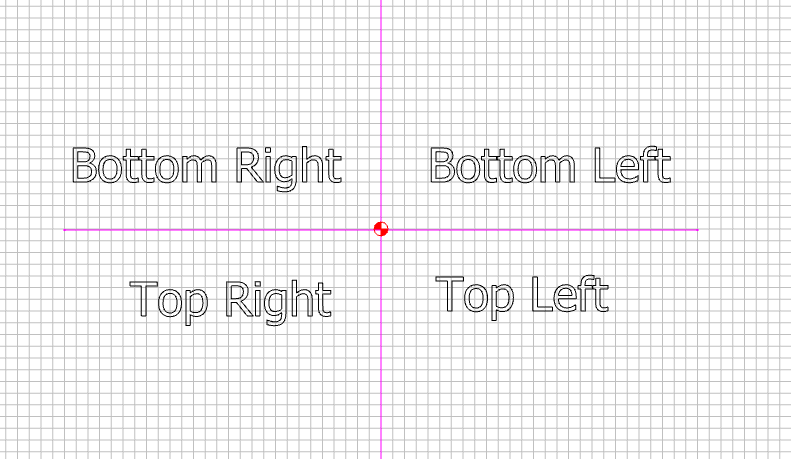
So…I use CENTER Toolpath Zero for everything:
The “technique” is to create your designs in a quadrant that’s relative to center and then, when you ZERO your X and Y in CM before you Start your job, you can put it at the lower left, lower right, top left, top right of that quadrant - and “trick” CM into cutting thinking it’s using the center. the result is effectively Lower-Right, Top-Right, etc. Toolpath Zeros.
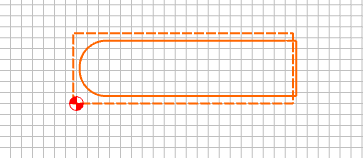
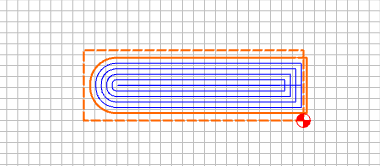
So…for my example, To create the hinge mortise that I want for the left bottom (and Right top) of the carcass, I put a bounding box around the mortise to represent the positioning from the bottom left corner that I want. The bottom left corner of this box can be used to precisely position the mortise:
Then, I change Toolpath Zero to CENTER and drag that lower left corner to the center mark:
The toolpath stays the same, but the bounding box positions the cut relative to the zero point.
This also allows me to select all and flip the cut horizontally:
And now it’s just a matter of dragging the BOTTOM RIGHT corner to the Center Mark:
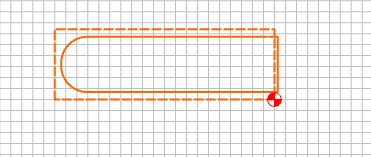
And the resulting mortise is now getting cut precisely the same distance using the center toolpath zero as, effectively, a Bottom-Right Toolpath Zero:
So I can just set my origin to the bottom right of my carcass and cut with confidence.
Someone might think, why not just model the entire carcass and cut left and right at the same time:

Yes…I could - but then my measurement of the carcass needs to be extremely precise so that it matches the design - and, since I’m cutting this into several different-sized carcasses, I would need accurately measured designs for each carcass size. Being able to ZERO on a corner and cut the appropriate mortise relative to that corner without empirical measurement, is far more accurate.
Again, I’m guessing most folks have already thought of this…but I used to think of Bot-Left and Center Toolpath zero, etc. as being the position relative to my workpiece — but this way of thinking of it, really makes those zeros relative to the design - and where you place it on the workpiece is up to you.
Hope it helps!
- Gary