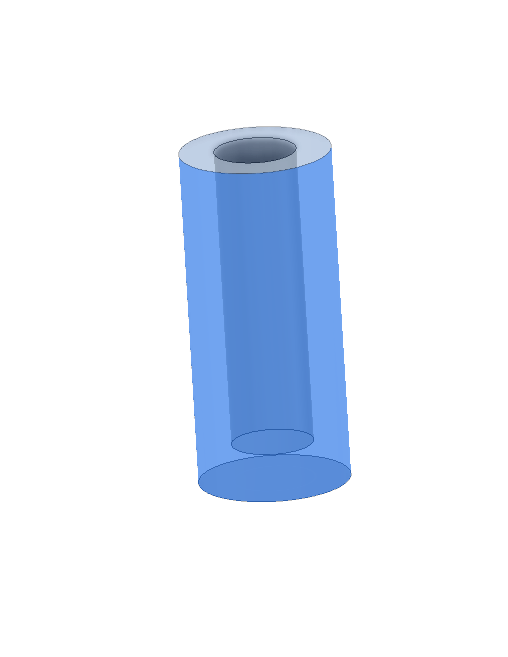
Wondering if anyone has done something like this to accurately set tool heights without the use of a probe. The idea would be you set the tool in the cylinder and then insert into the collet making sure to bottom out the top of the cylinder with the collet face. Shouldnt this give you a repeatable tool height during tool changes?
I have. I made one with a slot, so I could see the tool bottoming out. I also found that there were many times it doesn’t work. I tend to change from flat to V or from large to small. Obviously, it didn’t work with the bigger V-bits and there are many times where the flute length dictates a different length of stickout. You’ll also have variations depending on the turns you give the collet nut.
2 Likes
I like the idea of a slit to verify the tool bottoming out. This would just be to set two different .25"EM. one flat for roughing and one ball for some contour finishing work. Everything I set my original z height will be machined away during the roughing steps and I dont want to mess with zeroing off the bottom of the part.
Perfect use for it. How are you going to make it? 3D print?
I was originally going to machine it on my lathe, but I think I will just plan to print it. Easier for me that way, just click a button. 
1 Like
I was just thinking about this last night. I worked for nearly 4 hours on a job that required probing about 15 times over various tool changes. I think you might be onto something here.
Ill let everyone know how it works out for me. If I can make you a set let me know.
I do something similar, but to control tool stick out.
If you have a touch probe, could always designate a spot for it in the S3 work envelope to do tool offset probing. Requires writing a M6 macro for like CNCjs, UGS or bCNC. Couldn’t use Carbide Motion.
The problem with this is not all bits fit the cullet the same way. Some need to go deeper for proper seating while others shallower.
1 Like
Right, you would have to make a different set for each type of bit
I did this. I’ve got a macro for setting the position of the probe, one for bringing the carriage top front to make the change easier, one for probing the “thick” part of the probe, and one for probing the “thin” part fo the probe (all Z only).
I can put the probe where I want it, set the position, set the Z, start a path, change the tool, set the Z and start the next path. Makes the tool changes pretty quick and easy if you can find someplace convenient to put the probe that won’t get hit/cut away/etc. Does mean that I very often use the wasteboard for Z-zero. When I’m in need of a top size zero, I usually am not changing tools, so that’s just fine with me.
1 Like
This worked out perfectly for me this weekend. I ran two parts and 4 set ups(both double sided) using the 3d printed tool setter and it worked excellent. I cant share pictures at this time since the customer wanted me to hold off. I will be sure to add pictures of the parts once I get the all clear.
1 Like