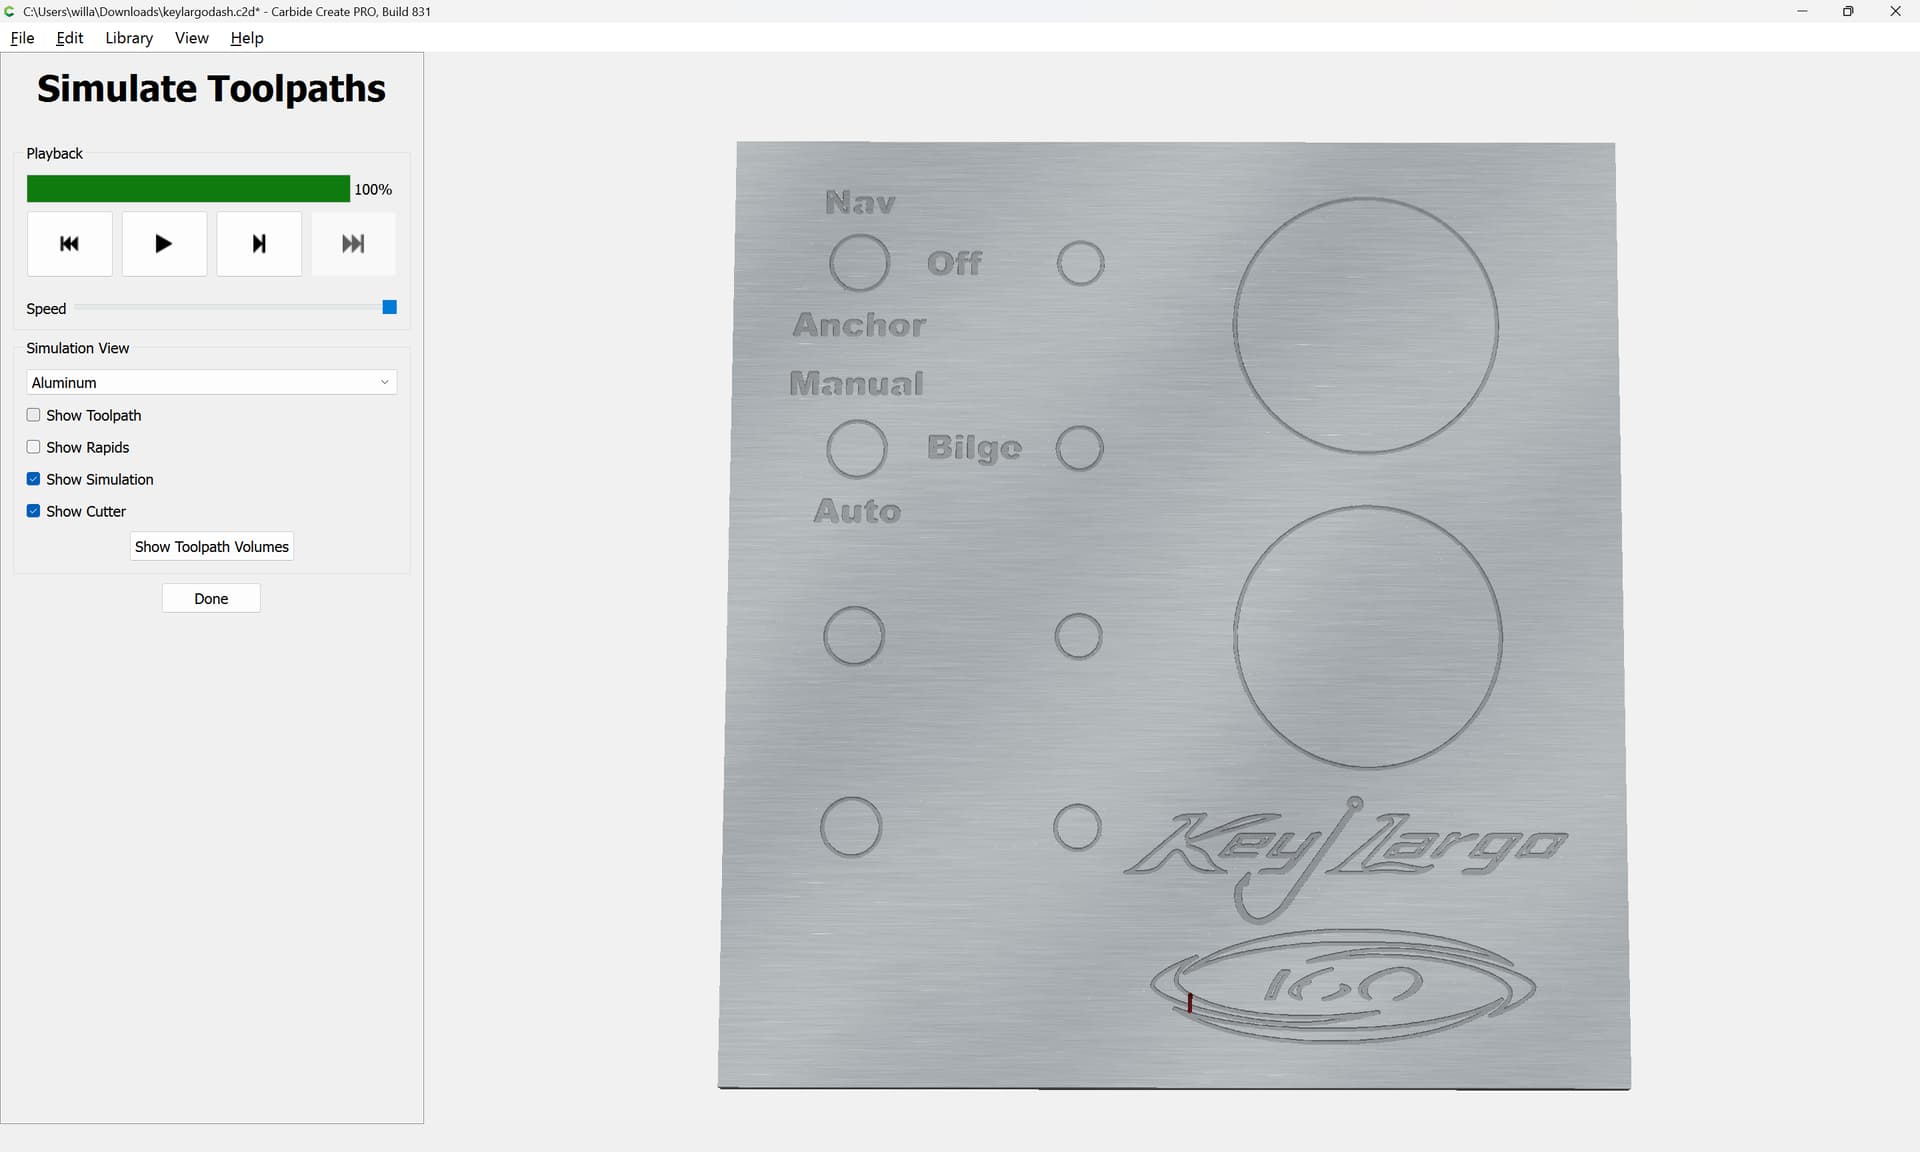
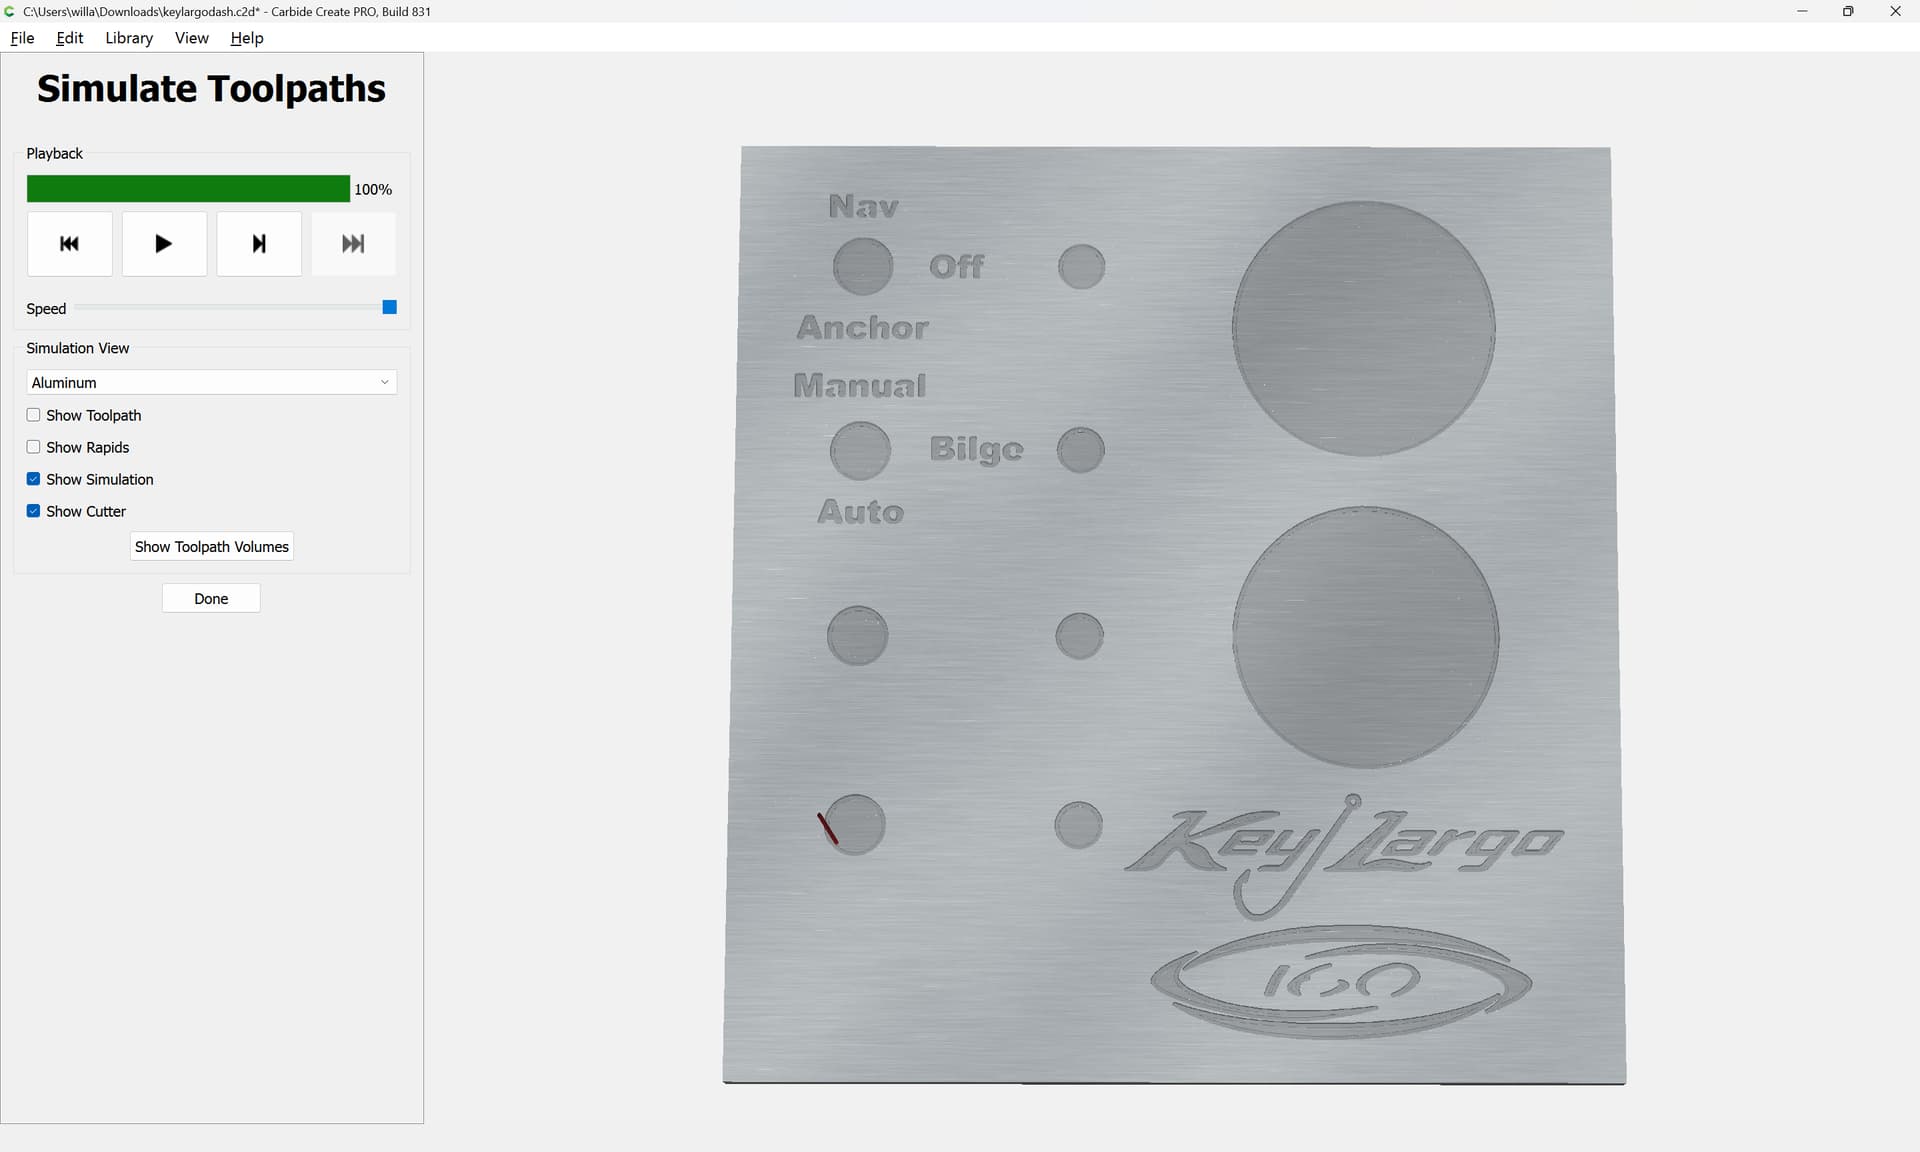
Smaller Lettering / Router Dying

Great Tutorials

I learned all this the hard way. LOL
Also the use of layers due to the different size bits and depths.

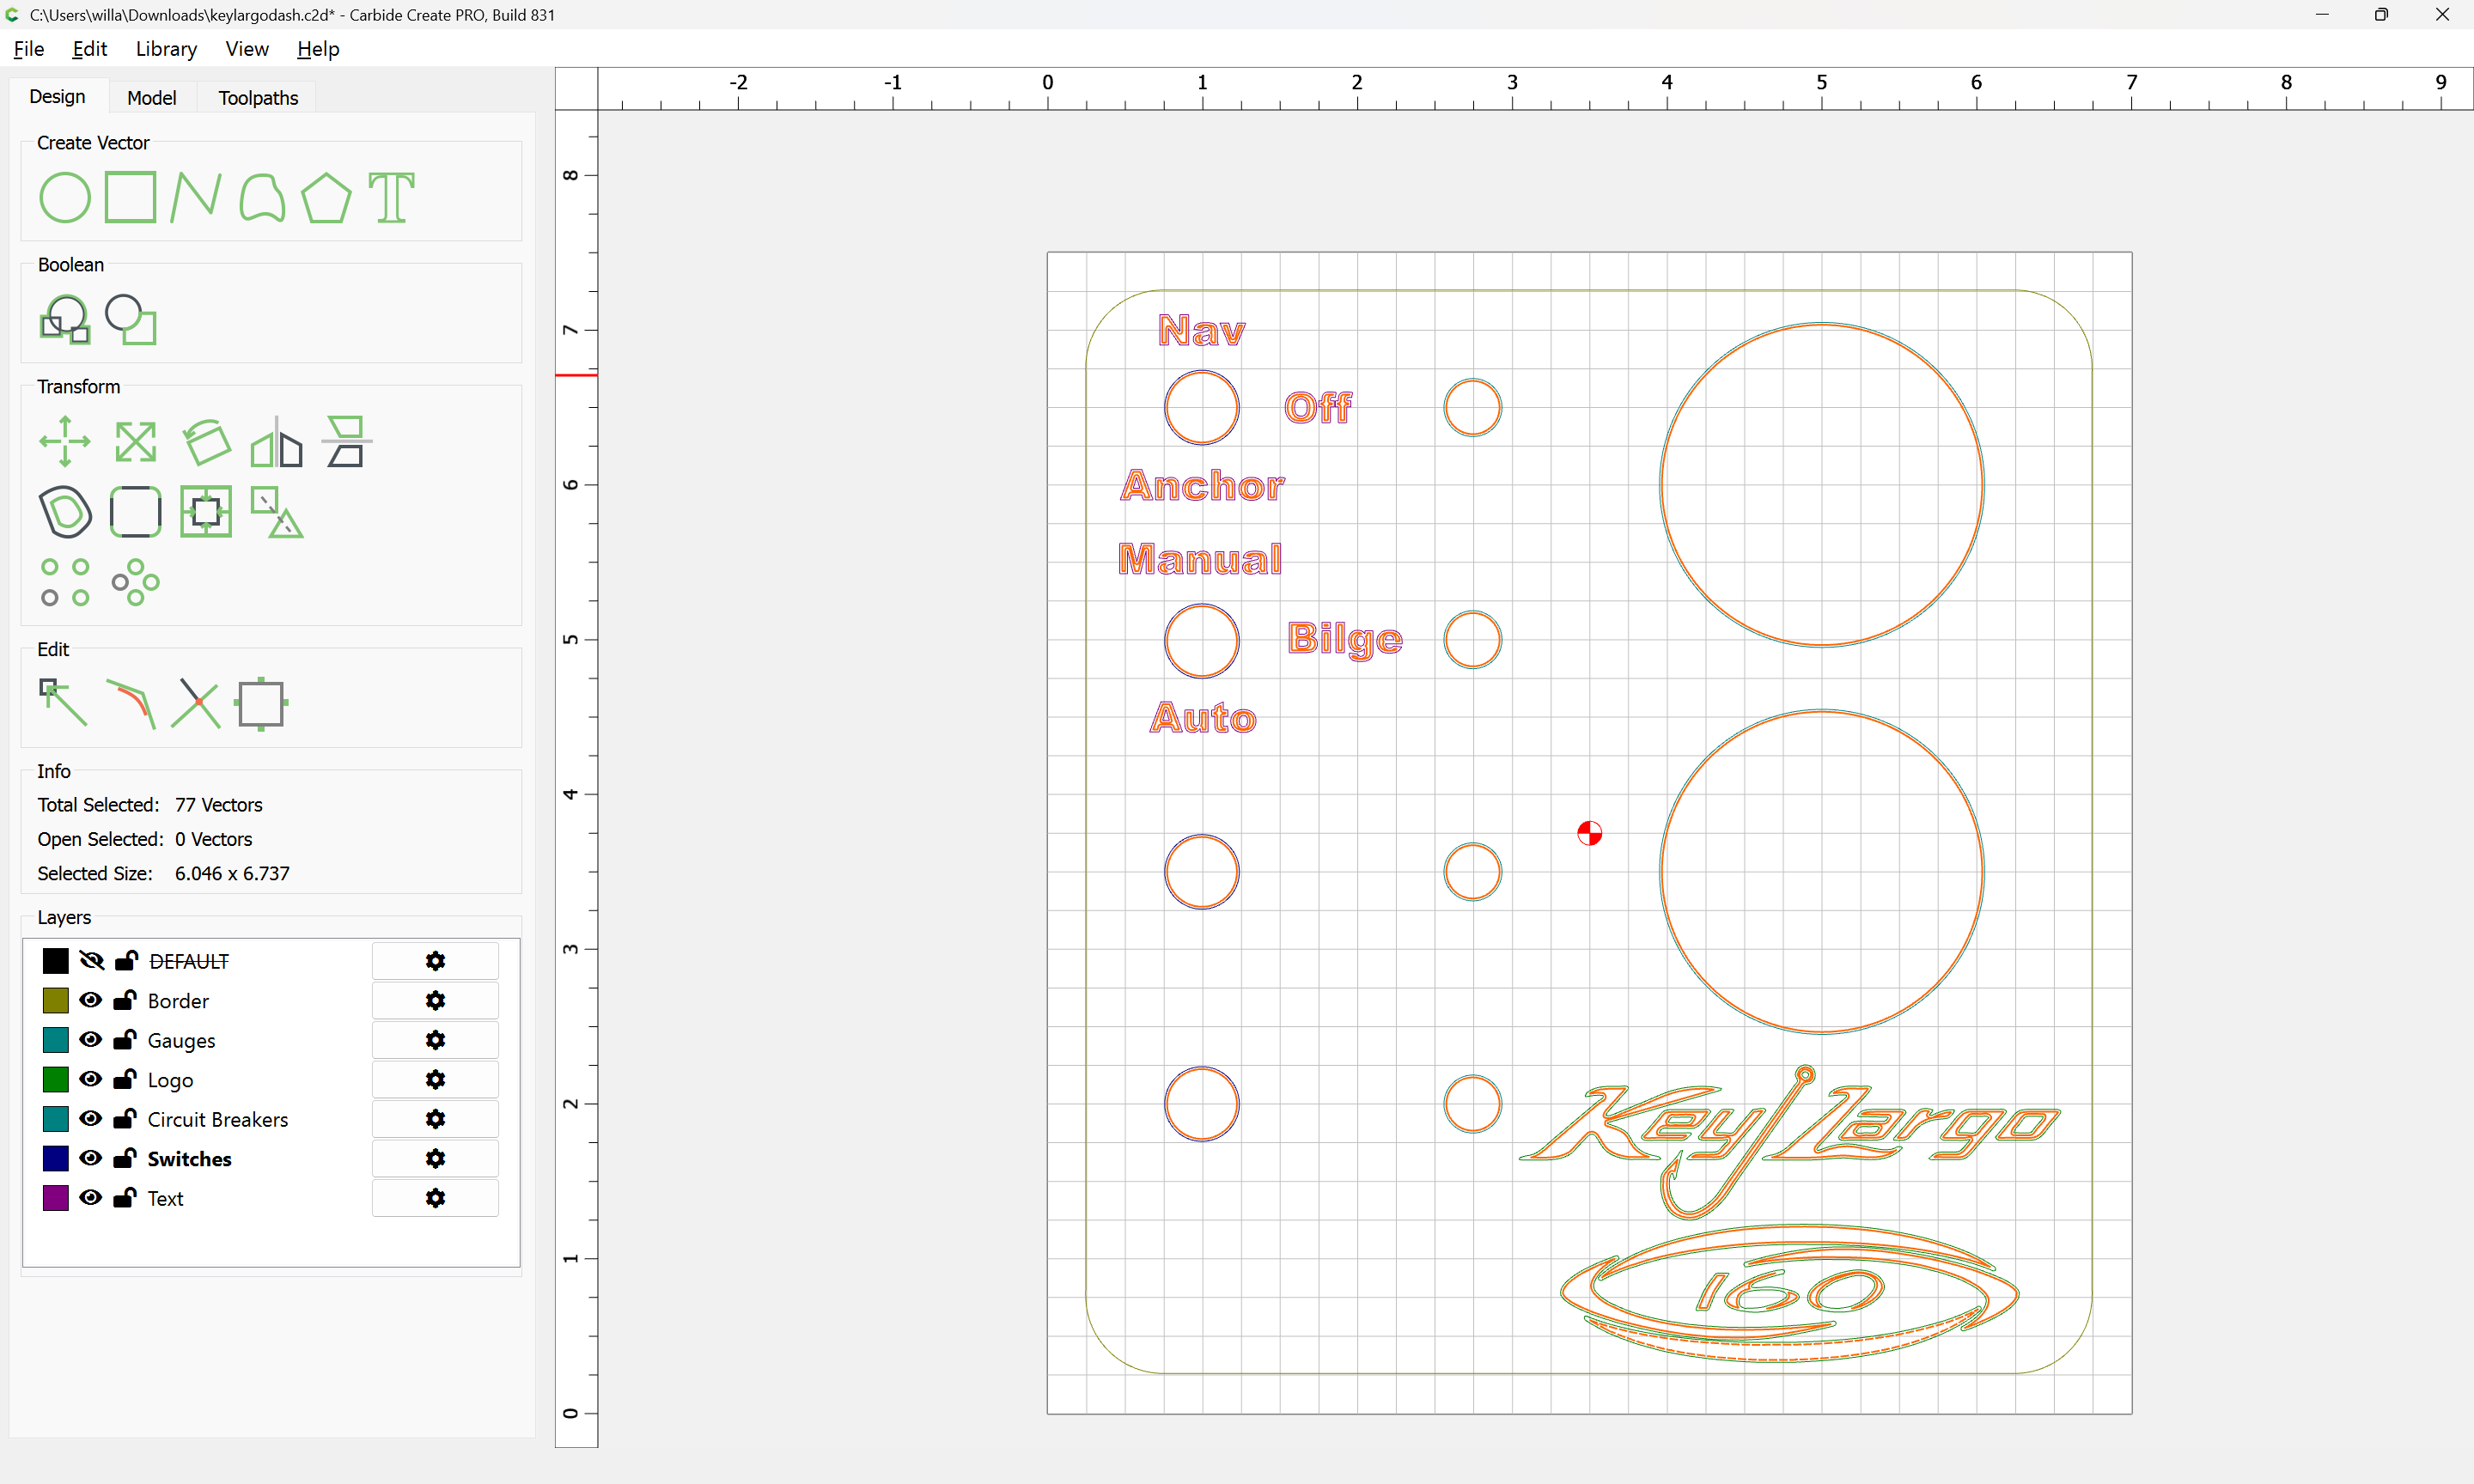
Here is the file for the current project. I was trying different things to solve the text issue so it’s not turn key.

Steve
keylargodash.c2d (320 KB)

Also that you can change the order of the tool paths to minimize tool changes.

@Steve340

Part of what is taught and recommended is to test your files on scrap wood to dial it in prior to using the good stuff to learn on. This has saved me from producing very expensive wood for the fire pit.

Then there is the use of Vcarve to get the results. It’s hard to match manufactures font/logos exactly for a reason, but its possible.

There are a larger amount of single line fonts these days due to the exact problems you’re having. The key is to keep experimenting with them to get your desired result.

1 Like

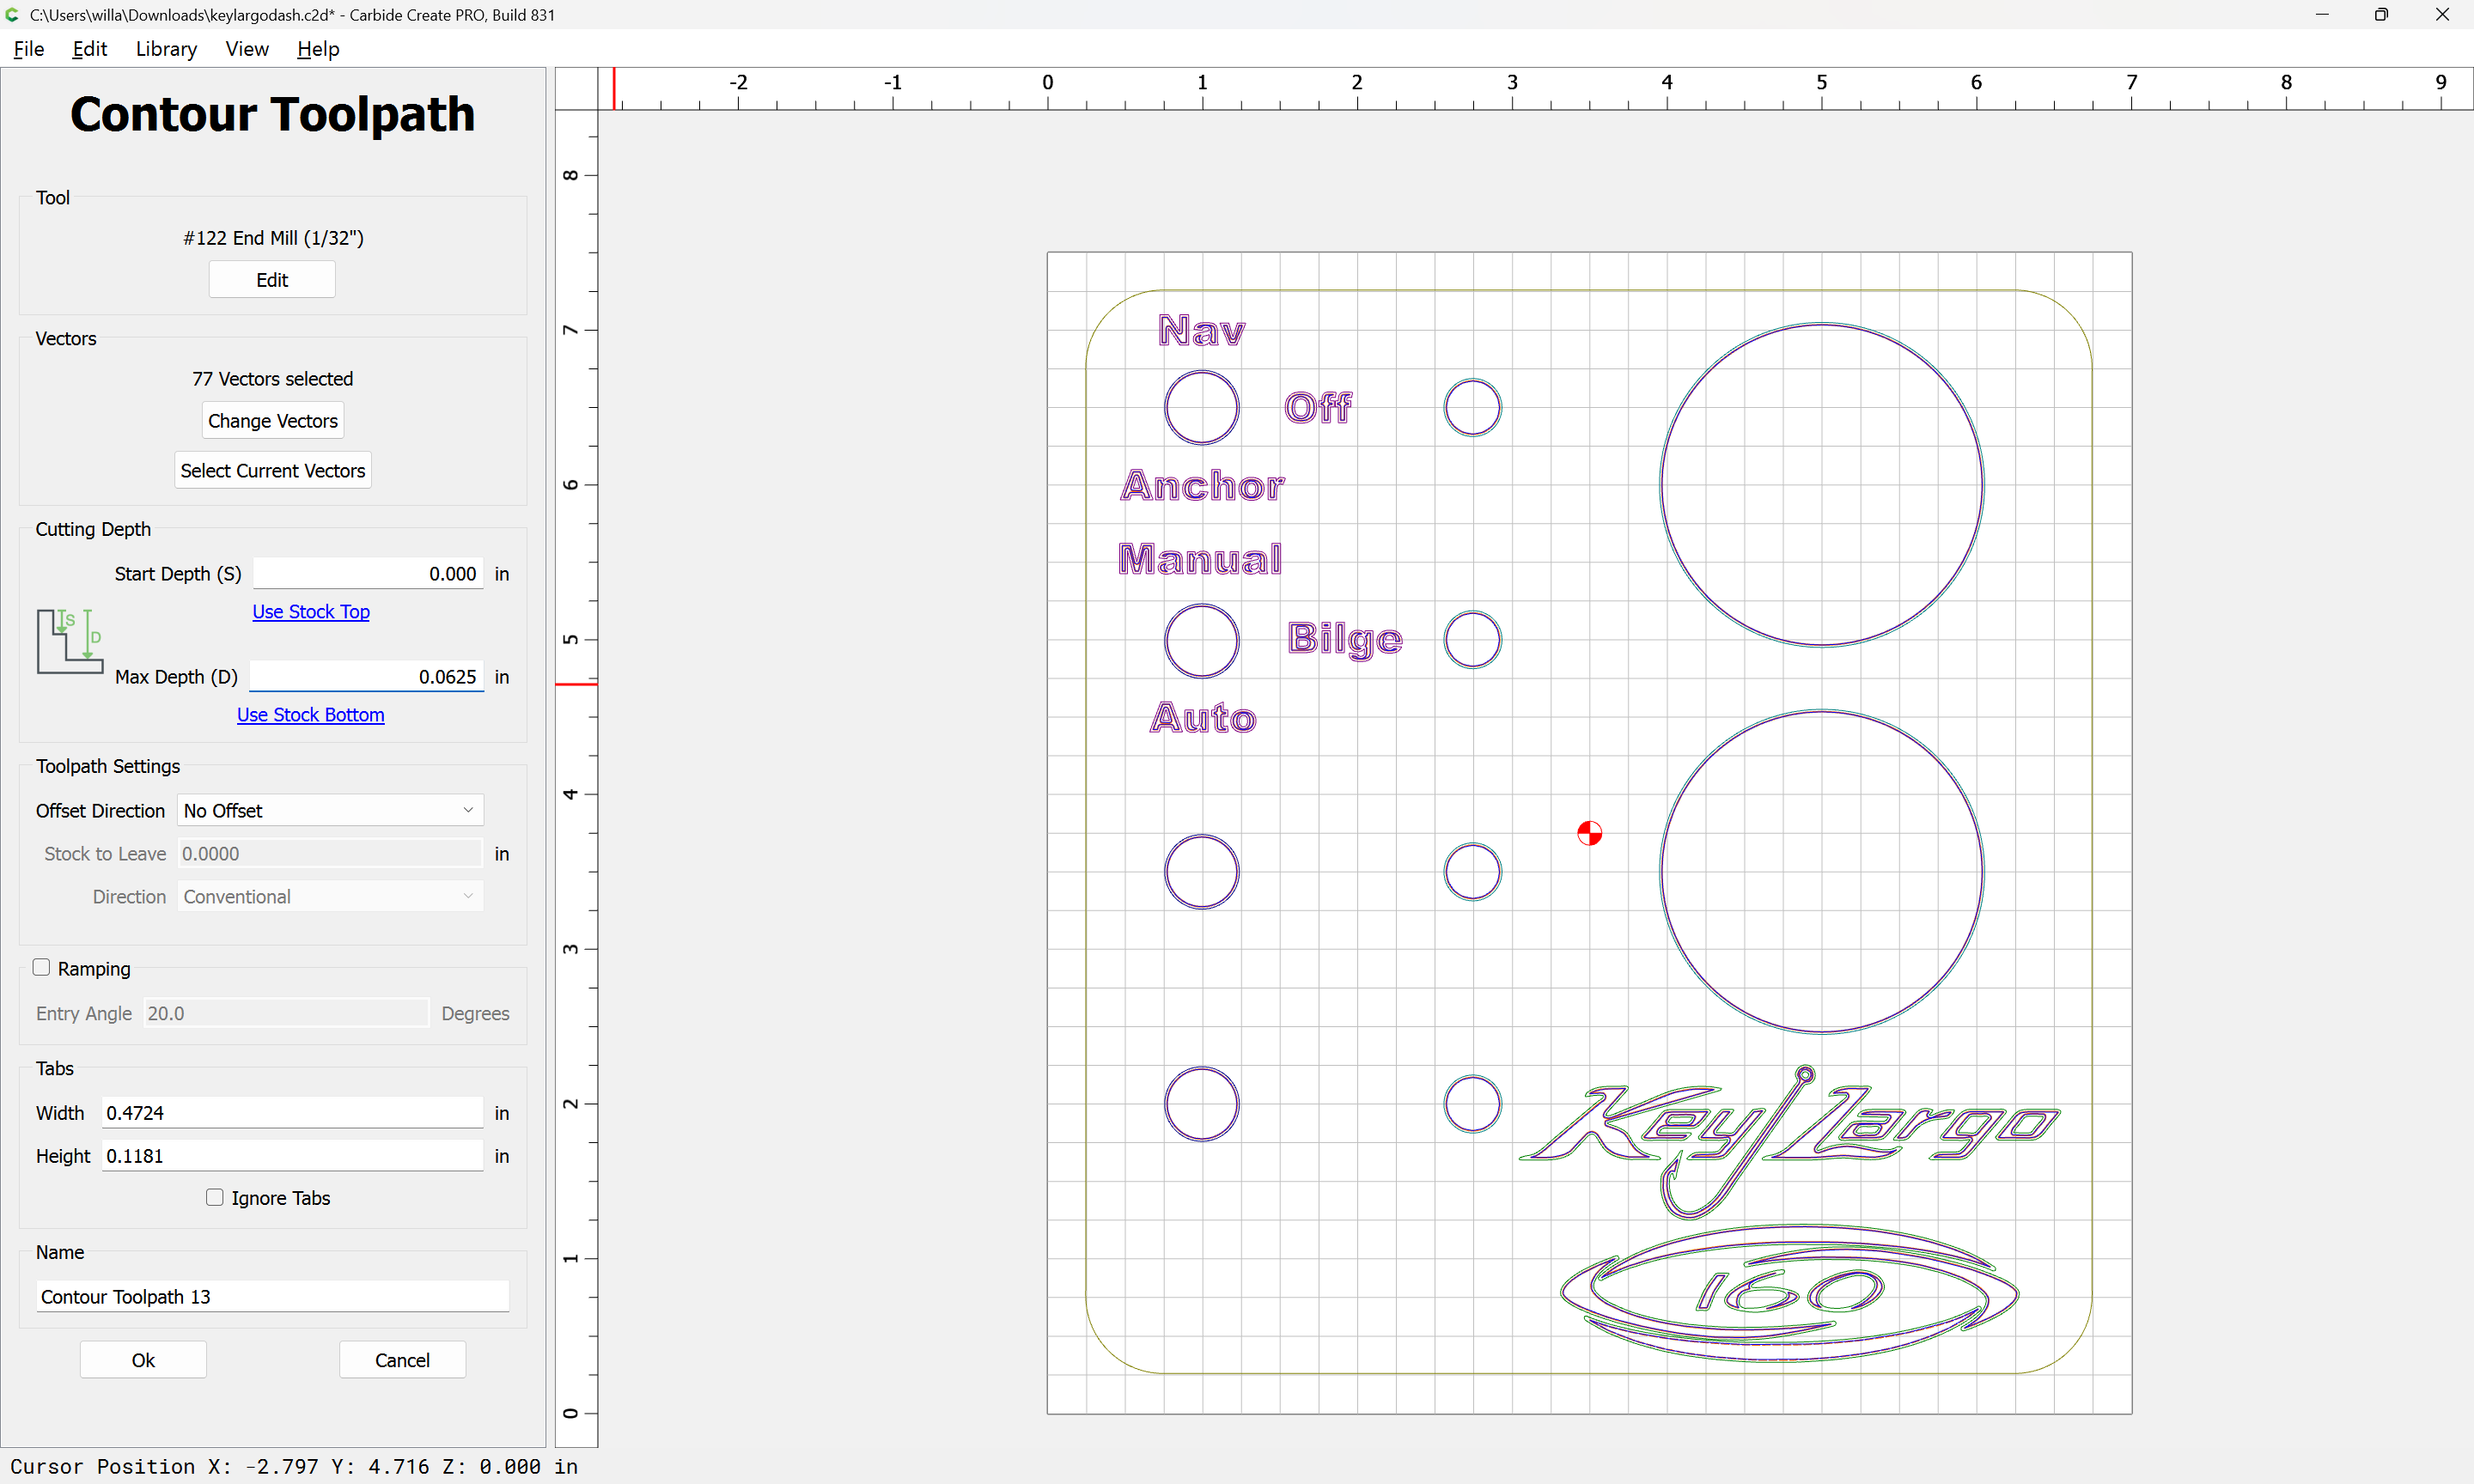
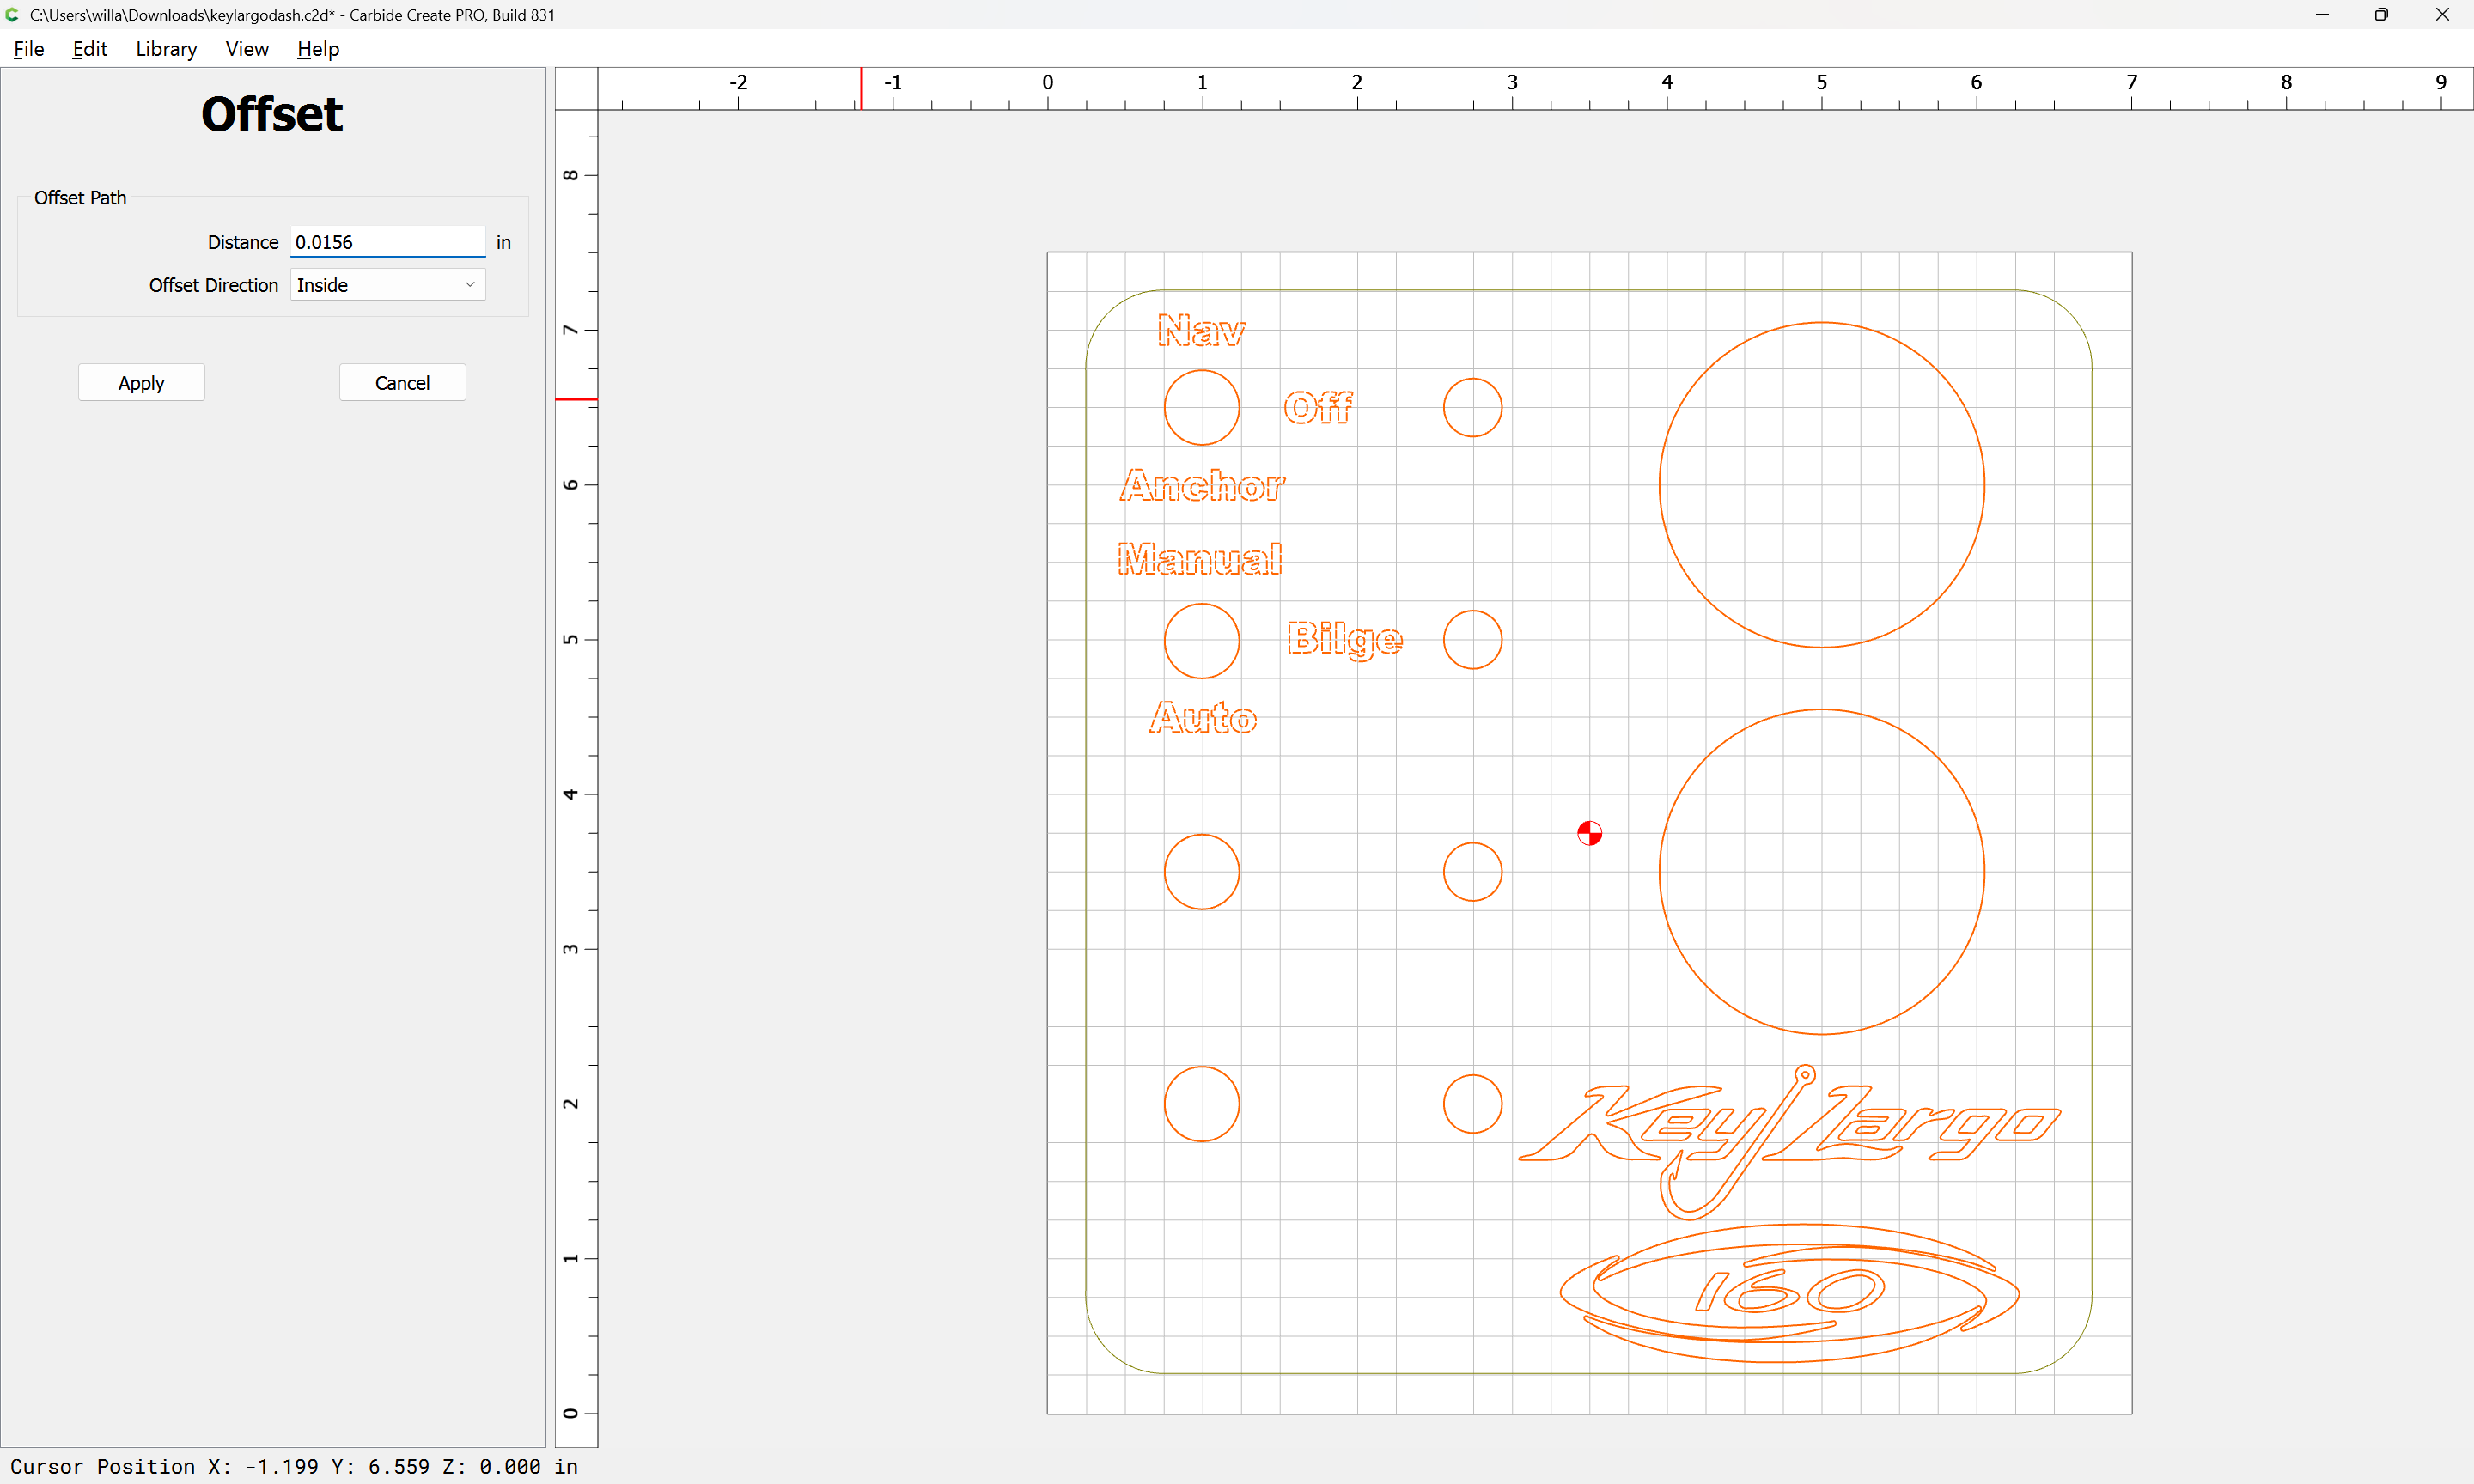
Your toolpaths are all No Offset Contour — why not do insets which are the radius of the tool? (where the tool is small enough)

Or, just do an Engraving toolpath? note that this is a Pro feature)

(note that some characters are too small for this to work with that dimension — some adjustment for them will be necessary)

adding a pocket toolpath gets one to:

Carbide Create is arguably simple to a fault — folks who need more than it offers should use a 3rd party tool such as Inkscape or Serif’s Affinity Designer — while Carbide Create can be pretty simply described in just a few pages:

There are entire books on learning vector editing and vector drawing programs:

(unfortunately, Affinity no longer sells their Workbook)

One of the best books on vector drawing which I ever read is Olav Martin Kvern’s:

(though I believe I have owned pretty much every edition)

1 Like

That was cool. He went from engraving the standard fonts, but the lead looks like single line text?

Steve

Also, note that a Carbide 3D machine includes 4 free training sessions — if you have Carbide Create Pro or want more, sessions can be purchased:

If they’re all no offset, this is an earlier version.

The gauges were 2.0 so in order to cut it, it would have to be inside offset, same with the switches and circuit breaker holes. The border would be outside offset to maintain the sizing. Took awhile to learn all this. Exposure to photoshop helped a lot with the learning curve.
This topic was automatically closed 30 days after the last reply. New replies are no longer allowed.