Hi @Able ,
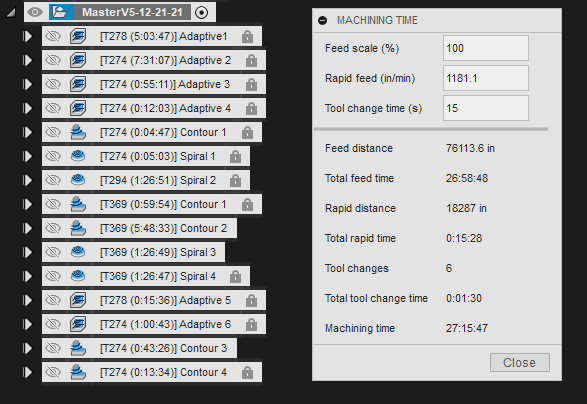
It shows 27 hours but I think it is more like 36 actual per snowflake.
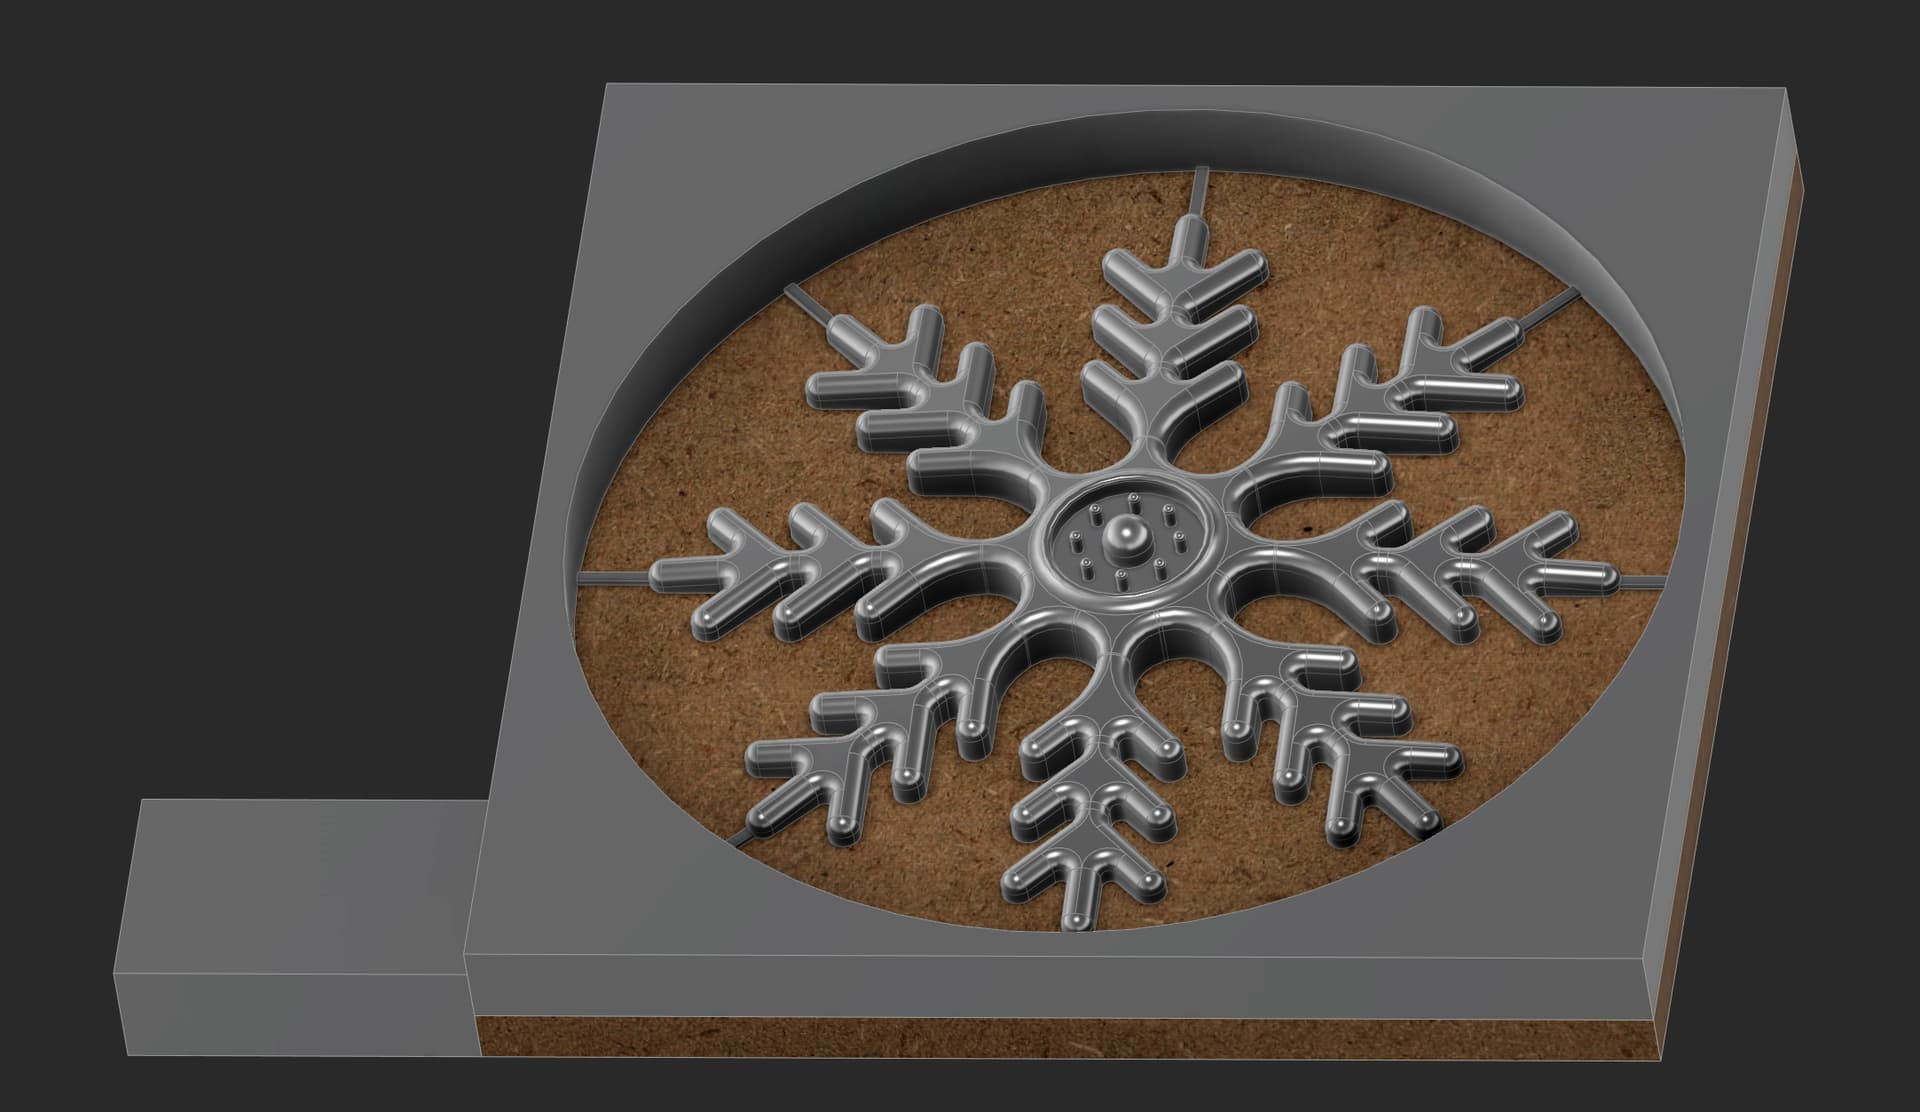
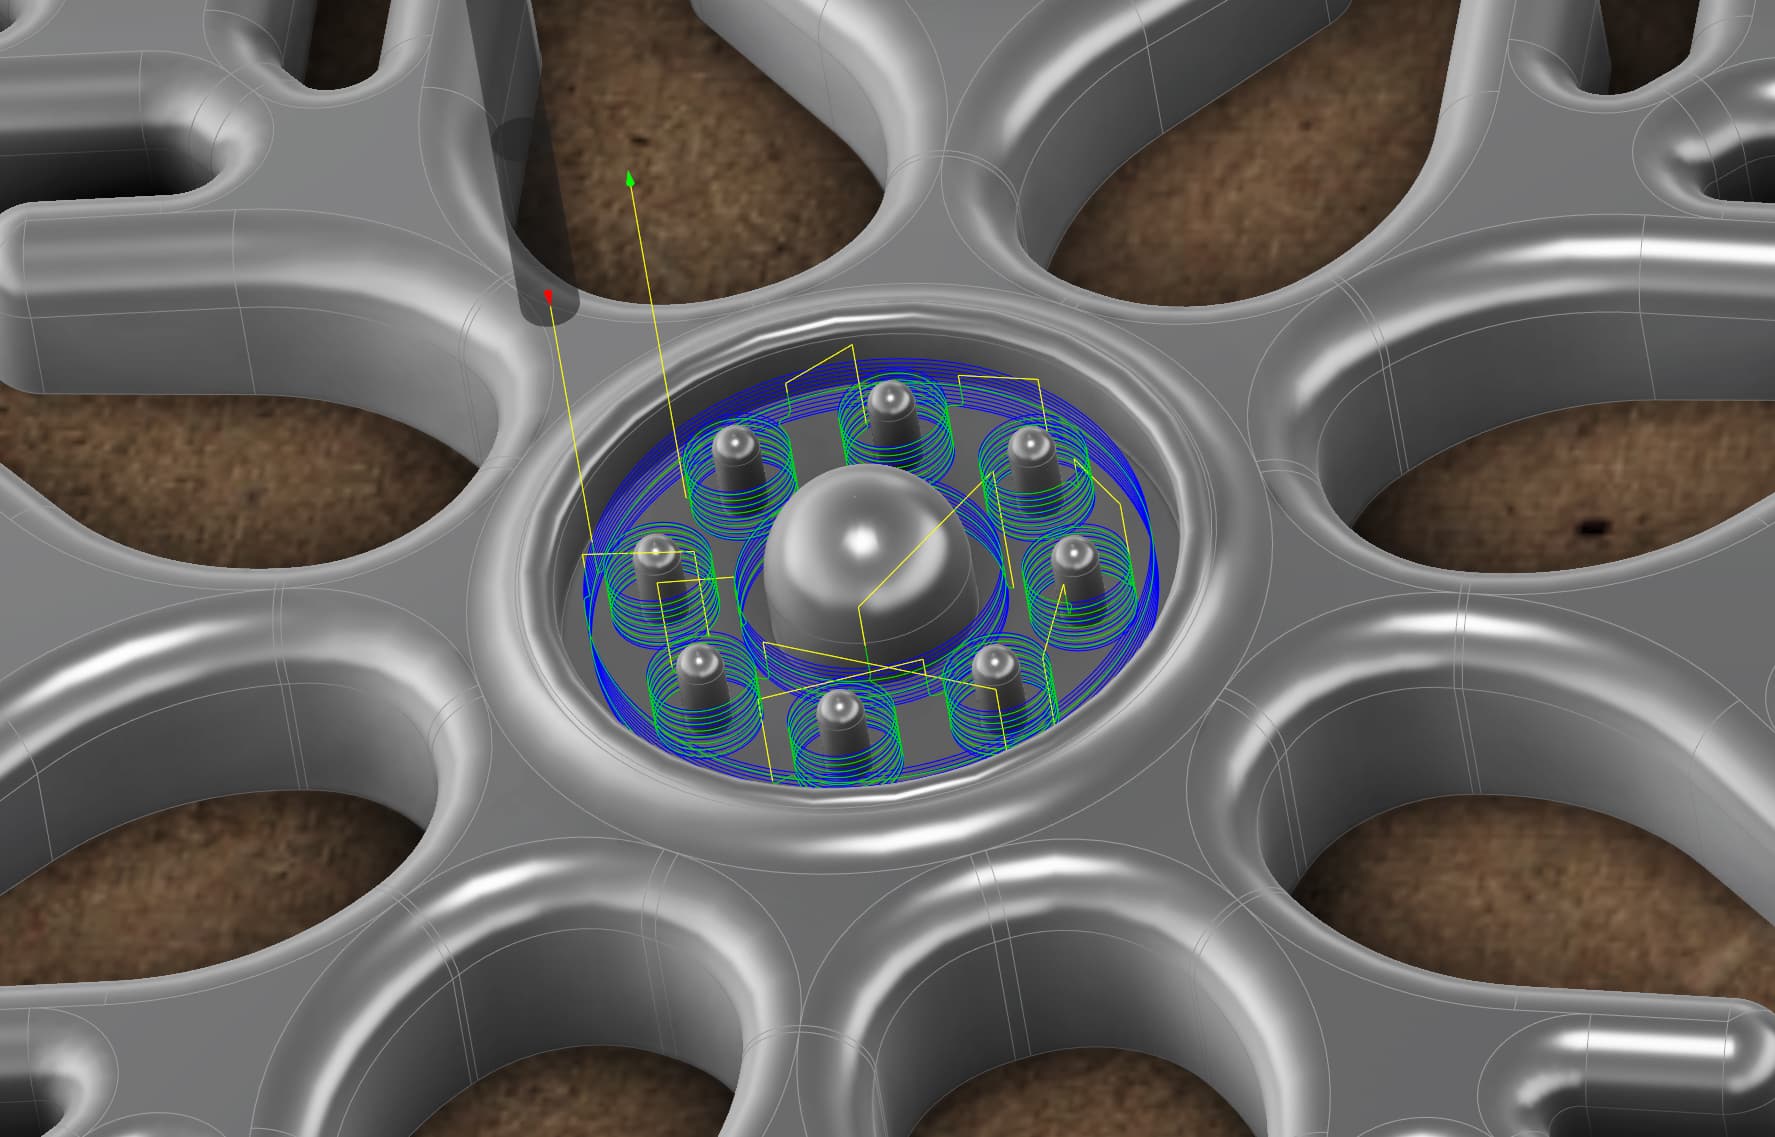
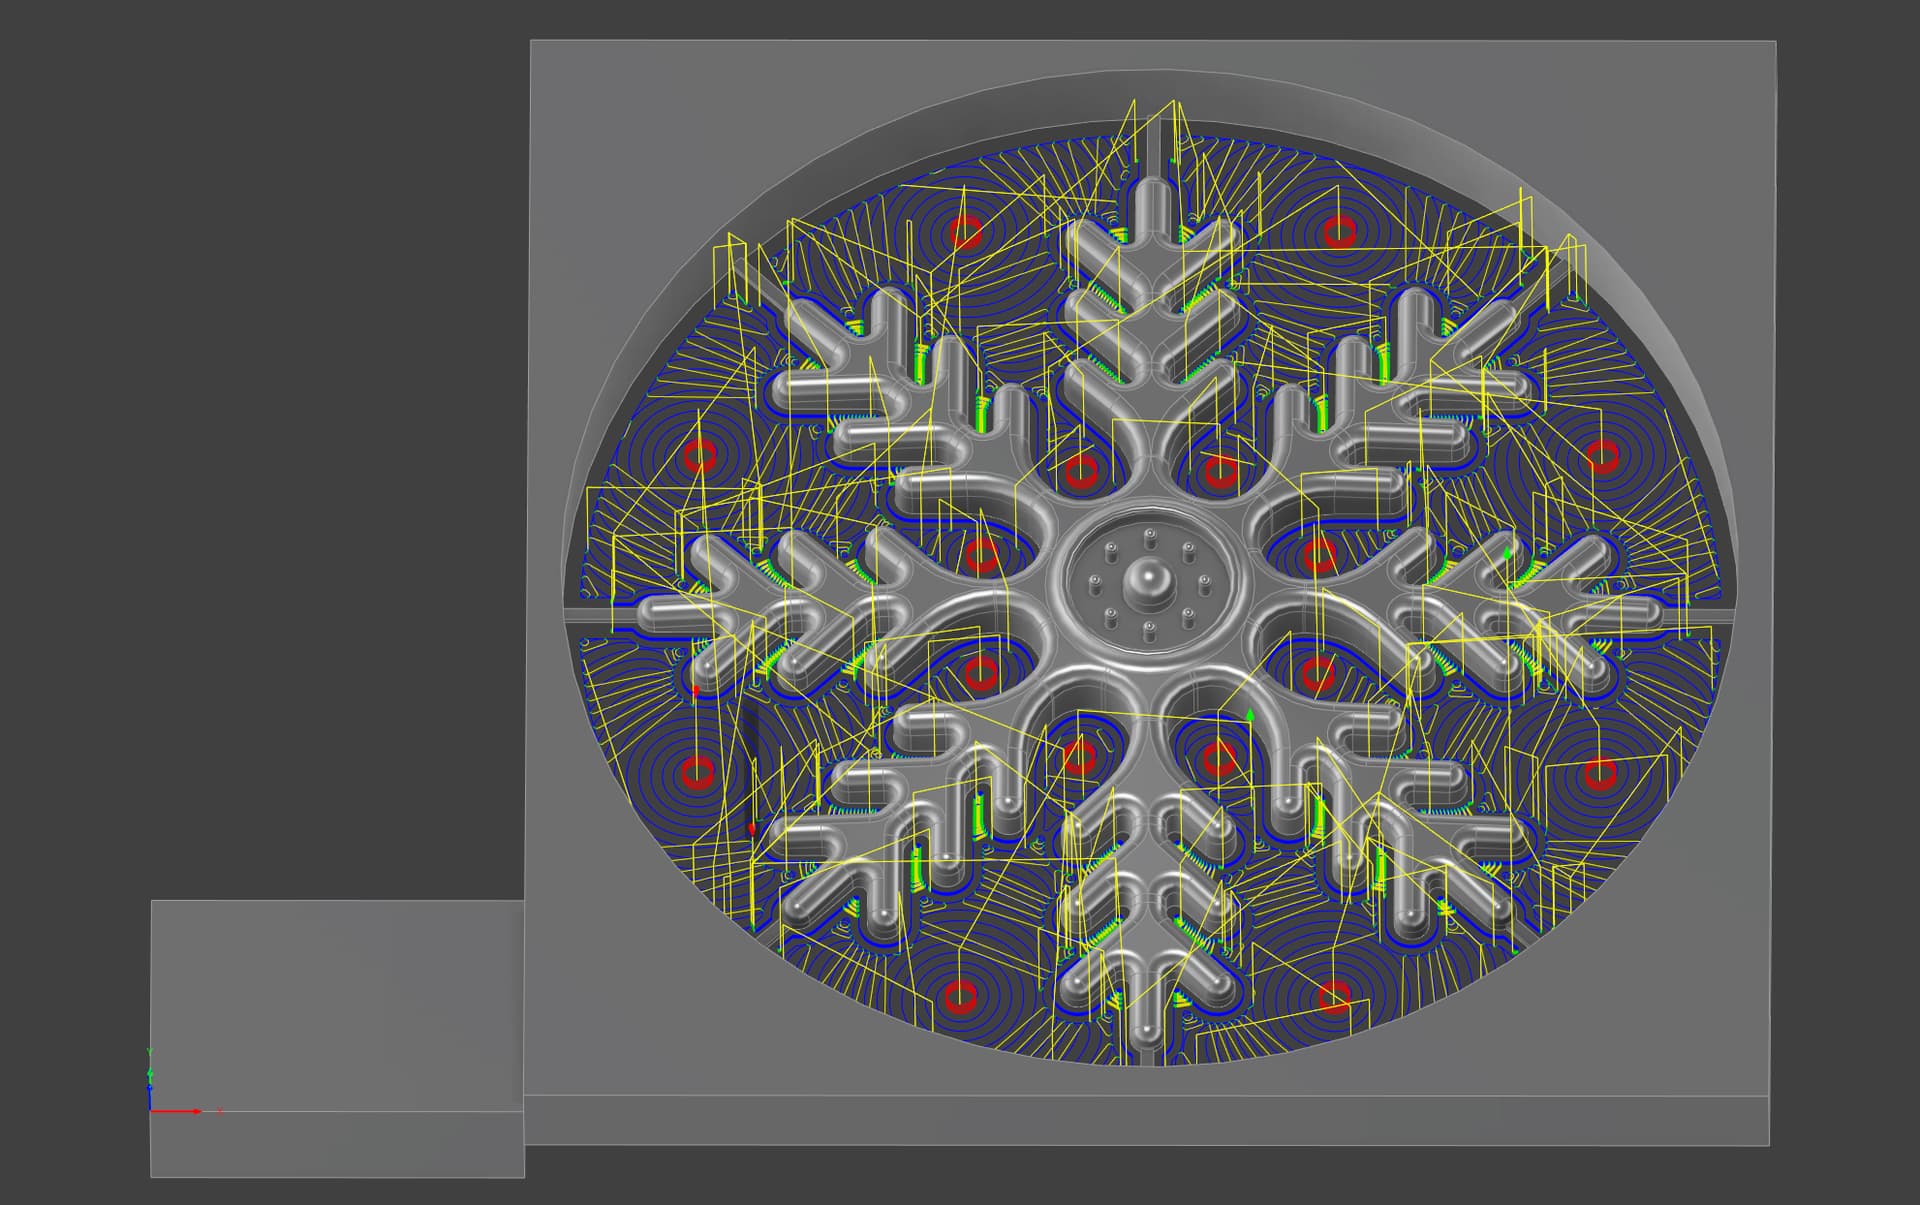
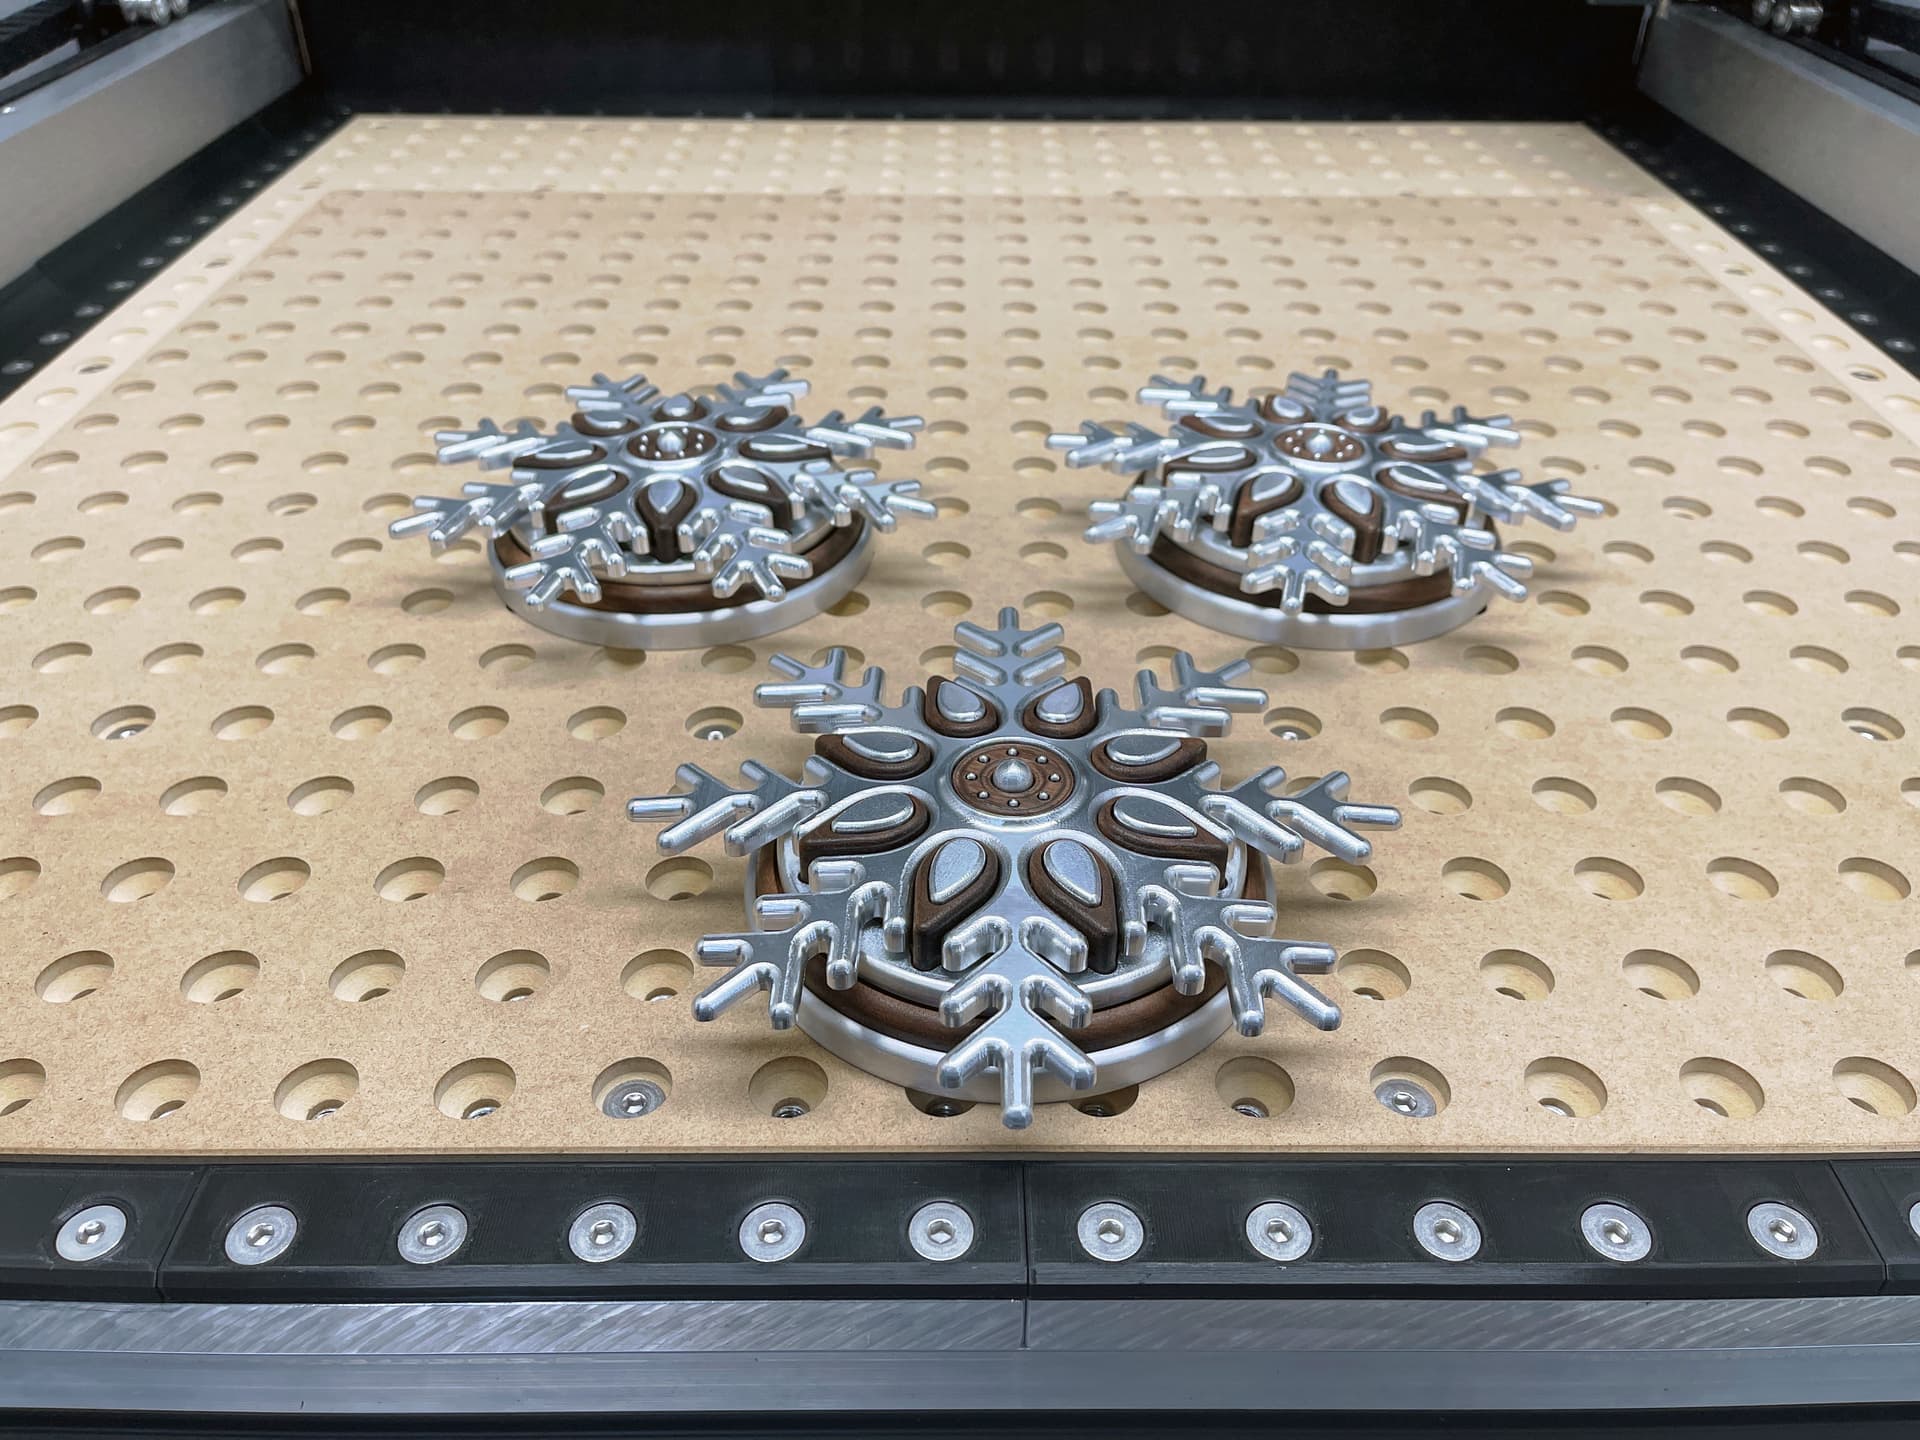
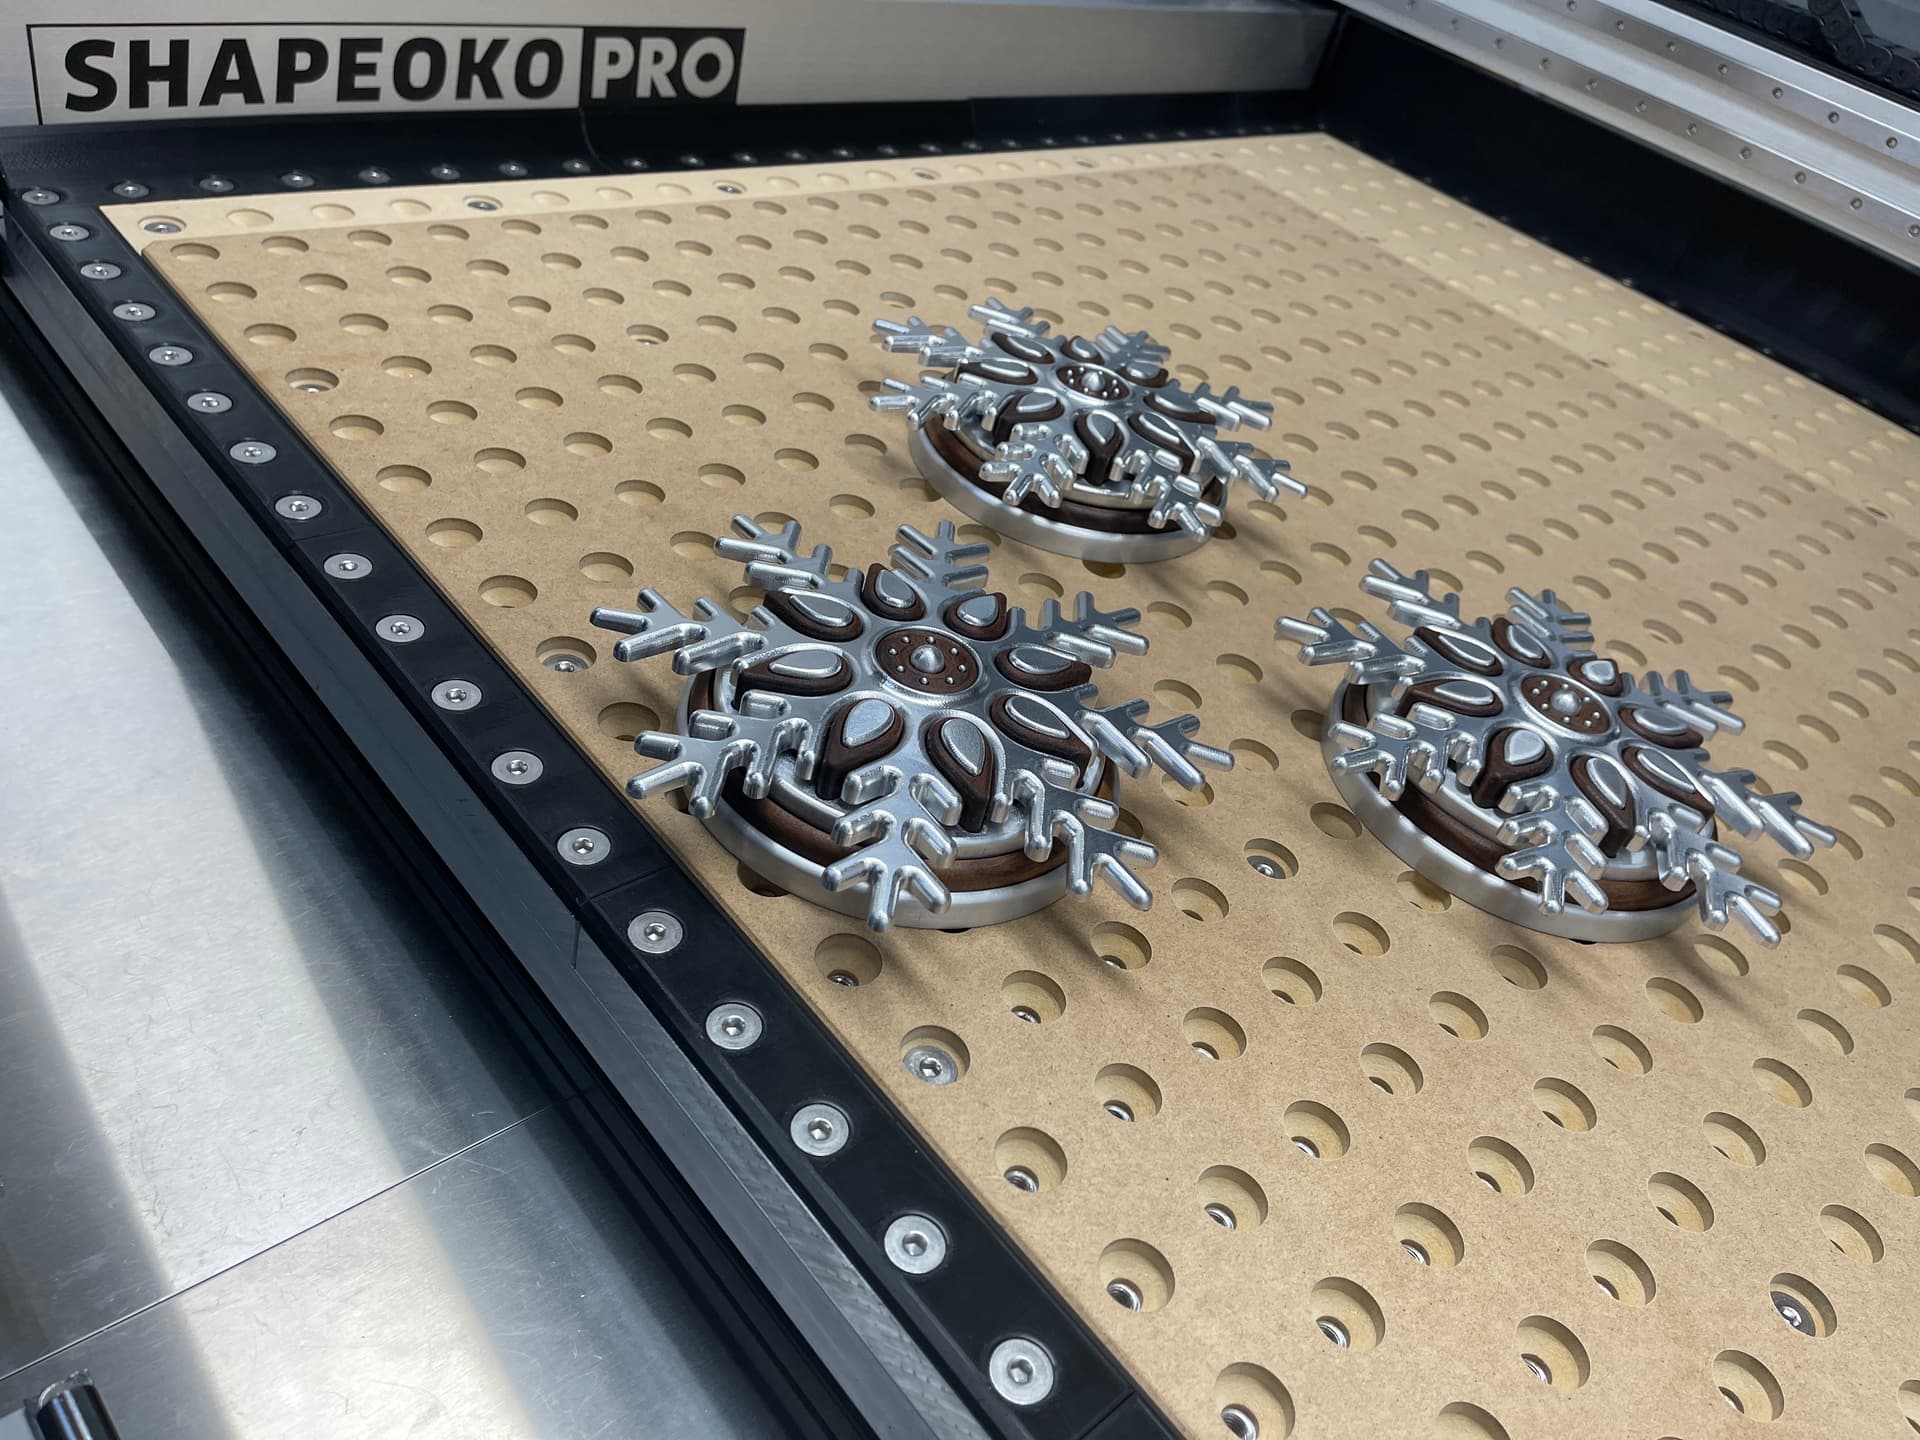
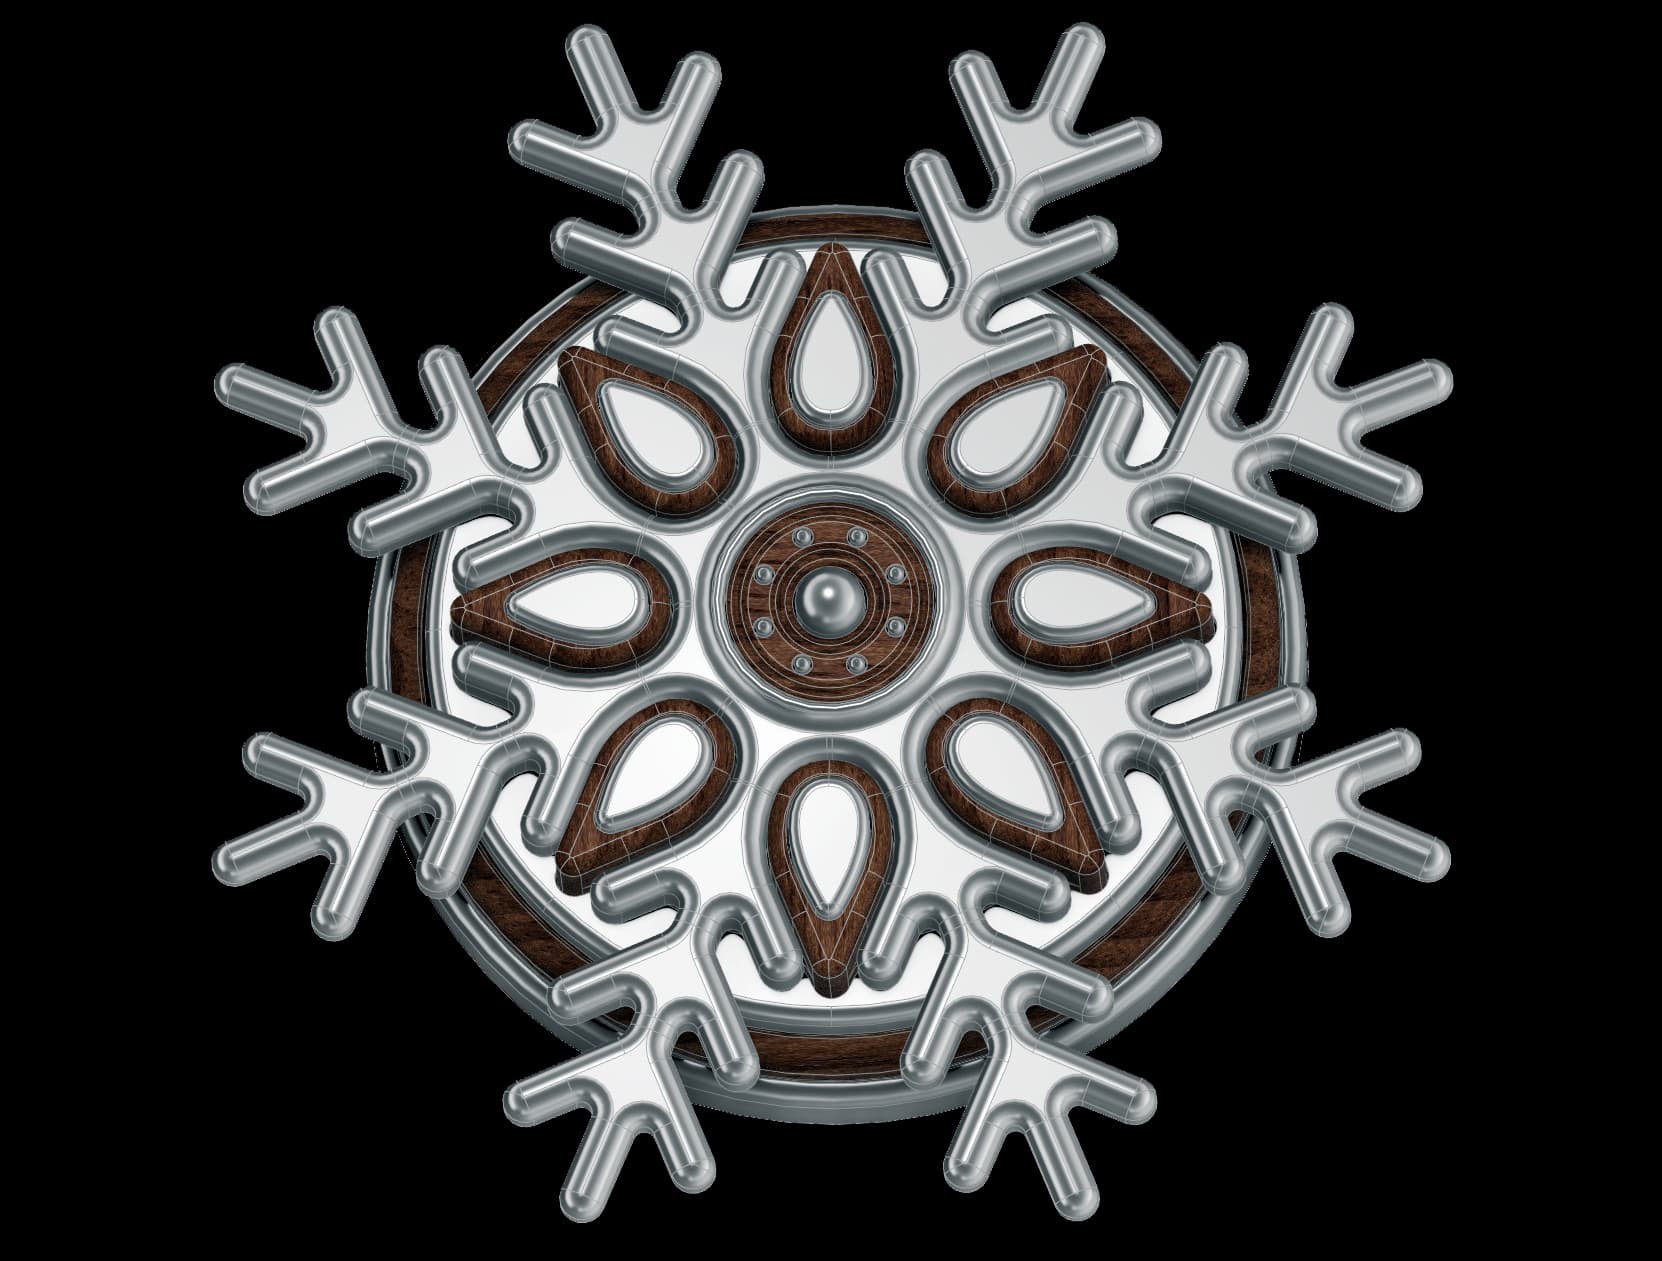
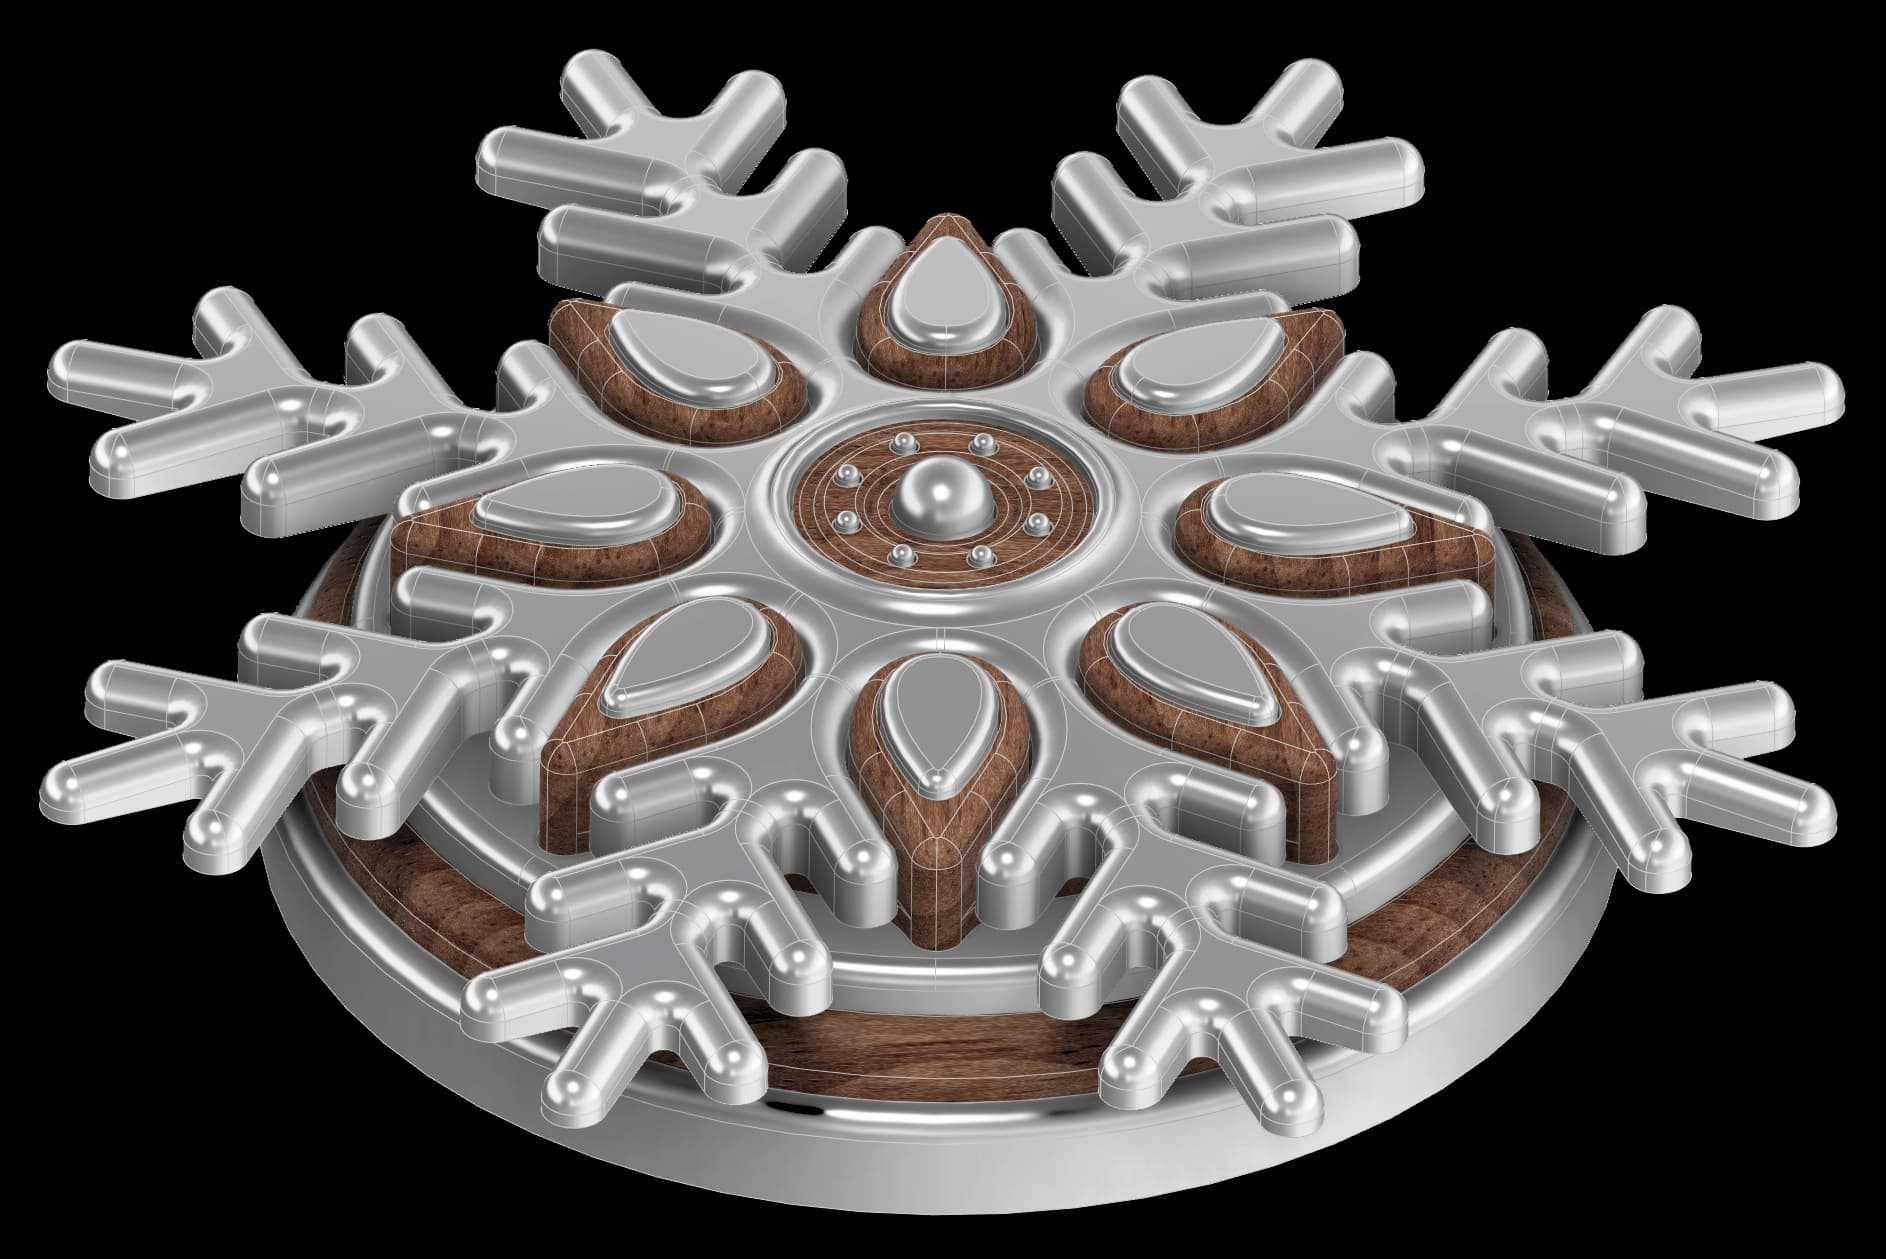
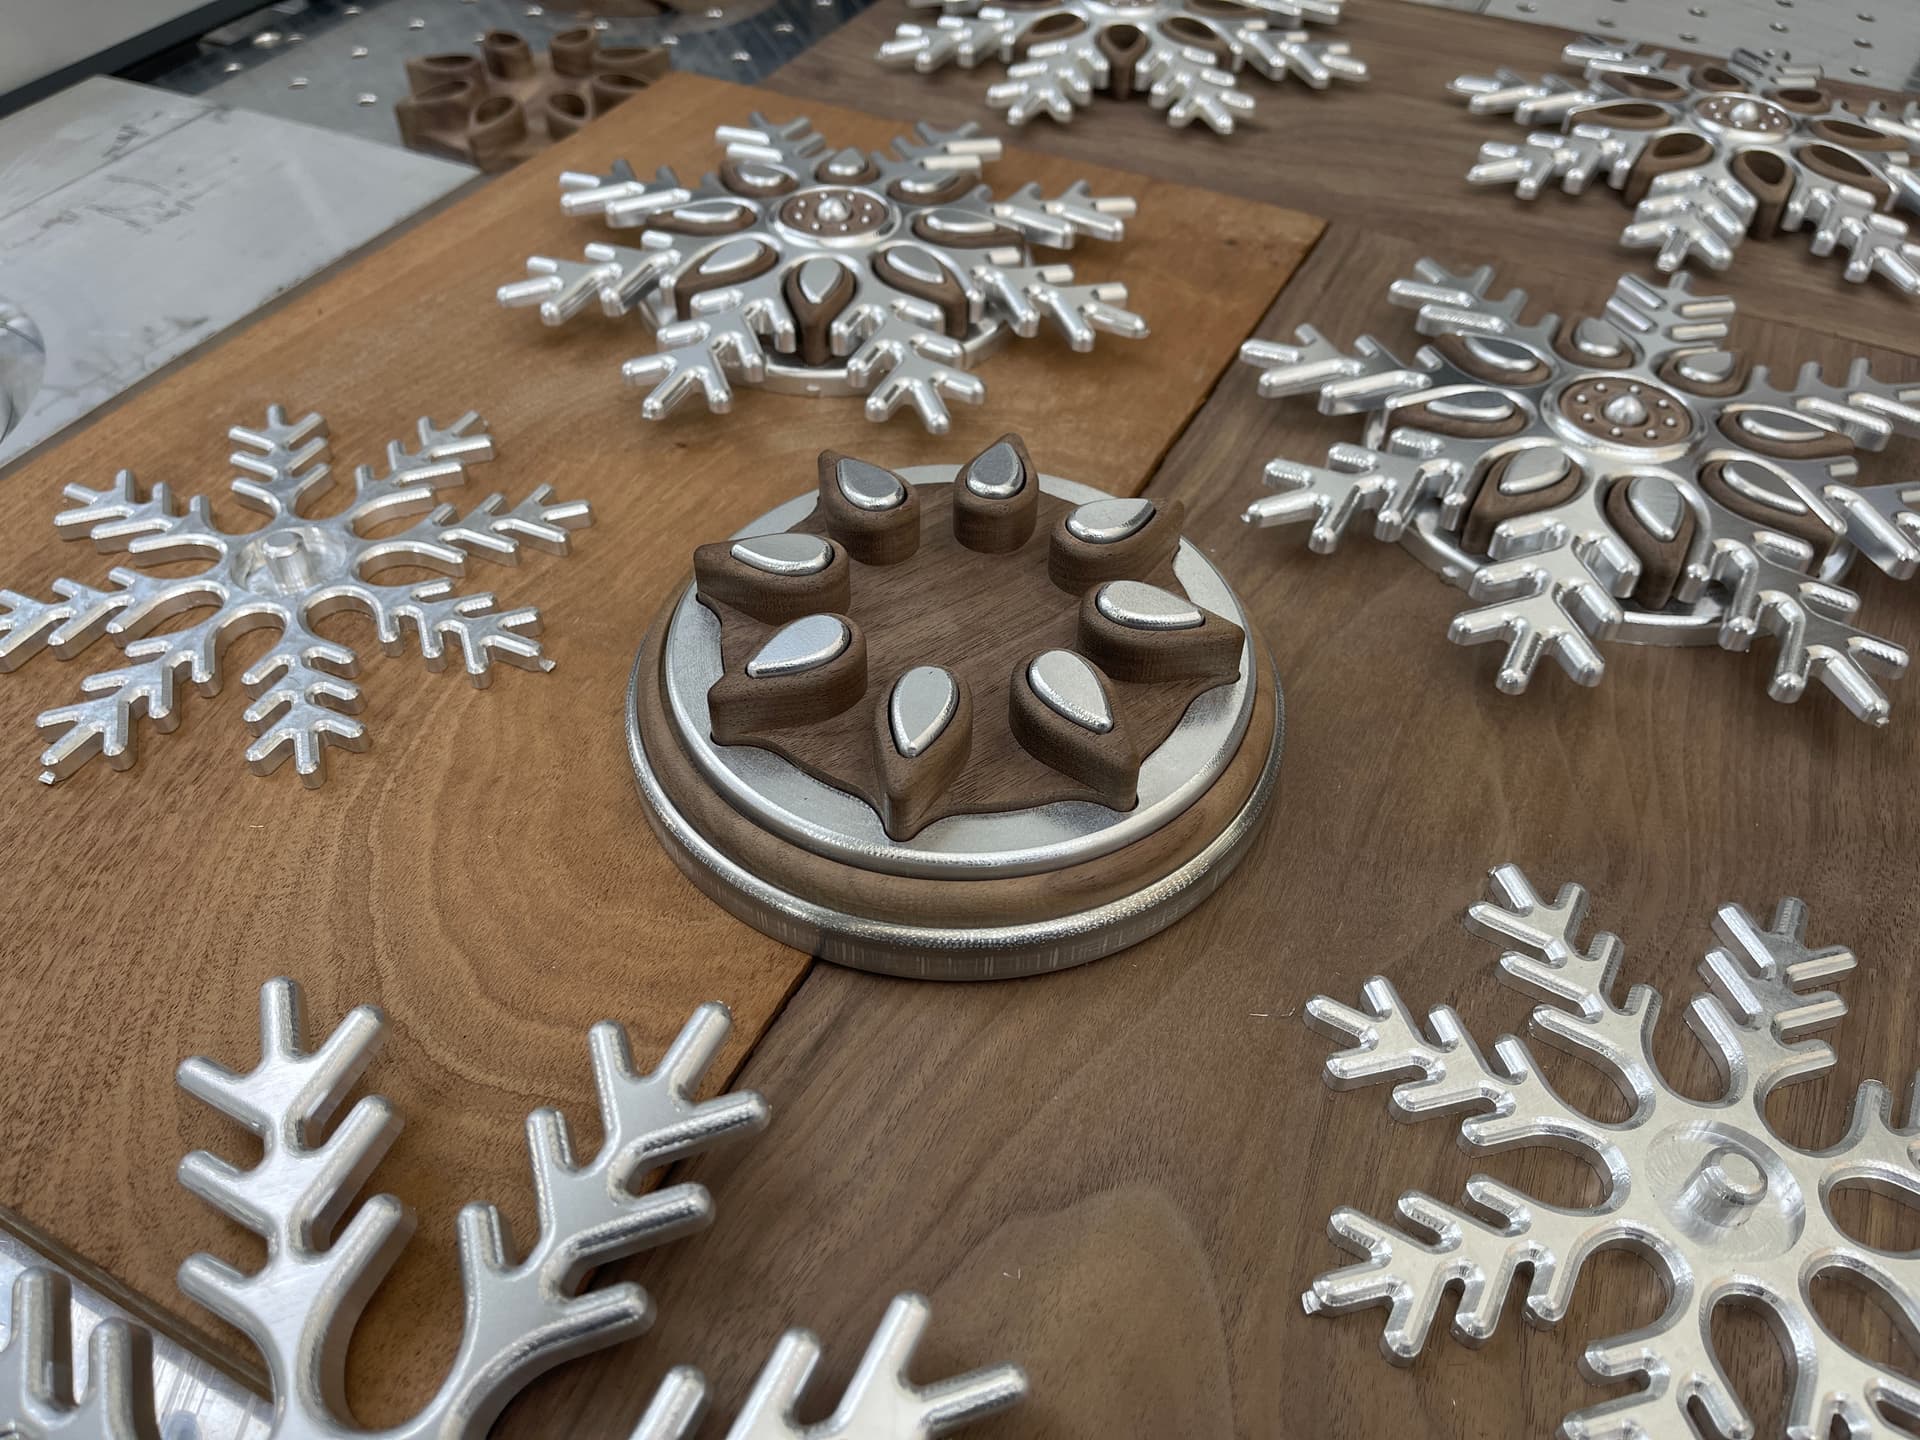
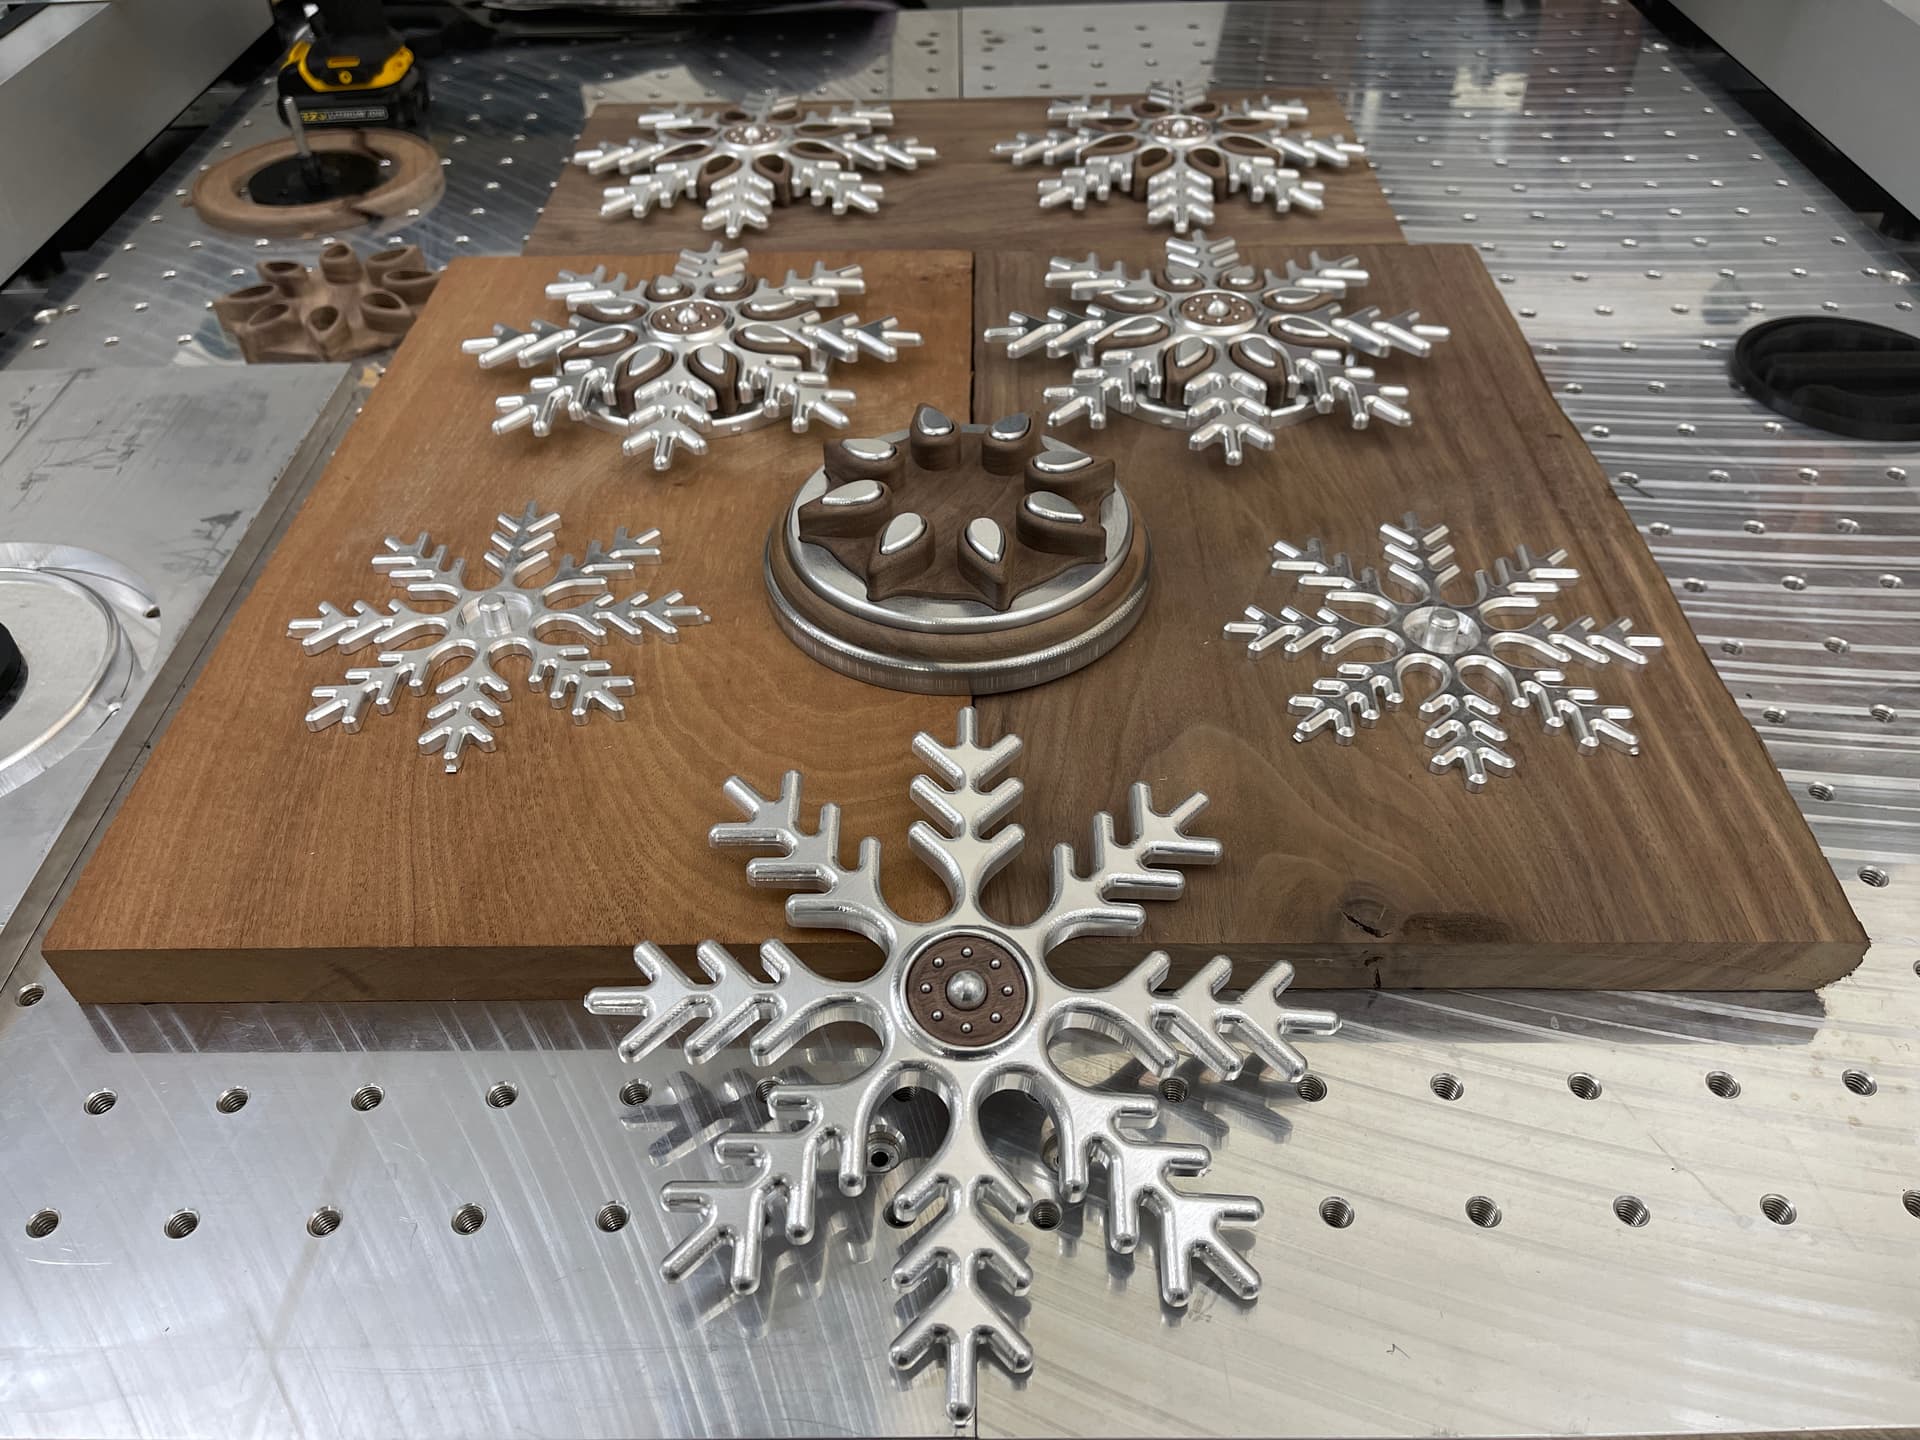
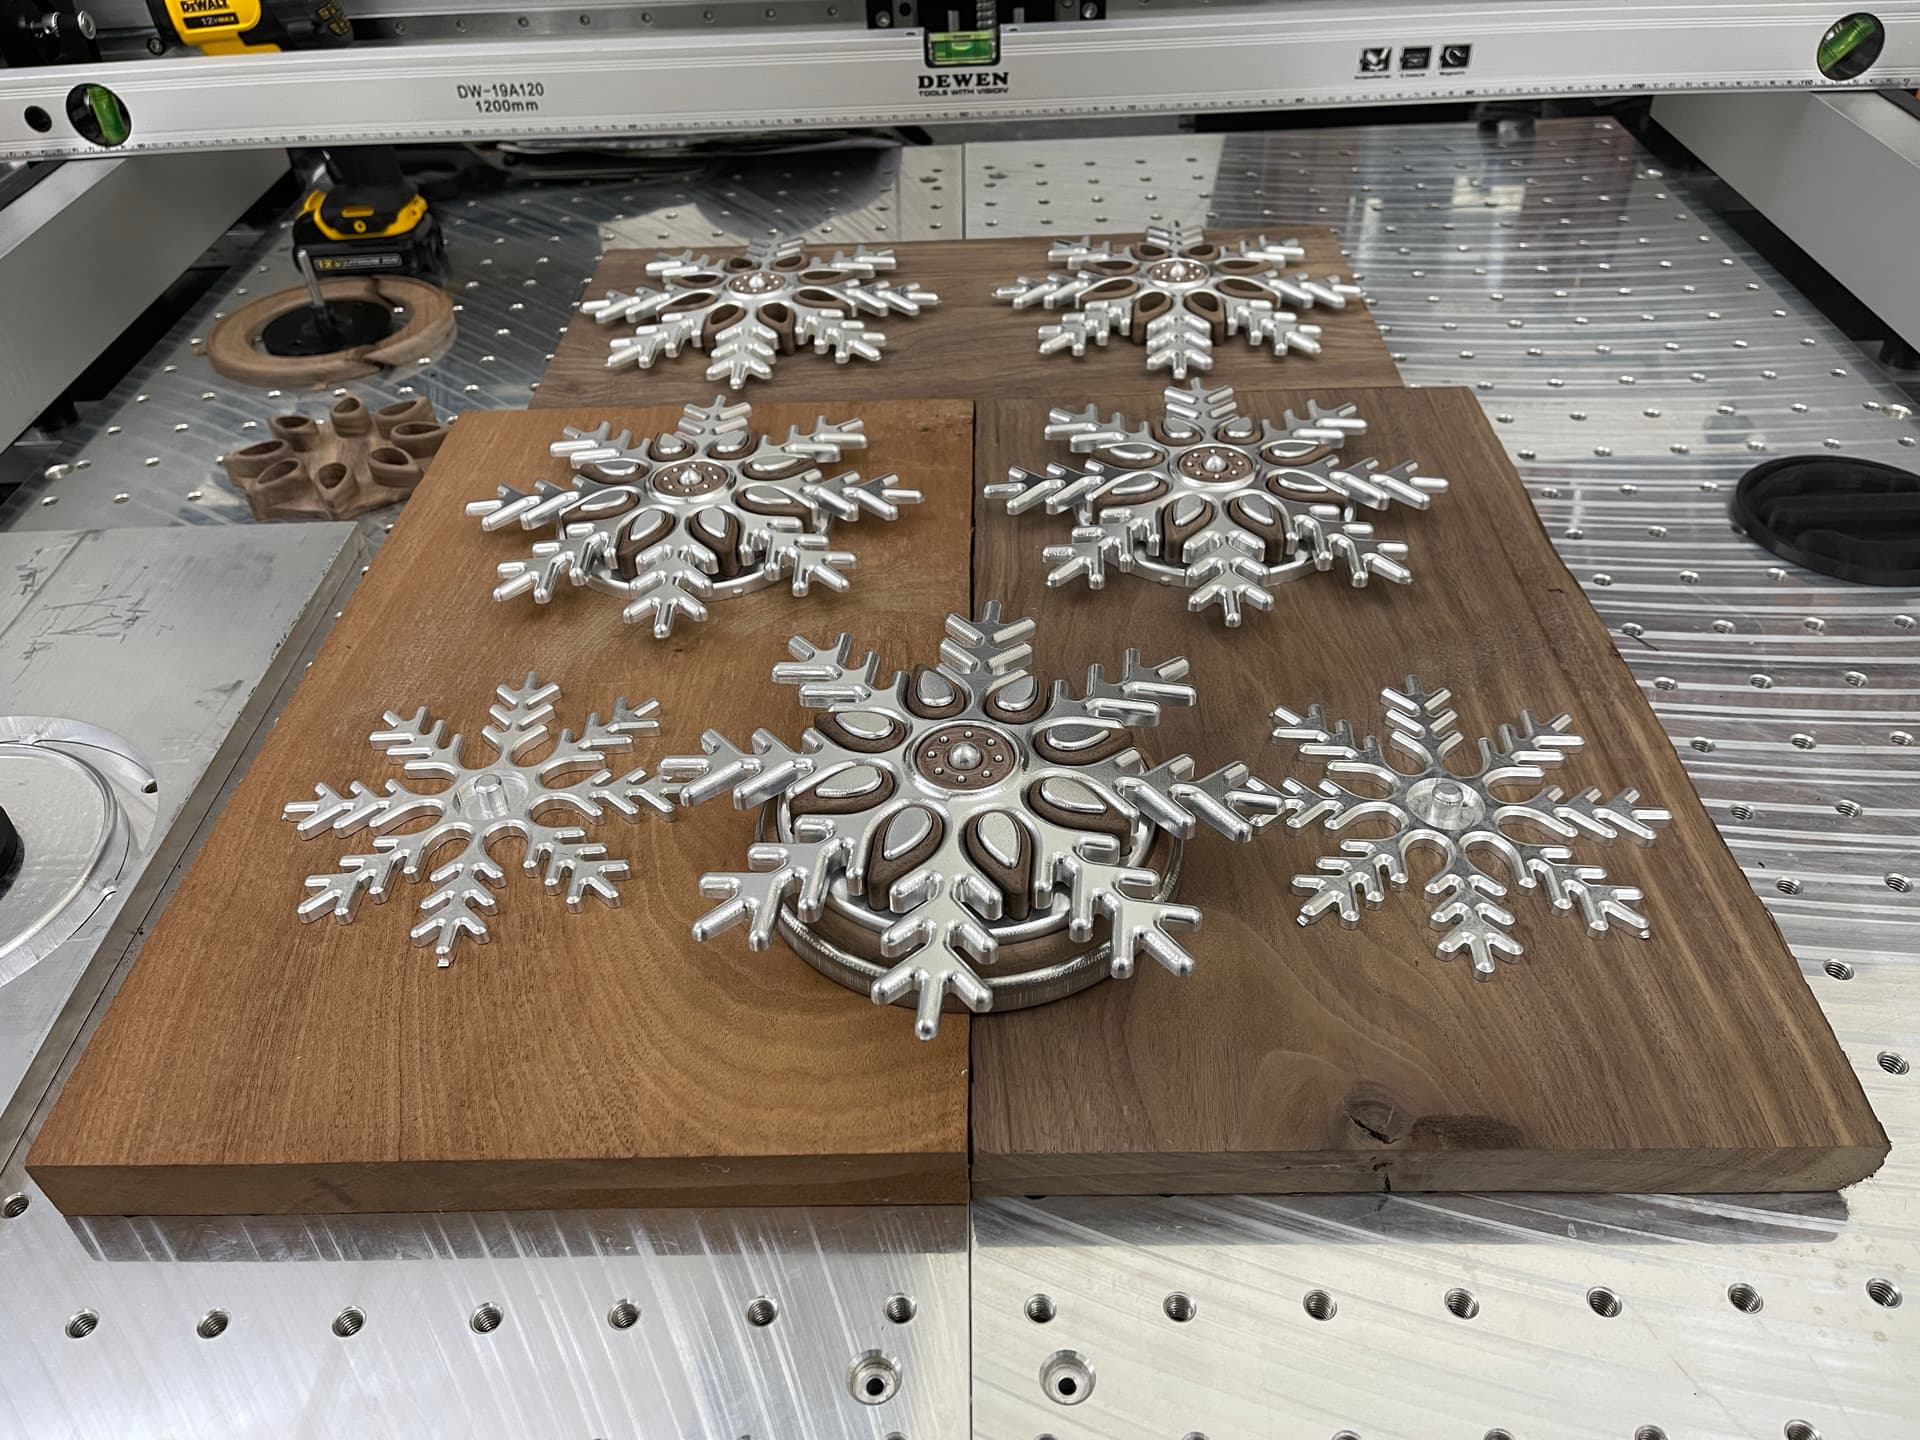
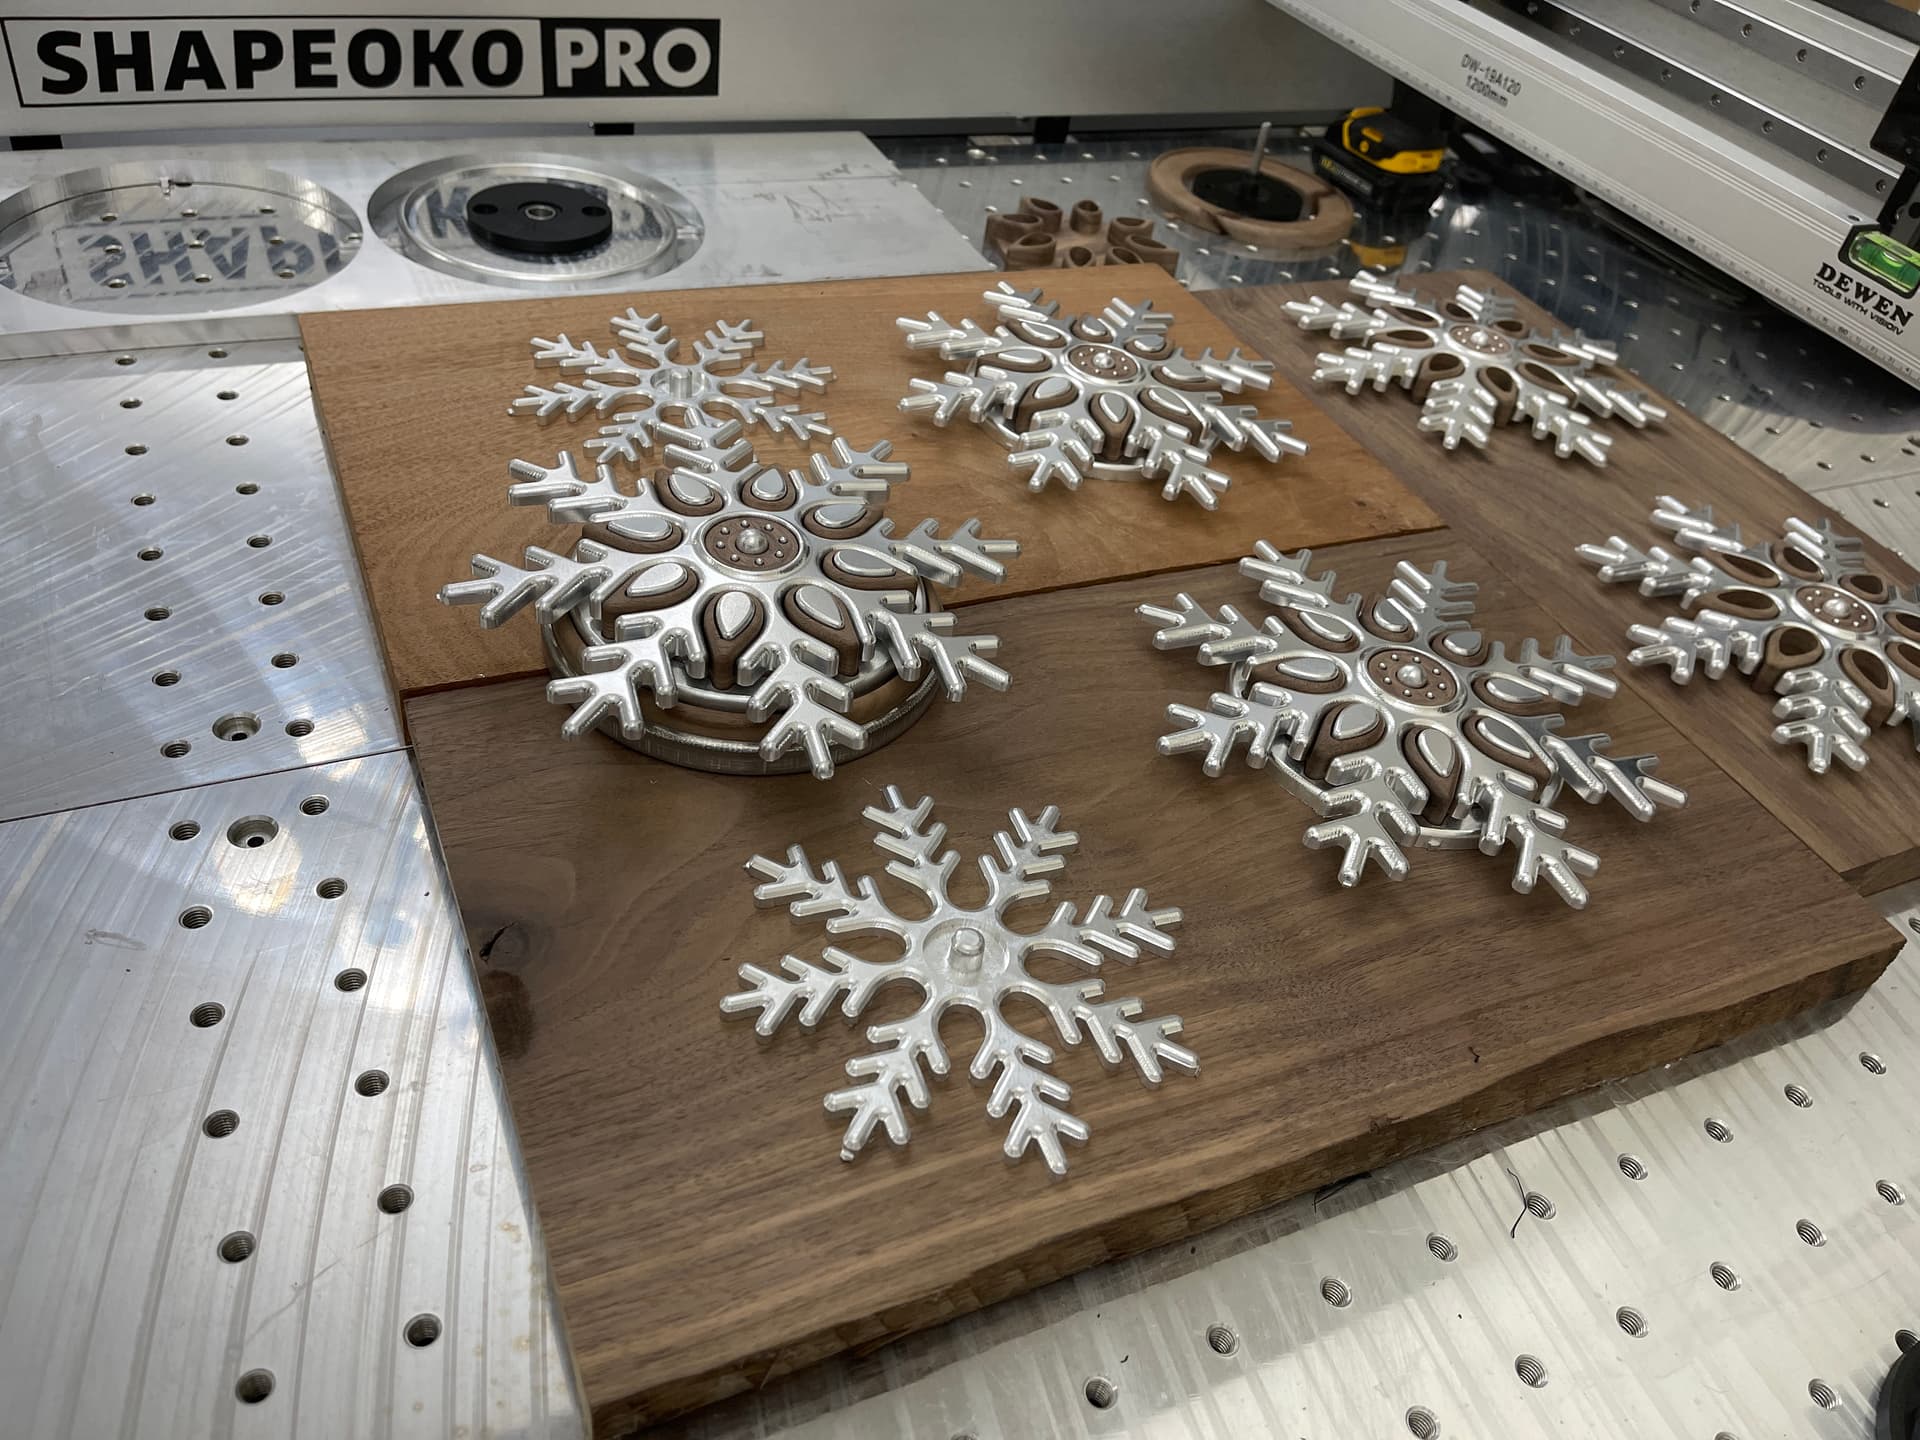
The design has a slope starting high in the center and radiating down and out. Somewhat difficult to make toolpaths for. The snowflakes are carved out of 3/4" x 10" x 10" 6061.
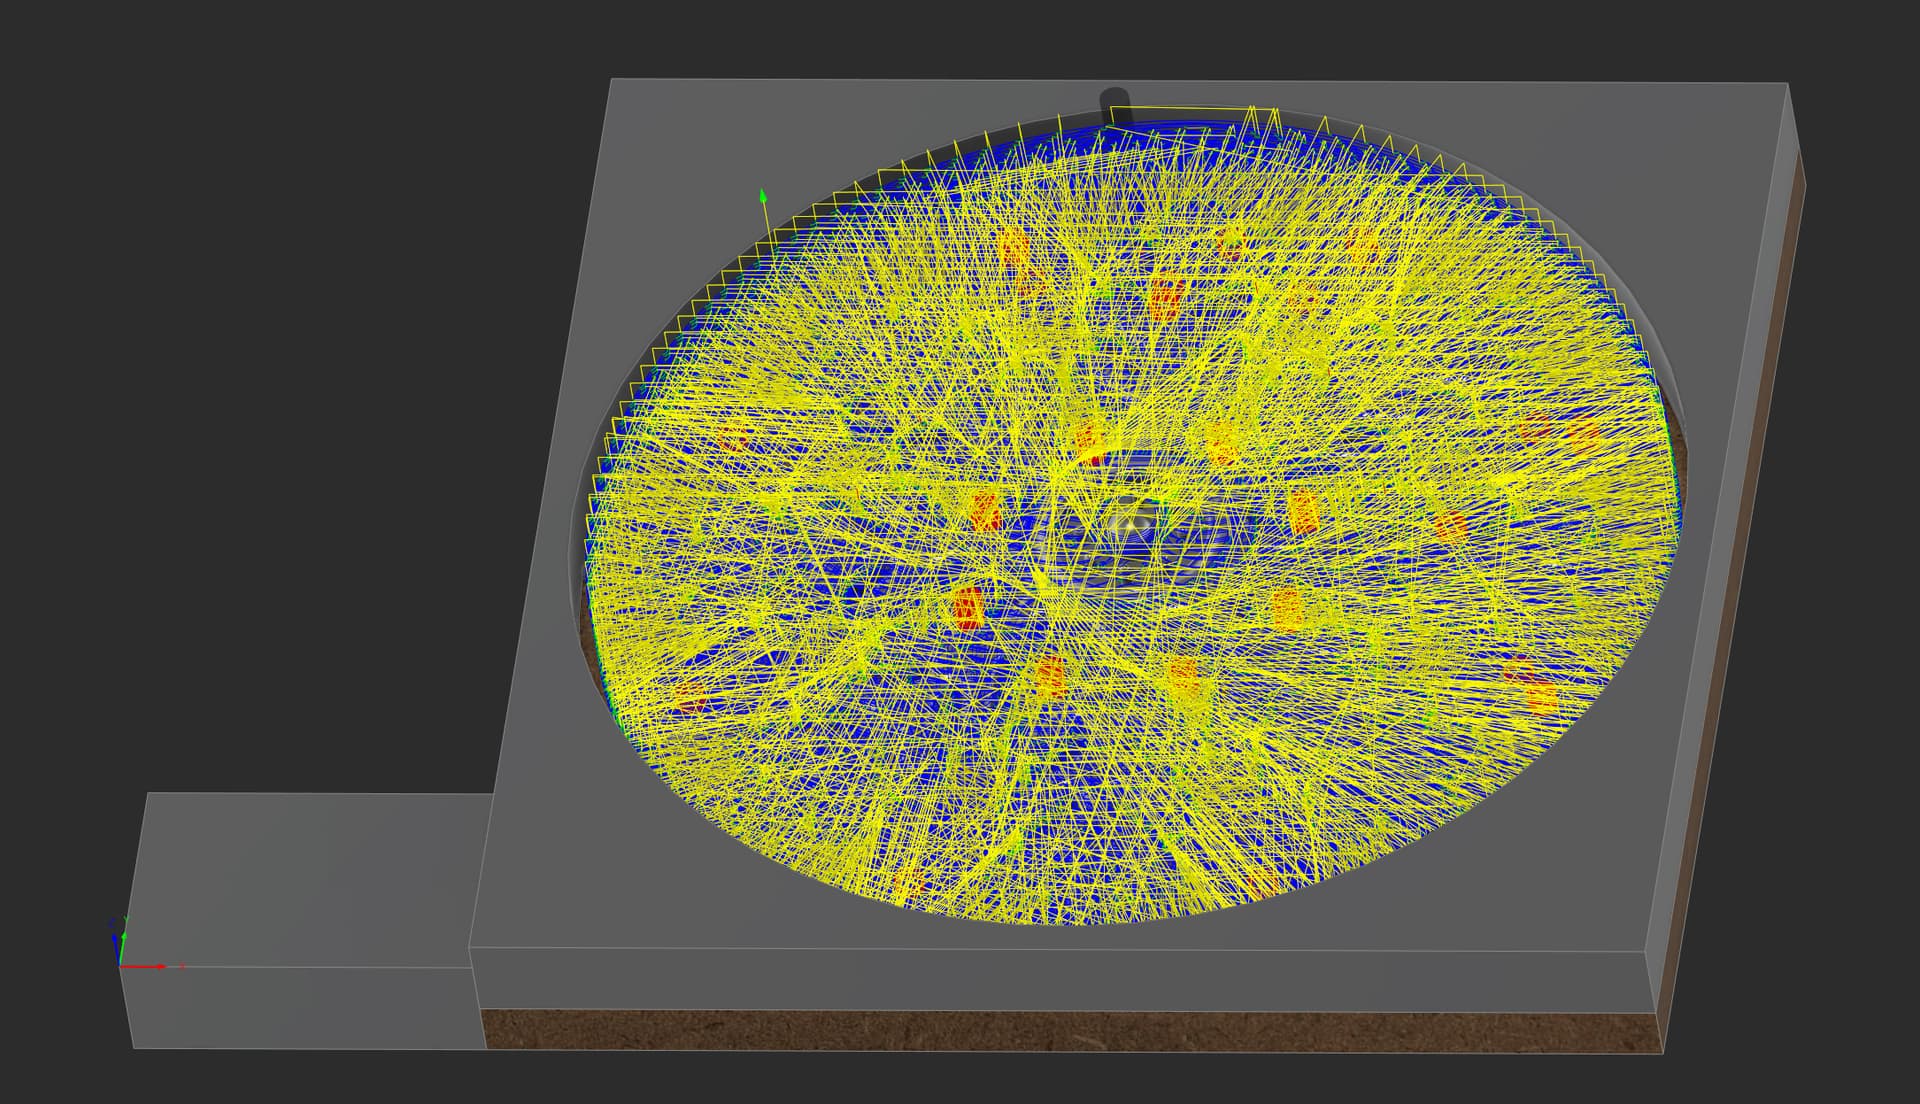
I start with an Adaptive toolpath with a #278 1/4" single flute, and use a .02 stock to leave, but stop .1" from the bottom, leaving a solid floor. This helps to prevent chatter on contours.
I then use a #274 1/8" single flute for an Adaptive toolpath, and it basically goes back over every surface of the snowflake and cuts out the smallest corners which I carefully designed to be able to reach with the #274 with a .01 stock to leave.
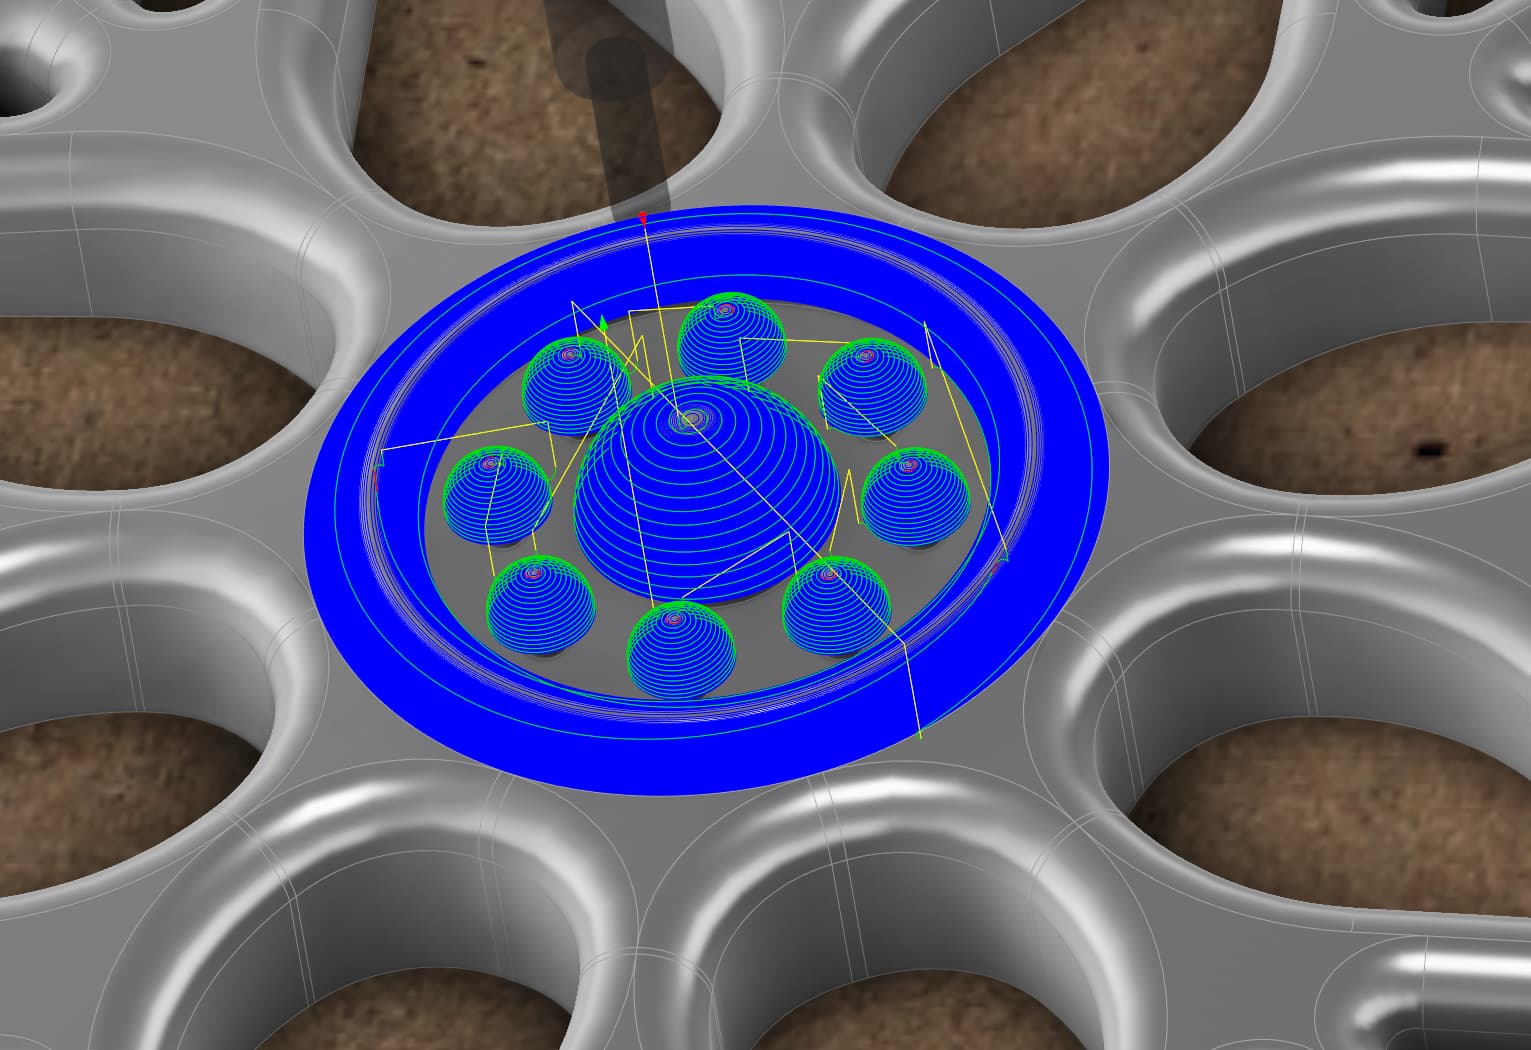
I then slowly rough out the center with an Adaptive toolpath using the #274. and a .01 stock to leave.
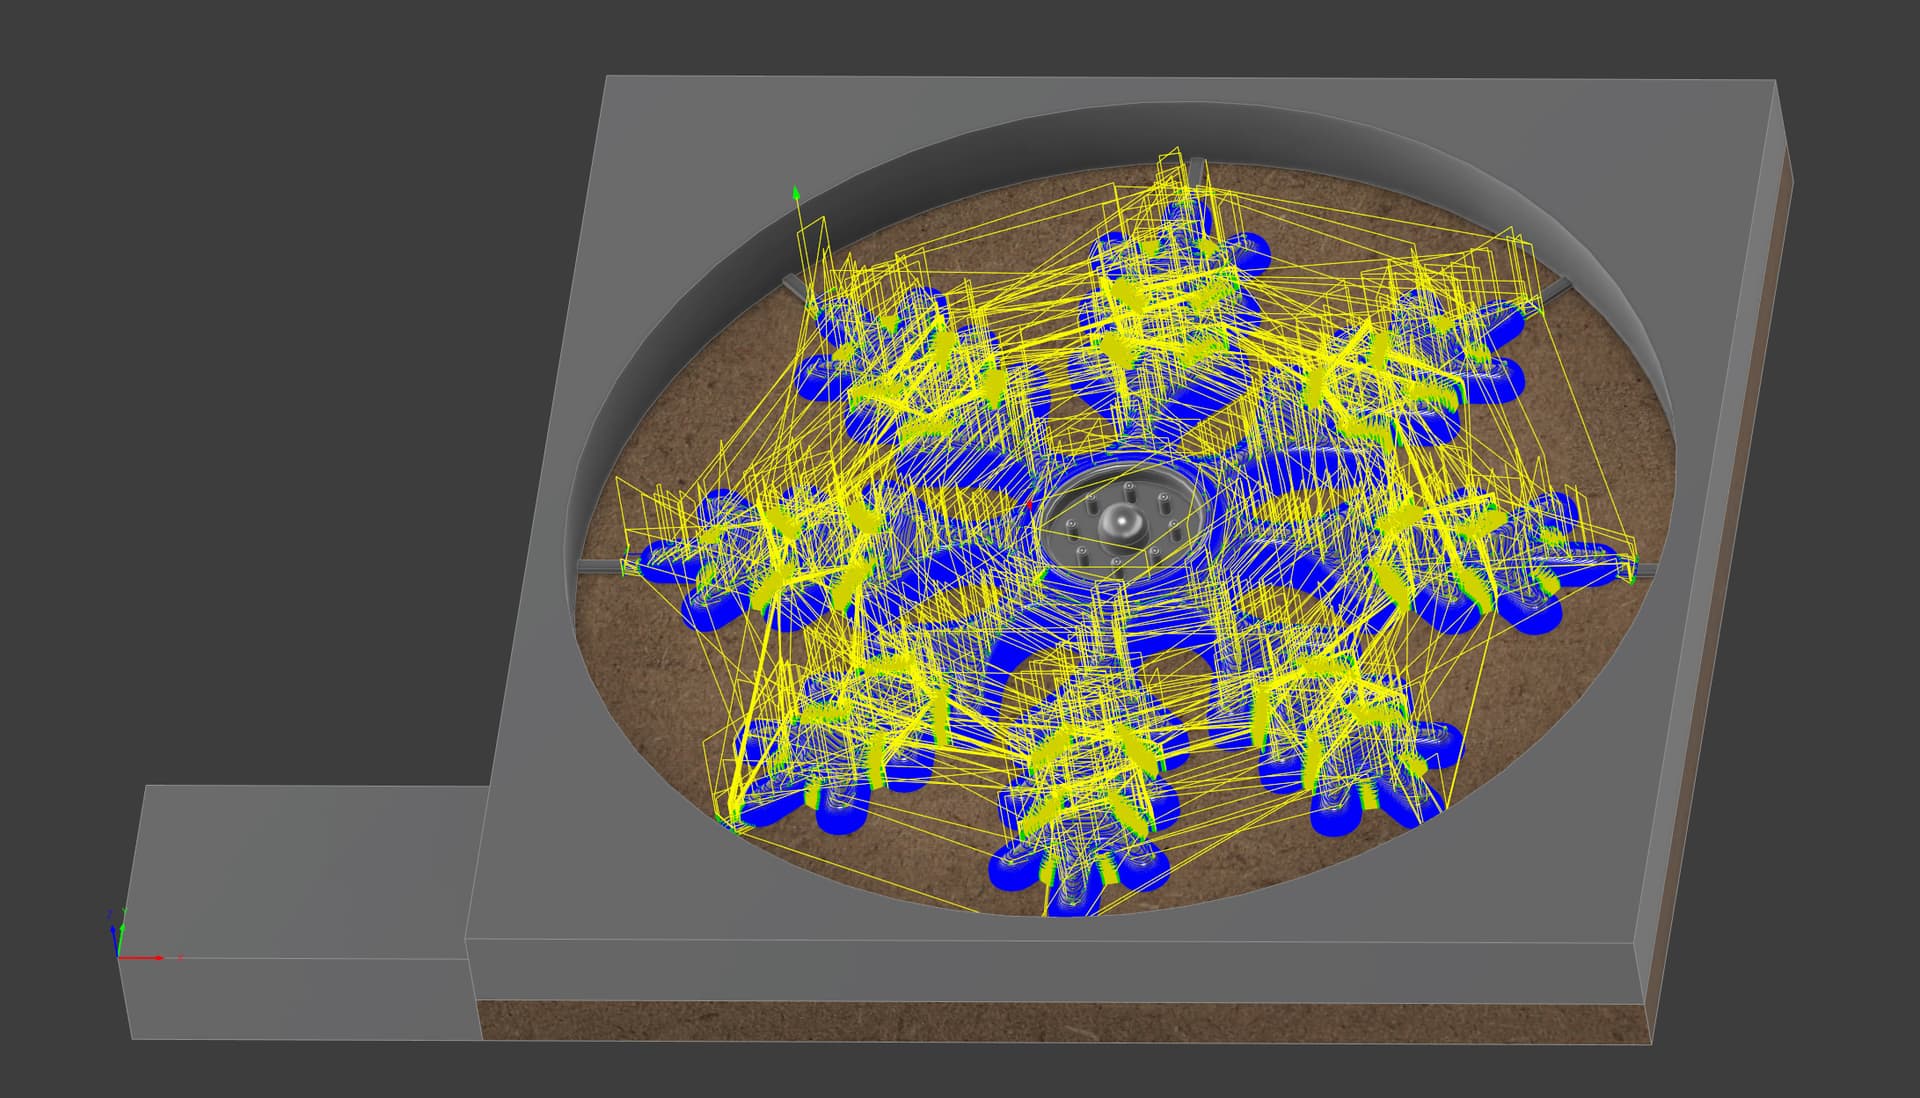
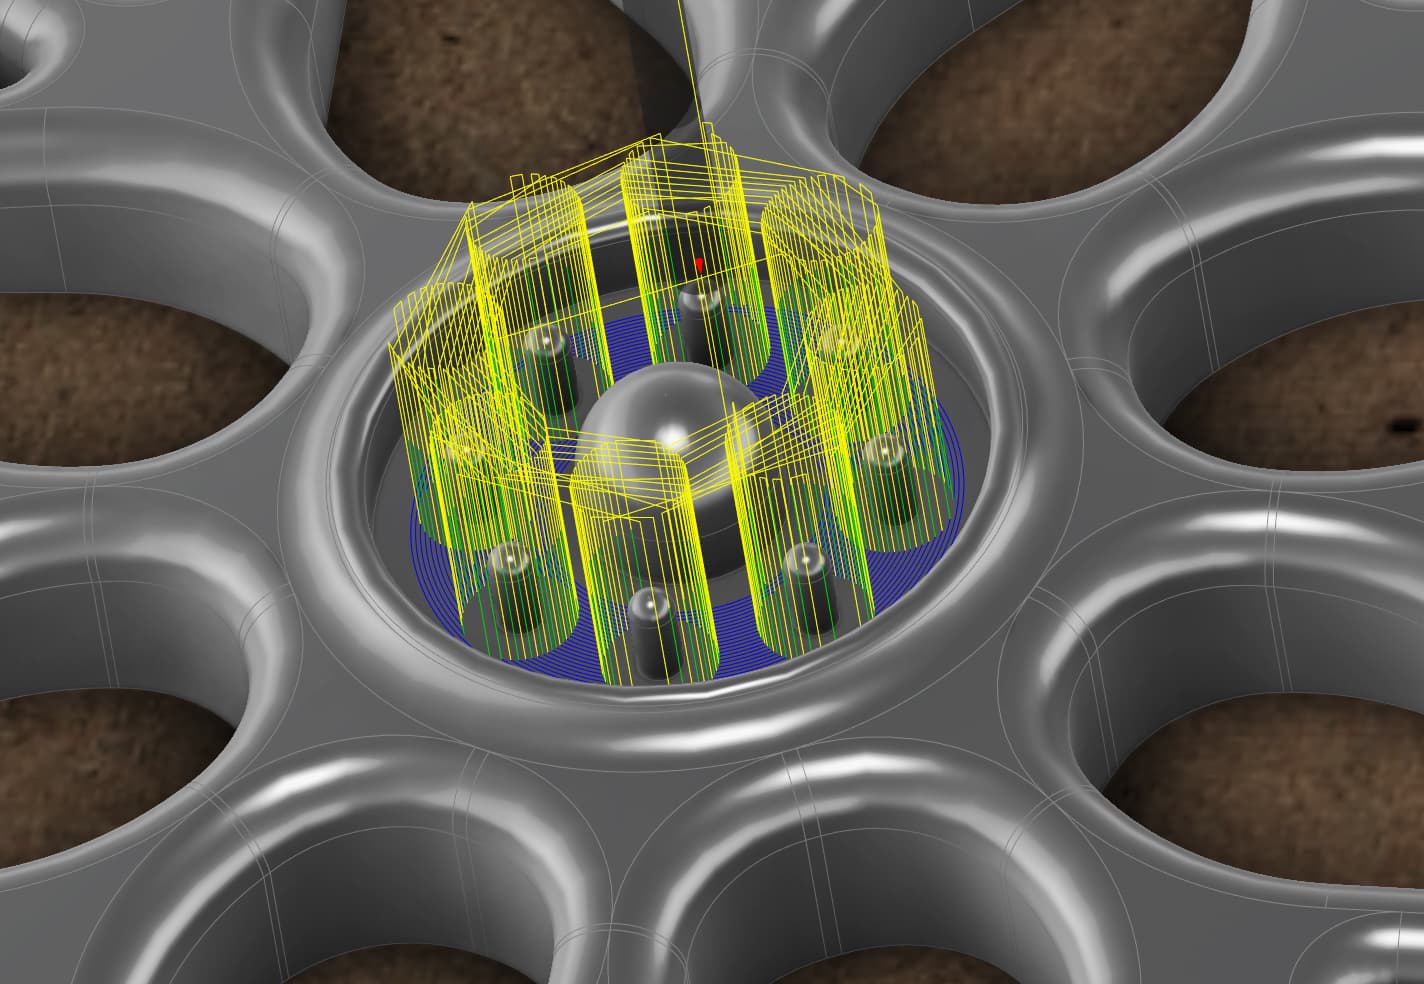
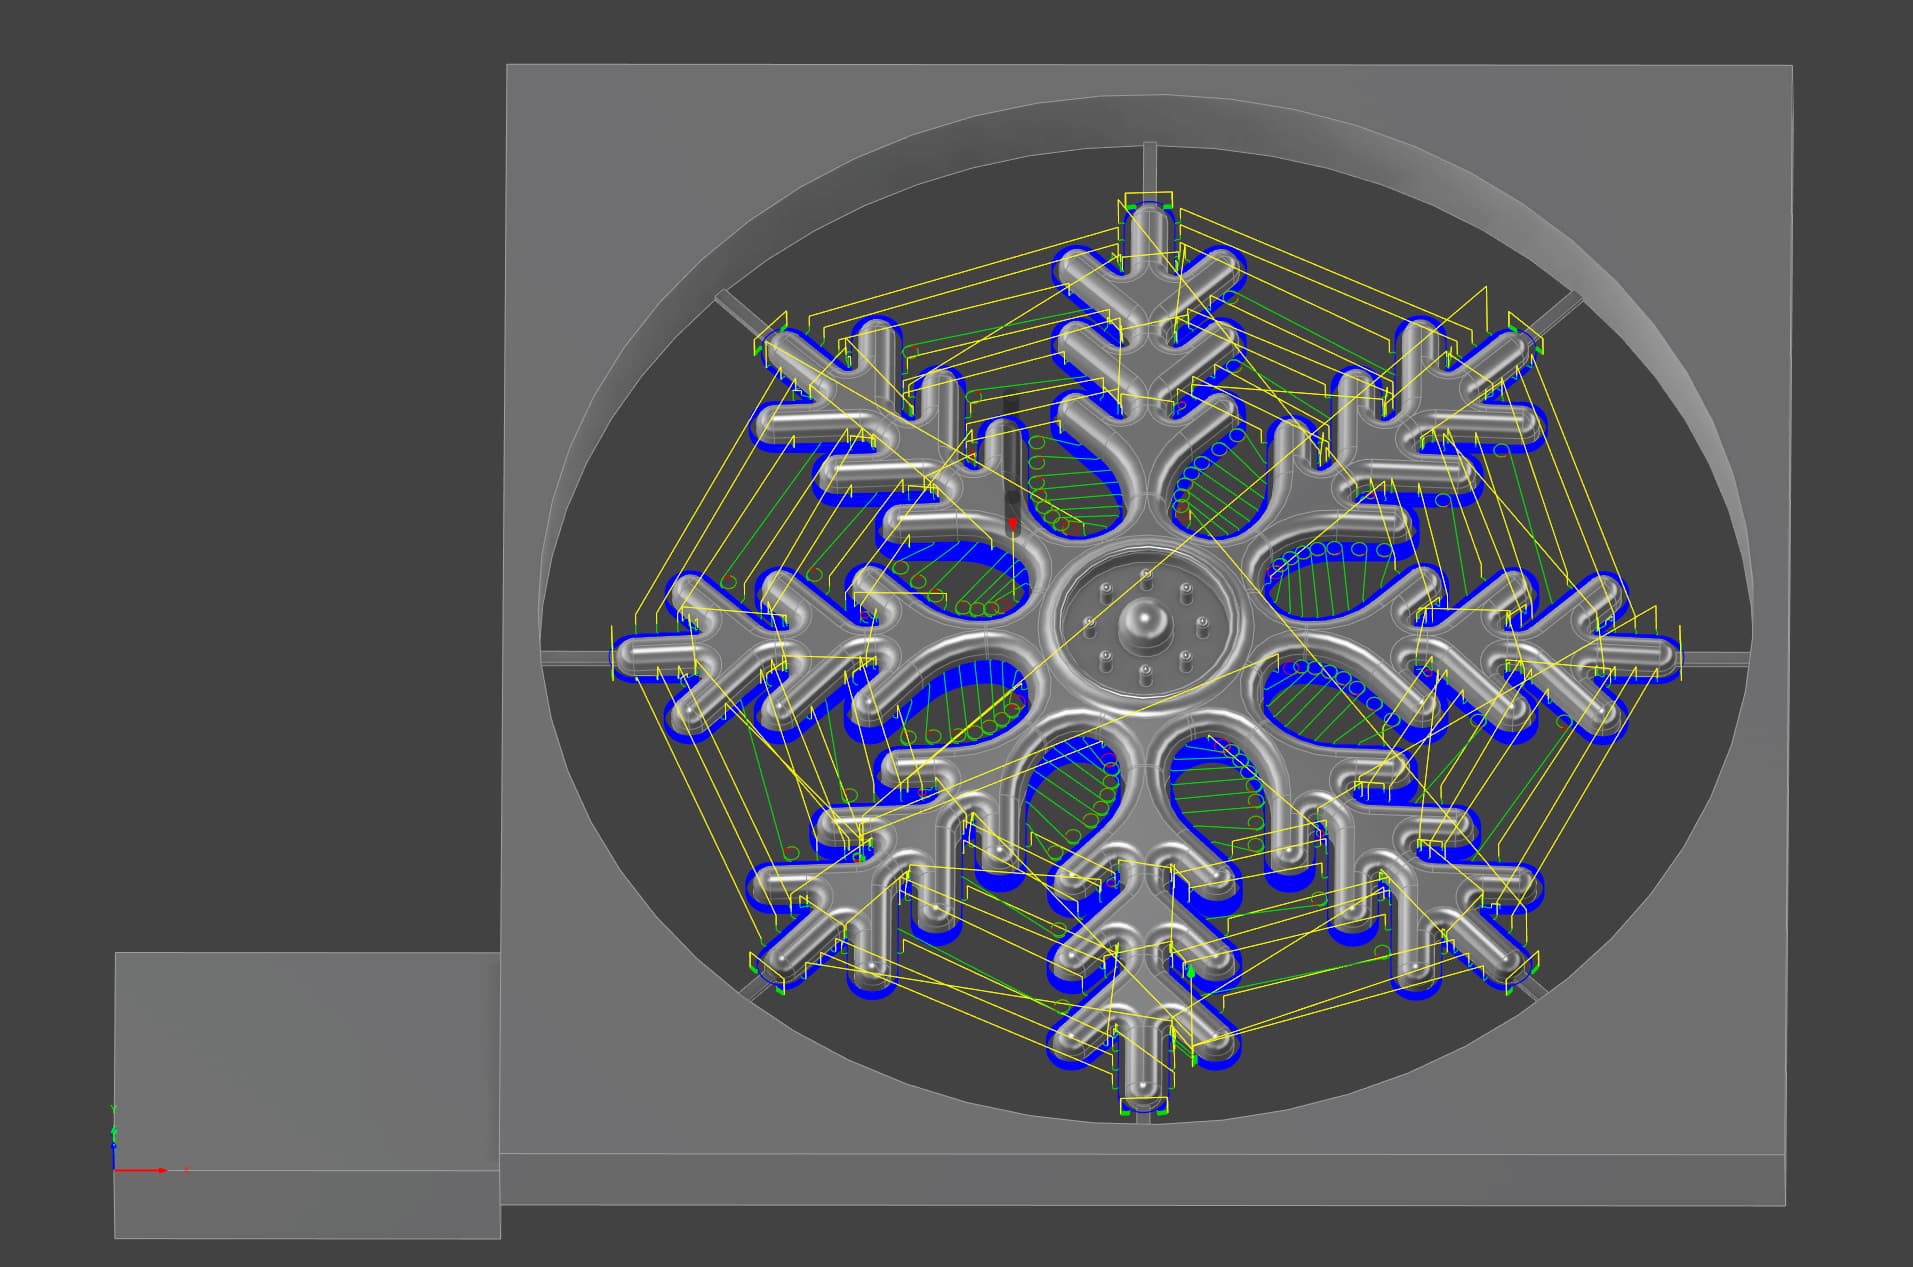
I use a very fine step over with a 1/8" 2 flute ball nose using a Spiral toolpath to polish the tops smooth, then a quick contour using the #274 to shave the sides and afterward a Spiral to clean up the floor.
I then make one pass with a 1/4" 2 flute ball mill, using a spiral toolpath that matches the down slope, to surface the top of the Snowflake, I then run a Contour toolpath with a 1/8" 2 flute ball mill to shape the fillets.
I then follow up and make a finishing toolpath over the original spiral again, this time with a tighter stepdown/stepover, and this time using the 1/8 2 flute Ball mill. This gives a satin smooth finish on top.
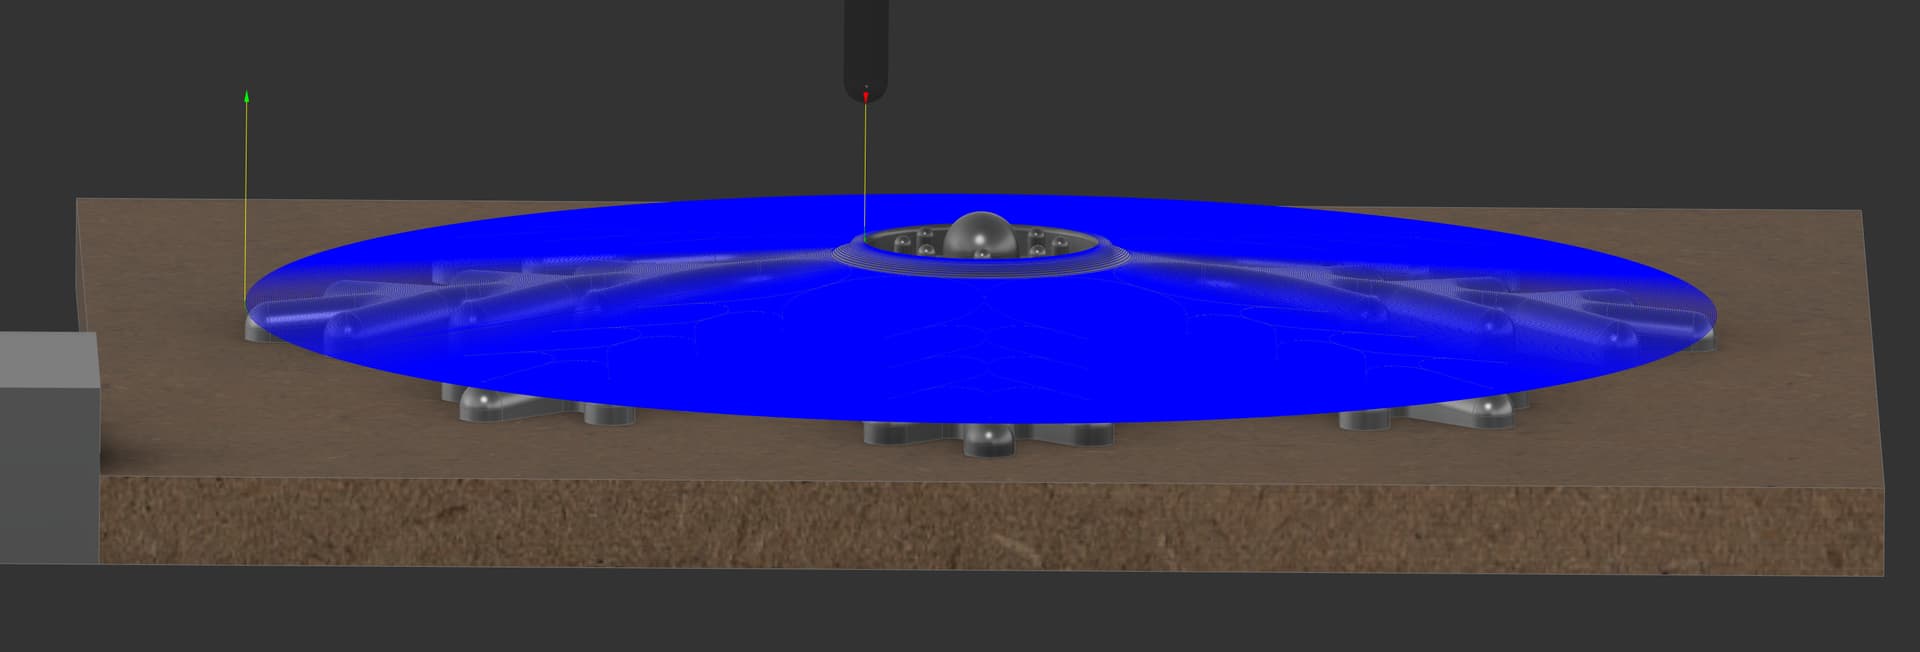
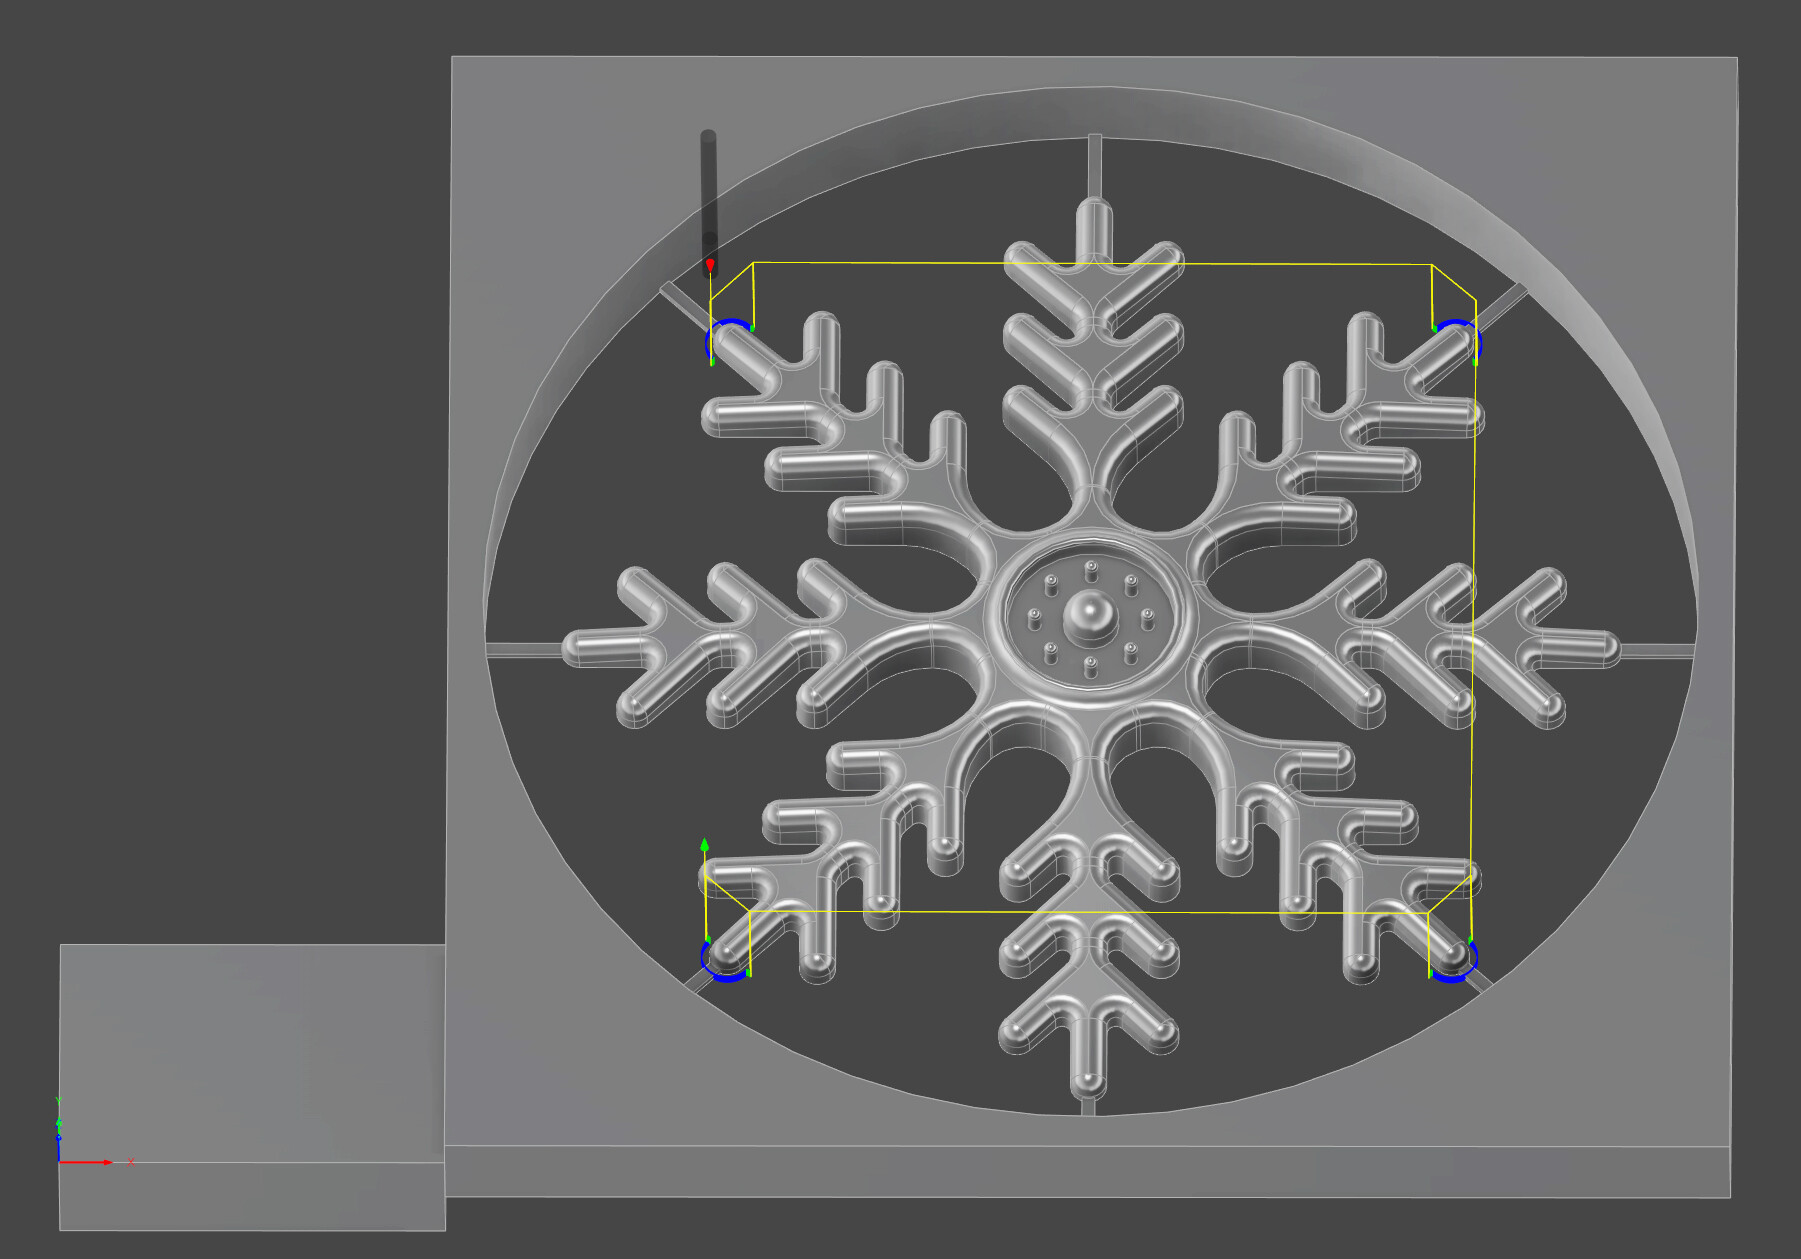
I then finish cutting out the bottom with a pair of Adaptive toolpaths, using a #278 and then a #274 single flute.
And finally I cut down the remaining .01 stock to leave from the sides using a Contour toolpath and a #274, then last I trim off 4 of the remaining 8 tabs.
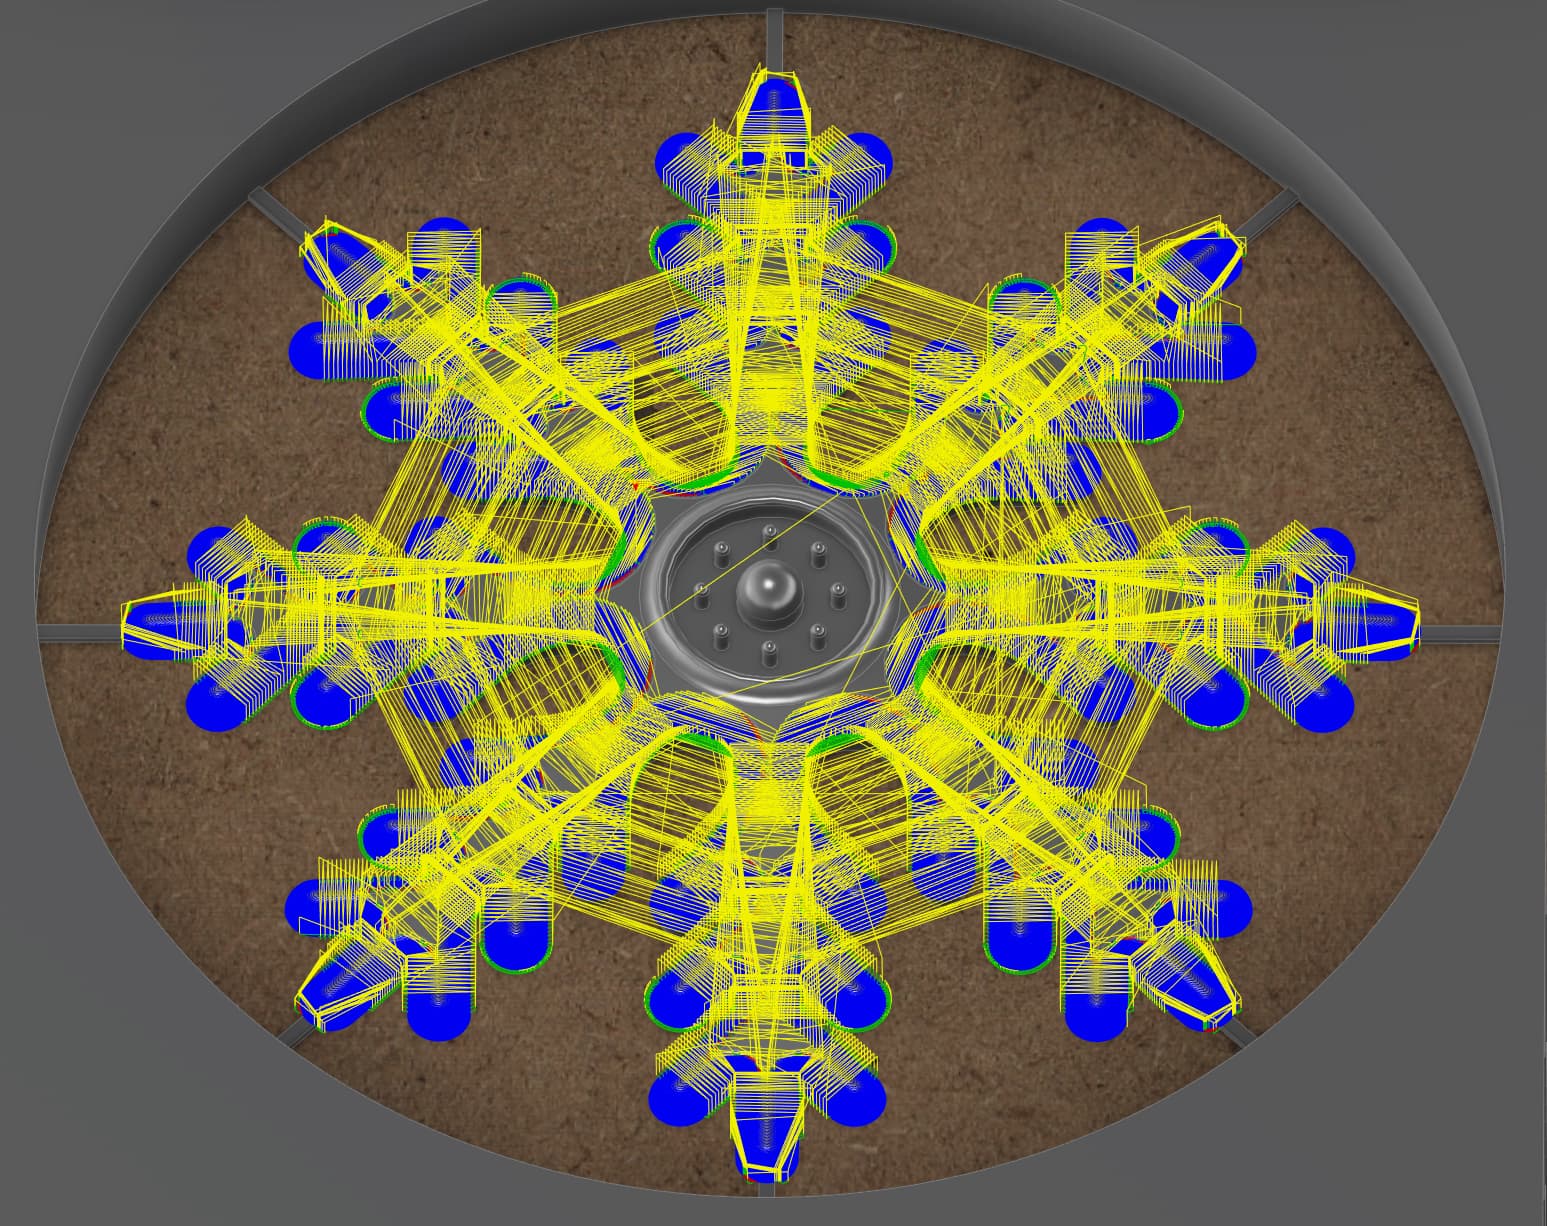
I was getting a small amount of variation on some edges. I plan to add a second finishing pass on the fillets, but of course this will also add a few more hours of machine time.
Hope this helps,
Any questions let me know!

 I can do the work but lack the artistic creativity.