SO3: XXL Mega-Enclosure and Dust Collection

A torsion box base is a nice starting point — precision has to start somewhere, and a rigid level surface allows one to reference off it.

That said, lots of folks just grab a table or workbench and install on that, and lots of other folks have dispensed w/ the leveling feet (I did, and I need to do something about the PEM nuts as well).

Bill,

The whole point of the torsion box is to attempt to lessen or eliminate wracking of the cart top, thus keeping the CNC’s frame and spoil board from twisting. I took a different route, and, so far, it looks promising.

I built a big plywood box cabinet with a 3" thick laminated MDF top, put 3" casters on all 4 corners, and was happy. Til I rolled it out of it’s normal spot and observed it lifting one wheel off the ground. Skipping the casters and going to adjustable feet was not an option.

For a couple of reasons, the torsion box route didn’t appeal to me, and it looked like a brute force approach. After toying with dropping down to 3 wheels, as in, a 3 legged stool never wobbles, I instead created a 42" laminated plywood beam, with casters on the ends, that pivots at the center rear on a piece of 1 1/2" galvanized pipe. Some foam pads made of floor mats, on the bottom of the cart, act to dampen movement of the beam. The pivot point acts as a phantom 3rd wheel. No more wobbling, thus no more wracking. I can roll any wheel up on a 3/4" bit of scrap and its still stable.

Yes, if I apply my full weight to a rear corner, I can lift the other side up, but my Shapeoko XL unit will be centered, and weighs far less than my XXL self.
Its all still a work in progress but I think I dodged the whole torsion box issue.

If casters aren’t in your plan, you could replace them with feet, and again, there should be no need for a torsion box.

1 Like

I cut out some smaller pieces of acrylic, glued them to where I wanted the mounting points for the ends of the gas shocks, and then drilled the mounting holes for the screws on the exterior of the acrylic door. The 50#, or 45#, gas shocks seem to work, except the door would close eventually. I had to integrate kickstands, a bit of a rough hack, but they work to keep the door open as needed.

1 Like

Hello,
I am building an enclosure very similar to your plans and was wondering what you used to cut your door out? I was thinking of using something like a rotozip but was also wanting some other ideas.
Thanks in advance!

Tony;
I am well on the way to building the enclosure. I did a nice torsion box 3.5" H on a stout 49 x 48" x 24" base. It’s solid as a rock.
Setting up the machine now. and making the enclosure in tandem.
I am cutting out the windows from 3/4" ply and wondered about this…
" acoustical damping caulk at all the joints " is this what you used to secure the plex to the opening? I am trying to figure if I cut a 1/2" rabbet for 3/8" material will the additional 1/8 " be sufficient for a nice flush fit, using the caulk you mentioned?
And can you specify what you used?
Thx in advance- Aaron

I checked out your youtube channel as well , subscribed- good luck with it.

1 Like

BASE FOR XXL
Here are photos of the 49 x 48 x 24" H base unit and 4" H torsion box
The box was made from 3/4" bottom and sides,
1/4" top and
1/2" internal eggcrate/half lapped cross members every 8" in both directions.

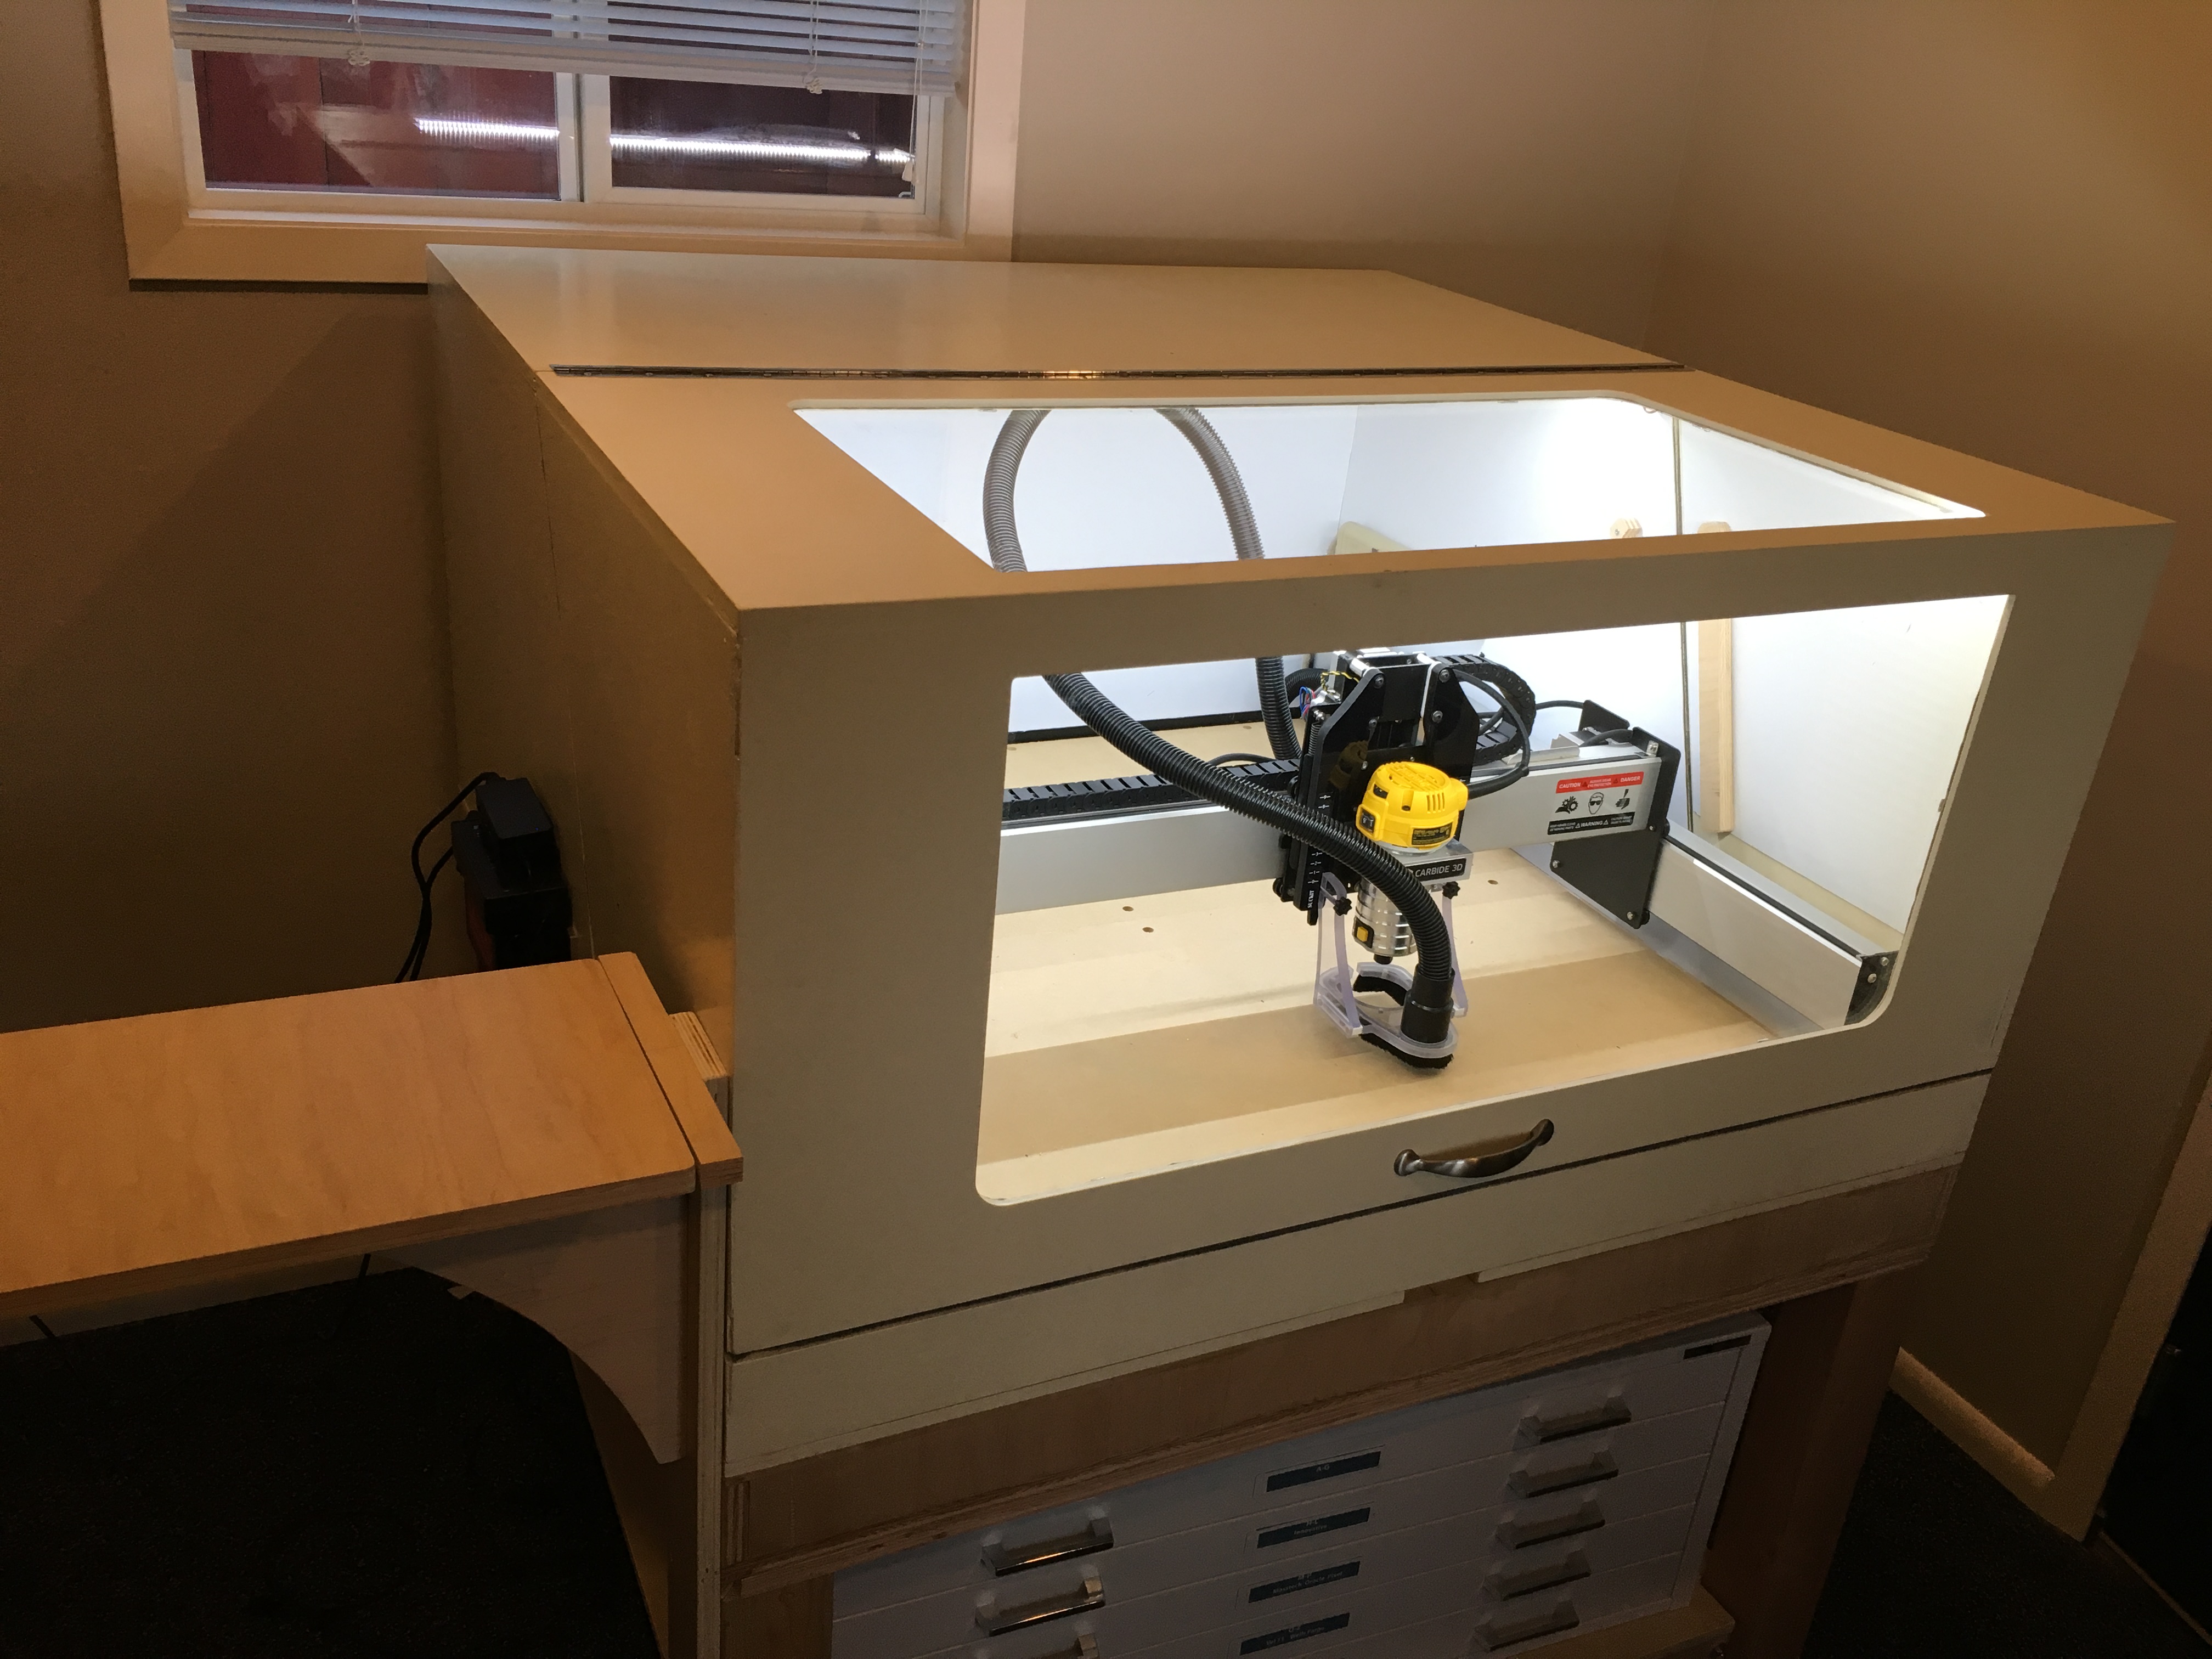
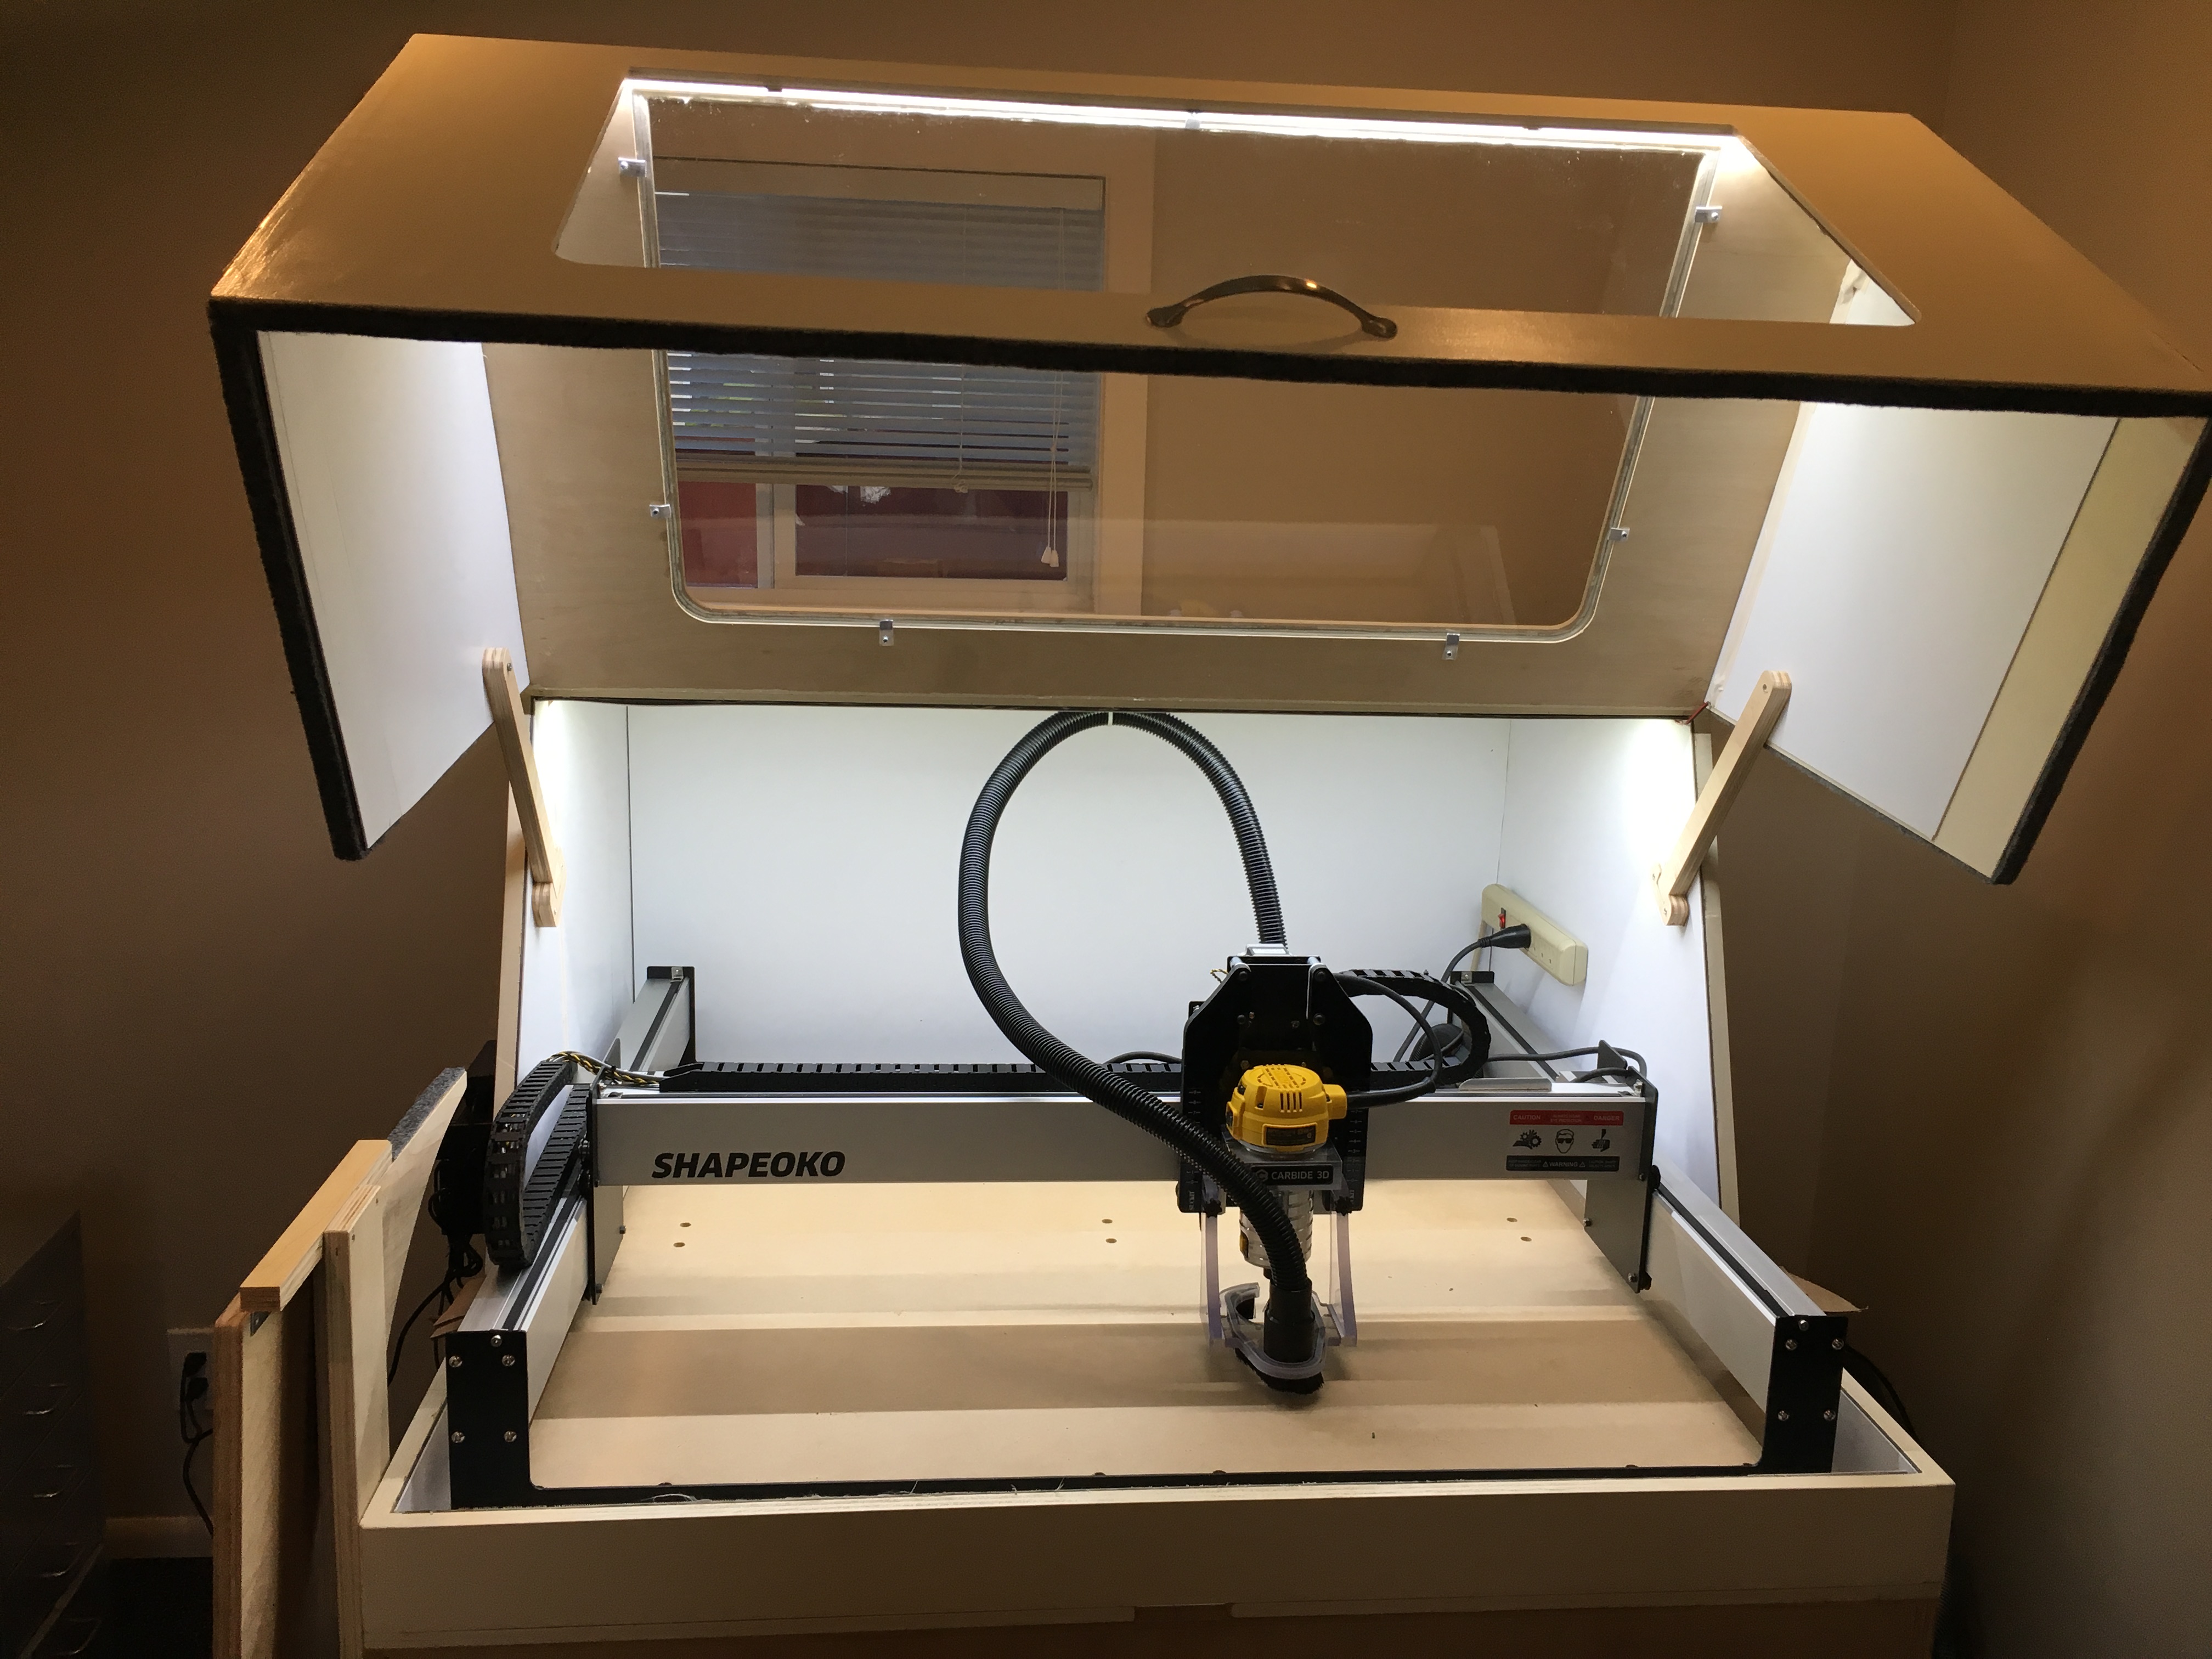
The enclosure is pictured here finished. I am very pleased with the result . The router noise is very minimal. The 63 dB Nilfisk vacuum is a lot louder than any noise emitted from the router when cutting. I found a low cost variable speed control for that which lower the vacuum noise considerably. I’ll be adding a short video showing all the detail and will annotate with sources and specs for the components. I used mass loaded vinyl on the interior of the box 1/16" thk to contain the sound, and 2 LED strips ( 30 K color) on the interior.

4 Likes

I just used a router and a board clamped down as an edge guide.

Sorry for the late reply. I don’t remember getting a notification about these posts…

You can use any caulk but this is the acoustic caulk I used… Franklin International 2892 Sound Sealant, 28-Ounce, Green Amazon.com.

Just make a test rabbet joint a a scrap piece of acrylic to test the perfect depth. I think 1/16" extra for the caulk will probably get you very close.

1 Like

Hi,
To begin, thank you for sharing!
Sorry for my bad english, but I’m french…
Your workspace has given me a lot of ideas …
I started doing my workspace for my future Shapeoko 3 XXL.
To have room in my garage, I had to remove an old cabinet … And rather than throw it, I decided to use the wood to make my workspace …
Here is where I am:

And the plan:

7 Likes

What’s the minimum inside depth for the enclosure to be closed, and being able to reach the entire cutting area with the router? Is 48" enough? Thanks.

45" is the minimum inside dimension. You will need more if your dust shoe hose sticks out past the front of the router mount.

You also want to make sure your cable management doent hit the back of the enclosure in a way that will interfere with it zeroing. I had to extend my table a few inches because of that.

Or shorten your y axis chain. Mine goes all the way to the rear stops and the chain doesn’t go past the rear plane of the machine.

1 Like

In your plan you have the computer on the side but this could make it difficult to be in front of the computer while aligning the material or need to press the pause button. IMO, it is best that the computer screen and keyboard/mouse is in the same axis as the X so you can look at and operate both the computer and CNC at the same time. Maybe you could mount your monitor on a swing arm that you can turn and bring forward with the keyboard under.

Wow, I really like your plan.

you would do me a great favor if you can share your plan with us.

I hope one day i can reach your level.

That’s really nice setup,

would you mind sharing the plans with us.

I don’t know how to work with only my stupid head.

Many thanks

I haven’t made plans for it yet but drawing up a set of plans is on the (long) to-do list.

Here are a few layouts for an enclosure and torsion box w base. the 49" dimension may be a problem. I actually glued a 1" pc to some parts to achieve that . I am glad I left the extra room for the XXL. I still mounted the Drive electrical box connections out side.
I hope this helps at least it will get you off to a good start.
XXL Enclosure 11.14.PDF (26.8 KB)
XXL pcs VW_ai.pdf (55.4 KB)
XXL Enclosure LO 7.2.18.PDF (19.5 KB)

2 Likes

You can easily make it 49in without a joint if you use a sheet of Baltic birch plywood that comes in 60in X 60in.

How did you build your torsion box? It is not clear from the plans.

1 Like

I used .75" light MDF for top and bottom and sides of box w 1/4" for interior members.
I glued and stapled the whole thing together. See the referenced photos also . I only did as much drawing as was needed for myself this is not Proper documentation I know. There are 5 pcs The base unit , the torsion box,the back main box of the enclosure w base plate which screws into the torsion box, and the hinged door. Be sure to allow a slot or whole in the base plate to allow for air to flow into the box so you have a good air plenum flow if you plan to use a vacuum in a closed fairly airtight enclosure like mine is.

 <a class="attachment" href="/uploads/default/original/3X/3/5/3545513114b7bc86e915f6369f7491425f51b455.PDF">XXL Bench 10.31.PDF</a> (188.6 KB)

XXL Enclosure BASE & TORSION BOX.PDF (22.1 KB)

6 Likes