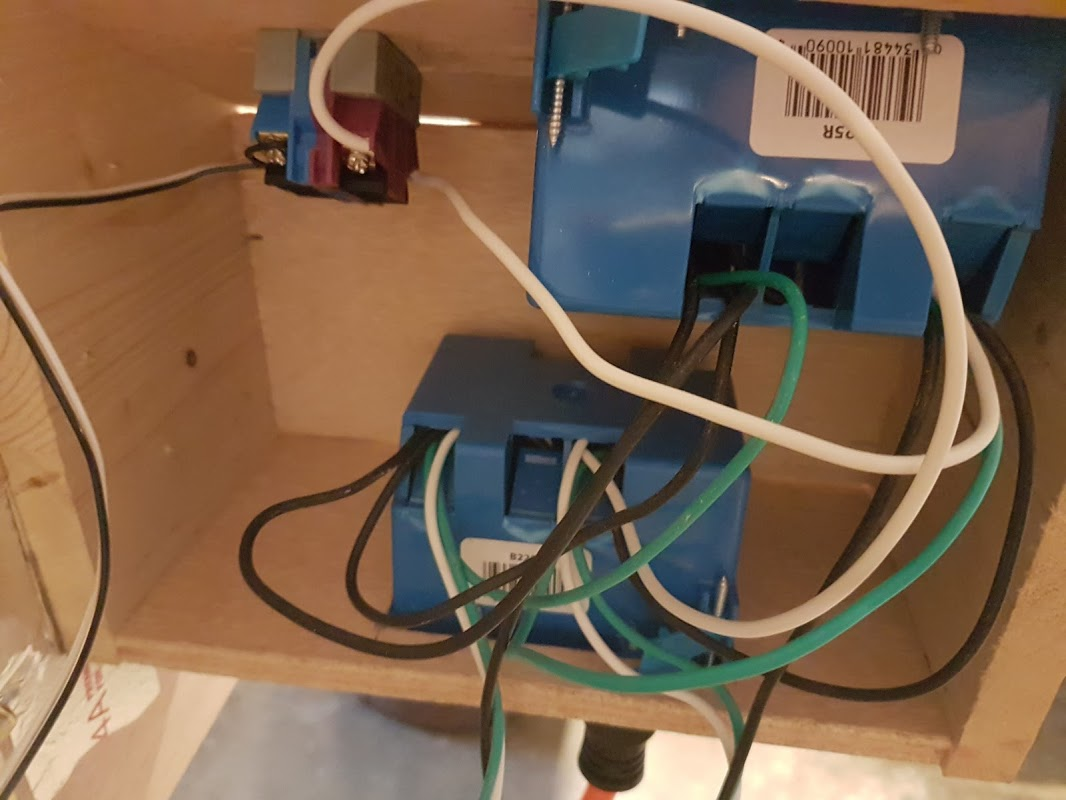
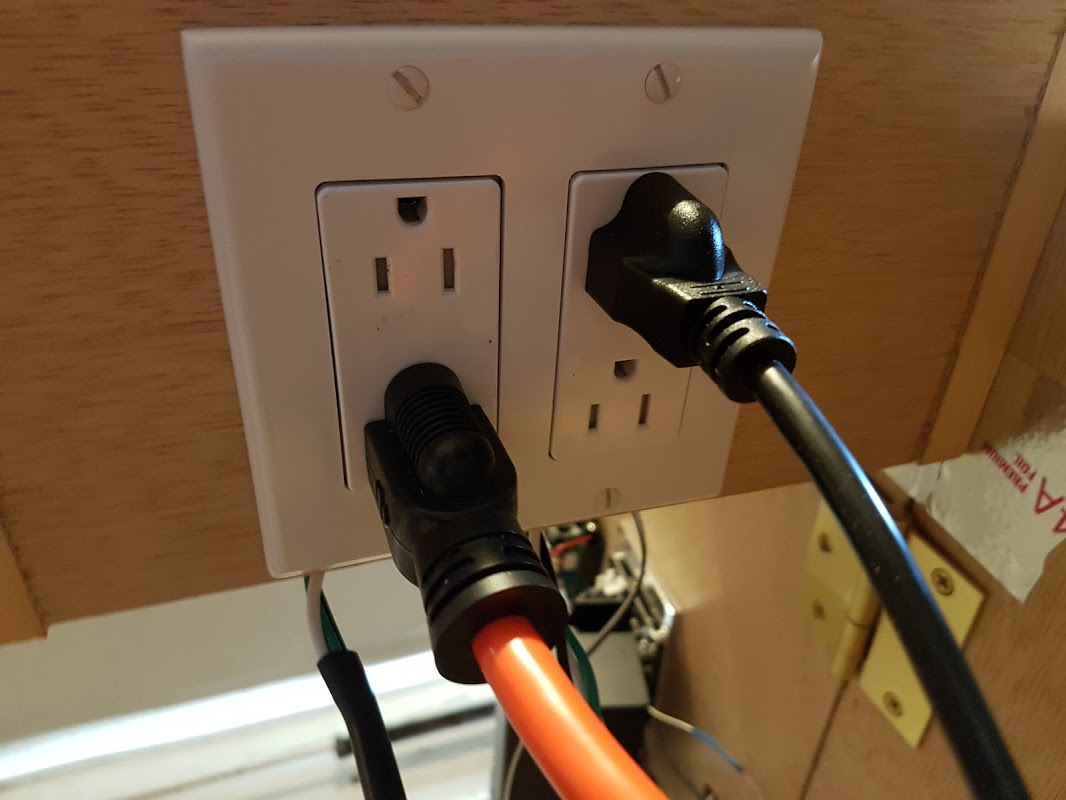
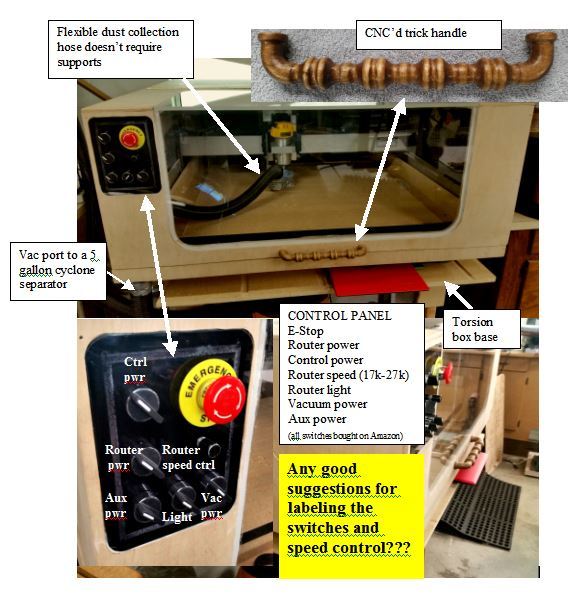
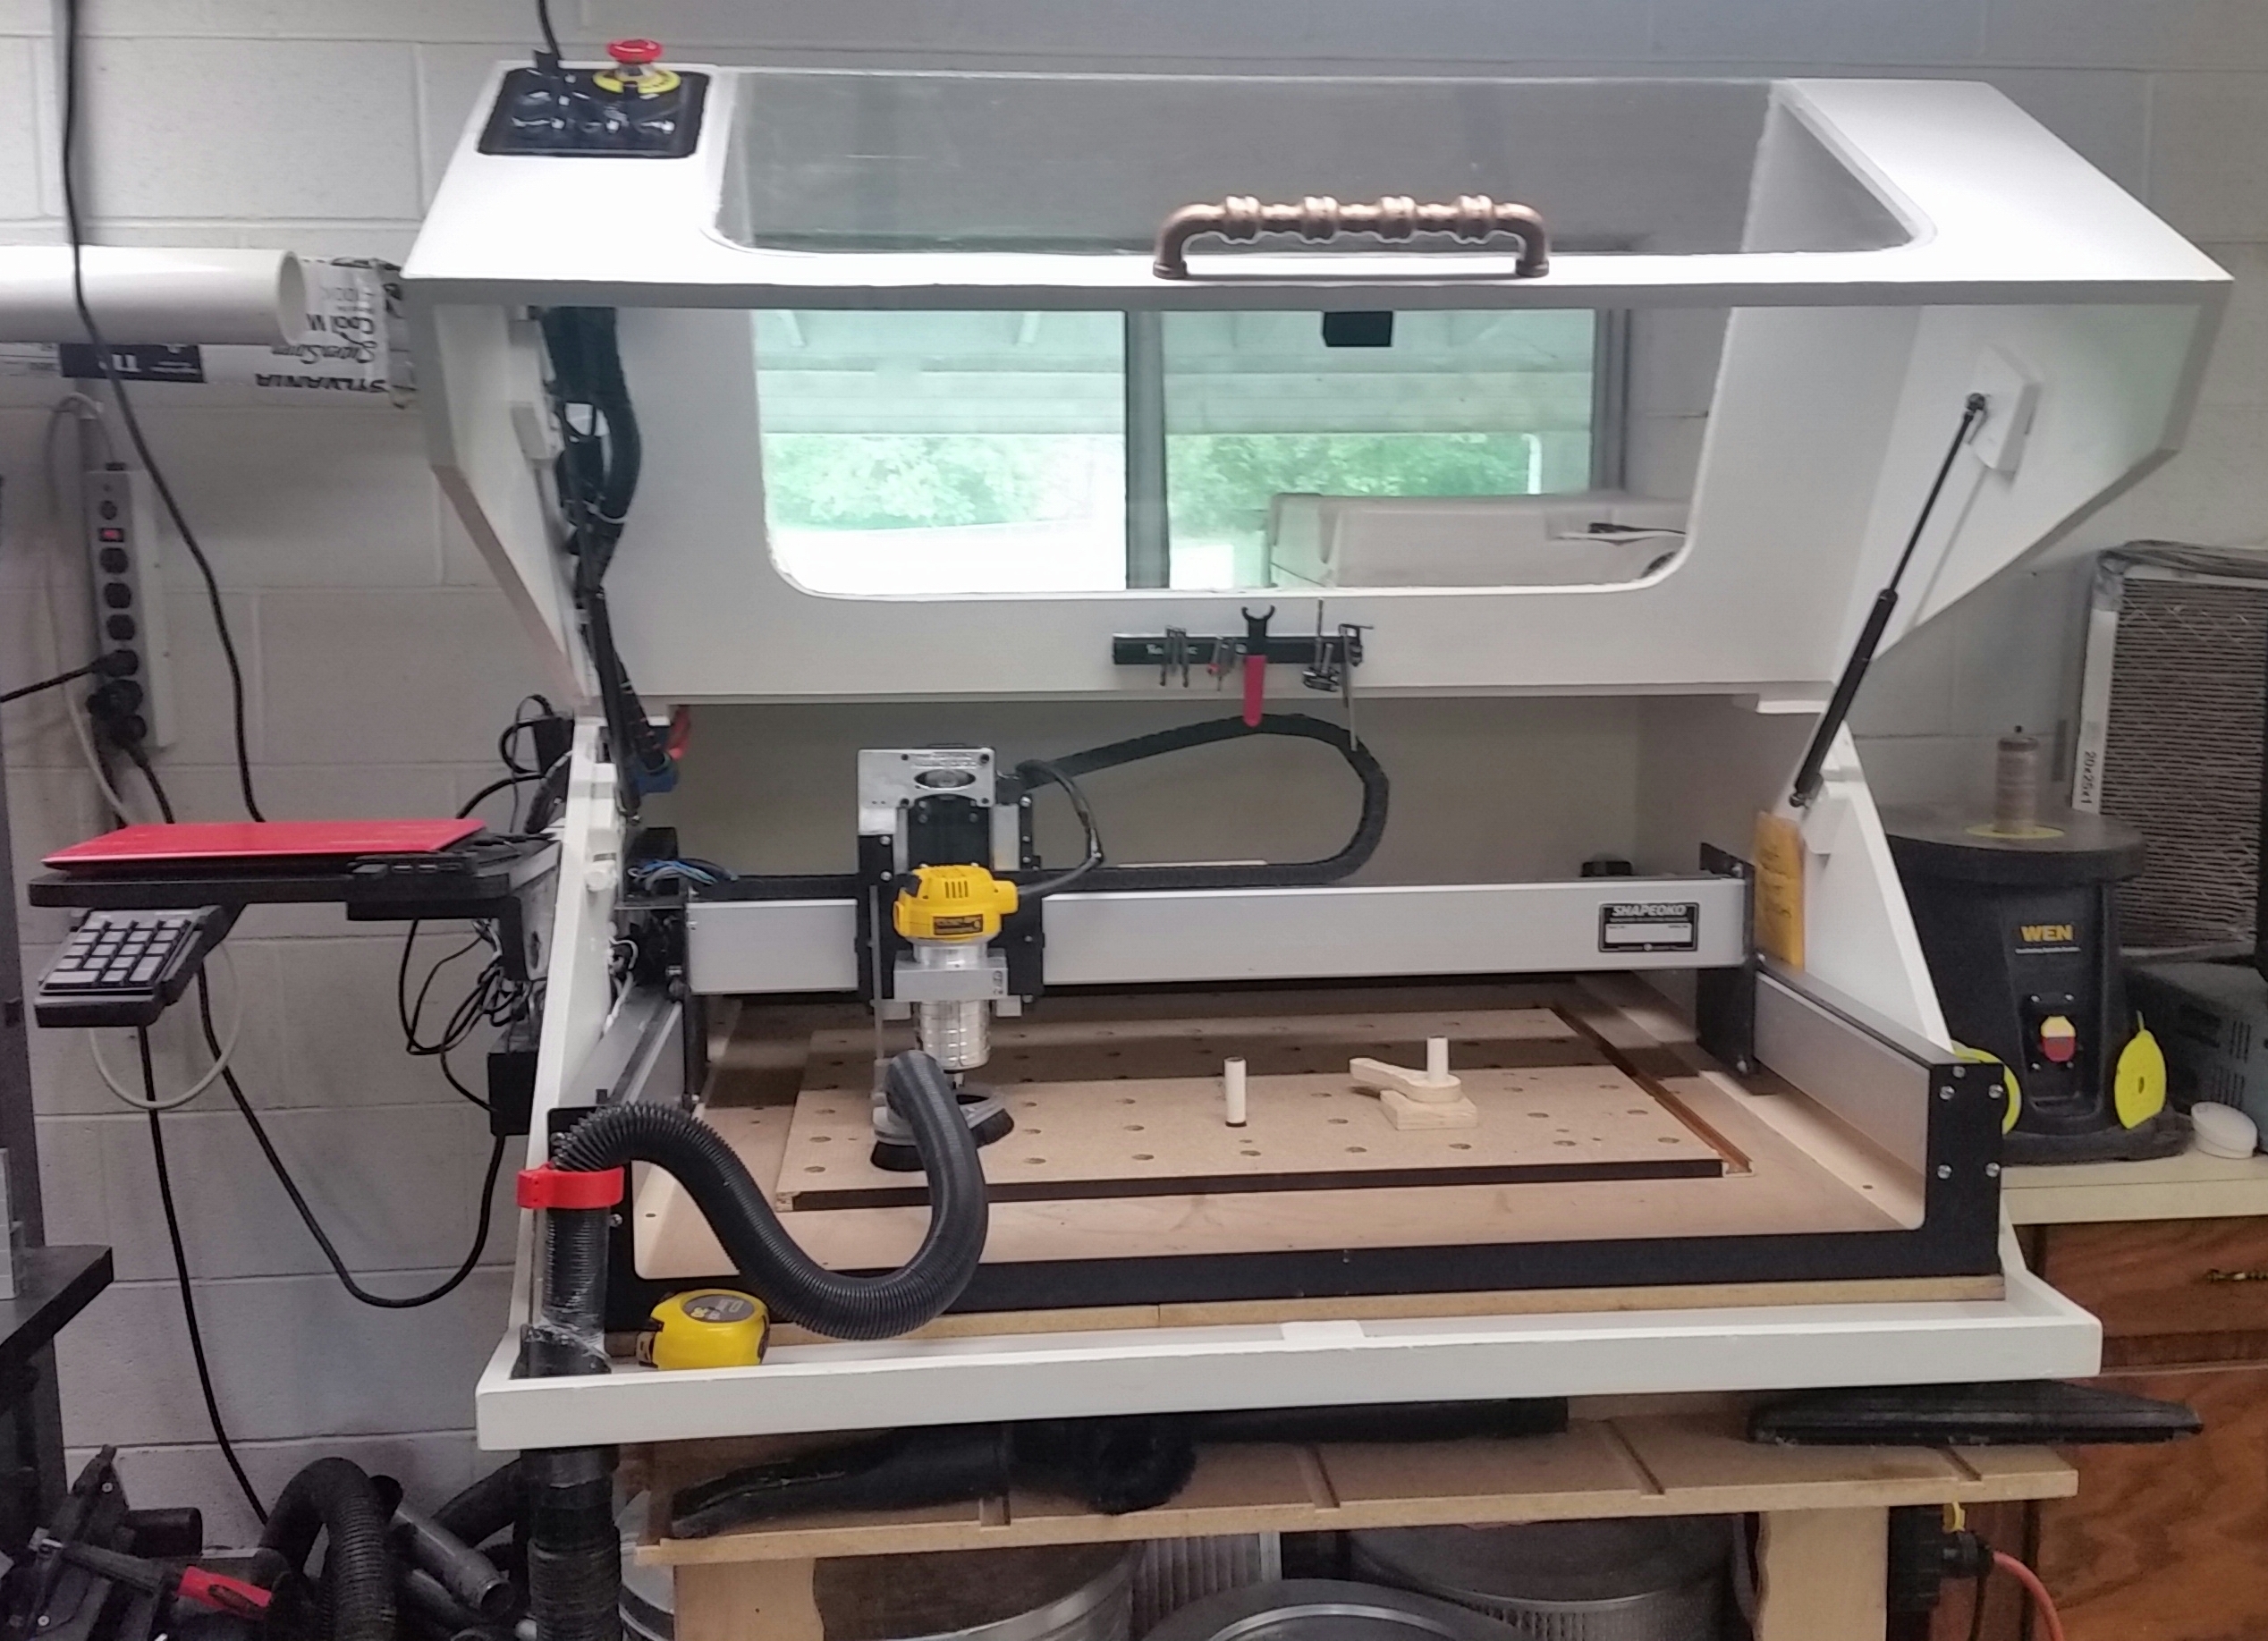
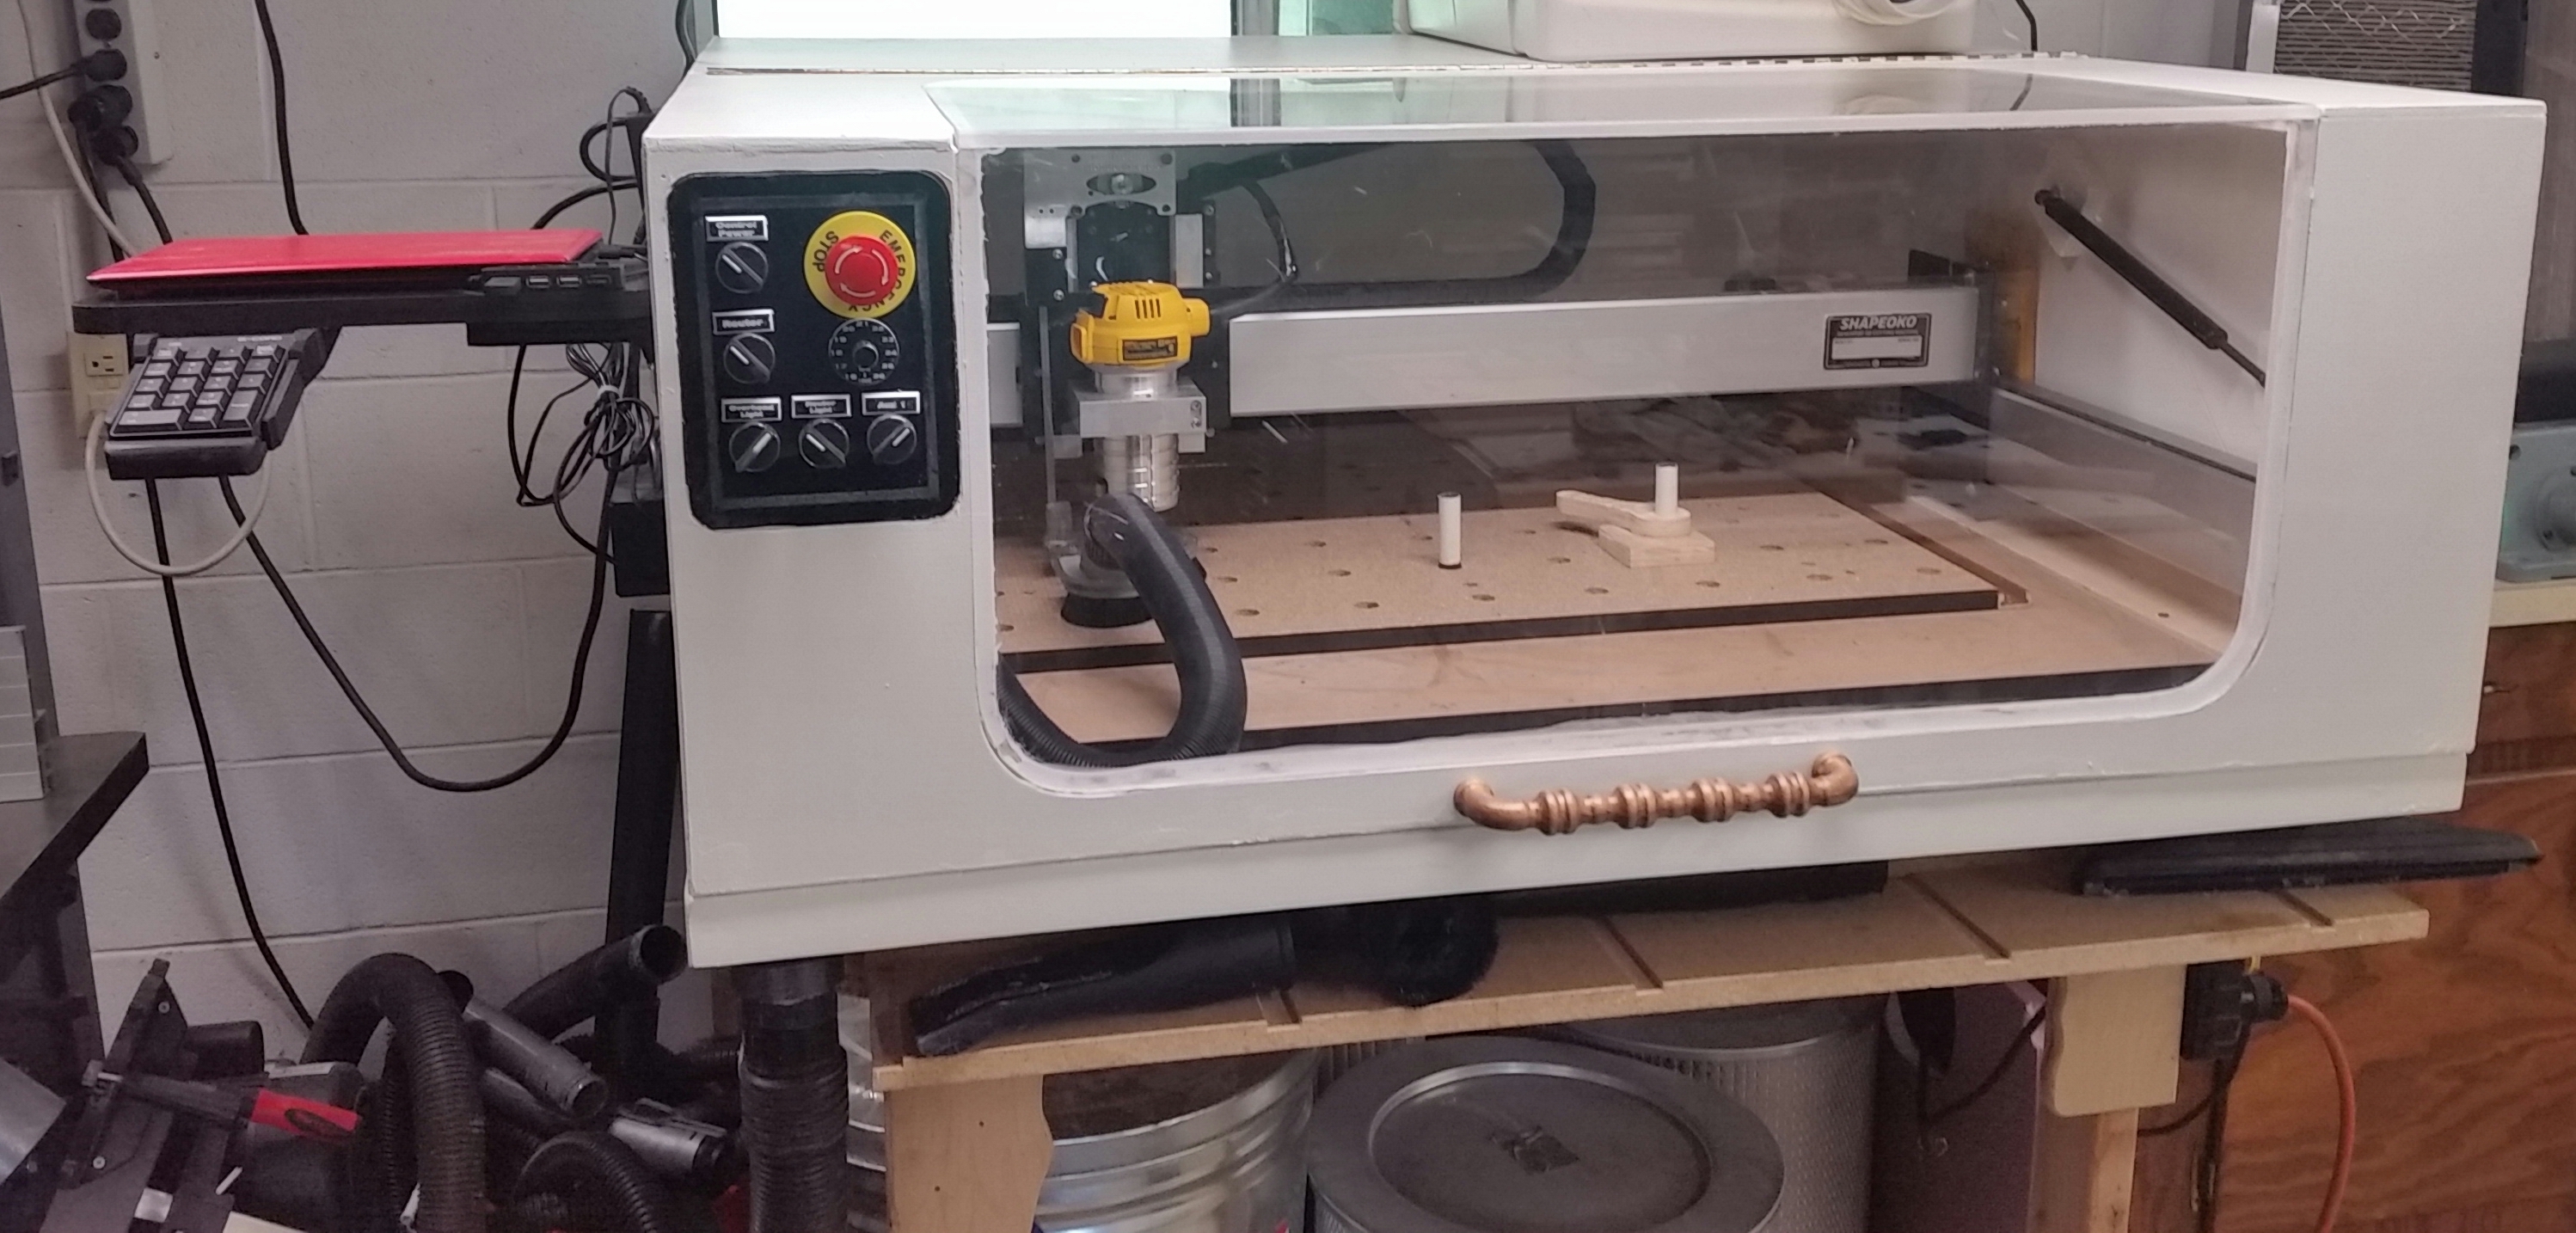
Here is the control panel: (Each switch connects to a separate outlet, and the each side is separate plug so that I can keep electronics on a different breaker from the router and vacuum)
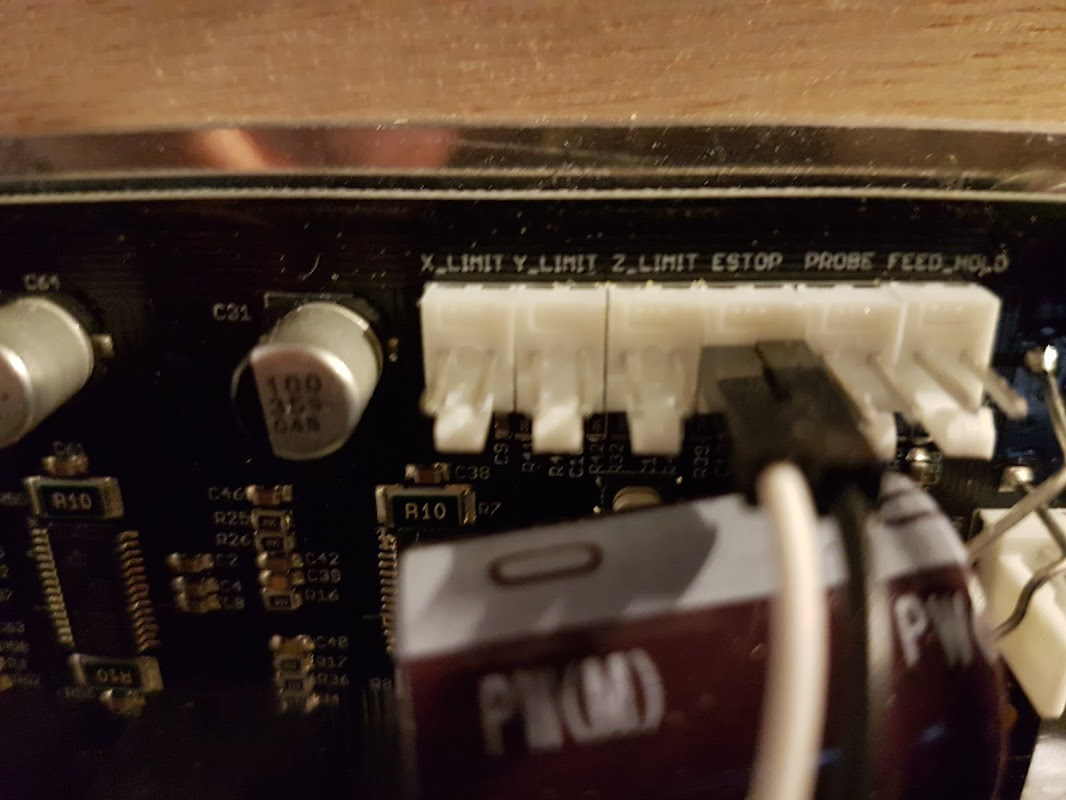
The button (top left) has 1 side Normally Open and one side Normally Closed. This works well, so the normally closed one connects in between the router switch and the router electrical outlet. The Normally Open one connects to the E-Stop pins on the SO3 so when i push it it kills the router, and grounds the e-stop pin causing the CNC to halt.
The plugs, I put them on the bottom, I was contemplating the rear, but it worked out better on the bottom as all the wires go straight down, since I mounted the side to my enclosure it could have gone either way.
Ha ha I knew I would get that comment eventually :-). I have the switches pretty close together with very limited room for plates. My first thought is just printing stickers would look more professional but I’m open to suggestions. I haven’t engraved anything on my CNC yet and have only done a couple carvings so I don’t have a good feel for what would look good in terms of materials, bits, sizes, etc…
I’ve made quite a bit of progress on my folding table and enclosure as well…I should update my post.
I’m wishing I had made my enclosure ~1 inch taller than I did…the Z axis fits just fine, but with my vac hose connected, the hose rubs on the top of the enclosure. Doesn’t restrict airflow, I’m just afraid it might get snagged.
Same here but I found a way around it. I used a hose off of a yard sale find Bissell vacuum cleaner that has steel wire to make it flex a lot without sagging so I can move my XXL all the way to the opposite corner without the hose ever touching down.
Two caveats…
This hose is only about 1.4" ID so it does restrict air flow down to around 80-100 CFM when using my shop vac. However, that’s enough flow to collect most of the shavings under most conditions. There are probably larger diameter versions of this spring steel coil hose available. That spring steel coil really makes the hose solution MUCH simpler.
It doesn’t pull very hard on the z axis mount but it does pull some. I ran some measurements and found that the hose is enough to cause around 0.003" (maybe a little more, I didn’t write it down) deflection at the tip of the endmill when its at its full travel (40+" diagonal). That deflection would be much less for a normal size part so its not a concern for me.
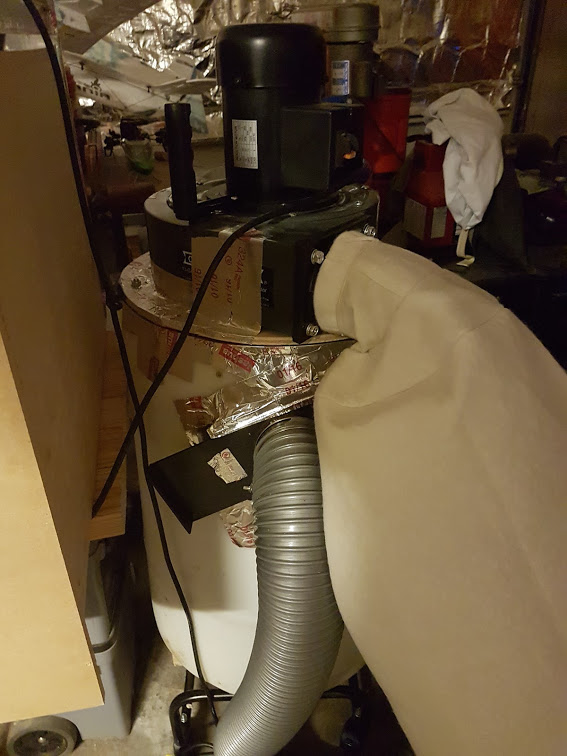
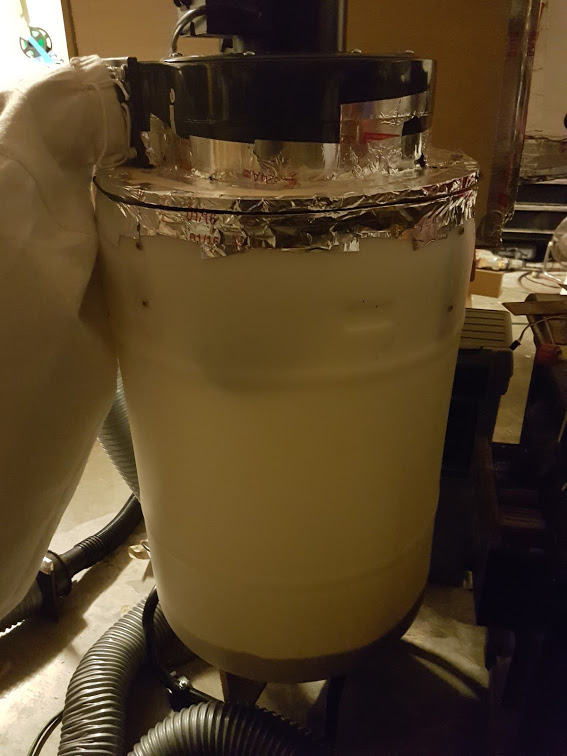
40 gallon, It empties fairly easy into a large 44 gallon 3mil bag. I only fill it about 1/2 way then empty. My bucket did not have a lid at all so my solution was to take some 2X2’s and cut them about 4 inches each and screw them flush with the top of the container on the inside. Then I cut a plywood circle and then hallowed it out so it’s just a lip or rim and screwed that to the holding blocks. I then ran glue / caulking around inside and out and secured over it with aluminum duct tape.
Then cut another circle with just a large enough hole in the center to allow my blower to fit through it. I added 3 bolts to the inner rim pointing up and glued them and secured them with aluminum tape to dry. For a gasket I used a 20" old bicycle tube laid flat. with the center pushed over the 3 bolts.
Fairly easy build, the hardest part is cutting out the circles. The rest went together in minutes really. The 4 inch tube is simply pushed onto a blast gate on the side, and inside I cut about 1 foot section of it and used wire to attach it to one of the support blocks so it points to the side and down a bit.
Being white I can easily see how full it is with light on the other side of it. To empty I simply unbolt 3 nuts on the top and take it outside, Push the bag over the top and invert it! It is not that heavy with just the dust in it, but if you filled it more then 1/2 way definitely need 2 people to do that part.
That’s a nice build. I don’t have room for a 4" hose so I needed the higher pressure produced by a shop vac to get enough flow rate through the hose. Your solution is great if you can run a 4" hose to the dust shoe. With the higher flow rate and larger container you can use it for your other shop tools too, which is nice. Thanks for sharing it.
I have a really similar setup to yours and I was wondering what connector and wires you got to connect to the E stop pins and where you got them. I already picked up the same E stop button.
I wired my EStop to cut power to everything. That didn’t require any special connectors. I wanted the control system and router to turn off when I hit the EStop.

 also in the pic looks like you made cam clamps? care to discuss?