@csader
The additional board is a 2.5W blue laser driver board. The laser itself I designed to be quickly removable on a bracket that binds between the 611’s height adjustment ring and the aluminum mounting bracket.
@jkread
It is truly a WASTE board on top of the actual waste board.
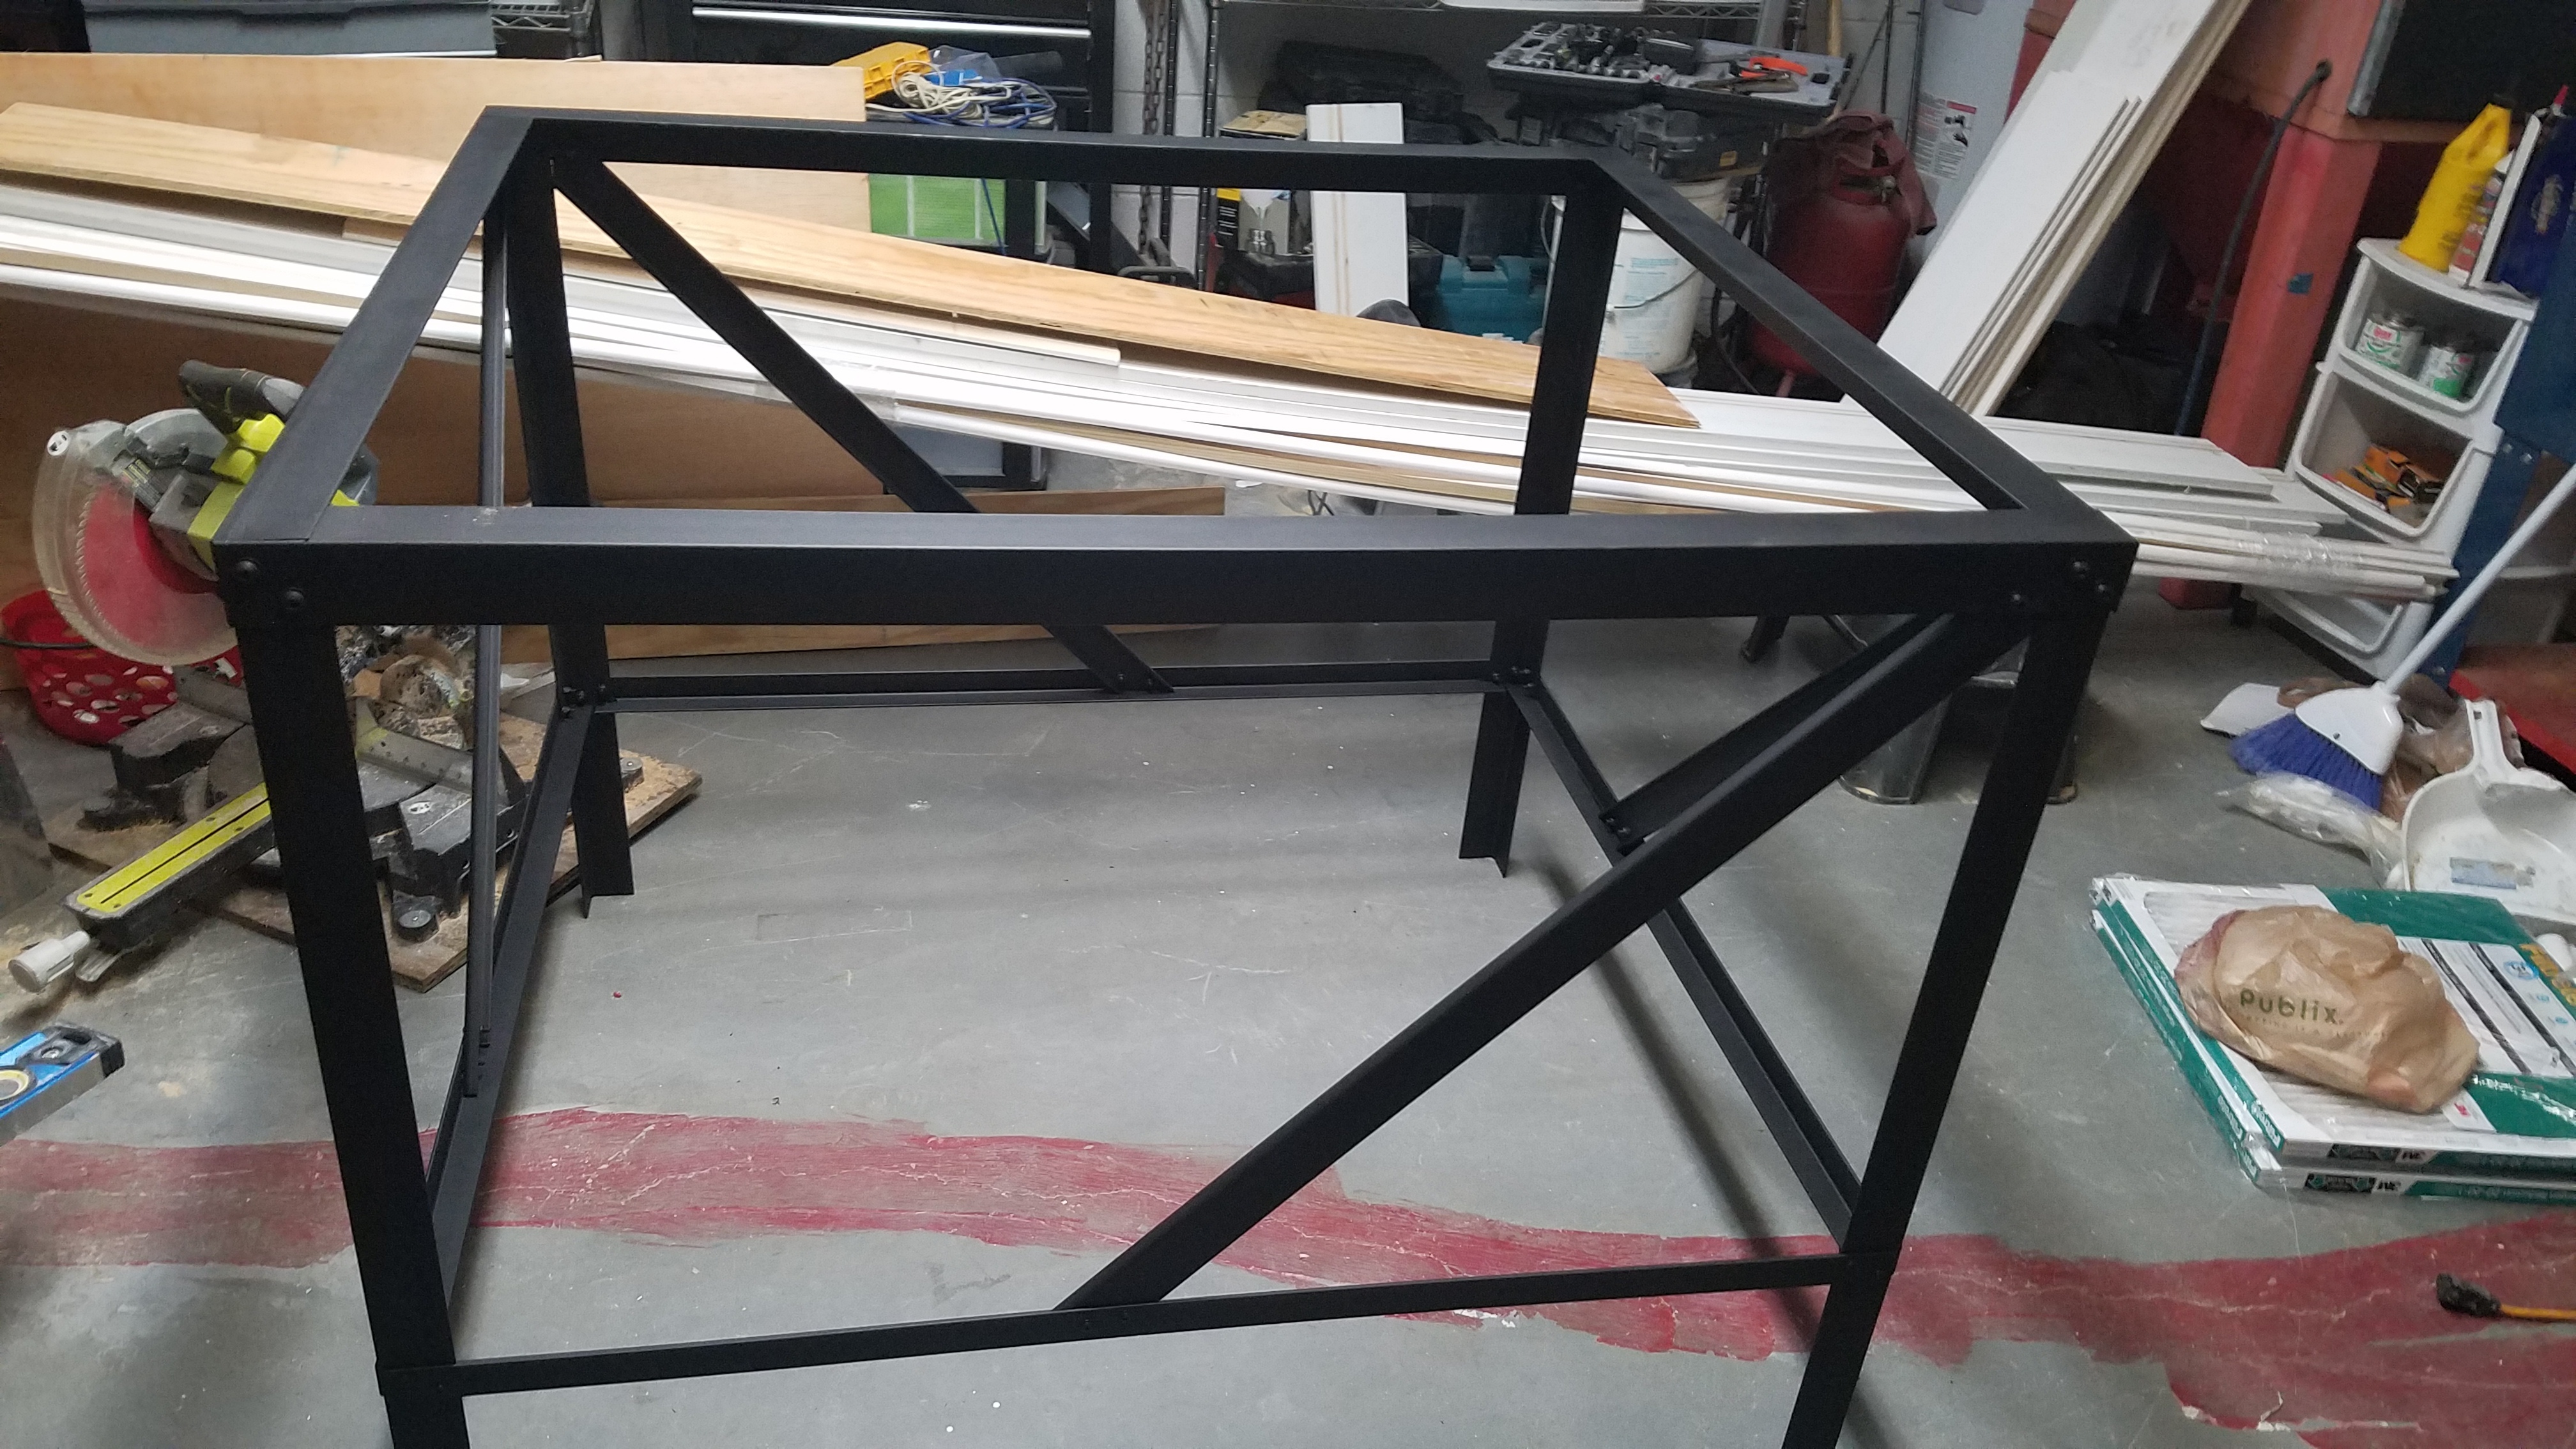
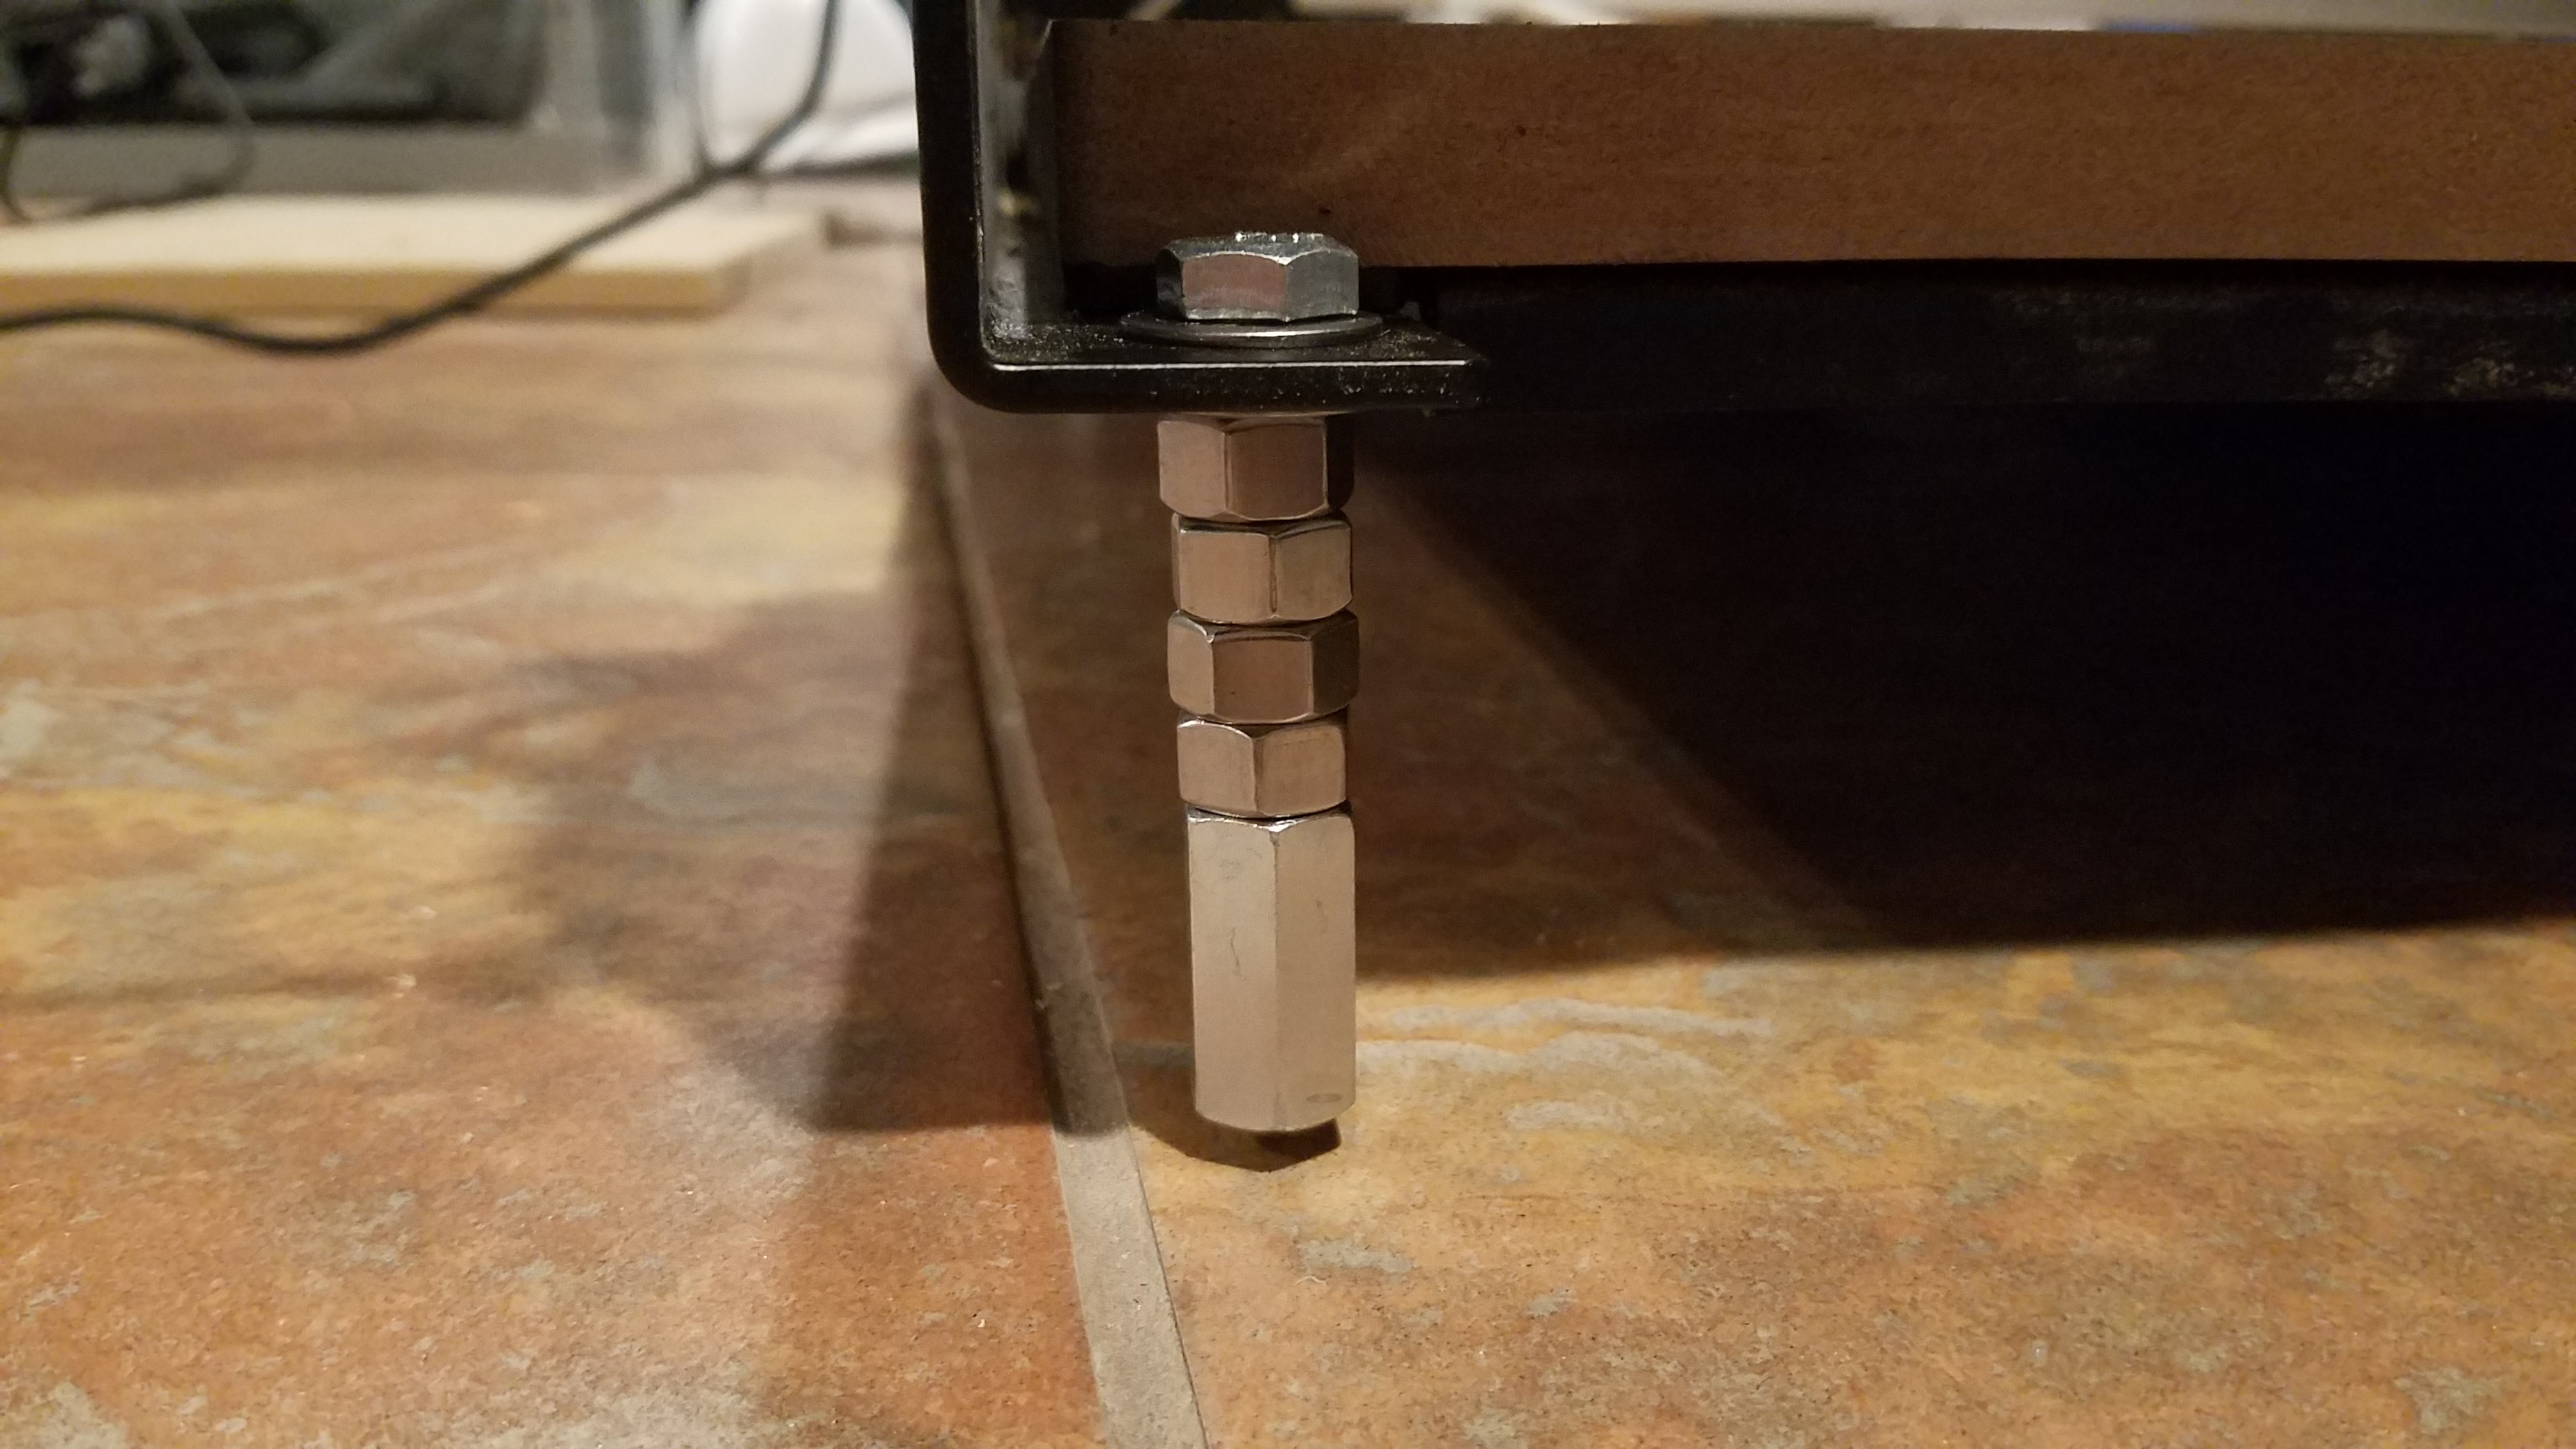
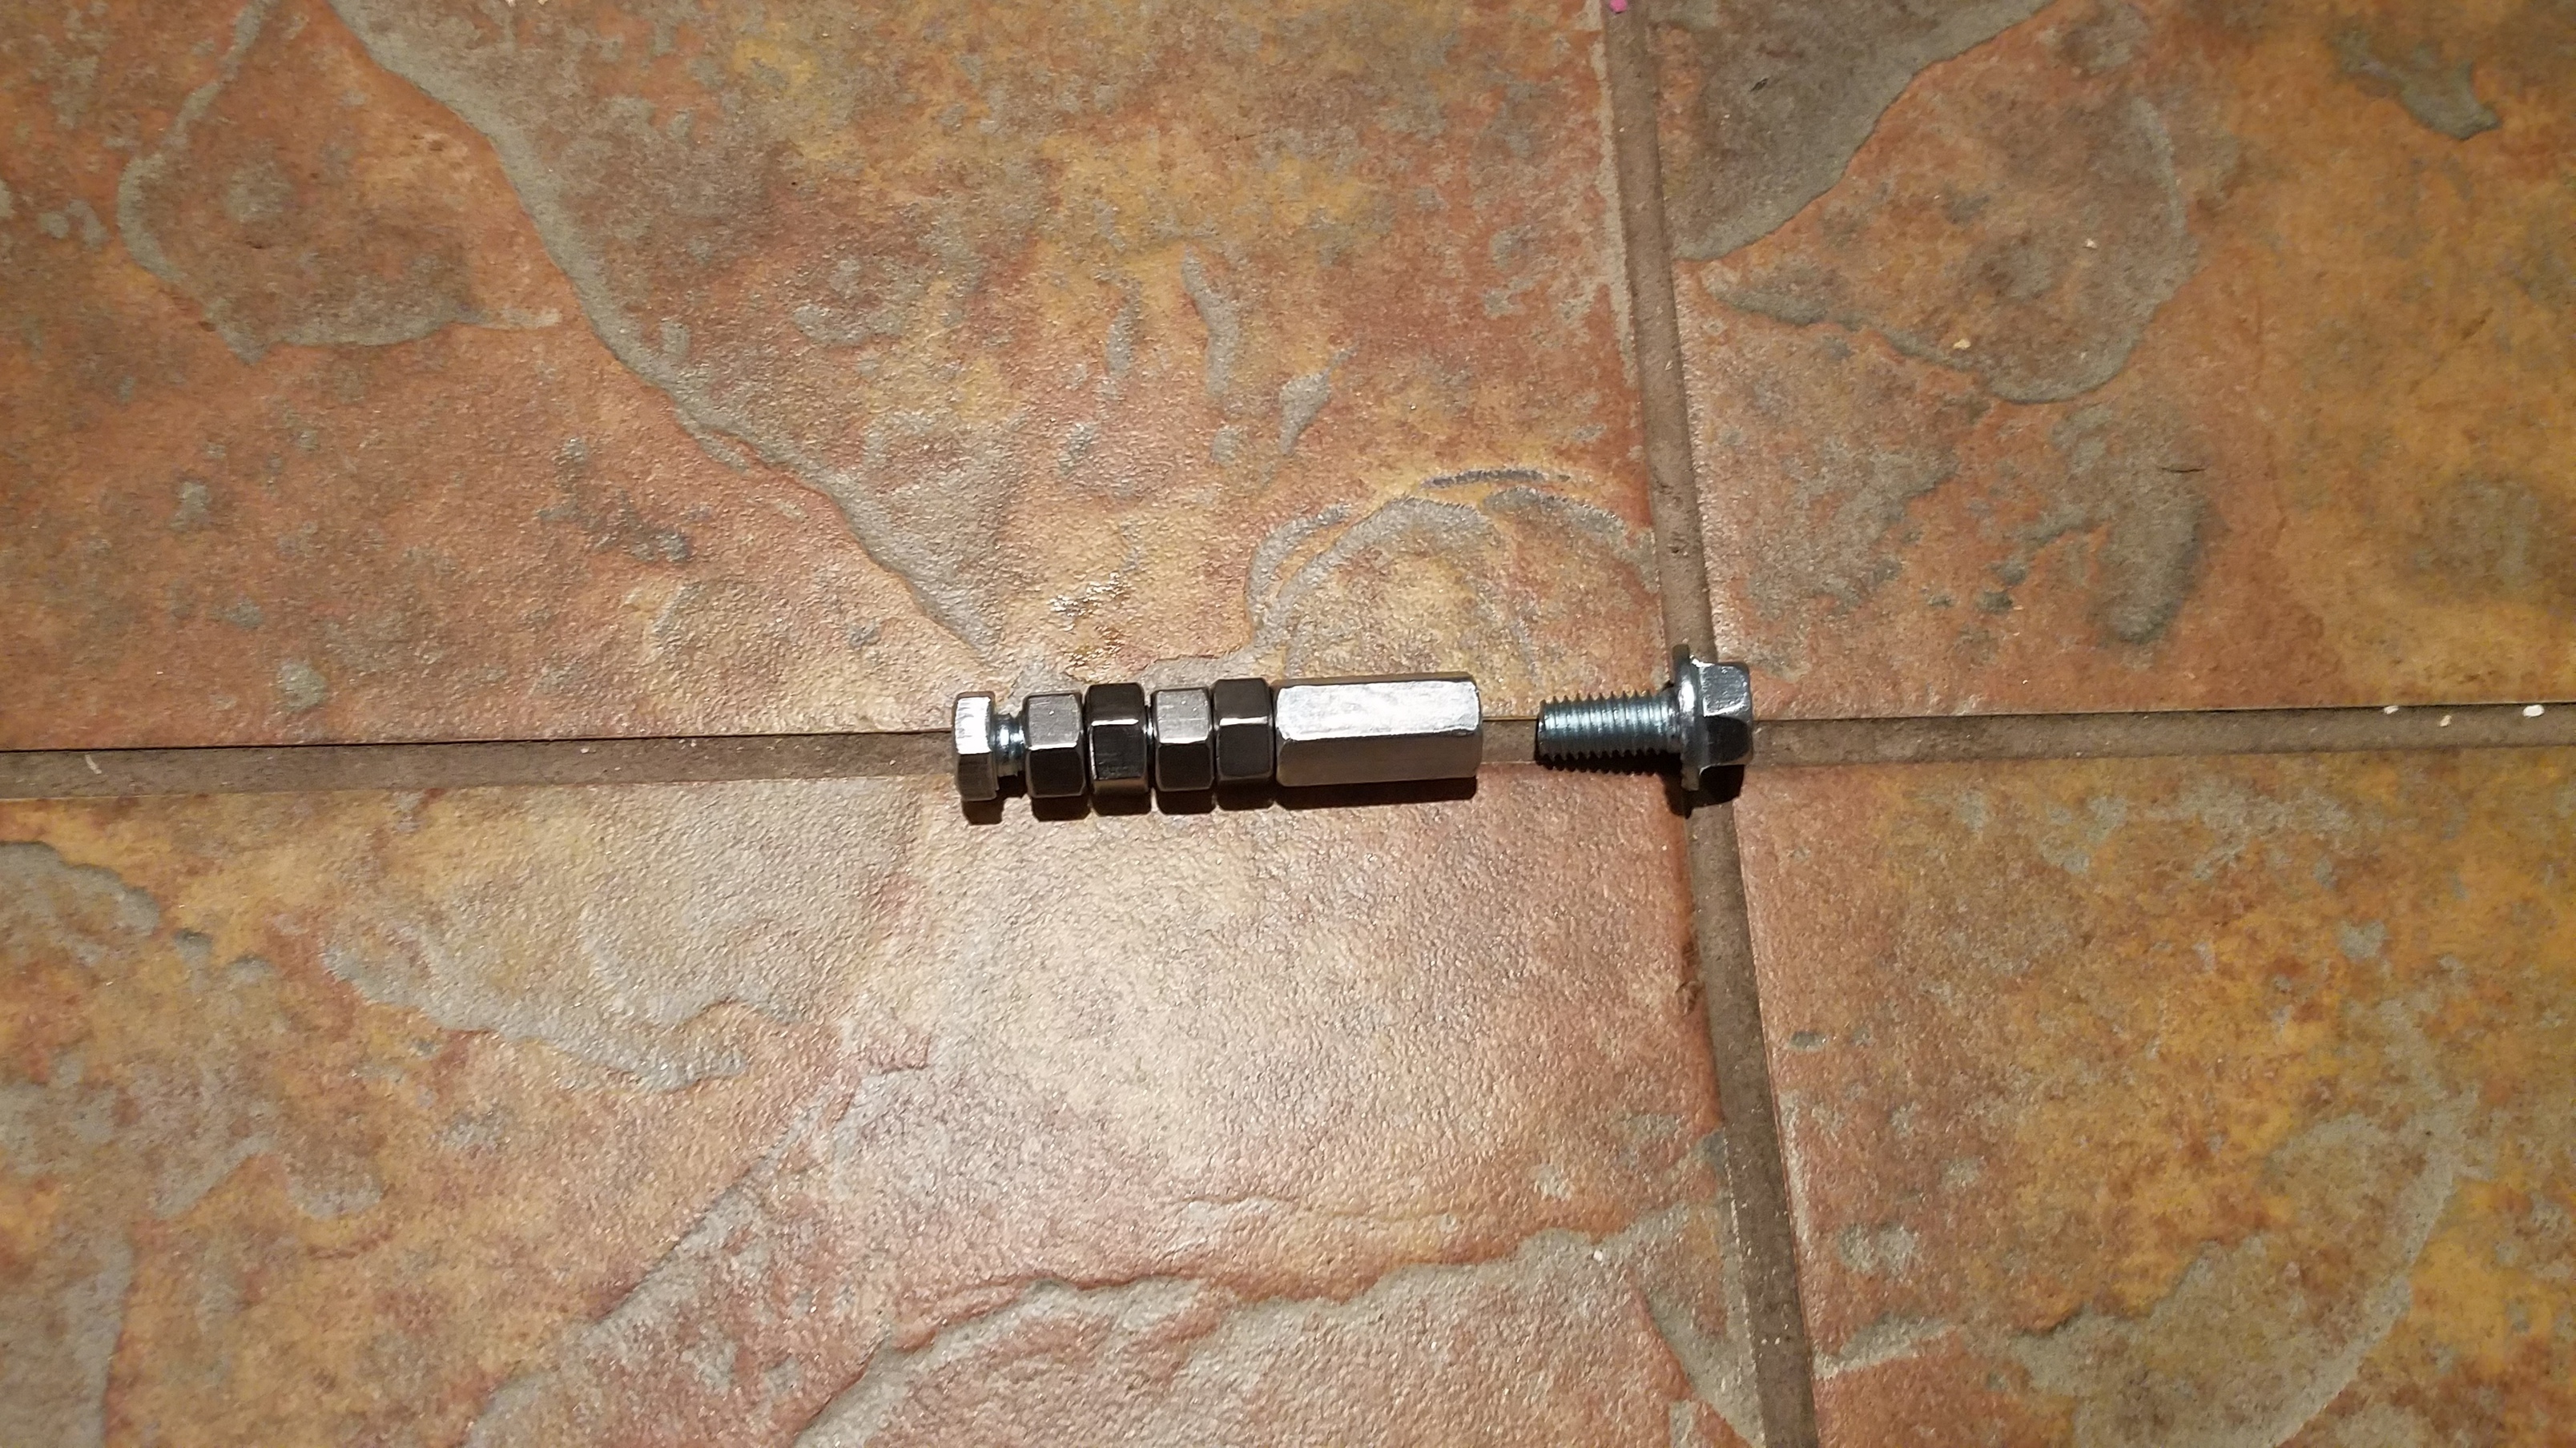
Just finished building my base and modifying my XXL. I drilled out the four corners with a 3[8 bit and added one in the middle at the front and back for a total of 7 mounting/leveling feet ( see 1st picture). I will finish mounting tomorrow and take more pictures. Ray
I have a question regarding enclosures VS. “just” a dust shoe :
I have been considering a PRO / ( pre manufactured ) dust shoe that will probably take up a lot of the dust from the Shapeoko XXL , but it is quite expensive…
Especially for me that lives in Norway ( extra import taxes + higher shipping costs ) ; I think I have two standard sheets 4x8 ( 1220x2440mm ) - 3/4 ( 18mm ) birch plywood in my workshop; now considering an enclosure instead.
How does the dust extraction work with a enclosure? Do you need a dust shoe when you have a enclosure like shown above?
Has anyone shared drawings / dimensions of their enclosures?
An enclosure will keep the dust contained and the noise level down, but dust extraction is still required. I suppose if your enclosure was airtight you could do without and clean up afterward, but then you would have buildup of dust everywhere inside the enclosure and it would be a mess. And hard on the tools.
There are several pictures of XXL enclosures on this forum, and several in this thread. I based mine on the dimensions of the one @Tshulthise built and posted about.
Dust collection is a must for Shapeoko IMO. I designed and installed my dust collection system before making anything but a small test part.
I was going to make an enclosure, but at this point I doubt I will bother. I use an air quality meter to monitor the shop, and because it is a pretty isolated shop noise isn’t enough of an issue to make an enclosure worthwhile, at least not yet.
So depending on your circumstances I’d put dust collector in the “do it now” bucket and enclosure in the “evaluate your needs and use case for a while first” bucket.
Search for “mega enclosure” on this forum and you will see my S03 XXL enclosure and how to make it which will cover most if not all of details that you are looking for.
Its easy to make your own dust shoe but just taping a shop vac hose to the router will work until you can make your shoe. Sending the fine particles through a good filter is the most important thing and most of the fine particles get extracted by the vacuum. Then you can just sweep up what’s left afterwards.
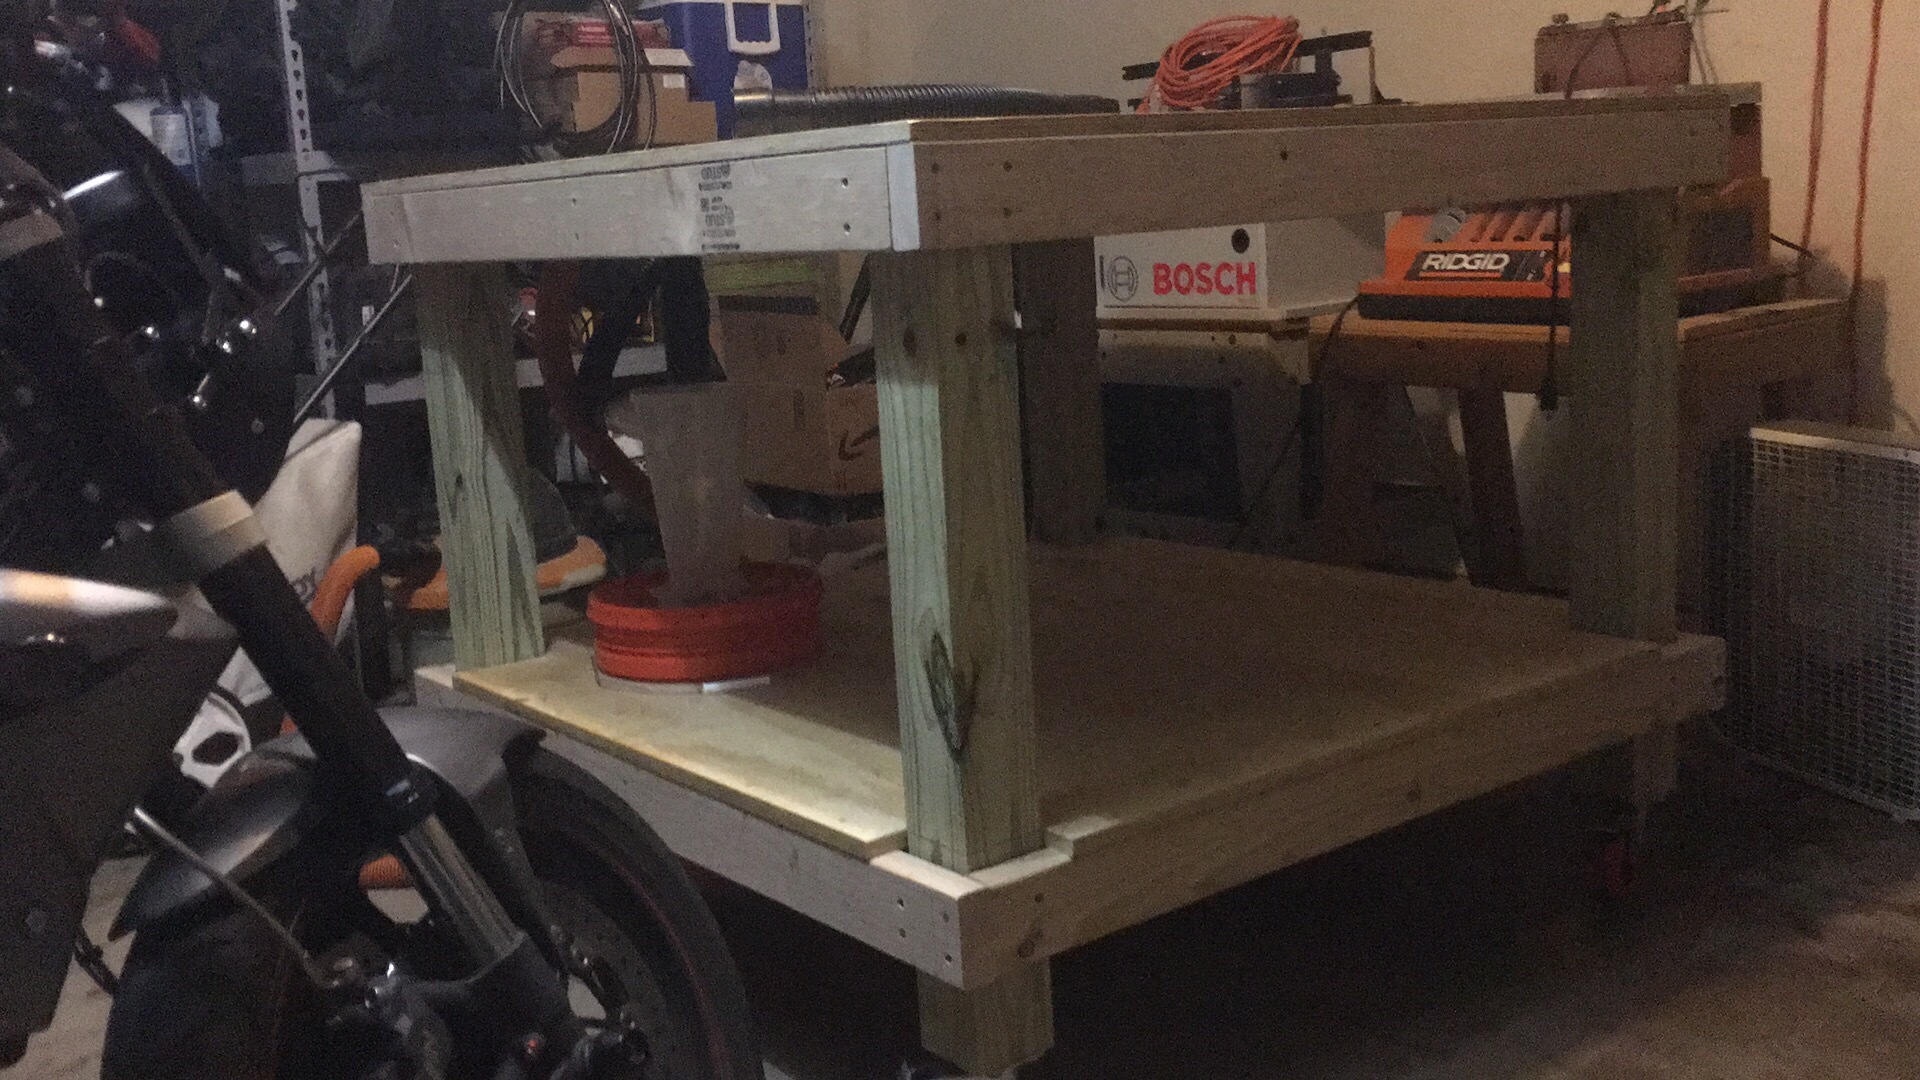
First post, as you can probably tell from my forum name I’m Dan and I live in Fort Worth Texas. I just recently put an XXL on order and should receive it next week. For my setup I built a simple 4x4’ bench, 7/8" plywood top and shelf, 2x4" frame and 4x4" legs with heavy duty casters to make it mobile. I added a round cutout in the shelf to hold a 5 gallon bucket with a dust deputy. I want to eventually build an enclosure out of MDF, but want to get everything built and running first. There appears to be some really handy folks on this forum and I’ve learned a lot from just reading on here for the last couple months before I purchased a machine. Looking forward to more learning once my machine arrives!!!
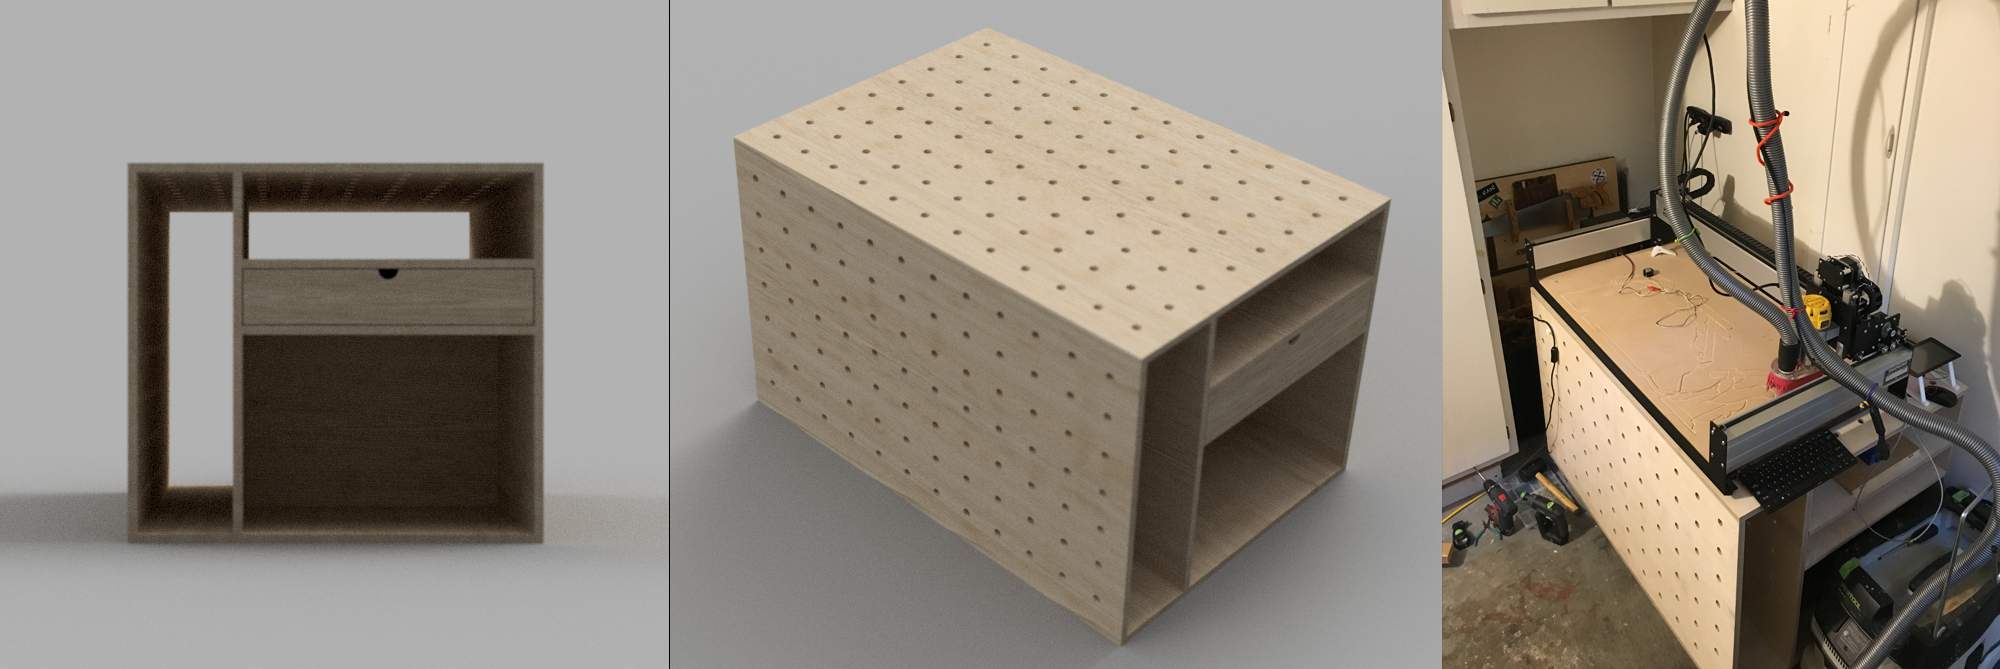
Here’s the table I made for my upgraded S3 (to an XL). I used Fusion 360 to design it and I used a Shopbot to mill the top, front, one of the shelves, and the drawer fronts. I used them as templates to cut the rest using a Festool track saw. Assembled using pocket screws. I added locking casters. The table is super heavy given it’s made from real baltic birch. I also have a few sand bags in the bottom to add weight and when I lock the casters, it doesn’t move! I got the drawer slides today so I hope to make the drawer boxes using the shapeoko (or if that doesn’t work, I’ll just use a table saw and/or a router).
The dog holes are 20mm and 96mm OC. I did this mostly to make it like my Festool MFT3 and to re-use the jigs I’ve bought or 3-D printed for it. I was thinking I could use the holes on the front to clamp pieces (maybe a table/chair leg for a tenon or a mortise) to make use of the ~2" of cutting area on the front. I’d also like to make a jig that clamps onto the front so the bed could be extended and pieces could be adequately supported.
I’d like to make a shield or maybe a full enclosure. Probably out of 80/20 and acrylic panel.
I have a raspberry pi 3 mounted to the wall on the side now and I’m using CNCJS that was mentioned in another thread. I like that I have headless server for the shapeoko, my Mac can be in another room and I can use my phone or tablet to run the job near the machine.
Other pending upgrades are the precise bits collets/wrench and the kent CNC dust shoe.
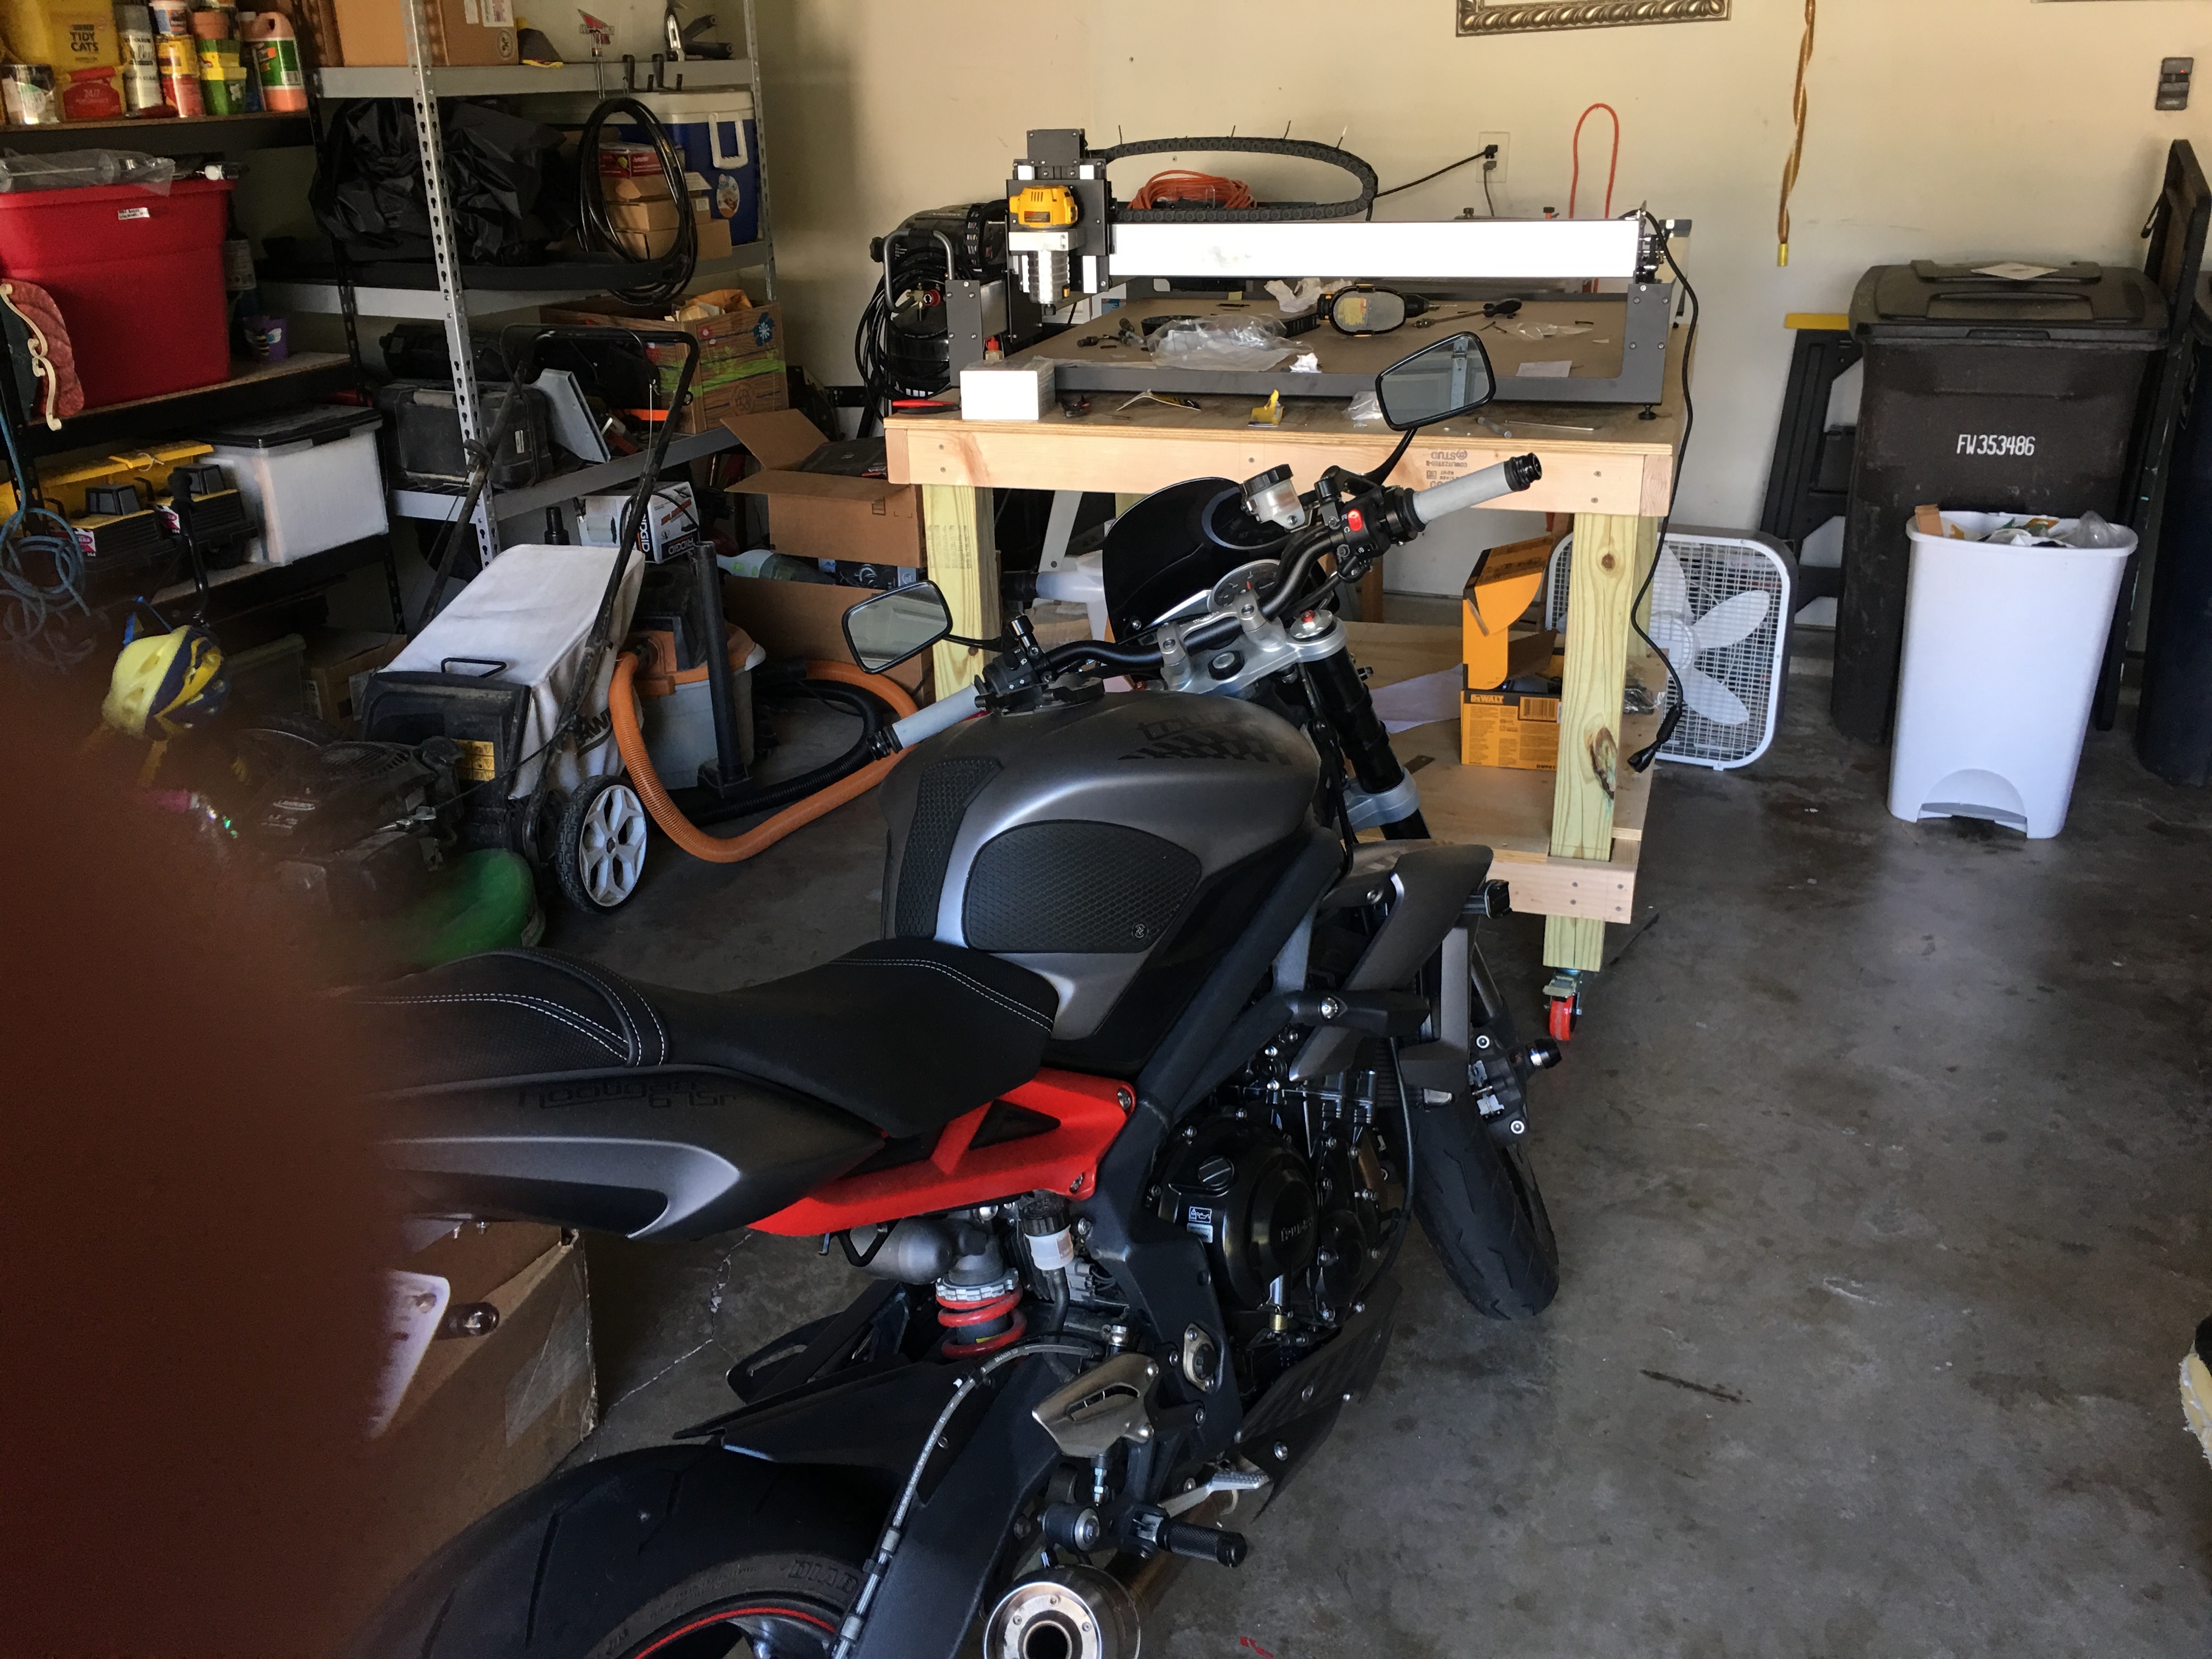
My Triumph Street Triple R eyeballing the newly completed dust making machine that it’s now going to share the garage with… It has a dust cover, but it knows that means I won’t be lovingly staring at it as often;-(
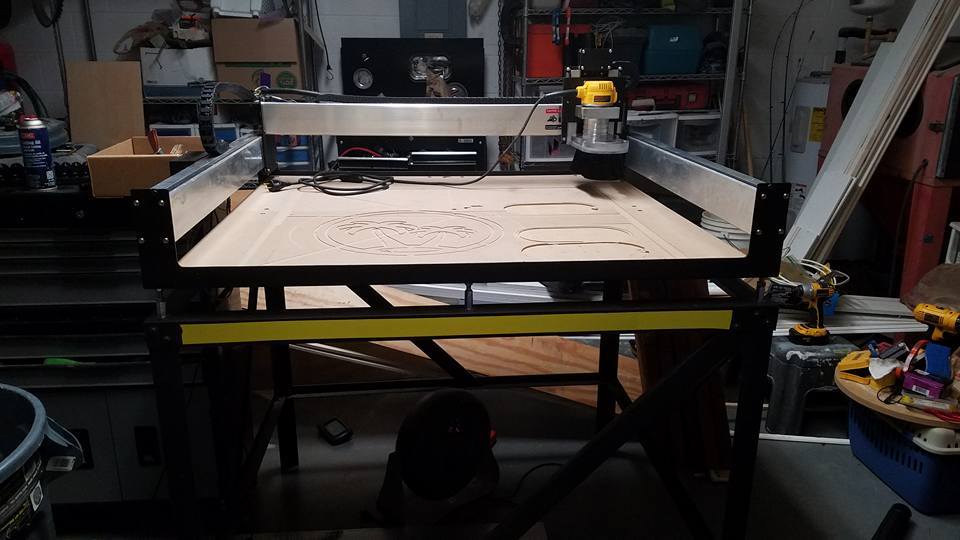
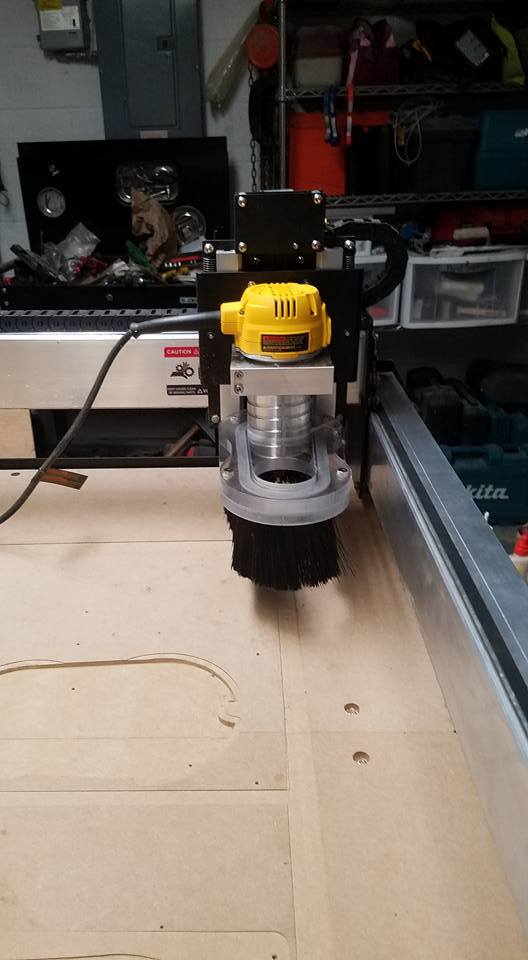
Finally have machine attached to base, dust shoe made, dust collection almost finished and electrical planned.
It really is more organized than it looks, lol.
I used 60 or 90 lb gas springs from McMaster Carr. It was a little tricky getting the spring geometry correct but it works great. The spring force needed will depend on your door geometry and weight. These gas springs are similar to those used for van hatch lifts.
Let me know if you need anything else. I’m glad to help.