interesting mixing acrylic into epoxy; so far I’ve tried the various epoxy inks and powders, but not acrylic.
The inks mix very well but (unless you mix in the white) end up translucent, and the powders you have to stir like crazy and they may sink to the bottom a little
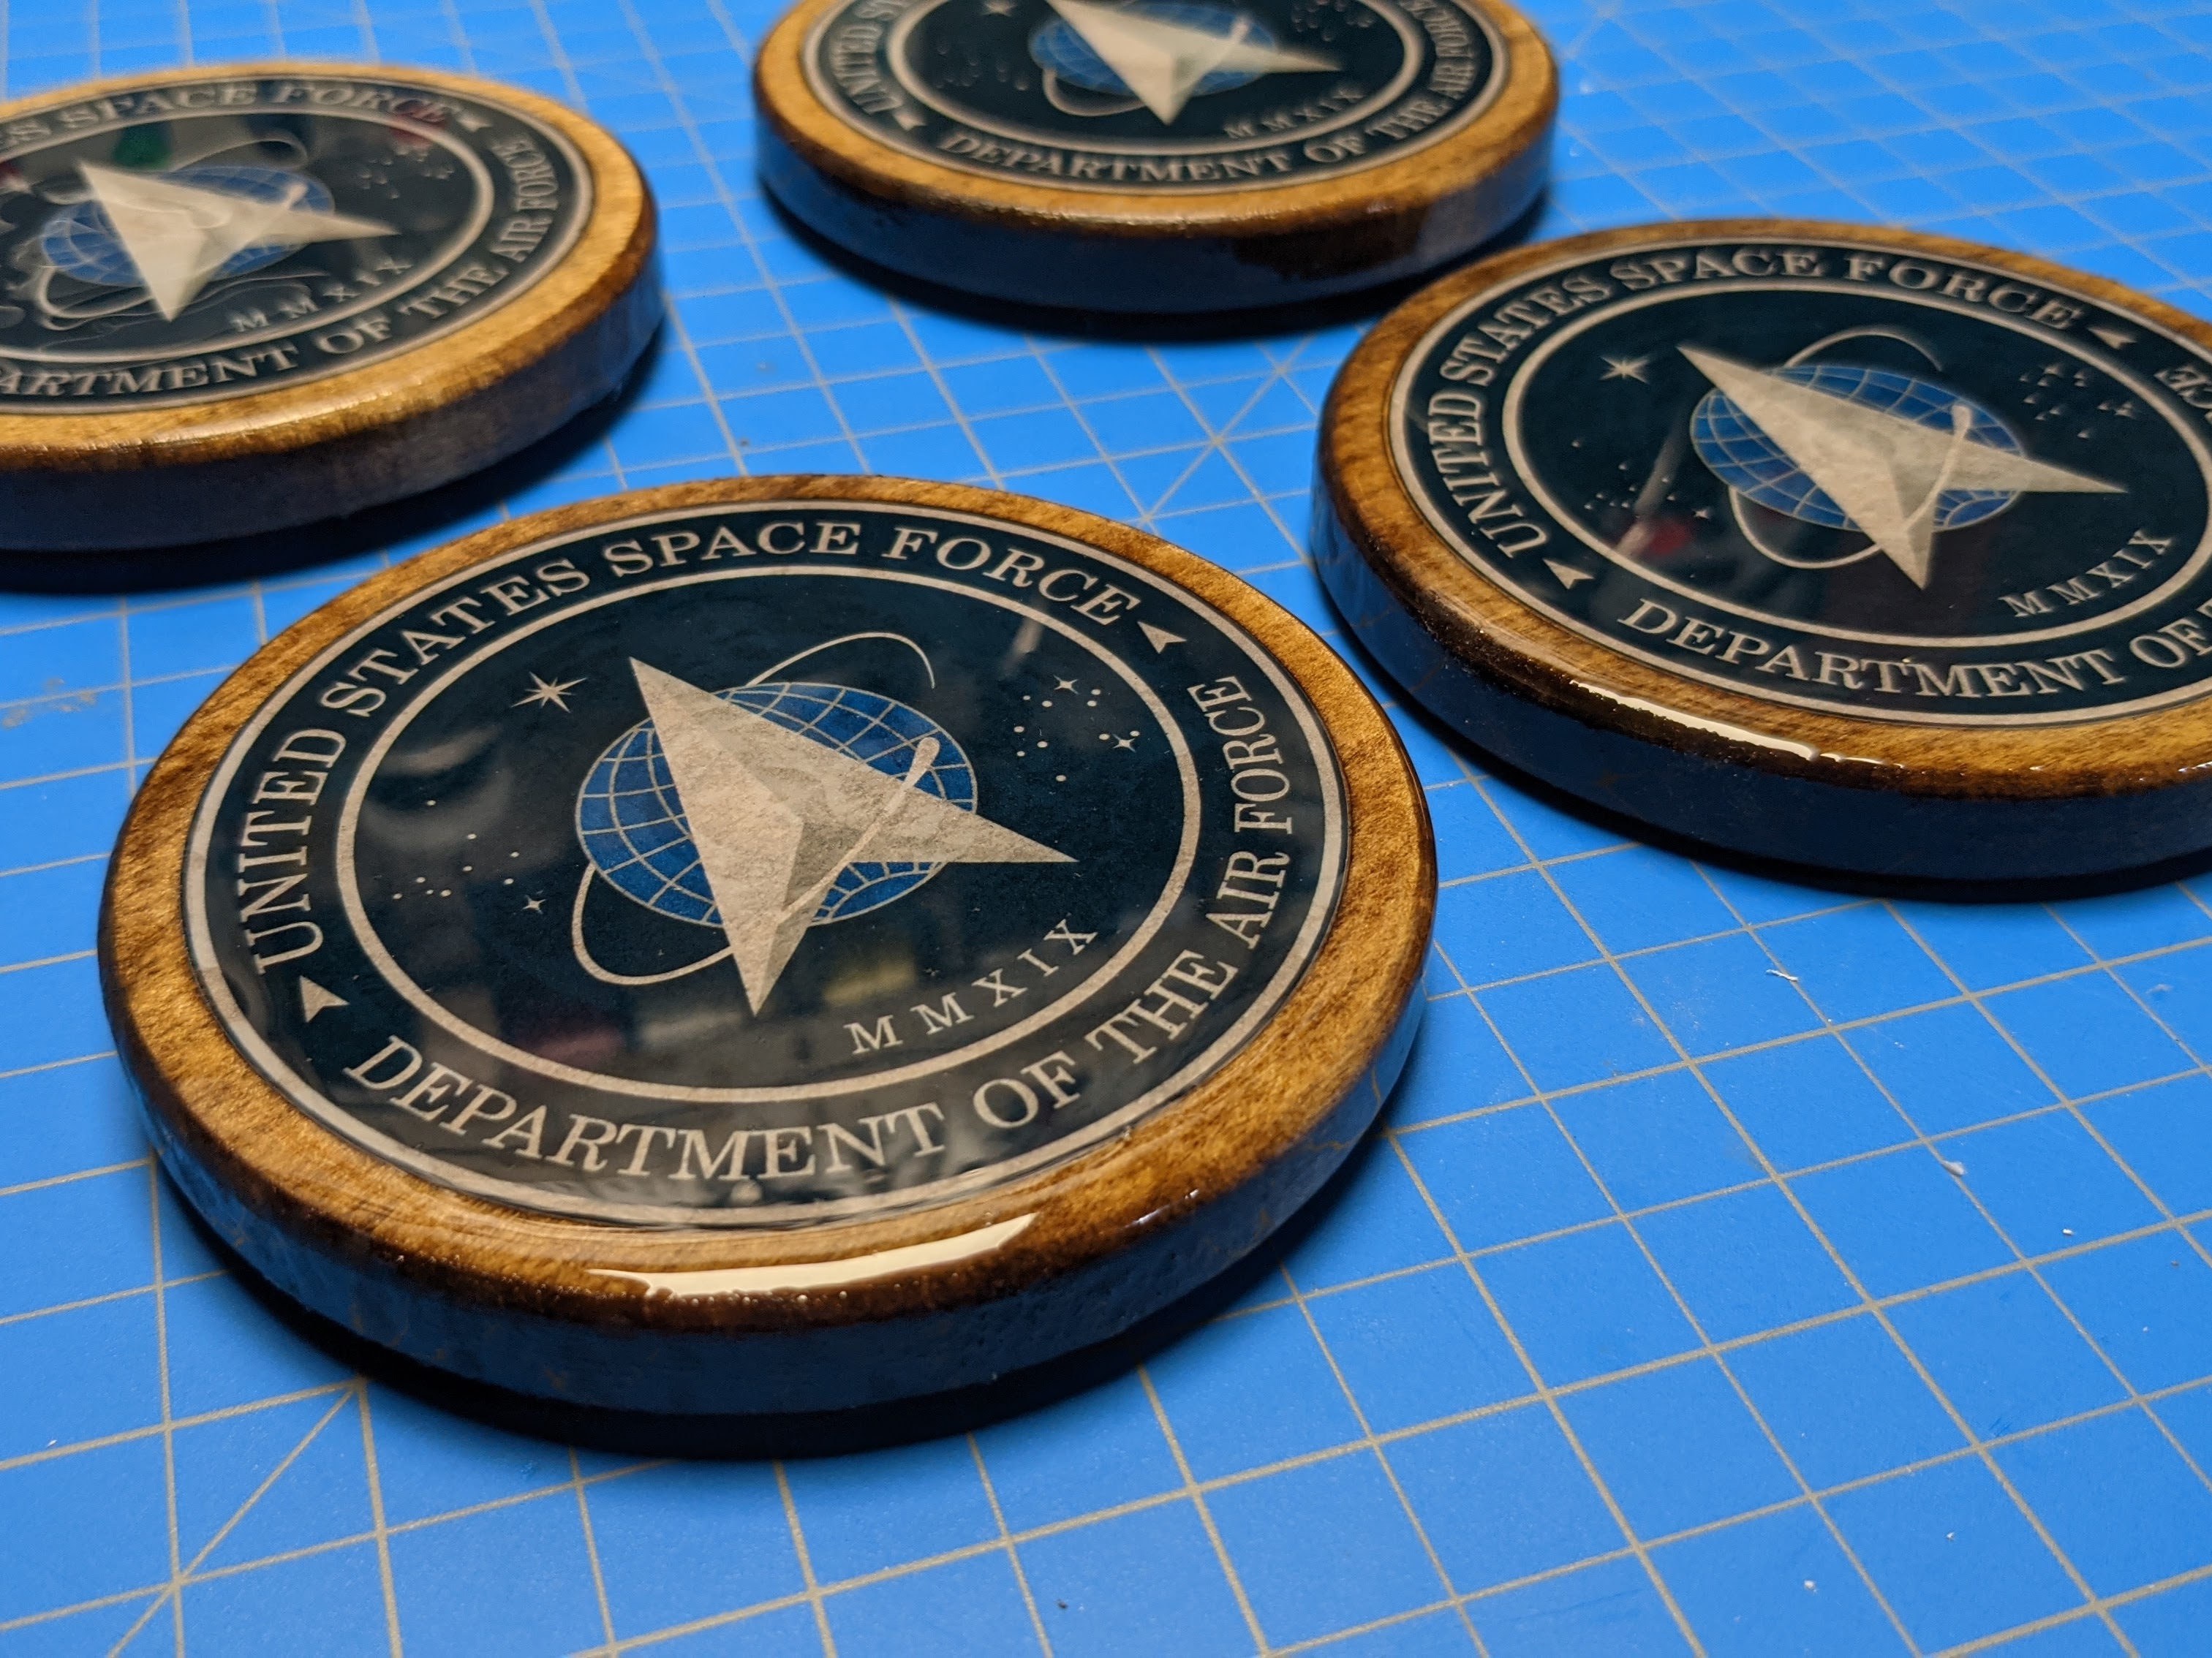
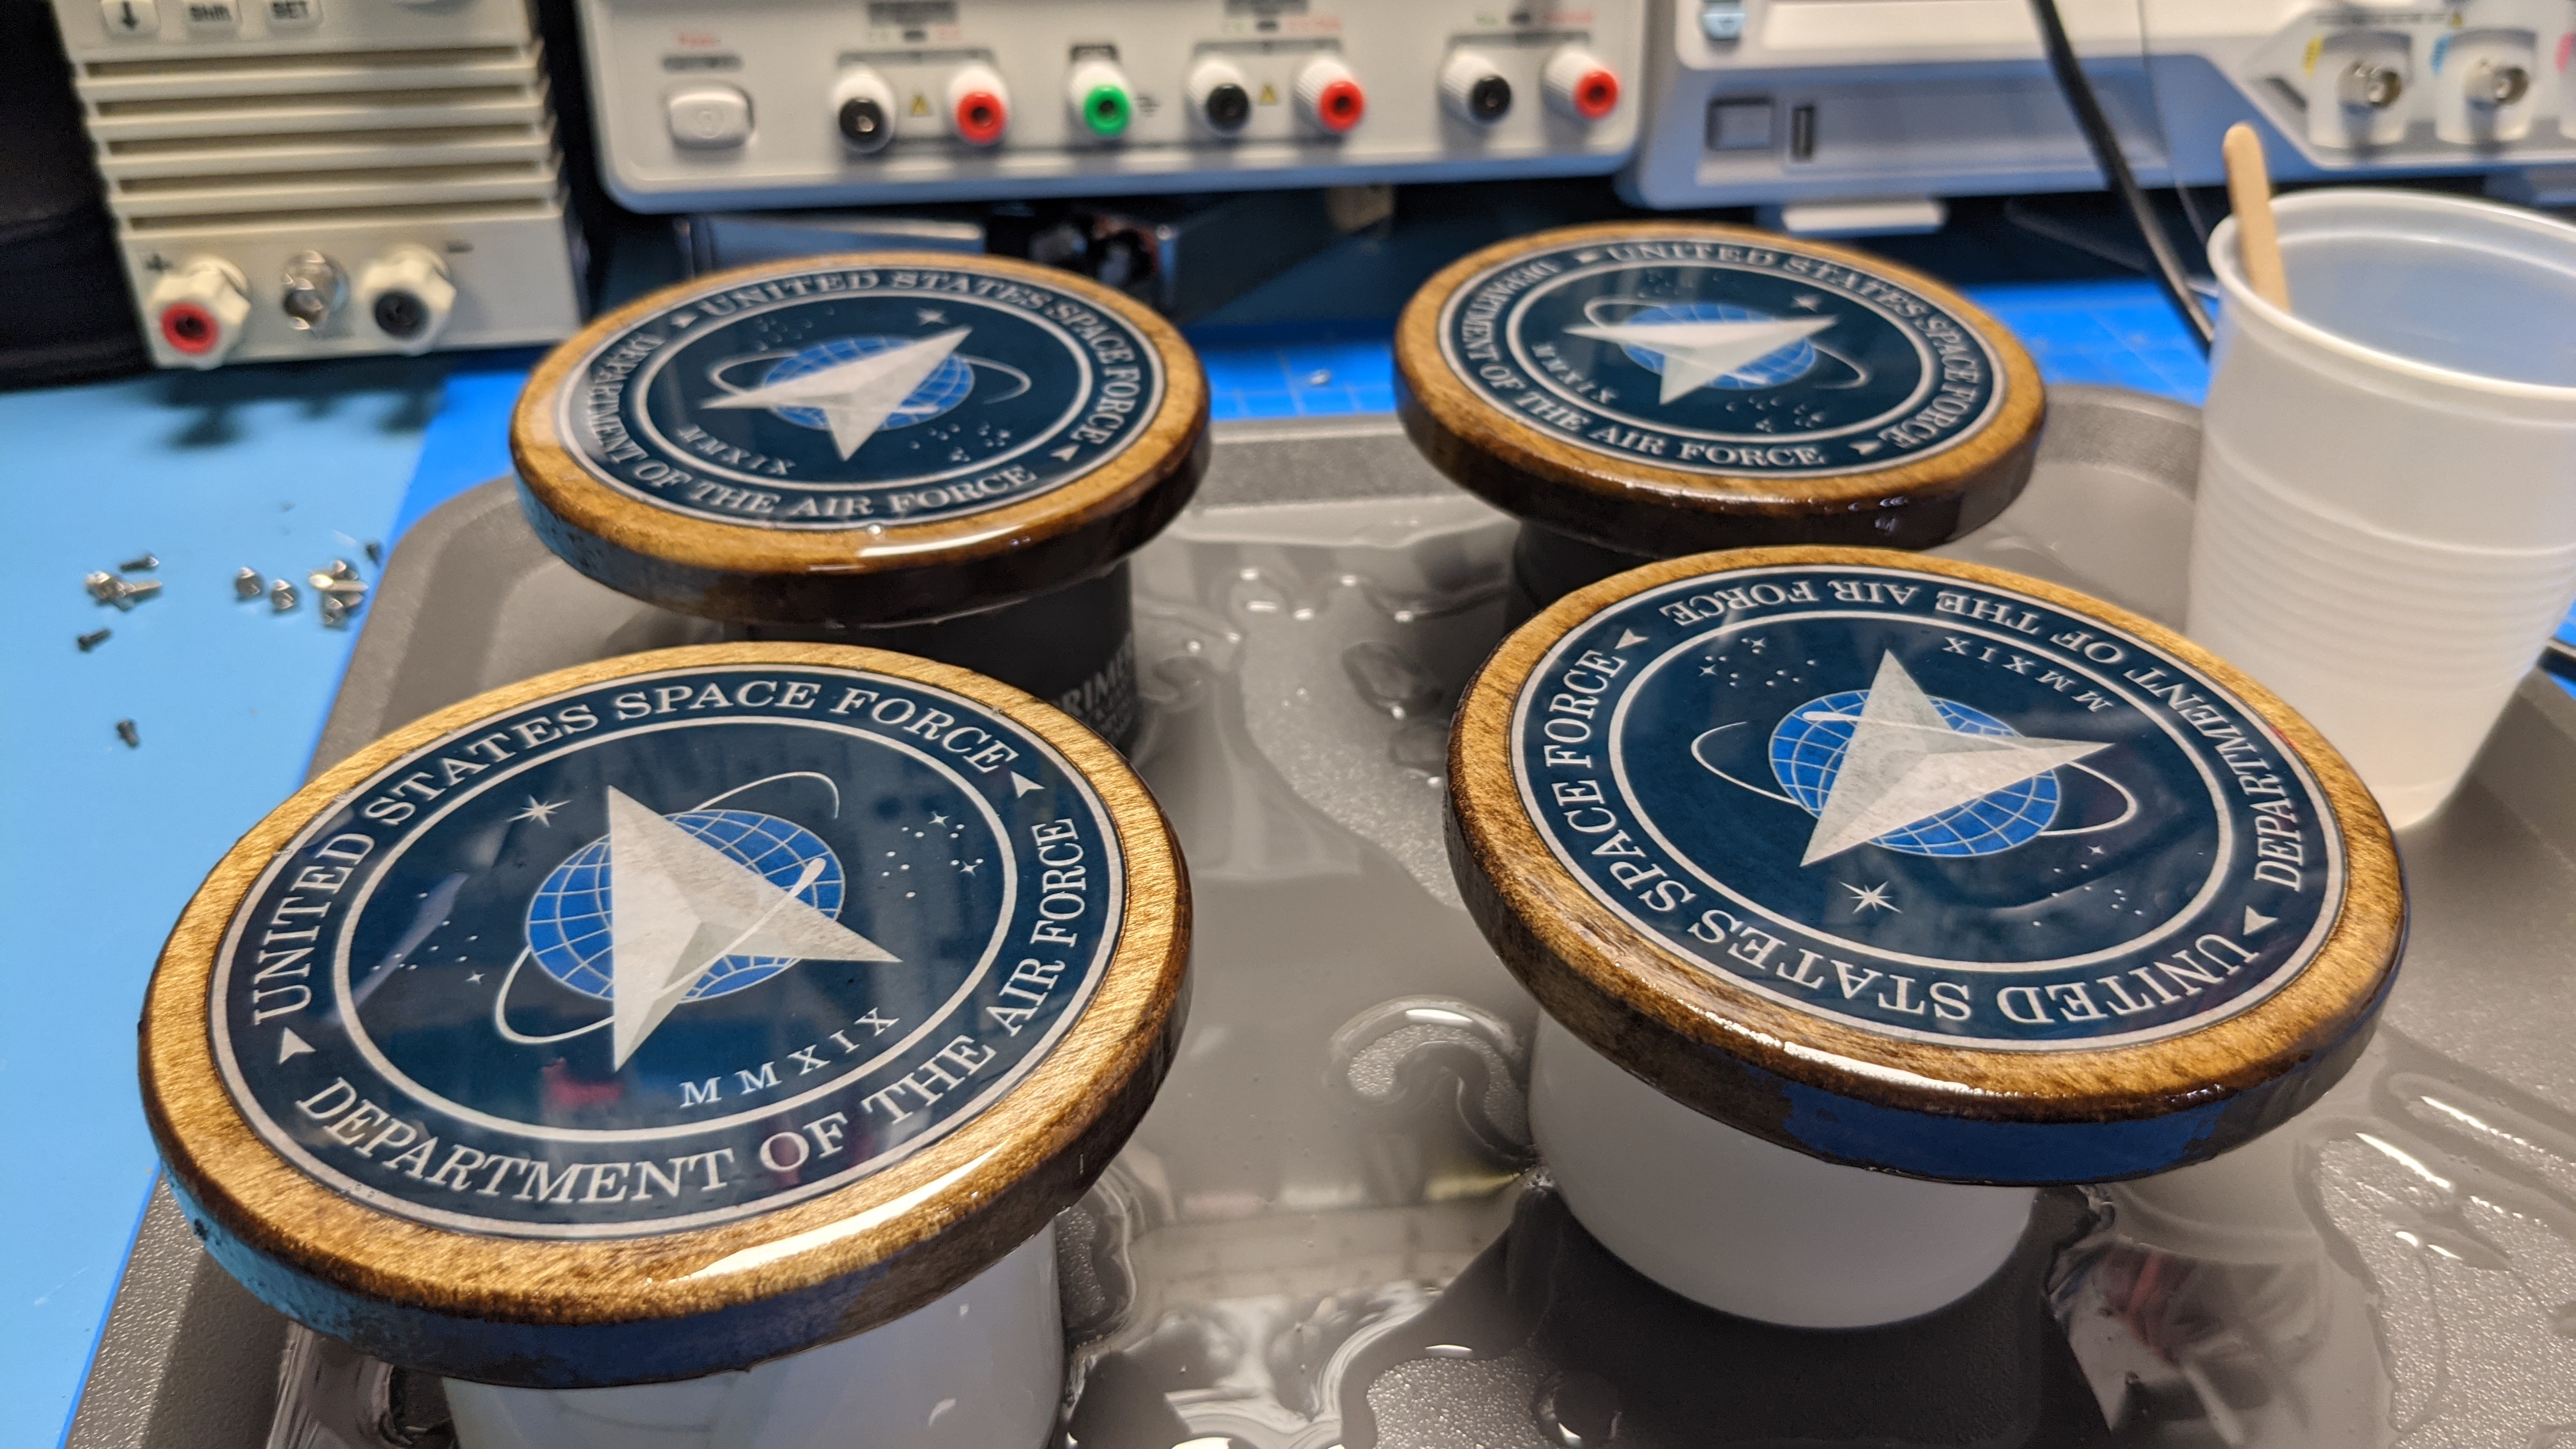
@Merick01 You inspired me to try a poor man’s version mostly so I could practice epoxy pours. My top surfaces are decent (two have some low spots), but my edges didn’t coat very evenly even though I “primed” them with epoxy before flowing more over the edge. Is there a trick to avoiding or cleaning up the drip bumps underneath?
2 Likes
Those came out amazing!
What did you use for the color and epoxy???
Extremely vibrant!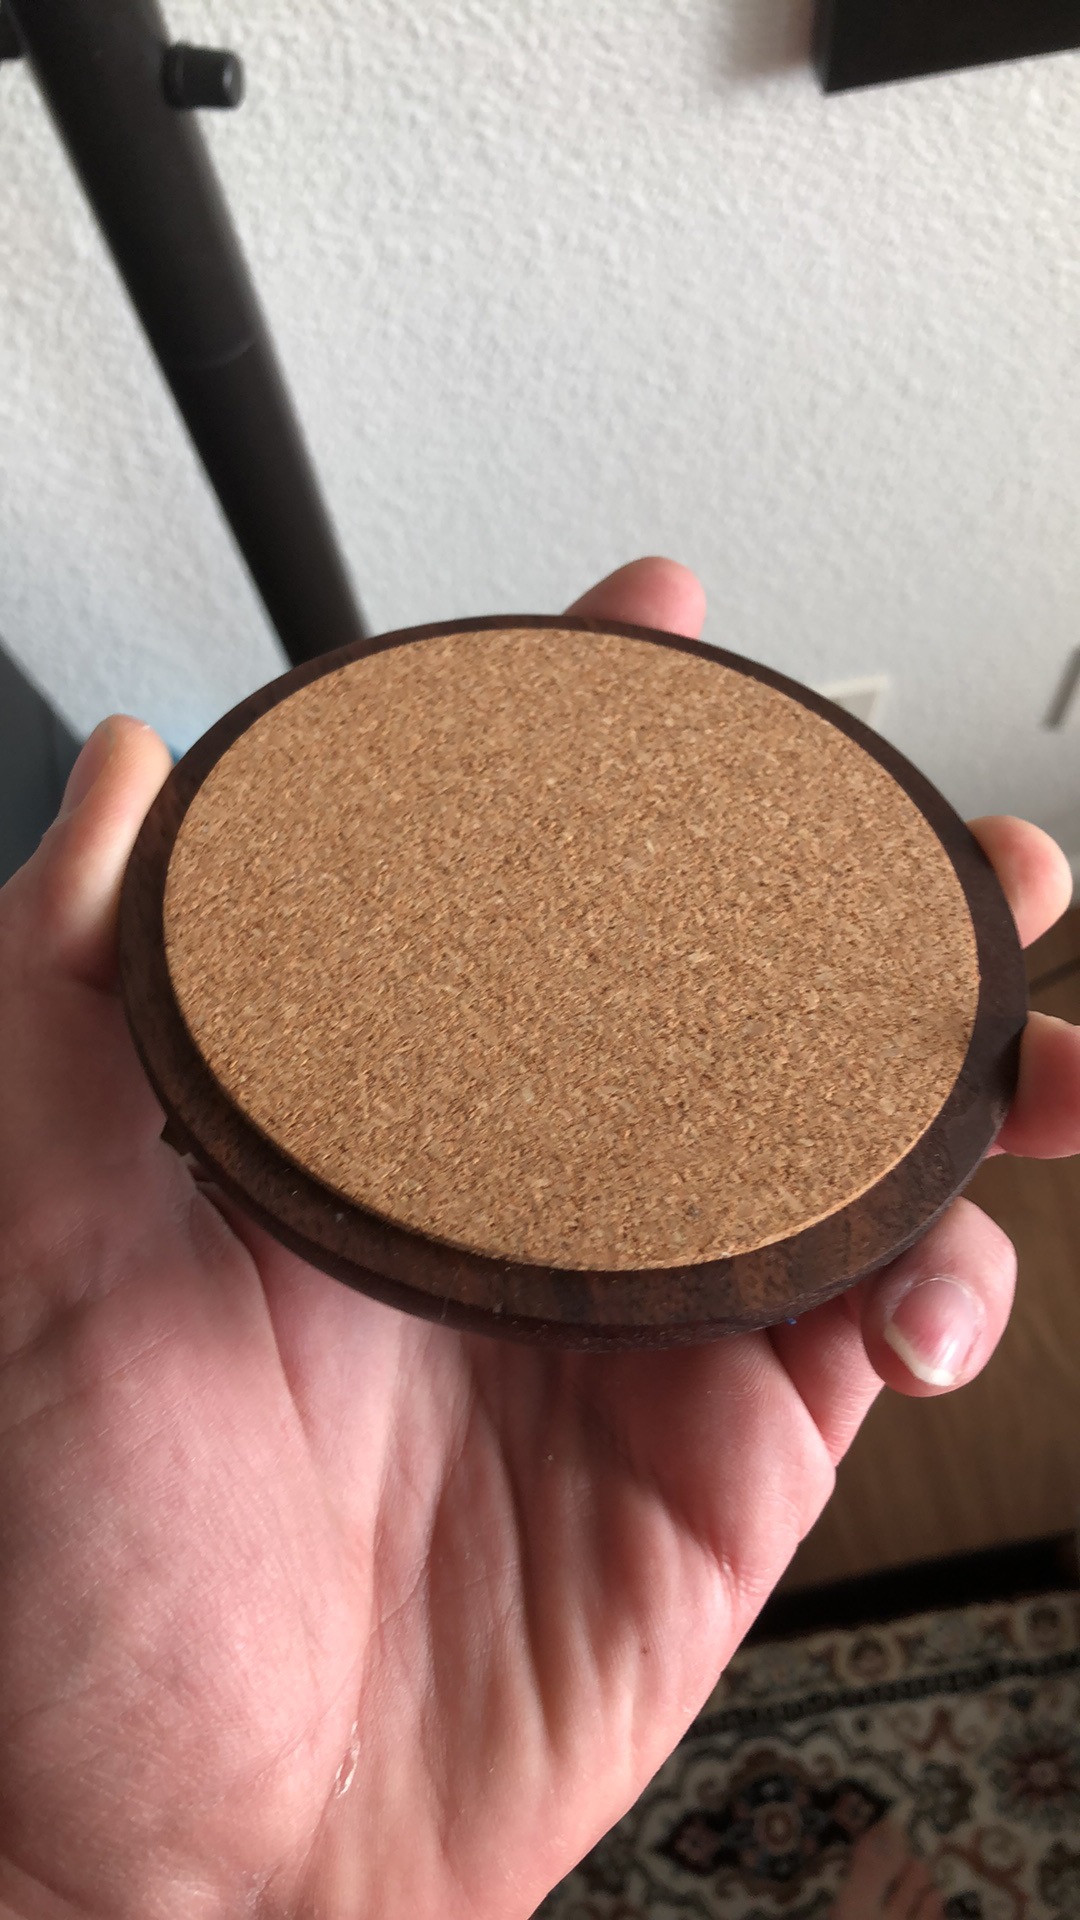
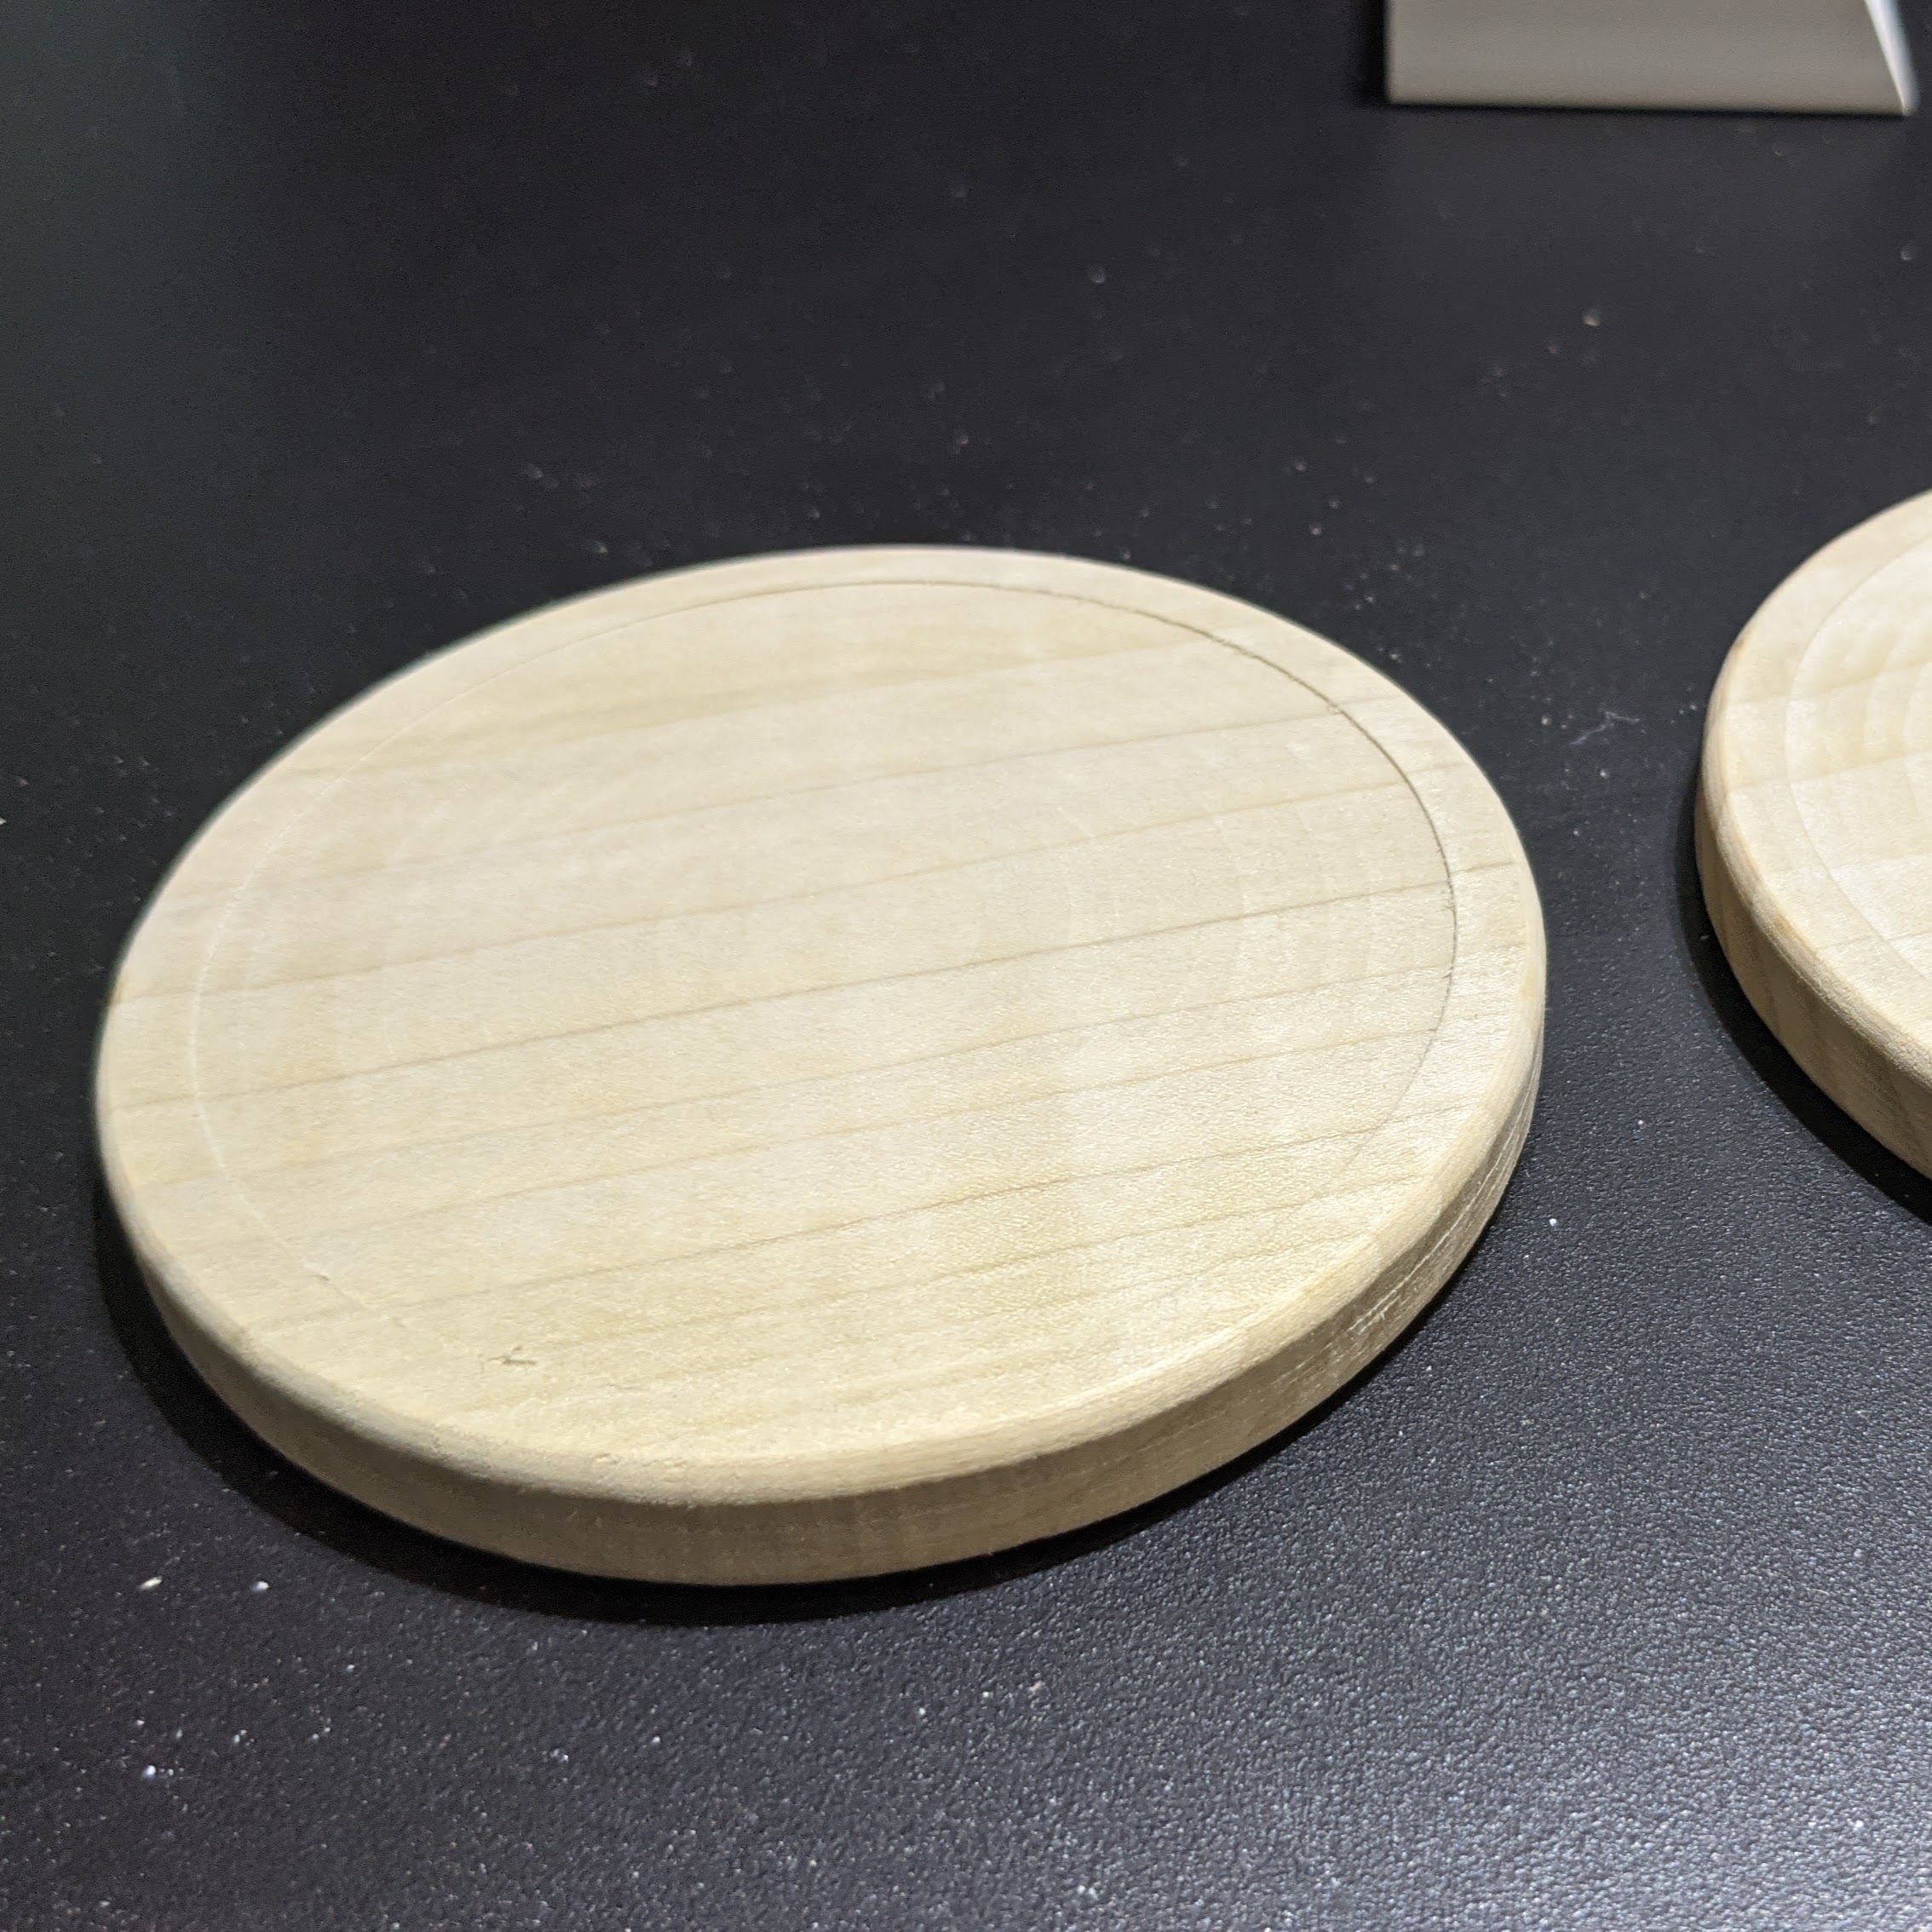
The bottoms I just sanded down and then put pads underneath.
2 Likes
That’s where the cheating came in  They are just full color gloss coat printouts that I then ran through the vinyl cutter to trim to size. The surfacing, pocketing, outside trim and round over were done on the Shapeoko in about 20m. I definitely don’t have your patience or skill to do all the multiple pours!
I was thinking cork for the bottom as well, last time I made coasters was about 6 years ago, but I ran the cork through the laser cutter to also burn in my branding. I’ll try sanding off the bottoms and hopefully they clean up well enough after curing.
3 Likes
I had the same thought!
Ordered some round vinyl stickers (not space force, though) as soon as I saw the initial results post from @Merick01.
2 Likes
@theworkshope & @neilferreri - Not cheating at all, but the stickers really make me appreciate the level of patience and expertise @Merick01 has shown with epoxy!
1 Like
Agreed. I’d echo what @RoughDraft40 stated. This thread went from typical to excellence in one update.
I still have some epoxy nightmares after a student tried a 12oz pour, left to go to Spanish class, and I was stuck with the aftermath of a tape-seal failure.
1 Like
I think this is the most economically and consistent approach to making these.
If I was to make coasters and sell them for a profit that captured my time worth, the vinyl is the best option. The image quality is great as long as it doesn’t bleed during the top coat cure and saves on man hours.
I used this project to test a lot of unknowns of never using a CNC machine, 3D software designing, and mixing and pouring epoxy before.  I probably should of picked something easier for the first go around that didn’t take 7 days to complete and taking the material off and on the machine so many times.
And there are so many variables that can completely destroy the project like the machine missing a step and having a bad cut, or debris falling into the pour /cratering.
If I was to mass produce coasters with complex designs and multiple colors, I’d say vinyl is the best option.
2 Likes
I think we’re all looking forward to your dazzling us with your second CNC project.
That is the great part of this “hobby” bespoke or production we can do it. Do you want to learn new techniques and make something wonderful and too expensive to be practical or practical and still beautiful. Both of you provided inspired designs of the same object. I appreciate both journeys to the final product. Thank you for sharing.
1 Like
Can’t wait to see the 10 hardwood puzzle piece trivet made using image trace!

My next project is 3 sets of these for my wife’s work.
I was going to tape seal the cuts and do all 4 colors at once, but @neilferreri tape failure story got me concerned . Another option I thought of was just hot gluing a damn around the cuts to do all the pours at once.
The pain of 18hours per pour of waiting is just to much.
After that is oak end grain cutting boards with black walnut inlays. I scored oak 1 3/4” thick by 30” wide x 8ft long butcher block countertops for $50. Ended up getting 8 of them  .
.
2 Likes
You disgust me! ![]()
I’m so jealous! Good deal!
2 Likes