how does everyone square stock to machine?
i usually done worry to much about it. but wondering how i can do this precisely
My wasteboard has 8mm dowel holes in a grid. Because they were machined in place, I can use dowels to align material.
6 Likes
I just put a suitably sized square against the front of the machine or use some parallels to adjust things — for critical things I’ll sacrifice a layer of my spoilboard and machine a pocket to hold the parallels to align against.
3 Likes
The easiest precise approach is to use the machine to make fixtures of features that are square in something firmly attached to the machine. Consequently, the stock will be square if it then is aligned with those fixtures or features.
2 Likes
That is a really great ideal Neil! I think I’m going to do that.
I measured off some backstops and just planted a few fixture pieces but I suspect that just using the machine to do it is a LOT more accurate.
Last time I surfaced my wasteboard I left a small strip about .25in at the far left side… 1st picture.
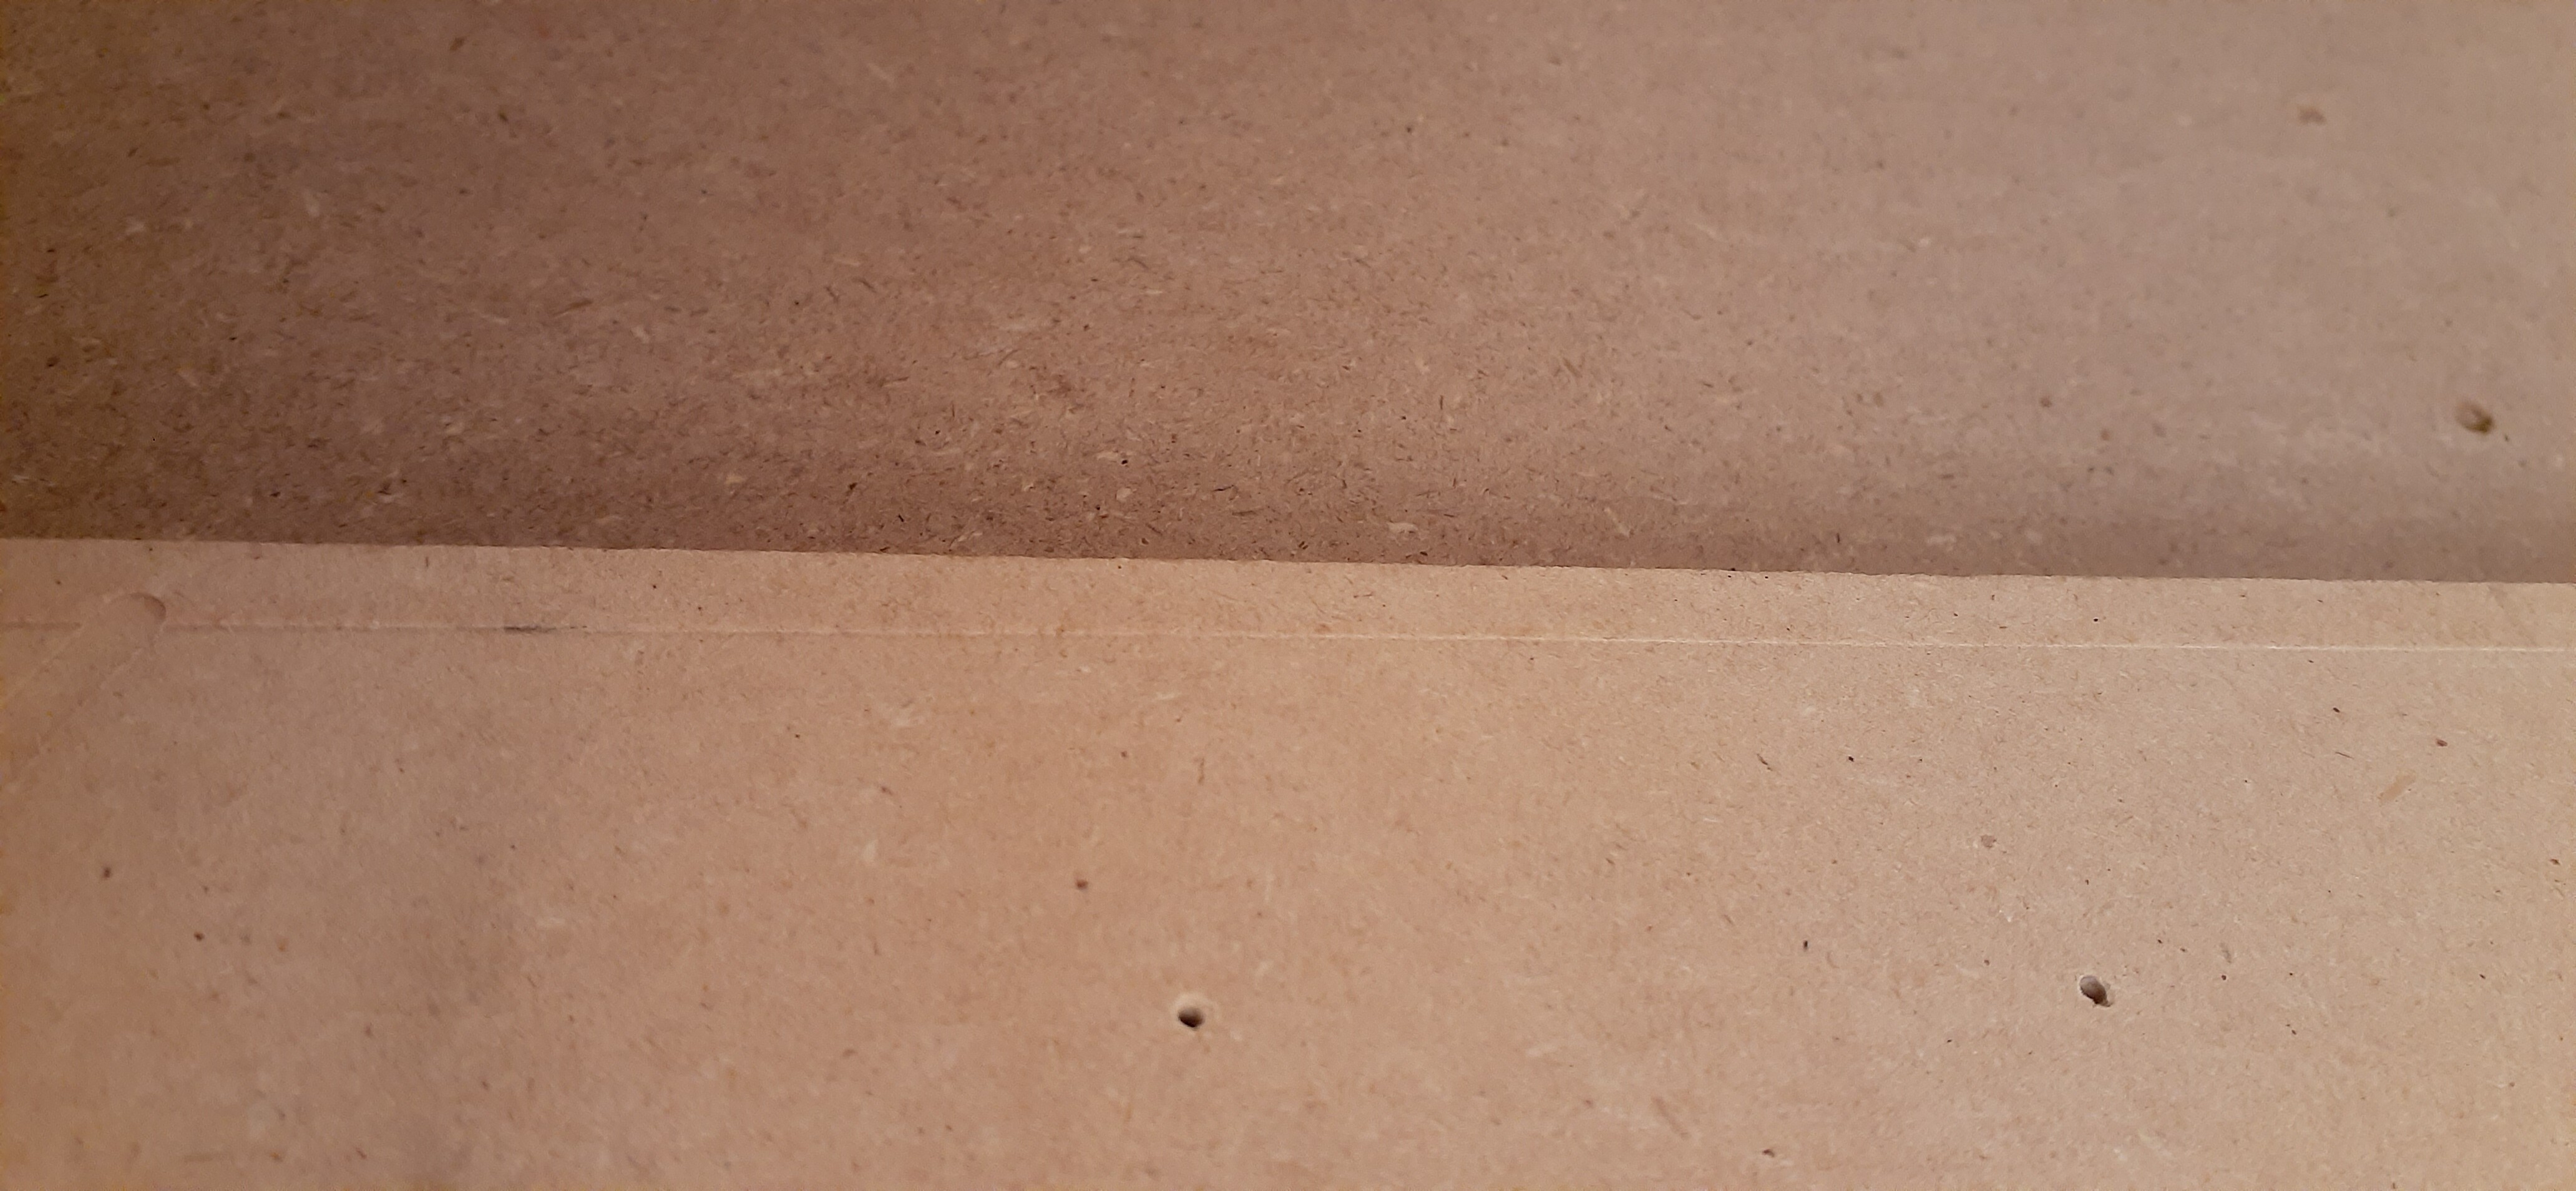
I then drilled some holes into an aluminum square i had picked up at the store for less than 5 bucks… 2nd picture.
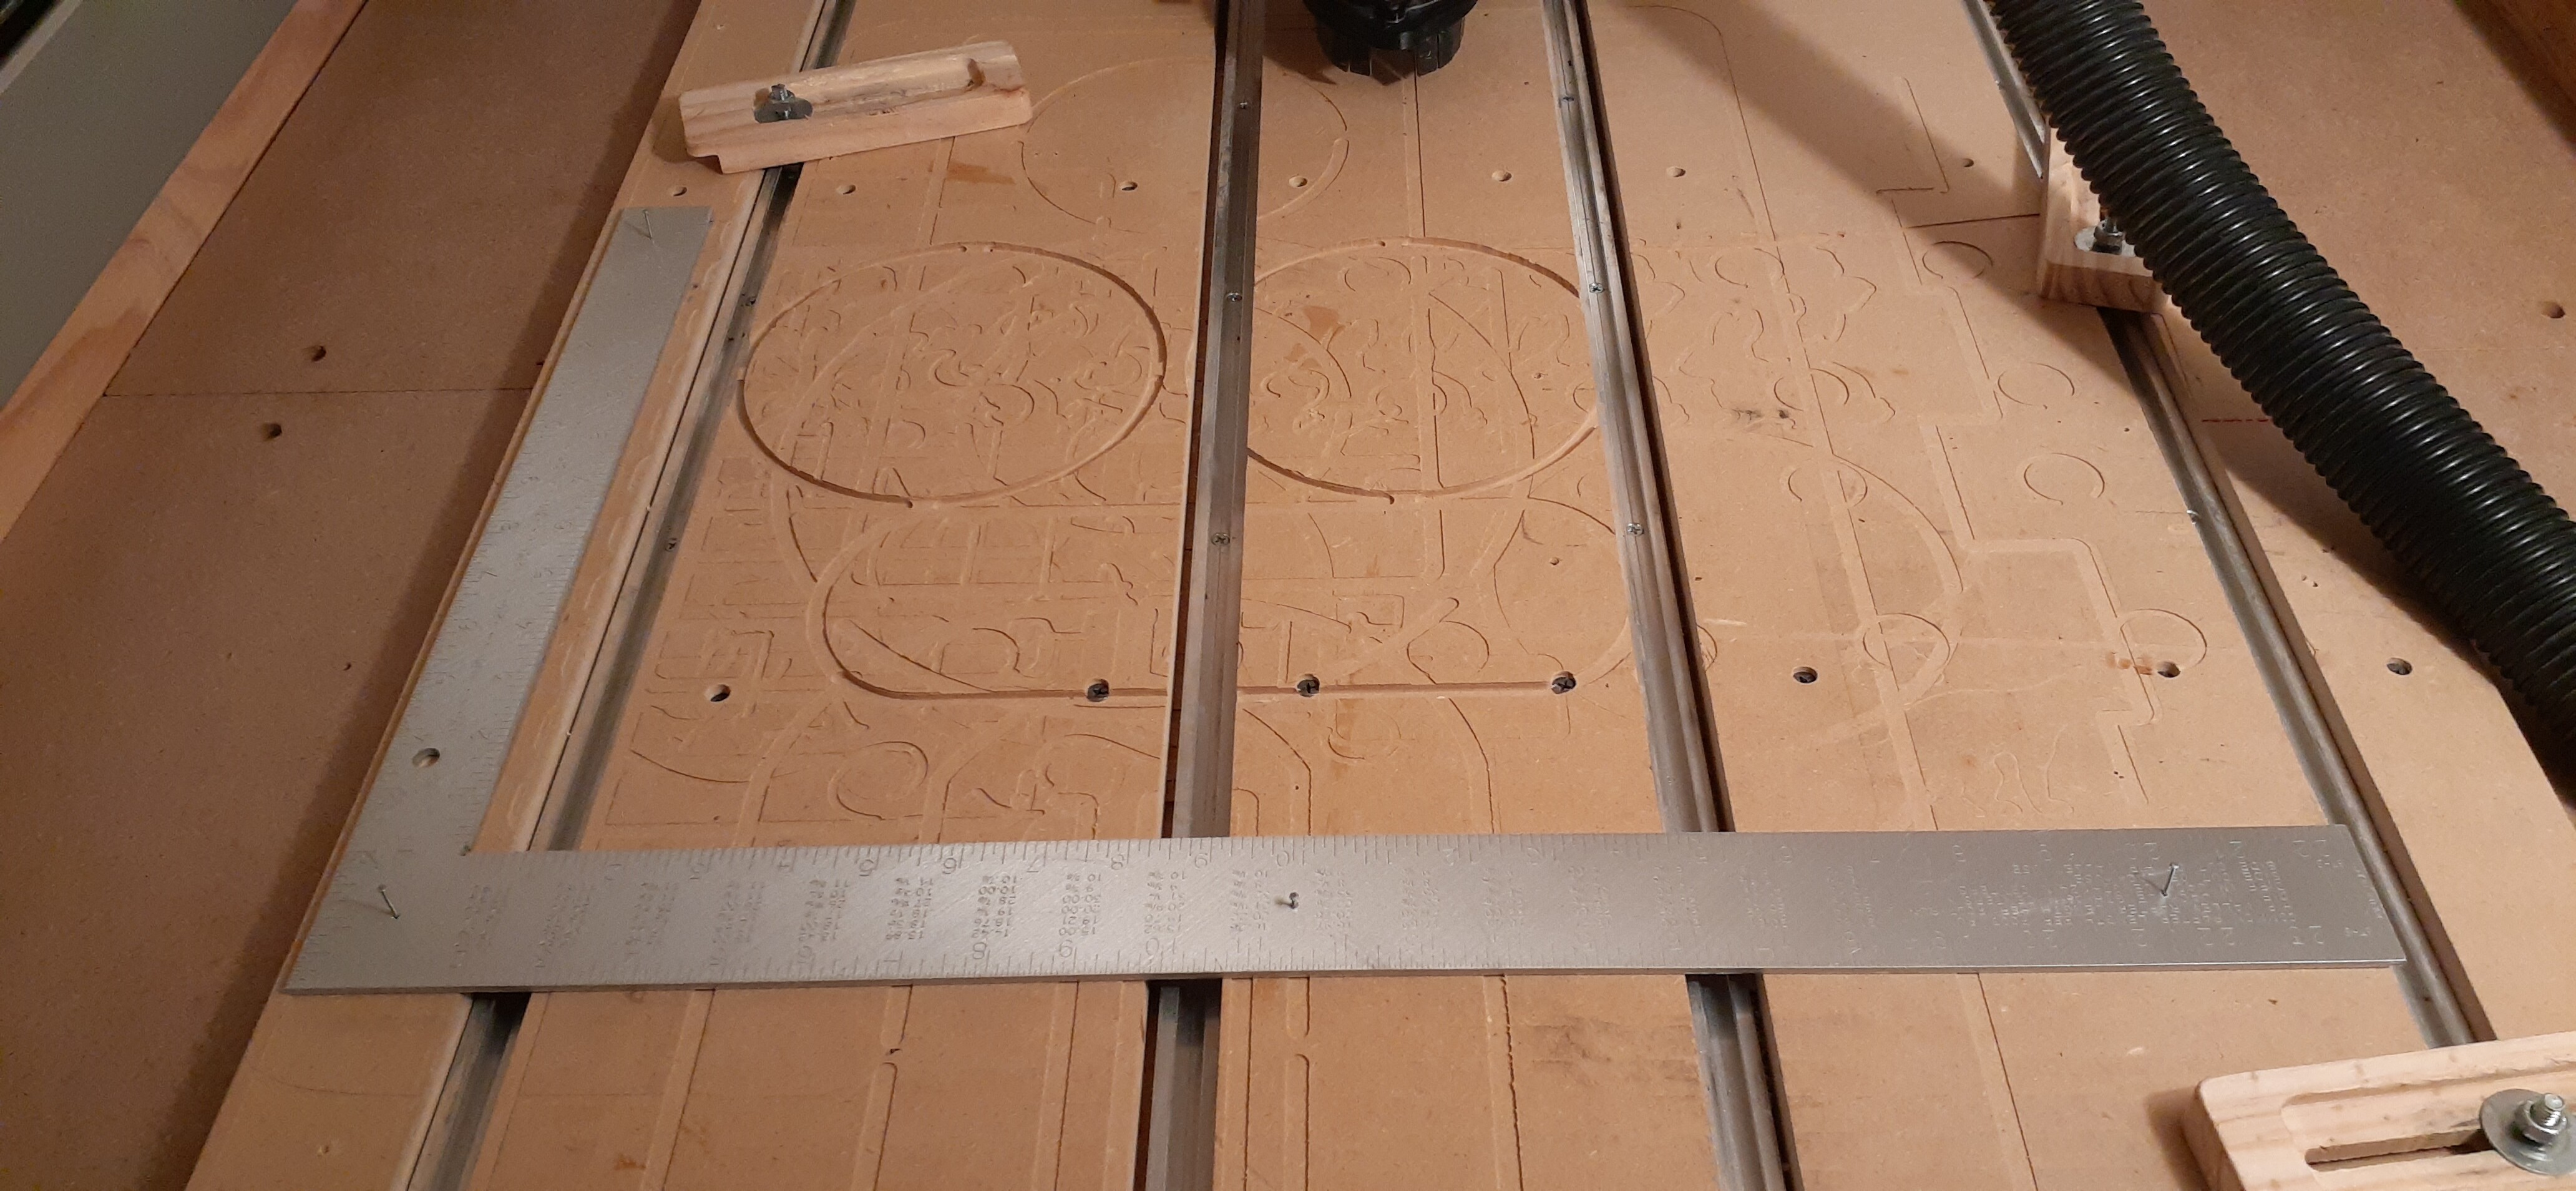
Then used some small nails to hold it down.
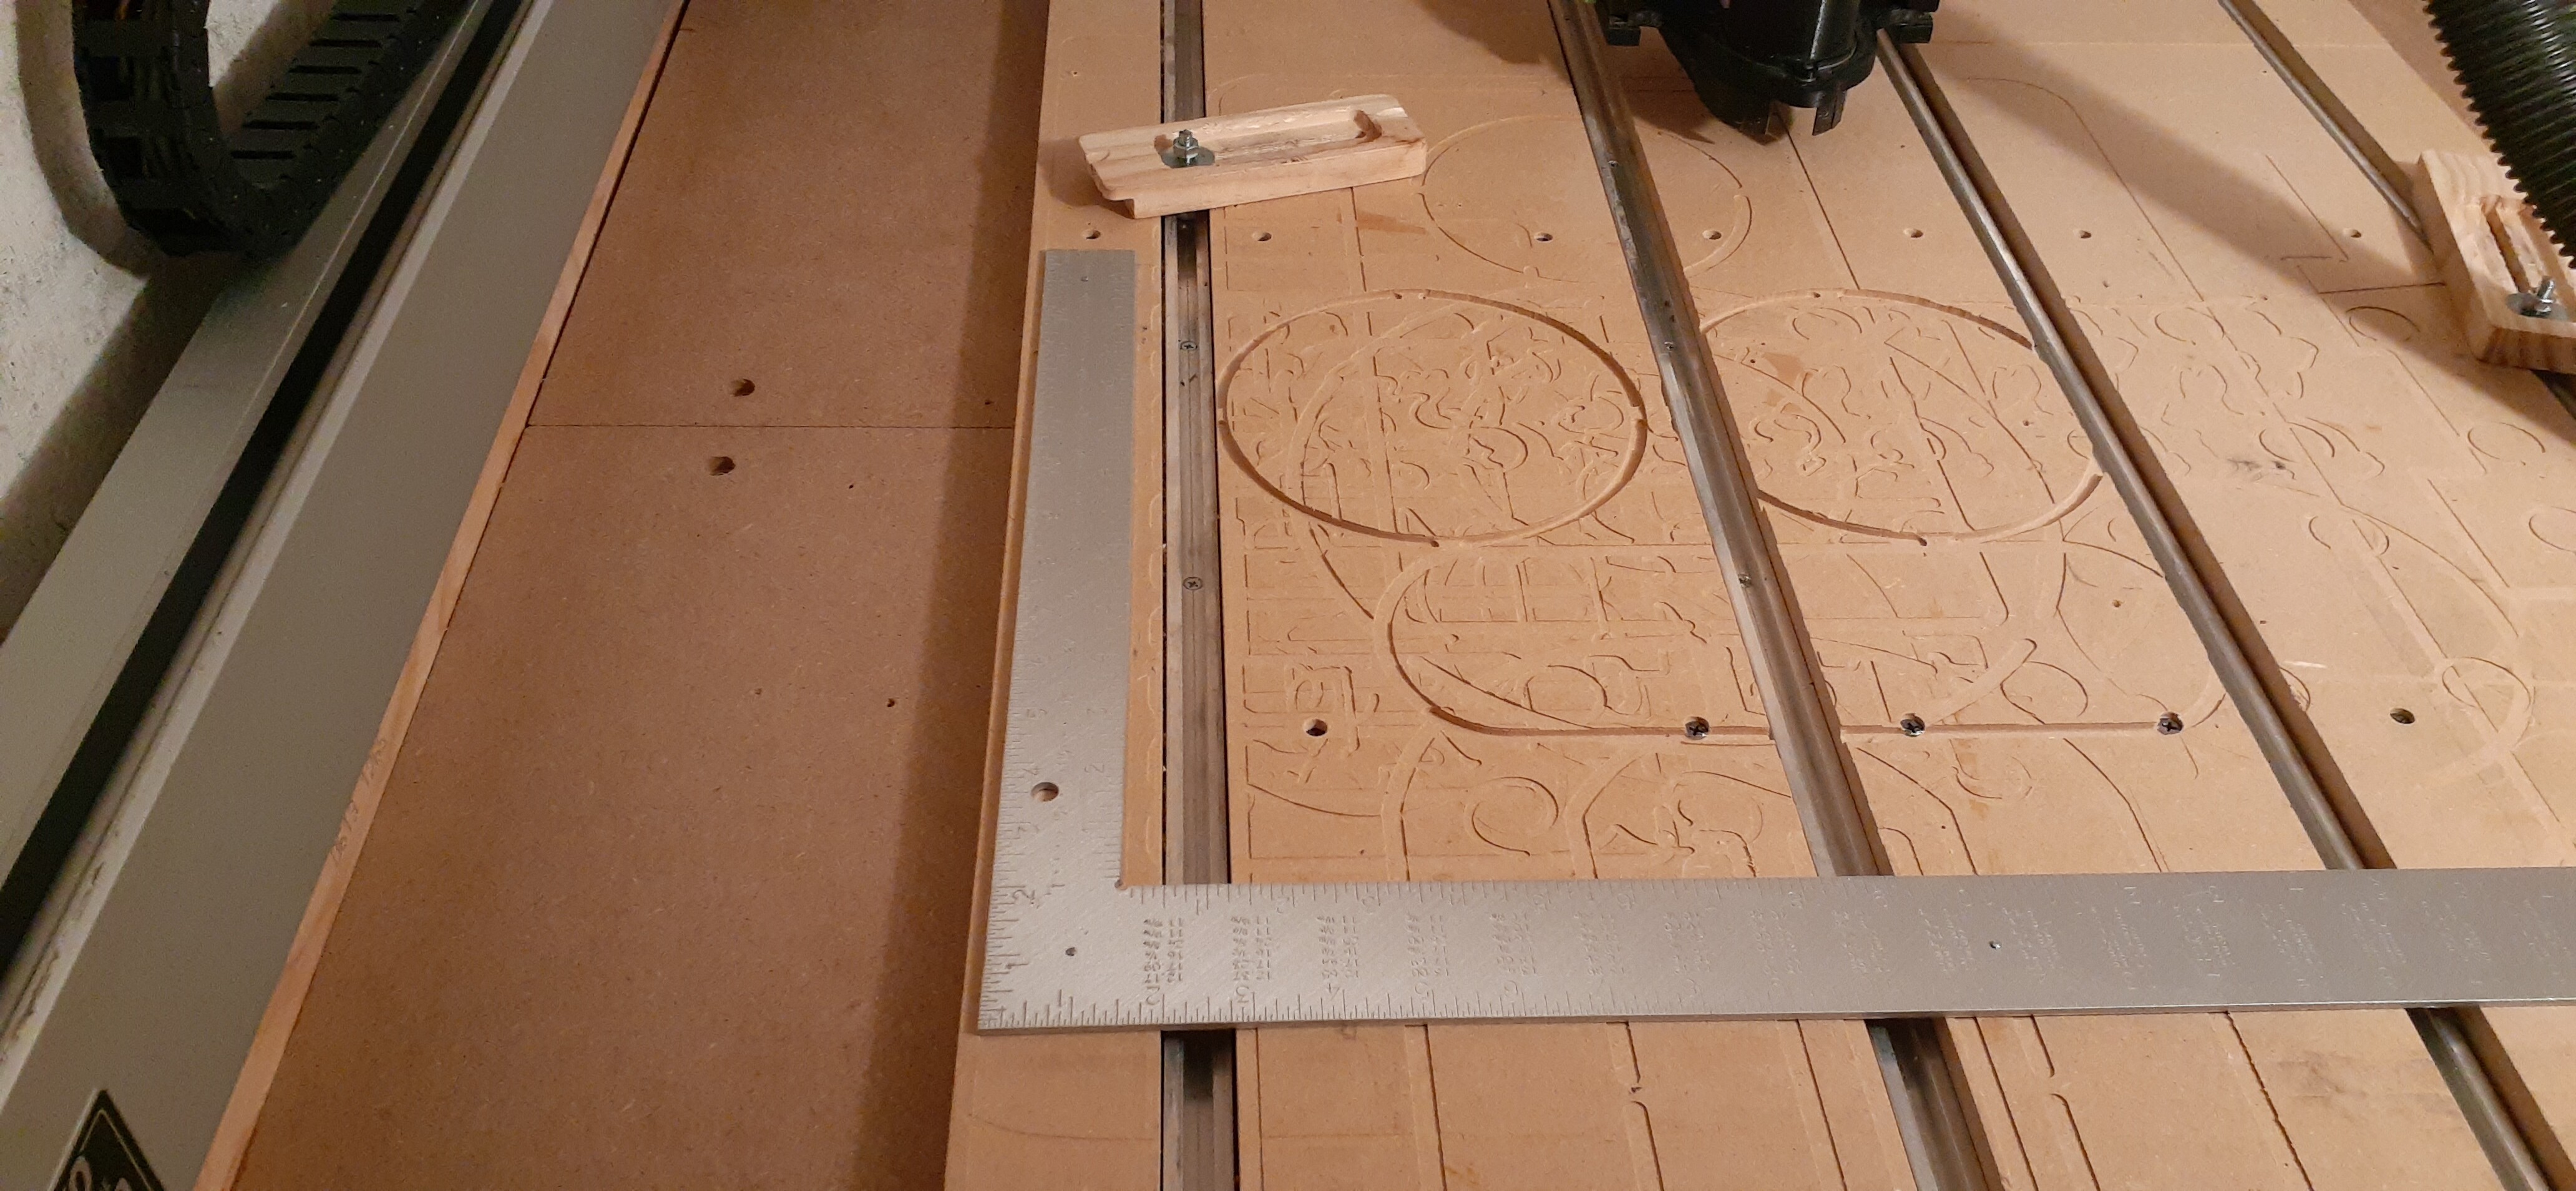
I like that it is very slim so I can utilize the bitsetter as long as material is thick than .25in. It also has ruler on both directions so I use this to align things sometimes or for placement of hold downs since i might need one say 13in for zero cause it won’t be cutting there. I can also easily remove it for larger projects and just nail it back into place after.
If you have a threaded spoil board when you get the spoil board made do not secure the spoil board until you jog your machine to the far left and line up your holes with the bit. Then jog the carriage in the X direction to the other side and square up a hole with the bit. Now you have to go back over to the left side and check that you did not move that side when you aligned the right side. You may have to job back and forth several times but this will ensure your threaded spoil board is square with your spindle. Now you can secure your spoil board. I drill a quarter inch hole through the spoil board and into the base board. I do this in the four corners. Then remove your spoil board and use the quarter inch hole as a reference and drill a hole large enough to put a brass threaded insert in your base board in the 4 locations. Then place your spoil board on the base and secure with 3 1/4-20 bolts and on the 4th hole use a hand reamer to make a counter sink hole in the spoil board to insert a 1/4-20 flat head bolt. After the first corner is secure move to the other 3 holes and one at a time make the counter sink and place a 1/4-20 flat head screw. When done you have the spoil board held down in the four corners. Make sure your counter sunk holes are deep enough so you can surface your spoil board and not hit the flat head bolts with the surfacing bit.
These instructions seem a little long but it is a one time deal and your spoil board will be square with your router. When you use fixtures on the threaded spoil board there is usually a little slop so you can use the router to square them up before bolting them down.
I have a extruding bed on my XXL, but the same can be done for t-track or threaded inserts. I use Gator clamps upside down and backwards. I butt them up to an endmill or tooling pin in the collet and just travel along an axis. That way they’re always perpendicular to an axis.
1 Like
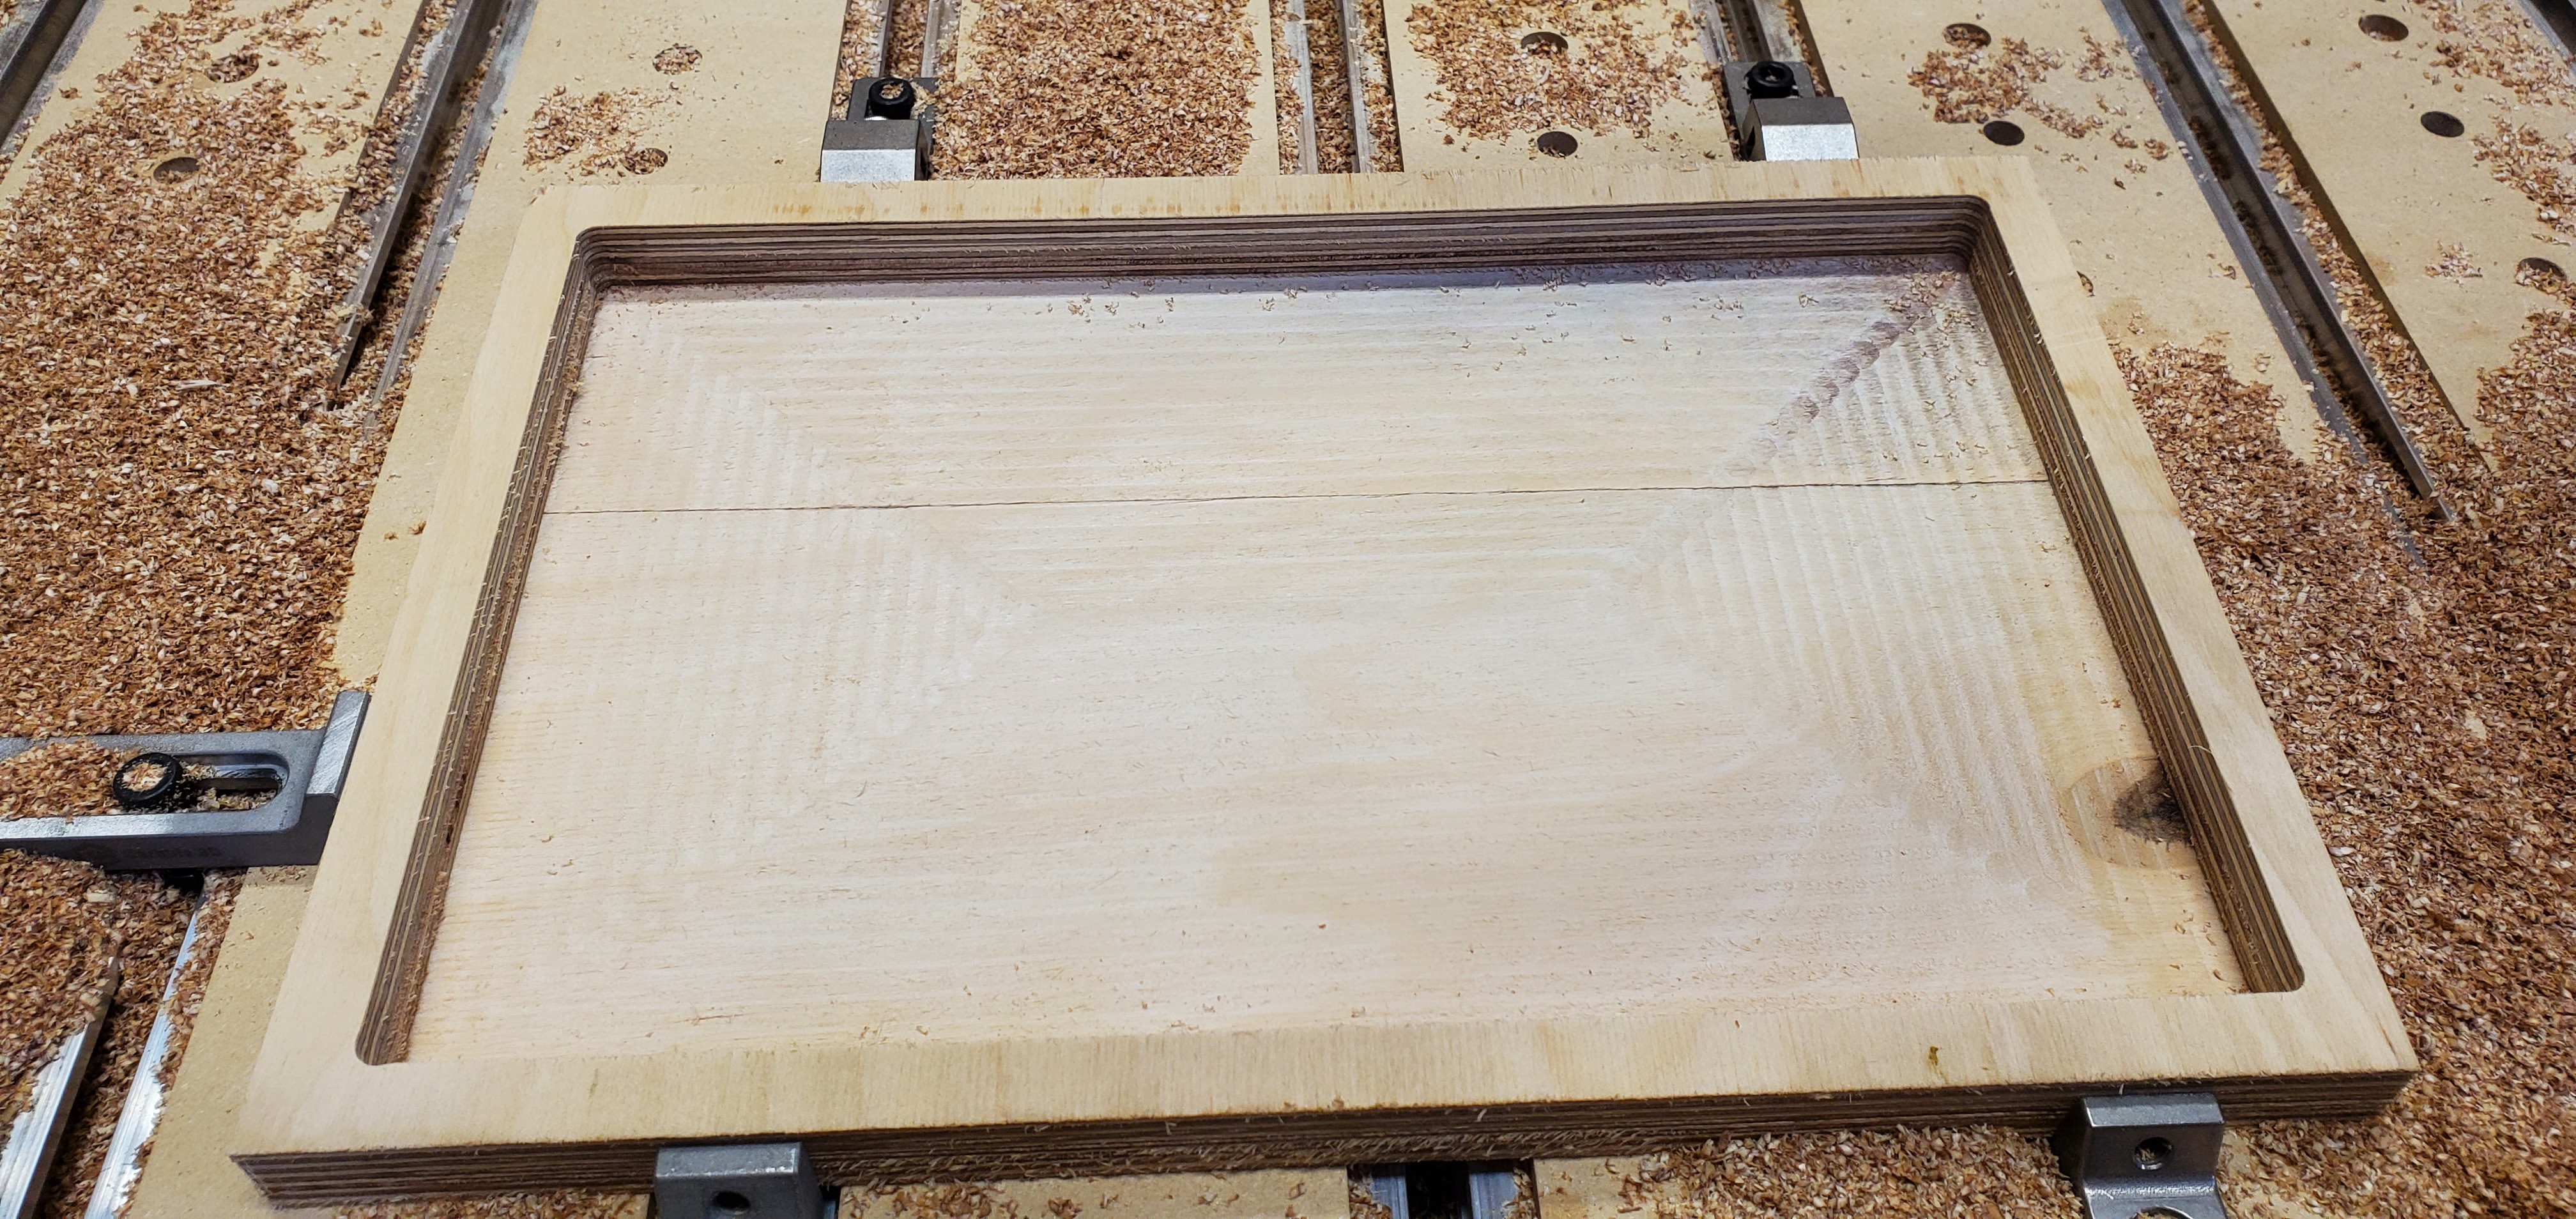
I created a “perfectly aligned” corner bracket in a very simple manner without having to measure anything.
I have the old MW spoilboard with the 100 T-Nuts in a grid. So i used the C2D from the spoilboard to position an “L” of recessed holes that line up with the spoilboard TNuts. Then I drew two right angle lines to make up the L.
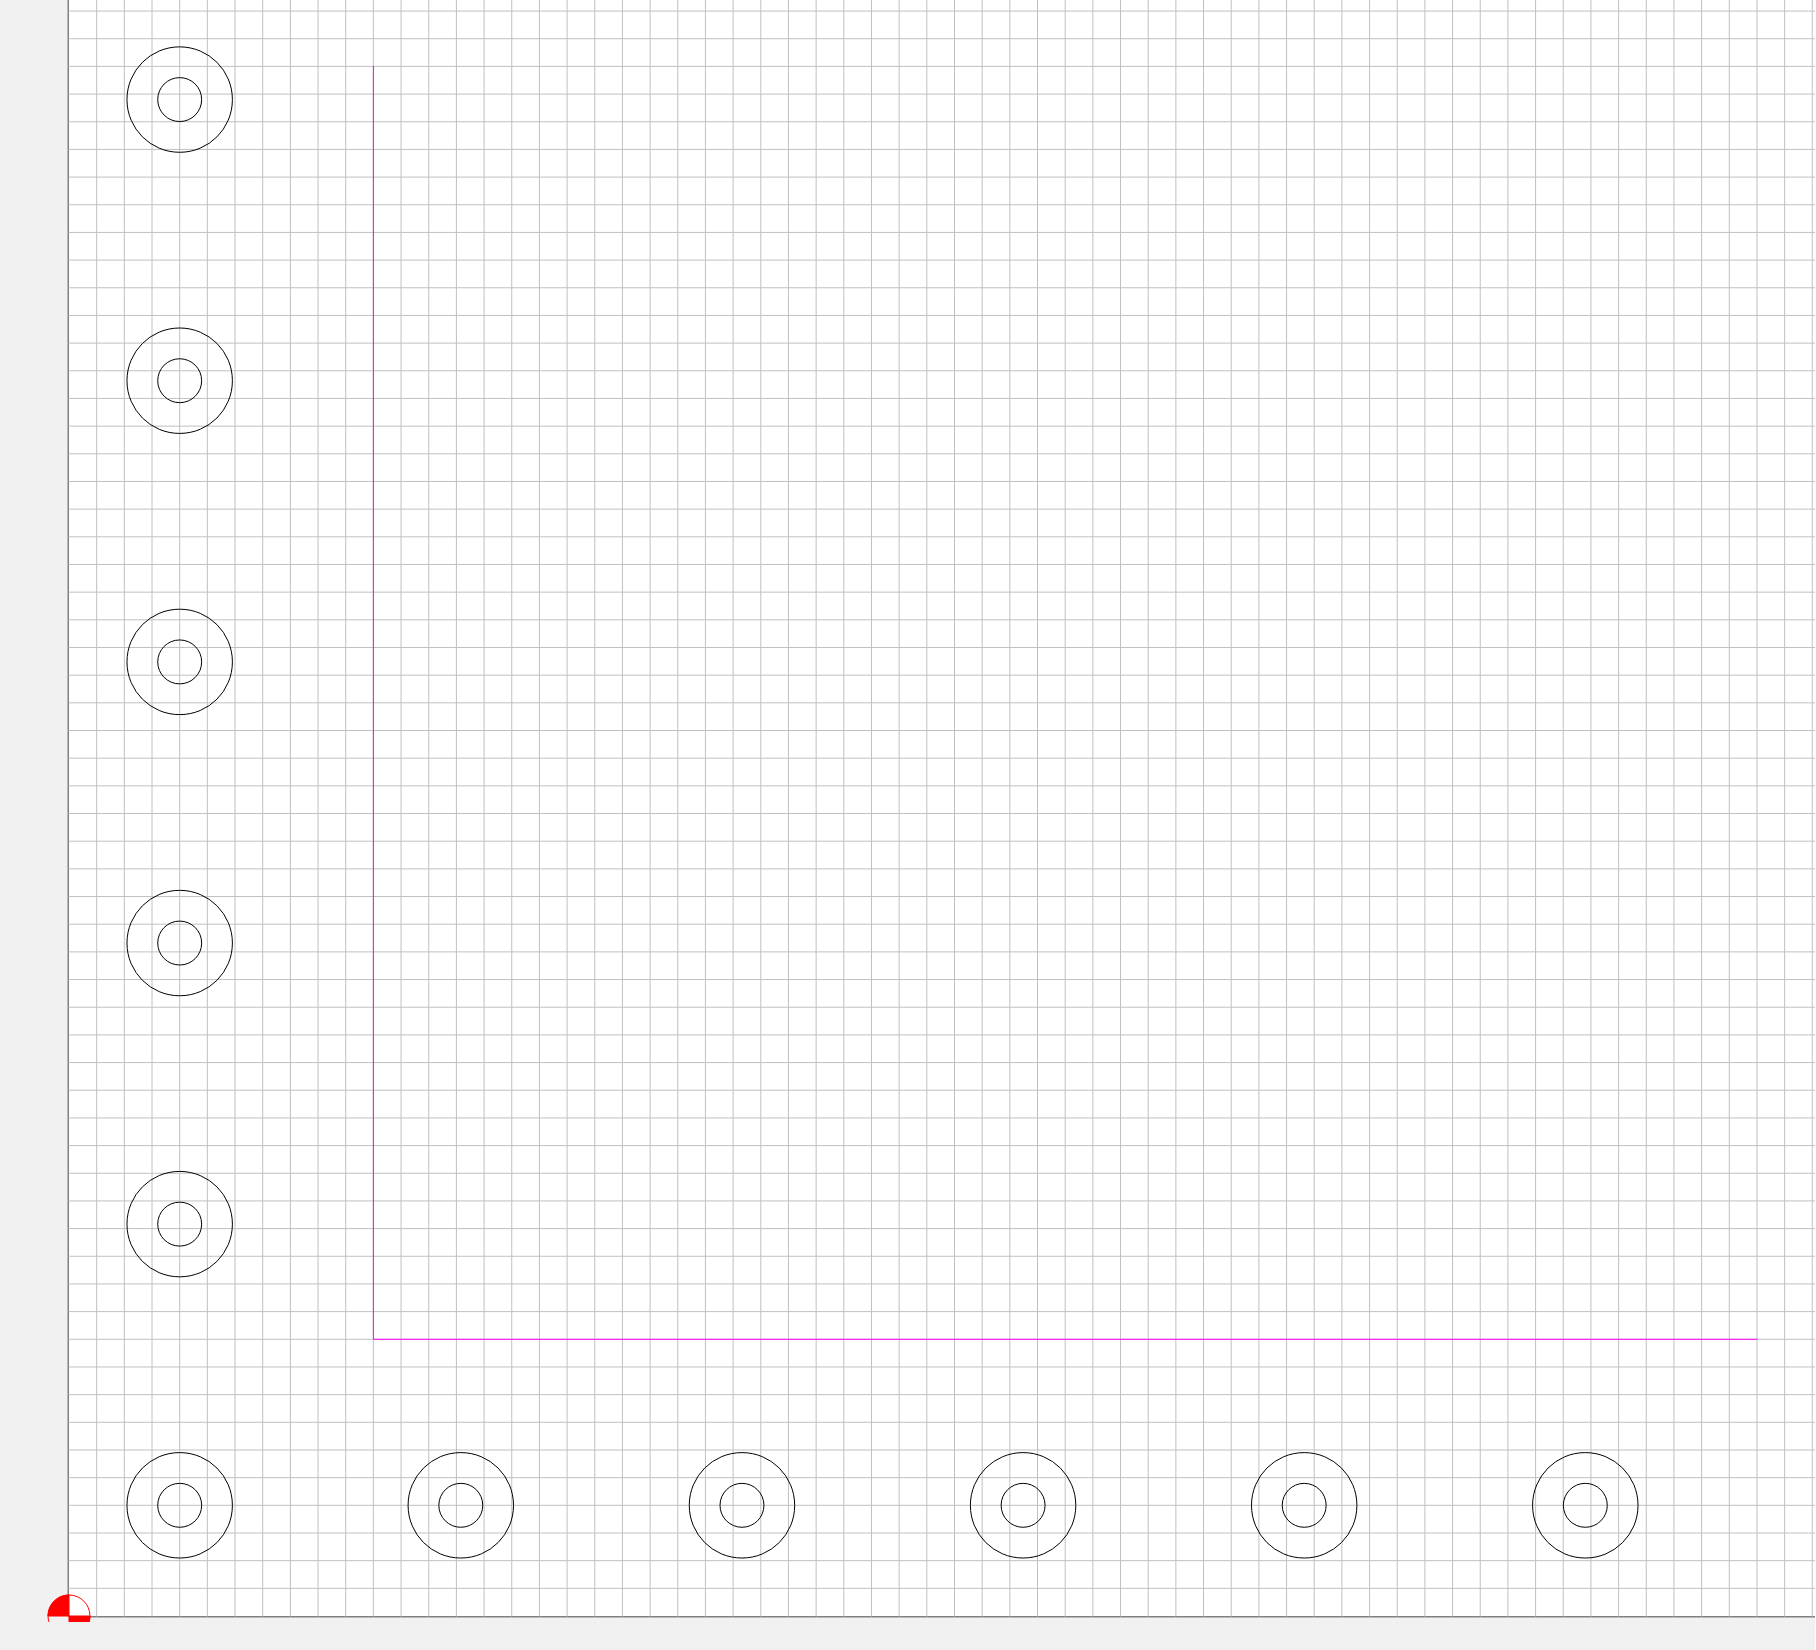
The trick to getting the L to line perfectly to the gantries was to create two separate sets of toolpaths that I could run at different times.
First, I clamped some rectangular stock down to my board and ran a job that cuts the holes and recesses. This leaves me with a rectangle that has an “L” of holes that are spaced just like my spoilboard.
Then, I used those holes to fasten the rectangle to the spoilboard and then ran the job that cuts the “L” out of the rectangle. In this way, the L is cut as a right angle by the gantry, which guarantees that the L is what the XXL thinks a right angle looks like.
That’s it…the corner bracket is perfectly aligned to the gantries.
1 Like
This topic was automatically closed 30 days after the last reply. New replies are no longer allowed.