My wife wanted to know if the Shapeoko could cut glass, which was all the encouragement I needed to potentially make a huge mess. I am happy to say that with a bit of prep work a Shapeoko 3 has no problem cutting glass.
The first step was making a water bath to lubricate/cool the cutter while milling the glass (and also capture the glass dust). I made a quick design in OpenSCAD for the good sized bath (10" x 7") I could fit on our 3D printer, and 38 hours printing was done. It leaked (very slowly) at a bottom corner, but sealing the interior with epoxy solved that issue. While sealing it with epoxy I installed threaded inserts into all the supports.
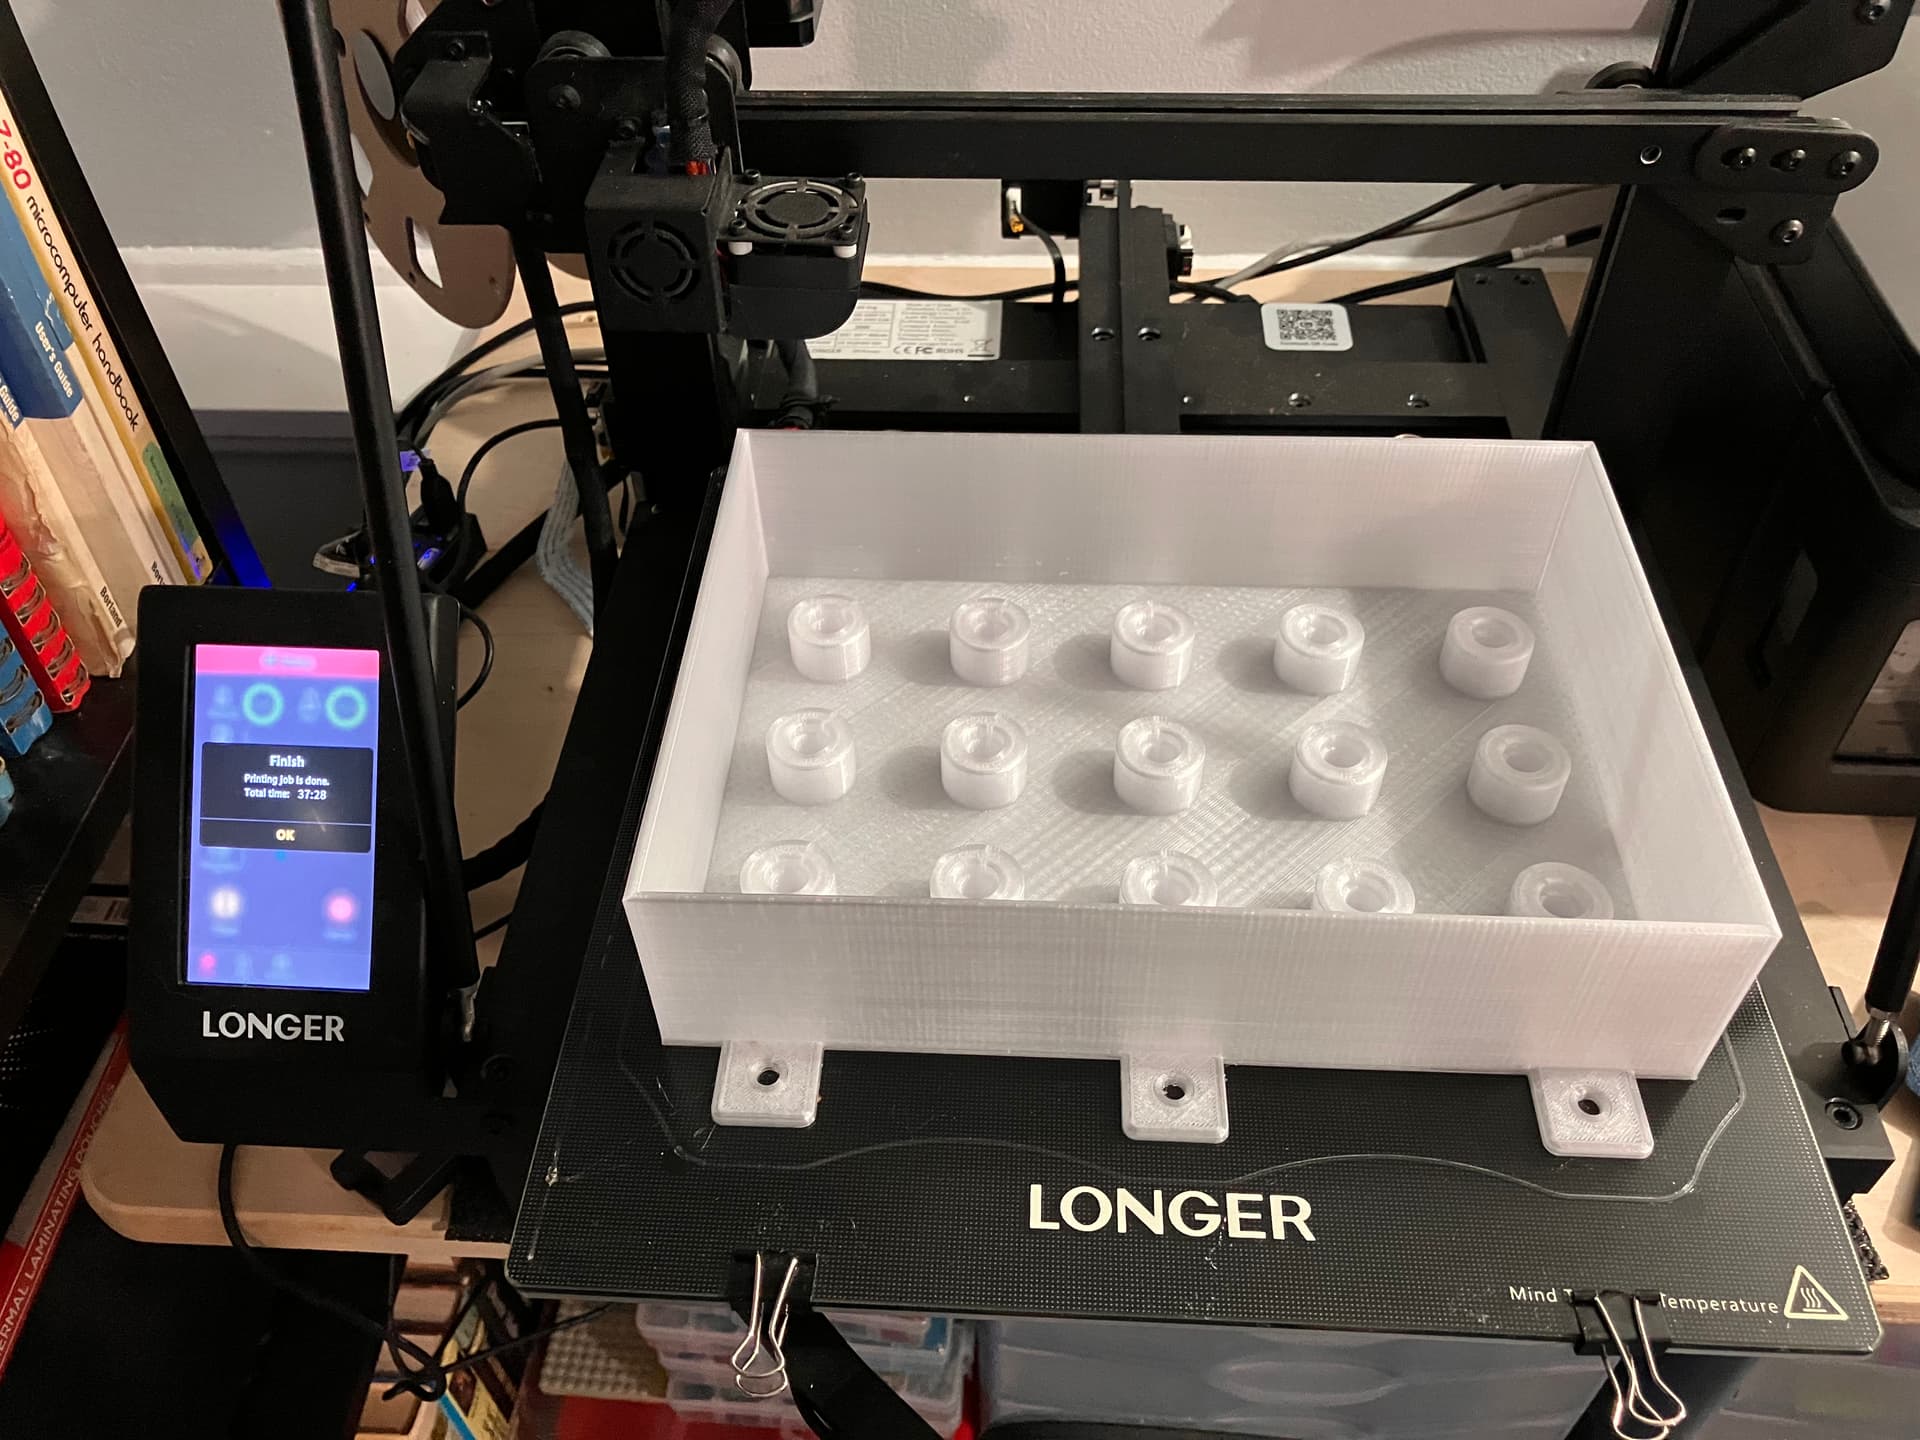
I made a spoilboard for inside the water bath from an old plastic cutting board. The spoil board has a hole pattern (with recesses for the bolt heads) that matches the water bath so you can bolt the spoil board to the bath, and could bolt clamps through it if needed.
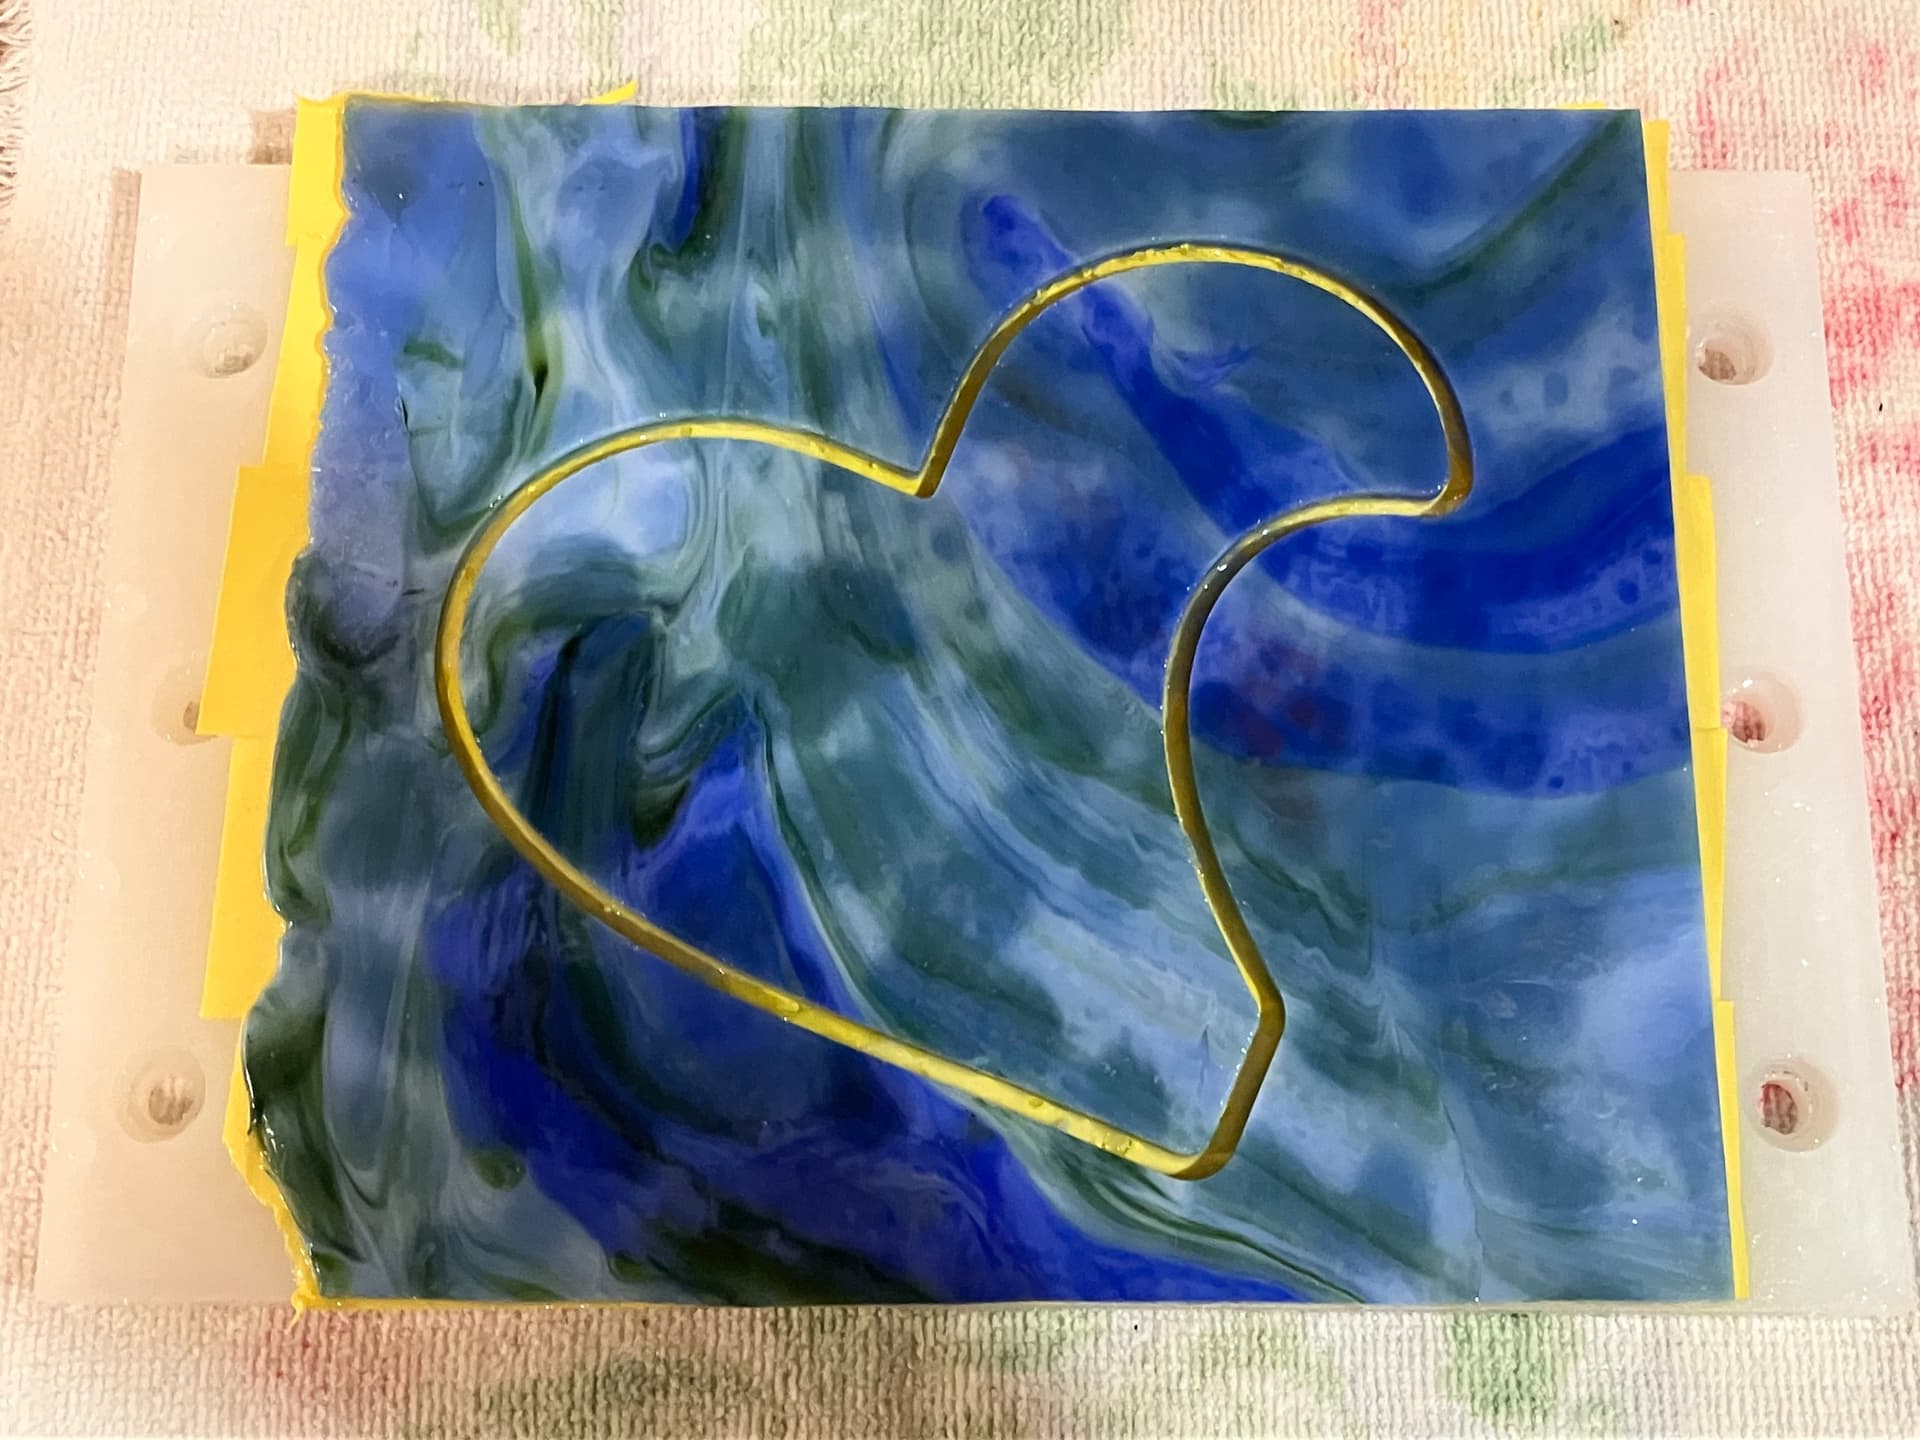
To hold the glass I used the masking-tape-and-glue method. I didn’t trust blue tape under water so I picked up a roll of Scotch exterior waterproof painters tape. It sticks extremely well to the spoil board and to the glass pieces I have cut, even after an hour of cutting under water.
I followed whitequark’s recipe for glass milling, using the Dremel 662 drill bit. I used 24 ipm feed, 18k RPM, 8 ipm plunge, and a 0.002" DOC. It was slow (over an hour to cut through 0.162" thick glass) but came out great. I will probably try more aggressive settings on future cuts.

It’s a bit scary the first time the spinning dremel bit was lowered into the water, with all of that unsealed MDF just waiting to be flooded with water. The straight Dremel 662 drill bit doesn’t splash the water, but the fan in the Carbide Router does make waves. The water had to be at least 1/4" deep so the fan couldn’t push it all away from where the cutting is happening.
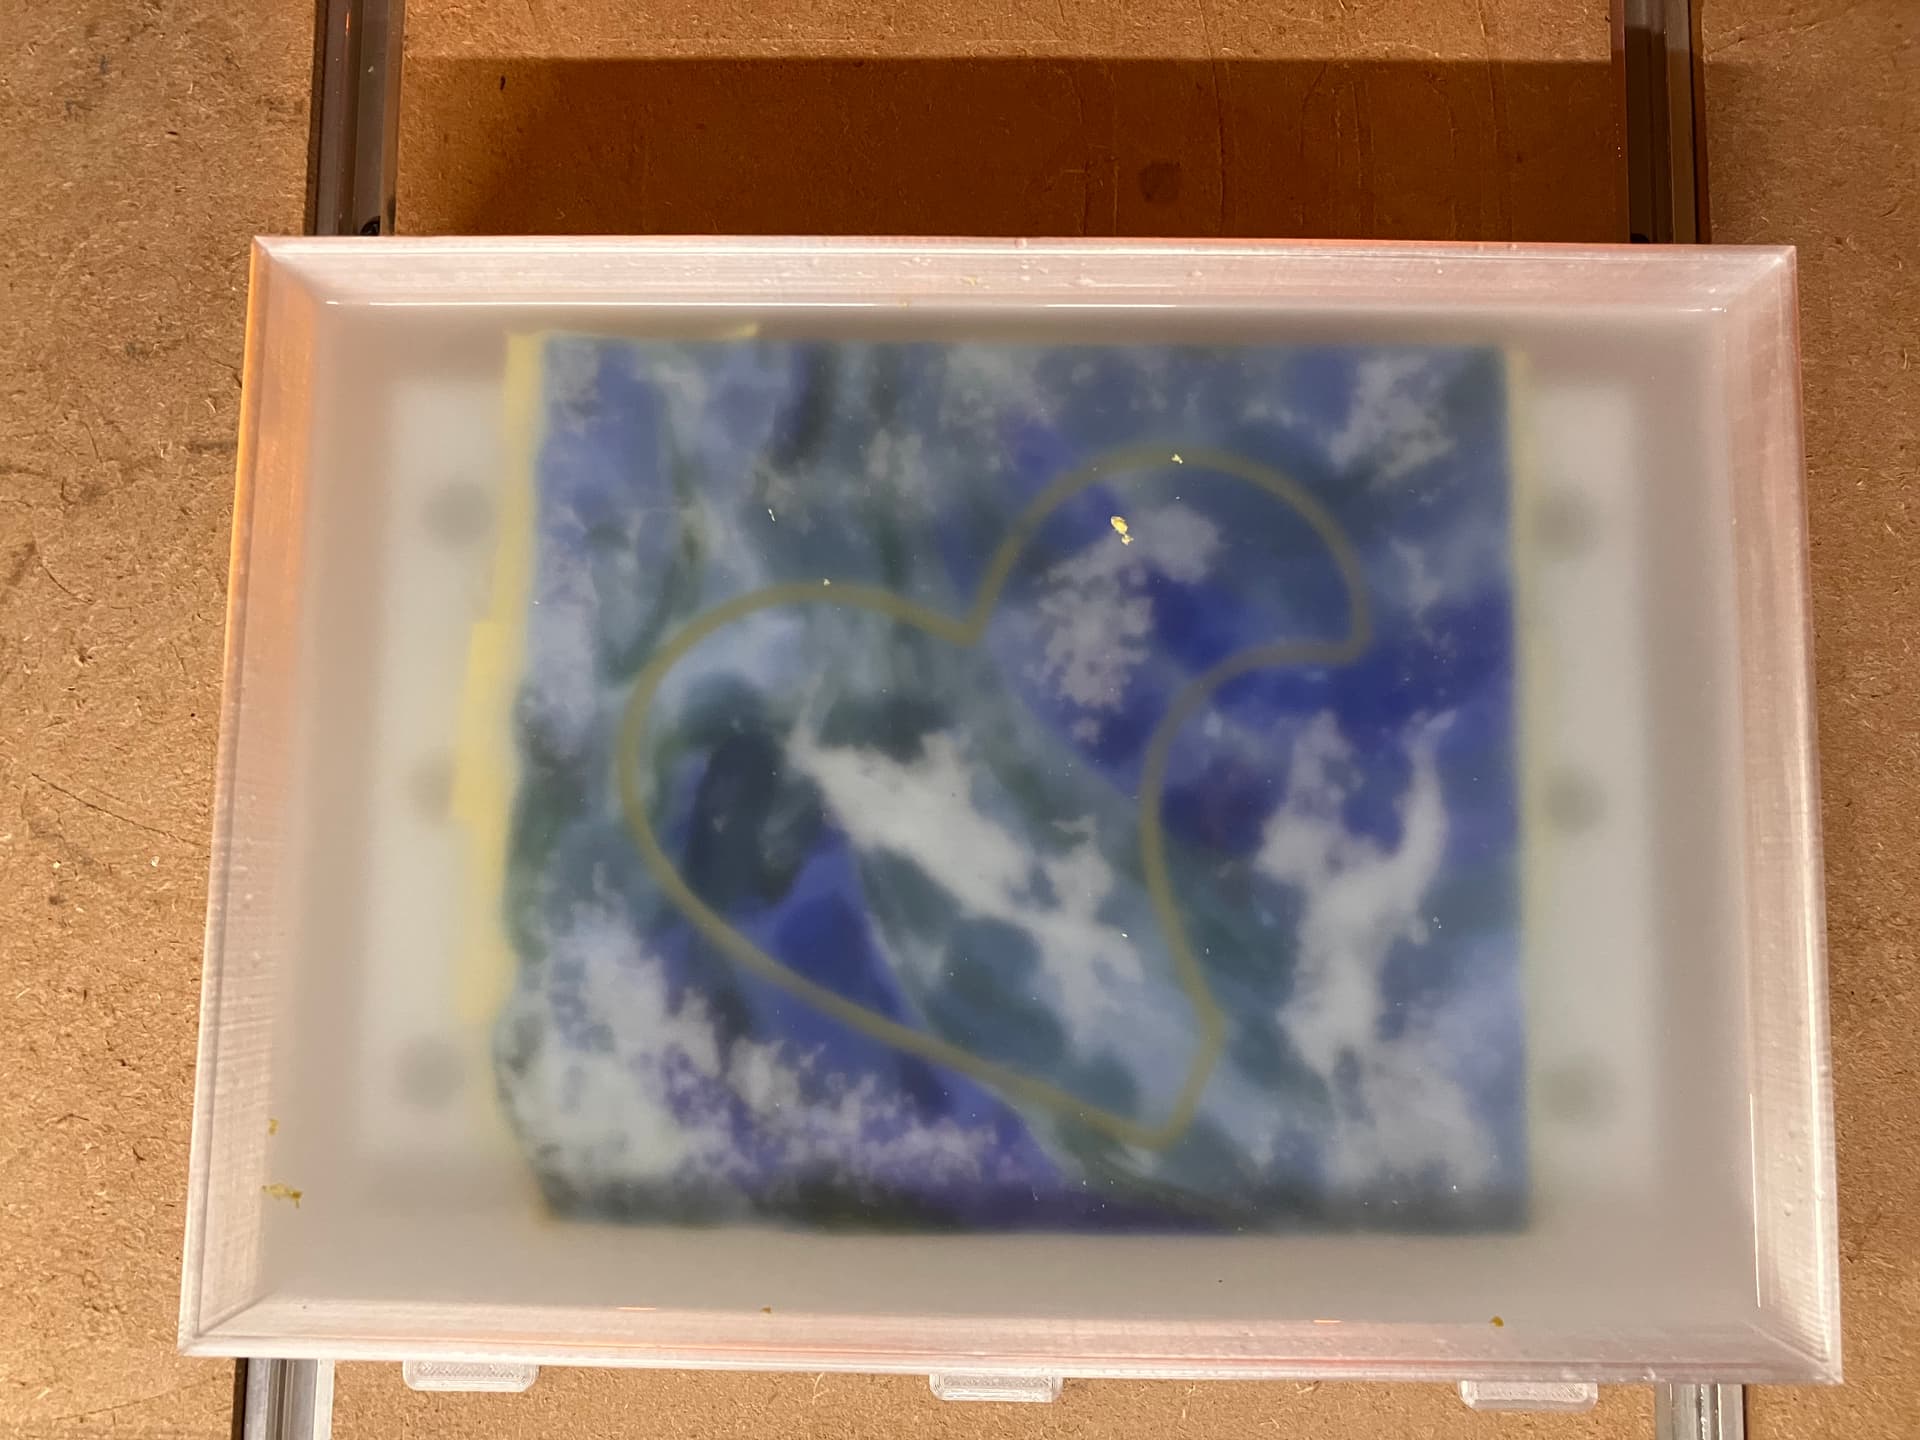
The water is cloudy from suspended glass dust and there are a few slivers of glass from when the bottom was cut through. You can see the mounds of glass dust on top of the glass.
I removed the spoil board to rinse the glass and pry the glass off the tape with a putty knife. The edges are in reasonably good condition, a little chipping but nothing dramatic.
I cut a frame for the glass pieces from a bamboo cutting board, making a ledge on the back for the glass to be glued onto. The wood got a light coating of mineral oil to bring out the color.
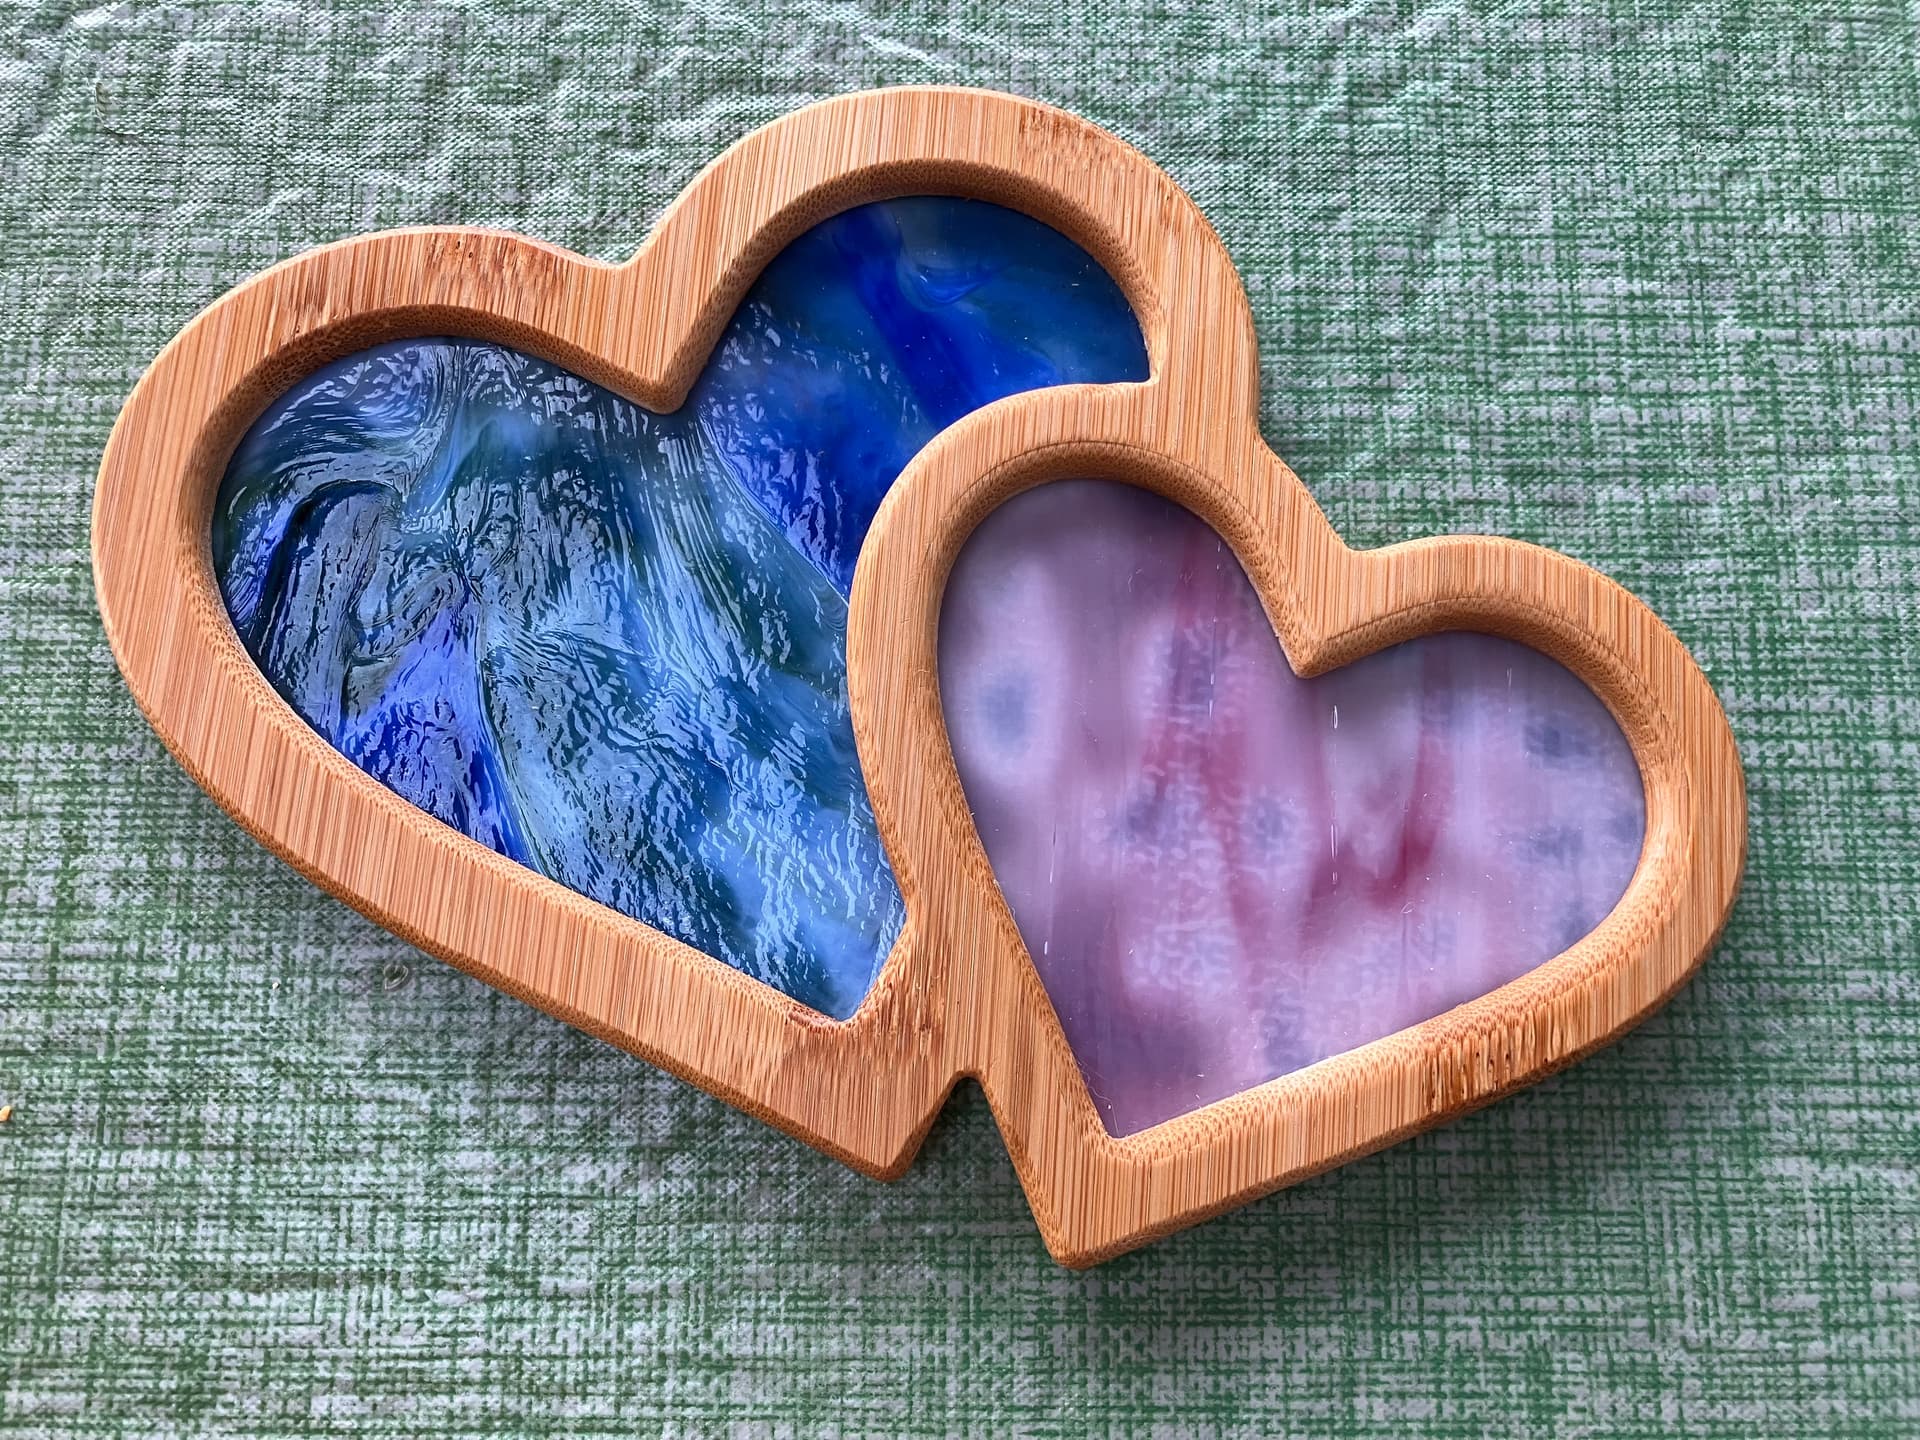

Finishing touch was a simple hinged stand for it from 1/4" acrylic so the light in our sunroom can shine through the glass.
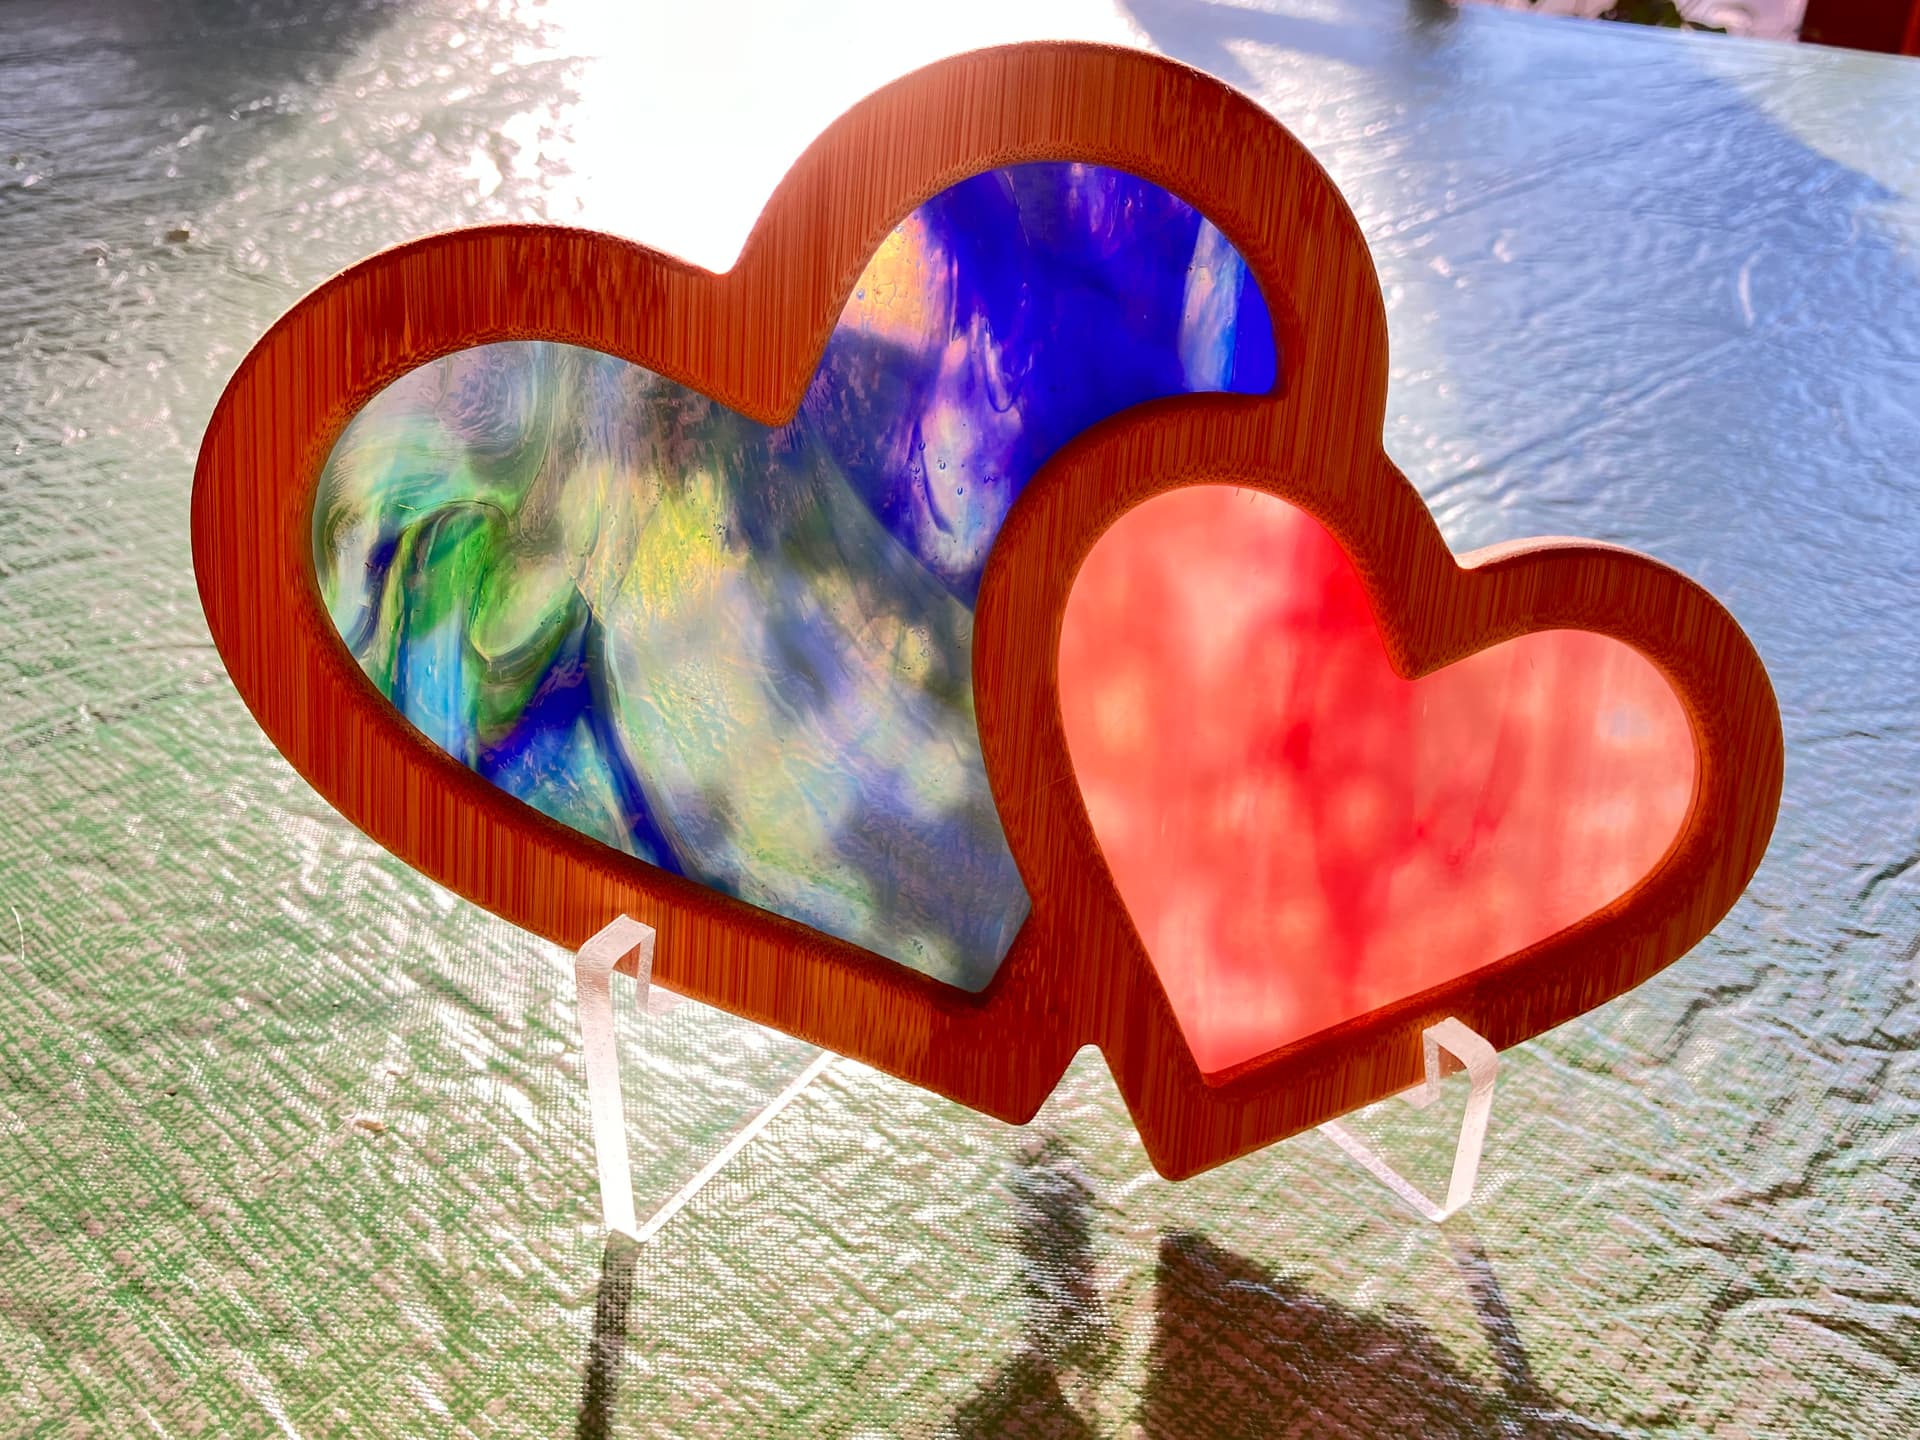
We are happy with the results, and now I know with a bit of patience I can cut complicated designs from a piece of glass. Scoring+snapping is much faster of course (less then a minute compared to an hour), but the CNC opens up lots of design options for an inexperienced crafter.