Last night I could not get to sleep. I watched some woodturning videos to make me sleepy and one I saw was a person making a steady rest for their lathe. The presenter was drawing out circles with a compass and cutting the steady rest out with a jig saw.
The light went off and since I could not get to sleep I drew up a steady rest for my Jet 1221VS lathe. I had wanted one for a long time. Now it is not finished. I ordered some inline skate wheels, carriage bolts and some nylon washers. The carriage bolts are 8MM and well as the nuts The inline skate wheels are 80MM and have an 8MM hole with bearings and spacer. That wont be here until next week but in the mean time I still have to draw up the arms and cut them out. The little slot at the bottom of the steady rest is to glue in a block perpendicular to the steady rest that is the exact size of the space between my ways. That will help keep the steady rest square to the ways. I will also need to add a few pieces to the base for clamping. Those pieces will not require cnc work.
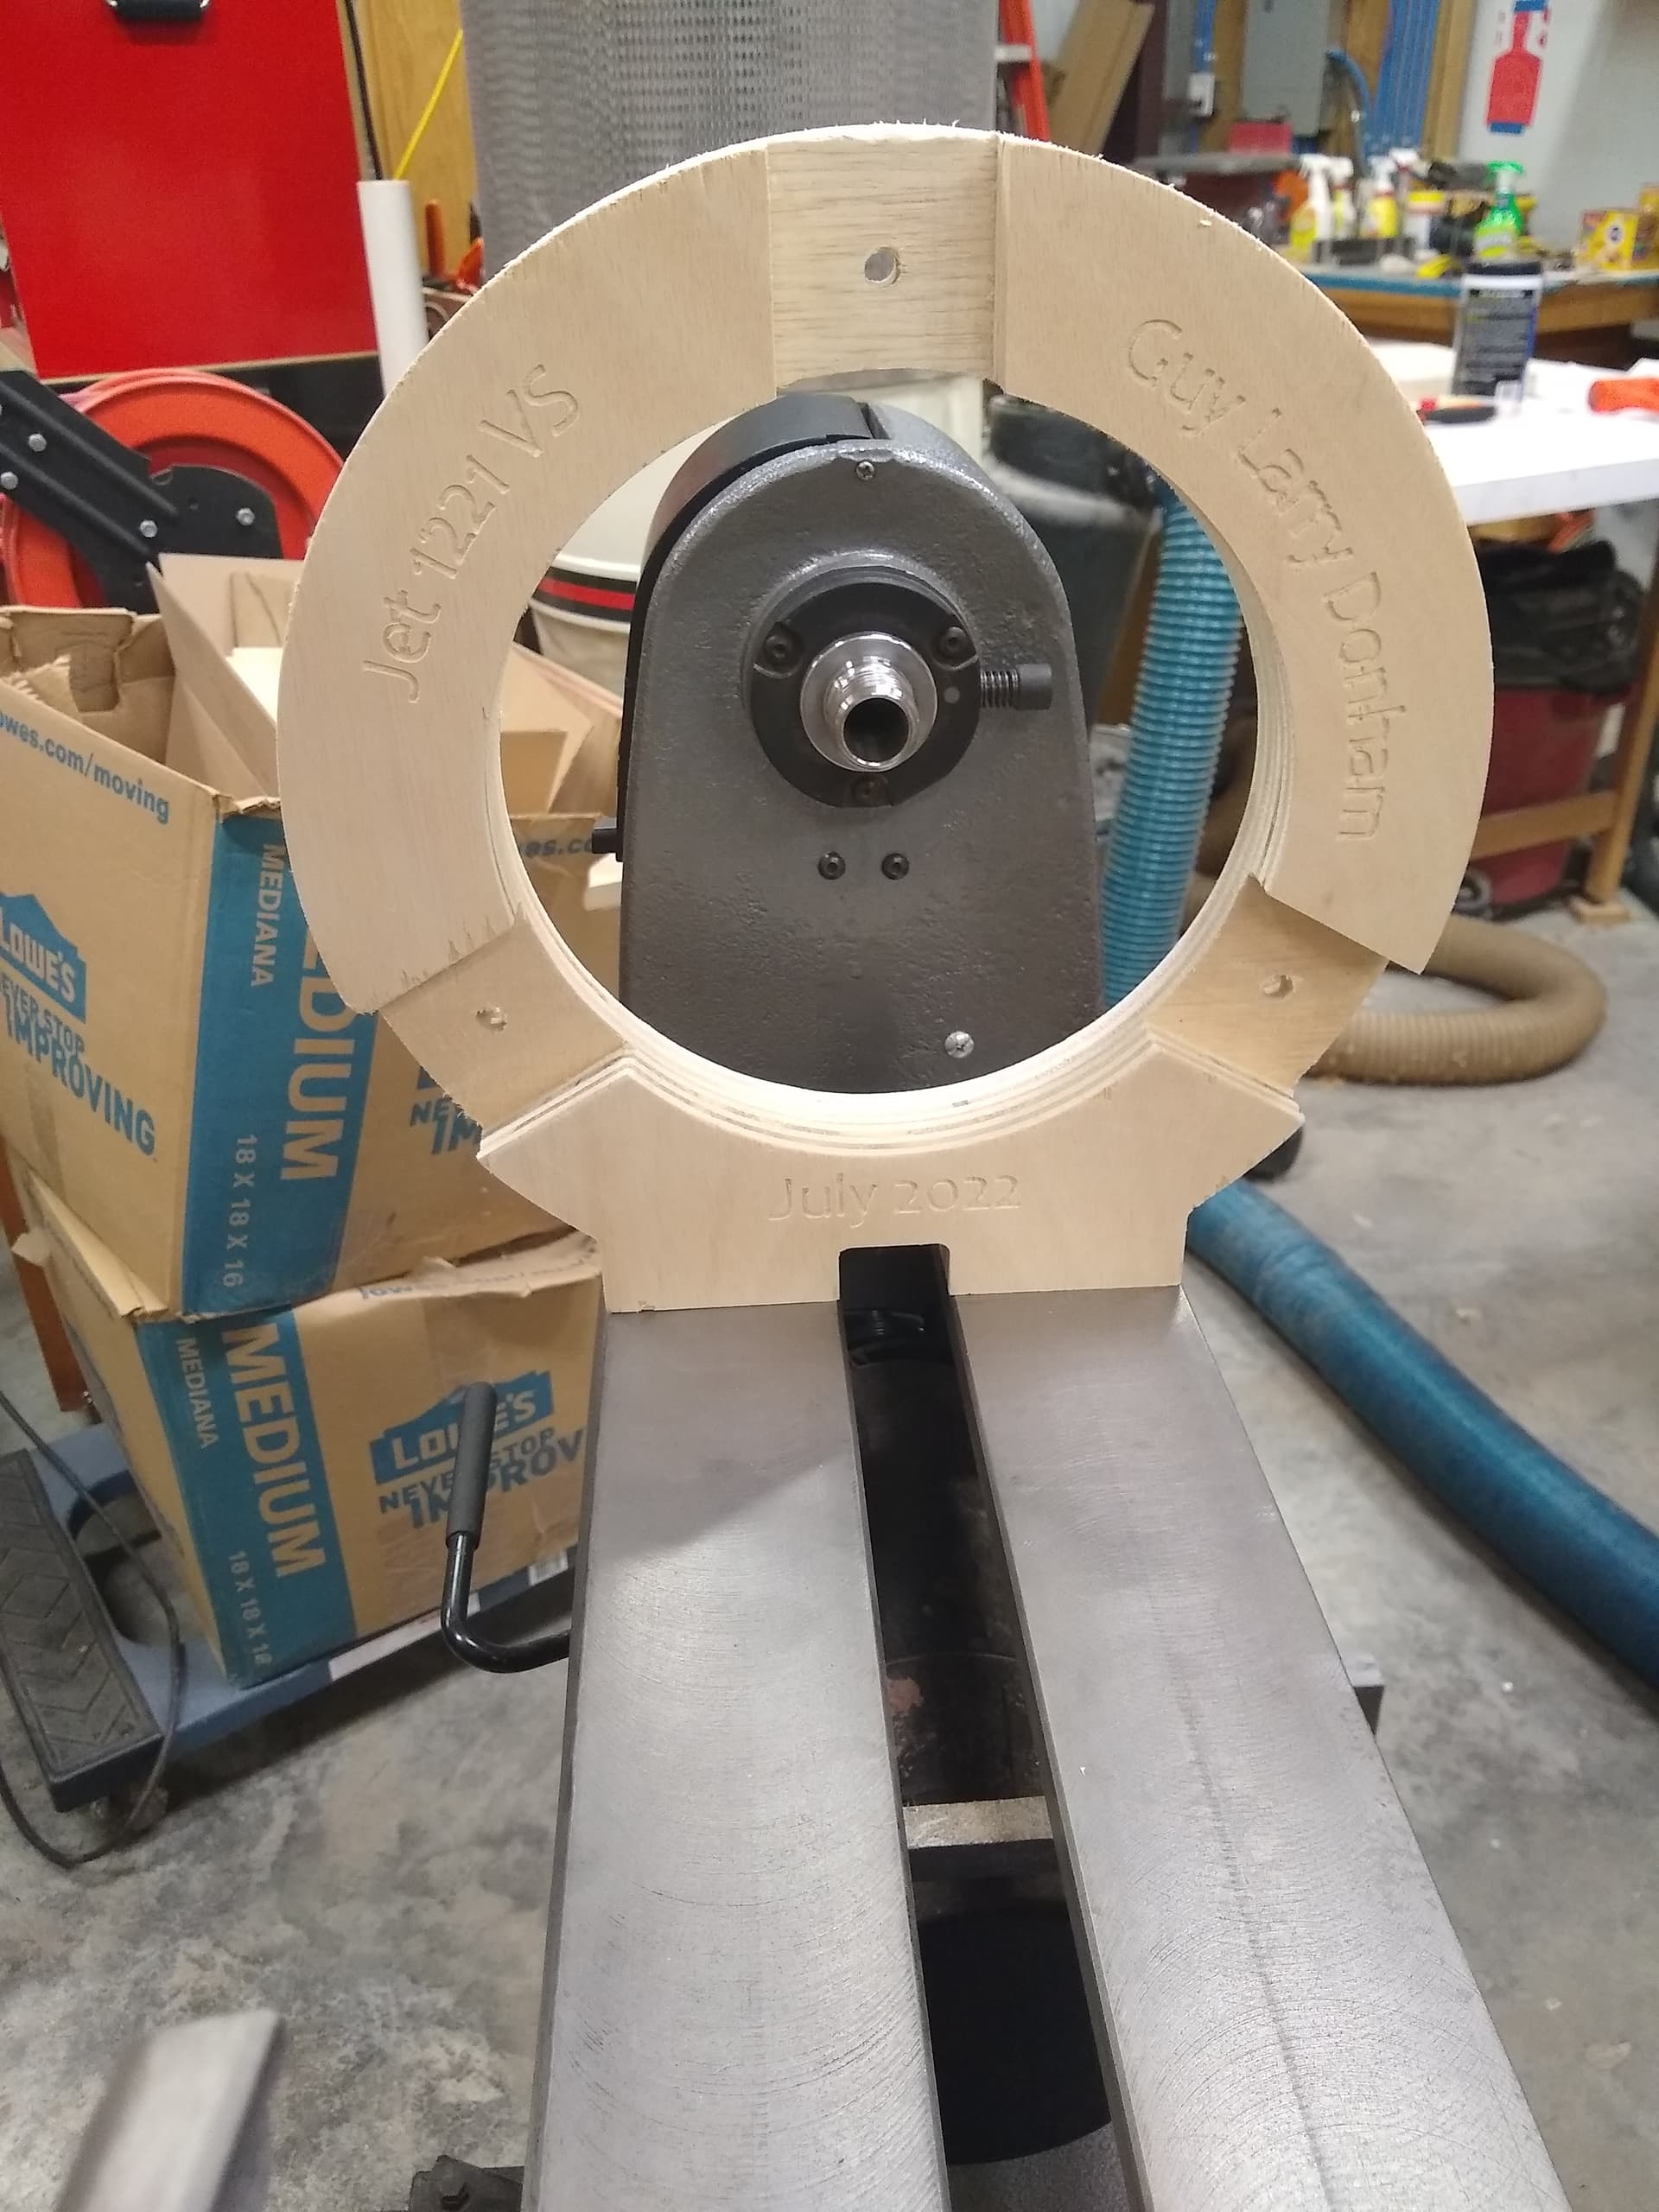
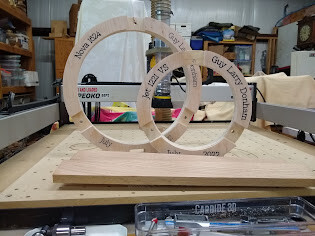
Here is my cutout steady rest sitting on my Jet 1221 VS Lathe.
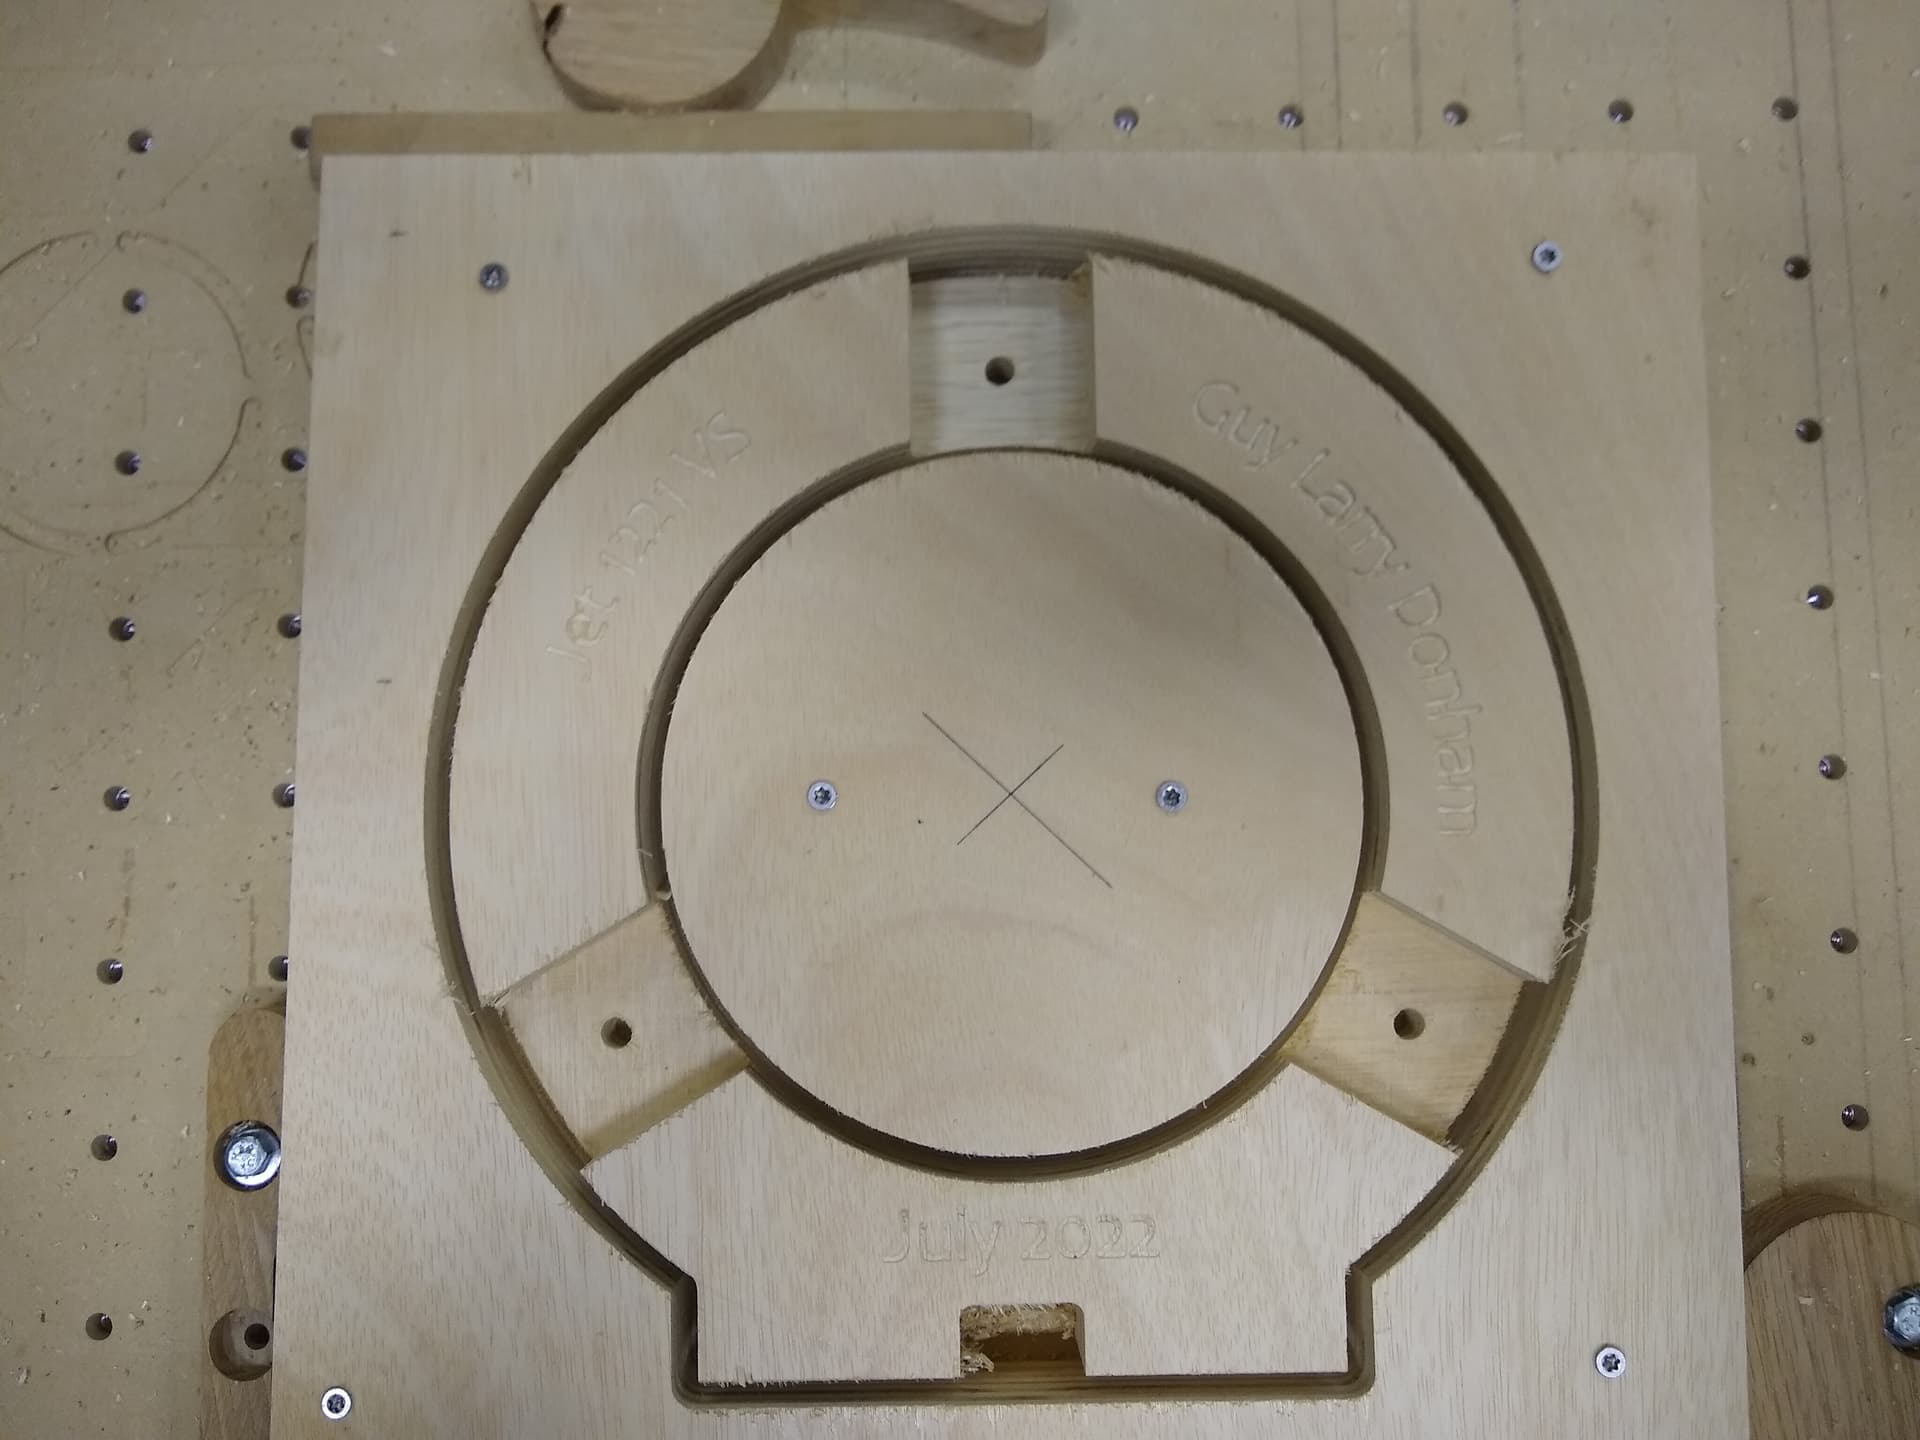
Here is the material on the spoilboard. I use painters tape and super glue and/or cam clamps. With this project as large I put screws in the non essential areas to keep the waste from moving around.
The material is two 3/4" pieces of 14"x14" glued up plywood. This is just a test and will likely never be used. The plywood is lightweight. I bought it a few months ago for something and hated it. However I had the plywood laying around. I think it is old rubber trees that are retired from rubber plantations. I am pretty sure this test will work and the parts to finish are not here I will likely go and buy a sheet of maple plywood and make it out of that instead of this soft stuff. I did prove my construction in CC worked and will work.
So this seems to be just what I wanted. I also have a 16" Nova lathe that I will make the same type of steady rest for it. I have all the basics figured out so the drawing wont take any time. It took me about 4 hours to draw this project up. That was a lot of going out to the shop to measure stuff and some watching the videos again or at least parts of it.
Edit: See files in several posts below.
So I used several of t he new V6 and V7 features.
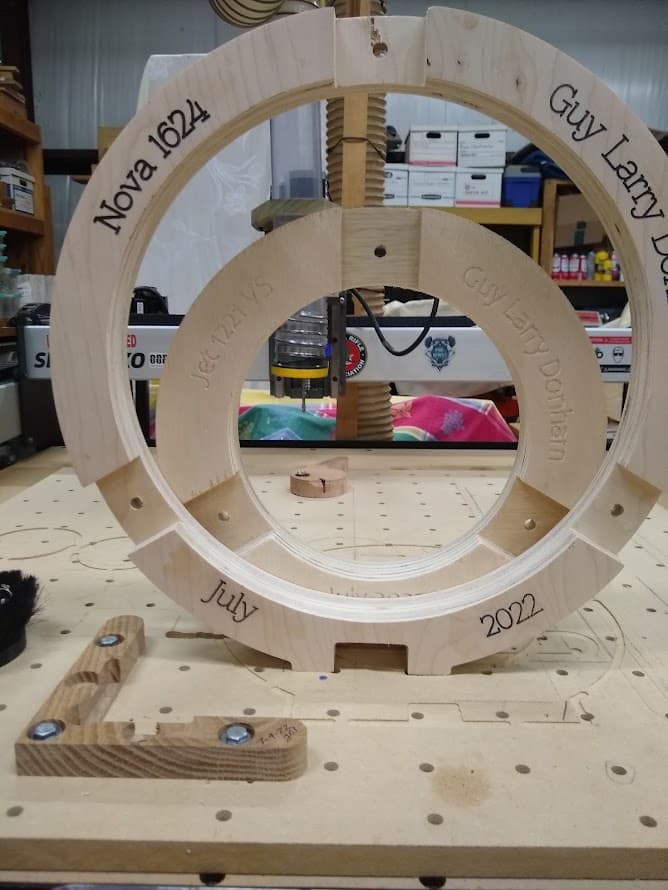
I used text on an arc. It is a little hard to see but my name and the lathe name as well as the date are vcarved in a circle. It took me a few minutes to figure out how to use the text on an arc but not too bad. In the past I would have had to go into Affinity Designer and draw up the text on a path and then save it as an svg and import it into CC. Cool feature.
I used the “t” for stock bottom. I created the project with a 1.5" material thickness. After I glued up the material I measured it and it was actually 1.46". I just left the thickness alone but had I changed the thickness and using the “t” I would only have had to save the c2d file to get the changed incorporated. In v6 and below if you used “Stock Bottom” and you changed the material thickness you had to edit the toolpaths to get the change made.
So I went and got a sheet of Maple Plywood at Lowes yesterday. It cost me $96.00 with tax. I brought it home and ripped a piece that 17" wide by 96". Then I cut 17" squares (4) to make my 16" steady rest and remake the 12" steady rest. Here is a picture of my 16" steady rest sitting on my Nova 1624 lathe. For those astute enough to see the cart handle on the left of the lathe that is a Harbor Freight Hydraulic Scissor Lift. I made a cradle that sits on top of the lift that fits the underside of my bed ways. That is used to lift the lathe so I can move it around. Buying other types of mobility were in the range of $300.00-$400.00. This is a cheaper to move my lathe around and I can still use the lift table for other things. I like to move the lathe outside when possible because of the mess a lathe makes.
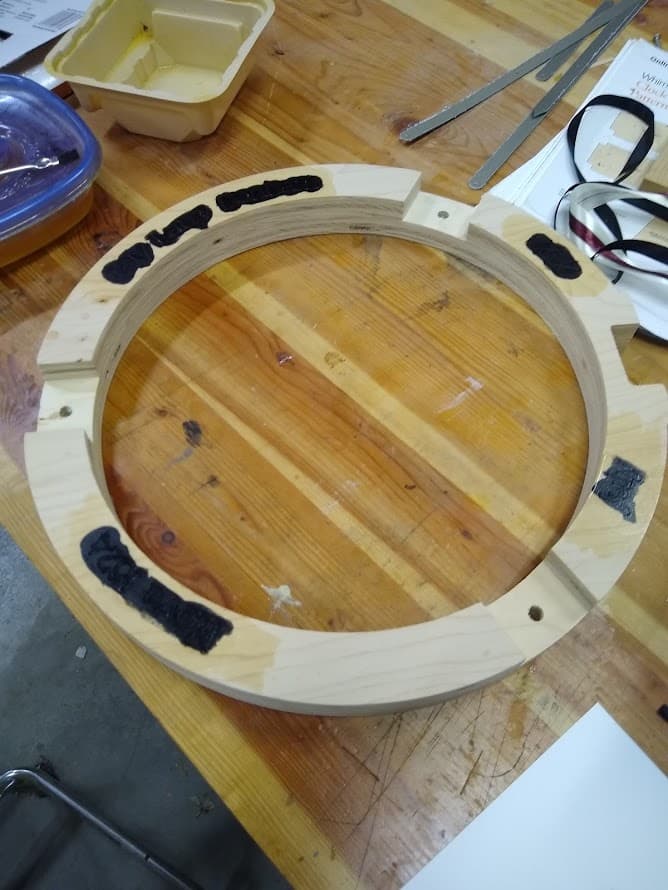
I cut the 16" one last night and applied shellac to the lettering, waited for it to dry and applied Black Acrylic paint. This morning I sanded off the excess paint. I will apply a coat of Shellac and then several coats of wipe on Minwax Polyurethane finish.
So the 12" had a 2" thick round cut out and I decided to reduce it to 1.5" to gain more space for the rollers to have more capacity. I also redrew the 16" with the same 1.5" thickness. I am going to cut the 12" revised steady rest this afternoon when the glue on the two halves are dry. Will show work later.
Some may have noticed that I like to put my name on my tools. I like to write the date I make and/or buy something. I have lived in Alaska and upstate New York and I like to write my name in the snow as well. Thankfully here in Texas there is seldom snow so I just write my name on my tools.
I did a redesign on the 12" Steady Rest and decreased the width of the circle to 1.5" from 2". This will give me more size of the item being steadied. I have the arms drawn up and here are the 16", 12" steady rests c2d files in V7 and the arm files also in v7.
Here are the pictures of the machined steady rests. In front of them are the machined stock for the arms. The arms are 10" long and I will use the same pattern for both steady rests. You could redesign the one for the 12" rest but if it is too long I will just change it and machine 3 more arms. I will put a couple of coats of shellac on tonight and start with a coat of wipe on poly tonight followed by 2 more tomorrow. My parts should be next week from Amazon and I will get them finished up and turning on the lathes.
Nearly finished. I need to spray finish. I ordered 8MM carriage bolts but they are literally are on a slow boat from China. I had some 5/16" bolts that I was able to put the steady rests together with.
I need to replace some of the bolts I have because the heads are varing sizes. Some of them are wide enough to hold in the slot and others are slipping. The 8MM bolts should be here sometime. In the mean time I am going to go to the hardware store. Around here Metric is far and few between so I will just get 5/16" as a stop gap.
I used the same size arms for the roller blade roller for both the 16 and 12" steady rest. If the arms on the 12" one get in the way I will remake them smaller. It was just easier to recycle the design for both steady rests. I have enough wood left to make a single arm just in case something goes wrong. I could always make the arm in the future but everything is set up now and I might as well make it now. I also have two extra wheels in case a wheel goes bad. The order was for 8 wheels and I needed 6 for the two steady rests. Every other ordering option would have been just enough or way too many.
Here are the files in case I changed anything from the original post.
These are all made with CC v7 so they wont work with v6. If you want the files let me know via private message and I will convert them to v6 for you. Additionally if you have another lathe you want to make a steady rest for contact me and I will tell you how I designed these.
I have the first draft of how to create a customized lathe steady rest. I will sleep on it and proof it again tomorrow and try to post it. I like to show how to do things instead of just what I made.
I clicked on the instructions and it told me there were no longer there. Here are the instructions to make the steady rest. It is a general instruction with options to make what ever size you want.