Stepper motor set screws alignment and test

Is there a video on how to check stepped motor set screws for alignment and testing.

I have read of the drawing a line from the set screw to the shaft of the stepper motor. Is there a video where I can see this in action.


I have tried everything, but I am not sure what I should be looking at when it comes to the set screws on the stepper motors when it comes to alligment.

It’s obvious is more than just tighten the screws. The screws are tight but don’t know if they are aligned.

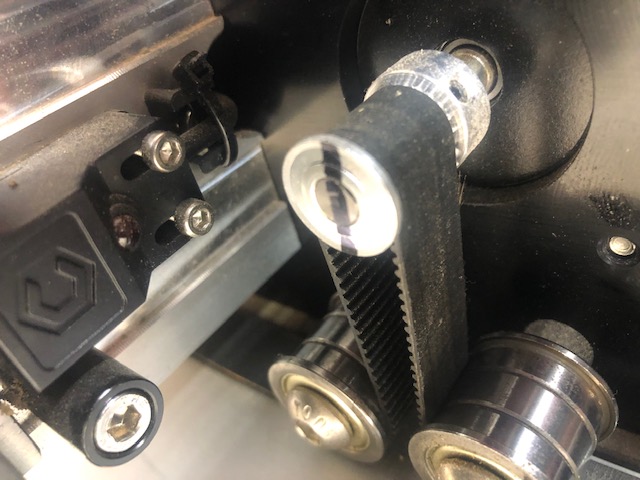
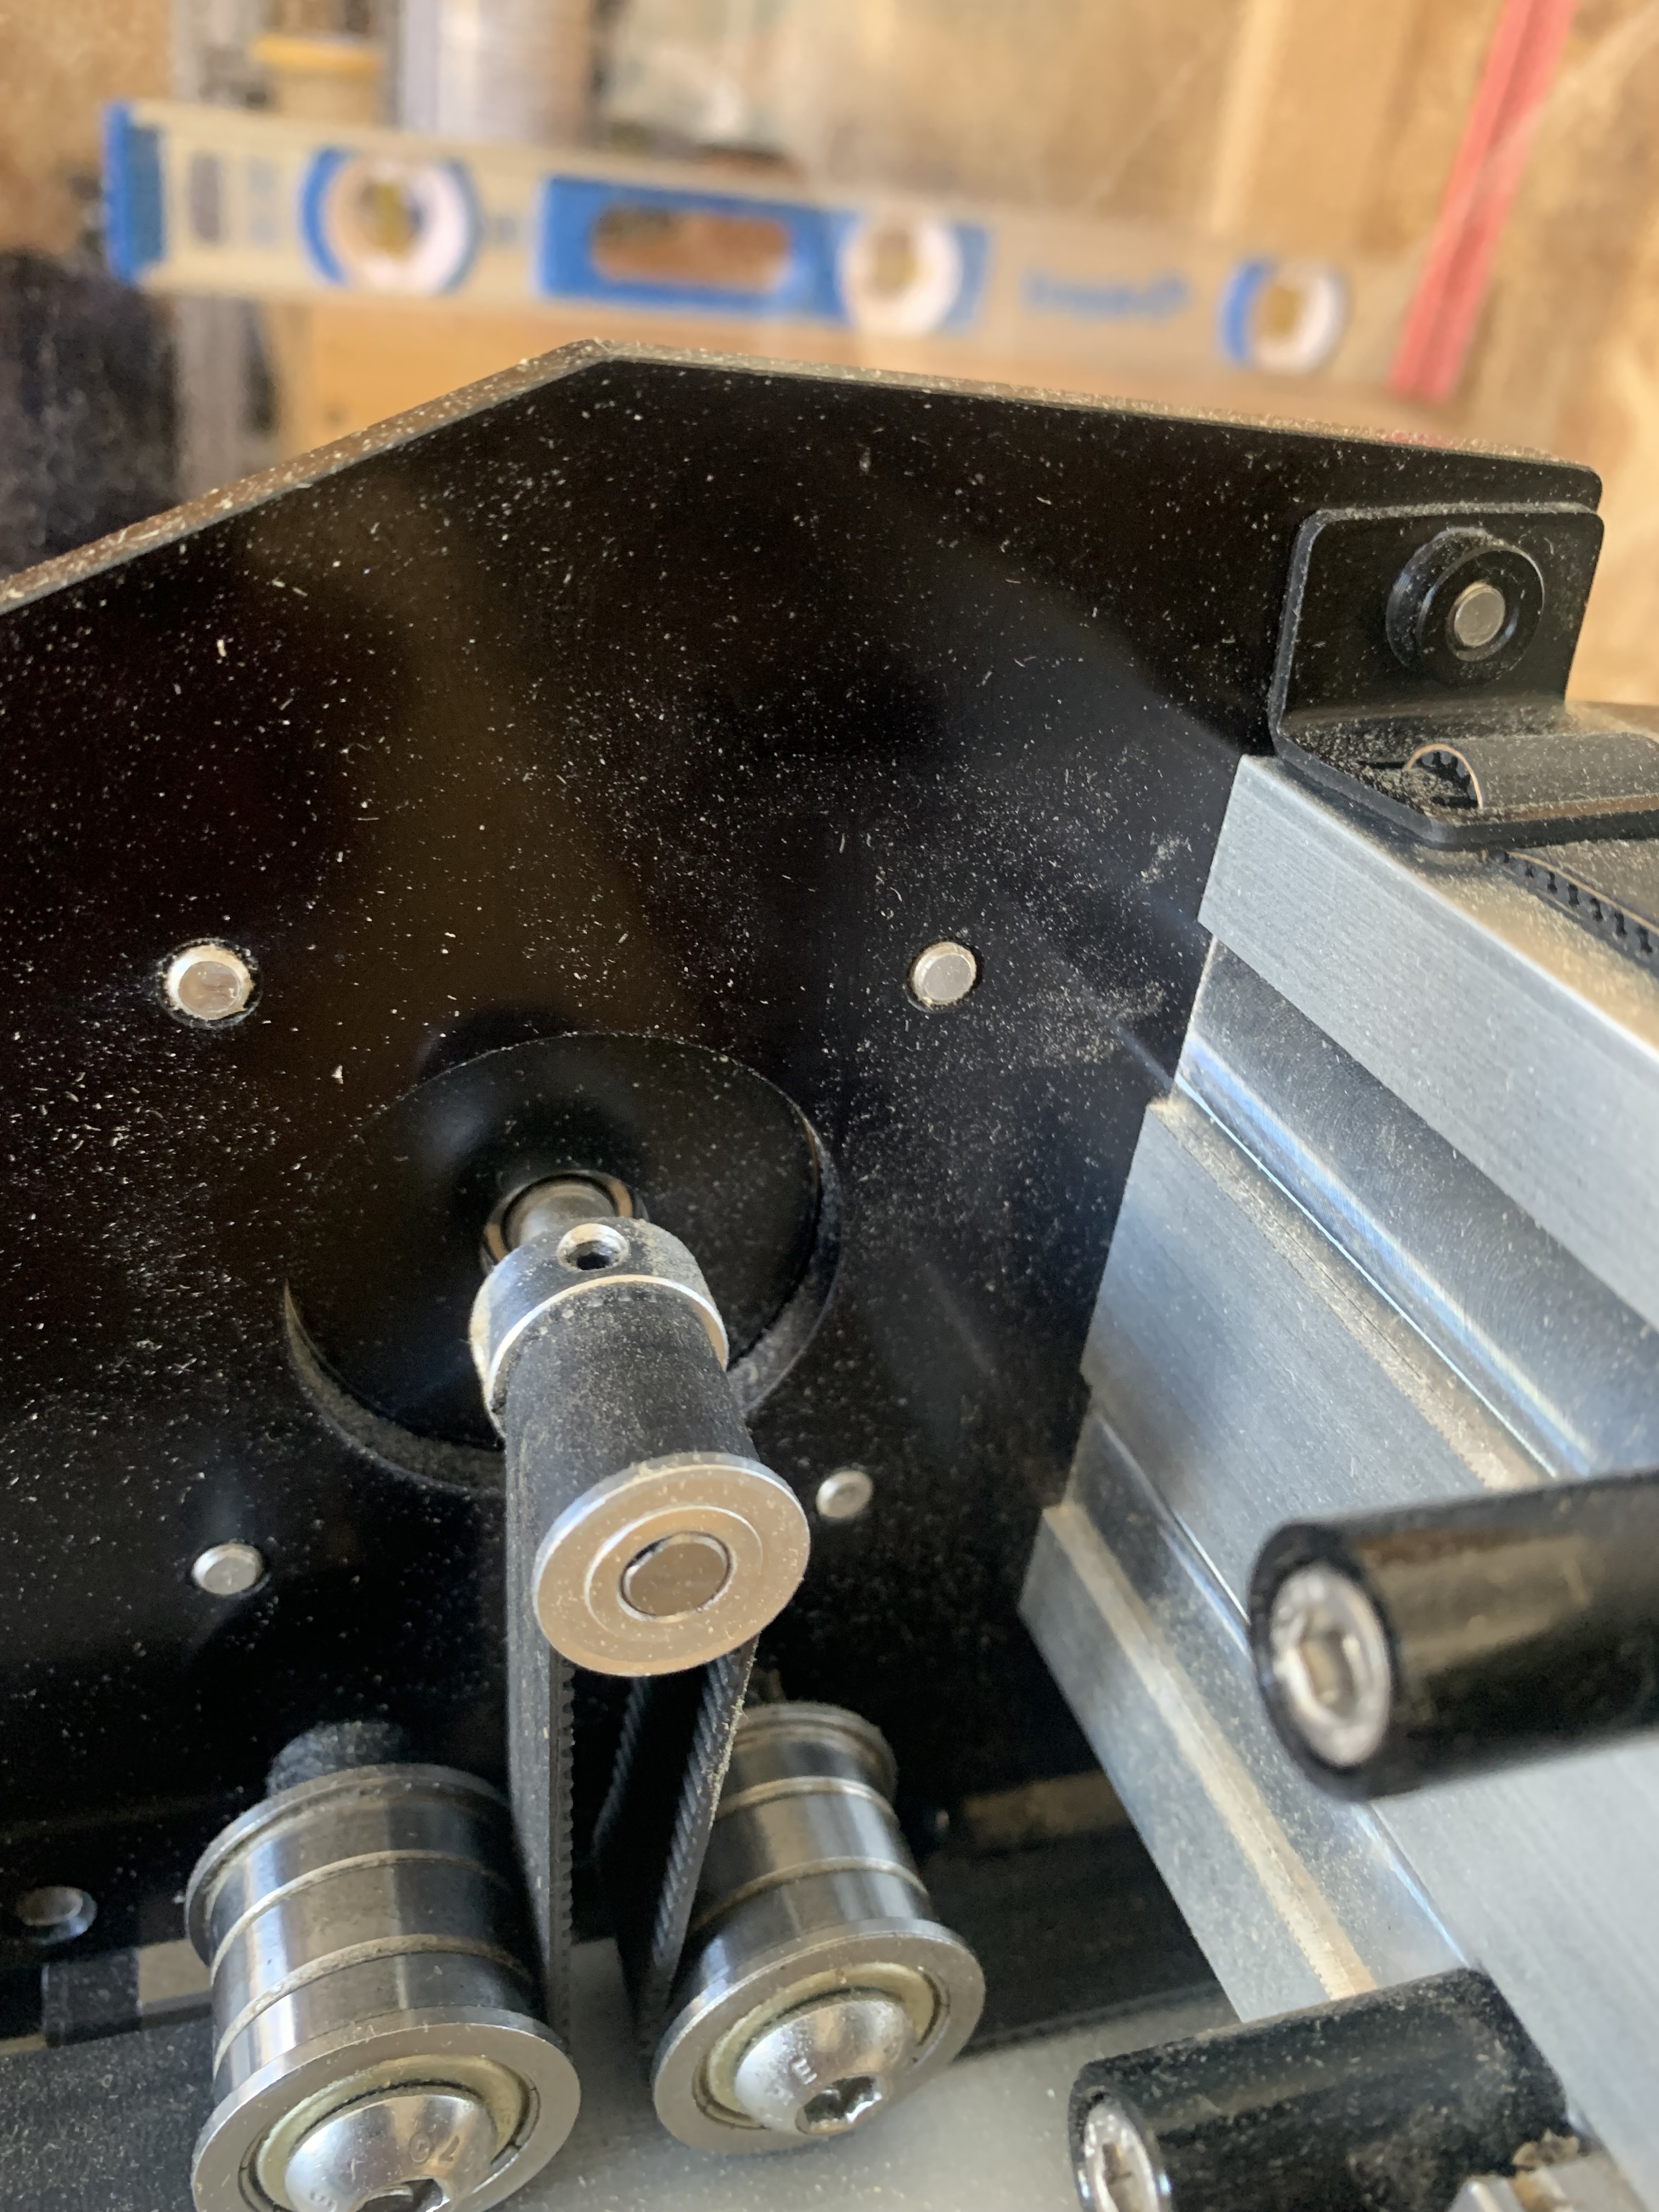
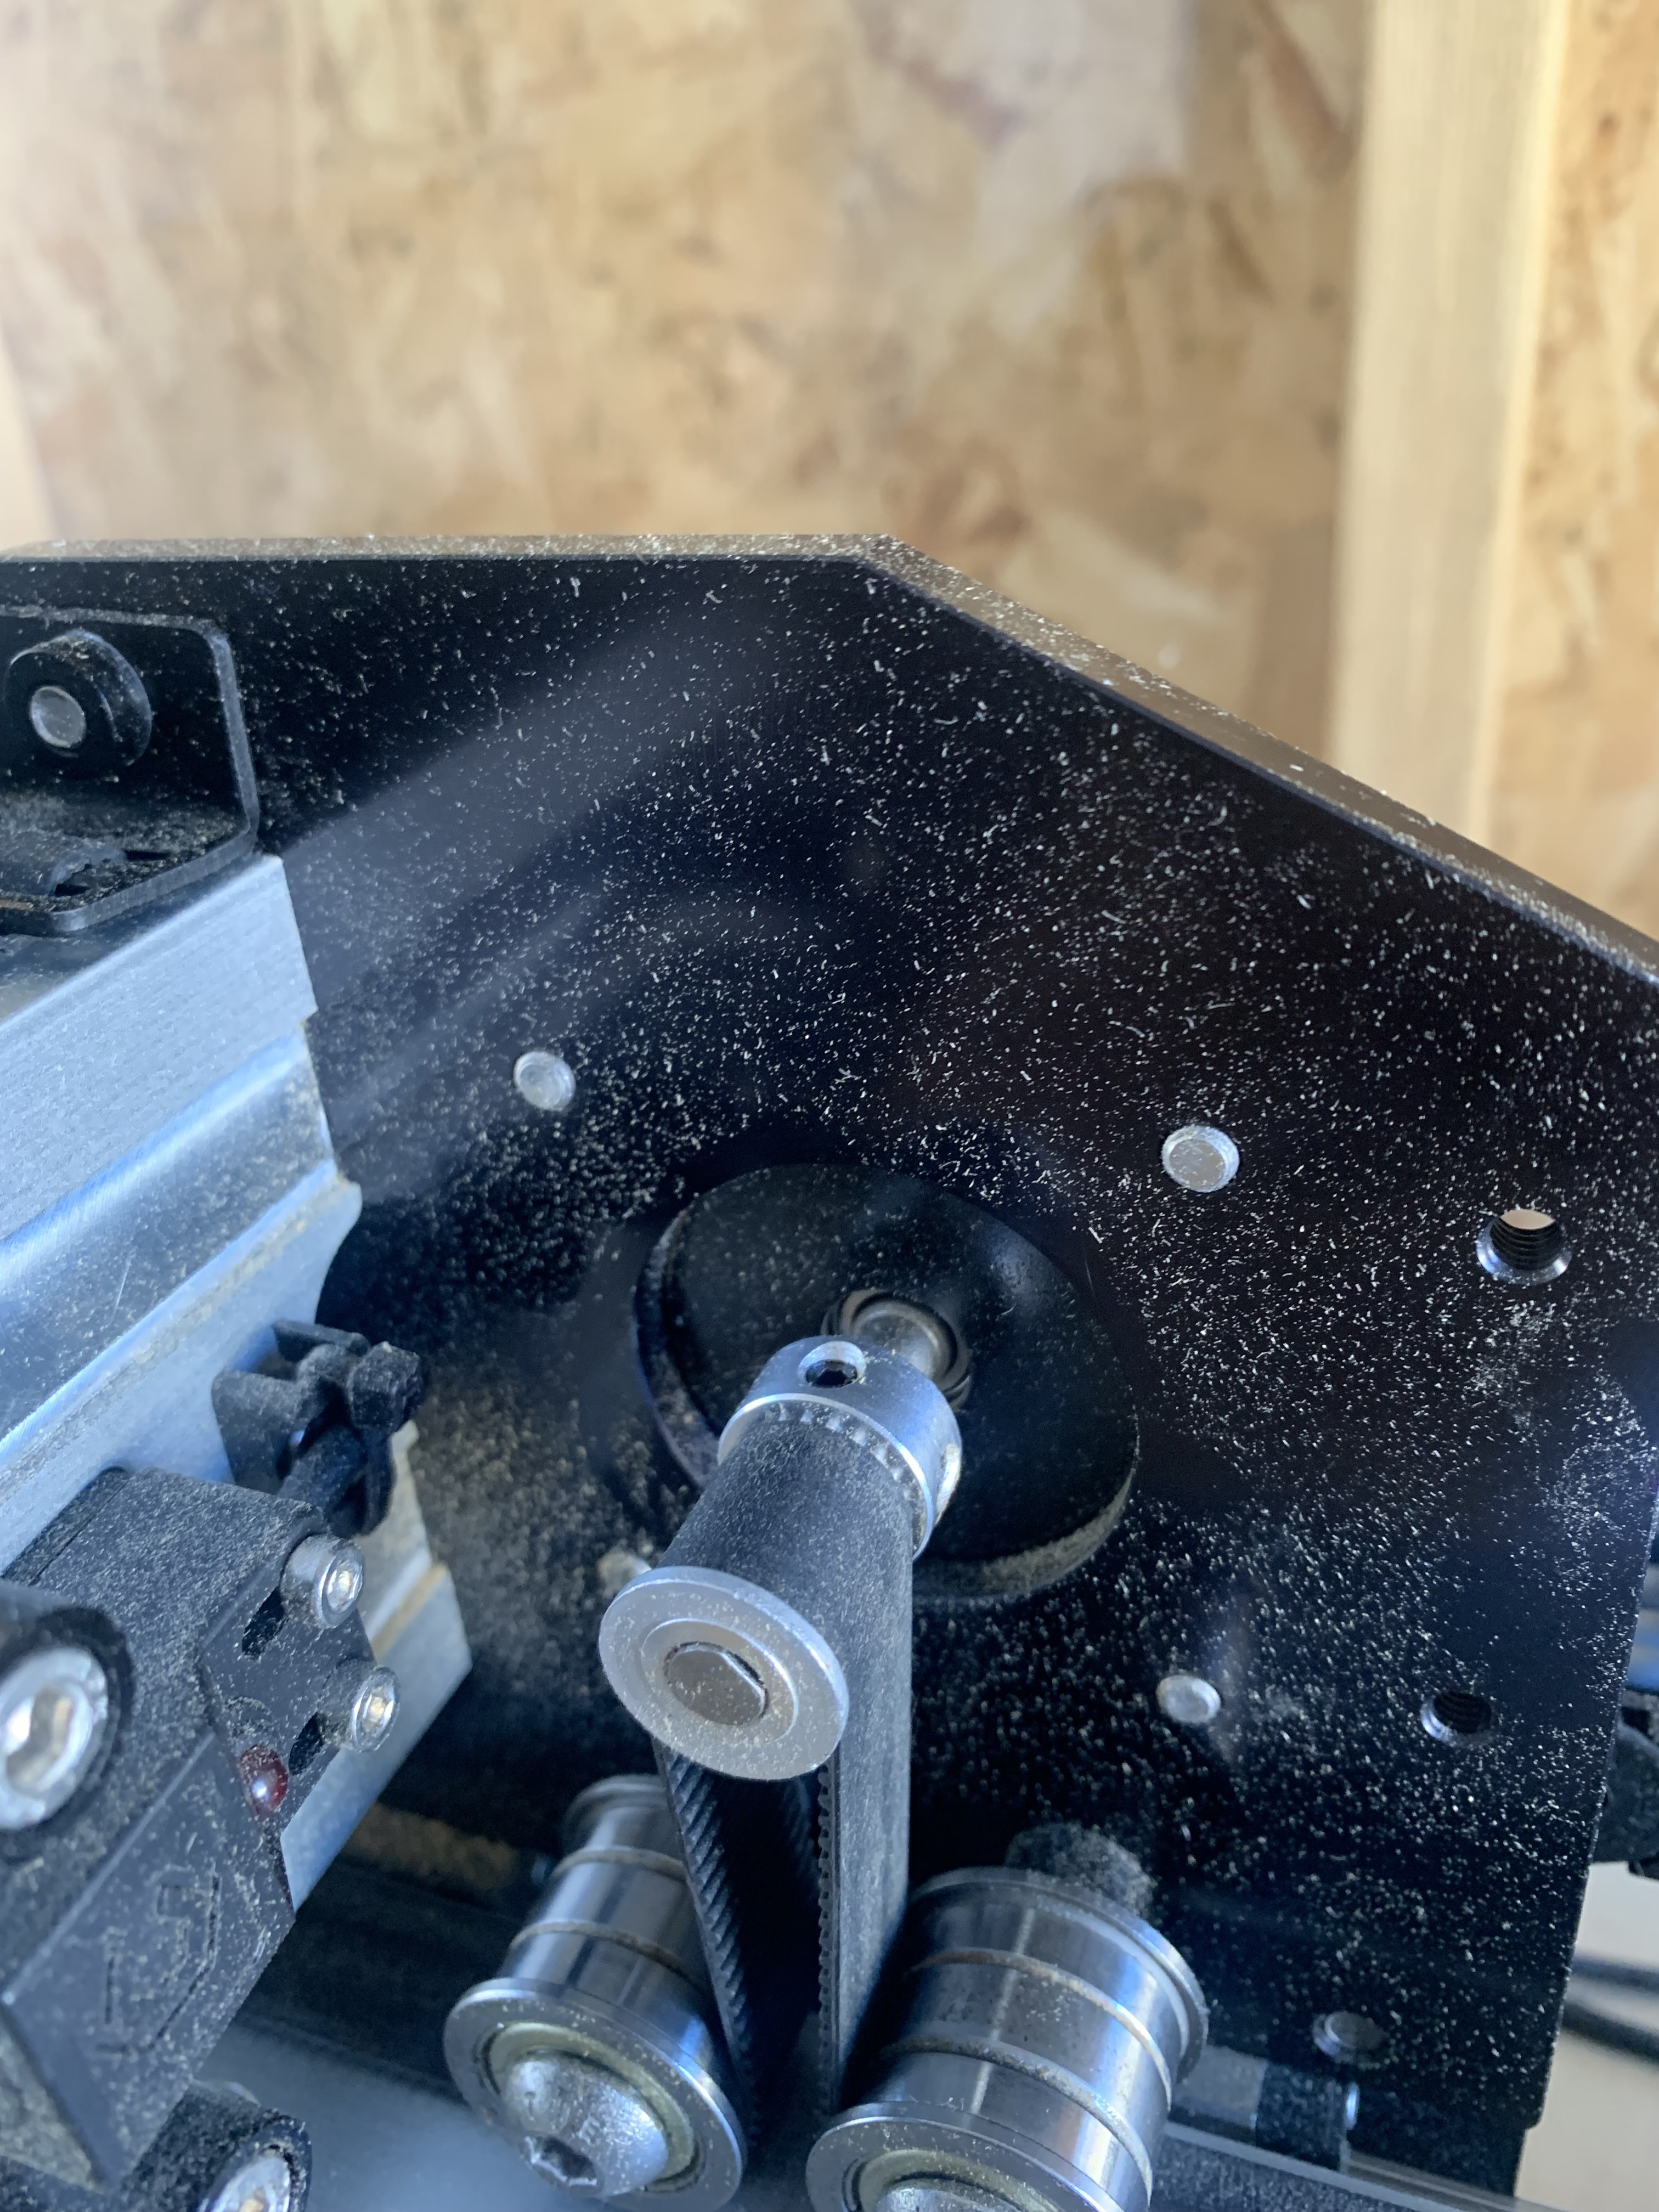
I put a witness mark on mine to do a one-second check. As you can just barely see the flat is aligned with the set screw. It was pointed out that I should have put my mark to align on the flat. But this works

IMG_1797

1 Like

Thank you for the visual. You said you should have marked it on the flat part of the shaft. Is that the little opening that would be considered the flat part of the shaft?

If I had made the line you see, clocked so it lined up with the flat (little cavity in the pic) it would have been a perfect visual.

It works for me. Until the marker pen wears away I love it.

1 Like

If you tighten down a screw, then loosen it slightly, if it is NOT over the flat, then the pulley will be able to rotate all the way around.

If the screw 1s over the flat, then when loosened the pulley will move a bit, but will NOT be able to rotate all the way around.

When I was tightening these down, what I did was just eyeball one screw over the flat, then tighten SLOWLY as I wiggled the pulley slightly. This will cause the set screw to center over the flat. When it stops moving, tighten fully. I also used LocTite - I know this will make pulling the pulley off difficult, but I don’t think I will need to.

2 Likes

I took a pictures of my machine, not in the on position. Both left and right of the y axis.

What do you think.


Picture of both left and right

What do you think. Does this look incorrect.

The machine was not running but I wanted to take a picture to show you.

I appreciate it the help! All have told me it was a Traming issue the machine has been trammed 2 different times, with same results

It appears in both cases that you are NOT over the flat of the motor shaft. I’ve marked the second one with where I think a screw should be:

3 Likes

Thank you so much! I truly appreciate it. I have been breaking my head trying to figures this out!!

The machine doesn’t to have to be running to know this?

No it does not need to be running. Loosen the set screws, align the pully so that the set screw is on the flat part of the shaft and tighten all set screws for that motor. Make your witness mark.

1 Like

This has not happened to me but the thought occurred to me you might have to loosen or take the belt off to facilitate this fix.

I’m willing to replace my screws with head screws for easier acces. Are these m3 set screws (8-10 mm in length?

Can these be purchased at local box office?

You can’t even imagine how much better I feel! I have tried everything with no results.

I have literally taken this machine apart with the same results!

This has to be it!

Thank you!!!

Now all this being said, the point of the ‘screw over the motor shaft’ thing is to make the pulley more secure.

If the pulley is already secure, then changing it won’t make any difference right now. So, you could decide to make this change later, if you have things to do with the machine right now.

1 Like

Most of my work is 3d or 2.5 I should say and it clearly shows up in any job. So all has been on hold.

Worth to try when I have tried just about everything else!

My pro is a year old and none of the pulleys were on the flat. I think that is intentional but I cant figure out why. 2 of the 4 motors had loose screws from factory.

I replaced all my set screws with cap screws

Do you have pictures of your screws?

This topic was automatically closed after 30 days. New replies are no longer allowed.