Hey guys, I’ve been using the tape and glue method for a few weeks now, and it is pretty amazing. So much more simple to secure my stock and get going, and be confident that it’s not going anywhere.
Except… sometimes it goes somewhere. Specifically up, right at the edges, whenever I’m working on projects with a significantly large pocket. The wood starts to warp, sometimes peeling the tape off the board, and throwing off my measurements and carvings and all that.
I’ve tried a few things to help:
I try to put a little extra glue right on the corners before securing.
And I’ve noticed this only helps if I line the edge of the stock with the center of the tape, rather than the edge of the tape. Otherwise it can peel it right off the wasteboard once the wood starts to warp.
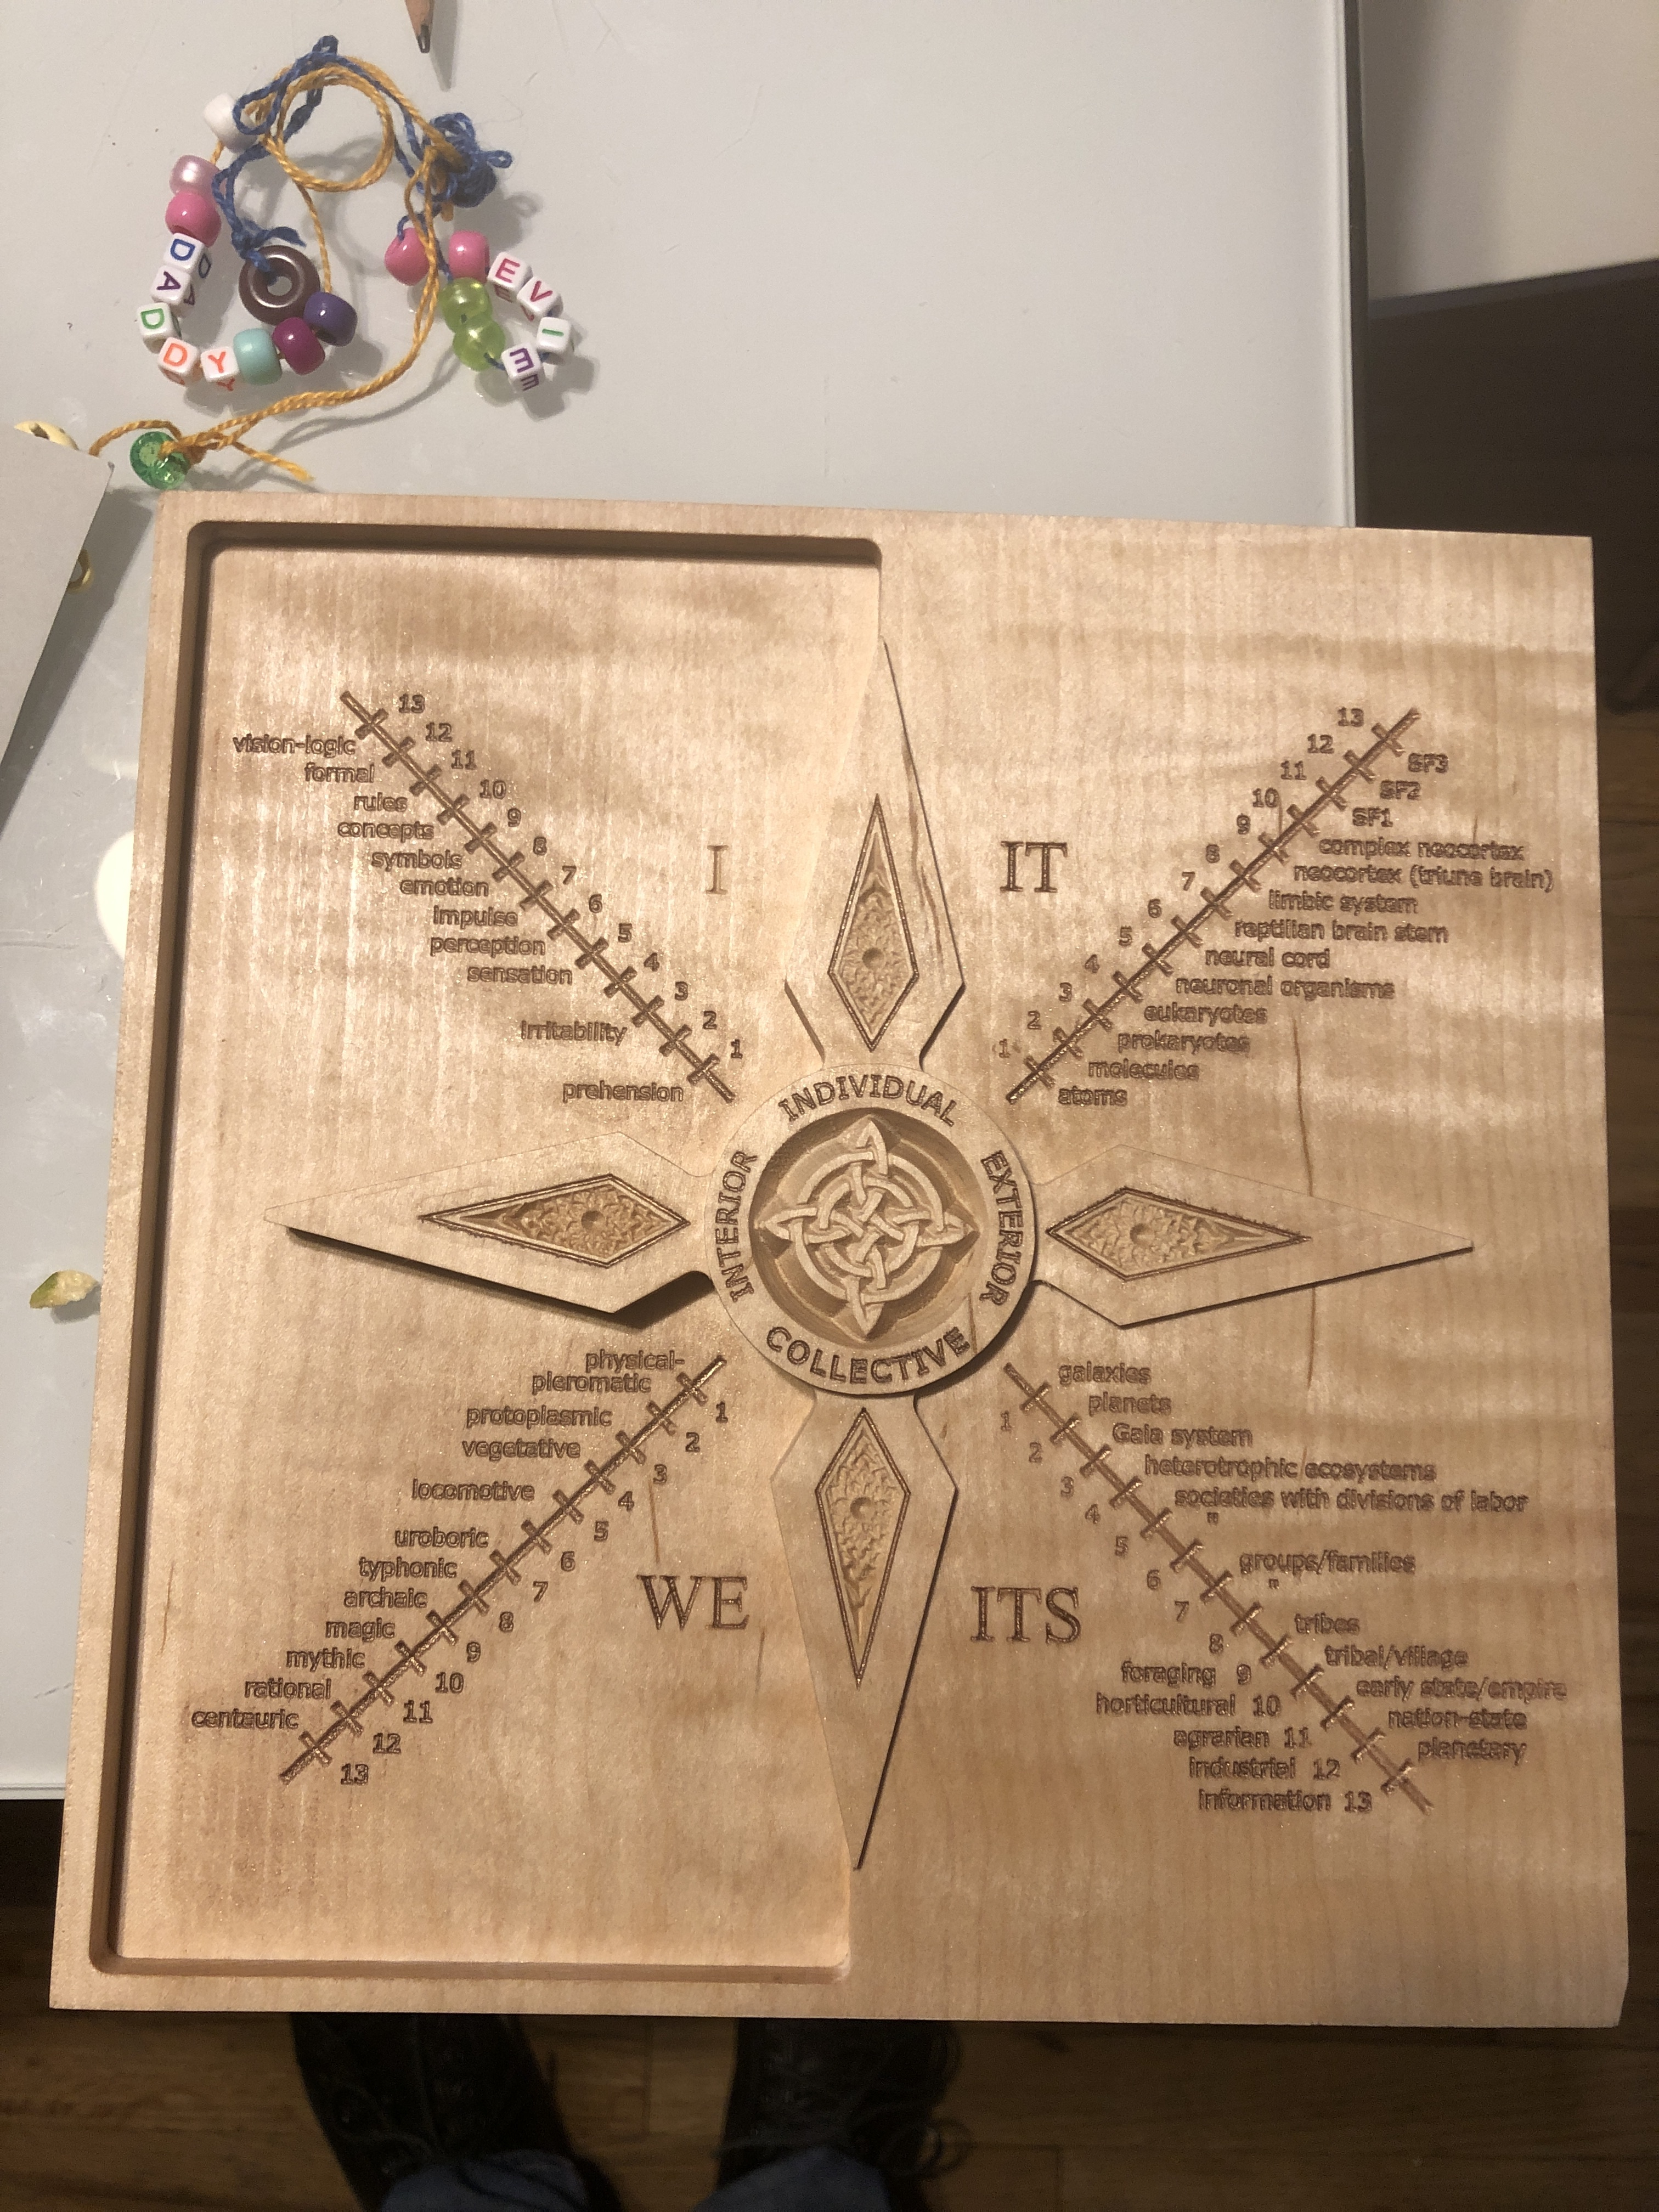
And I’ve noticed that the grain direction makes a pretty big difference – particularly for the pieces I’ve been working on, where 50% of the stock is pocketed out (see image).
Top clamps aren’t really an option for these pieces, because I am using as much of the stock as possible.
Anyone else find good ways of dealing with wood warp using the tape and glue method?
(Here’s an example of the pieces I’ve been making. When the grain is going up and down, in line with the pocket, I get much more wood warp. I can reduce it by making sure the grain is going left to right, but I still get some.)
Wood is a natural material, made up of a bundle of fibers — it moves given changes in humidity, or alterations in whether or no a given fiber is supported or no (unless one is fortunate enough to be working with a really stable hardwood with a very fine straight grain).
My solution for that sort of thing has been sacrificial wooden cauls — as they are cut away during machining I’ll replace them at a strategic point which won’t interfere w/ later cutting during a tool change operation.
Totally. And to be honest, the fact that these materials are almost still alive and keep changing even as you’re working on them is part of the romance. Except when I can’t get my damn v-carves right because it won’t stop wiggling around. That’s when the romance goes out the window.
I’d love to hear/see more about the sacrificial wooden cauls you use!
Not much to them — I just clamp thin/cheap plywood in place which has holes drilled for nylon bolts which are screwed into square nuts in the T-track — add the thickness of them for the machining operations which will cut through them and it usually works out fine.
You’ve still got plenty of clamp room around those edges without it causing a problem. Like @WillAdams says, use strategically-placed clamps around the perimeter.
Are you seeing the wood actually “warping”, or is it just lifting because of your cutter? Lifting is more likely, and the clamps will solve that problem.
I use a program for resurfacing your wasteboard on pieces like that. I take about a sixteenth of an inch off each side, and it’s usually flat on both sides then.
I would not doubt some warping is happening. Have you checked the flatness of the back before and after milling to verify this?
A probable issue is that there is likely to be a bit more water content in the interior of the wood, at the new face you are exposing. As that water leaves the wood, that face of the wood shrinks resulting in warpage.
Here’s a less likely but still possible issue in your case. There are different tensions in different regions inside any wood sample. Uniform vertical grain will minimize this but you often get surprises. Many times when running a piece through the bandsaw, the two sides will deform in different ways once the internal forces from one piece no longer act on the other half. So, as you remove the stock in the pocket you are removing some of the internal forces acting to stabilize the piece.
I agree with others, you should try edge clamping along with the use of well seasoned, vertical grain wood. If possible, leave your piece oversized and trim it after the milling to offer easier clamping.
I suspect that those internal forces are quite high (even on properly dried wood) so the wood will warp when the clamps are removed. Maybe gluing the workpiece to a stiff backer board (like Baltic Birch) would be a good workaround if the glue holds.
I’ve seen this before too. Not much you can do; as you remove material, you remove the strength of the wood which will cause warping/cupping where your pocket is. If you can tolerate the warping once the project is done, then just clamp it down with cauls, etc the best you can to finish the cuts.
I wonder if after you mill the wood that is clamped on the wasteboard, you could steam the workpiece then clamping it to a solid flat surface. When dried, you would need to apply finish on all sides to ensure it stays flat when humidity changes.
I have had wood move on me from carving large pockets, but its usually after the carve. For pieces that I can’t use top clamps for, I usually use a good double sided tape and it holds strong.
I have noticed when wood warps from such a carve, it often will go back after about 5-10 days of re-acclimating.