I’ve been using my Shapeoko 3 for quite a while now. Upgraded to the Zplus 3 years ago and am using a Dewalt router.
I would like to do some complicated type string art and thought that this would be a great job for my handy CNC. The nails are I like are escutcheon nails like these: https://www.etsy.com/listing/647263292/
The nail has a 1.2mm shaft
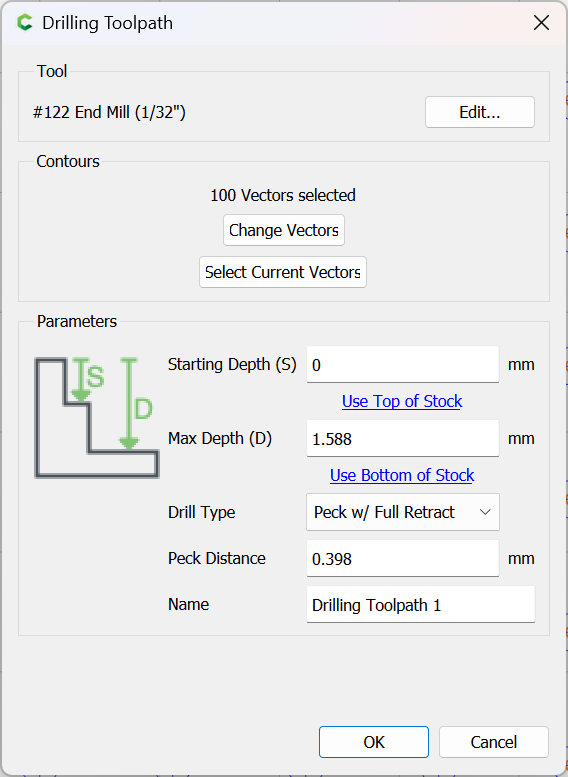
I was thinking I could drill 1mm holes with the Shapeoko and then create a little jig to push in the nails to a consistent depth.
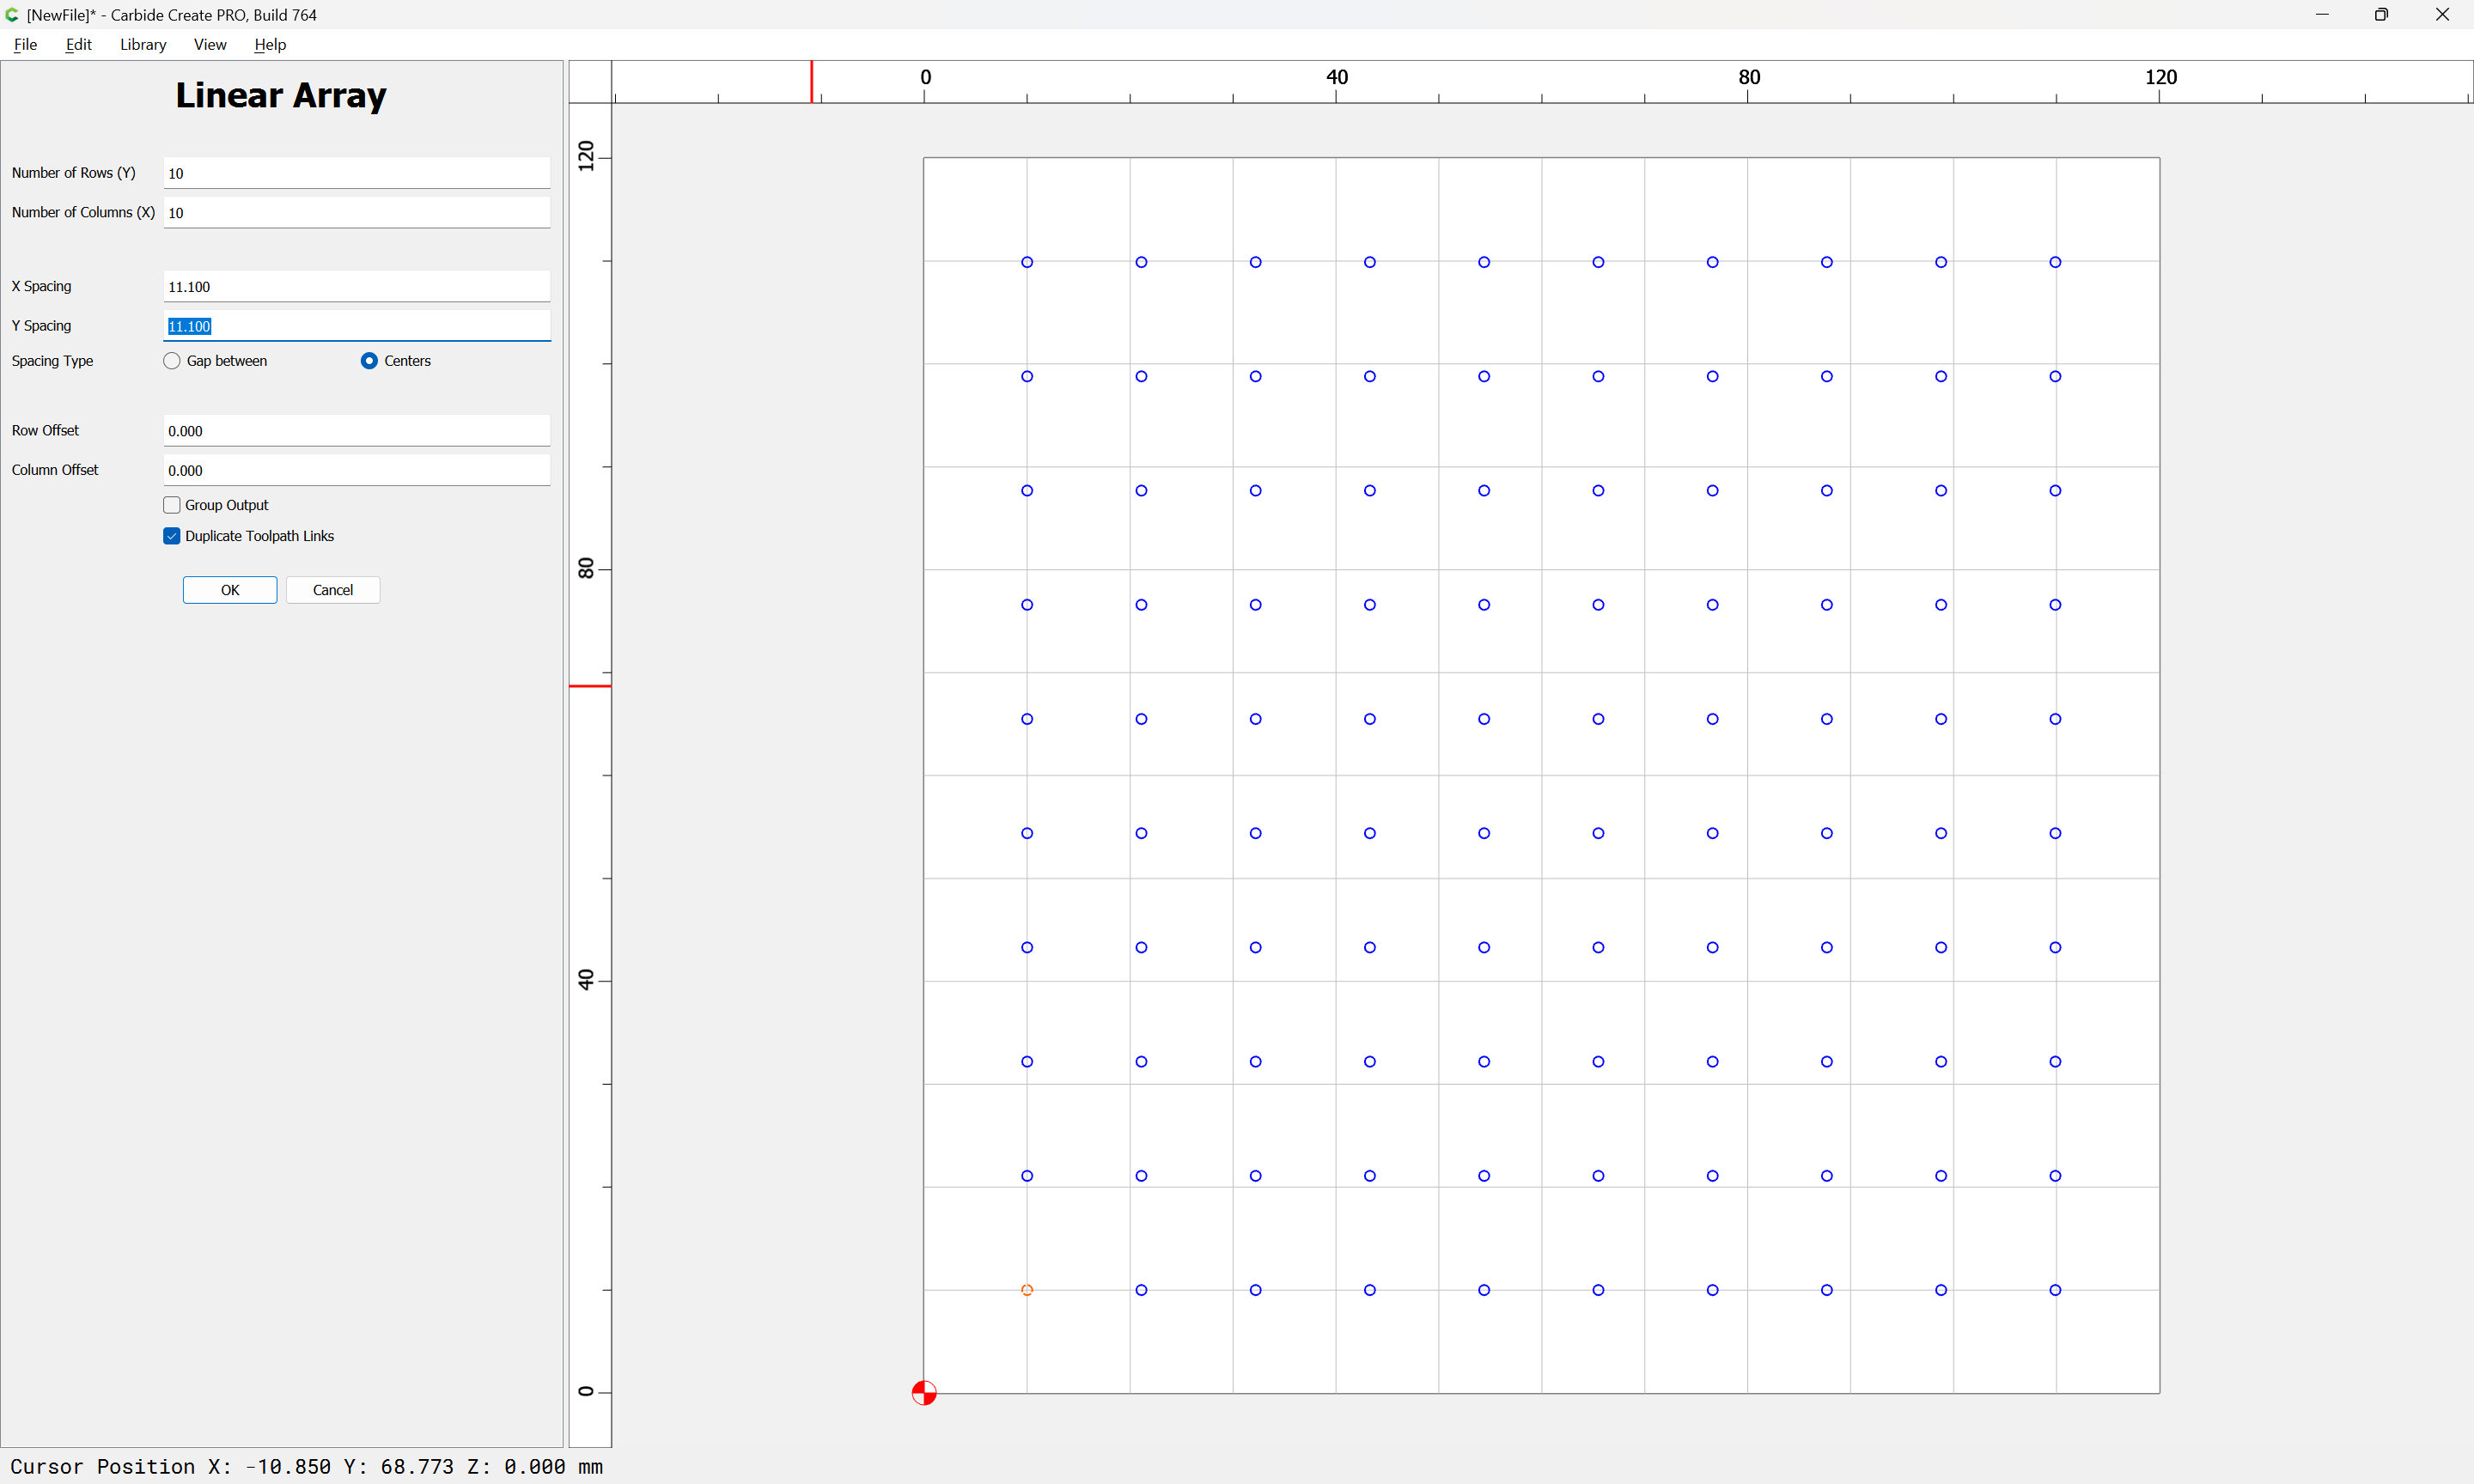
How would you do it to drill 100’s to 1000’s of 1mm holes?
Now the Dewalt only goes down to 16k RPM. And I’m thinking that a 1mm end mill for drilling isn’t ideal. So, maybe I get a small DC powered spindle and make up a 3d printed mount for it. Less than $50 for a 775 based spindle with ER11 collets that I could put a 1mm drill bit in. But it spins really fast still - 20k RPM.
Usual preface, I’m with PreciseBits so while I try to only post general information take everything I say with the understanding that I have a bias.
All of the below is with the caveat that I don’t know the material. I’m assuming wood or MDF of some kind. I’m also assuming a minimal amount of runout.
Short version, I’d use a carbide drill. The PCB ones are a decent choice as they are on a common shank size. We have a lot of luthiers, SRD, and general woodworkers that do this in production with these tools.
Long version, at 1mm and 16KRPM you will only be cutting 165SFM. Which neither the material or the drill should have any problem with. At only 1mm you shouldn’t have an issue with cutting forces either. The one area that will trip up most people though is that you actually have to feed the tool enough (plunge rate). Depending on the drill geometry you’ll get different best numbers but at a minimum I’d try to be hitting 0.0015" (0.038mm) chipload. That’s what a decent 1mm PCB drill should start at in FR4 within board tolerances for deflection. Realistically, you will probably get a better cut at a higher chipload since it’s a softer material. In really soft material you might be limited though. At the 16KRPM the 0.0015" chipload works out to 48IPM (1,219mm/m).
Hope that’s useful. Let me know if there’s something I can help with.
There are a few videos out there about the math of how to generate string art from photos.
There is an opensource version for generating patterns using a circular frame. The code is at: GitHub - halfmonty/StringArtGenerator: Web based string art generator
And a web ui to it (so you don’t have to download and figure out how to run it) available at: String Art Generator
")